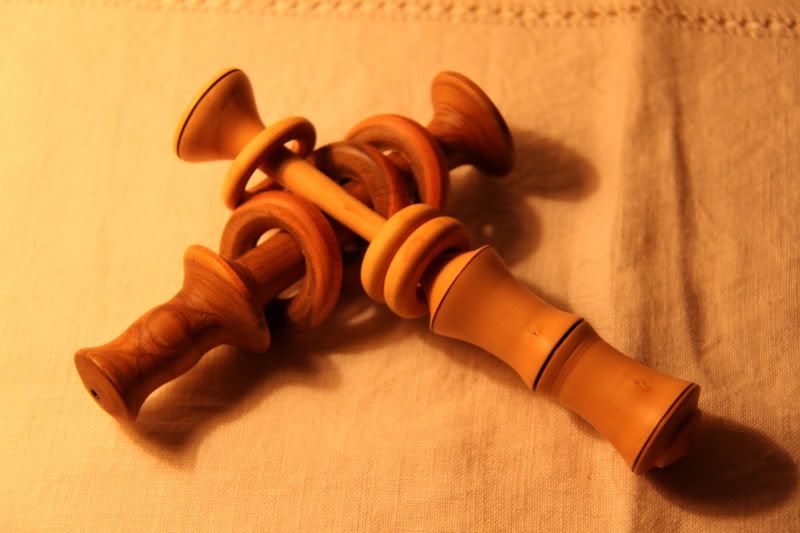
I've made a few rattles. I got a book out of the library on turning when I first got my lathe - deparately trying to remember the author - and he had a 'how to' on making rattles.
It's pretty easy though. Here's my (inadequate) how to. I hope one of the better turners will correct me on this where I have one wrong.
Assuming you are a halfway competent turner, I'd do some trial and error and practice the rings a few times before trying a finished item. Here goes.
Remember if it is for a baby it wants to be pretty small - no more than around 6-8" (max). You need fairly hard wood. YOu don't want this to be a chew otherwise you'll get splinters etc, so tell the parents to supervise use. My best baby's rattle was about 6" including the handle and the handle about 3/4 - 1". Anything much bigger is too big for little hands.
You could make something more substantial for the parents to rattle at the child, but I think that is not really the point!
Turn a cylinder between centres - about 1.5 -2" diameter.
About 10" long so you have a decent spigott either end.
Mark a handle - say 3.5 "
When you turn the handle, you need the middle to have a lip which will be the widest point. This stops the rings falling off at the handle end.
Similarly at the other end, you will need to maintain a lip to stop the rings falling off.
I would aim for three or four rings around 3/8ths" round (of course they don't have to be round - they can be squared off).
I would take a parting chissel and make three bands, each about 3/8th wide and about the same depth. They don't need to be equedistant as they will move about later.
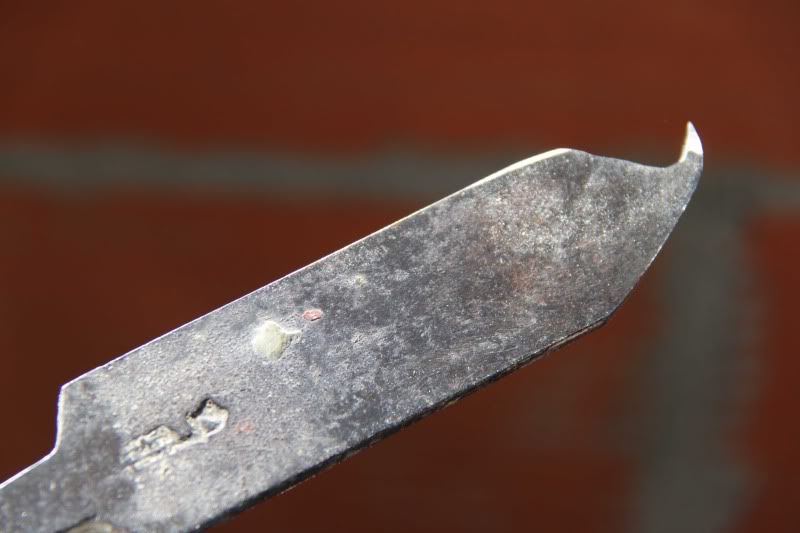
When you have the grooves, turn the first into a bead. I use a skew, but you could use a spindle gouge ok.
Then carefully, little by little cut under the bead, clearing the wood that is in the way either side (if that makes sense). be very careful with the skew not to dig in, so don't go mad at it.
Do this from both sides. Eventually, you will cut through. You can then clean up the spindle with a gouge or skew, so you have reduced the cylinder so the ring that you have cut can move about.
You can then start on the next bead and so on.
Once you have freed all of the rings you can push them to one end and tidy up the shaft, obviously keeping the lips at either end to kep the rings on. Once you have sorted the rings you can make the rest of the rattle more delicate by narrowing the shaft and handle.
My first few rattles were hopeless, but with trial and error I got the hang of it and eventually won first prize in a craft show with one. (admittedly there was very little competition

)
I hope that is a start for you until someone more able posts a better explanation.
ps. I take it you've had a look on Youtube - there are oodles of good demos on their.
Remember, if I can make a rattle any fule can.
All the best
Steve


