Canopy (Fitted)

UKworkshop.co.uk

Help Support UKworkshop.co.uk:

This site may earn a commission from merchant affiliate links, including eBay, Amazon, and others.

mailee

Established Member
Joined
26 Jun 2005
Messages
5,502
Reaction score
4
Location
grimsby Humberside
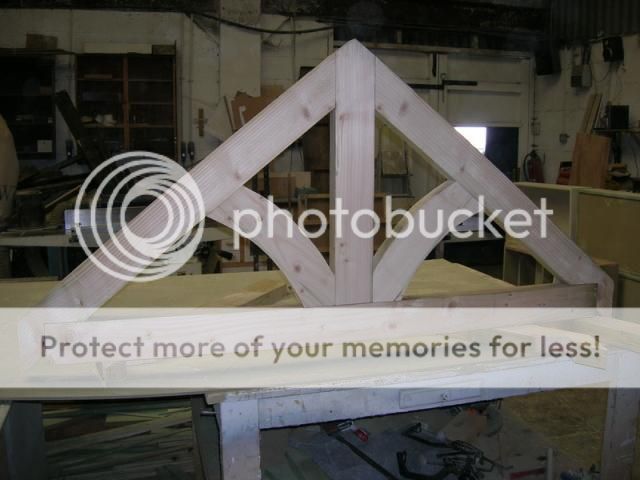
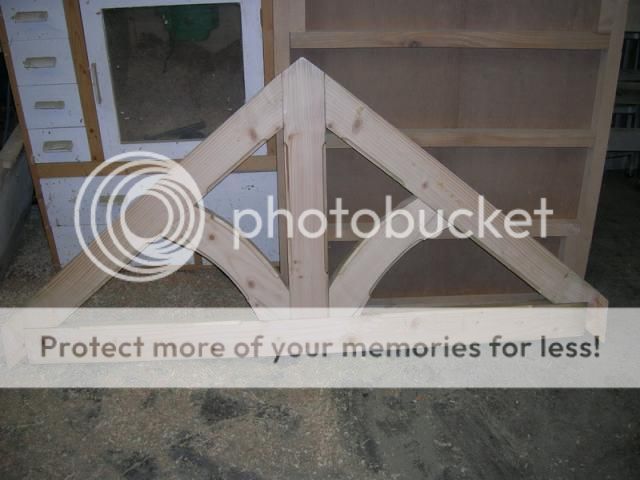
Made a start on another job this morning while I am waiting for some paint for another job. This one is a canopy which will sit over a gatway in a wall. It is all treated softwood. with all of the angles on this one I started work with a rod to build to.
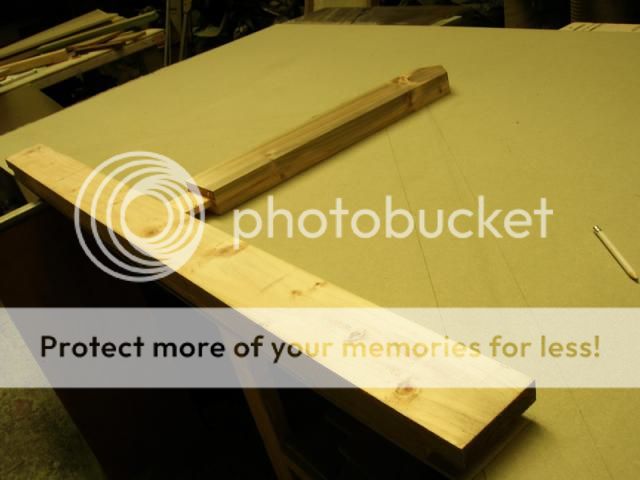
Got the centre frame section cut along with the upright and the M&T's cut in them both. Then I cut the trusses to length and got creative cutting the angled tennons on these.
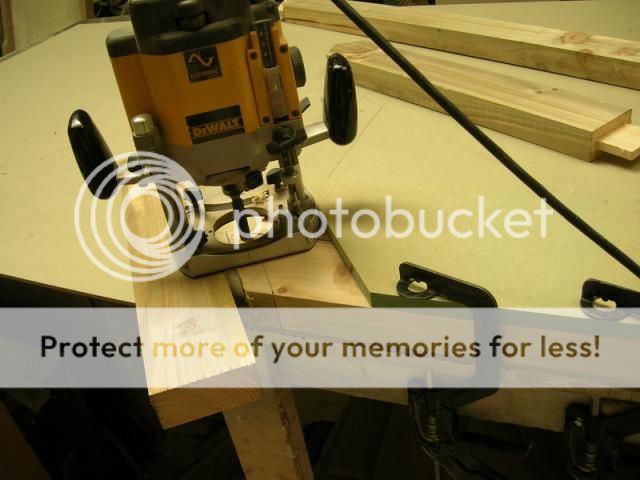
It was a little fiddly but seemed the best way to cut the tennons at the correct angle. I could have used the RAS but I like to leave this set up for cross cutting. It worked fine as the joints were a good fit.
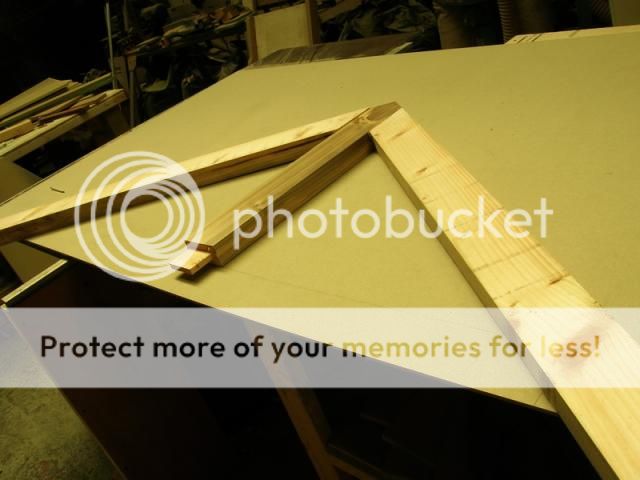
Using the rod I marked and cut the birds mouths on the trusses.
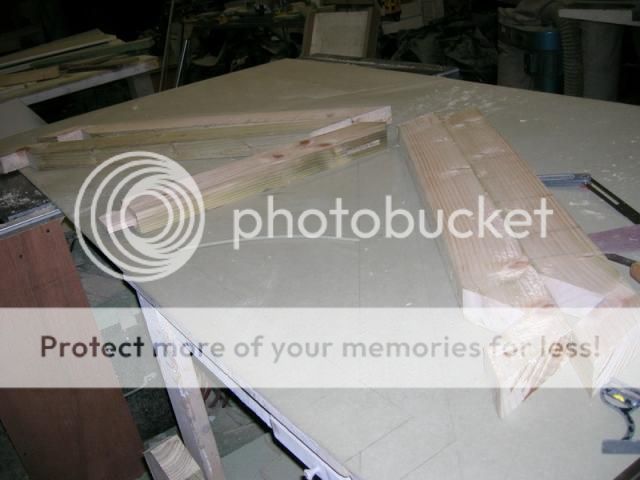
By late afternoon I had all of the parts cut and dry fitted.
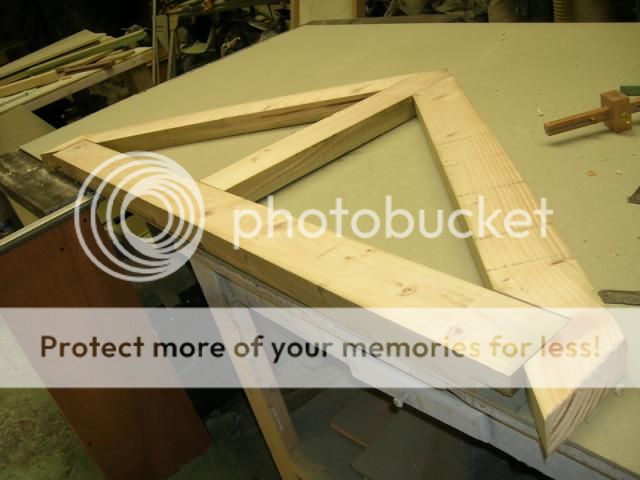
I have two more curved pieces to make for the frame and have some timber in glue up in the clamps ready for this. I shall get a bit more done tomorrow. :wink:
 
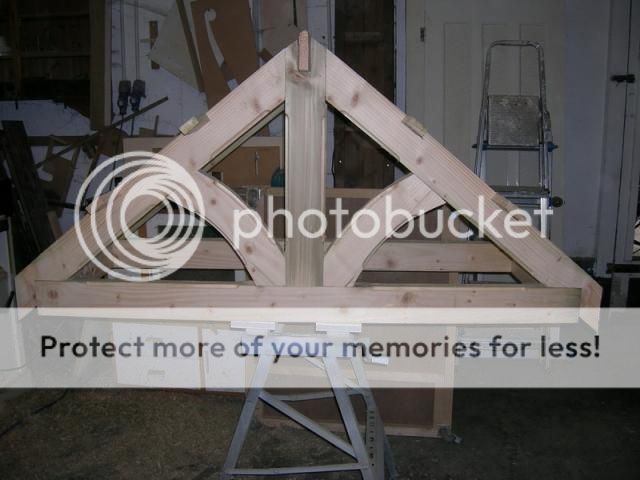
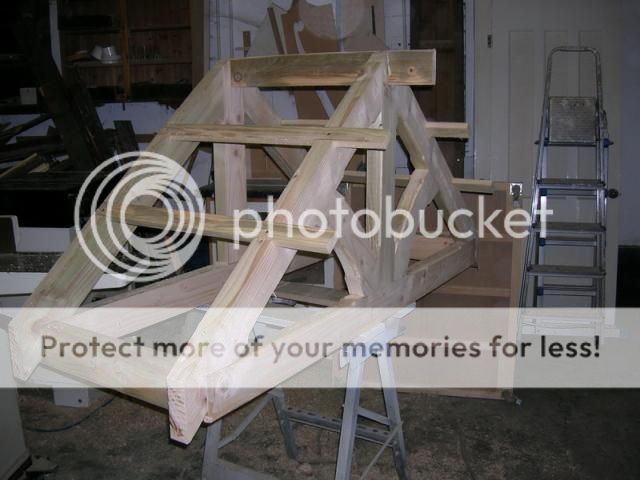
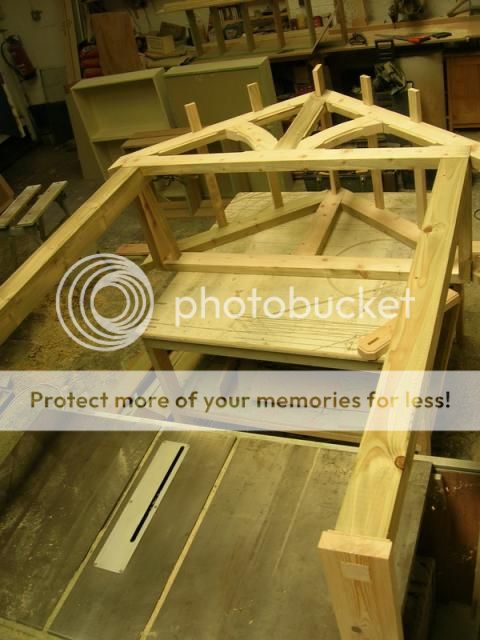
Got on well today and started with some assembly of the top frame. Front assembled.

With this out of the clamps I routed the detail into it.

Then finally got the front and back assembled.


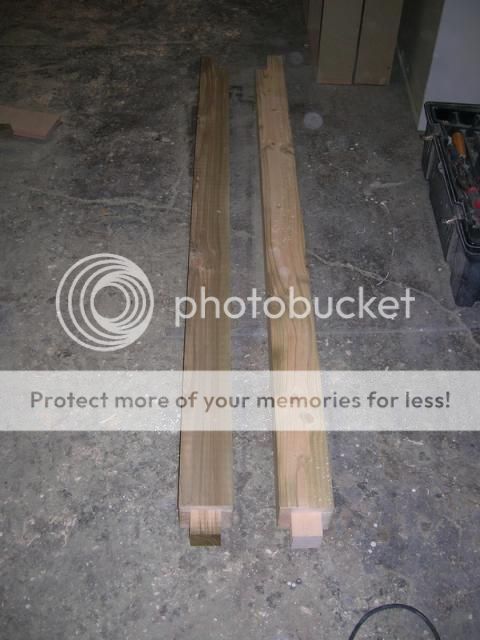
I cut the posts to length and put the tennons on both ends.

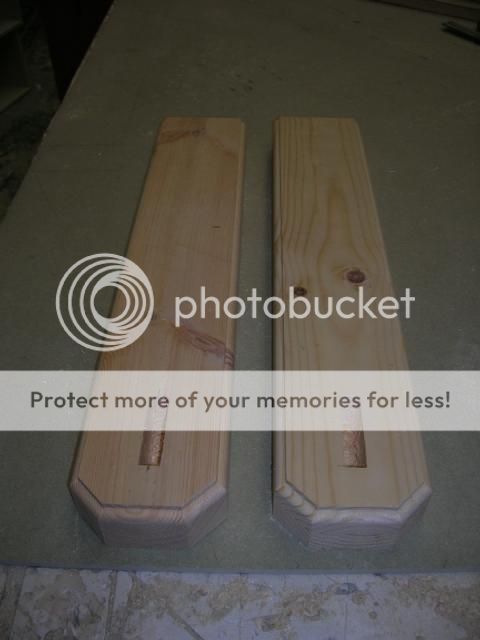
Then made a start on the gallows brackets by making the back plates.

I need to buy some more wood for it now as this was all of my stock used. :D
 
Thanks Keith. With all the angles on this a rod is useful to ensure the angles can be marked out on the timber straight from the rod. I just used a sheet of MDF and drew out the full size template showing the intersection of all of the angles. it is then a simple matter of overlaying the wood pieces onto the rod and marking off the cutting points, tennon angles, etc. :wink:
 
Yes, it can also a length of timber with positions marked on it. For this job the length of timber wouldn't have given me the angles.
 
mailee":1c6e0jnc said:
Thanks Keith. With all the angles on this a rod is useful to ensure the angles can be marked out on the timber straight from the rod. I just used a sheet of MDF and drew out the full size template showing the intersection of all of the angles. it is then a simple matter of overlaying the wood pieces onto the rod and marking off the cutting points, tennon angles, etc. :wink:
Thanks Alan for the explanation. I can see now how useful the rod can be doing this project. I would have been cutting, trimming, adjusting and possibly throwing a few bits of wood away!

I learn something new about woodworking most days from UKW and thank experienced people like you for sharing your knowledge. =D> =D>

Regards Keith
 
I like that, I'll have to see if I can get SWMBO interested.

Did you make each curved piece out of one piece, with the bandsawn waste glued onto the opposite side? Maybe not very clear, but if I'm right you'll know what I mean :)
 
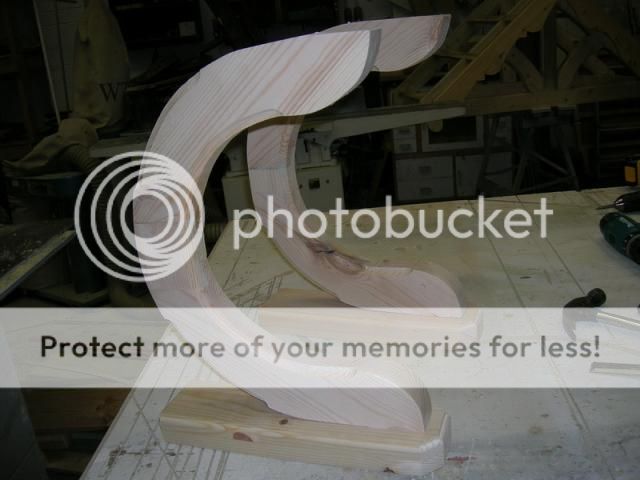
Thanks guys. Well Monkeybiter, Those two curved pieces were made out of one piece of wood and no I didn't glue the band sawn bits back. I made a template out of some scrap MDF and used this to draw around. Then I cut the pieces on the band saw freehand finally sanding to the lines. As you will see further down the 'gallows brackets' at the sides were a different matter and I had to use three pieces of wood for these. I am just about finished with it now as the builder will fit it and the customer is going to colour it. This morning I started the really tricky bit of making the side supports. (I suppose you could call them gallows brackets but they are full half circles!) I do get some good jobs. :roll: I had to make these out of three pieces of wood to keep the grain running diagonal for strength. Again I used a full size rod as these have to fit between the wall and the front posts. After some fiddling about with the angles and glueing them up I cut them out and profiled them this afternoon. I then joined them to the back plates with a M&T and glue.

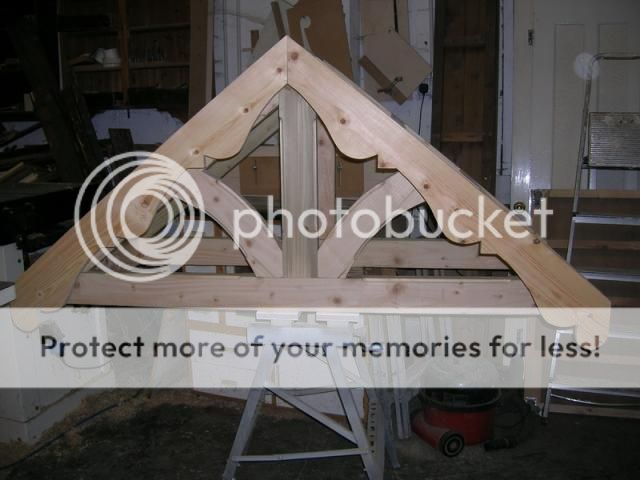
I had to clear some bench space to allow me to assemble the whole lot to check the fit of the brackets and the posts. ~Glad to say they all fitted with a little fettling.

Next job was to cut out the fascia boards and fit those. These are just screwed on so they can be replaced at a later date. My customer was insistent on the design of this as she had seen one she liked.

Finally I made a small finial to add to the centre which is an option and might not be fitted yet. (Depends on the customers decision) ;)
 
I do like a bit of timber framing :D. Will you be posting any pics of it being installed?
 
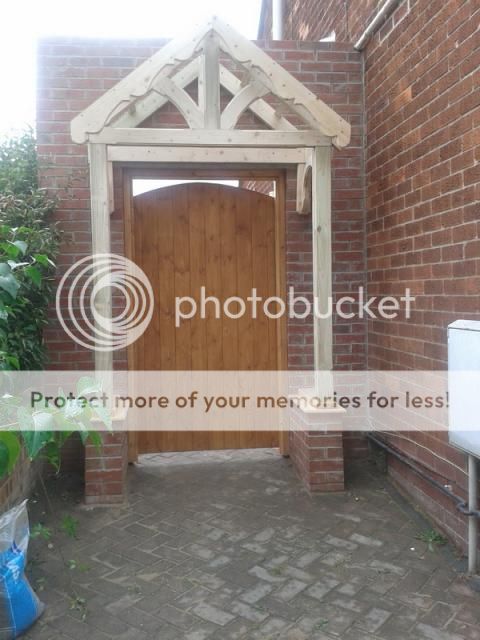
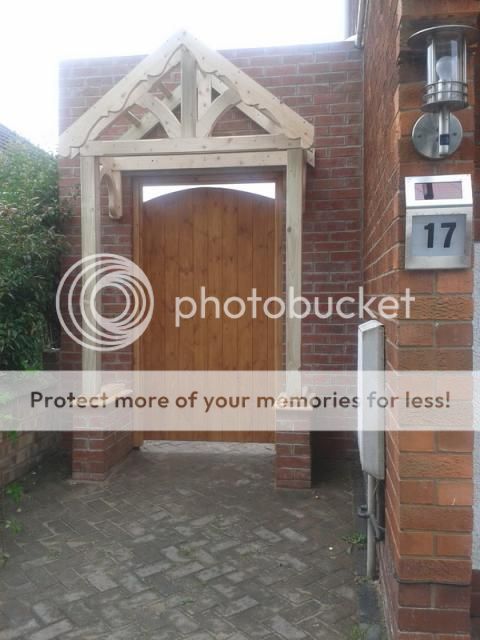
I delivered the canopy today and gave them a hand erect it, just so I could get some shots of it in place. I think it looks quite nice and the builder will take some shots for me once it is tiled. Pity about the square top to the gate opening, (or the curved top to the gate) which I think spoils the look.

 
mailee":3cy3h9xa said:
I delivered the canopy today and gave them a hand erect it, just so I could get some shots of it in place. I think it looks quite nice and the builder will take some shots for me once it is tiled. Pity about the square top to the gate opening, (or the curved top to the gate) which I think spoils the look.
Nice work on the canopy - I agree it's a shame about the conflicting styles of the gate and brickwork with new arch - surely you could talk them into a matching pediment and gate...
 
I agree about the conflicting styles, but the canopy looks fantastic :)
 
Thanks guys. The gate was bought in! I am surprised they didn't ask me to make one for them....oh well....might get one to make in the future as that one is pants. :roll: It was the customers choice to have the square frame and curved gate?? now't so strange as folk! :lol:
 
Back
Top