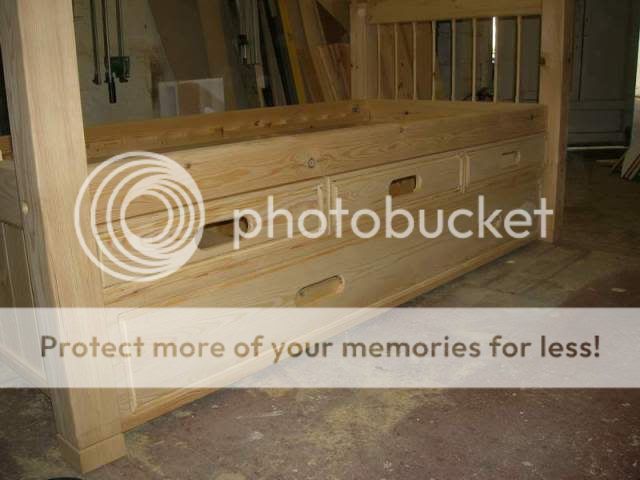
Bunk beds

UKworkshop.co.uk

Help Support UKworkshop.co.uk:

This site may earn a commission from merchant affiliate links, including eBay, Amazon, and others.

mailee

Established Member
Joined
26 Jun 2005
Messages
5,502
Reaction score
4
Location
grimsby Humberside
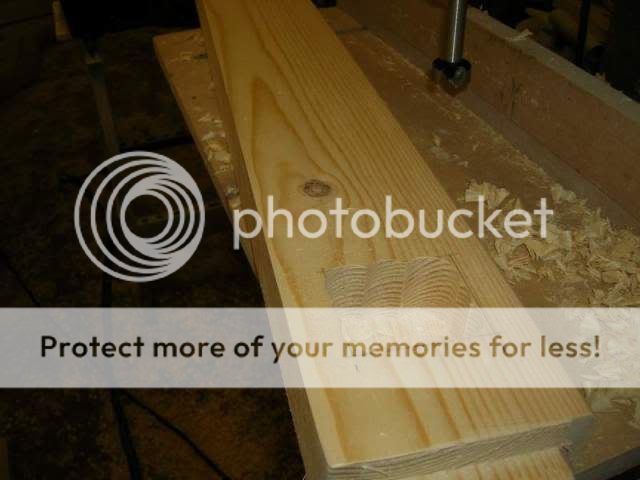
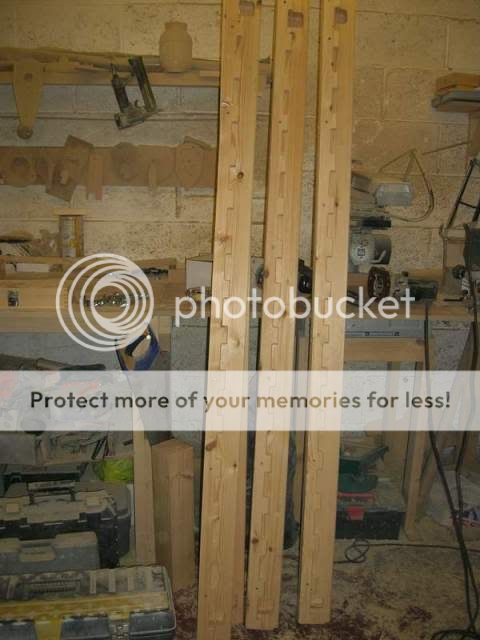
I made a start this morning on a set of bunk beds. Back to my old favourite softwood. :roll: I marked out the posts and got the mortices cut.

postsmarkedout.jpg

cuttingmortices.jpg

Then I cut the rails and also the bearers that will carry the bed slats.
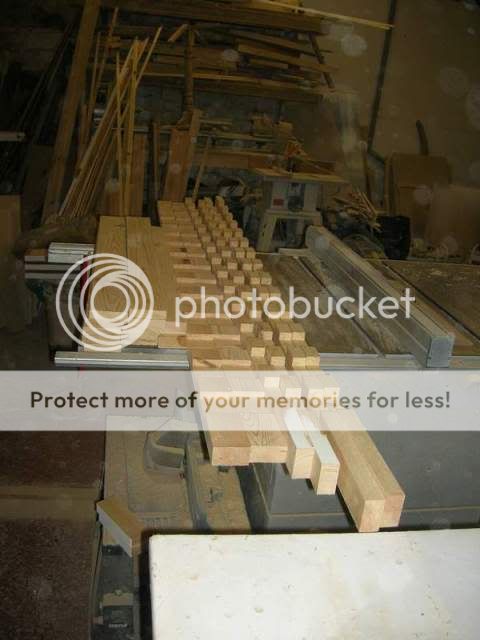
Railscut.jpg

Next on to the rails for the head and foot boards.
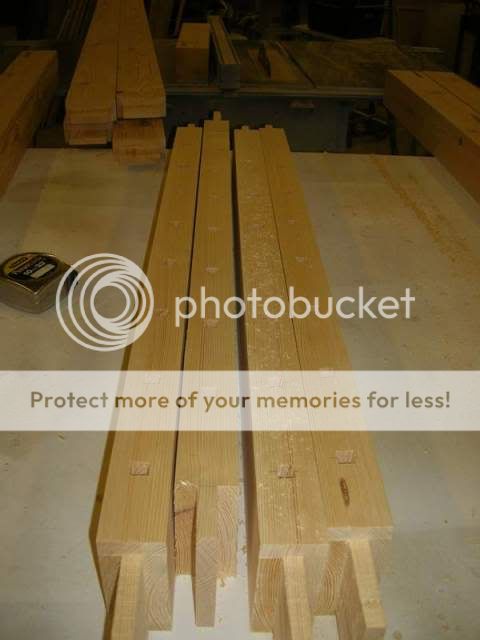
crossrails.jpg

I am using thin spindles on these hence the square holes.
I then got all of the spindles cut.

spindlesfinished.jpg

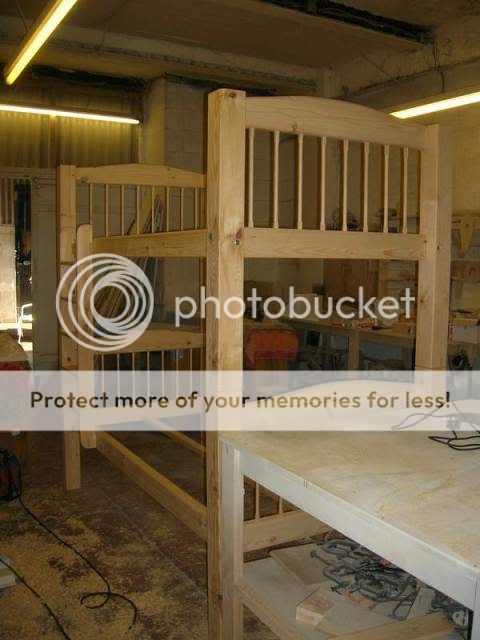
Finally by the end of the day I had a test fit of one of the headboards.
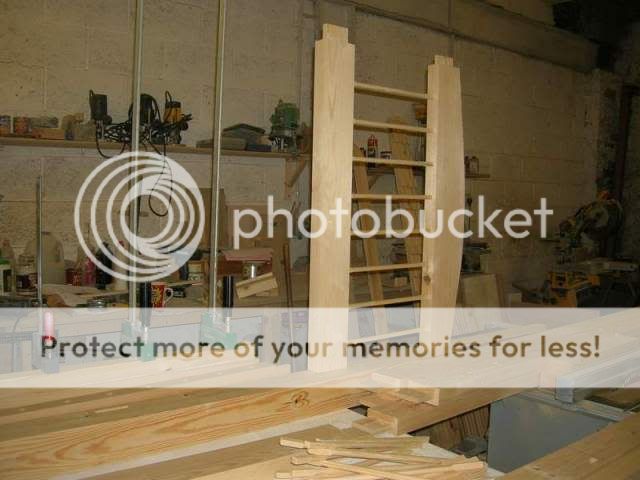
firstdryfit.jpg

I finished work at 7pm but even so not a bad days work considering I had to pick up the wood too! :D
 
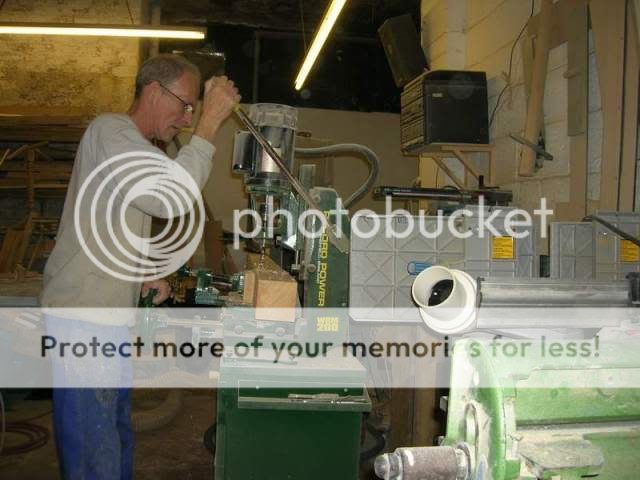
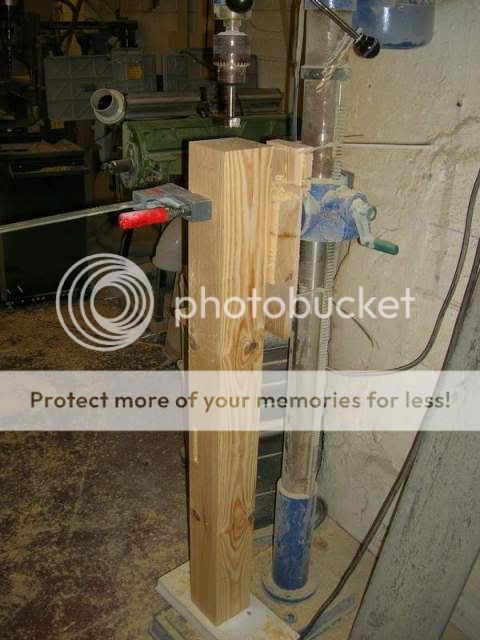
I started some assembly today. First off was a tricky one, drilling holes into the posts to assemble one bed on top of another. Excuse the Heath Robinson contraption on my pillar drill but it seemed the best way of doing it.
Trickydrilling.jpg
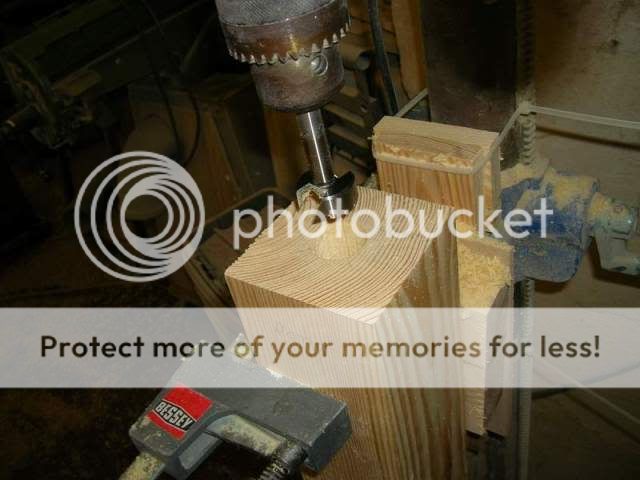
It did work though and luckily I ended up with all of the holes in the right place and in line.
Gettingthecentre.jpg
I would have normally done this on the lathe but the sections were too long for my 36" bed! :roll:
After turning up some dowels on the lathe I had everything ready for some assembly.
Dowelsadded.jpg

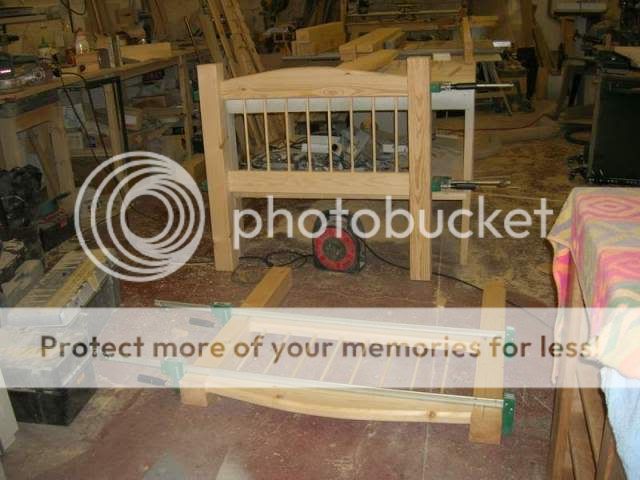
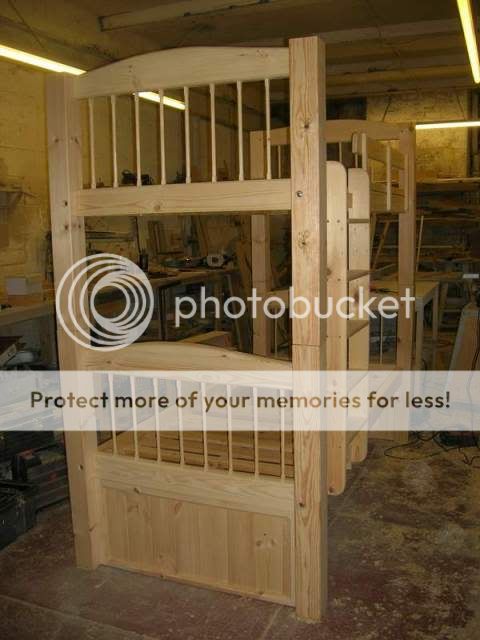
By the end of the day I had all of the head and foot boards assembled.
Headandfootboardsassembled.jpg

I did finally attach the rails to the lower bed but it was getting late and I didn't get any pics of it, Will show them tomorrow. :D
 
Thanks Chems. Yes they will align the top bunk with the bottom one. I was thinking of a bolt to hold them together but after feeling how heavy they are I don't think it will need any! Also when the beds are assembled they will have a set of ladders screwed to the sides of both bunks anyway.
 
I know we call Pine but at least I don't have to machine all the timber up first before starting a project. It does have it's advantages. I do like working in hardwood but hate having to dimension it all up first seems to take forever! :roll: Good thing is that you can charge a lot more for it though. :D
Hmm! Just watched that video, I may have a re think as the guys kids are animals! Maybe I should make it out of 3/4" plate steel instead. :lol:
 
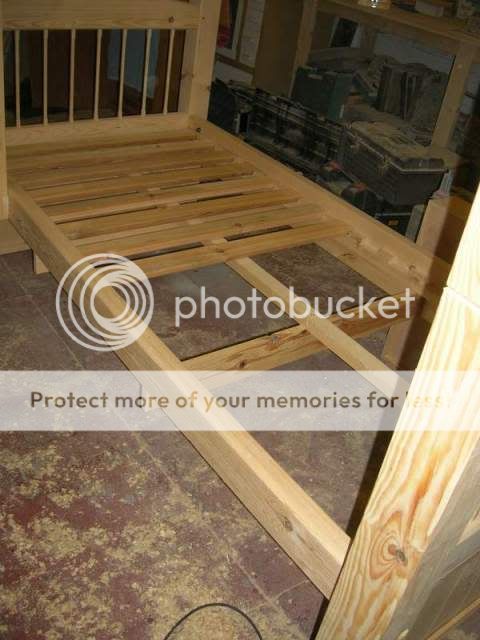
Had another good day on the bunk beds today. I got the pocket holes cut into the rails for the bolts.
Pocketscut.jpg

I then got the sides attached on the rails for the slats.
Railsfinished.jpg

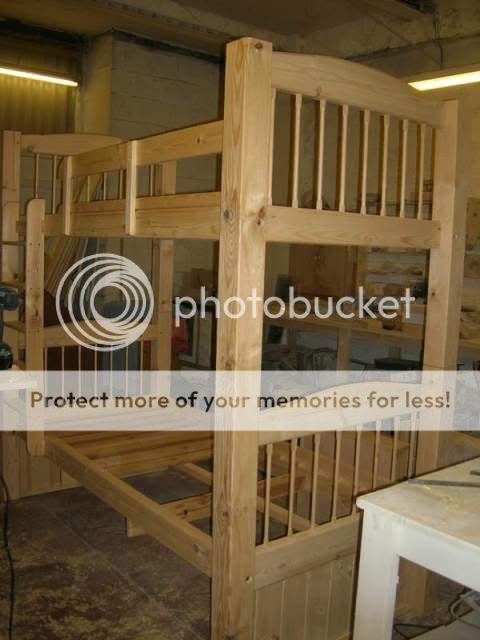
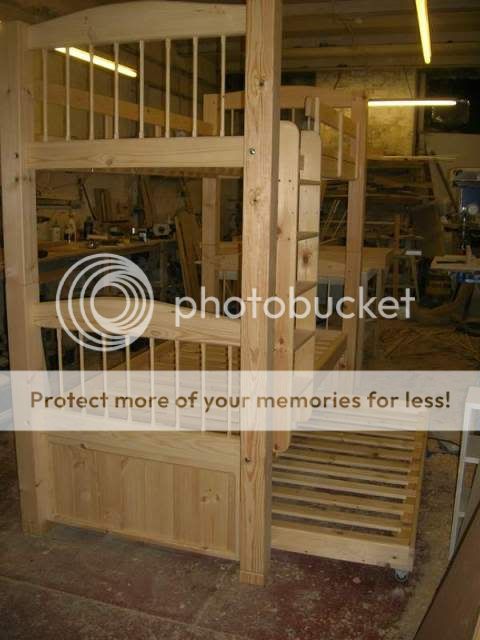
Then after dry fitting the beds and adding the centre rails I made the steps and got them fitted in place.
stepsinplace.jpg

I got this lot finished for 6pm and then went off to fit the bathroom cabinets. :D phew, long day!
 
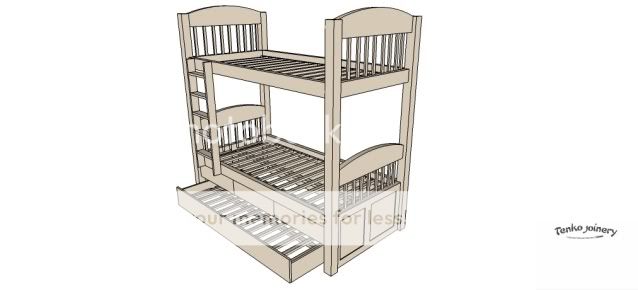
Right now I need some advice, I have to add drawers and a slide out bed to the bunks and am not quite sure how to go about it? Here is a pic of the idea I have.
Bunkbedwithfuton.jpg

My questions are, should I put the drawers on top of the futon or below so they all slide out together. My original thinking was to put the drawers at the top and have the futon slide out below this on some sort of wheels? My next question is the wheels, what could I use to allow the bed to slide out? I will only have about 1 to 2" below the frame for the 'wheels' that will give me drawers of a 6" depth.
Any advice greatly appreciated as I am racking my brains over it. :?
 
First regarding the joint of the two. Unfortunately this is England and someone will have written a letter meaning there are regulations in place regarding kids bunk beds. I don't know these as I have only looked them up for a cot before.

If there is an accident and your join method isn't to reference your insurance will not pay. To find out will require a trip to a library to have a took on there British standards pc. Or buy the required bs document but that can be expensive and you may require more than 1 part.

With that joint I would be tempted to do a newel post joint (don't know it's real name.).

Regarding the pull out. Use adjustable casters for uneven floor and a way to guide the pull out in a straight line.

I'm on phone at the min so will explain the joint if required and explain how I have done a "pull out" before when I'm back on pc.
 
Thanks Huds. I will do some digging into the joint method to be on the safe side. I think I have found some castors at screwfix which look like they will do the job. (They are for beds) I do intend to fit two rails to guide the bed back into position when it is slid back. It is on a carpeted floor so will need some clearance for the castors.
Today I got the first of the guard rails on the top bunk.
Guardrailanddrawerframefitted.jpg

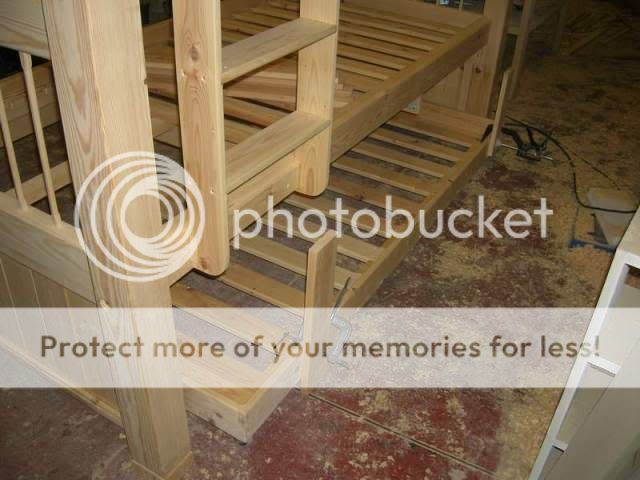
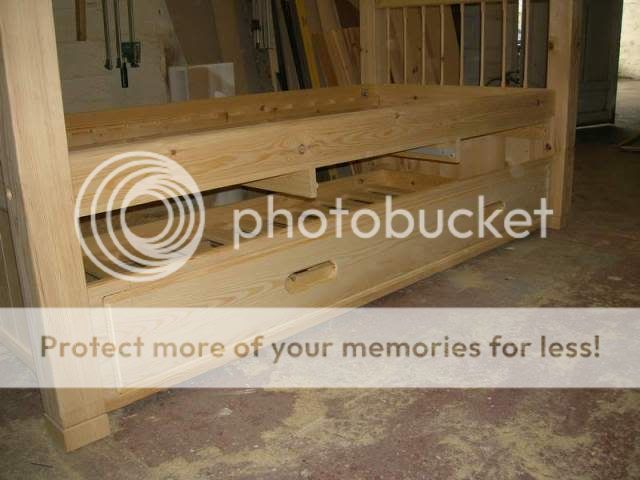
I also got the drawer frame made and mounted under the bottom bunk along with the end panels.
Drawerframecloseup.jpg

DSCN2648.jpg

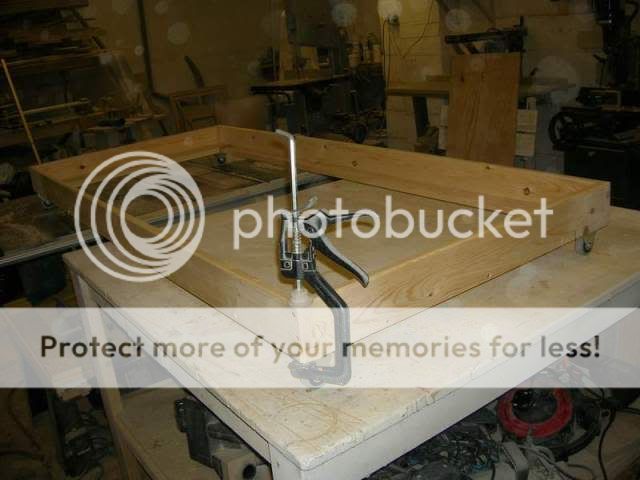
I got the drawers assembled today and in the clamps ready for the morning. :D
 
Ill try explain the joint to try and help.

Drill a hole for a normal dowel (flutted) in the centre of the socket/mortise. On the large dowel/tennon drill a hole 2mm smaller than the normal dowel used. Cut an X shape in the tennon/dowel right down to the centre point to make 4 sections/quarters. The idea is when you push the tenon into the mortise the dowel forces the 4 sections out and grips the walls for a tight fit.
 
I see what you mean Hud's I have used them on newels before. Problem is if they then need to dismantle the beds it would be almost impossible. The dowels that are in there are a tight fit as they are slightly tapered. I was thinking more like a screw through the side of the post into the dowel which could be removed for dissembly, (Is that a word?) The locating dowels are 2" diameter so have plenty of beef for this. I am open to any better suggestions though?
 
As it is on a carpeted floor how about the futon on skids? After all the weight during movement will be small.

I am always staggered by your rate of work, and the great work you produce, same again here. Long may it continue.

xy
 
Thanks XY, that is very helpful. That is just the idea I was thinking of. I have glued the dowels into the bottom of the top posts so will only need to screw through the lower ends. It is so heavy I don't think it will move but better to be safe than sorry. I have seen one of brackets that hold the rails to the headboards snap before on a set of bunks, thats why I always use a through bolt with a M&T joint for those. Can't be too careful with kids bunks.
 
Well I am getting there. I got the pull out started today by making the frame up.
Pulloutframe.jpg

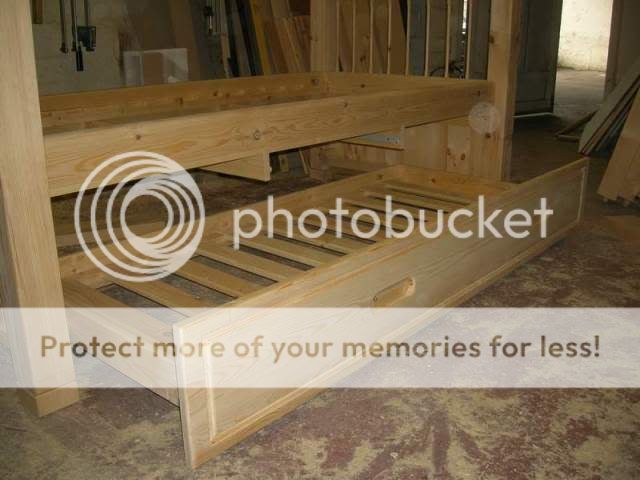
I made the frame by using 1x4" and then cut in corner blocks to take the wheels. I then added a 1" bead around the bottom and then added slats. After adding runner blocks under the bed I had a trial fit
Lininguppullout.jpg

Using some off cuts to align the pull out I then added some stop blocks at the rear of the bed. Finally I had the pulll out finished and ready for making the front panels.
pulloutandguardrailsfinished.jpg

I also added the guard rail to the other side of the top bunk. Not a bad days work again. :D
 
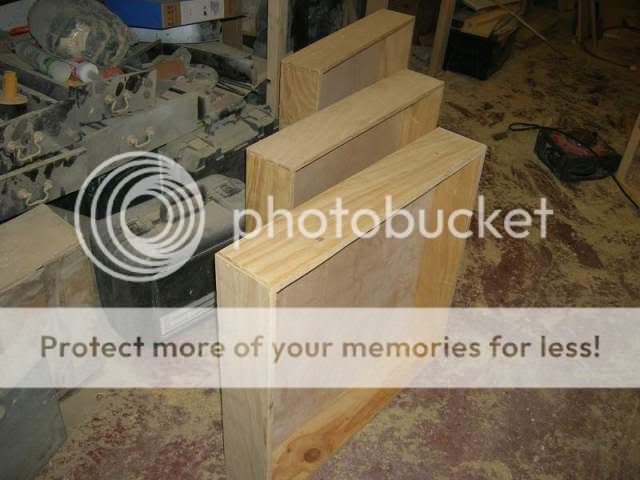
Well here's todays update. I got the drawer boxes assembled today and ready for sanding.
Drawersassembled.jpg

I then got some timber laminated for the drawer fronts and started work on the pull out front that had been in the clamps overnight. By this afternoon I had the pull out front fitted and ready for a final sanding and a finish.
Pulloutpanel.jpg

Pulloutopen.jpg

Now I will also come clean and tell you about my mistake! :whistle: When it came try the drawers in place with the pull out I found that I was 1" too low to fit them both below the bed! (don't ask, but I should have measured twice) :oops: I got around this by making some feet for the bottom legs of the bed. Problem was then it made the beds 2" higher at the top so I had to cut down the top of the bottom bed posts to compensate. :roll: Now the bed head and foot boards were already built I couldn't cut it on the chop saw as usual so it was the hand saw and router to cut off the 'extra' I am pleased to say that it worked fine and looks ok but did cost me some time.
 
I got the drawer fronts finished today and then started giving the beds a final sanding ready for staining.
panelsinplace.jpg

Unfortunately my sander started playing up so I didn't get much sanding done. :(
 

Latest posts

Back
Top