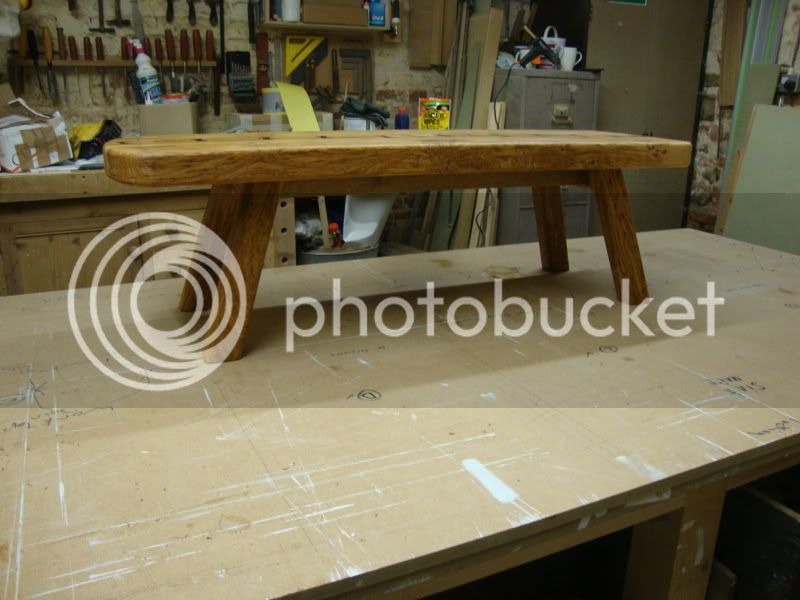
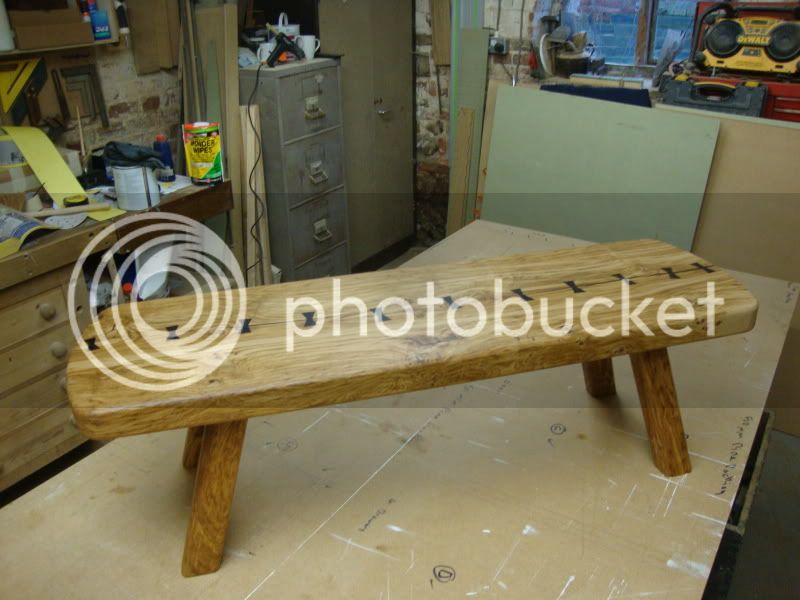
Brown oak coffee table.

UKworkshop.co.uk

Help Support UKworkshop.co.uk:

This site may earn a commission from merchant affiliate links, including eBay, Amazon, and others.

mtr1

Established Member
Joined
10 Oct 2009
Messages
521
Reaction score
0
Location
North Norfolk
Been a while since I posted a project, anyway here is one I'm doing at present...


I have had this board of oak for some time, always with a mind to making a coffee table when I moved into my house. Anyway here's a few wip pics.

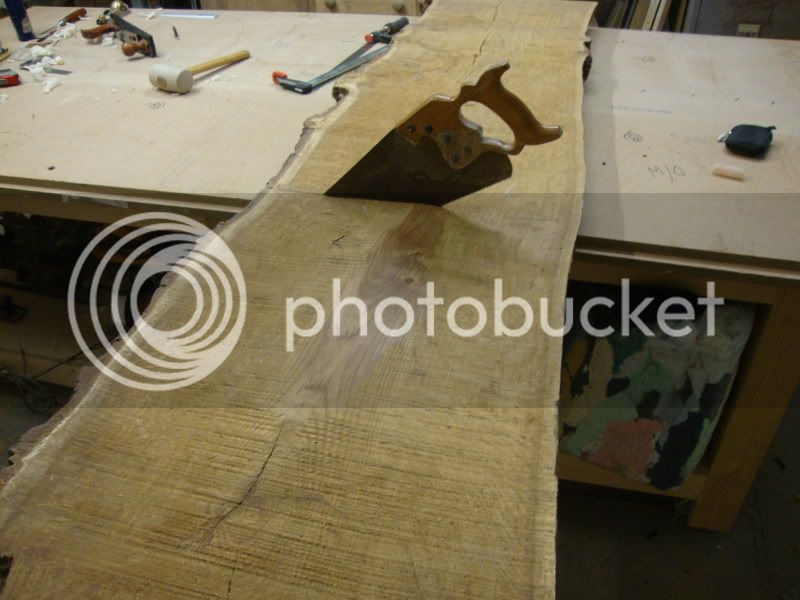
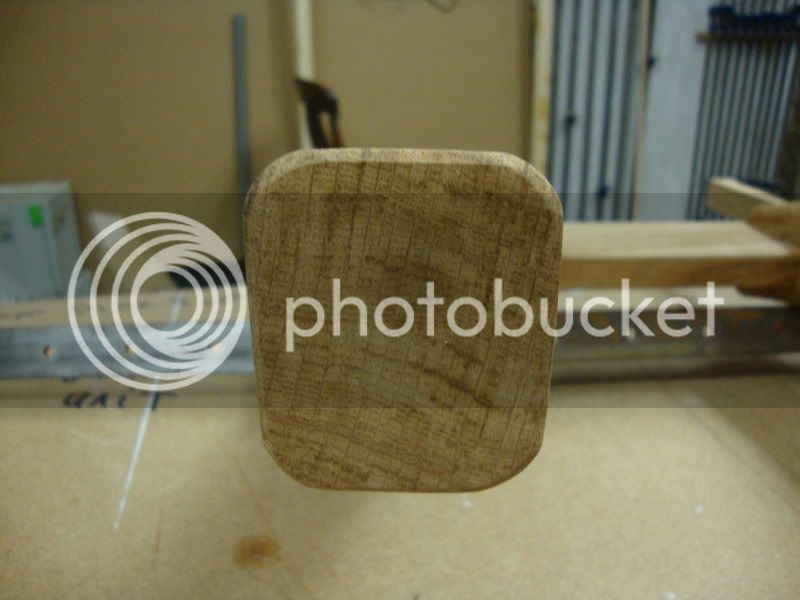
Start with a rough board, and cut to length for the top, legs, and rails.
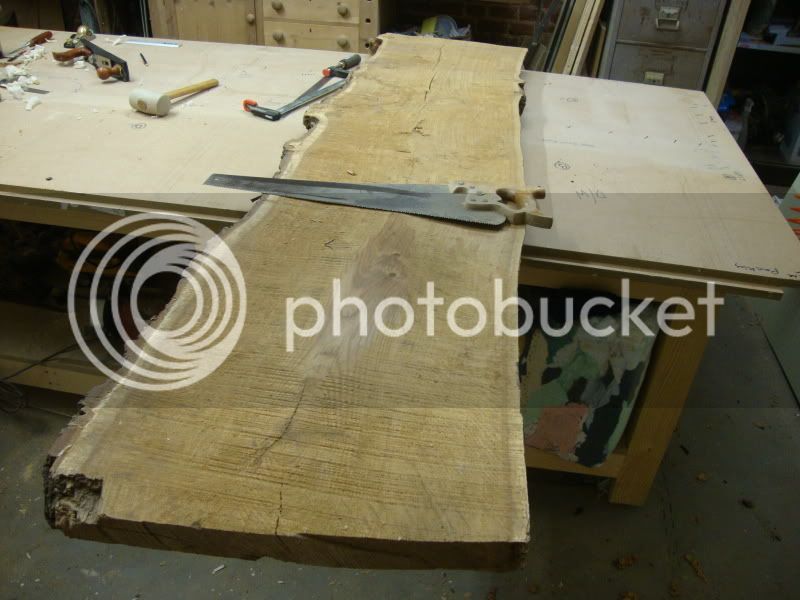
DSC02498.jpg


DSC02499.jpg


I did toy with the idea of leaving the wane on but would be left with rough edges, so with my 2yr old running about I thought not.
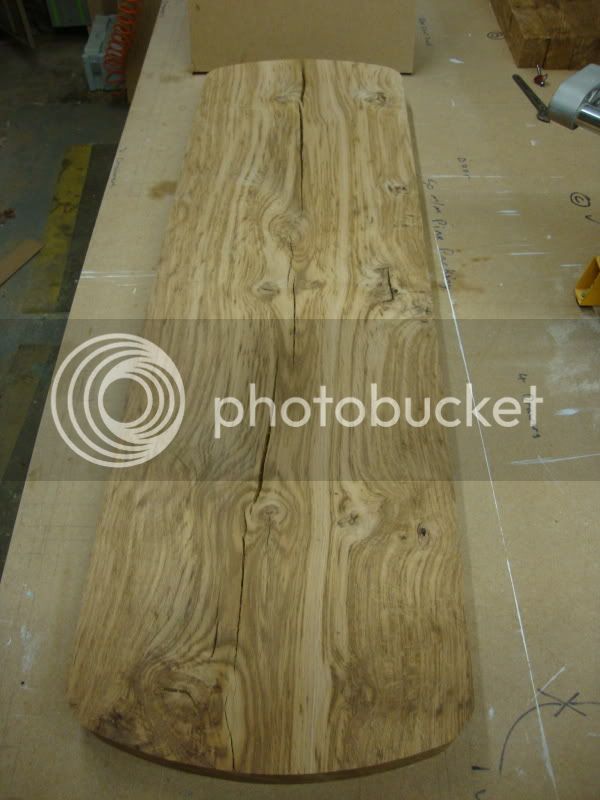
DSC02526.jpg


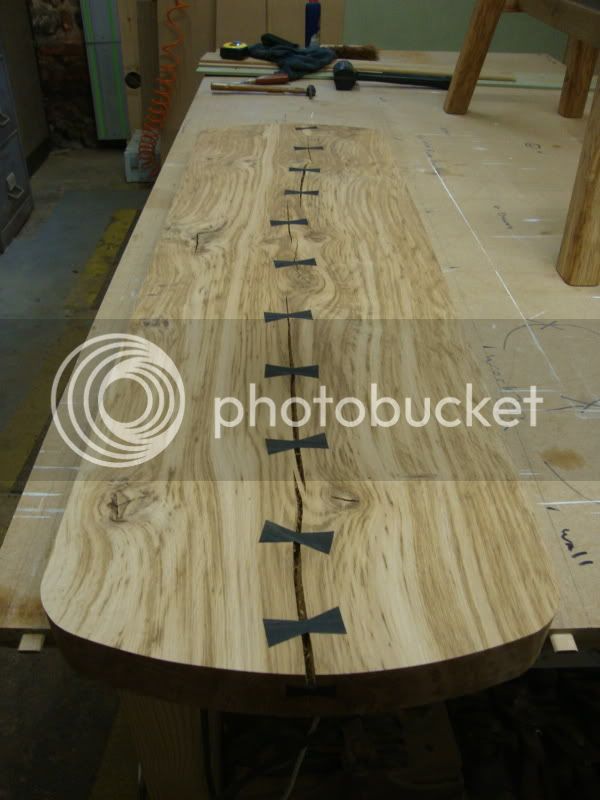
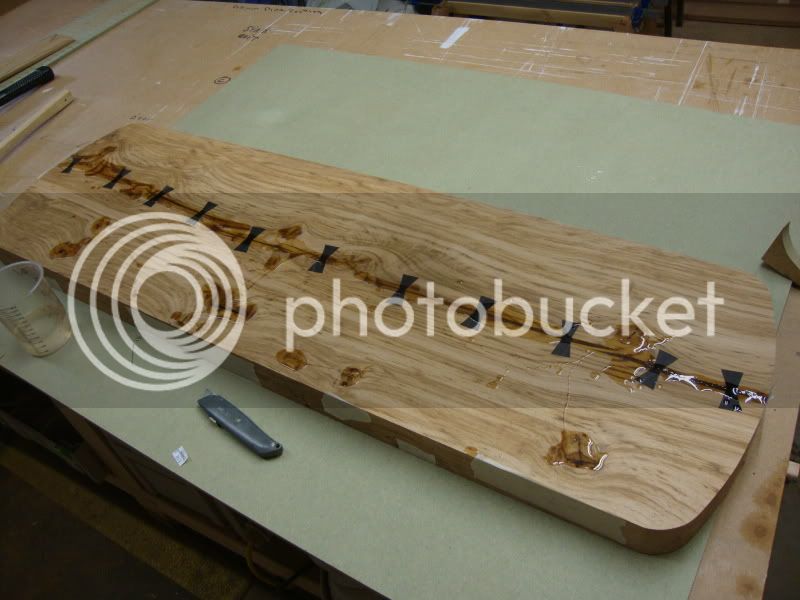
This board still has plenty of character, with some large splits to deal with.
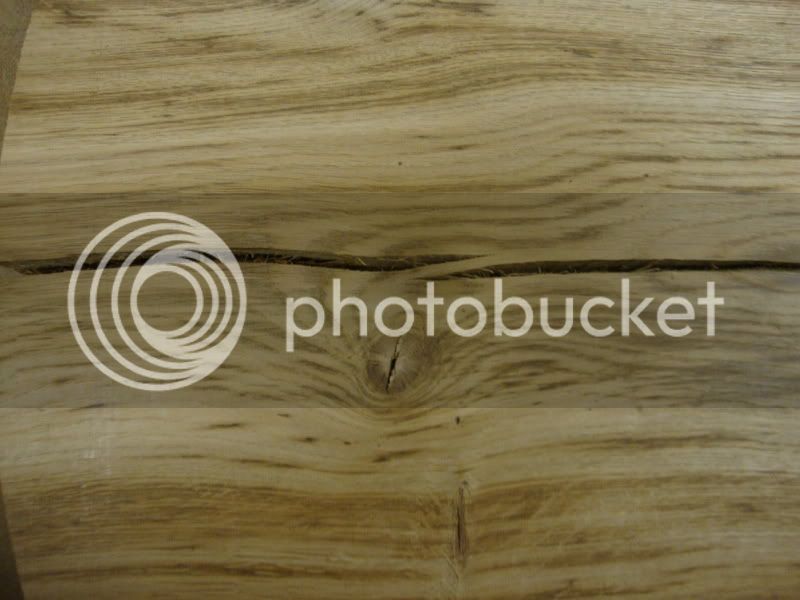
DSC02528.jpg


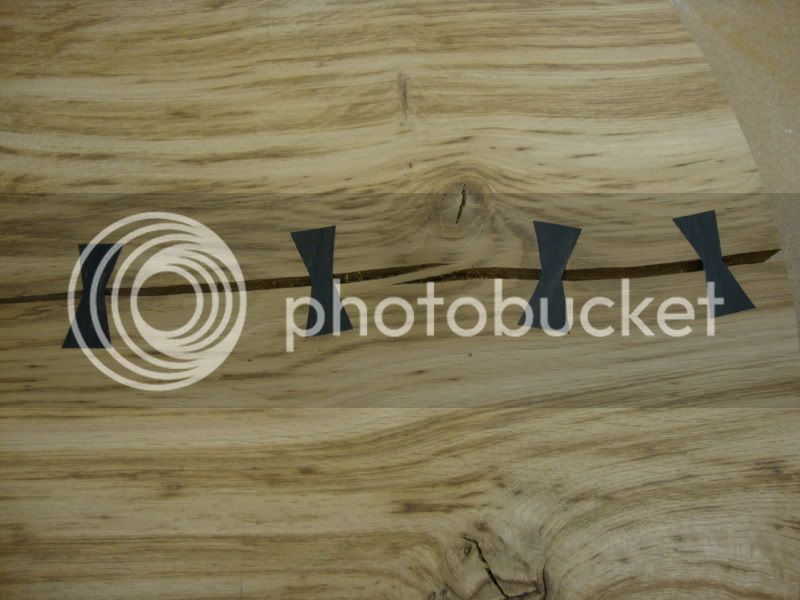
Better start stiching...

DSC02541.jpg


DSC02544.jpg


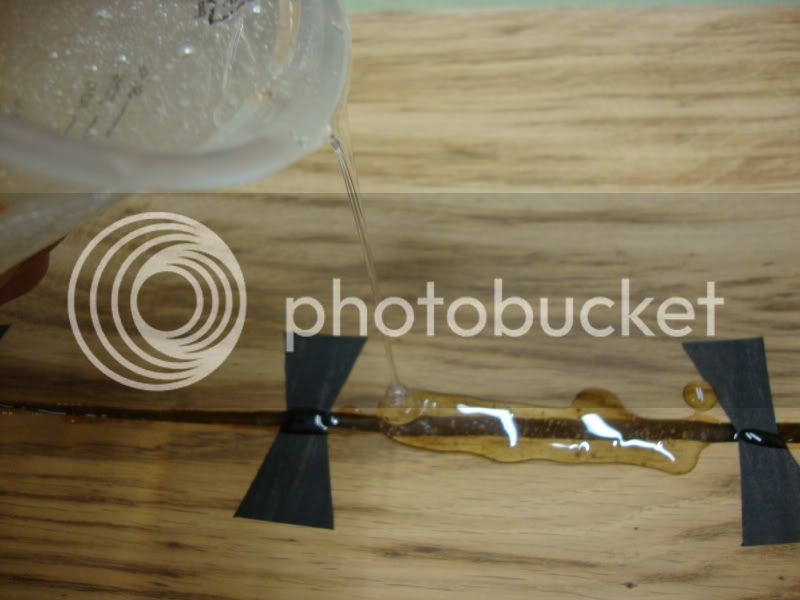
Now to stablise the splits using west's system epoxy resin.
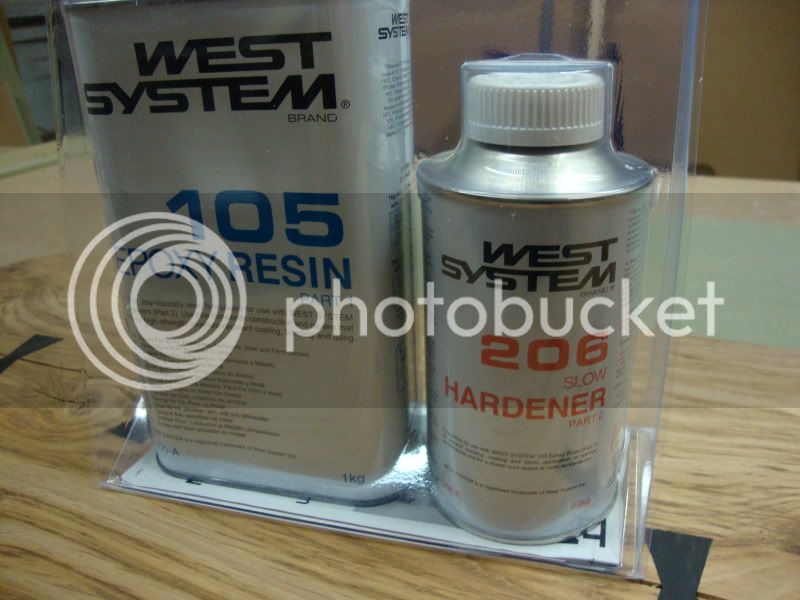
DSC02545.jpg


And pour..

DSC02546.jpg


I need to stand over this and prick all the air bubbles coming up, and then re-pour the voids left behind.
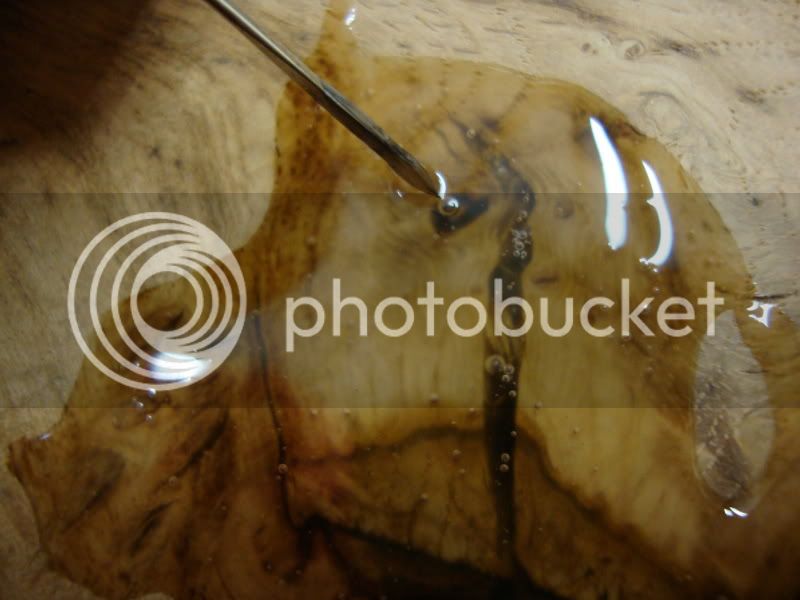
DSC02548.jpg


You have a window of about 20 mins so make sure you have enough to re-fill any voids.
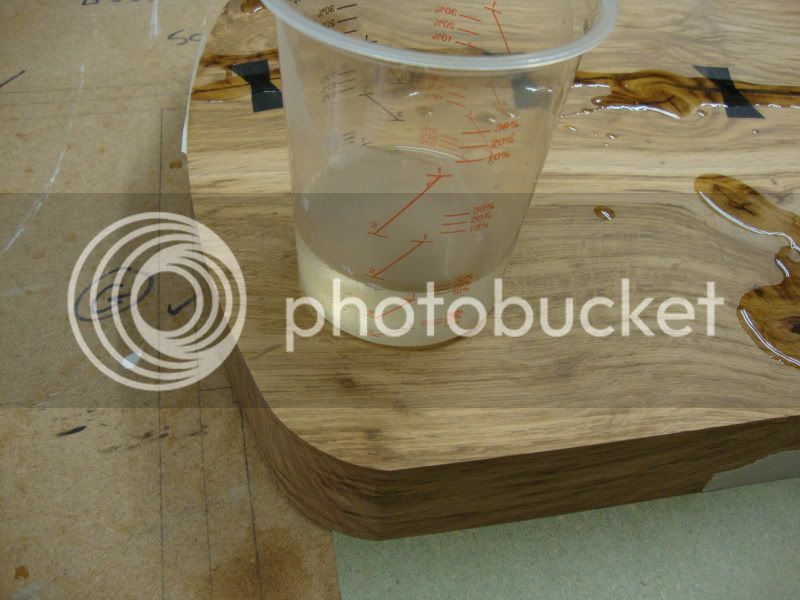
DSC02549.jpg


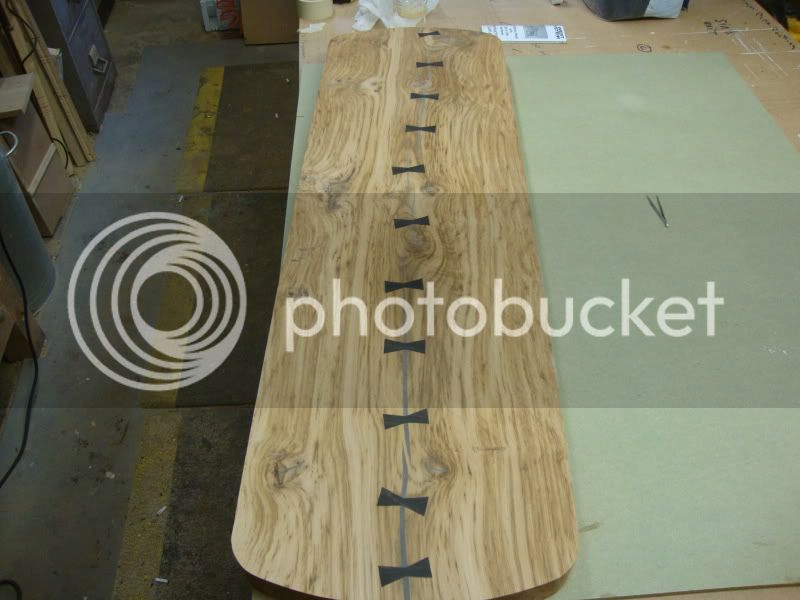
All done..

DSC02547.jpg


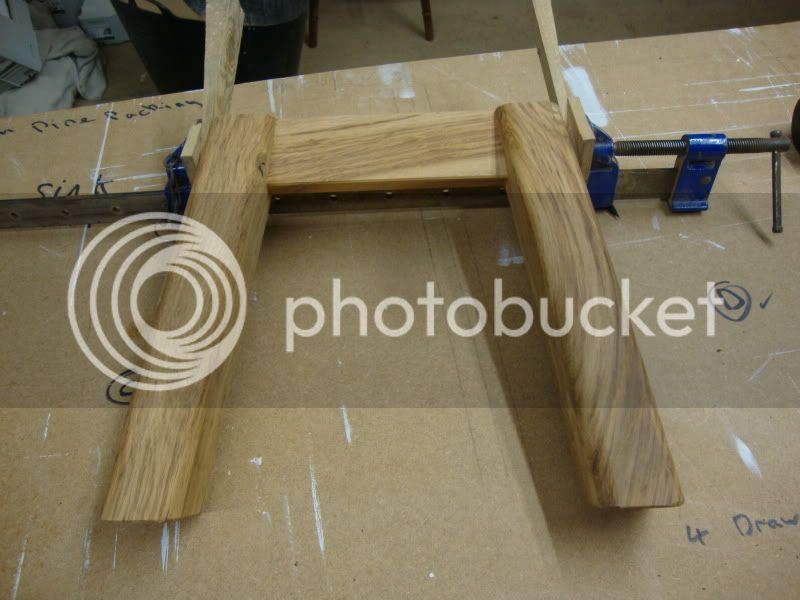
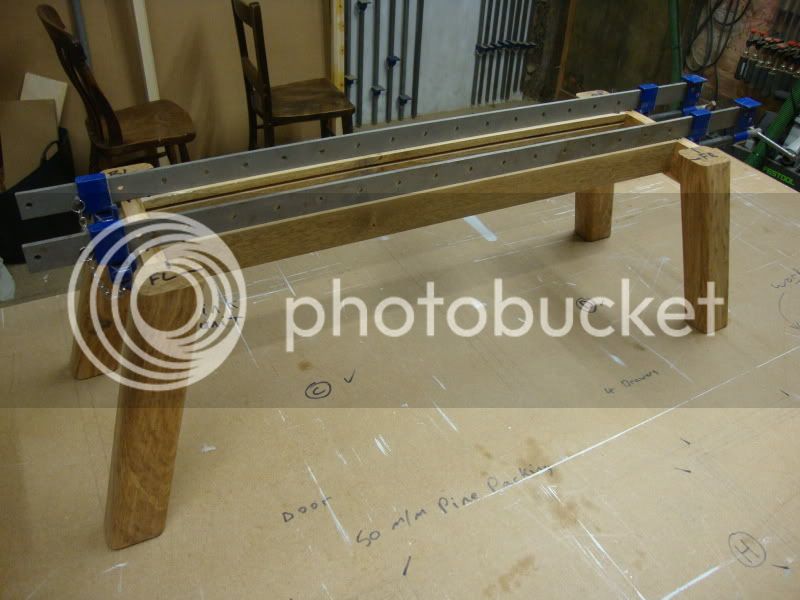
Onto the base..

DSC02538.jpg


DSC02537.jpg


DSC02543.jpg


Thats about as far as I've got so far, thanks for looking.
 
Really interesting project,

What have you used to make the stitches? Cant wait to see the finished resin finish!
 
Looking good! :D That west systems stuff is good gear! The epoxy coating with burnishing cream comes up lovely... and its bullet proof too!
 
Hi, Mark

Very nice, but isn't that tiger oak not brown?

Very George Nakashima.

I have been filling pippy oak with a mix of epoxy and ground instant coffee for colouring.

Pete
 
Its a bit late probably but maybe for next time, apparently if you lightly heat gun the epoxy as its going off it will remove the air bubbles giving you a clear finish. I think lightly is the operative word!

I also think you should call this piece - Open Heart Surgery.

Looking forward to seeing the update.
 
Thanks guys, I'm also toying with the idea of getting it professionaly photographed when complete in a studio, though it does seem a bit poncy.

Pete Maddex":1obpwhrd said:
Hi, Mark

Very nice, but isn't that tiger oak not brown?

Very George Nakashima.

I have been filling pippy oak with a mix of epoxy and ground instant coffee for coloring.

Pete

Hmmmm I'm not sure, the top is quite stripy but the legs(cut from the same board) are all very brown. I don't like coloring fillers, though I see the need sometimes.

Chems":1obpwhrd said:
Its a bit late probably but maybe for next time, apparently if you lightly heat gun the epoxy as its going off it will remove the air bubbles giving you a clear finish. I think lightly is the operative word!

I also think you should call this piece - Open Heart Surgery.

Looking forward to seeing the update.

I have tried with a heat gun before, and it does work. Just didn't on this because its only tichy.
 
That's a really interesting way to deal with split character oak. Thanks for posting Mark. Looking forward to the rest of the write-up.
 
Looking very nice, Mark, i love the butterflies and the way they wander following the crack. what wood have you used for them?
chris
 
Thats coming along really nicely - I would be another one voting for Tiger Oak though, although I must admit have had some brown oak in the past which has been quite mottled.

Did you hand cut your dovetail keys of use a router and jig??
 
Thanks guys, the timber for the butterfly's is Ebony, and I roughed out the shapes with a router after marking them out with a knife. Then chiseled to the knife lines, the keys are 15 mm thick.

Tony a pint would be good!!! or just pop in and see me.
 
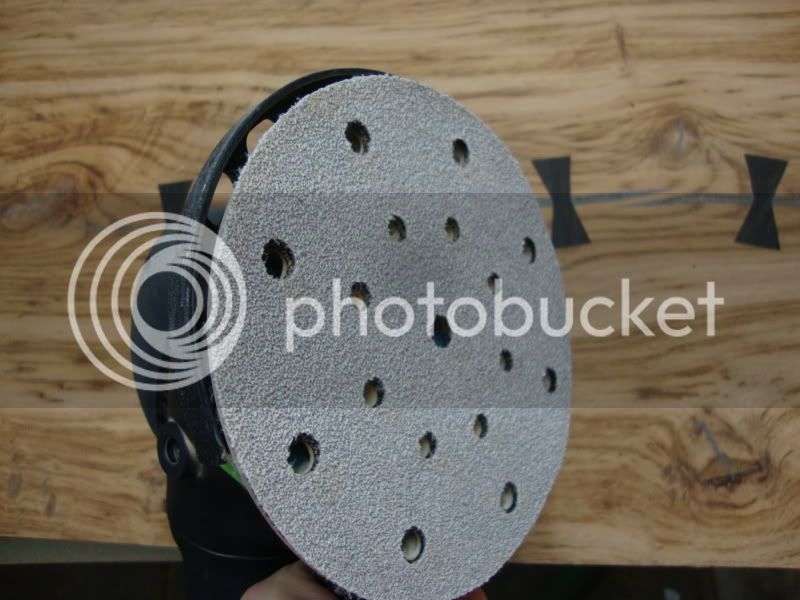
Need to sand off all the excess resin now, so started with a 40g brilliant.

DSC02550.jpg


Then worked up to 240g Granat.

DSC02552.jpg


DSC02553.jpg


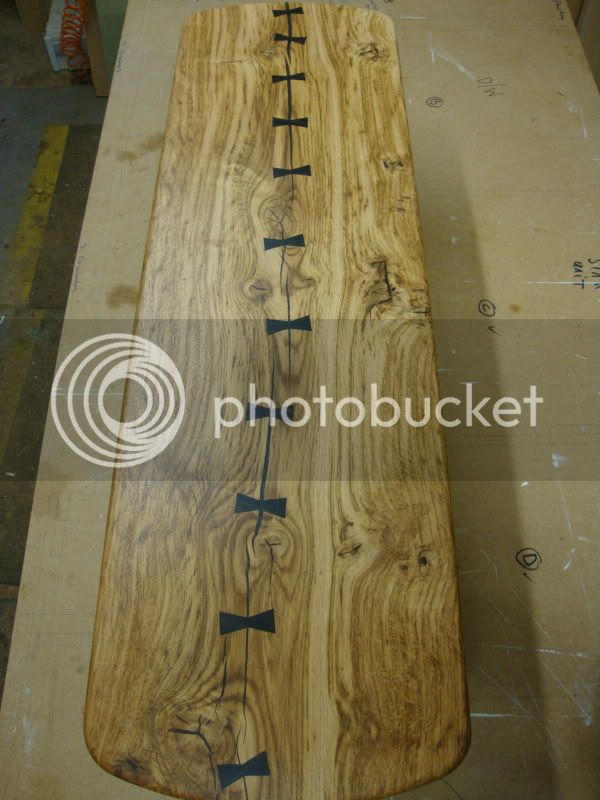
Then on to polishing, hard wax oil...of course.

DSC02559.jpg


DSC02555.jpg


The resin looks a bit cloudy here, but is quite clear in the flesh.

DSC02556.jpg


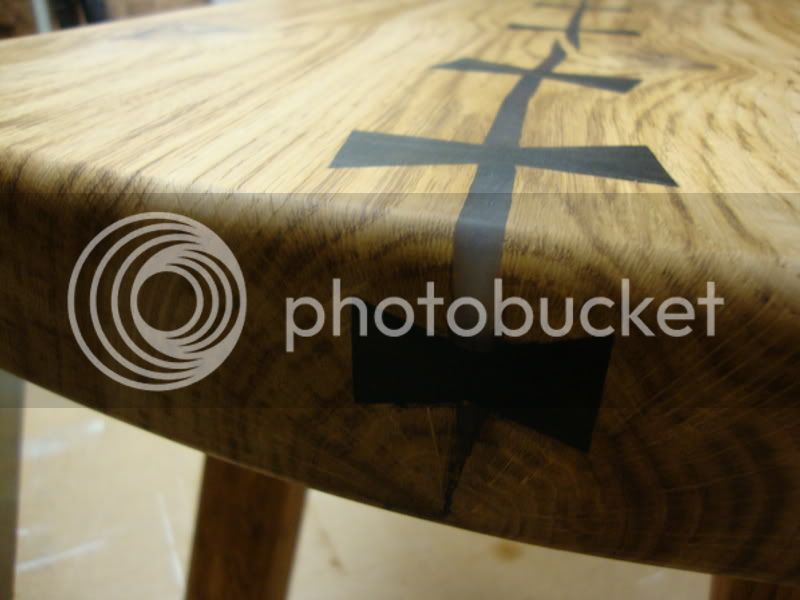
Close up of the hand-cut butterfly key.

DSC02557.jpg


Side view.

DSC02560.jpg


Finished.

DSC02554.jpg


I think I will get some studio shots done at some point then get these pic's up on my website. Thanks for looking.
 
I might be missing something here, but I can't see the reason for tipping West gloop down the cracks :? If you have a look at a George Nakashima piece:

nakashima.jpg


...the cracks are so wide it would be impossible anyway! :lol: Simply the addition of the ebony (very nicely done) 'flutterbyes' is enough (in my view at least) to stabilise the whole thing anyway. Further, the interior of the cracks on your table top will probably be 'dirty' (as in 'been there for a long time') so the adhesion of the glue to those surfaces is questionable anyway? - Rob
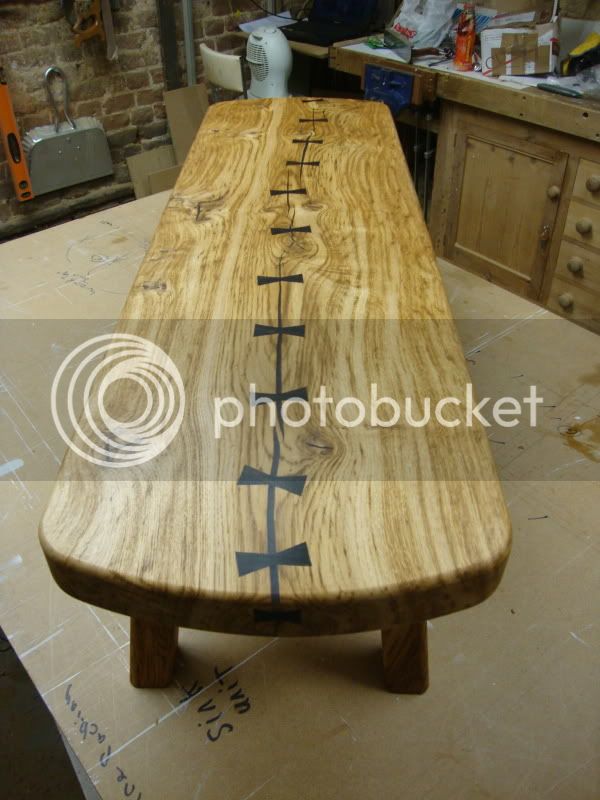
 
It looks good in it's entirety now it's finished, but for me, it looks a little 'top heavy' as if the framing needs to be larger dimensionally (not the thickness sections of the legs) all round to compensate for the thick top....so looks to me like there's too much overhang on the top. Again, it's a personal thing, but I wouldn't round over the edges nearly as much - Rob
 
I love that table, very nice work.

Out of curiousity, would the resin alone stabilise splits like those, or does it need to be combined with the butterflies?
 
disco_monkey79":1wwf51nh said:
I love that table, very nice work.

Out of curiousity, would the resin alone stabilise splits like those, or does it need to be combined with the butterflies?
The resin isn't doing anything except filling the gap. If there were just resin on it's own (no butterflies) further shrinkage in the top would probably cause a gap to open up next to the polyester infill. It's the butterflies that are stabilising the construction but they'll still allow a degree of movement within the crack (assuming that the resin wasn't there) - Rob
 
Back
Top