Bowls from Woods

UKworkshop.co.uk

Help Support UKworkshop.co.uk:

This site may earn a commission from merchant affiliate links, including eBay, Amazon, and others.

dedee

Established Member
Joined
24 Jul 2003
Messages
2,637
Reaction score
1
Location
14860, France
I acquired 8 lignum vitae woods from a bowling club that was forced to close recently. First project was to cut one in half and make a pair of bowls.

The WIP was a practice run with the most cracked and split wood to see how it could be done.

Removing the plastic end caps was the first task. They appear to be made of some kind of acrylic which sent chards all over the workshop when hit with a mallet and chisel.
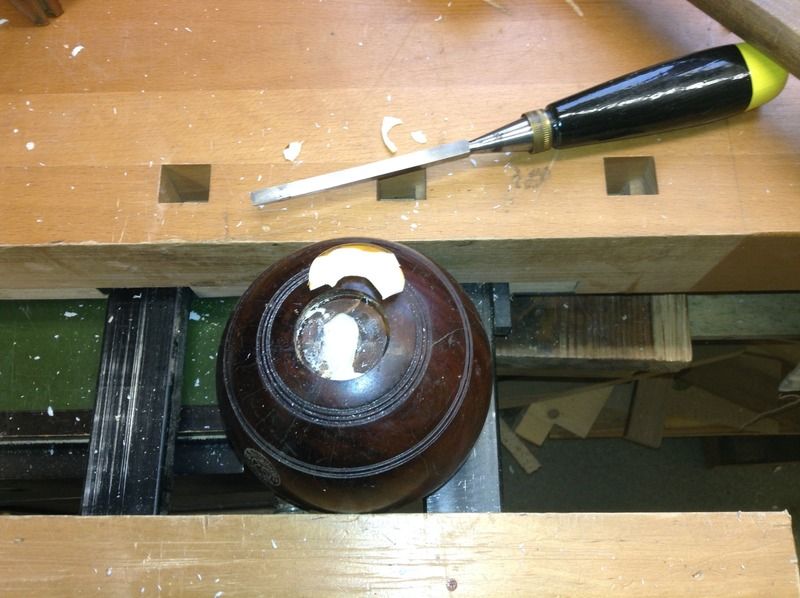

One side was quite a bit larger than the other which is too small at the moment to go in the expanding jaws of the chuck.
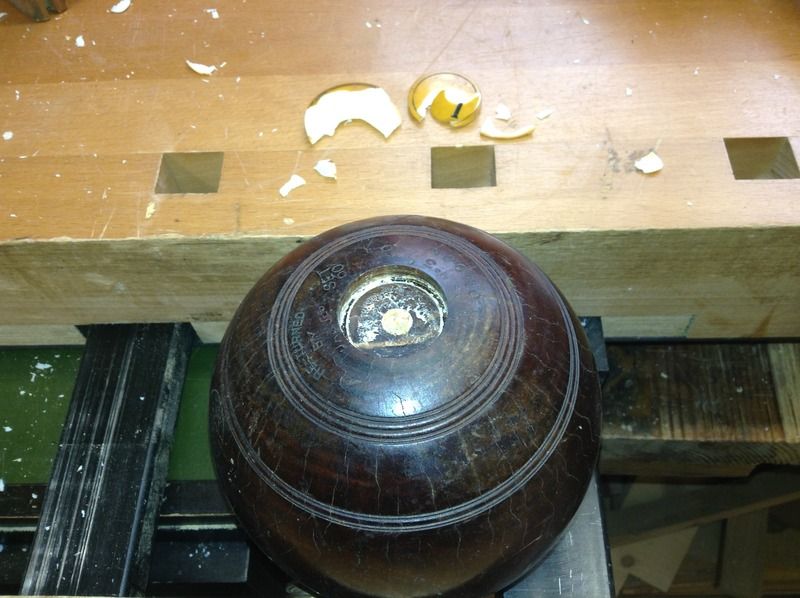

Once mounted on the lathe and at a very slow speed (360rpm) the slight bias of the bowl is evident in the video


The parting tool worked better than I expected, although the colour of the shavings threw me a bit. Yellow shavings from a dark brown wood.
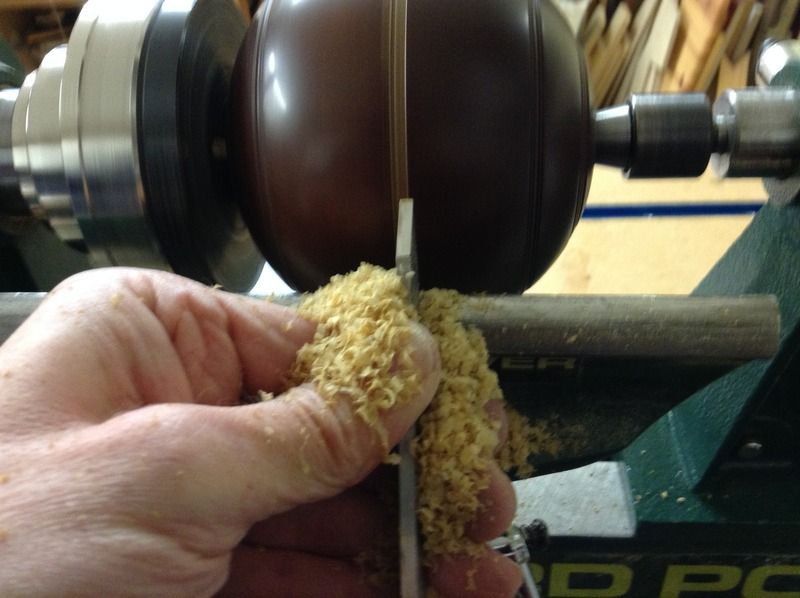

The parting tool got me down down to about 3/4" of the centre. With only a slight fraying at the sides. I did widen the cut as I went deeper.
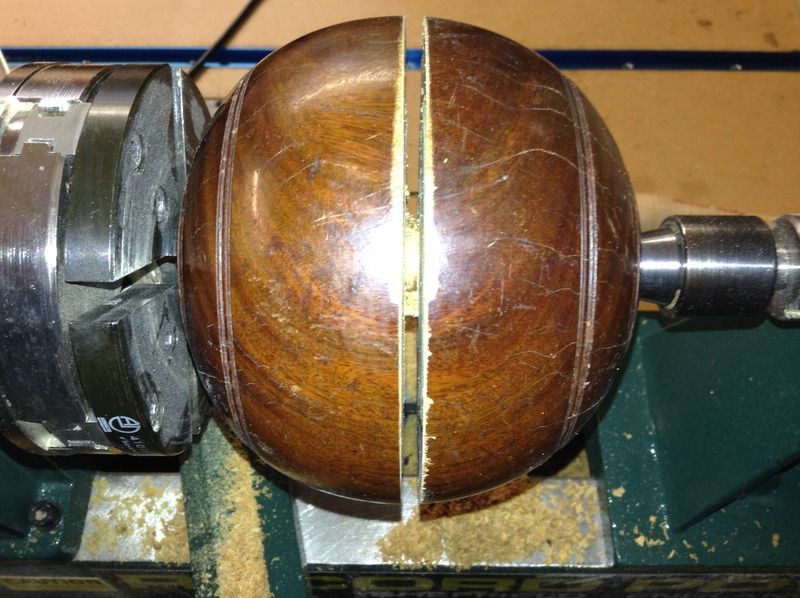

Finished the cut with the tenon saw.
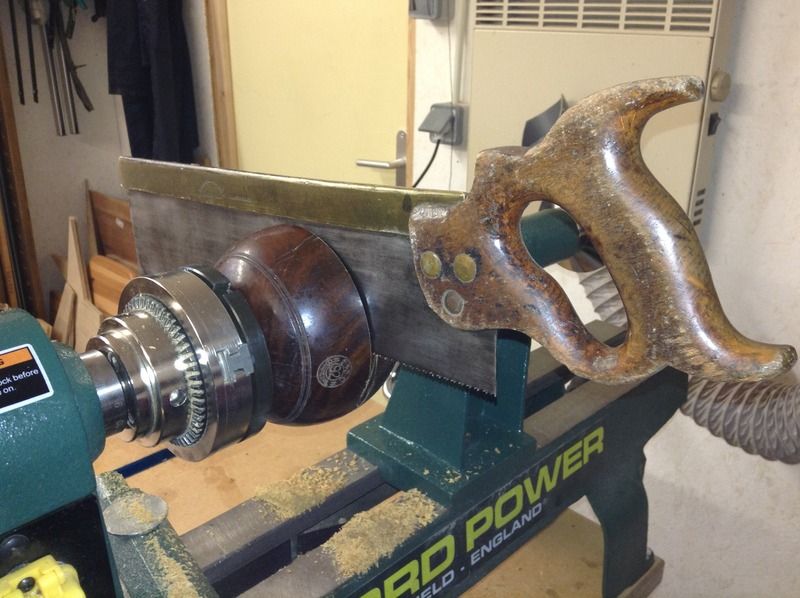

2 halves
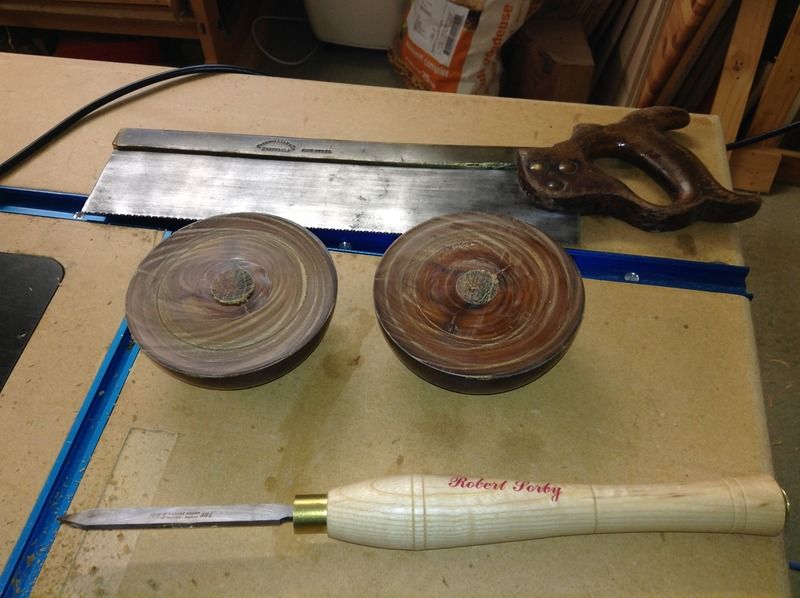

I read a number of articles that suggested that scraping LV was easier than using a gouge so a 1/2" scraper was used throughout.
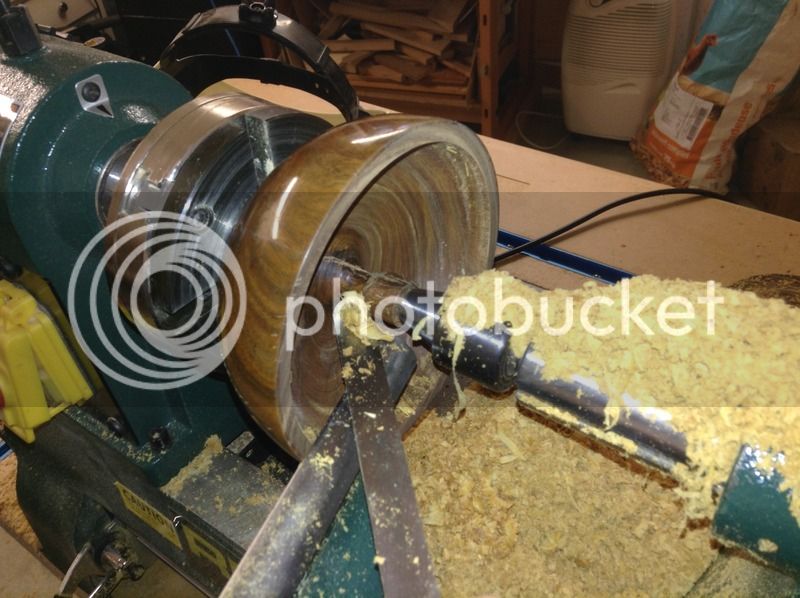

I wanted to keep the outside as original as possible and this particular wood had plenty of cracks and a markers mark.
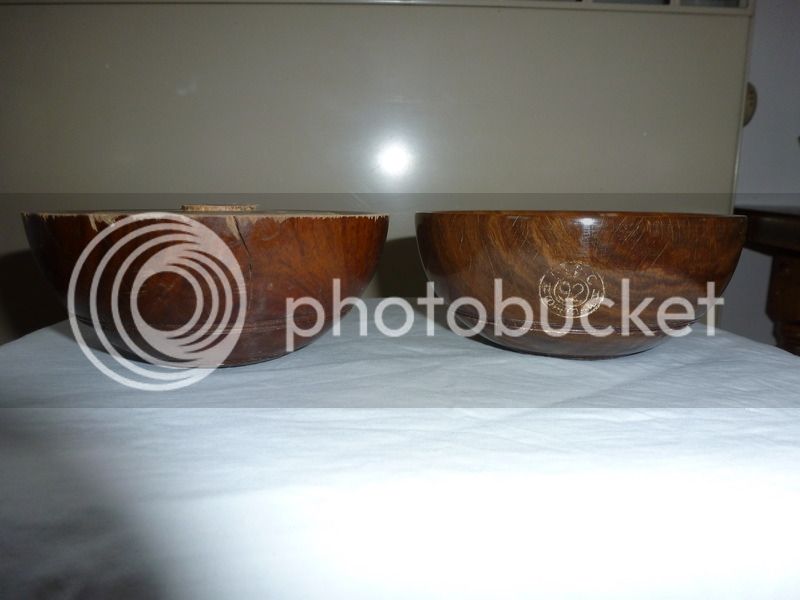

I also wanted to keep the base as original as possible, so mounted on the button jaws I just cleaned up the recess a bit.
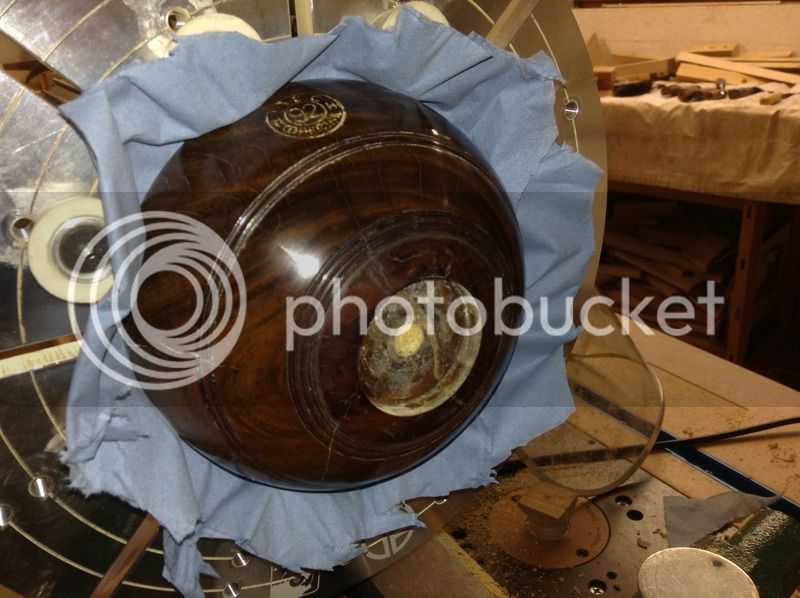
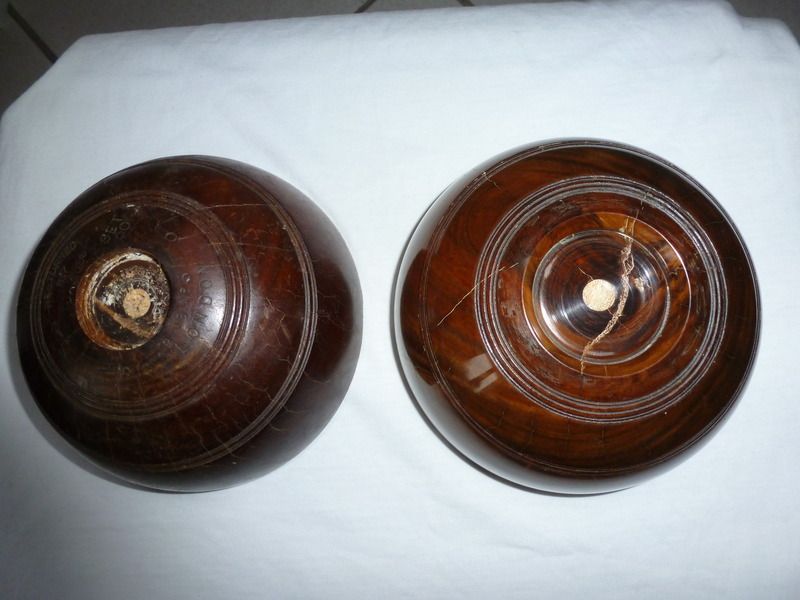


I need to improve the finish on the next one. Not sure if the marks here (the one on the right) are from streaks in the sanding sealer or from the tool.
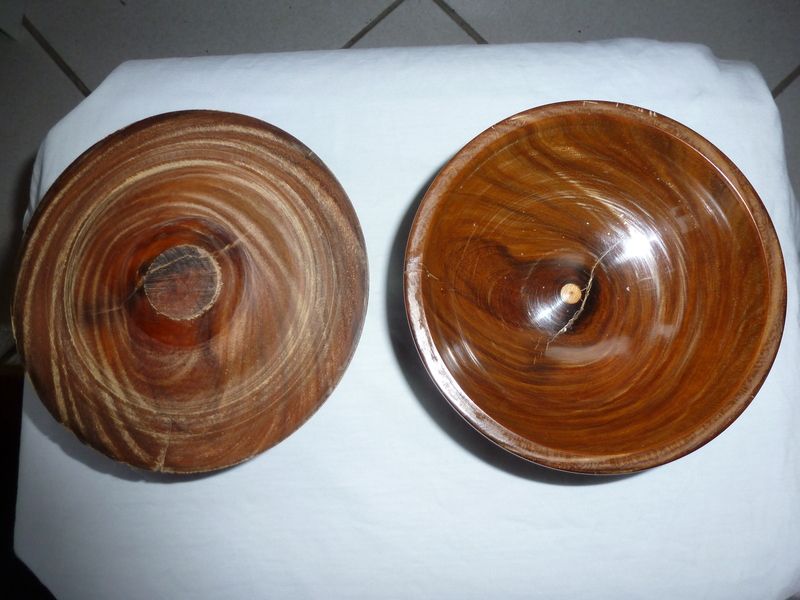

As lignum vitae is so heavy and oily any sawdust that is produced is also very heavy and does not float around at all in the air.

Here are a pair of bowls from from another wood (gets confusing woods and wood) and have just have sent to my father (the ex-president of the folded club) for his birthday.
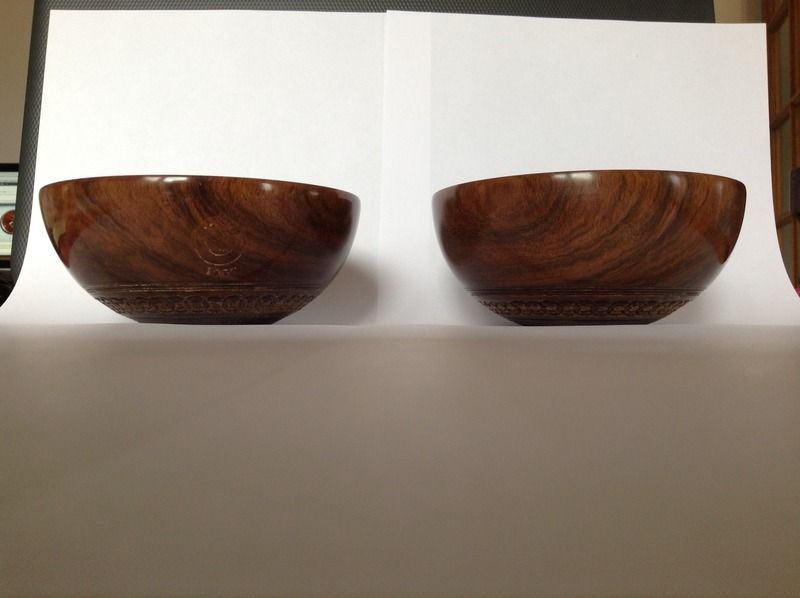
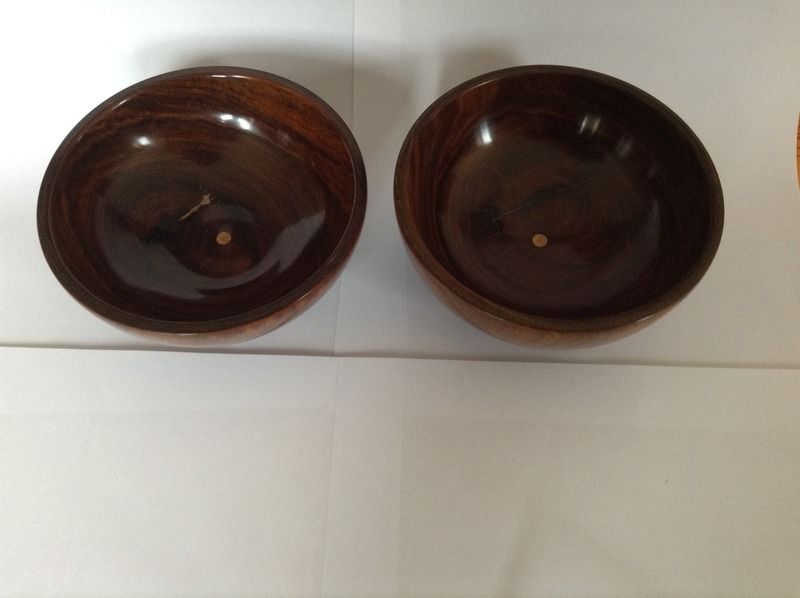
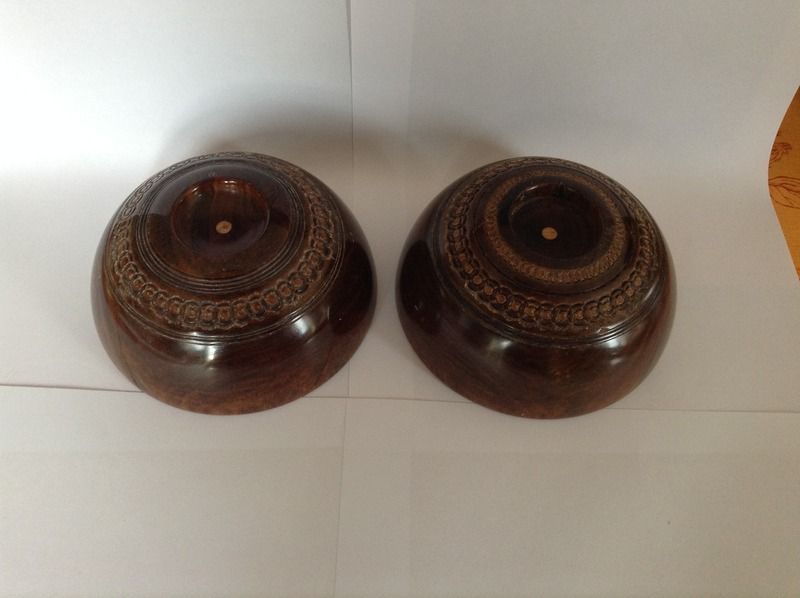


finished with thinned cellulose thinners and carnuba wax.

Thoughts and comments welcome.
 
That last pair look great, nice finish. I assume the central 'dot' is due to the mounting method used?
 
monkeybiter":3f091mem said:
That last pair look great, nice finish. I assume the central 'dot' is due to the mounting method used?

Yes and No.

I only mounted using the recesses in the base of each bowl but I think that the original method used to make the bowls round (all be it with a slight bias) required a hole to be made right through the wood. I plugged said hole with some beech dowel which is what you can see.

I have read that all lignum vitae suffers from heart cracks perhaps the hole in the middle is a way of releasing some of the stress that causes the cracks.
 
monkeybiter":2x8jjw1c said:
That last pair look great, nice finish. I assume the central 'dot' is due to the mounting method used?

Is the hole where the bias weight was?
All the bowls have a weight on one side.

Brian
 
No real need for sanding sealer on lignum vitae. The natural oil in it polishes up very nicely on it's own once you've taken it down to a fine grit (600 I think I used) with water as a lubricant to stop the abrasive clogging. Then maybe a bit of a wax and buff.
Nice work though. You can make a nice box which still looks like a bowl if you have a way to hold it to hollow - vacuum or donut chuck
 
Brian, No.
I am not sure when but the adding of weights to provide the "bias" was banned some time ago. These woods are date stamped in the 50s and the bias, which provides the curve as the wood is bowled, is made by altering the shape. This, I hope. Can just be seen in the short video in my post above.
 
Duncan, thanks. A box is on my list of things to make with them. Have you any photos as I have not yet seen any examples.
Forgot to mention that I used abranet to sand. Some dust did collect within the mesh but was easy to knockout with a brush.
 
Hi Andy,
Thanks for this post,I have a set in the workshop waiting to be turned.I have seen one turned into a box it was sat on a stem which was fixed into the larger hole and the lid had a finial in the smaller hole.I was thinking of something similar but as a clock.

Peter.
 
dedee":285pkh11 said:
Duncan, thanks. A box is on my list of things to make with them. Have you any photos as I have not yet seen any examples.
Forgot to mention that I used abranet to sand. Some dust did collect within the mesh but was easy to knockout with a brush.

I don't think I have any photos of the one I did. It was early in my turning so not a great shape as I didn't have access to a vacuum or donut chucks and put a foot on it for turning the join.
 
beganasatree":2aqvplp7 said:
Hi Andy,
Thanks for this post,I have a set in the workshop waiting to be turned.I have seen one turned into a box it was sat on a stem which was fixed into the larger hole and the lid had a finial in the smaller hole.I was thinking of something similar but as a clock.

Peter.

At the moment I cannot see how to turn the lid and keep it a tight fit while not altering the nice curve shape of the outside of the bowl.
 
To join without altering the shape, I cut in approx 3mm from the edge with a bedan to a depth of 6mm in both halves. A thin strip of walnut veneer, 2mm thick 12mm wide and same length as circumference, soaked in boiling water to enable it to bend internally, was glued in the bottom rebate. The top rebate pops over it to form the box joint.

Lastly, to plug the holes it is possible to use a plug cutter to make LV plugs to stop the holes up, almost invisibly.

Will look for the photos of the finished items, they're on the PC somewhere.

Phil
 
Not to put a stop to your fun, but I suspect those bowls in their original shape have a lot more value as interesting relics than your nicely turned items will have.
 
Sheptonphil":2bzquc3w said:
To join without altering the shape, I cut in approx 3mm from the edge with a bedan to a depth of 6mm in both halves. A thin strip of walnut veneer, 2mm thick 12mm wide and same length as circumference, soaked in boiling water to enable it to bend internally, was glued in the bottom rebate. The top rebate pops over it to form the box joint.

Lastly, to plug the holes it is possible to use a plug cutter to make LV plugs to stop the holes up, almost invisibly.

Will look for the photos of the finished items, they're on the PC somewhere.

Phil

Pictures would be great if you have them Phil, can't quite picture it in my head at the moment. I do have some 3mm walnut veneer so if I can work out the process I could give it a try.

Never heard of a bedan before but having googled seems like a very useful tool
 
sunnybob":1idehve7 said:
Not to put a stop to your fun, but I suspect those bowls in their original shape have a lot more value as interesting relics than your nicely turned items will have.

I am assured that those woods had no use as a sporting item and having spoken to some old bowlers about how best to use them I am satisfied that by keeping their original shape (all be it in two halves) and as many of the marks and carvings as possible that they retain a far greater interest than they would ever get stuck in the back of a cupboard.
I'll let you know how well they have been received by the recipient and his bowling chums later.

By searching the internet I found that by far the most common use of old woods is to make a mallet.
 
Just checked ebay and theres a pair for £55. But if youre doing it at the request of a bowler, no harm in that.

Old time bowlers in my club speak very fondly of lignum bowls, but of course they are no match for modern materials.

If youre interested, world tour finals are on the tv today.
 
sunnybob":13htkimq said:
Not to put a stop to your fun, but I suspect those bowls in their original shape have a lot more value as interesting relics than your nicely turned items will have.
I'm not so sure - old wooden bowls turned up a lot in auctions where I used to live (Herefordshire), I picked up a pair in lignum vitae, in an old leather case, for a fiver.
 
dedee":1lk1m9ic said:
Sheptonphil":1lk1m9ic said:
To join without altering the shape, I cut in approx 3mm from the edge with a bedan to a depth of 6mm in both halves. A thin strip of walnut veneer, 2mm thick 12mm wide and same length as circumference, soaked in boiling water to enable it to bend internally, was glued in the bottom rebate. The top rebate pops over it to form the box joint.

Lastly, to plug the holes it is possible to use a plug cutter to make LV plugs to stop the holes up, almost invisibly.

Will look for the photos of the finished items, they're on the PC somewhere.

Phil

Pictures would be great if you have them Phil, can't quite picture it in my head at the moment. I do have some 3mm walnut veneer so if I can work out the process I could give it a try.

Never heard of a bedan before but having googled seems like a very useful tool

I would not use vaneer to form a lip but turn a piece of wood to fit the rebate once dry turn this to match the inner bowl and hight to match the opposite rebate.
Will require a light touch so the fit is a good one.
Also use the thinnest parting tool to cut the bowl in half
 

Latest posts

Back
Top