cornucopia
Established Member
hello folks here is some of boysie's bog yew which he kindly sent me this week.
on first inspection of the log i thought that it would make a fabulous natural edge vase due to the shape of it- but the i noticed some splits at both ends and a small amount of rot at one end too so i decided against that idea and embarked upon a vase which would have some natural voids.
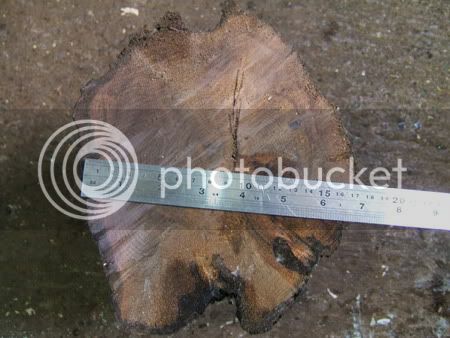
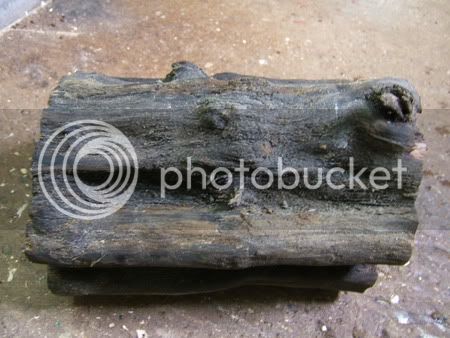
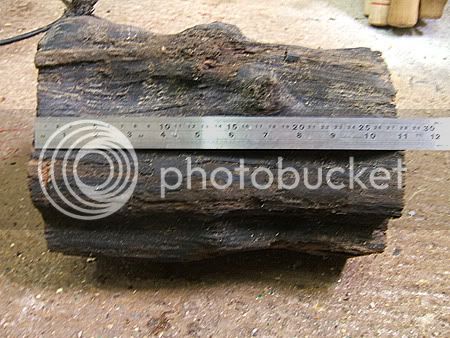
I mounted it between centers with the softest end at the headstock
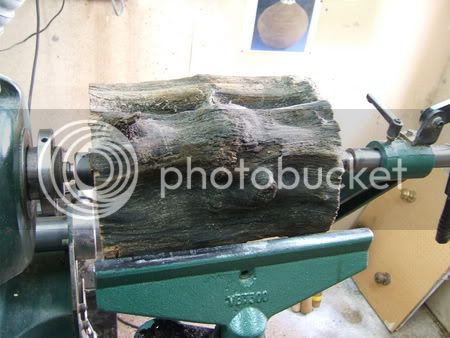
I start roughing it out and straight away I find that my gouge is going blunt very quickly- in all during the outside shaping i sharpen my gouge about a dozen times!!
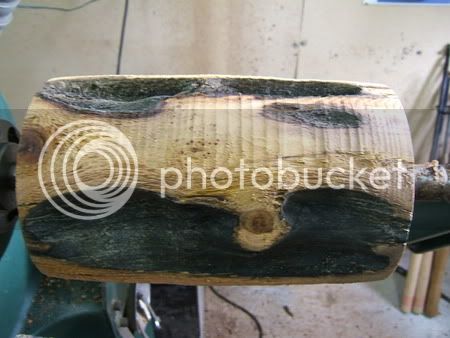
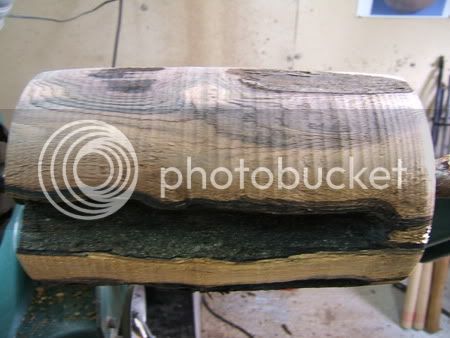
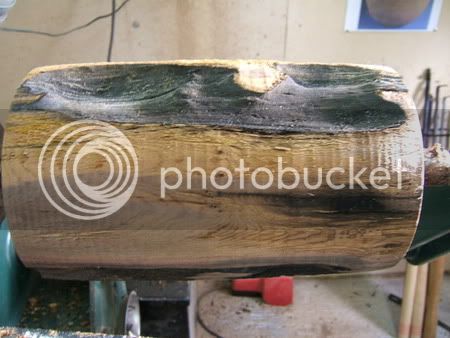
I decide to use a 6" faceplate to avoid the rot but some screws still don't have any bite so i use all 18 holes.
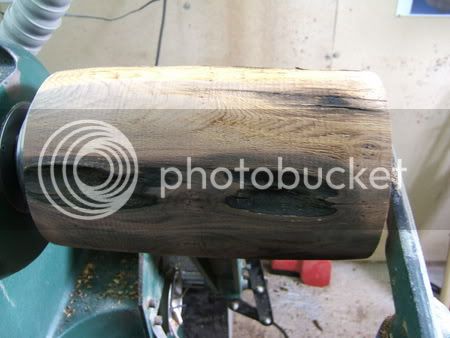
here you can see the best end
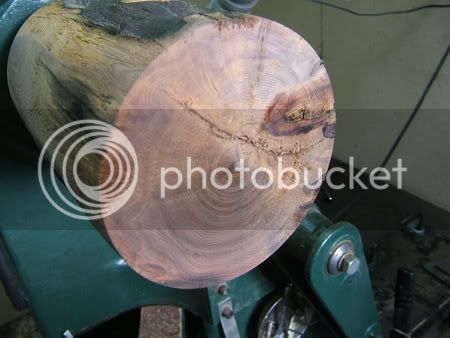
a close up of some purple figure
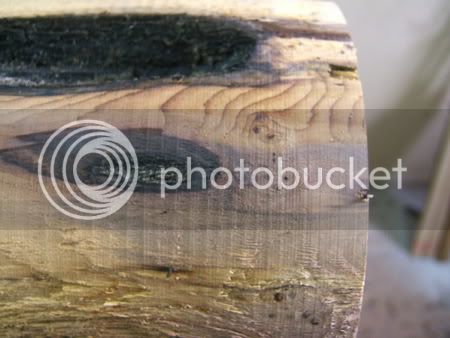
the winter sun was beaming into the workshop and playing havoc with my camera but heres the rough shape beginning to emerge
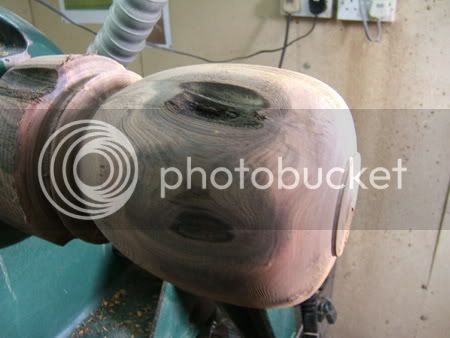
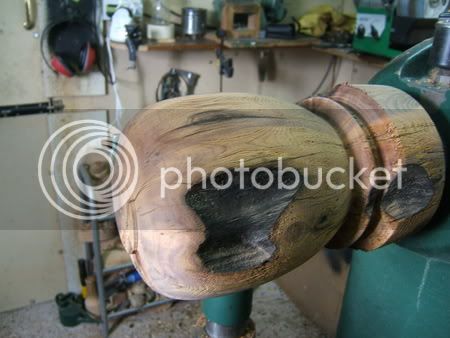
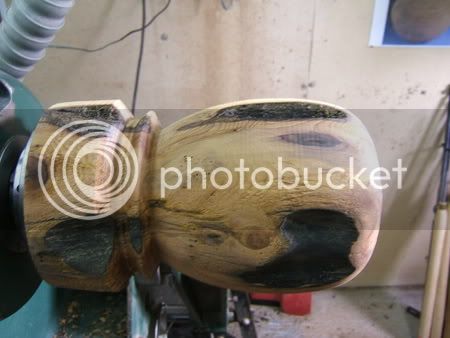
a close up of the neck area
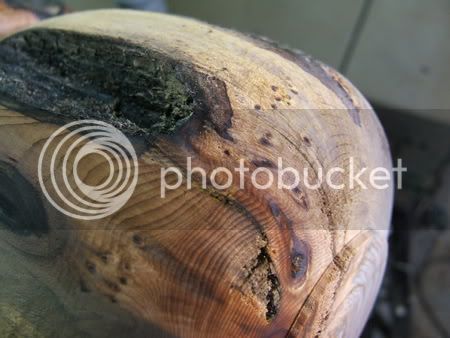
at this point i am happy with the outside shape but have left extra wood for support whilst I hollow out the top 2/3rds.
i was very aware of not knowing how far in that rot in the base went.
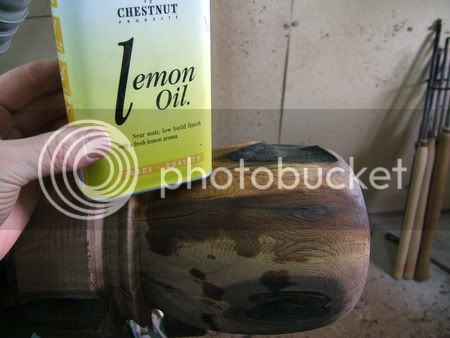
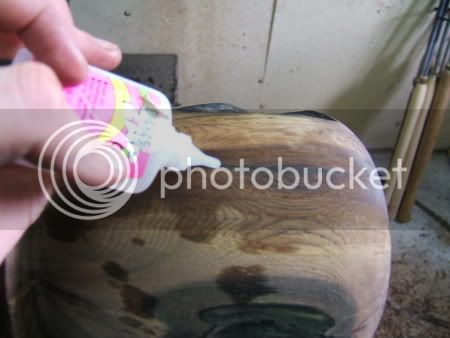
here i apply some lemon oil to the cracks so that i can get some glue in but not stain the wood.
because of the age of the timber and the voids and the fine cracks i have wrapped some "insurance tape" around the piece whilst i hollow.
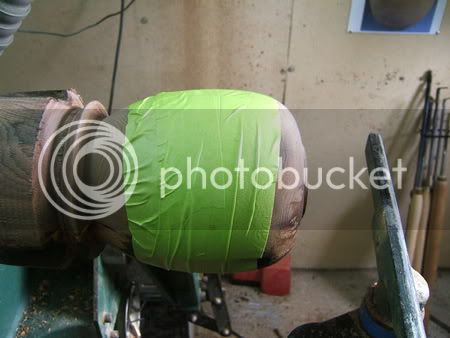
here i have hollowed down to 2/3rds and revealed some of the holes- i've repositioned the tape to allow shavings to get out of the holes thus making my job easier.
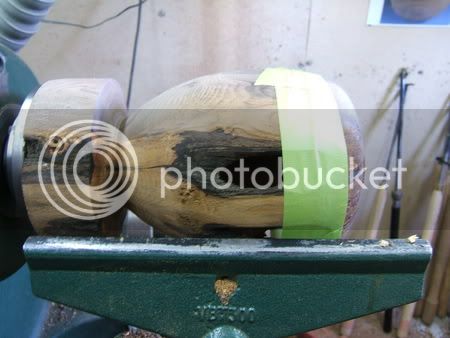
here the outside is sanded to 400 grit but not oiled- i would have liked the base slightly smaller but i was very aware of the strength due to the rot
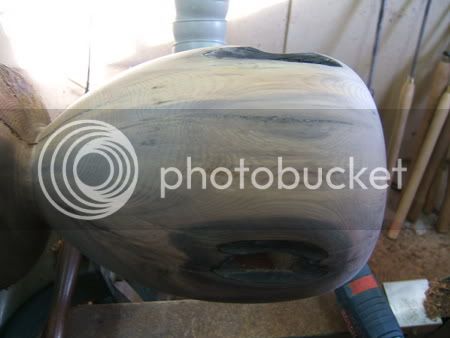
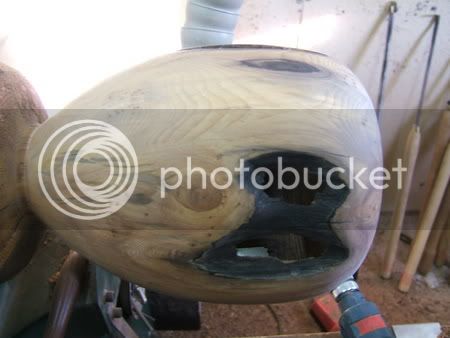
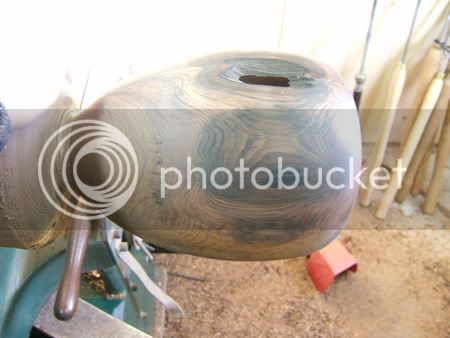
oiled now- i will eventually get a satin finish on this piece but until it dries it will stay matt.
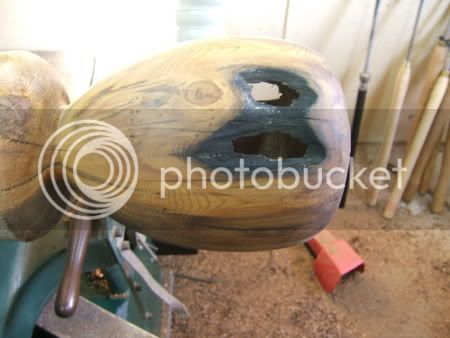
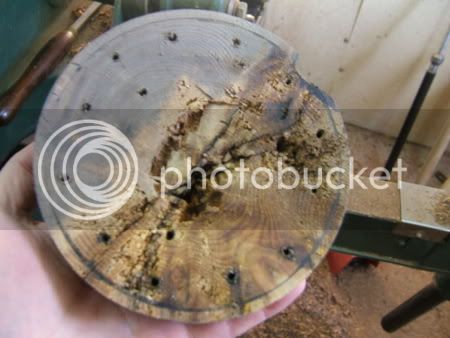
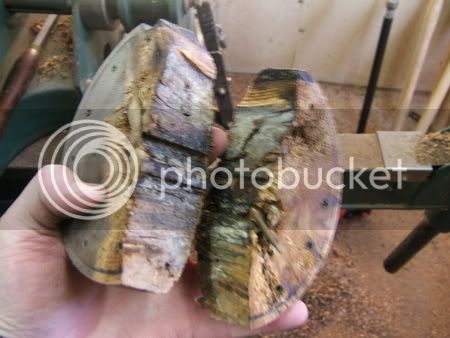
heres the waste block- you can see that i didn't waste much and what i did waste wasn't fit for much
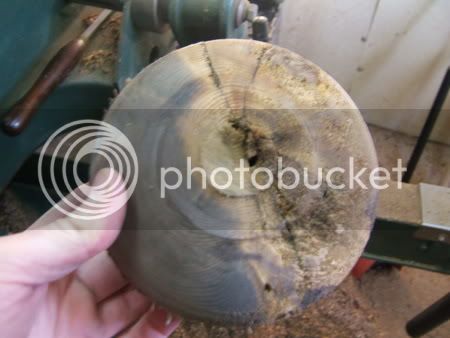
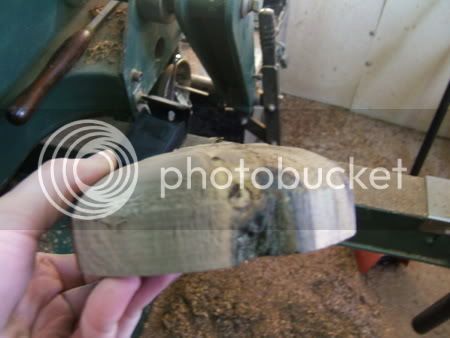
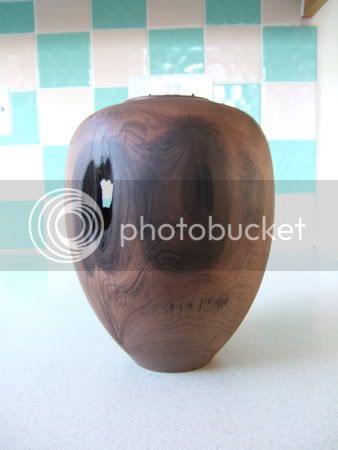
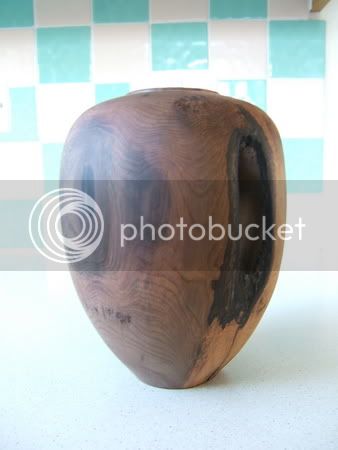
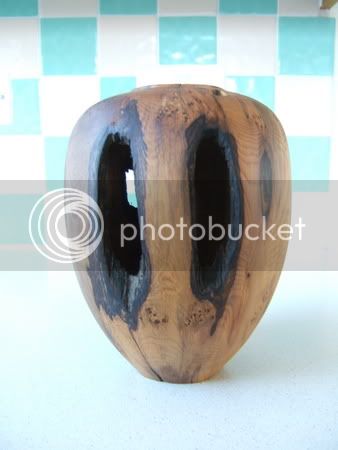
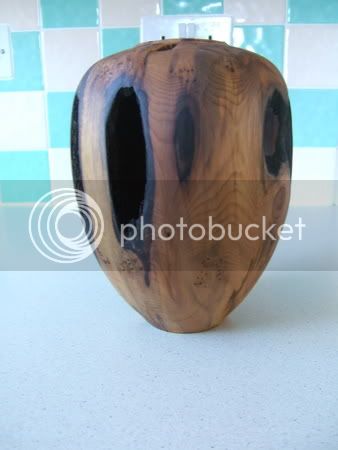
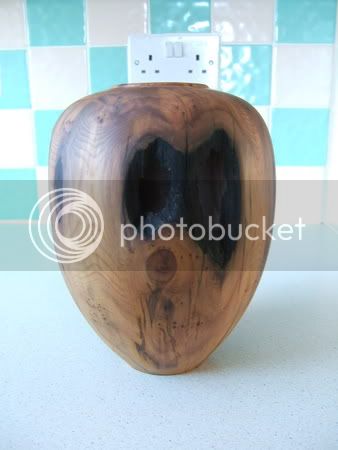
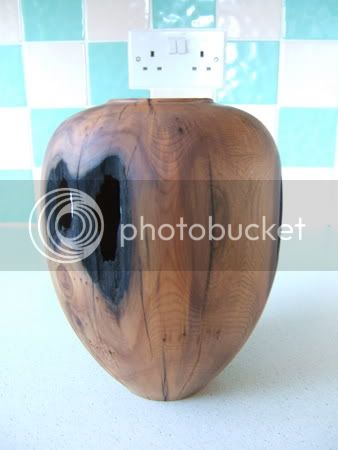
here is the finished piece
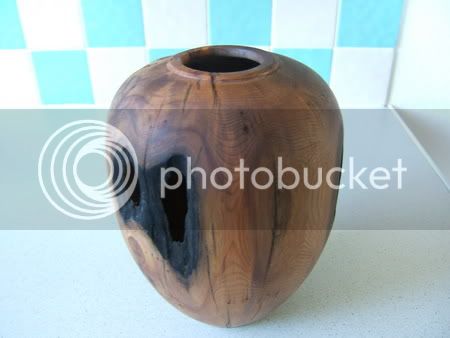
a big thank you to eugene (boysie39) for giving me the chance to turn such magical stuff.
on first inspection of the log i thought that it would make a fabulous natural edge vase due to the shape of it- but the i noticed some splits at both ends and a small amount of rot at one end too so i decided against that idea and embarked upon a vase which would have some natural voids.


I mounted it between centers with the softest end at the headstock

I start roughing it out and straight away I find that my gouge is going blunt very quickly- in all during the outside shaping i sharpen my gouge about a dozen times!!


I decide to use a 6" faceplate to avoid the rot but some screws still don't have any bite so i use all 18 holes.

here you can see the best end

a close up of some purple figure

the winter sun was beaming into the workshop and playing havoc with my camera but heres the rough shape beginning to emerge


a close up of the neck area

at this point i am happy with the outside shape but have left extra wood for support whilst I hollow out the top 2/3rds.
i was very aware of not knowing how far in that rot in the base went.
here i apply some lemon oil to the cracks so that i can get some glue in but not stain the wood.


because of the age of the timber and the voids and the fine cracks i have wrapped some "insurance tape" around the piece whilst i hollow.

here i have hollowed down to 2/3rds and revealed some of the holes- i've repositioned the tape to allow shavings to get out of the holes thus making my job easier.

here the outside is sanded to 400 grit but not oiled- i would have liked the base slightly smaller but i was very aware of the strength due to the rot


oiled now- i will eventually get a satin finish on this piece but until it dries it will stay matt.

heres the waste block- you can see that i didn't waste much and what i did waste wasn't fit for much


here is the finished piece


a big thank you to eugene (boysie39) for giving me the chance to turn such magical stuff.


