sploo
Somewhat extinguished member
I have a small person who's just recently started to become a mobile small person. As we've got a large (and usually hot) bathroom radiator, complete with valves with nice sharp corners, I decided something needed to be done. Apparently, electrification (as a way of stopping kids touching stuff) incurs all sorts of legal and paperwork issues these days (it's political correctness gone mad I tell ya'); so, I had to come up with a better solution.
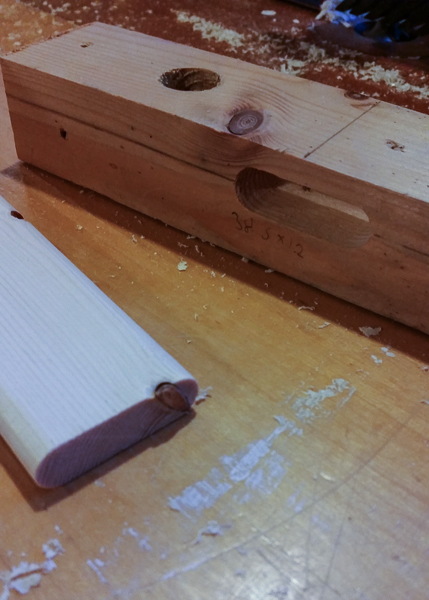
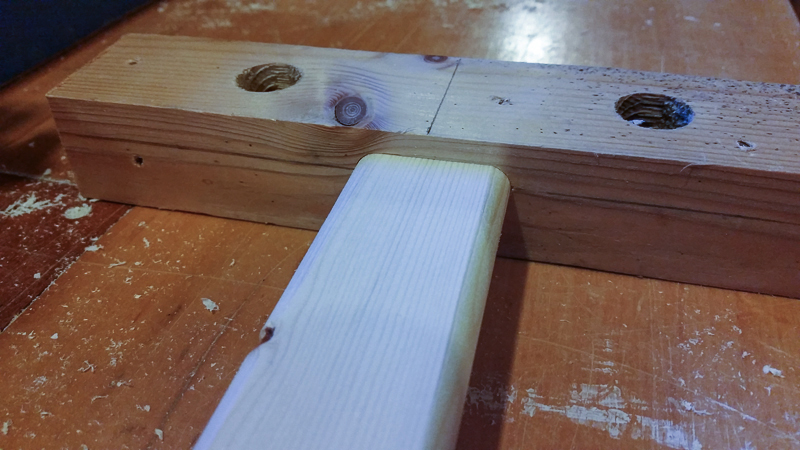
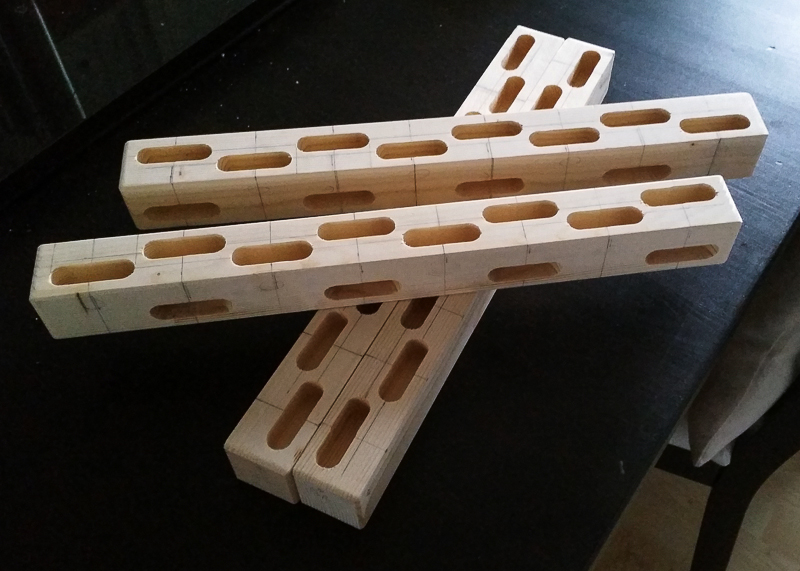
Having read the article on oversized mortices at Half Inch Shy (http://www.halfinchshy.com/2012/04/over ... omino.html) I tried a test cut with some scrap and a bit of pine, planed down to 12mm x 38.5mm, and given a 1/4" round over:
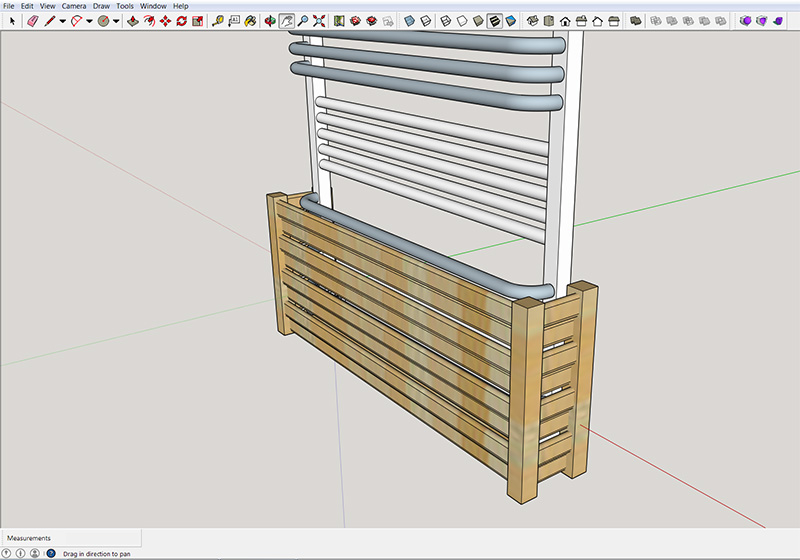
A few hours in Sketchup then resulted in something to aim for:
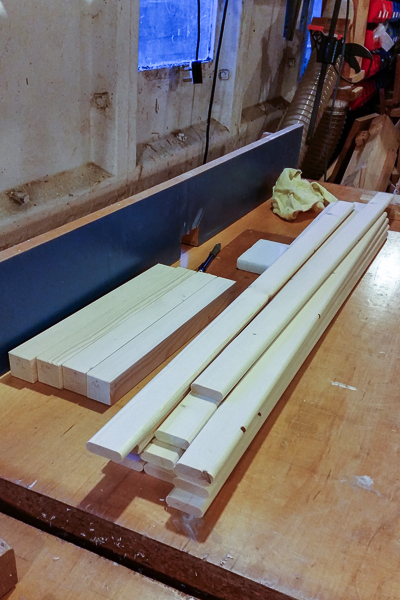
Lots of pine rounded over (and wishing I had a beading bit):
Mortices cut on the vertical sections:
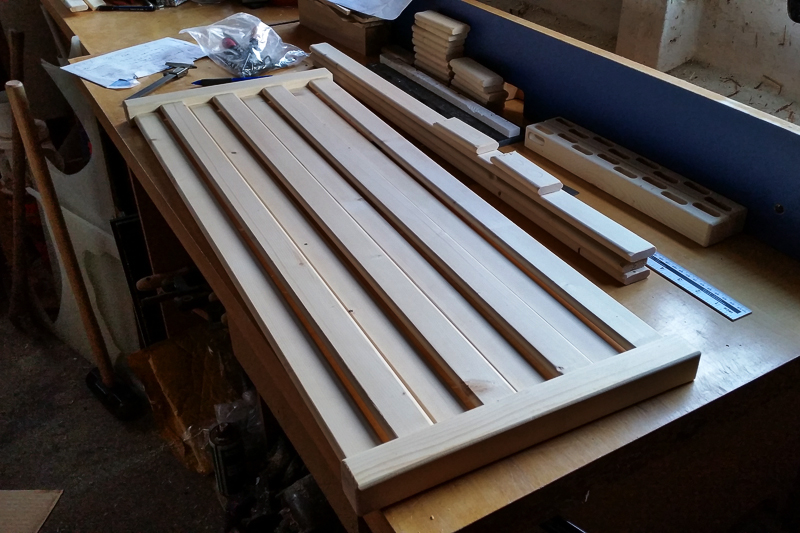
The front panel glued:
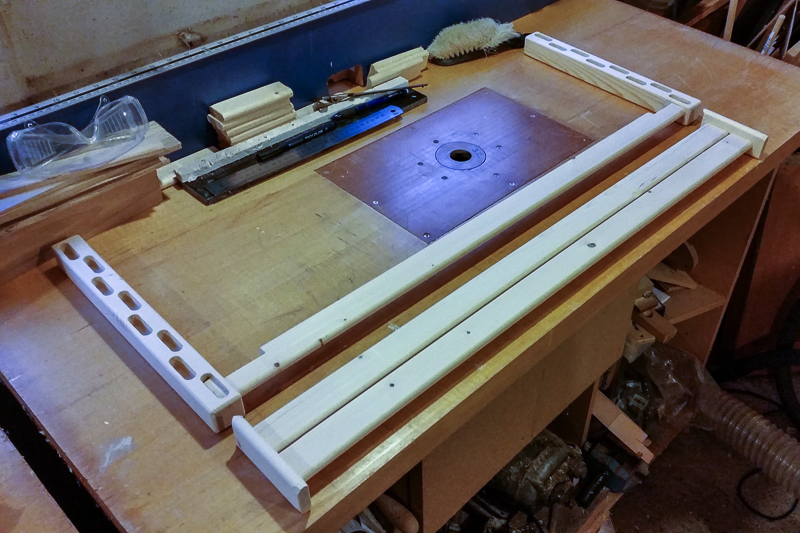
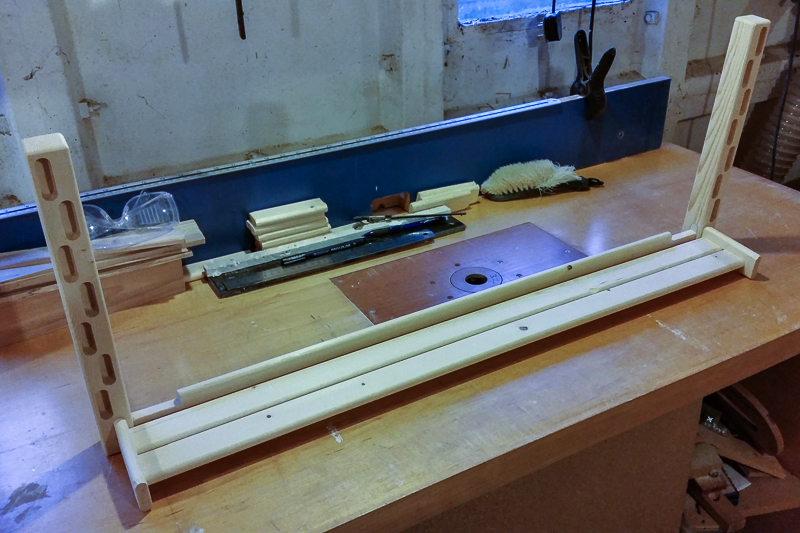
The mortices for the bottom rear stretcher foul the holes for the bottom side stretchers. I figured it'd be OK to cut down the bottom side stretchers, as there would be plenty more to hold the front and rear vertical posts together. The notches in the rear stretcher are to fit around the radiator pipes:
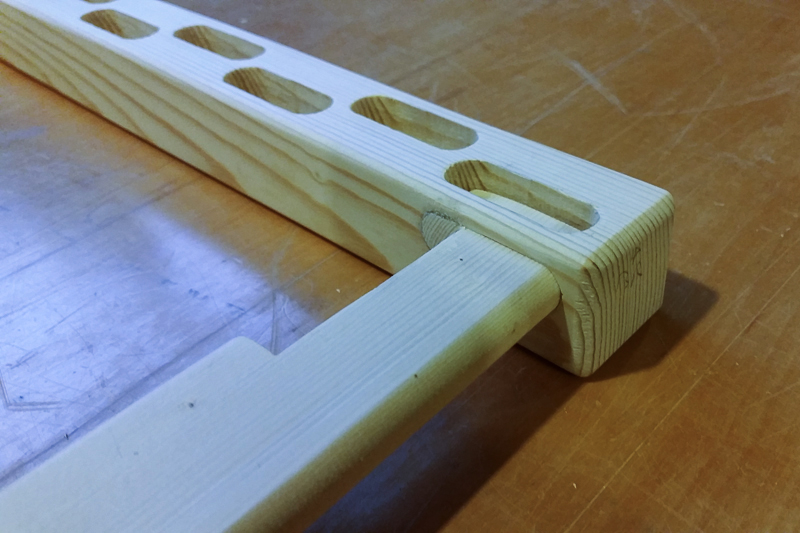
Finished - also showing the cleats used to hold the cover to the radiator:
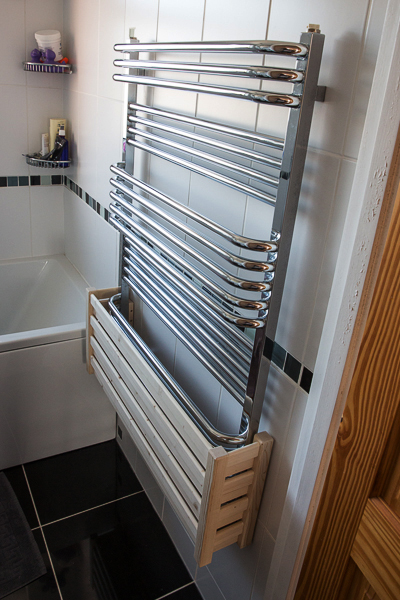
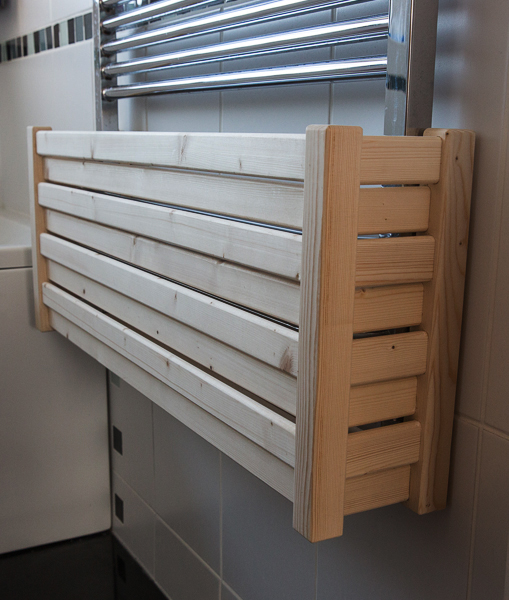
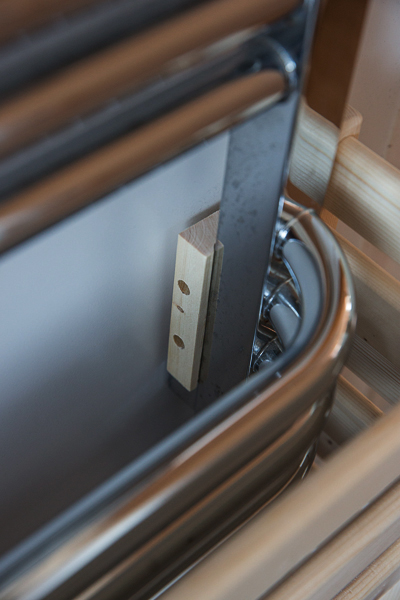
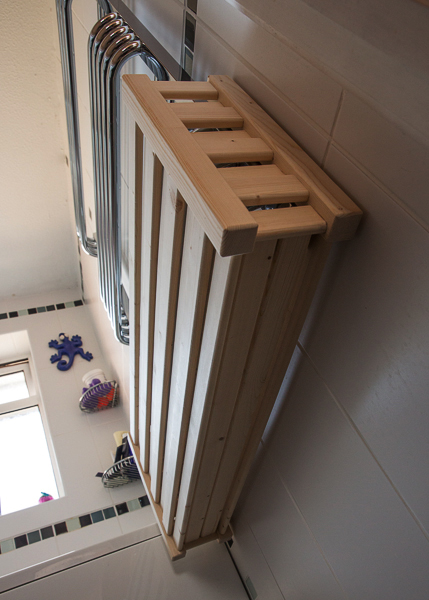
Not shown are a pair of nylon bolts, tapped and screwed into the back of each rear vertical post. These were used to trim the fitting to the slightly uneven tiles, and also to create a gap between the cover and the wall (so condensation from the tiles wouldn't run onto the wood).
Having read the article on oversized mortices at Half Inch Shy (http://www.halfinchshy.com/2012/04/over ... omino.html) I tried a test cut with some scrap and a bit of pine, planed down to 12mm x 38.5mm, and given a 1/4" round over:


A few hours in Sketchup then resulted in something to aim for:

Lots of pine rounded over (and wishing I had a beading bit):

Mortices cut on the vertical sections:

The front panel glued:

The mortices for the bottom rear stretcher foul the holes for the bottom side stretchers. I figured it'd be OK to cut down the bottom side stretchers, as there would be plenty more to hold the front and rear vertical posts together. The notches in the rear stretcher are to fit around the radiator pipes:


Finished - also showing the cleats used to hold the cover to the radiator:


Not shown are a pair of nylon bolts, tapped and screwed into the back of each rear vertical post. These were used to trim the fitting to the slightly uneven tiles, and also to create a gap between the cover and the wall (so condensation from the tiles wouldn't run onto the wood).


