You are using an out of date browser. It may not display this or other websites correctly.
You should upgrade or use an alternative browser.
You should upgrade or use an alternative browser.
Bathroom cabinet. Hand tools only. (Now finished)
- Thread starter MikeG.
- Start date

Help Support UKworkshop.co.uk:
This site may earn a commission from merchant affiliate
links, including eBay, Amazon, and others.
MikeG.
Established Member
Doug71":16tsbw2j said:Definitely in a "Fred Flintstone" style.
I presumed the battens would be on the inside of the door.
Yep, this isn't fine furniture. If you're not doing fine furniture, make sure it is as far from fine furniture as you can get it, in case anyone thinks that you were trying to make something posh and fell short. Every mark is left visible. All holes are unfilled. The scrub-planing marks show up really well in real life (and feel great!), but don't show so well in photos. I deliberately broke the top corner off the edge of the door. And yes, the rough battens are on full view. This is deliberately shabby, and deliberately not chic.
MikeG.
Established Member
Phlebas":3hio2p2t said:MikeG.":3hio2p2t said:Moving on slowly (overcome with disinterest today, I'm afraid)...... I did lots of ripping and planing, and measuring and re-measuring, trying to eek out my small pile of remaining wood.
"disinterest"? "eek"?
What have you done with MikeG?
Many years ago when another career of mine came to its natural end, I contemplated becoming a full time furniture maker/ designer. However, I decided that I loved it too much as a hobby, and I'd only spoil that if I had to do it to earn a living. I didn't want to turn it into drudgery. I've been in the workshop almost every day for the last 5 or 6 weeks since I recovered from covid 19 so I guess it was no surprise that I had a day yesterday when I remembered why I didn't take it up full time. Back to normal today, though. I've done a glue up already this morning.
MikeG.
Established Member
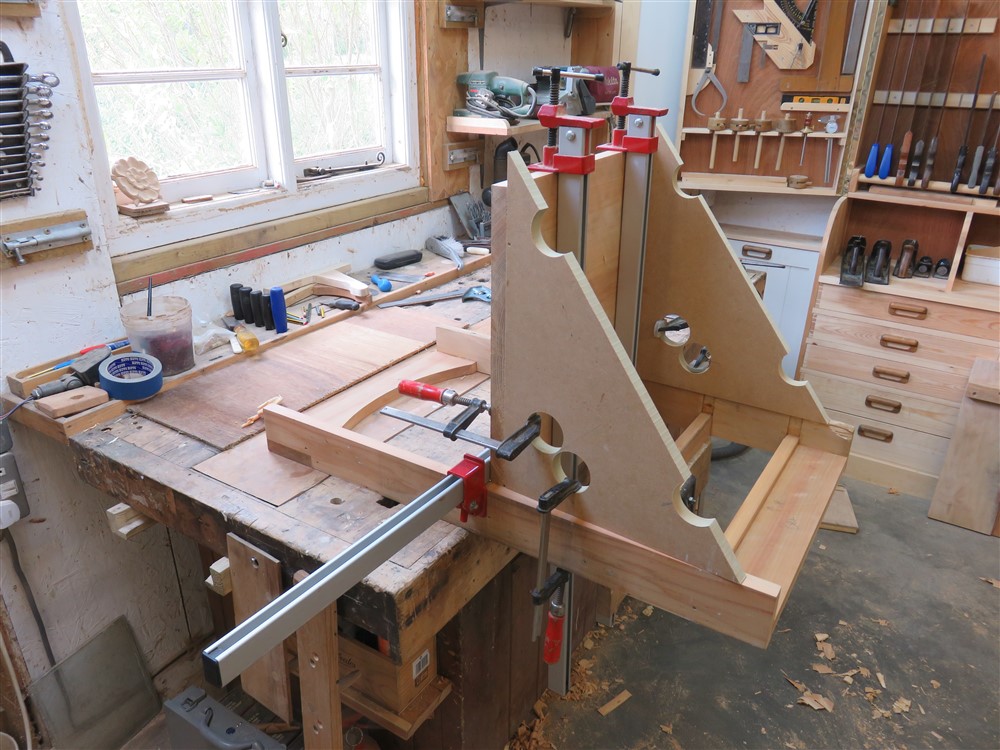
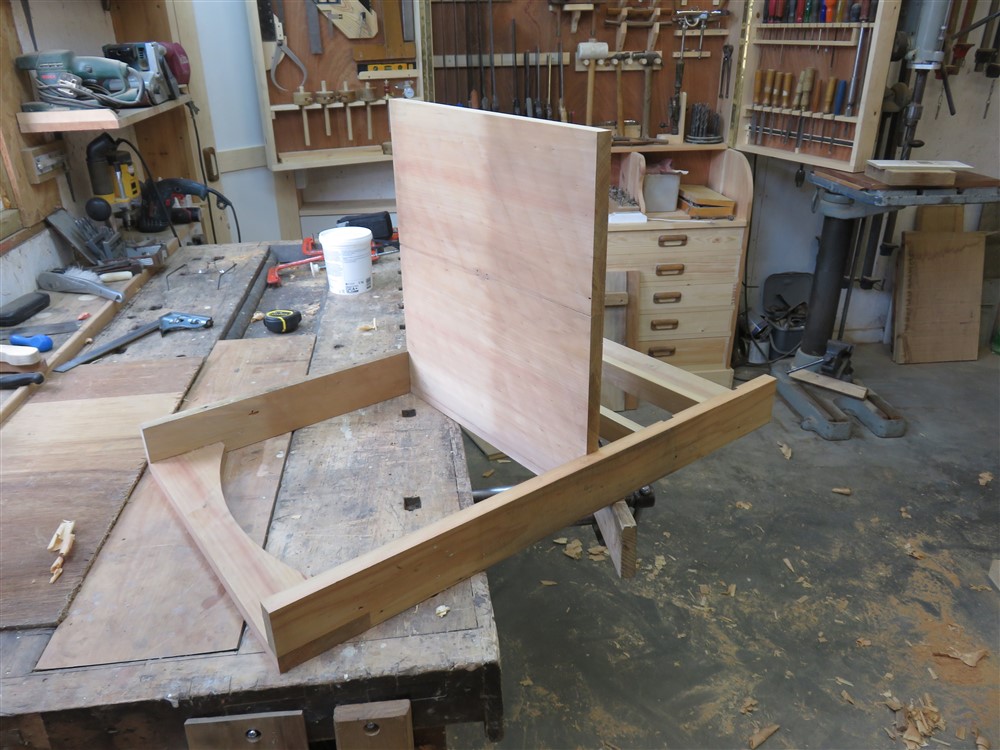
I've never glued a shelf together in situ before, but that was what I was forced into by the undersize-shelf-and-full-width-edging scenario. Weird, but it worked:
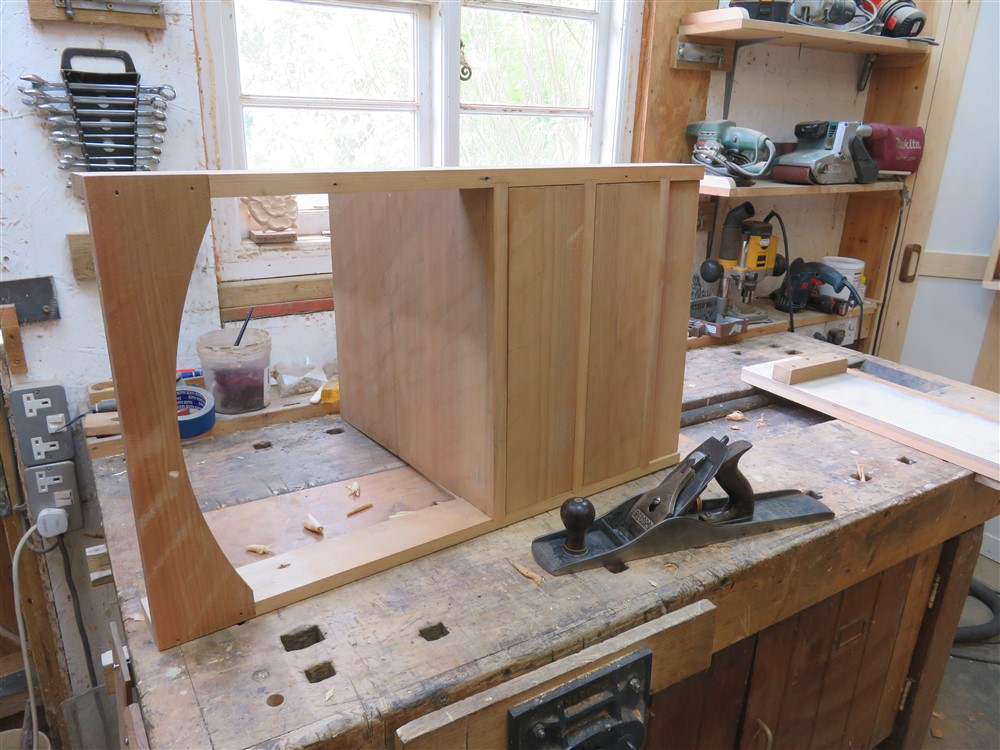
So, on to the drawers. First job was to make the drawer fronts fit the openings:
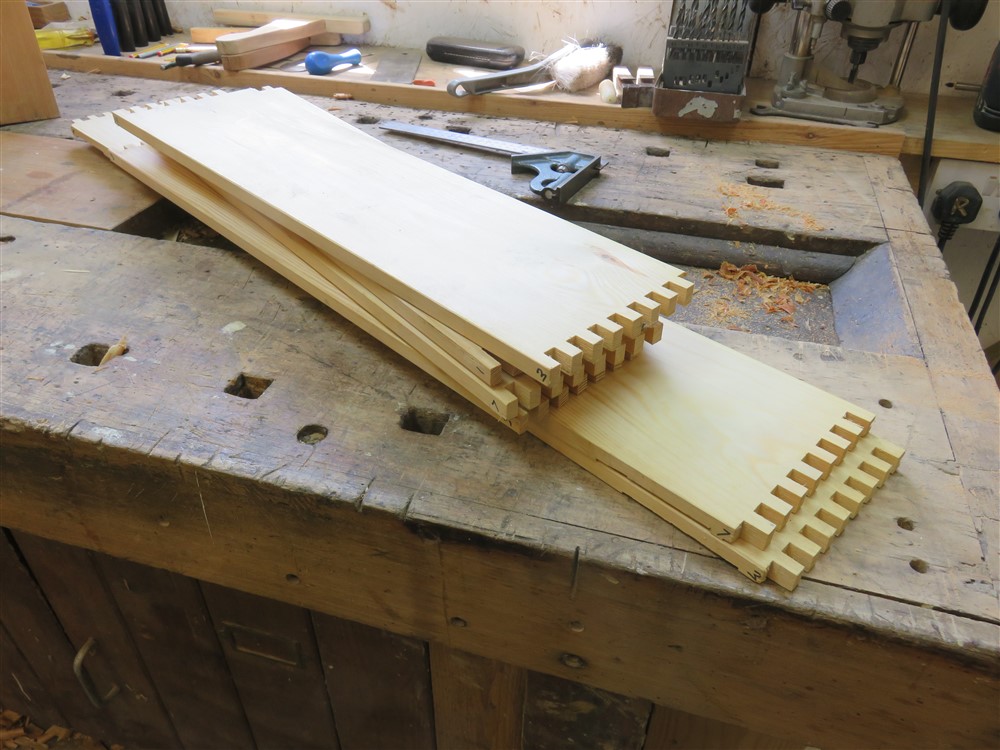
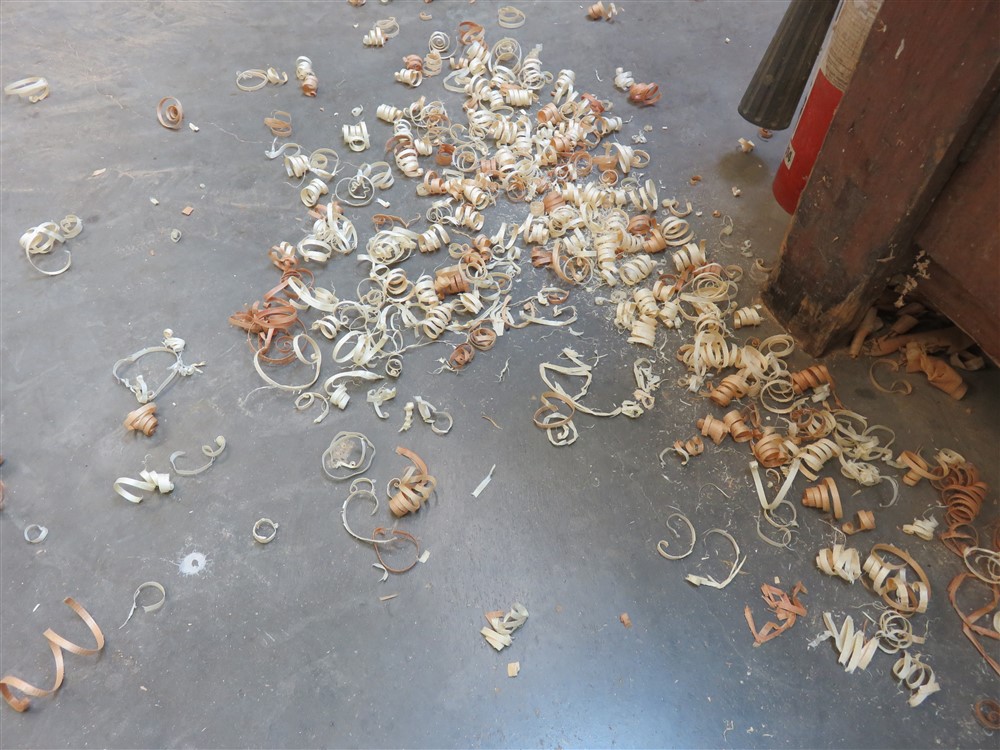
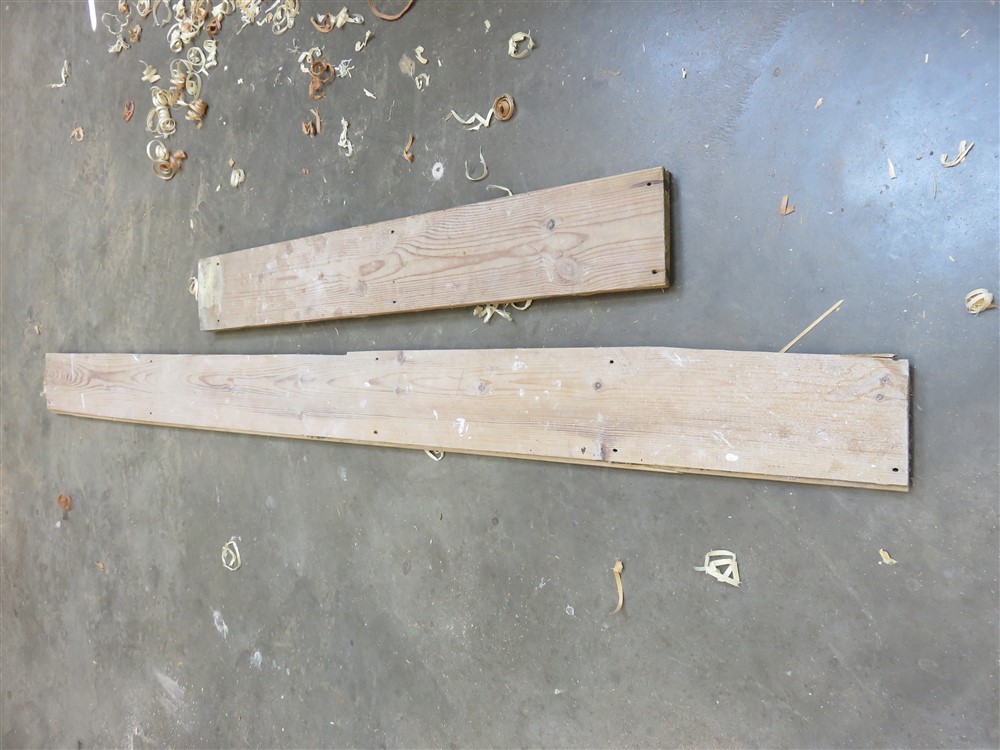
I then scrabbled about in my wood store / loft, and found some pine from a project that never happened. It was flat and straight, but looked awfully soft:
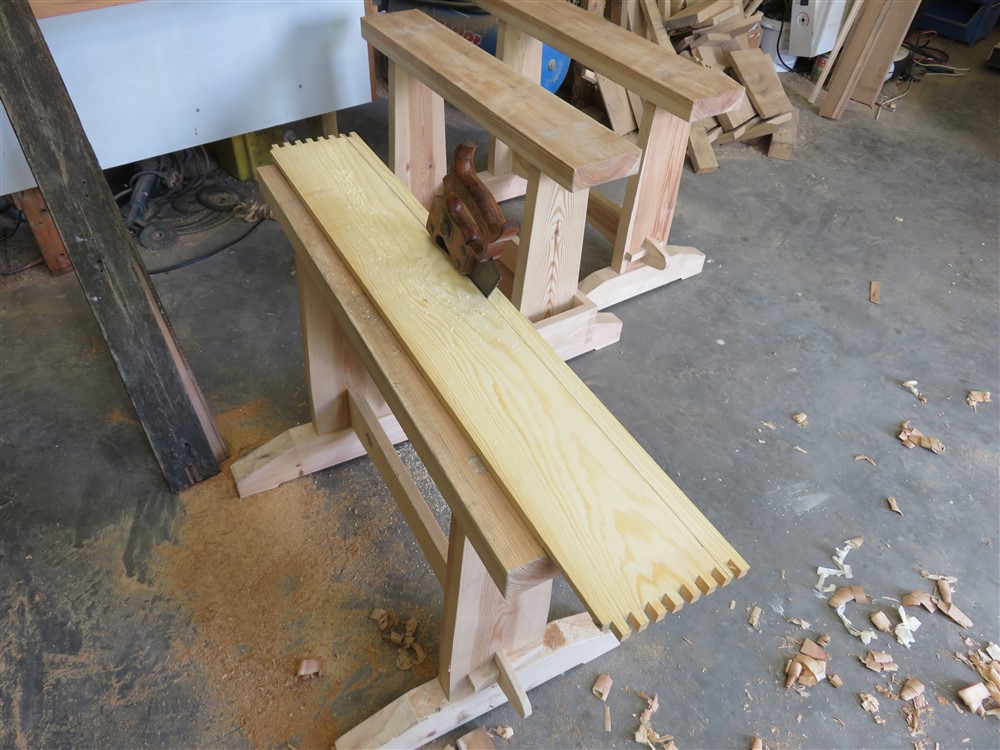
I ripped it and planed a straight edge:
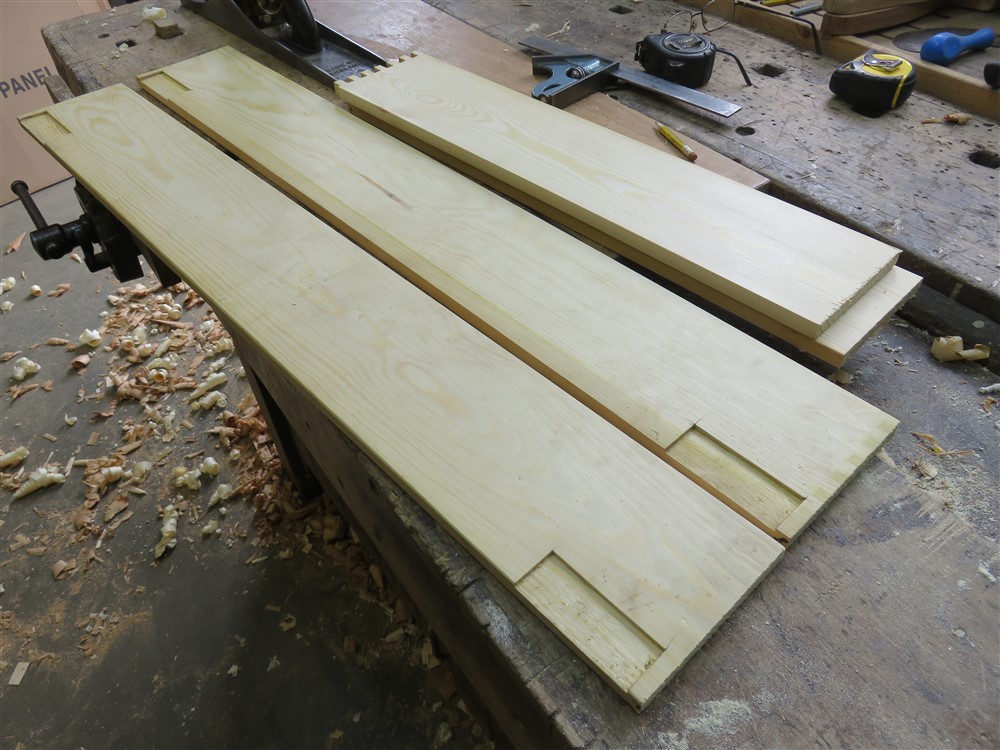
There are some hinge housings I'll have to work around, but ho hum.......
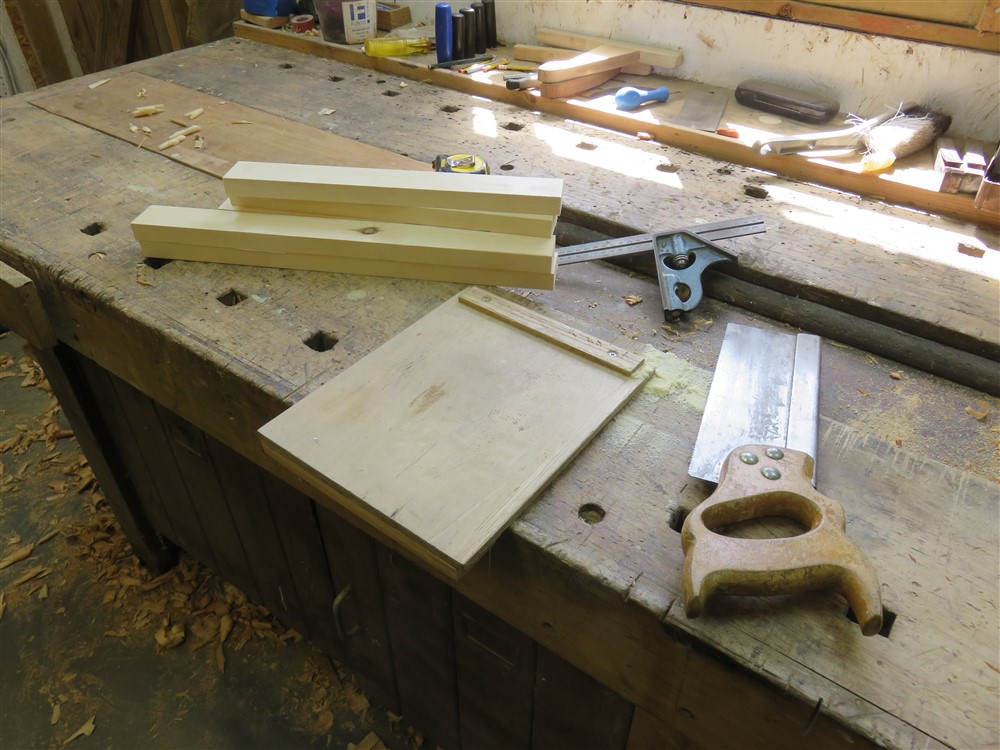
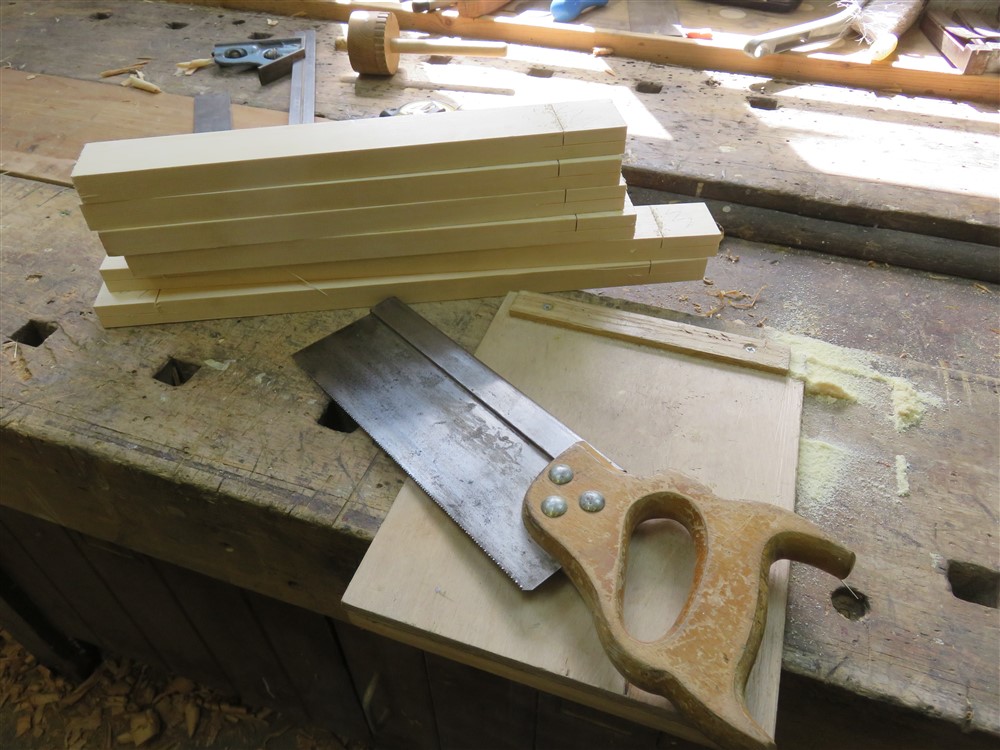
Before I got into the drawers too much I really should have some runners etc to offer them into. I found a length of 2x1 PAR, and cut it up, then cut some shoulders for some half laps:
I'm not sure anyone else here does this routinely, but I always chisel my tenon cheeks unless there is some wild grain or a knot in the way:
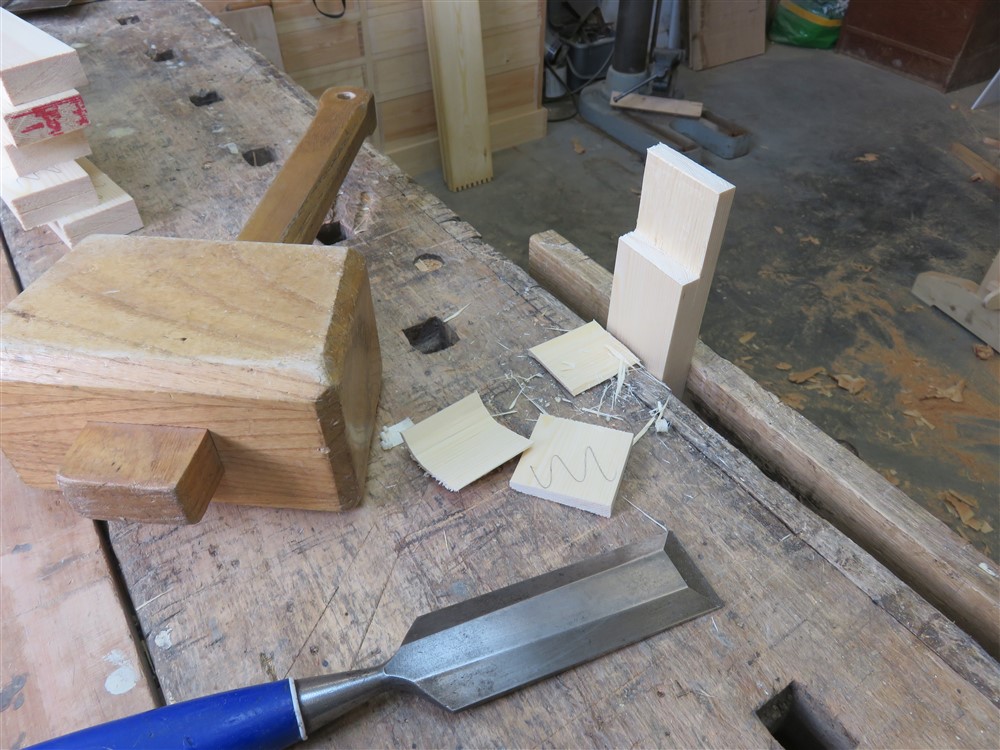
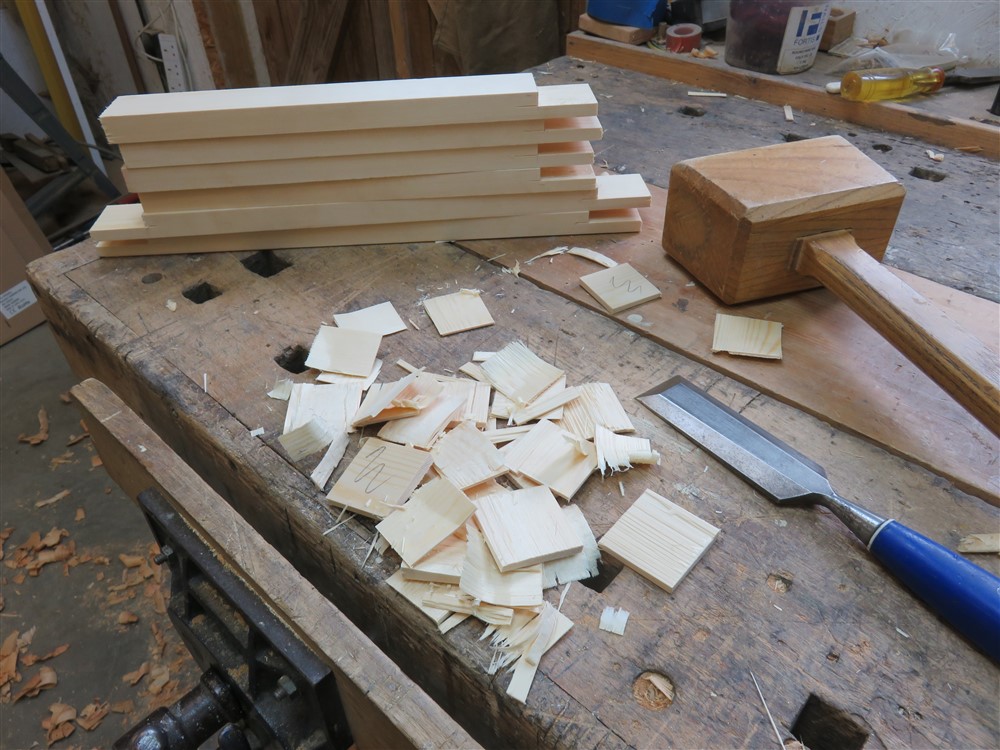
I'm absolutely certain it is quicker and more accurate than sawing, but more than that, it's a lot less effort. Anyway, after sloshing half a pint of glue onto my bench I managed to get some of it onto the joints, which I pinned and clamped:
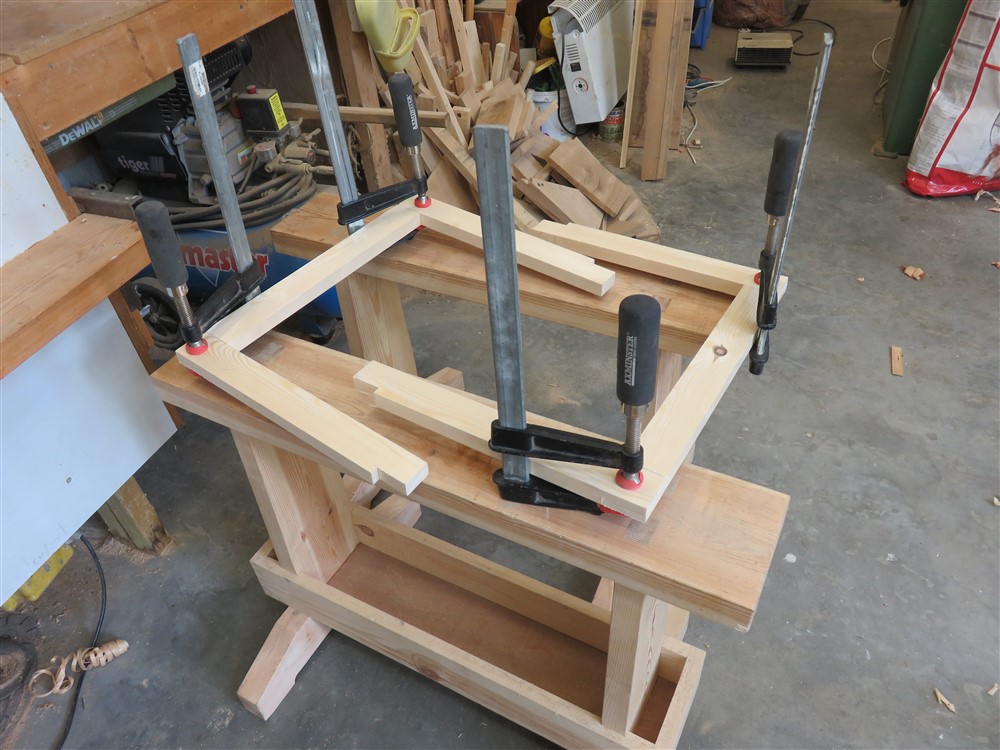
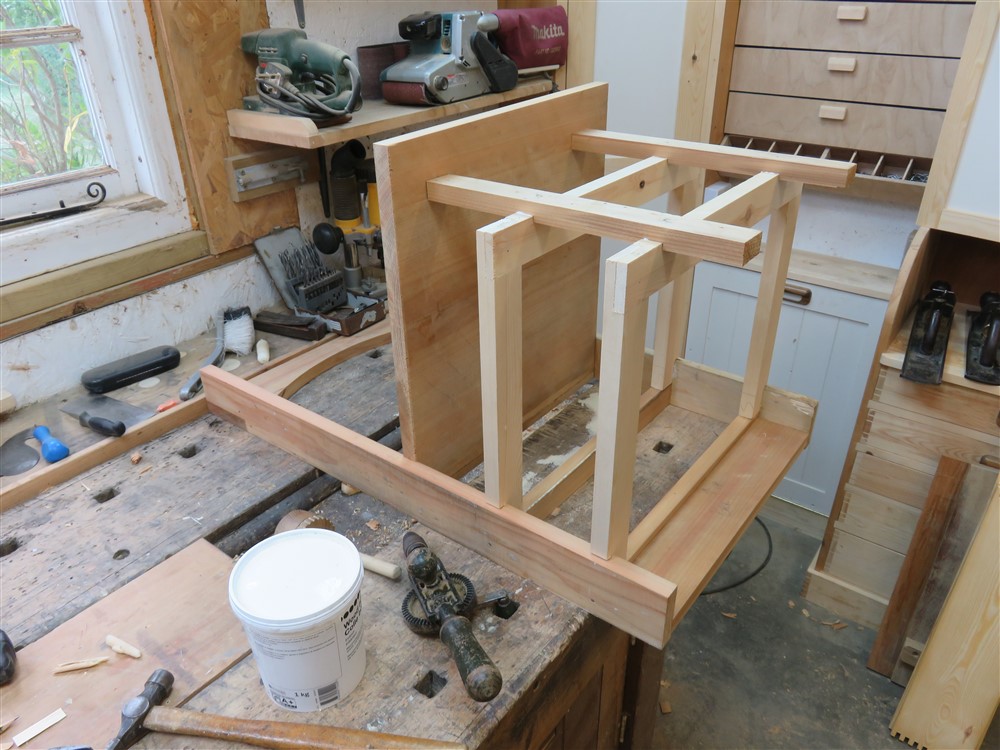
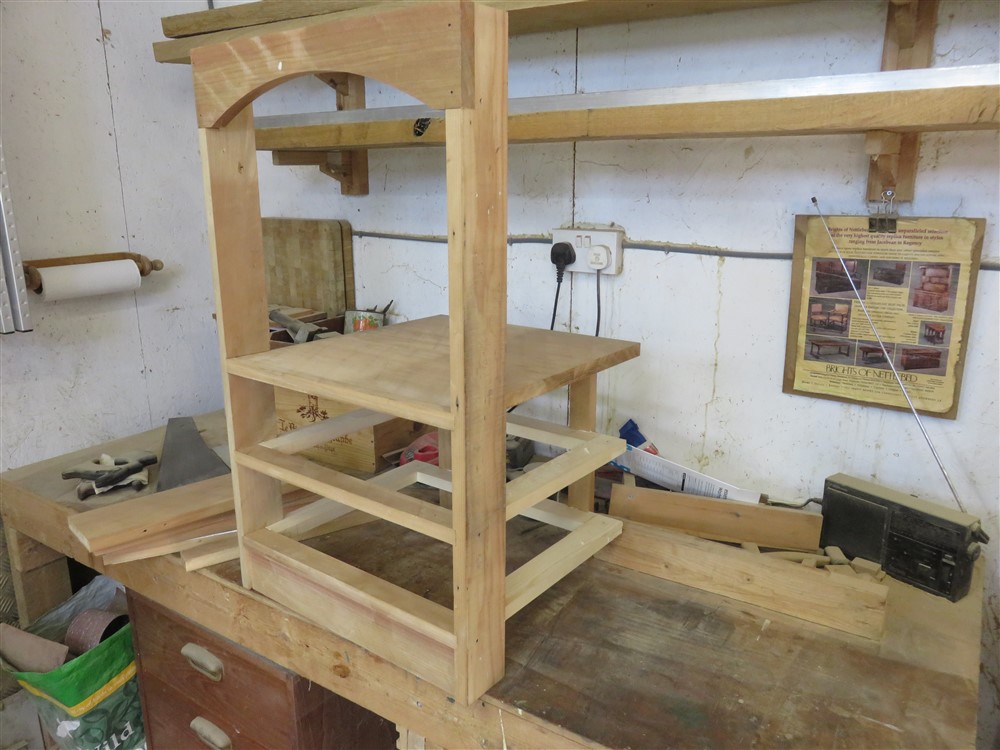
They dropped straight into place a few hours later , and a couple of legs ensured the spacing stayed even:
Dovetails. You've seen this a thousand times before. Firstly, mark every junction carefully:
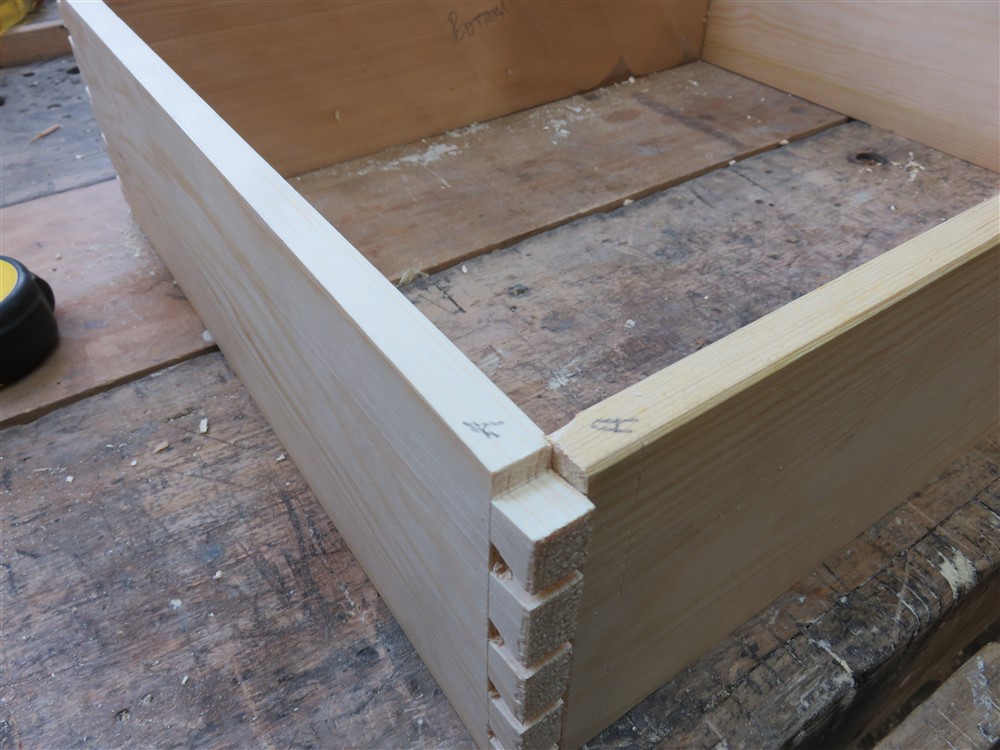
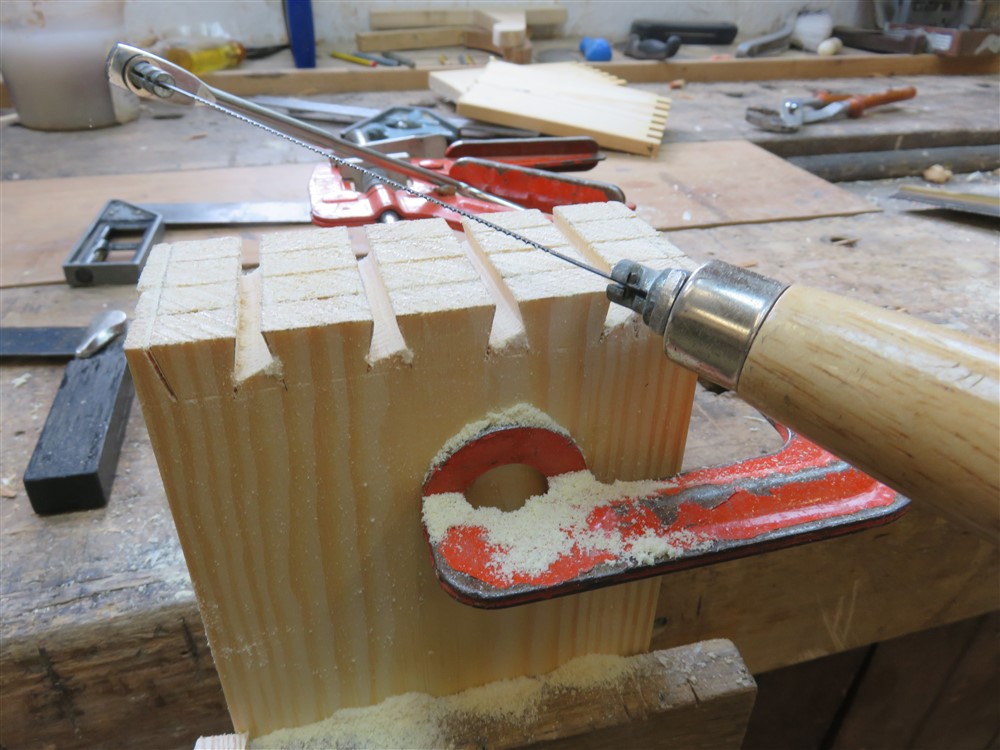
I cut out all the tails together:
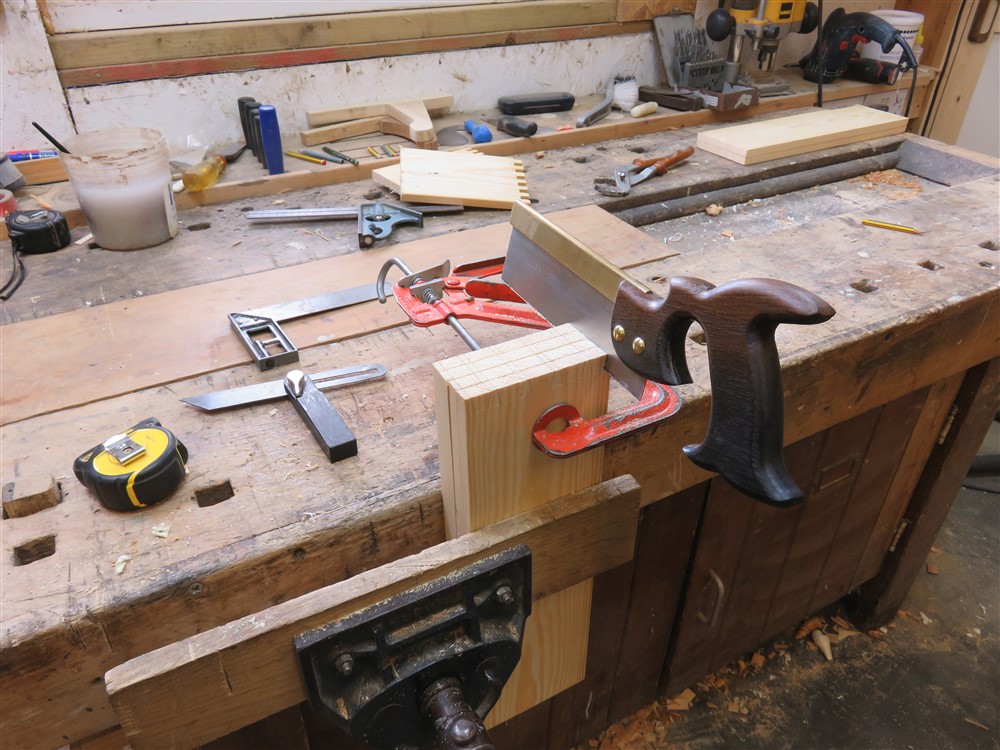
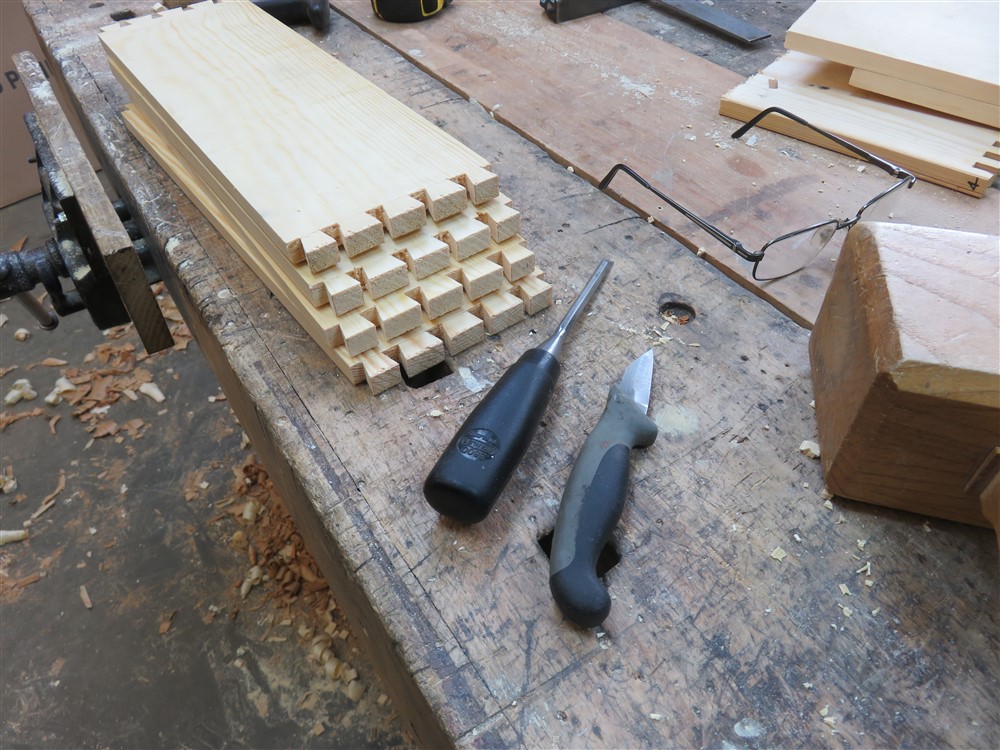
Then a bit of chisel work, and cleaning up with the marking knife:
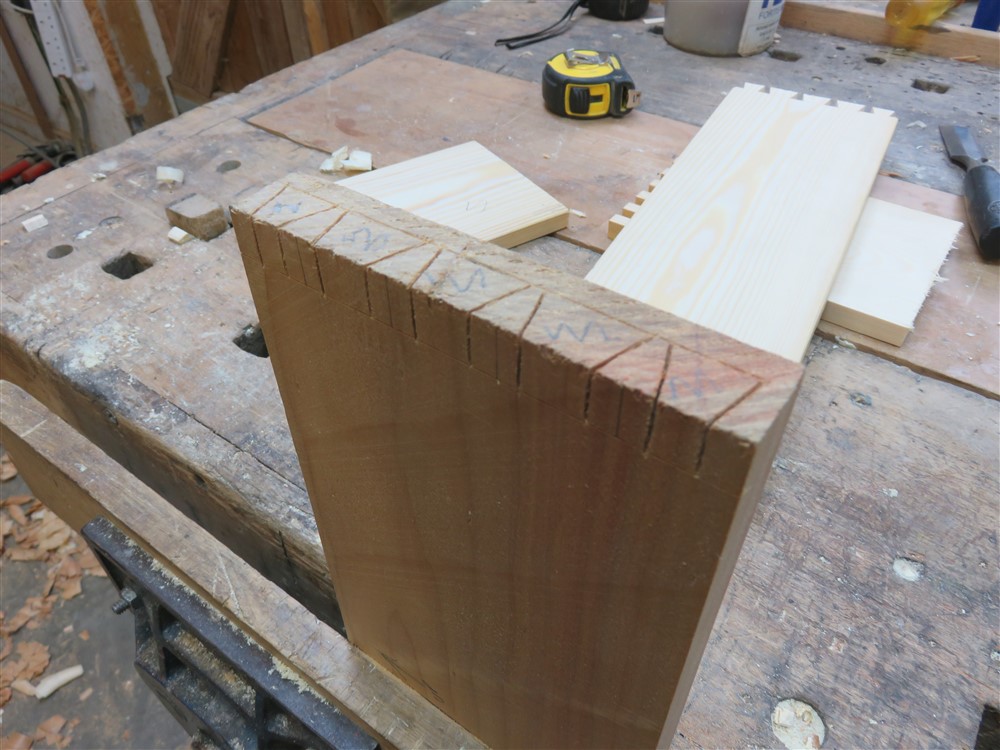
I'd like to introduce you to one of the wonderful and exotic tools in my collection. It's especially designed to extend the saw cuts of half-blind dovetail sockets downwards. Here's the saw cut, which obviously is diagonal and tapers to nothing:
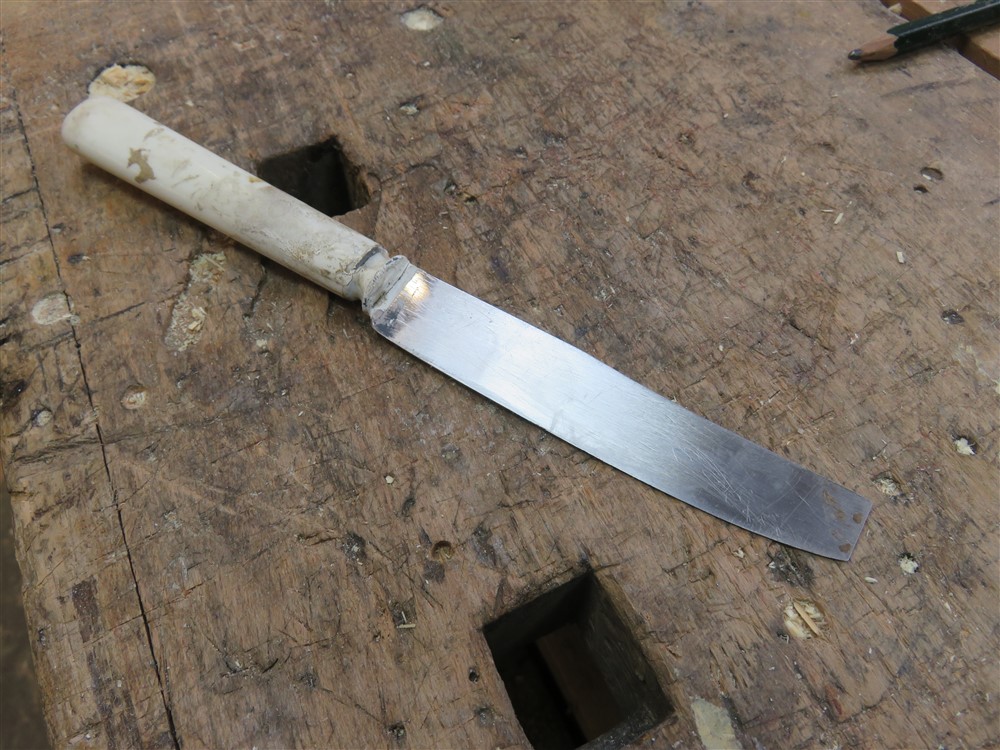
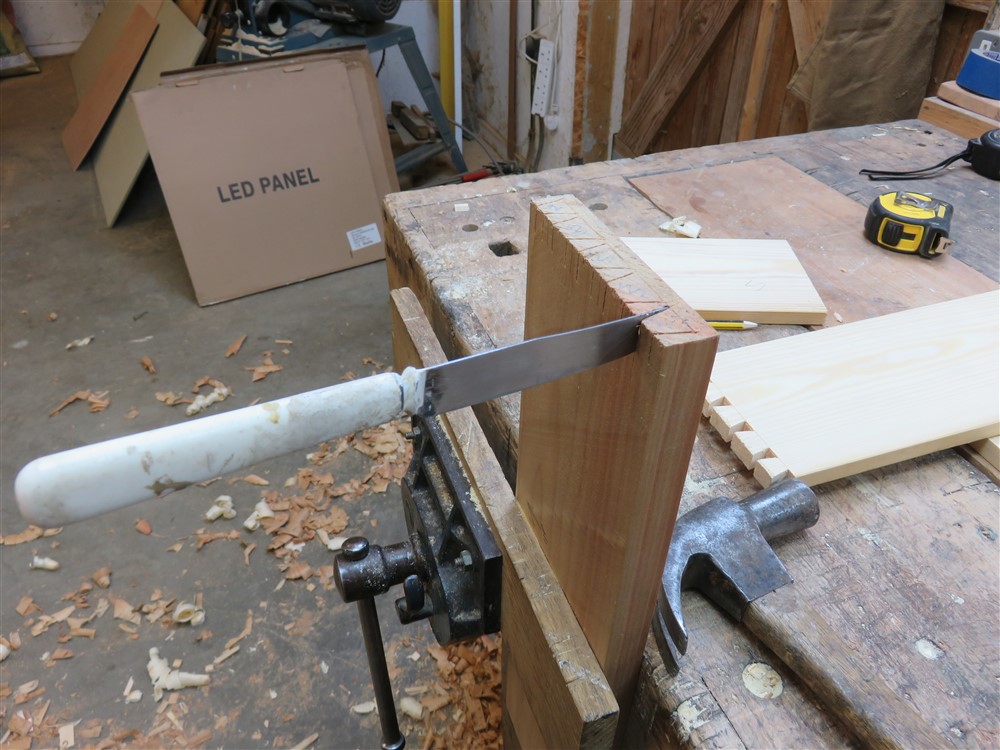
And here is my wonderous tool. Bone handled, square ended, reasonably sharp, and just a tad thinner than a saw kerf ( a bit of wax helps get it out afterwards):
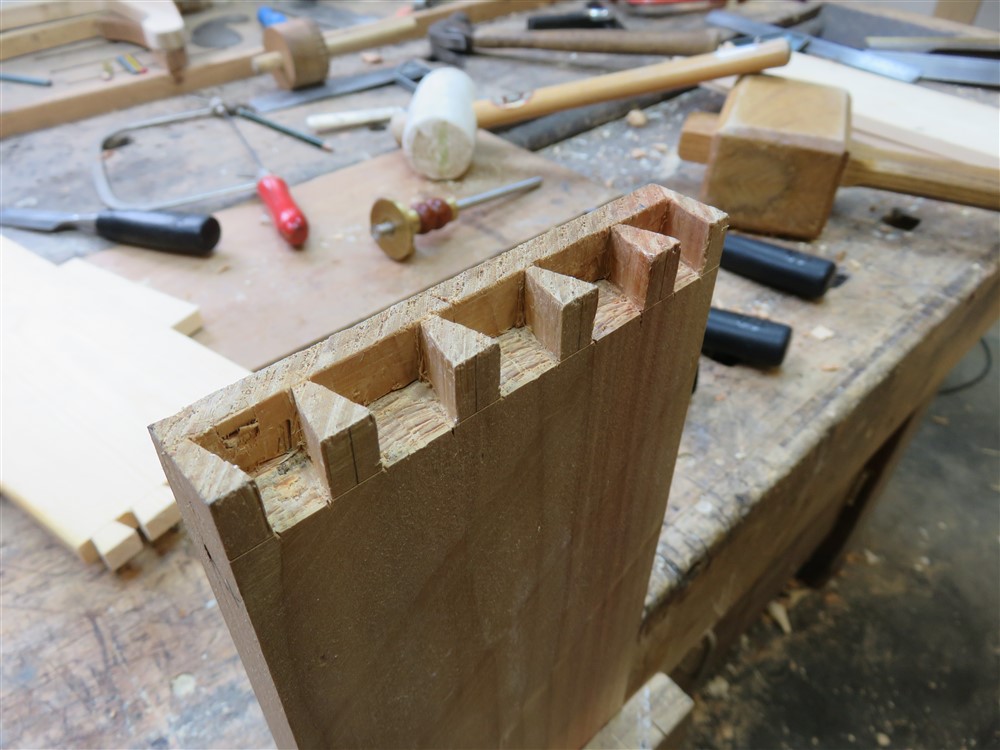
Persuade it into place with your favourite hammer, and you now have clean chiseling fun to look forward to, without quite such a fight in the back corners of the socket:
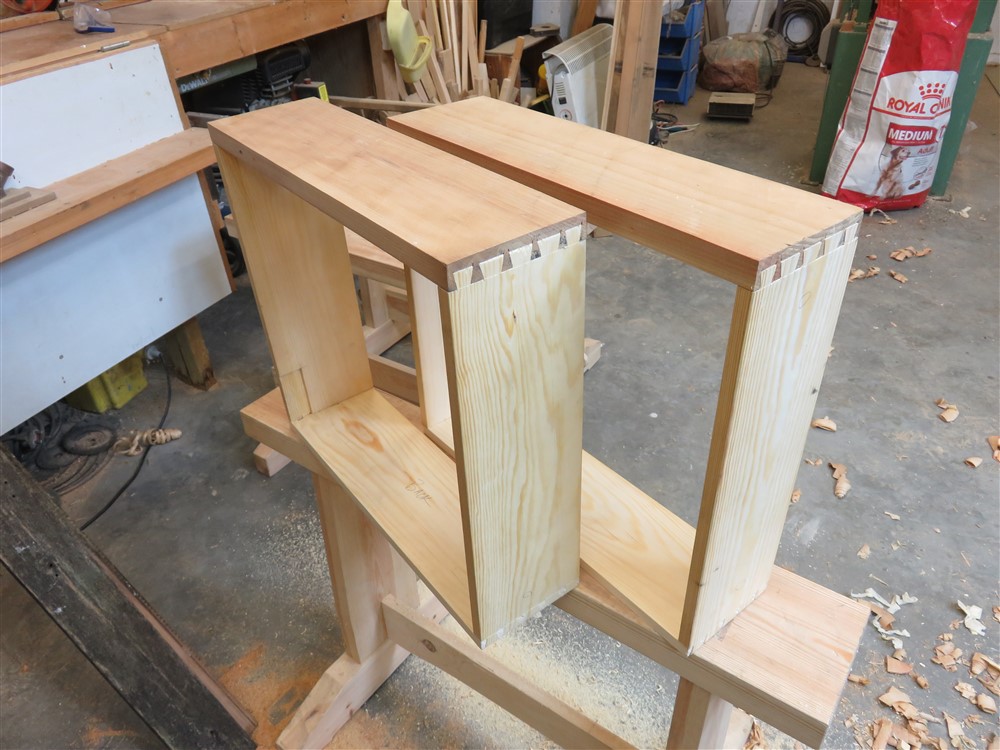
And here's the current state of play. Just the grooves to do before gluing up, then a final fit and clean up, handles on, then inside....


So, on to the drawers. First job was to make the drawer fronts fit the openings:

I then scrabbled about in my wood store / loft, and found some pine from a project that never happened. It was flat and straight, but looked awfully soft:

I ripped it and planed a straight edge:


There are some hinge housings I'll have to work around, but ho hum.......
Before I got into the drawers too much I really should have some runners etc to offer them into. I found a length of 2x1 PAR, and cut it up, then cut some shoulders for some half laps:


I'm not sure anyone else here does this routinely, but I always chisel my tenon cheeks unless there is some wild grain or a knot in the way:


I'm absolutely certain it is quicker and more accurate than sawing, but more than that, it's a lot less effort. Anyway, after sloshing half a pint of glue onto my bench I managed to get some of it onto the joints, which I pinned and clamped:

They dropped straight into place a few hours later , and a couple of legs ensured the spacing stayed even:


Dovetails. You've seen this a thousand times before. Firstly, mark every junction carefully:

I cut out all the tails together:


Then a bit of chisel work, and cleaning up with the marking knife:

I'd like to introduce you to one of the wonderful and exotic tools in my collection. It's especially designed to extend the saw cuts of half-blind dovetail sockets downwards. Here's the saw cut, which obviously is diagonal and tapers to nothing:

And here is my wonderous tool. Bone handled, square ended, reasonably sharp, and just a tad thinner than a saw kerf ( a bit of wax helps get it out afterwards):

Persuade it into place with your favourite hammer, and you now have clean chiseling fun to look forward to, without quite such a fight in the back corners of the socket:


And here's the current state of play. Just the grooves to do before gluing up, then a final fit and clean up, handles on, then inside....

thomashenry
Established Member
Great! I tend to chisel off my tenon cheeks too, unless the grain doesn't allow it.

£13.99 (£2.80 / count)
VEVOX® FFP1 Dust Mask - Set of 5 - Valved Face Masks - Respirator - Protection e.g. for Construction, Building Work, Sanding, Woodworking, Fine Dusts, Aersoles or Particles
SLSK Ventures GmbH (UK)

£96.66
£102.61
O'SKOOL Mortise and Tenon Jig is Ideal for cabinets, Chairs, and Table Construction Using a Plunge Router
Amazon US

£17.99 (£9.00 / count)
JORGENSEN 300mm Professional Woodworking Clamps 2 Pack, Quick Release Clamps for Wood, F Clamps Set
GreatStarTools

£400.66
Trend Portable Benchtop Router Table with Robust Construction for Workshop & Site Use, 240V, CRT/MK3
Qwikfast Trade & DIY Supplies Limited

£12.50 (£1.25 / count)
£14.45 (£1.44 / count)
JSP M632 FFP3moulded Disposable Dustmask (Box of 10) One Size suitable for Construction, DIY, Industrial, Sanding, dust protection 99 Percent particle filtration Conforms and Complies to EN 149
Amazon.co.uk

£17.99 (£1.80 / count)
£27.44 (£2.74 / count)
3M 8822 Disposable-fine dust mask FFP2 (10-pack)
Amazon.co.uk
MikeG.
Established Member
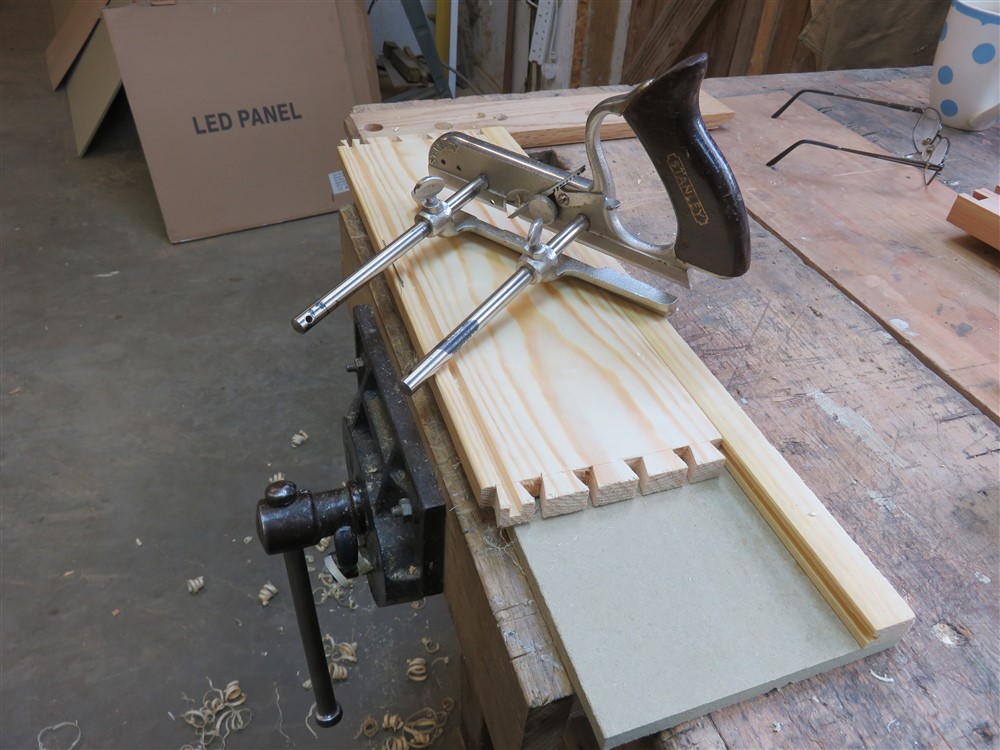
Next job was to groove out for the bottom board of the drawers. The Stanley #50 got another outing, and I took the opportunity to sharpen and clean up all the remaining un-restored blades:
Classy material for the drawer bottoms:
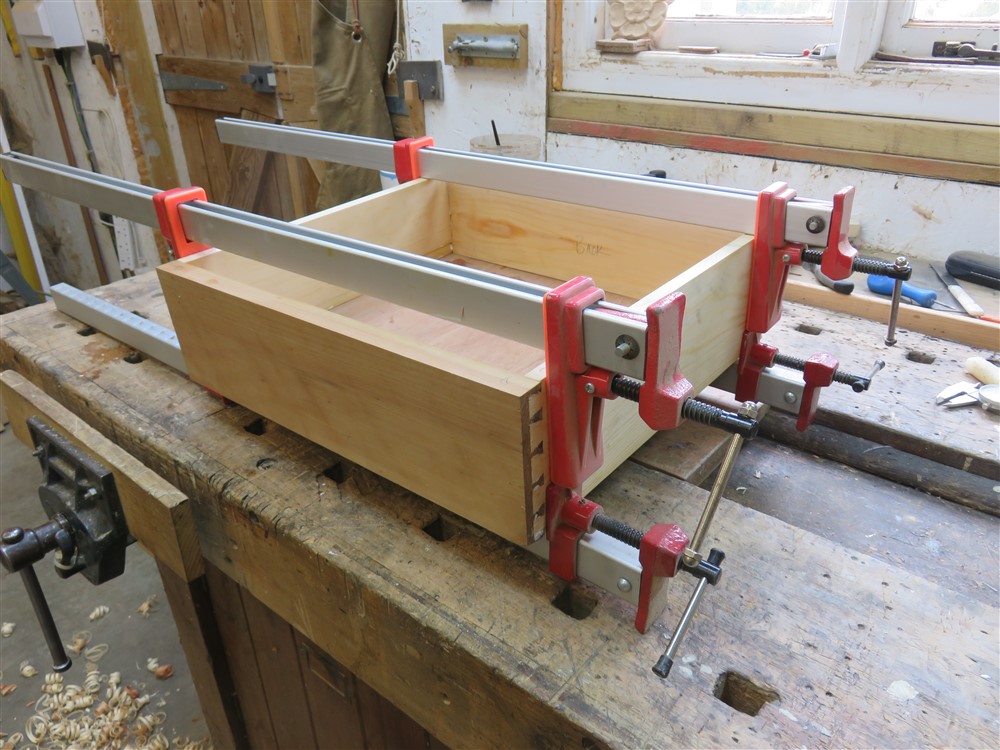
All glued up and square. Note the dovetails all round, which always causes an issue with drawer stops:
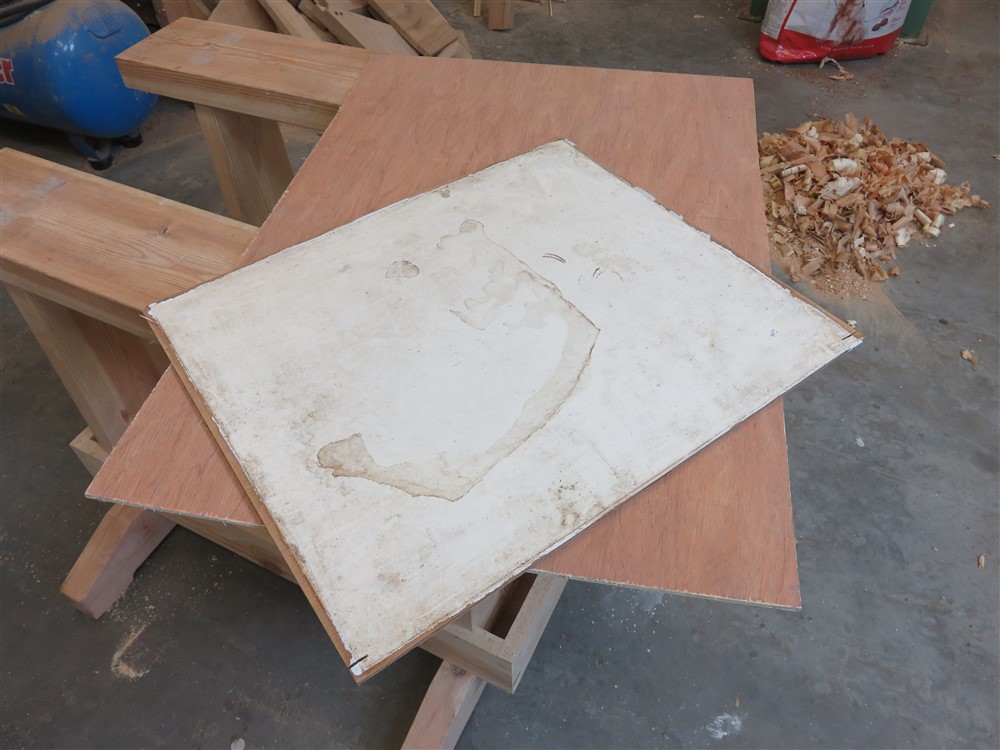
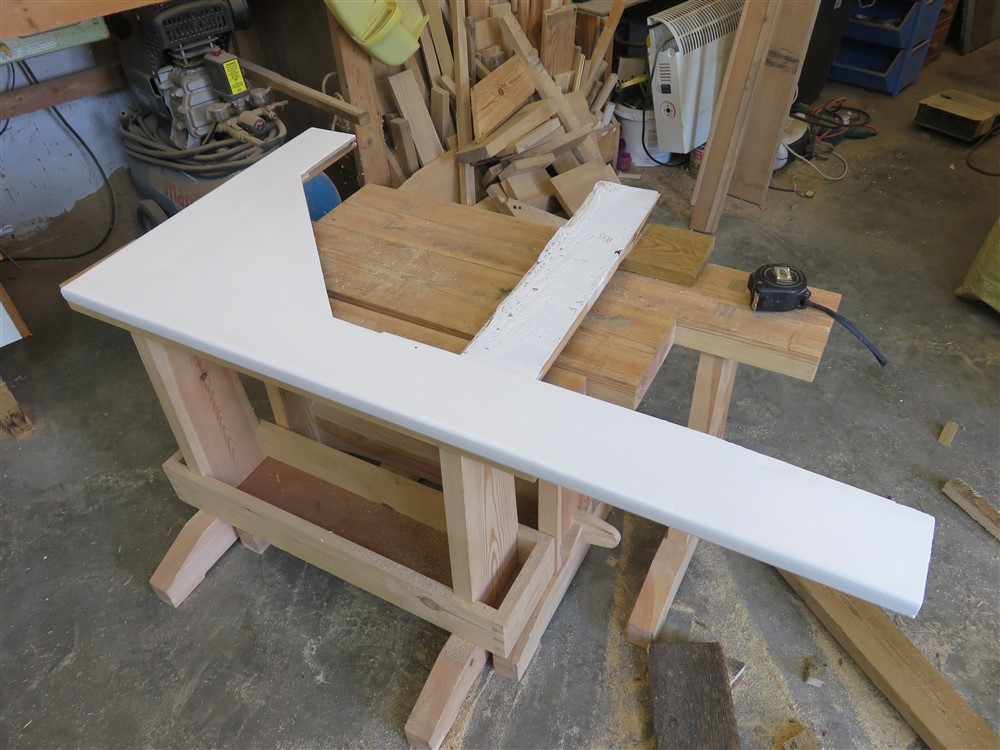
Whilst the drawer boxes were drying I moved on to the "worktop" that the cabinet sits on. I had some really manky worm-eaten old floorboards pulled up from one of the bedroom floors:
Mitres! I loath them:
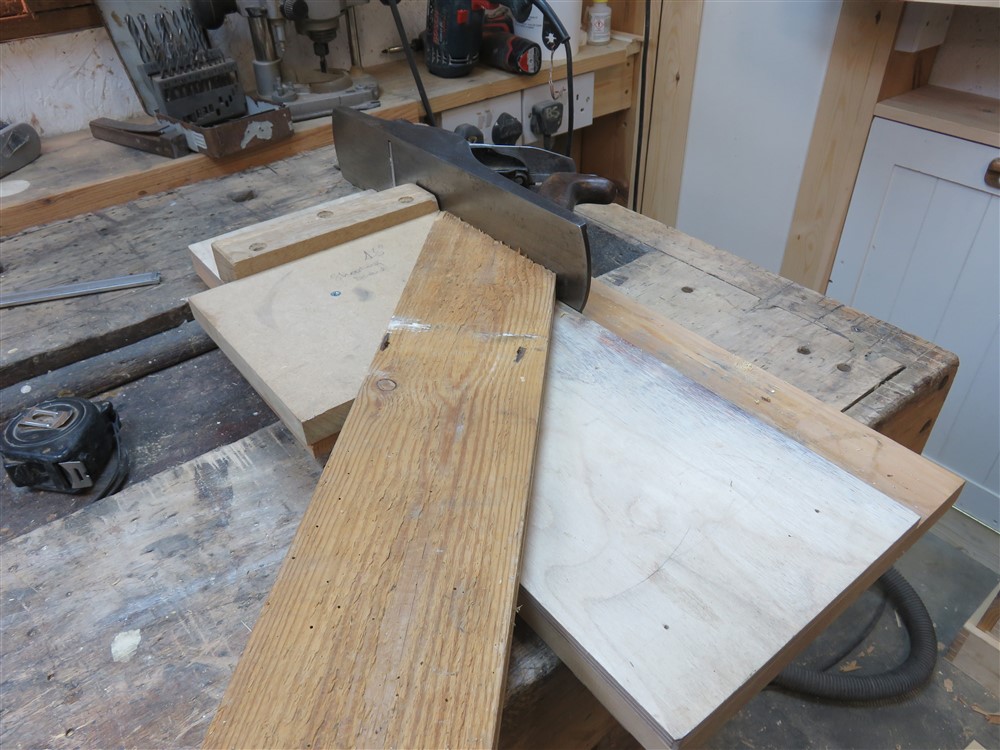
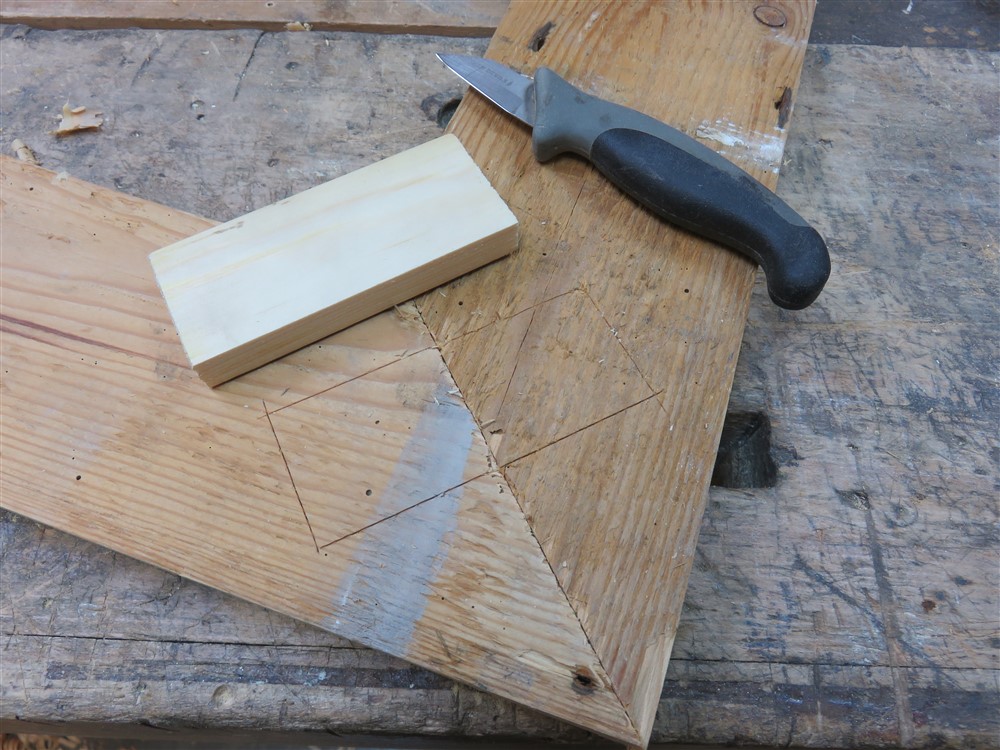
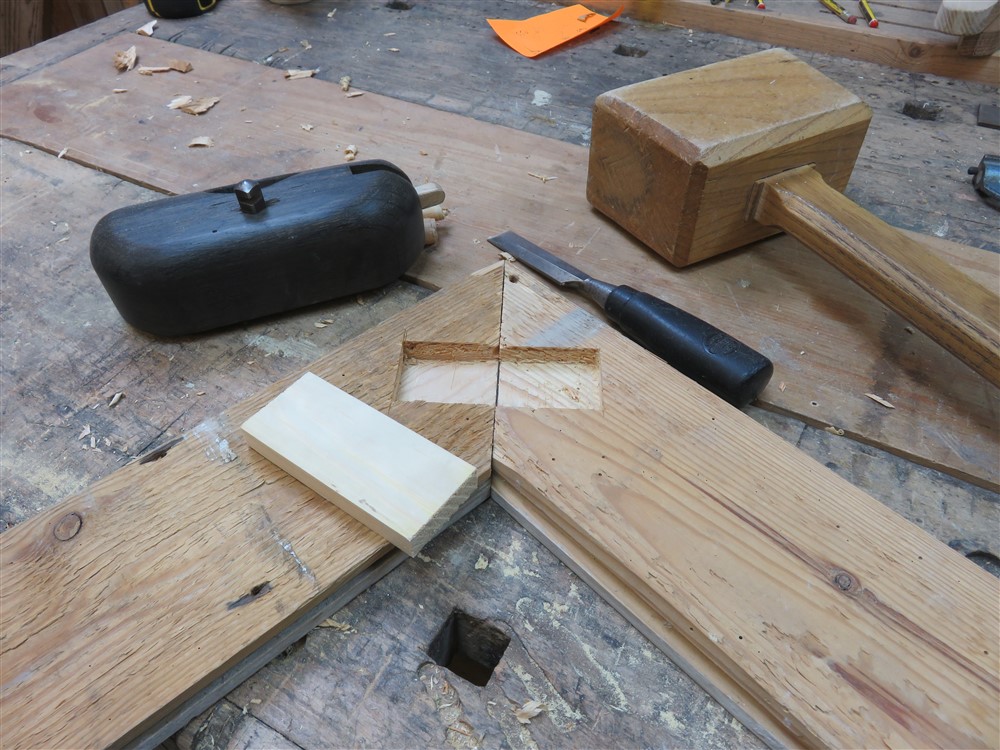
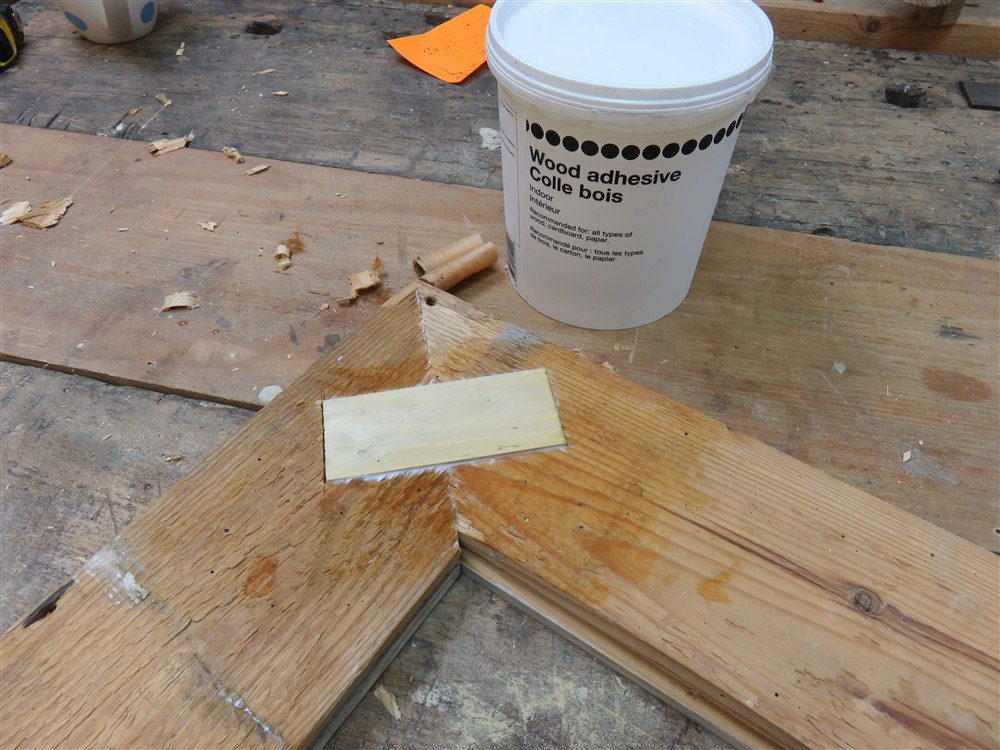
I need a sticky-outy bit, and a dovetailed half-lap seemed like an idea:
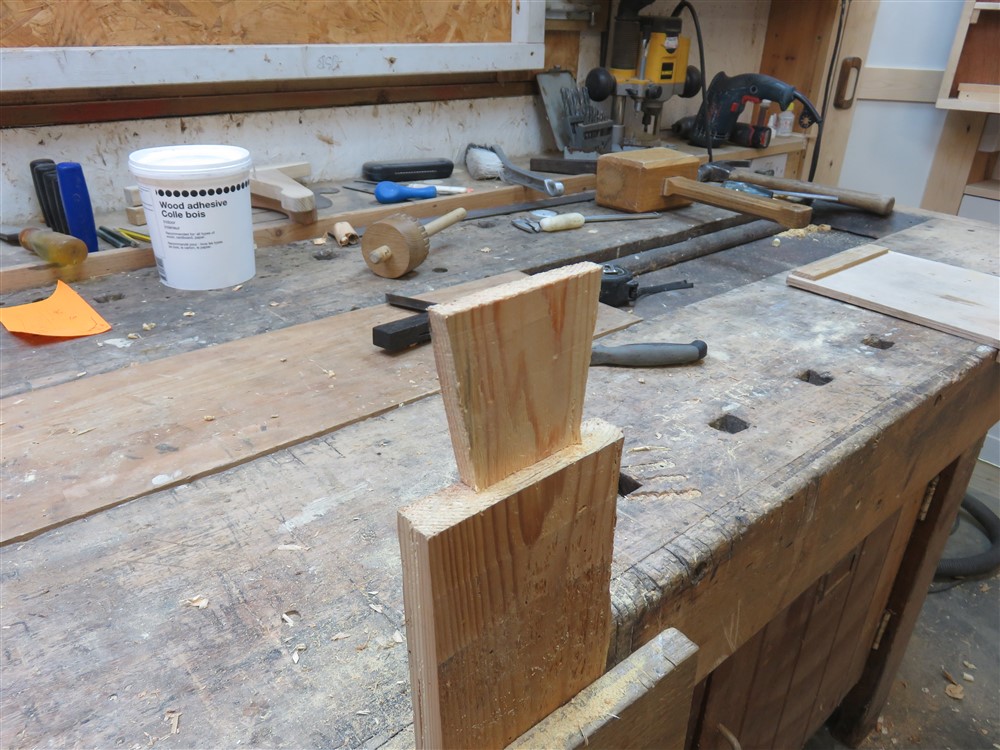
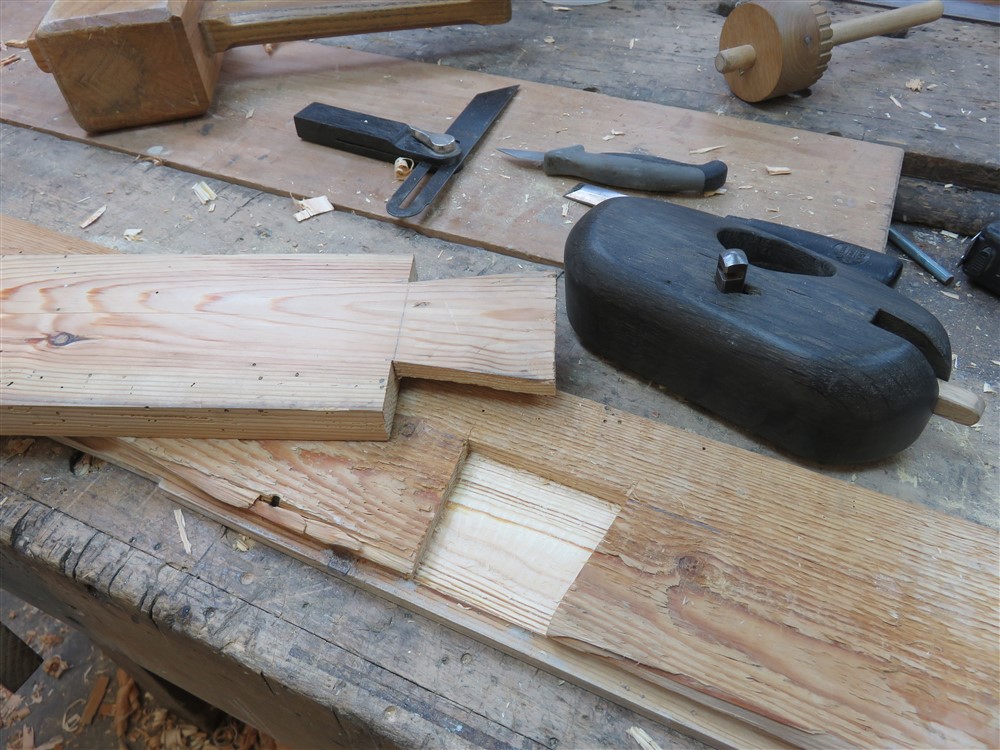
Here's my workholding method for that particular joint, which had to resist my router plane:
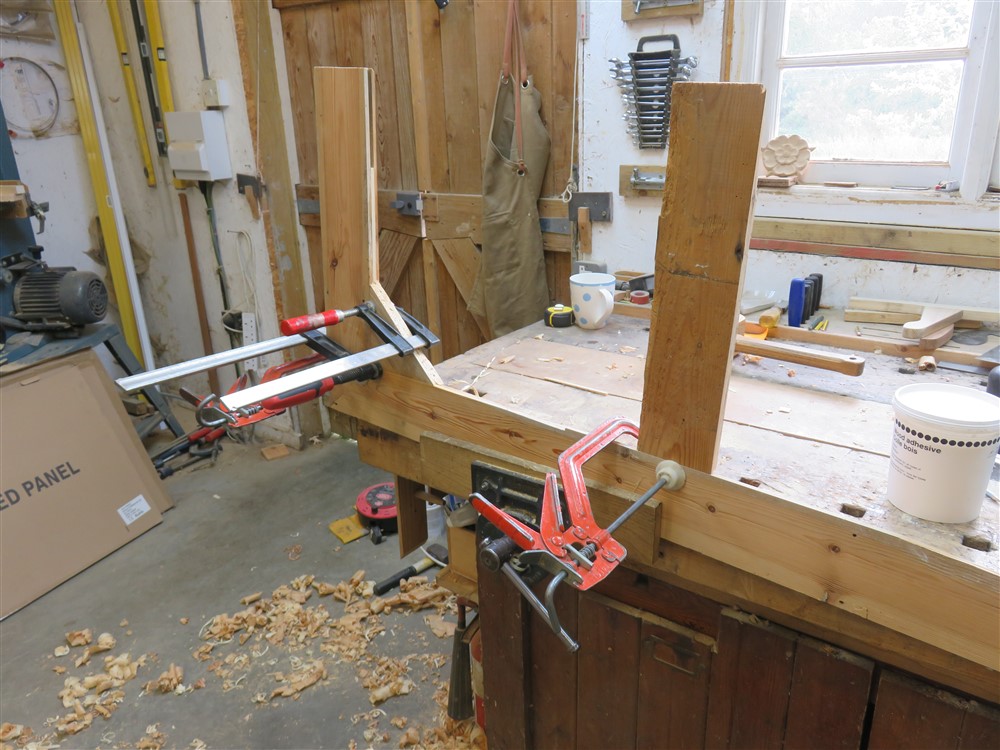
First glue-up:
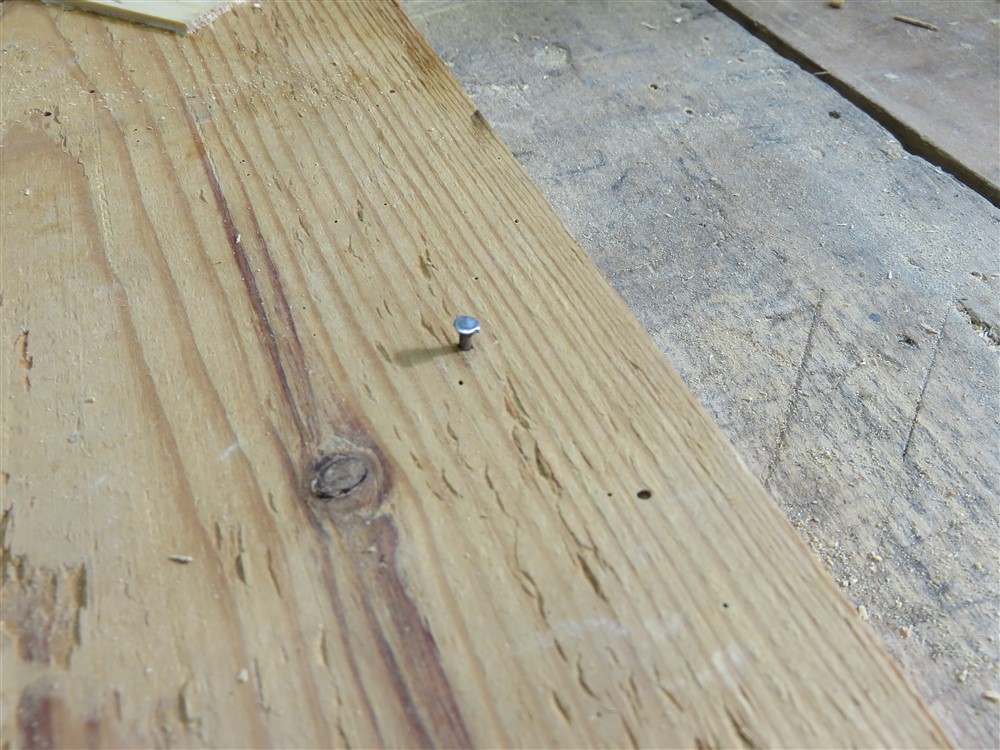
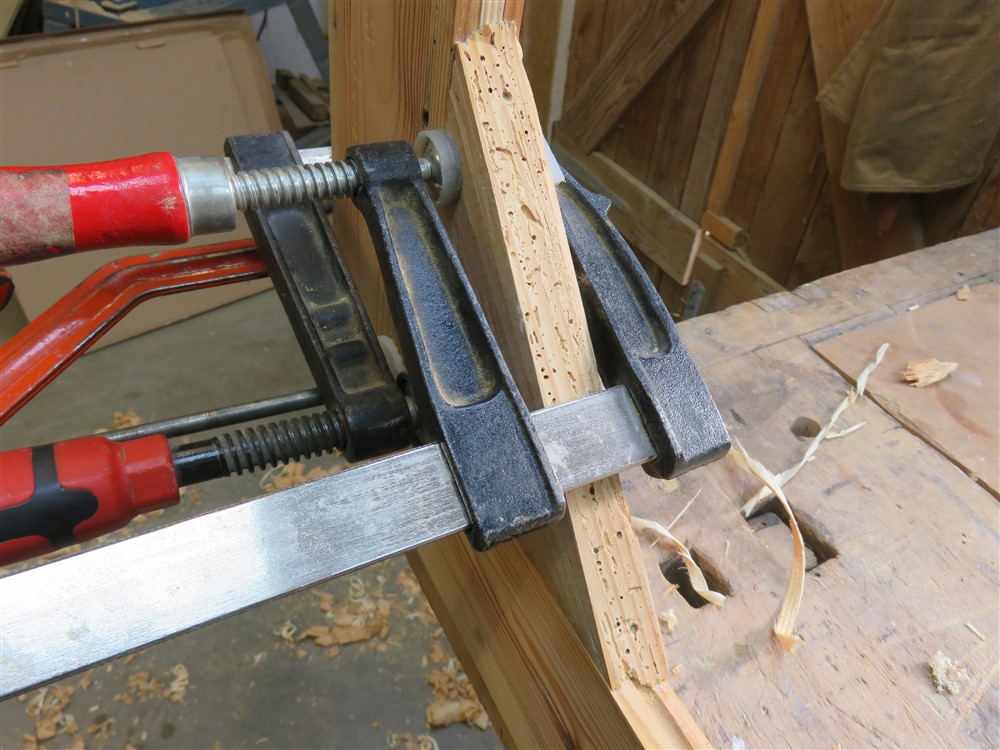
Just so that Sunnybob understands that I'll put my money where my mouth is regarding woodworm, here is a closeup of the timber I'm using:
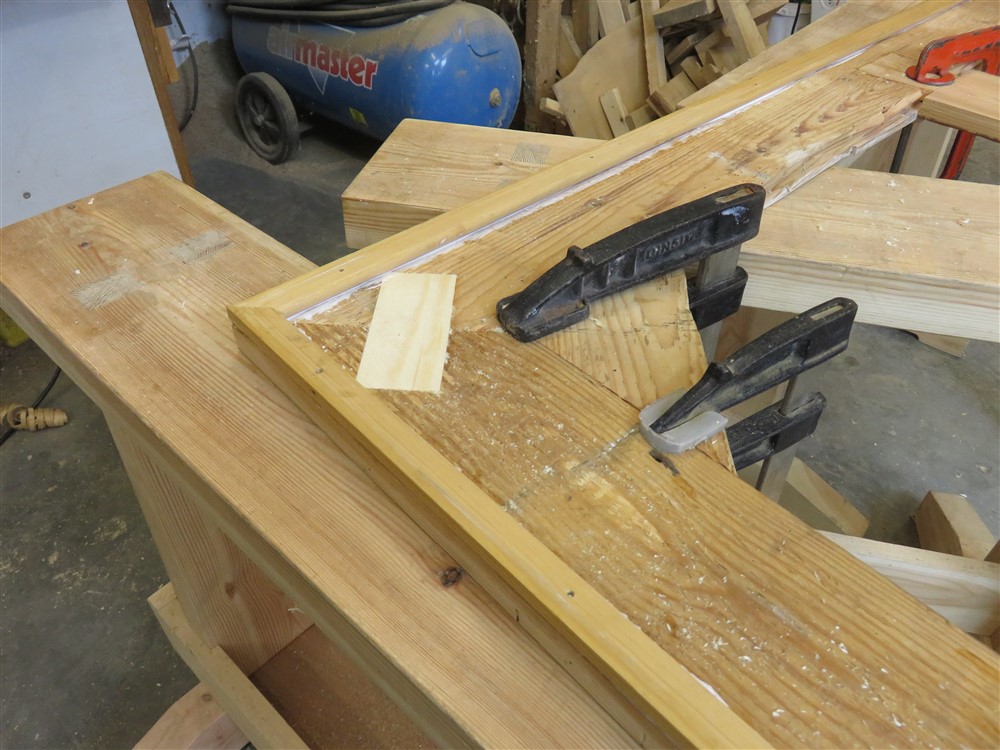
I glued on a strip to the underside of the edge to thicken it up:
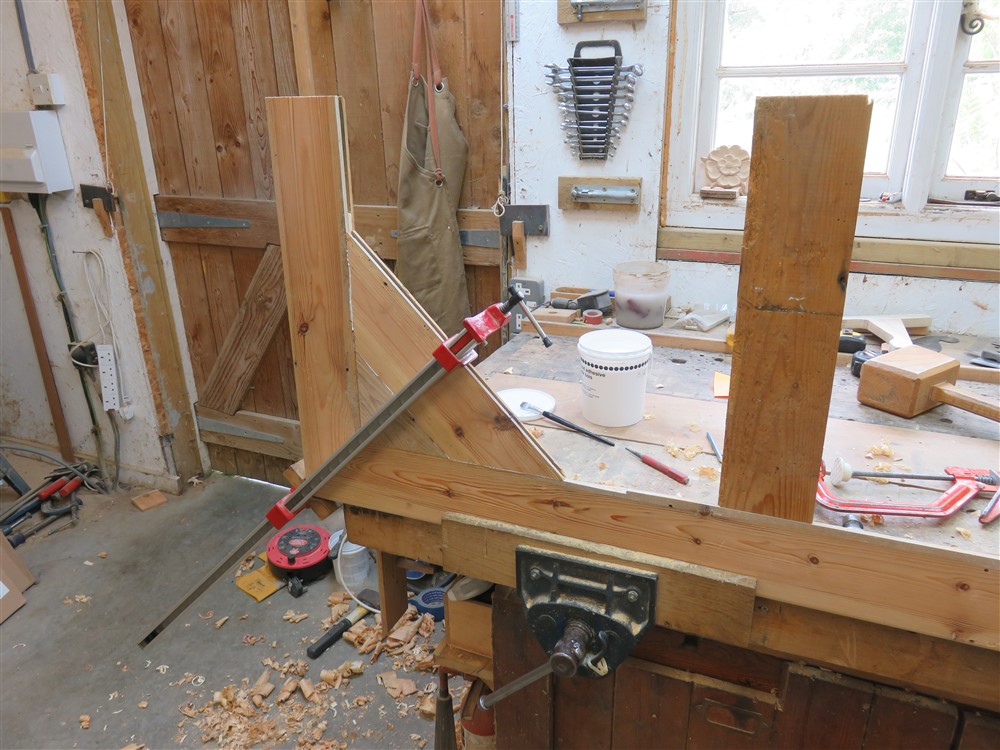
I glued the final piece of the worktop in place:
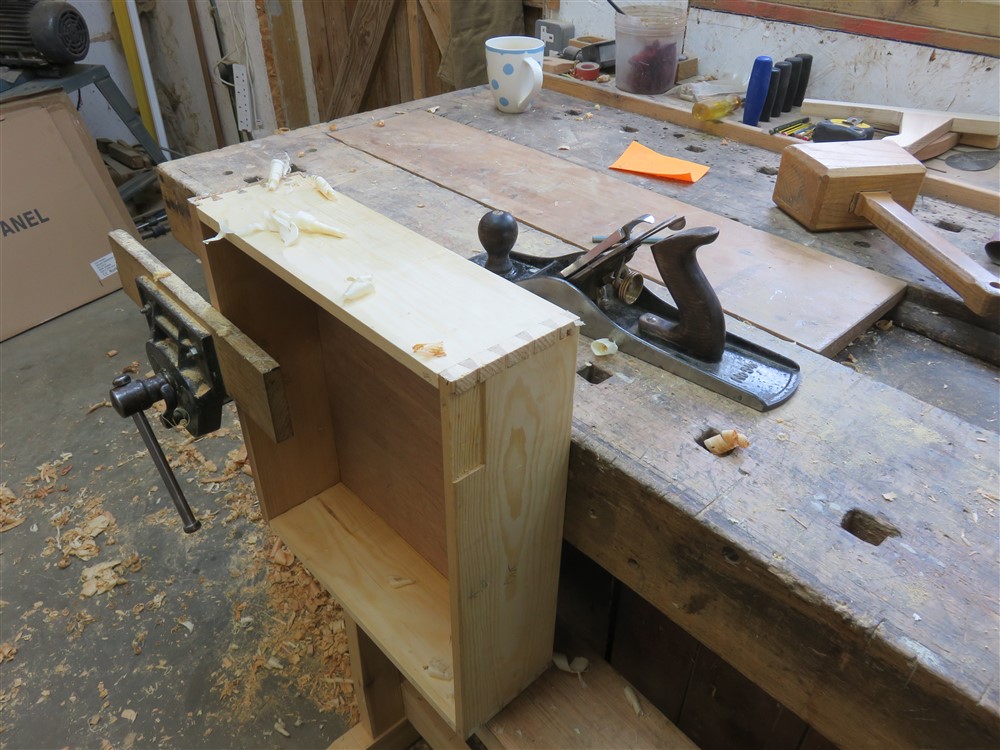
.......and whilst that was drying I cleaned up the drawers:
Now........drawer stops. If you do them the standard way, like this:
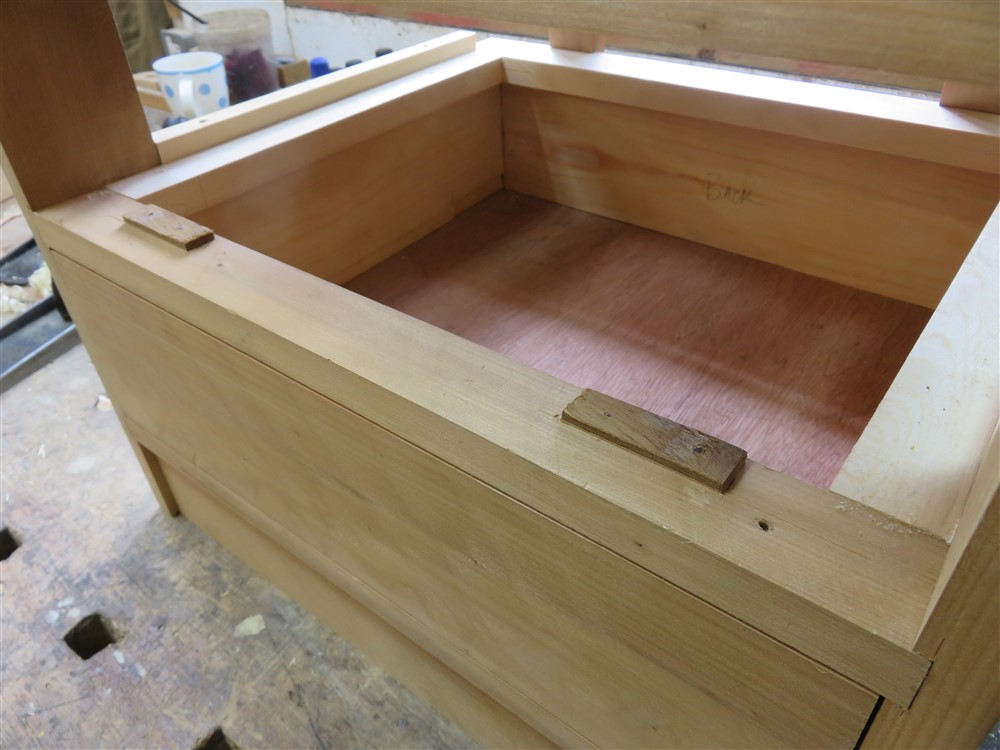
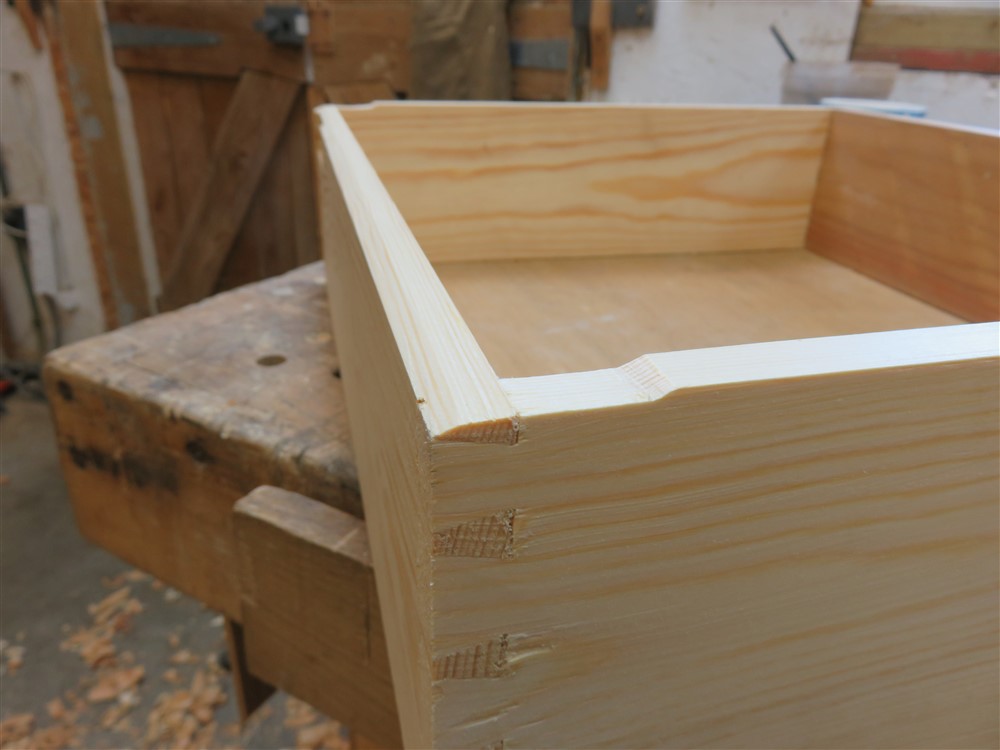
.....and you have a full height rear piece to the drawer, rather than having the floor extend out under the back, then you can't get the drawer in the hole. You then have to do this to the back of the drawer to be able to waggle them into place over the stops:
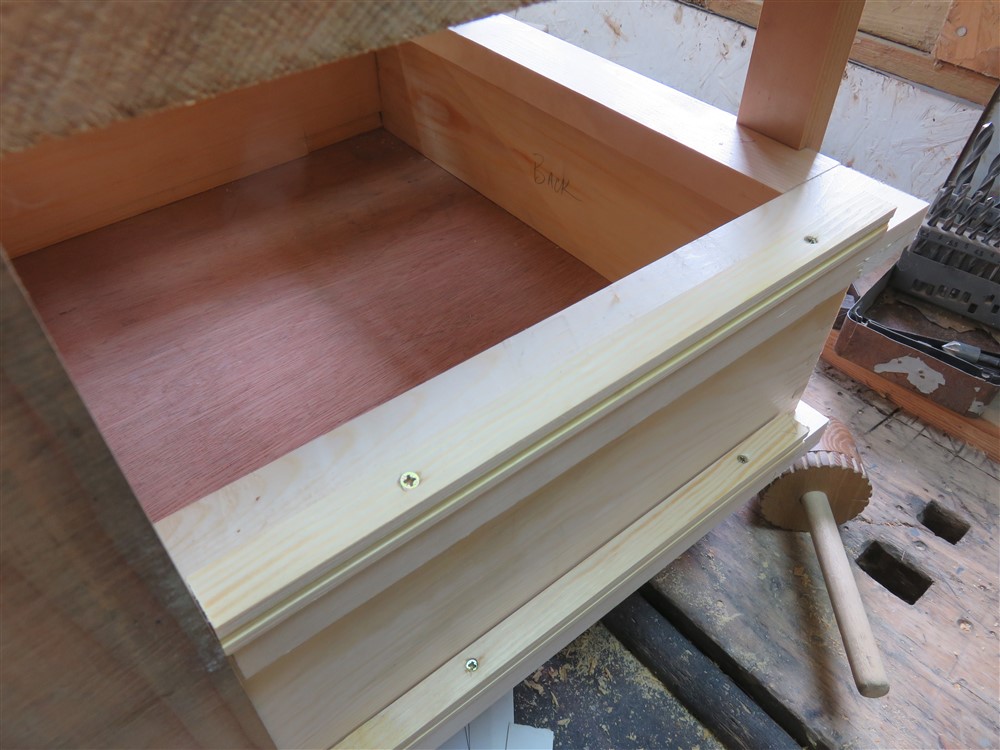
I put some little side pieces on the runners:
....and nailed the handles on:
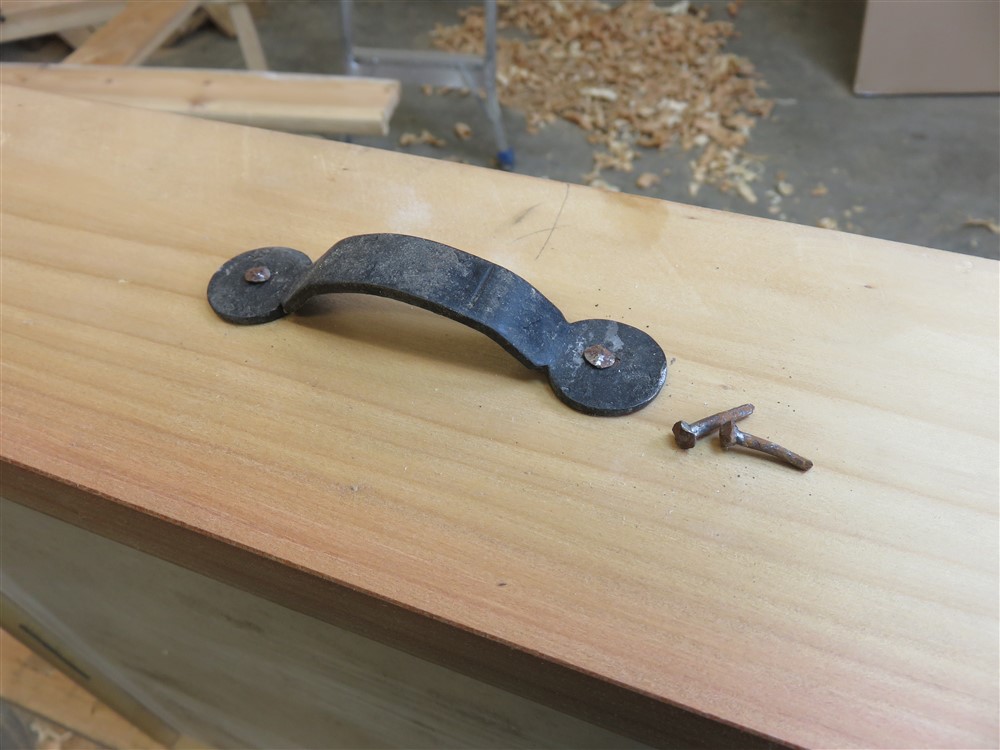
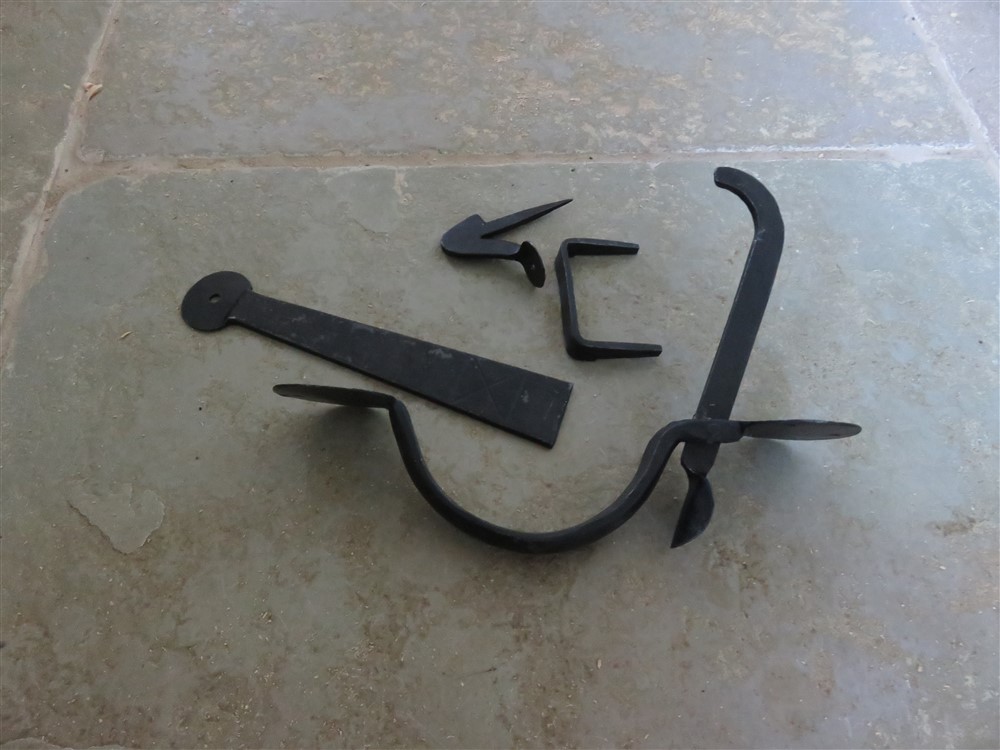
Those handles aren't handles. Or at least, they are now, but I bought them as something else. Five notional internet pence to the first person to come up with their original use.
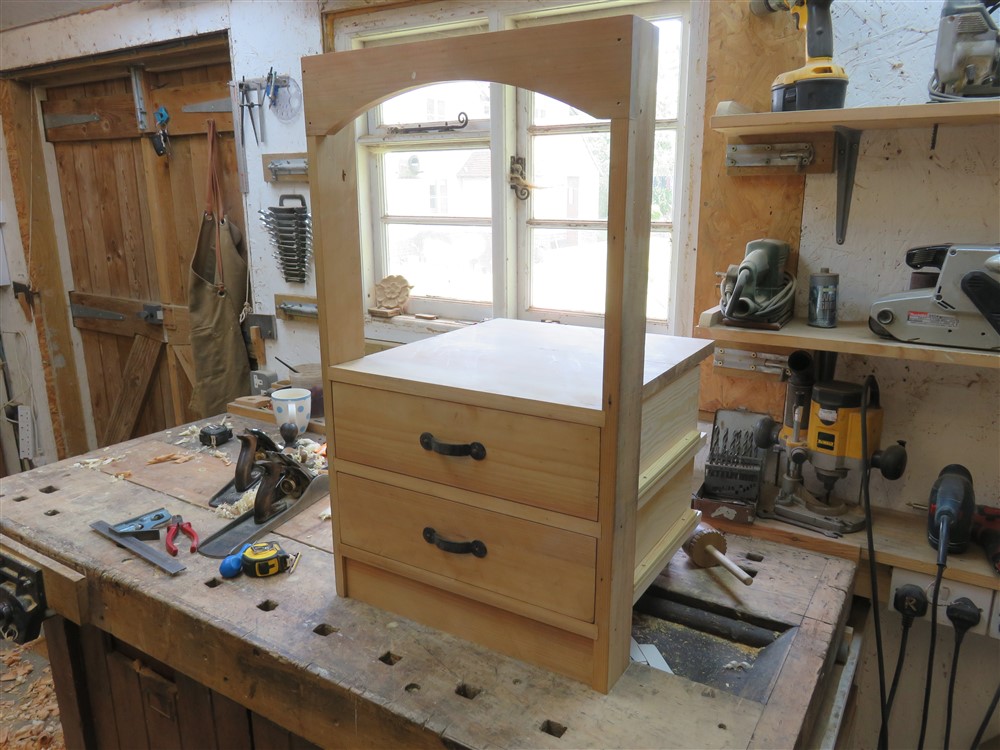
Anyway, that's the drawer unit finished:
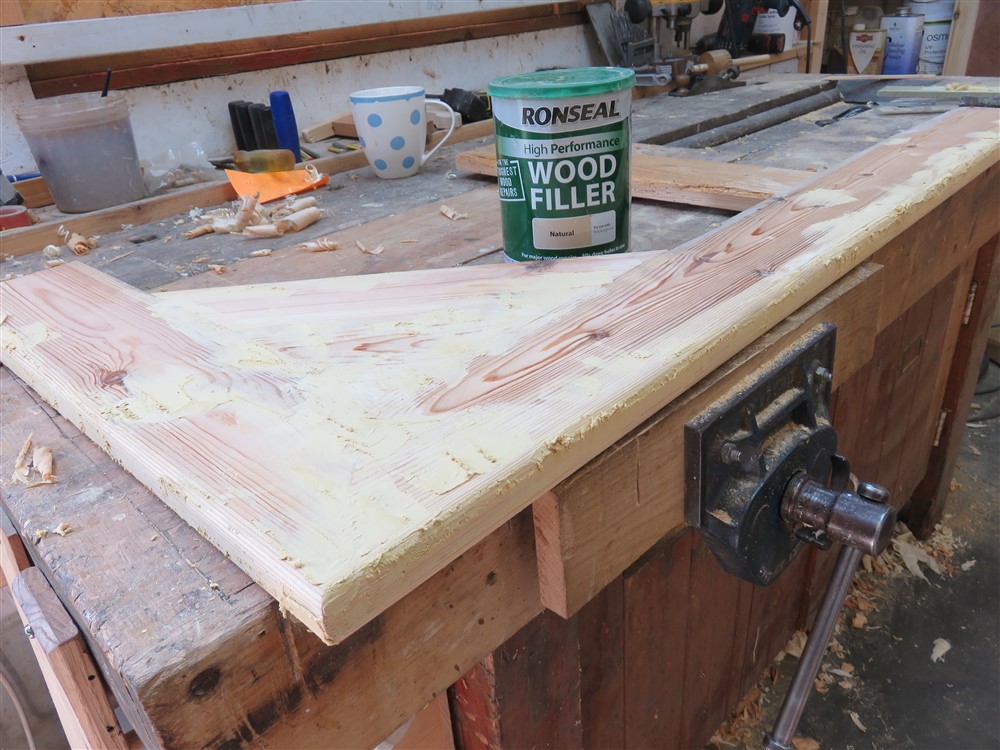
Time to focus on the worktop. A bit of bodywork on the worm-holes:
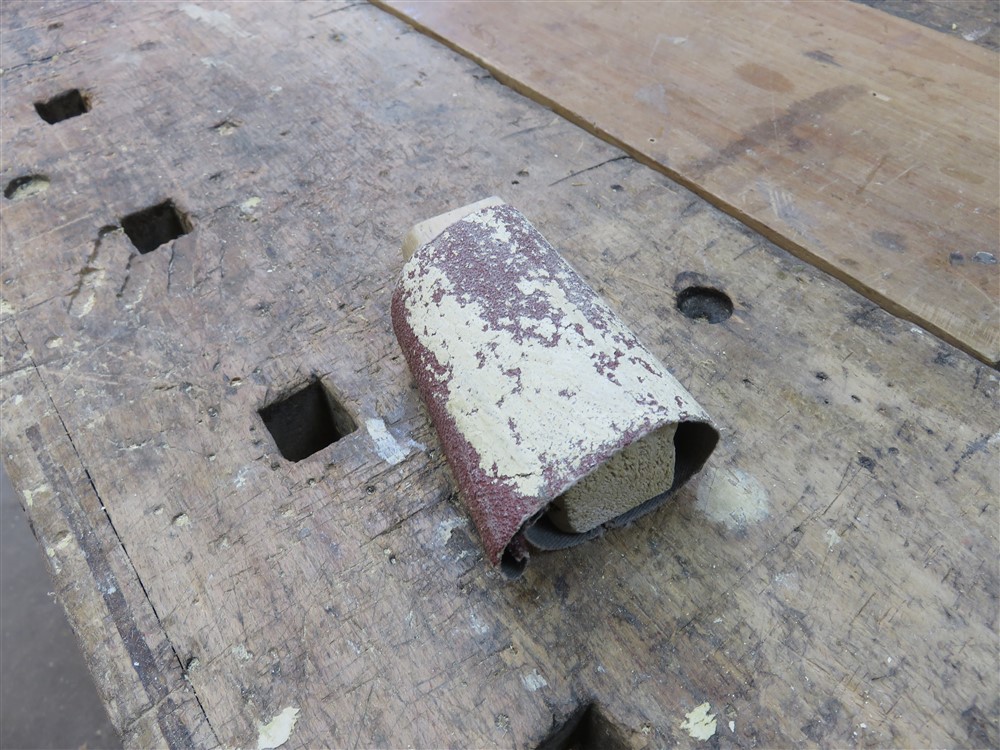
Then it was on to painting. This is going to be satin painted, but with a water-based Bedec paint. Unfortunately, I couldn't find the primer undercoat, the Bedec line wasn't answering, and the people in the paintshop didn't know the answer to my question.......could I use Bedec Barn Paint as a primer undercoat? So I cracked on and did it anyway. This is what the mist coat looked like:
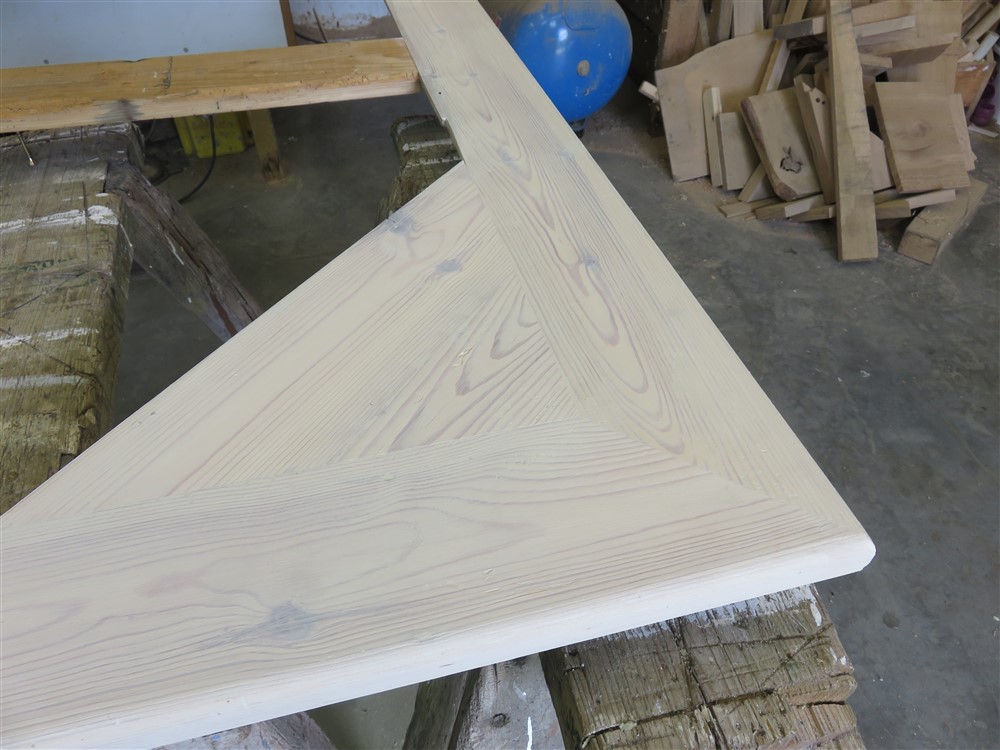
I only post that because that illustrates what I was expecting the entire cabinet to look like.......a washed-off watered-down finish.
Watching paint dry:
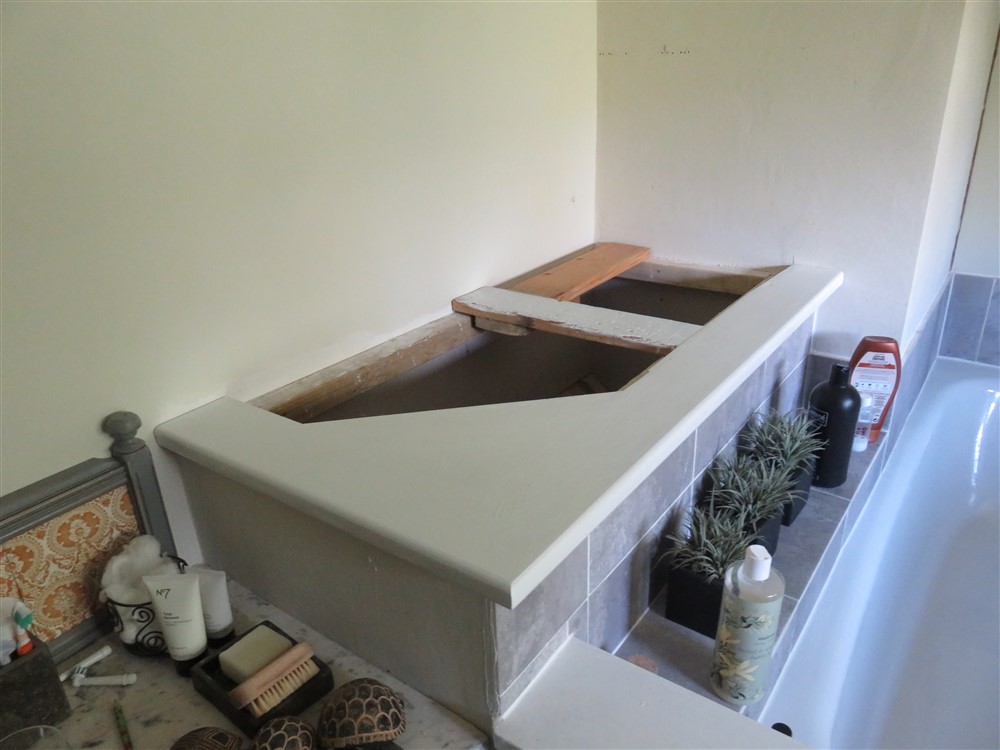
Then it was just a question of fitting everything, and filling in the gap at the top:
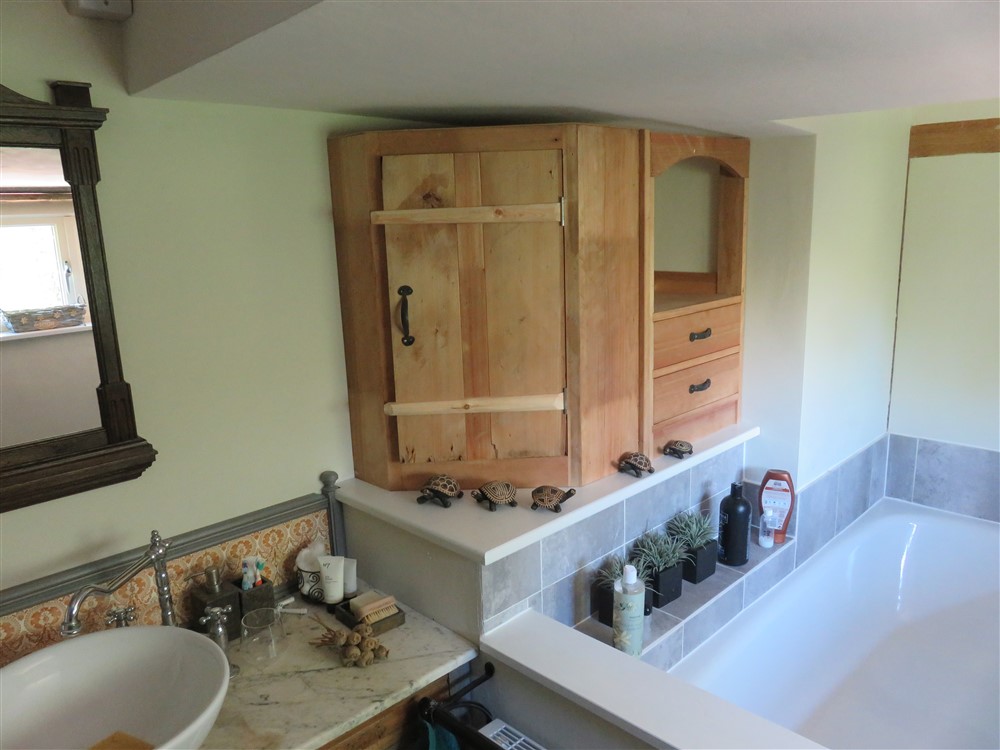
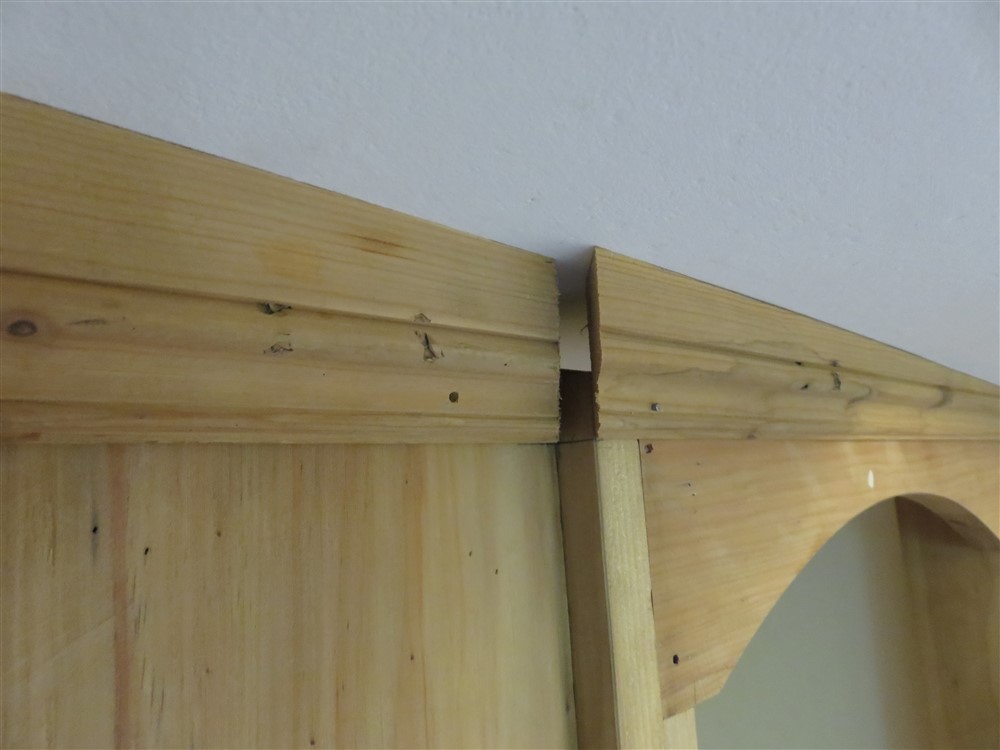
Note the changing size of the gap!!
Here's a bit of fun:
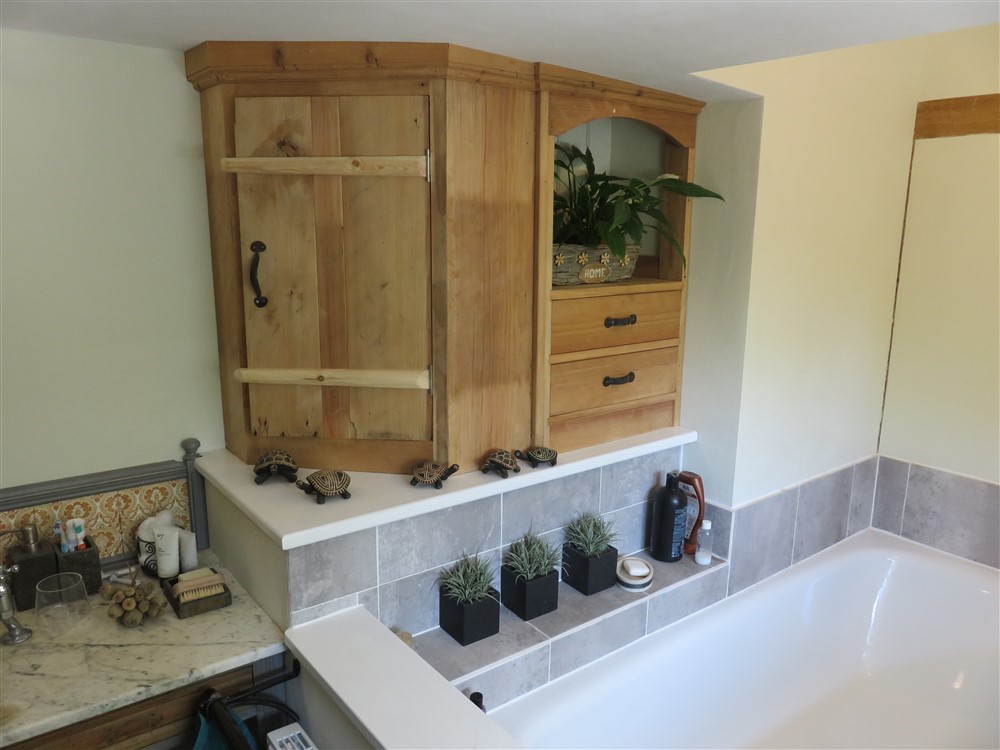
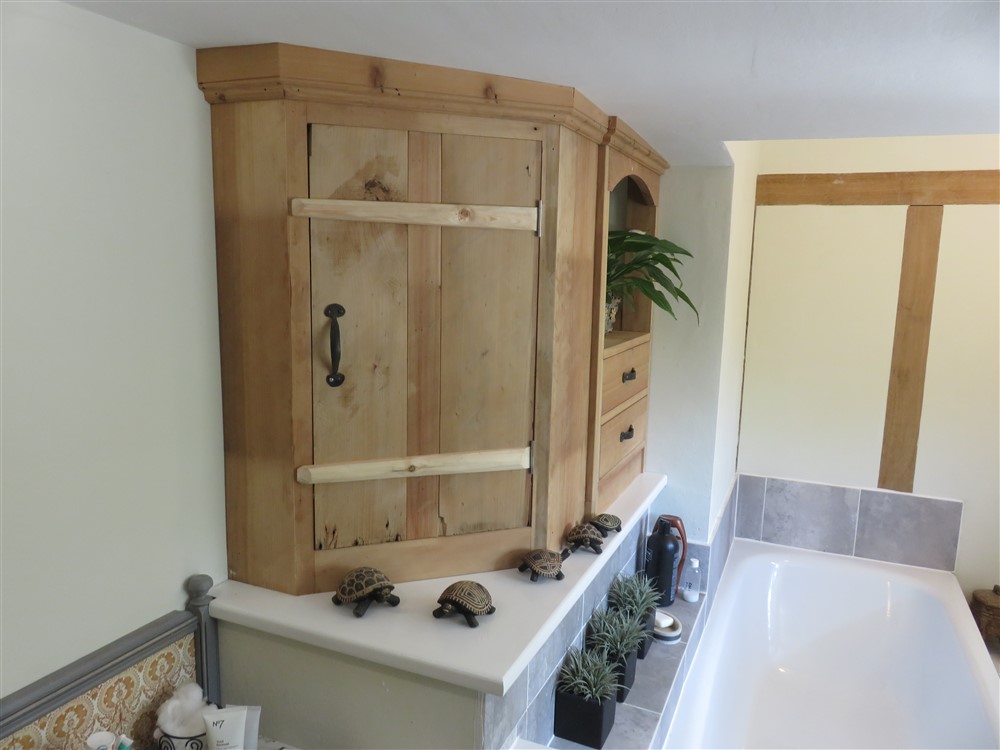
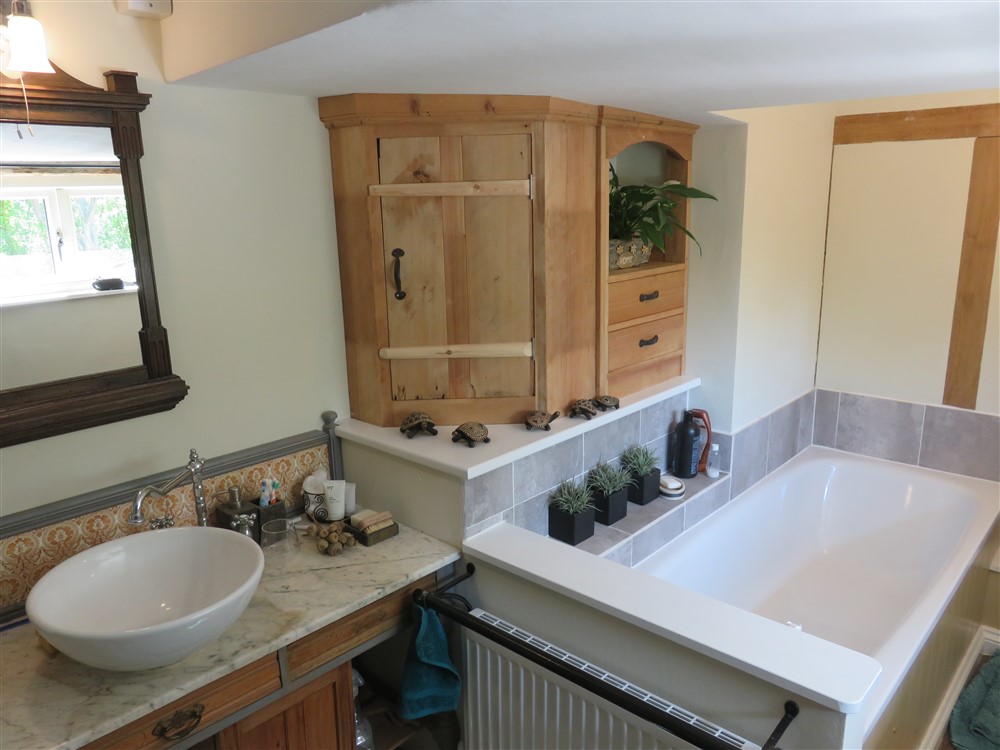
I refer you back to my drawing, right at the start of this project:
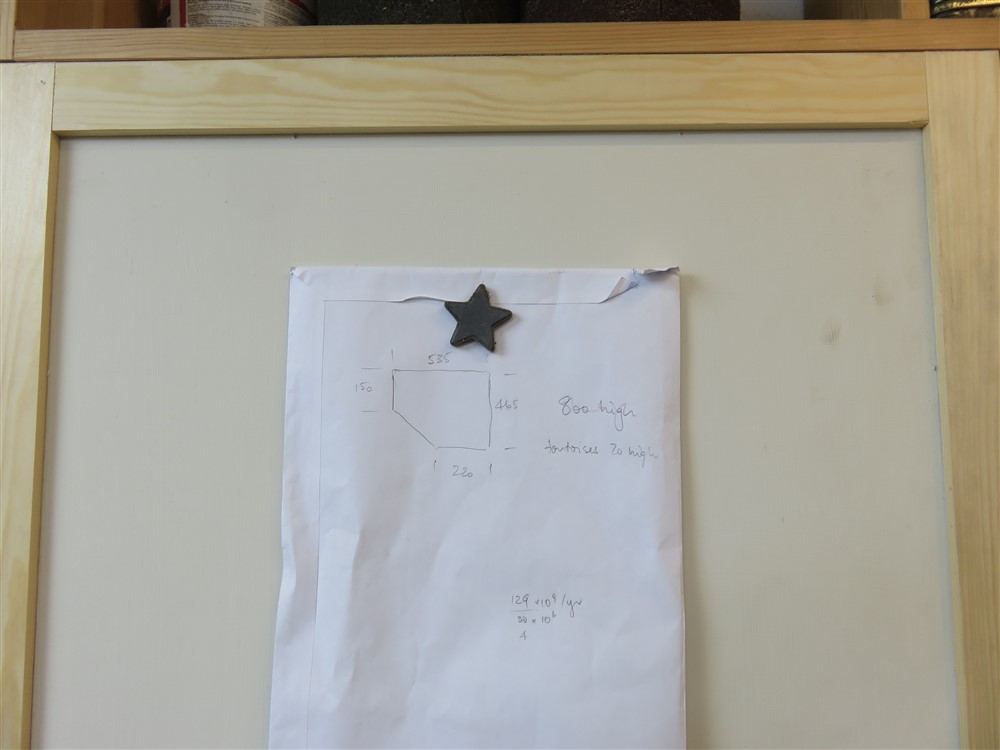
"Tortoise 70 high". Now you can see why that was important!
Anyway, that was a fun little project. All pretty easy stuff, and entirely hand-tools except for some drilling, just for the hell of it and for a bit of practise.


Classy material for the drawer bottoms:

All glued up and square. Note the dovetails all round, which always causes an issue with drawer stops:

Whilst the drawer boxes were drying I moved on to the "worktop" that the cabinet sits on. I had some really manky worm-eaten old floorboards pulled up from one of the bedroom floors:

Mitres! I loath them:


I need a sticky-outy bit, and a dovetailed half-lap seemed like an idea:


Here's my workholding method for that particular joint, which had to resist my router plane:

First glue-up:

Just so that Sunnybob understands that I'll put my money where my mouth is regarding woodworm, here is a closeup of the timber I'm using:

I glued on a strip to the underside of the edge to thicken it up:

I glued the final piece of the worktop in place:

.......and whilst that was drying I cleaned up the drawers:

Now........drawer stops. If you do them the standard way, like this:

.....and you have a full height rear piece to the drawer, rather than having the floor extend out under the back, then you can't get the drawer in the hole. You then have to do this to the back of the drawer to be able to waggle them into place over the stops:

I put some little side pieces on the runners:

....and nailed the handles on:

Those handles aren't handles. Or at least, they are now, but I bought them as something else. Five notional internet pence to the first person to come up with their original use.
Anyway, that's the drawer unit finished:

Time to focus on the worktop. A bit of bodywork on the worm-holes:


Then it was on to painting. This is going to be satin painted, but with a water-based Bedec paint. Unfortunately, I couldn't find the primer undercoat, the Bedec line wasn't answering, and the people in the paintshop didn't know the answer to my question.......could I use Bedec Barn Paint as a primer undercoat? So I cracked on and did it anyway. This is what the mist coat looked like:

I only post that because that illustrates what I was expecting the entire cabinet to look like.......a washed-off watered-down finish.
Watching paint dry:


Then it was just a question of fitting everything, and filling in the gap at the top:

Note the changing size of the gap!!
Here's a bit of fun:


I refer you back to my drawing, right at the start of this project:

"Tortoise 70 high". Now you can see why that was important!
Anyway, that was a fun little project. All pretty easy stuff, and entirely hand-tools except for some drilling, just for the hell of it and for a bit of practise.
Blackswanwood
Still Learning
That’s a cracking idea with the knife for the dovetails. Great post .
MikeG.
Established Member
AndyT":mnjyy7hd said:........As for the handles, are they bits of innertube?
:lol: :lol: They're forged steel, Andy! Not sure what sort of tyres you're used to........ :lol:
MikeG.":205f06vo said:AndyT":205f06vo said:........As for the handles, are they bits of innertube?
:lol: :lol: They're forged steel, Andy! Not sure what sort of tyres you're used to........ :lol:
They'll go rusted and horrid Mike, especially with all the tannins from that softwood... Honestly, rubber handles are the latest trend in all the best bathrooms... I'm surprised you didn't know that... :---) :-" :-D
MikeG.
Established Member
:lol: :lol: =D>
Woody2Shoes
Impressive Member
Pipe clips? I claim my 5p
I agree with you re. woodworm (in this country anyway).
Excellent attention to tortoise detail.
Cheers, W2S
I agree with you re. woodworm (in this country anyway).
Excellent attention to tortoise detail.
Cheers, W2S
MikeG.
Established Member
Thanks W2S.
Not pipe clips. They're a left over from my second last project, fully detailed on here.
Not pipe clips. They're a left over from my second last project, fully detailed on here.
It looks really good. It's interesting to see some different styles of design.
I watched a video on The Englishwoodworker YouTube page, where he makes a tool chest/box which is entirely nailed together - lots of clenched nails rather like the doors you made. It's a similar style, with tool marks showing. I fancy having a go at one or two of those.
I watched a video on The Englishwoodworker YouTube page, where he makes a tool chest/box which is entirely nailed together - lots of clenched nails rather like the doors you made. It's a similar style, with tool marks showing. I fancy having a go at one or two of those.
MikeG.
Established Member
It does take a different mind-set, Nick. You have to stop yourself fussing . Whereas you would normally get everything flat and true, this is more akin to working on a wonky old house or a boat where nothing is quite square or vertical. You can still make things well without them being pristine and immaculate.
MikeG.
Established Member
No, it's the keep part of the latch, the strap which retains the latch bar against the door. See the spiked staple-like keep in that photo? Well, they provide an alternative which you can screw (or nail) in position. I just took a hammer to those that I had spare (as I had used the staple-type).
Similar threads
- Replies
- 12
- Views
- 799
- Replies
- 0
- Views
- 551


