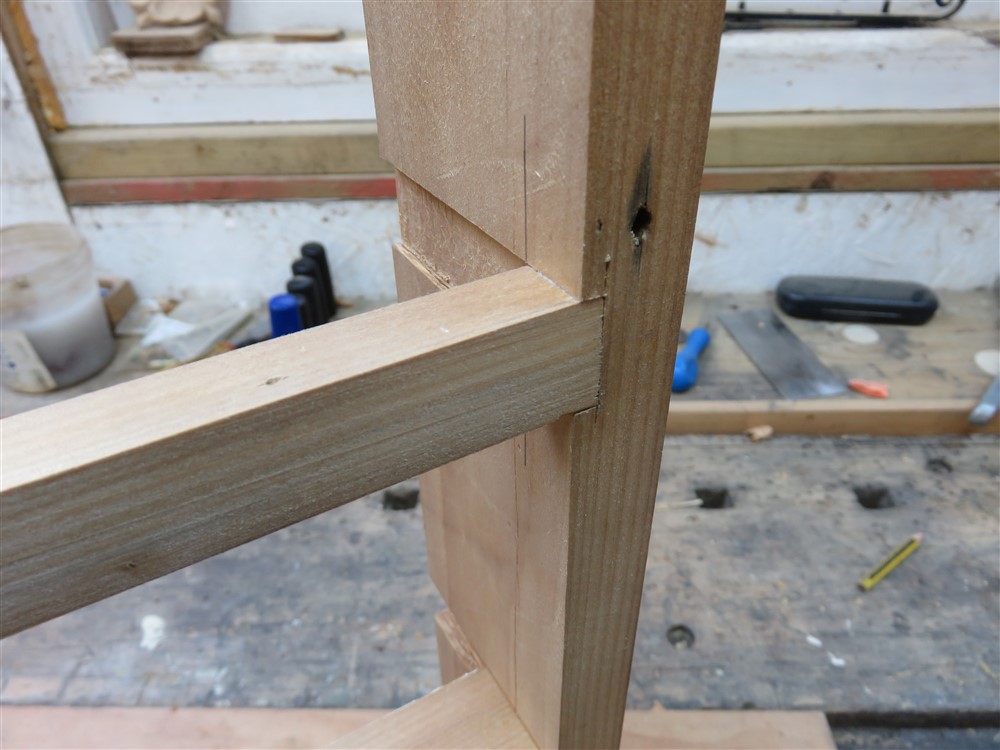
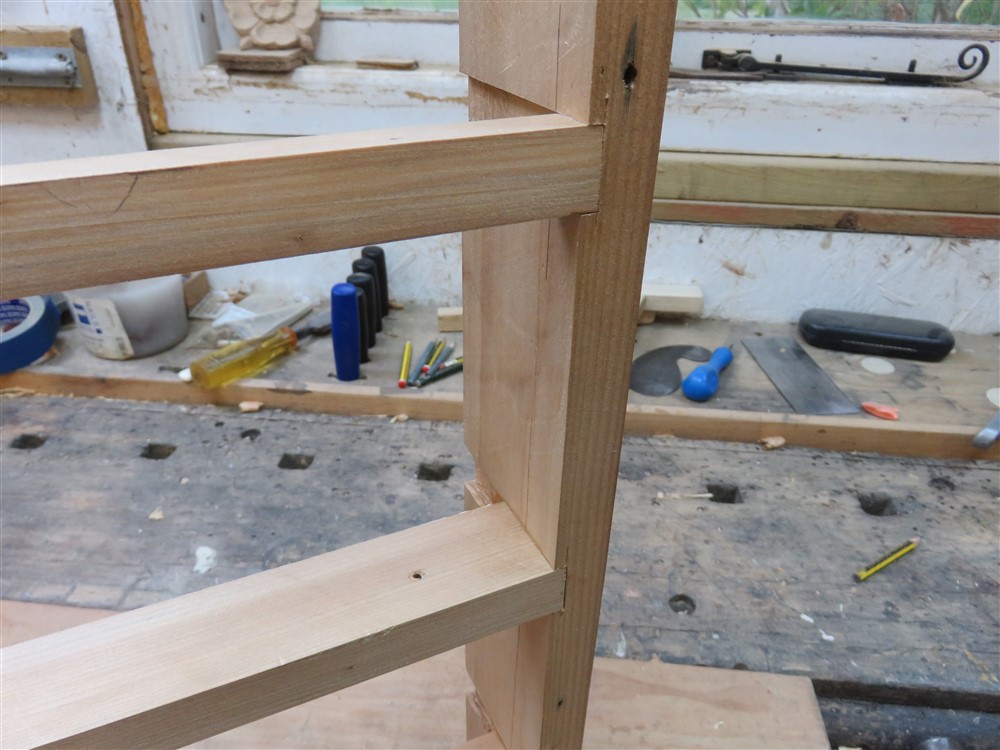
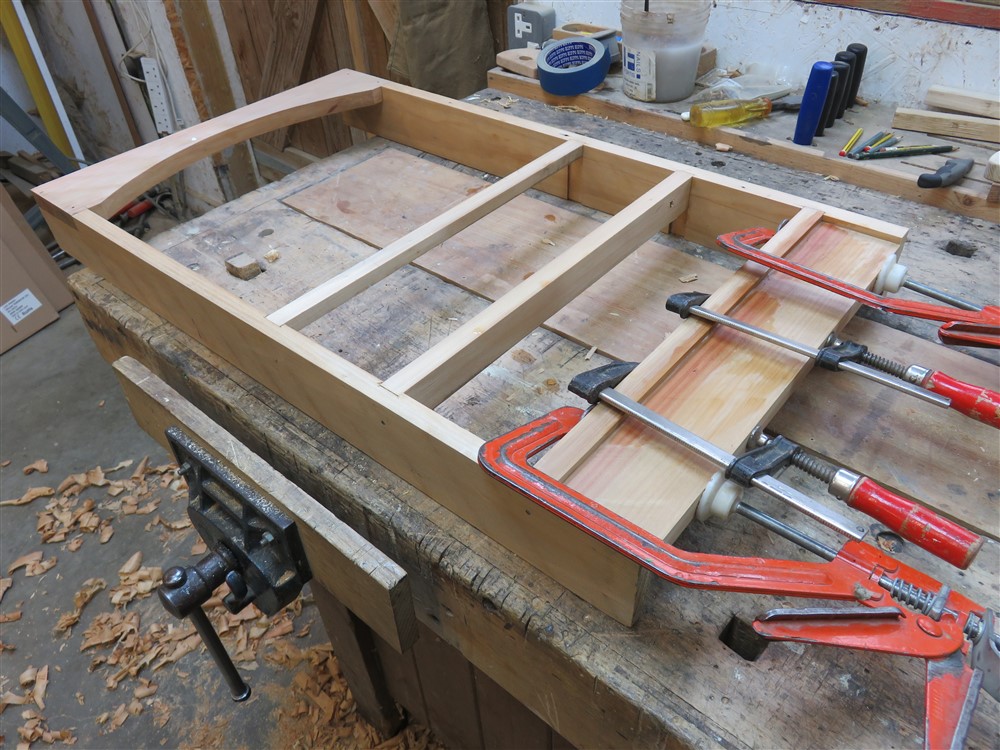
Bathroom cabinet. Hand tools only. (Now finished)

UKworkshop.co.uk

Help Support UKworkshop.co.uk:

This site may earn a commission from merchant affiliate links, including eBay, Amazon, and others.

MikeG.

Established Member
Joined
24 Aug 2008
Messages
10,172
Reaction score
703
Location
Essex/ Suffolk border
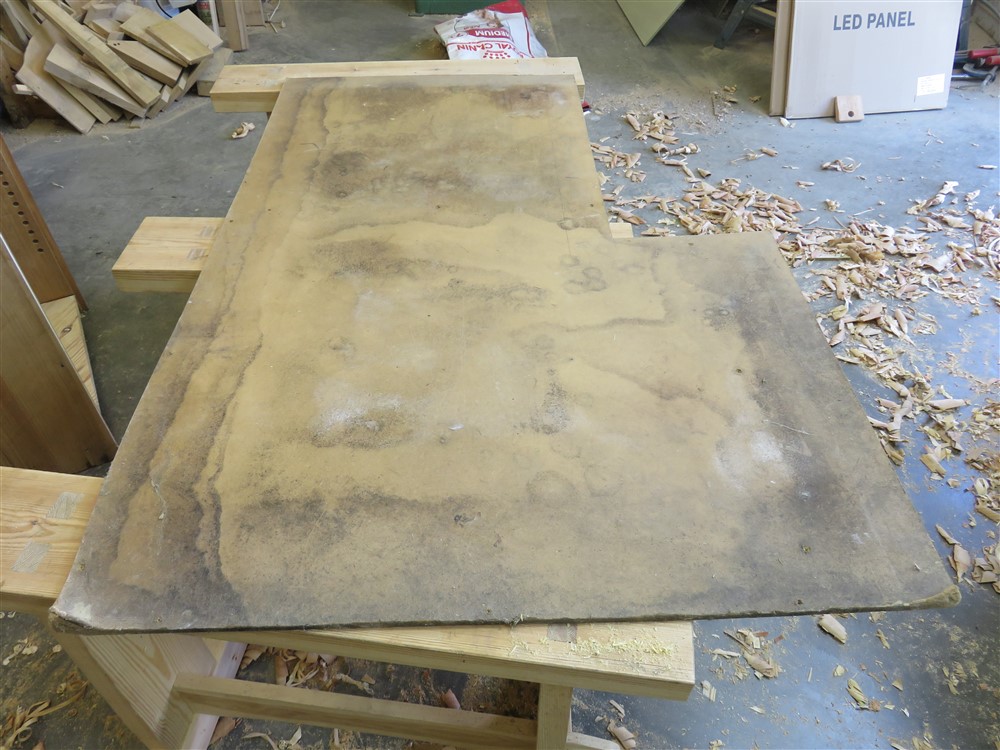
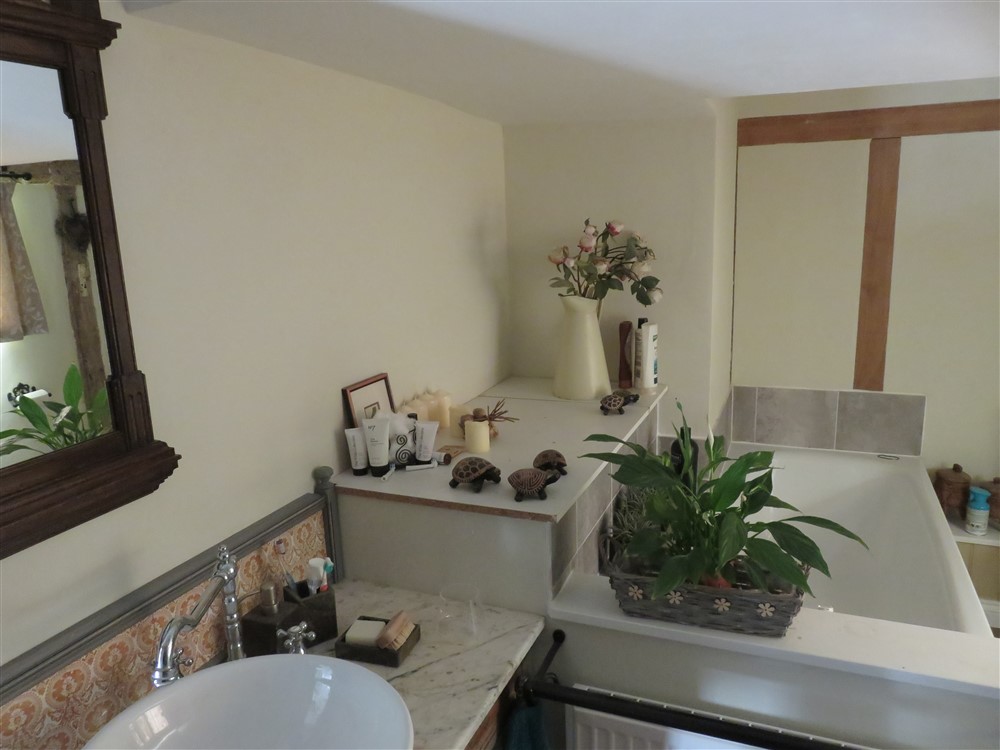
I did some gardening this morning, but got bored. Back to the workshop! The next item on the agenda is a bathroom cabinet to sit on the flat shelf created by the stairwell. A couple of manky bits of contiboard cover the space at the moment:
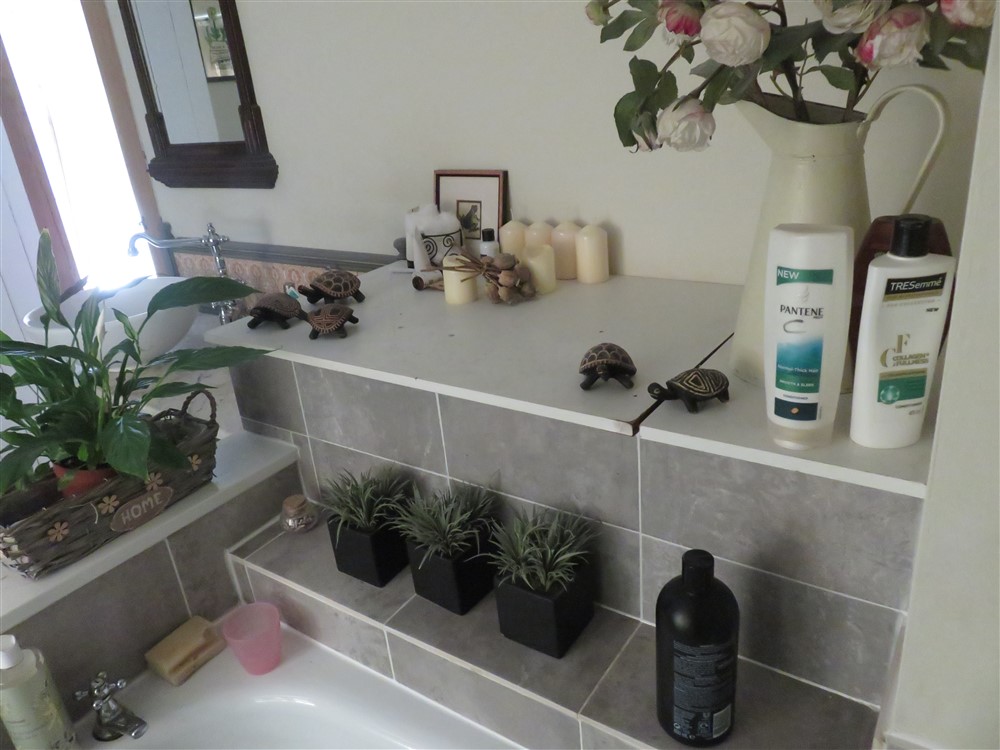
KKzKDr3.jpg


hBFMVHz.jpg


I pondered for hours and then drew up an in depth design in 3D with cutting list and every joint illustrated:
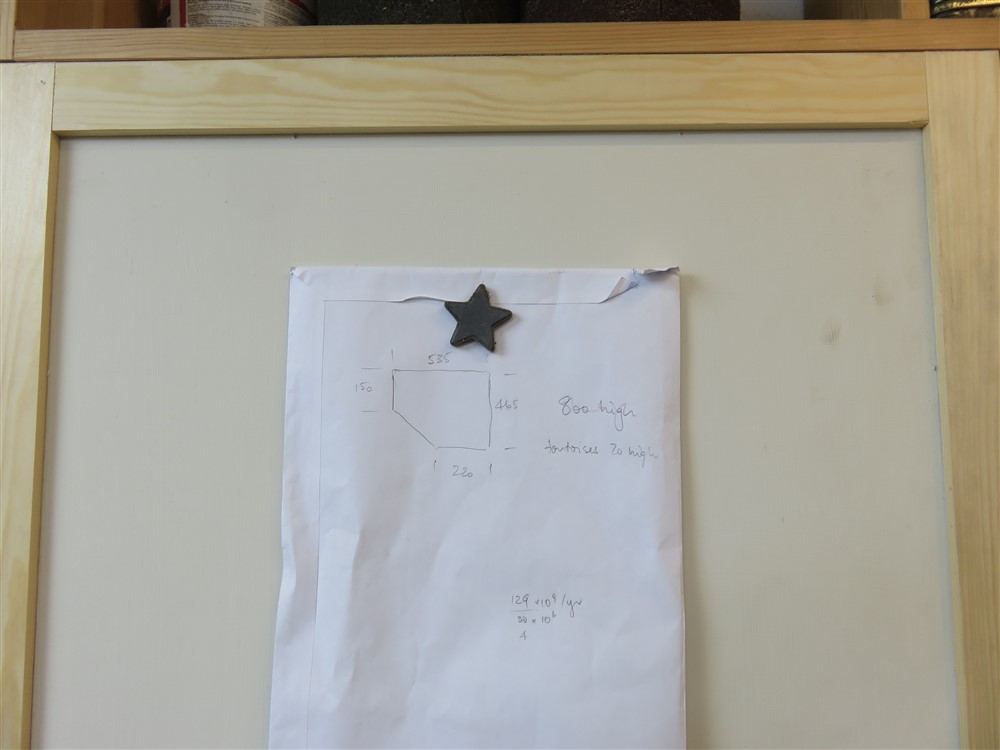
nI4P2Cr.jpg


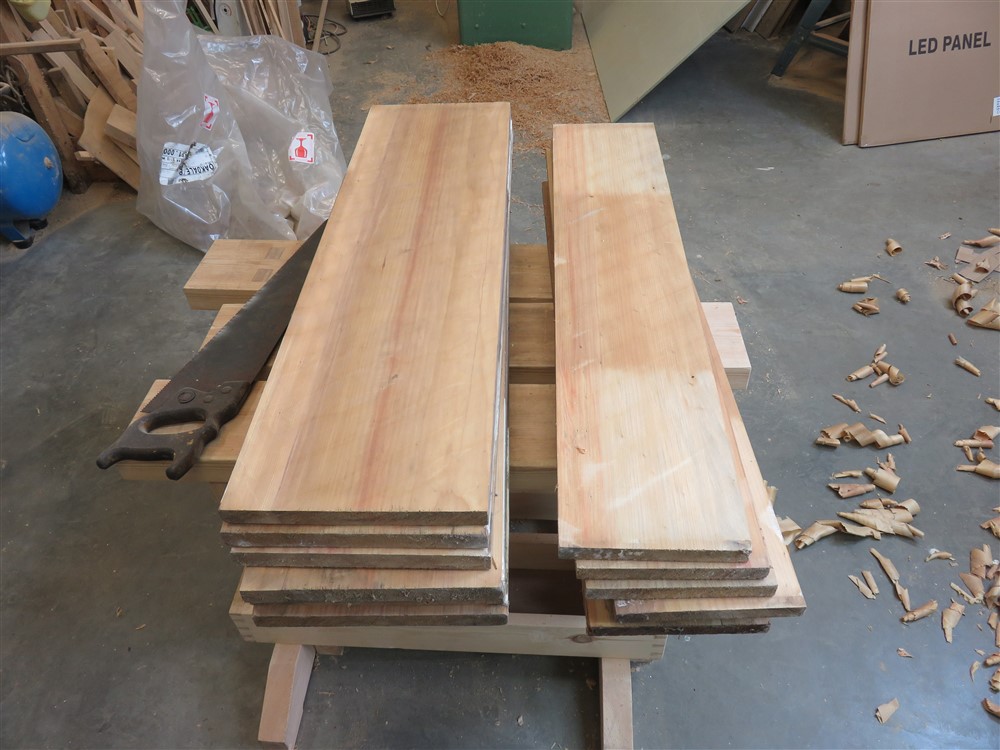
When I took the old stairs out of the house 5 or so years ago, I set the parana pine aside knowing I'd use it one day. I've worked my way through it, but this is what is left:
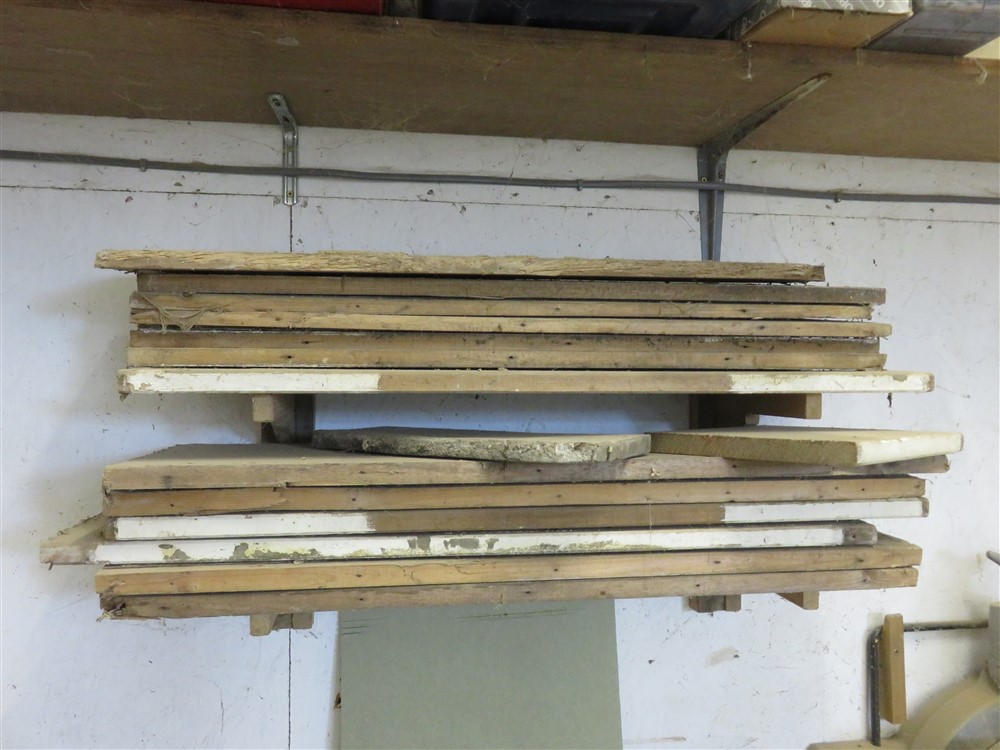
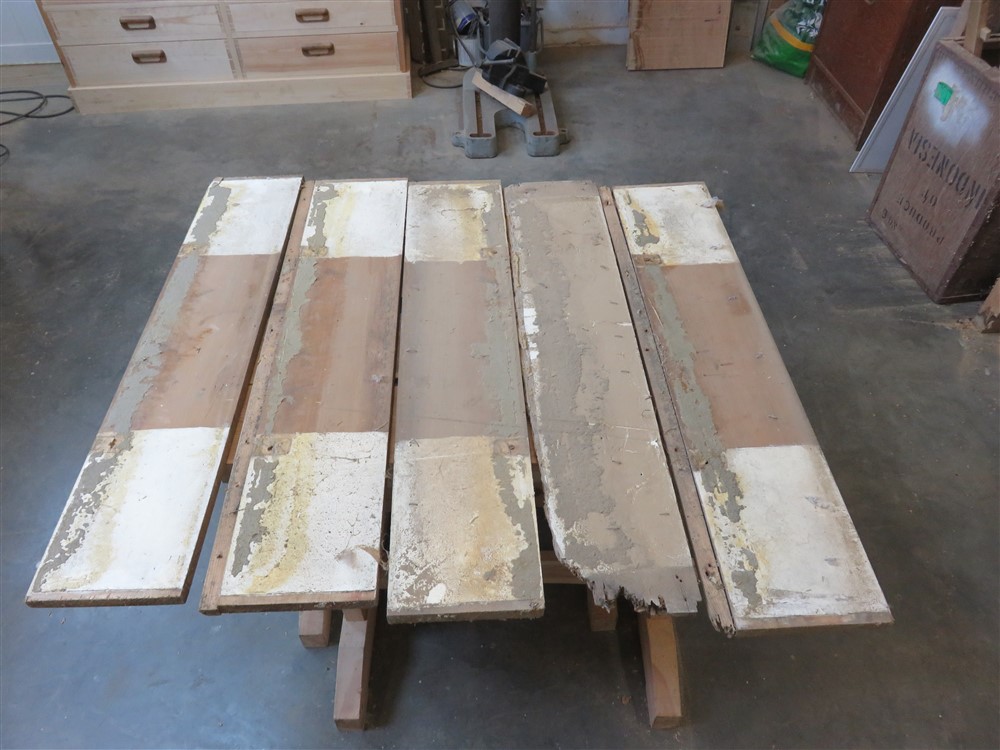
m3F9XGT.jpg


I4Y6Bfh.jpg


Looks great, hey?

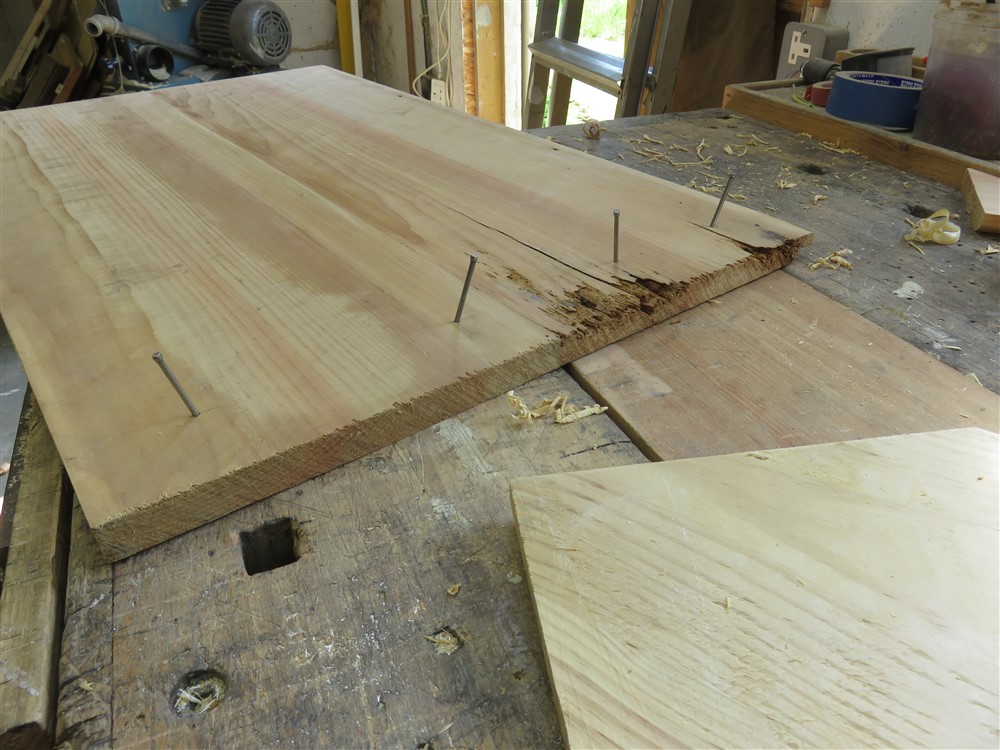
It took quite a while getting all the steel out of it:
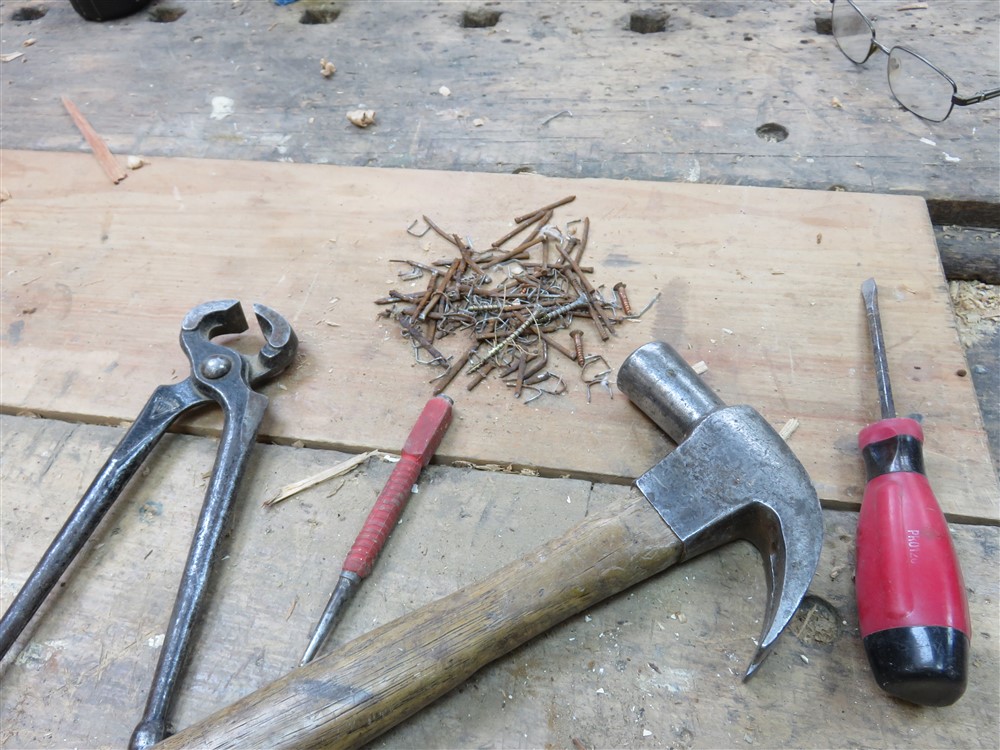
H1ynWaW.jpg


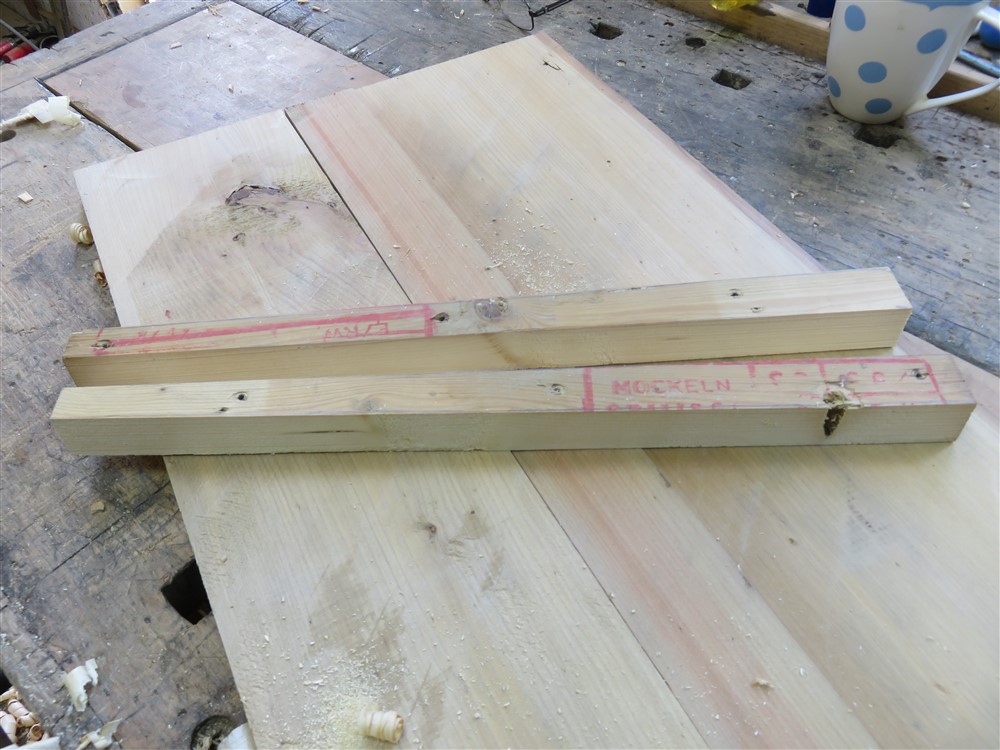
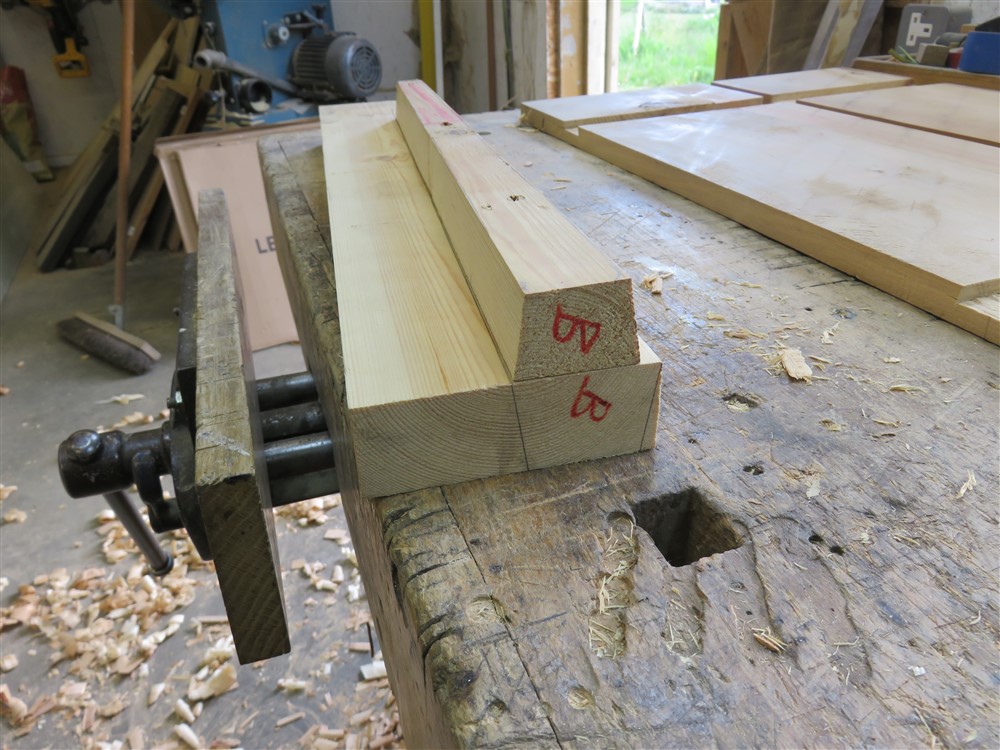
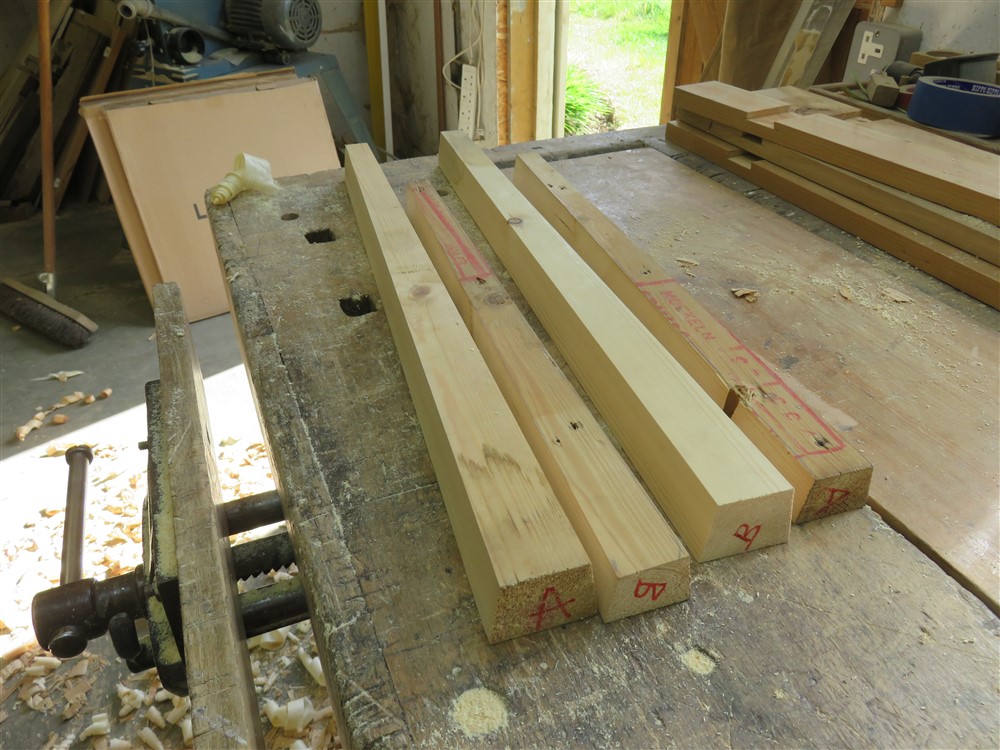
And any that got broken off got marked:
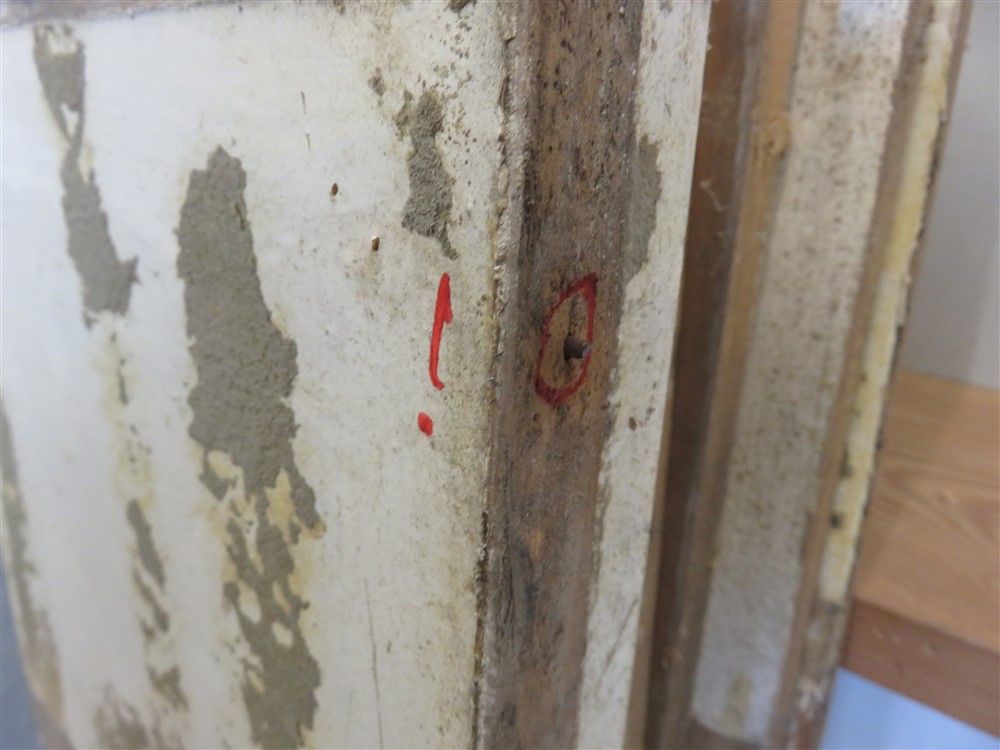
CjZzgWJ.jpg


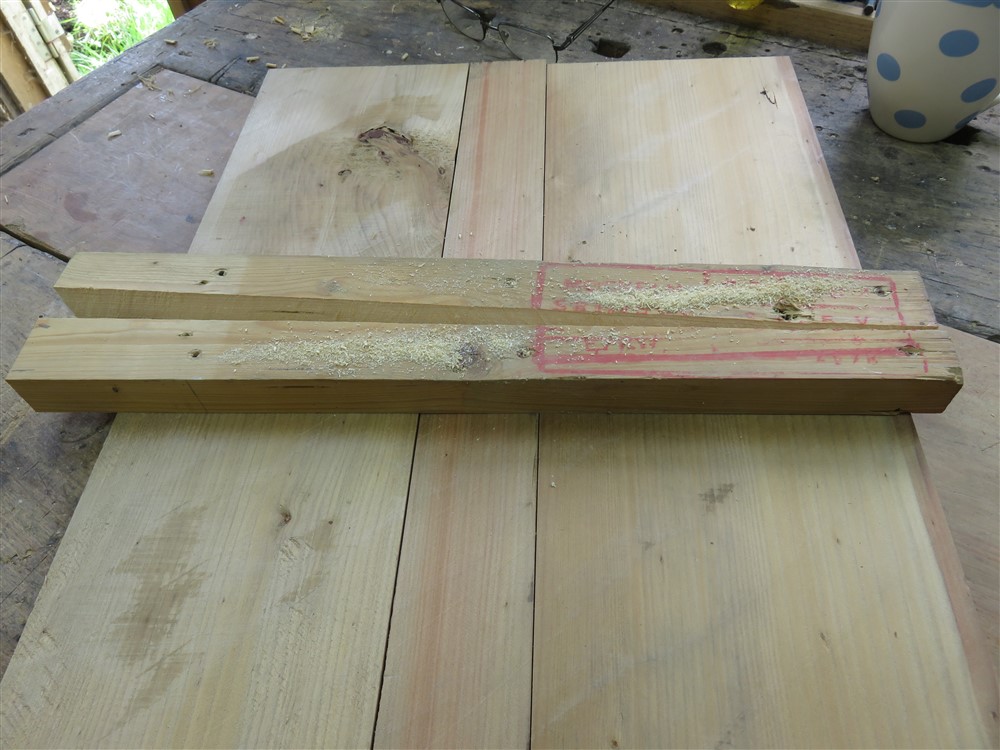
Now, the basic idea is to do a rustic thing and wash it over with a watery paint that I'll rub straight off. I wanted to show sawn faces, not planed, so after much experimenting with spacers and different saws, I set about "kerfing" the boards in pairs:
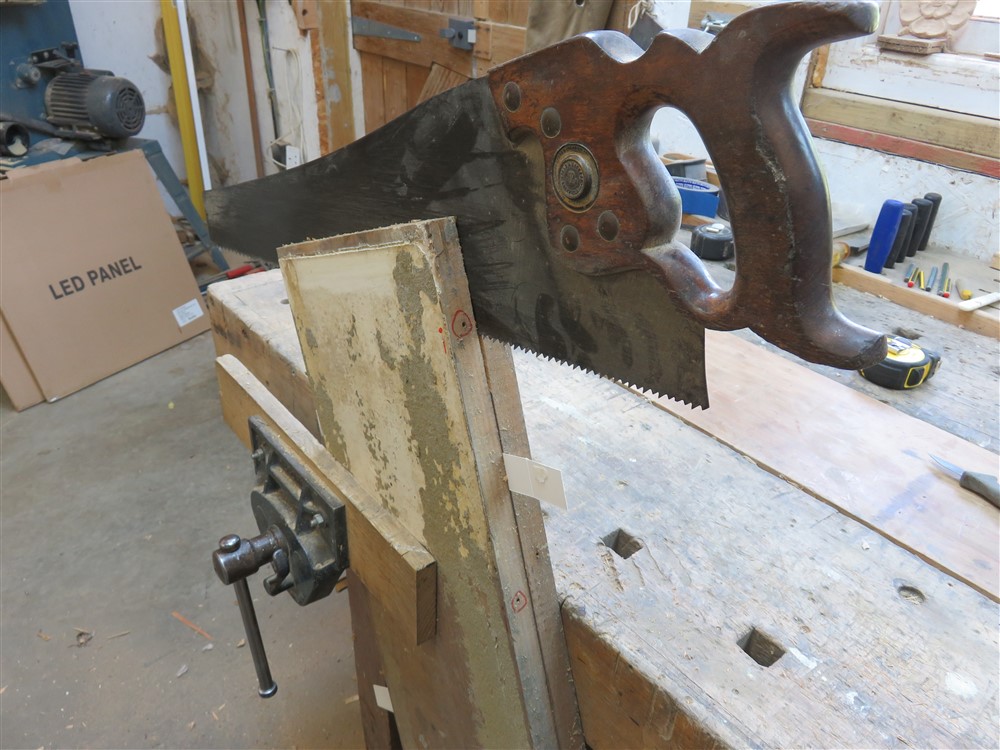
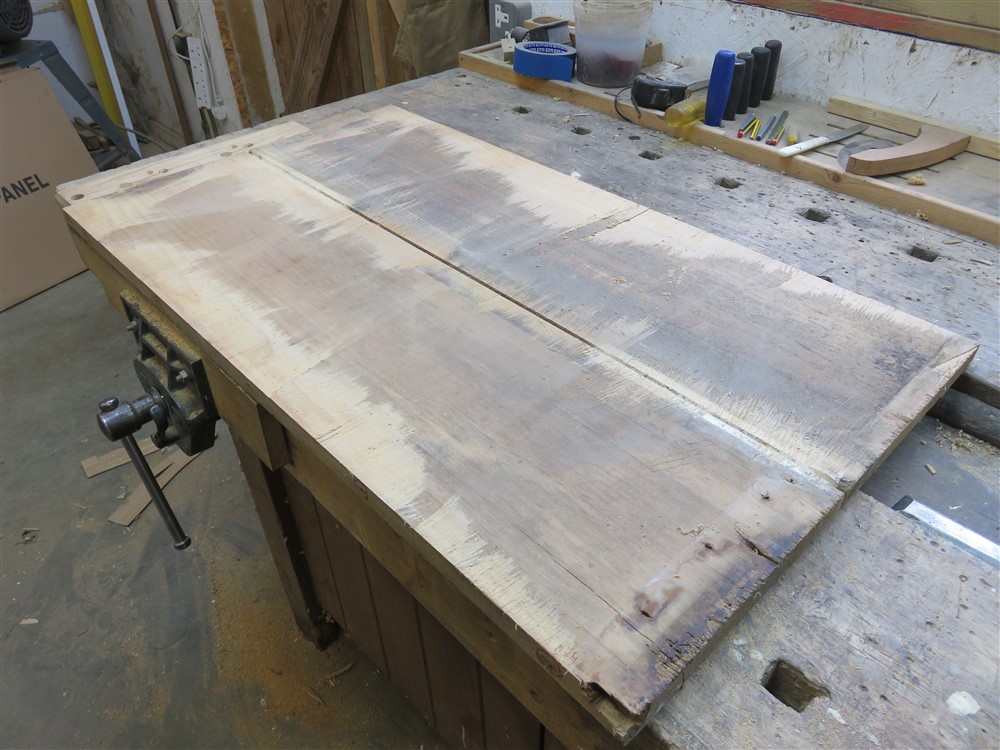
dZ8nZQz.jpg


jjayZUg.jpg


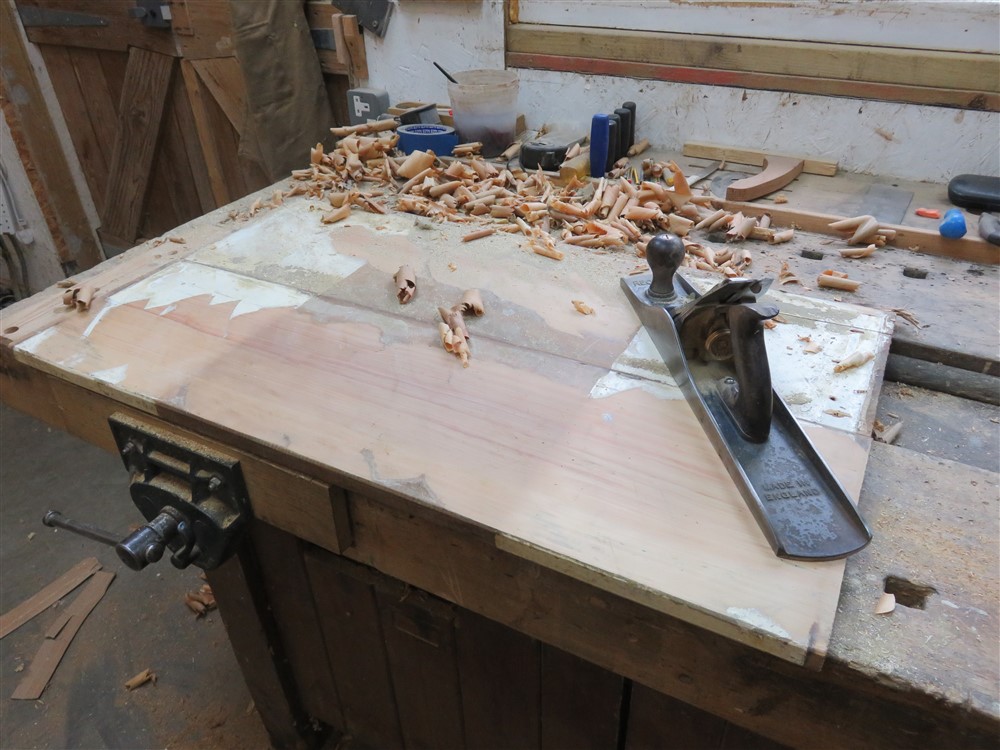
It was such a fiddle, and exhausting, that I quickly realised it wasn't going to work. Time for a change of plan. I decided to scrub plane the boards, and leave those marks in:
hp6XB72.jpg


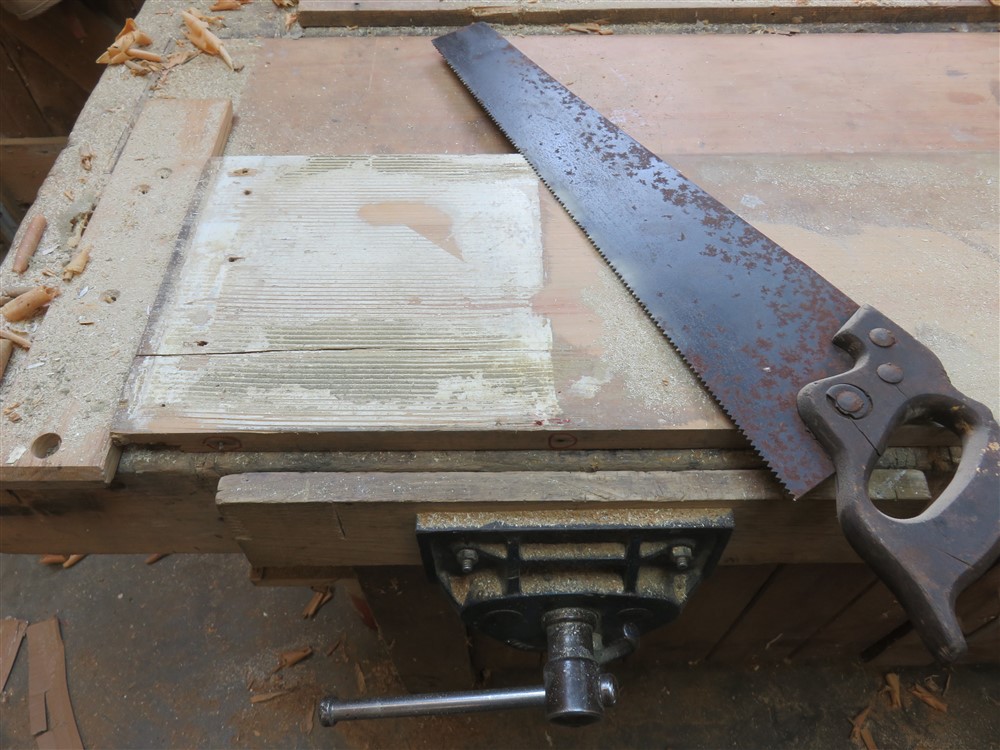
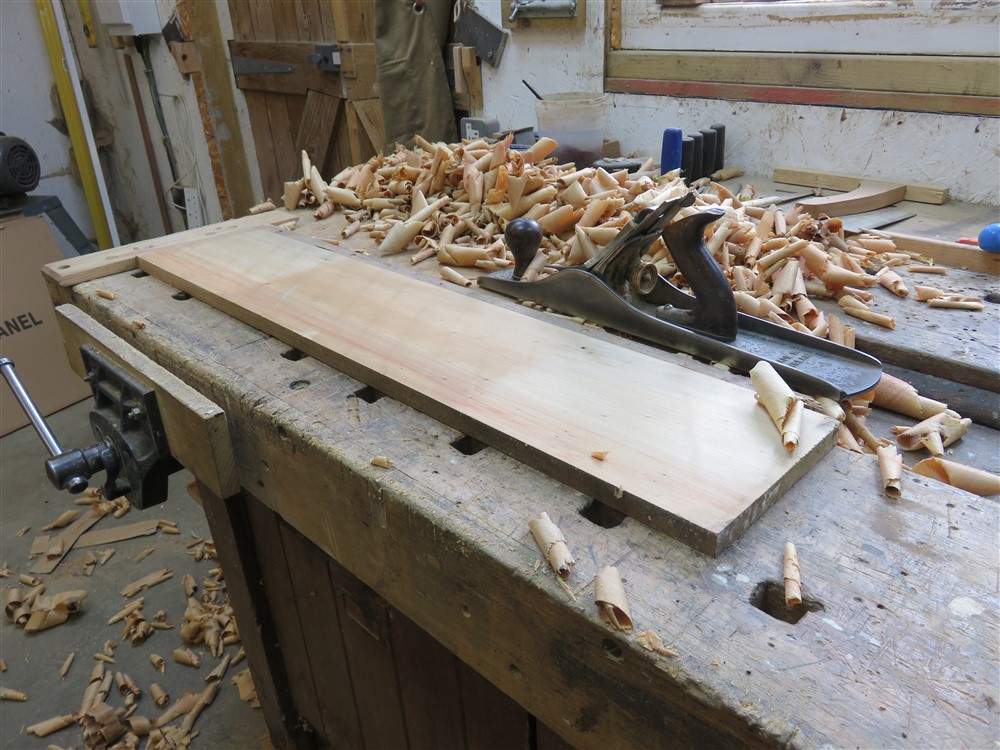
My number 6 has my most cambered iron, so that's the one I used. The paint was a really nasty obstacle, and I took to using an unrestored saw as a toother scraper to break up the worst of it. Mask on, as this is obviously lead paint (the stairs date from the 50s or 60s). I soon swapped to doing one board at a time, rather than two, and after a couple of hours I had all the stock done:
WfGPeT6.jpg


9yGsiN3.jpg


94s2azi.jpg


You can just about see the diagonal tool marks if you look carefully. That is my final surface. Hopefully the undulations will pick up the light nicely when it in situ.

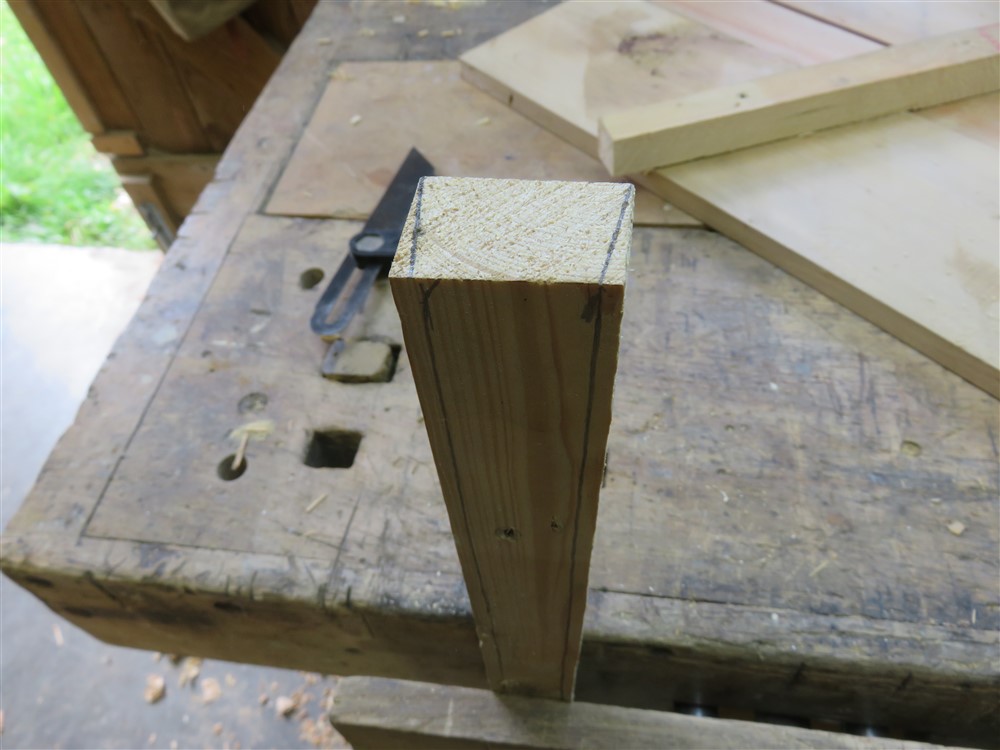
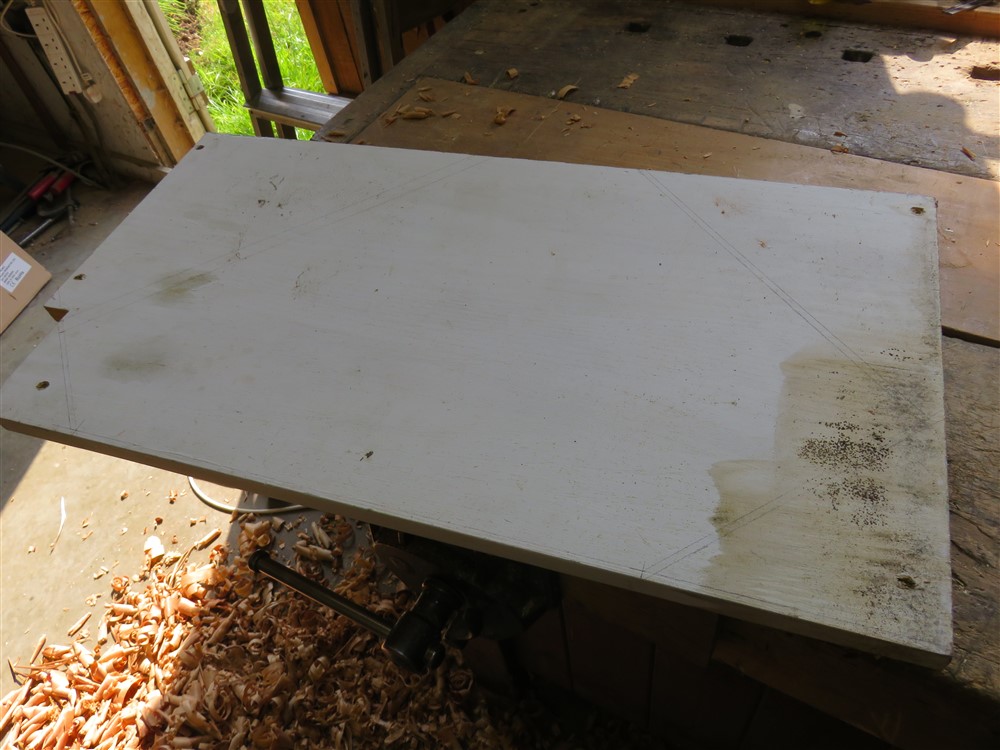
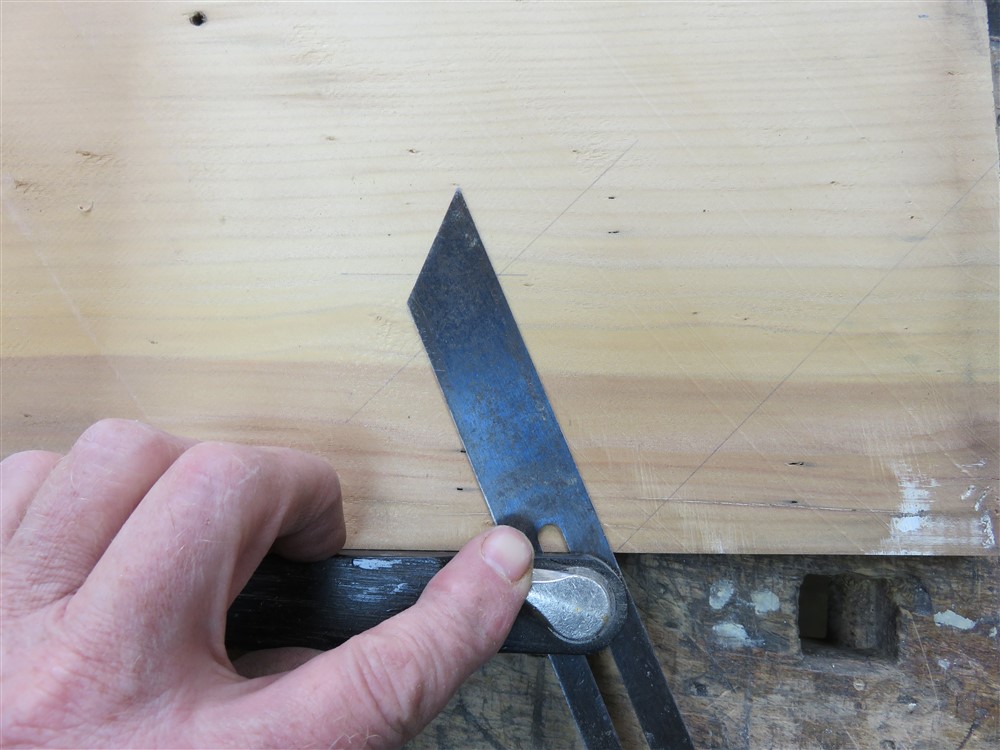
Setting out the necessary angle for the face of the cabinet, which is like a corner cupboard. Precisely like a corner cupboard, because that's what this is:
R72rmG1.jpg


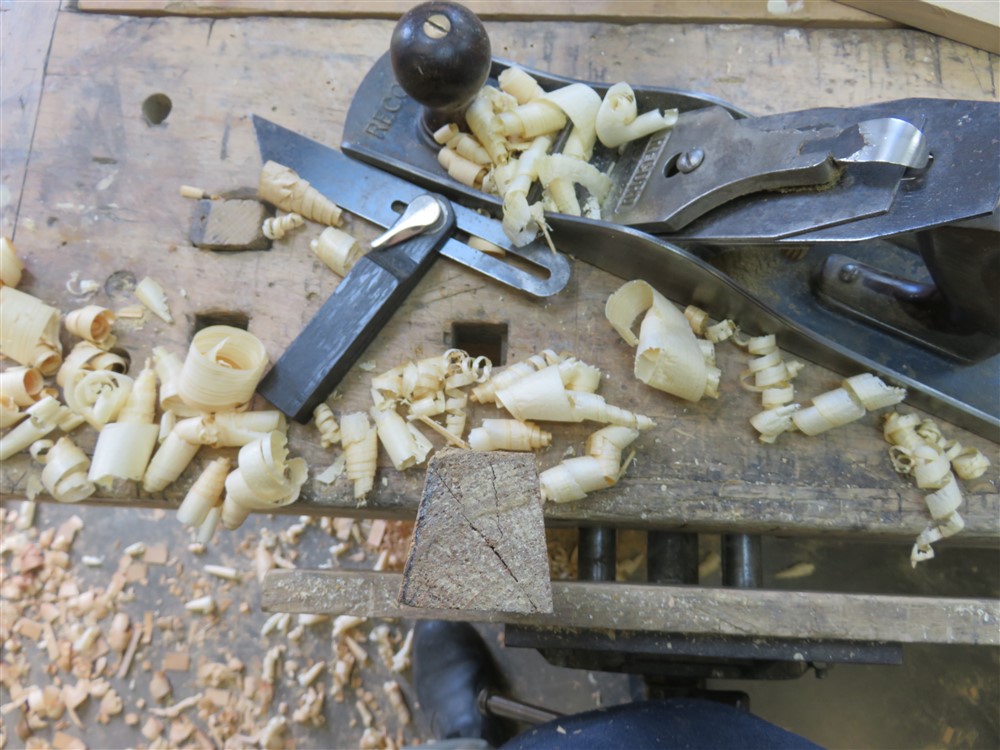
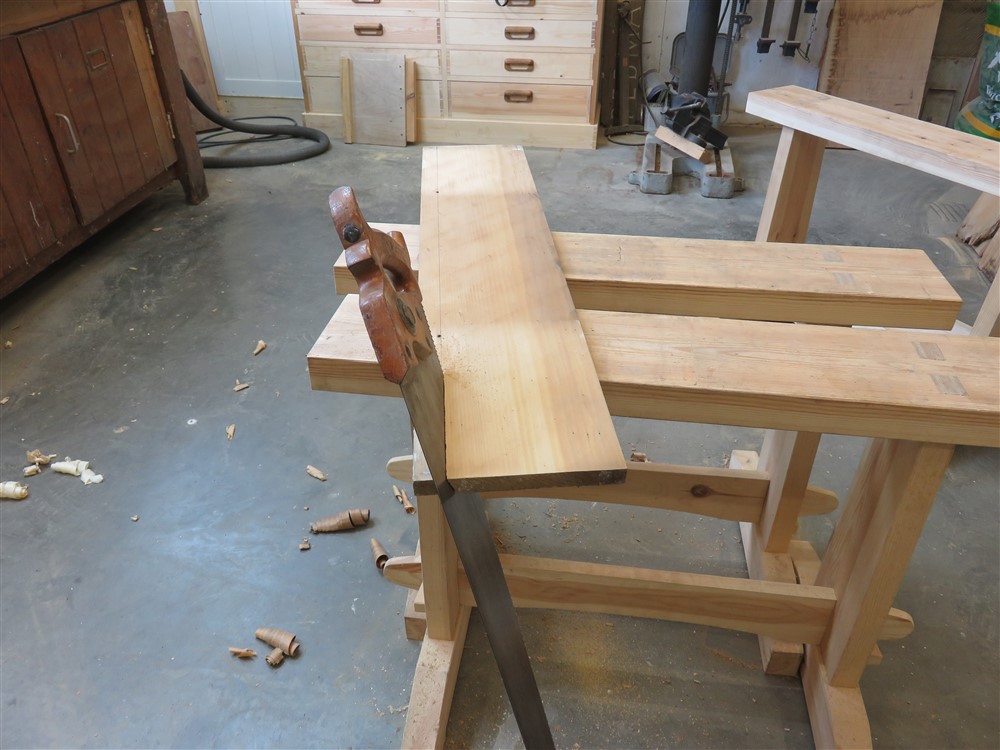
I then started ripping:

8lR5lMQ.jpg


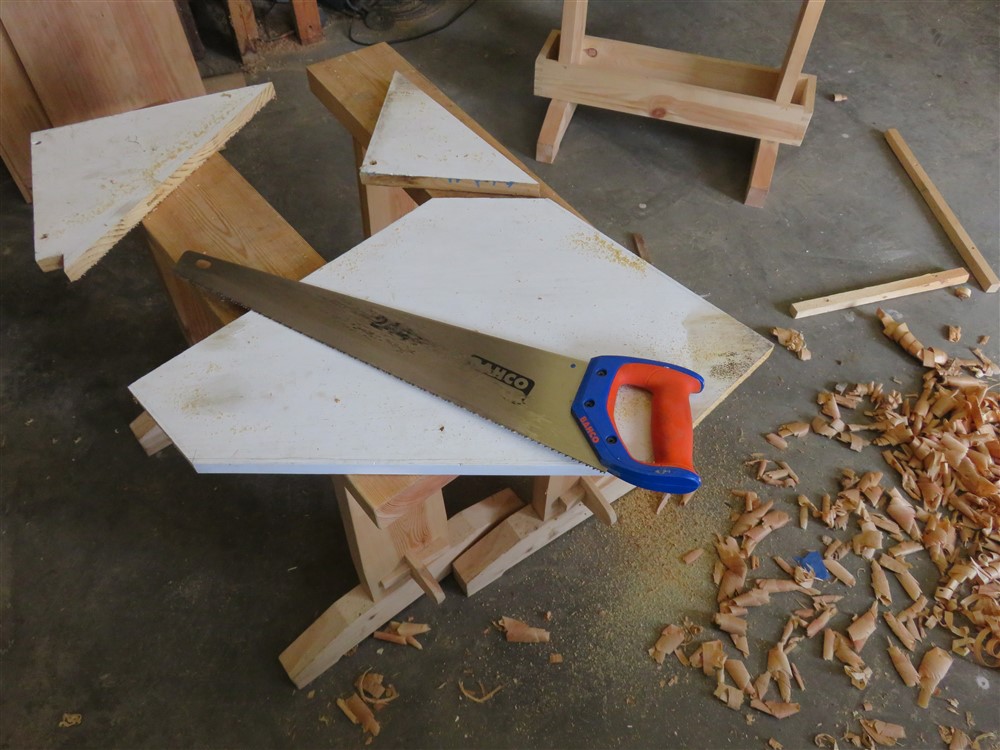
The offcut was then flipped over to make the desired angle. All edges were planed of course:
8lR5lMQ.jpg


we5Ec1Q.jpg


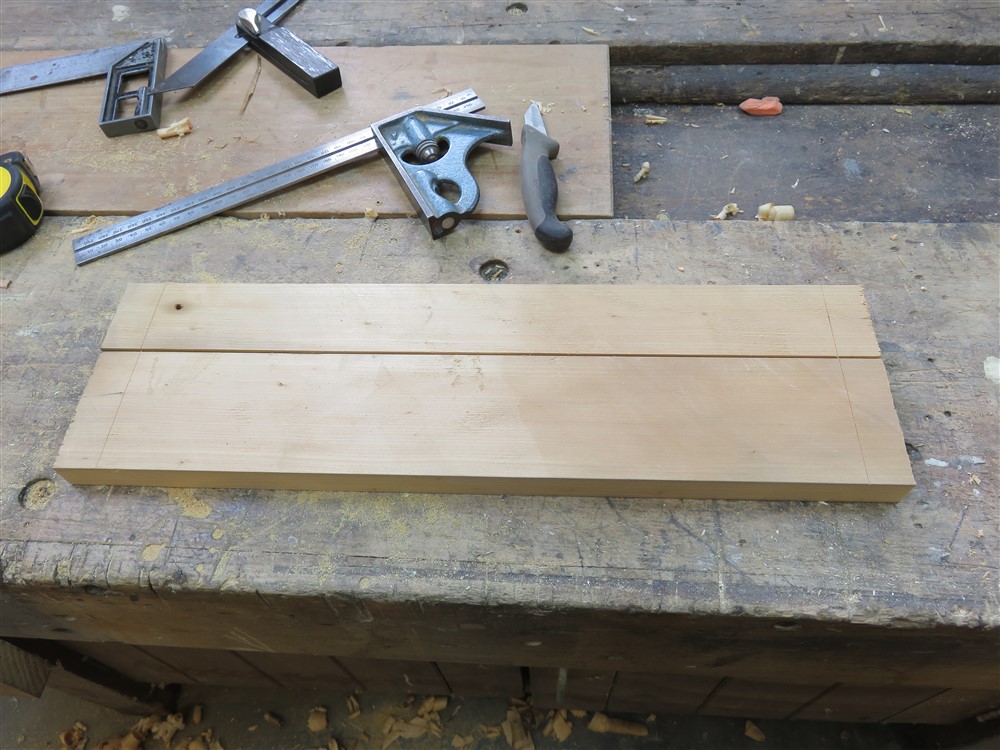
I ripped some more to produce some 70mm and some 50mm bits, and marked up the shoulders:
PNZvdlv.jpg


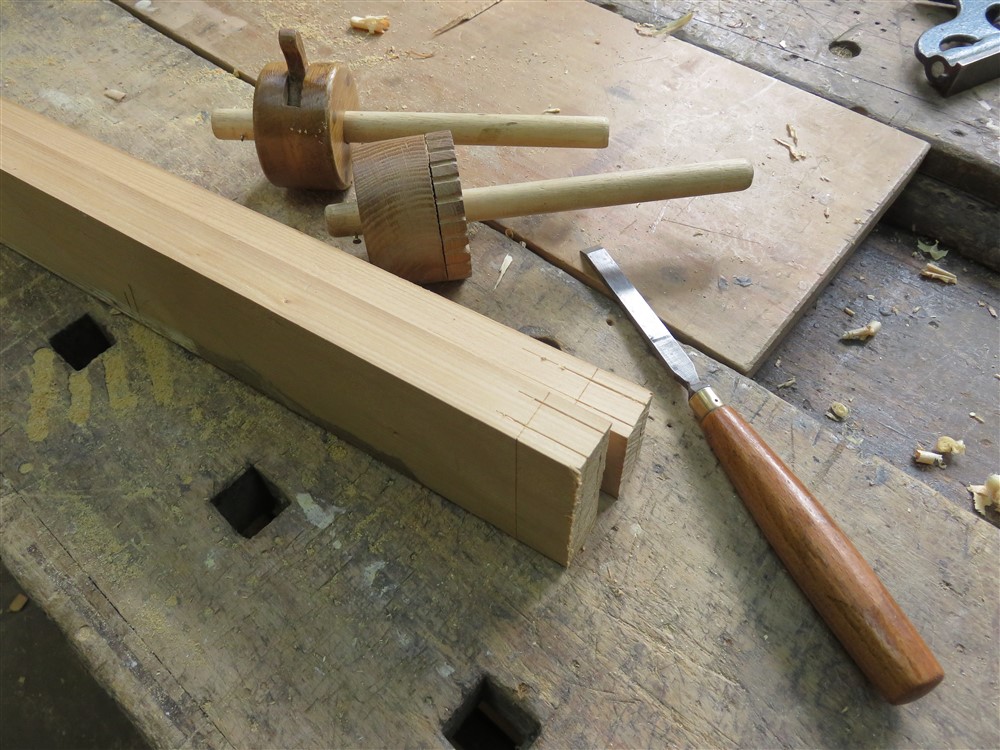
Having decided on a 10mm tenon I marked up:
luTsIr2.jpg


Then cut the shoulders:

jol7ORM.jpg


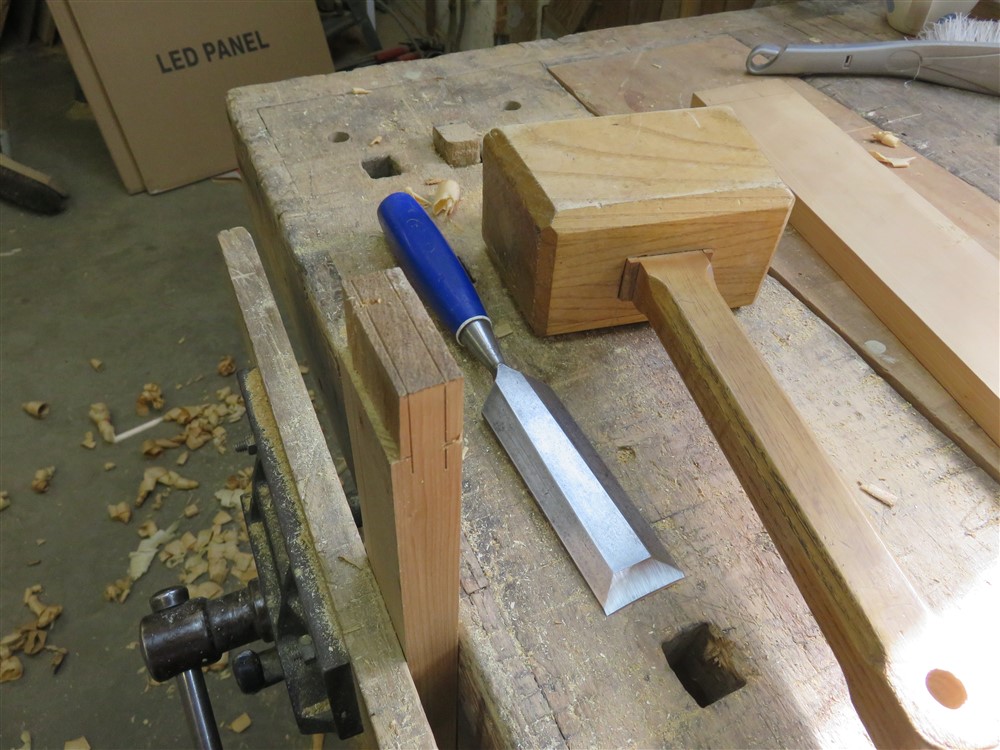
Then chiseled off the cheeks, using Mike's Rule of Halves:
xhjAPen.jpg


SreNlH1.jpg


Now, the thing is, the narrower boards are also thinner, by quite a lot. This isn't going to cause too many issues, but when setting out the joints I should really have worked it out on the thinner stock, not the thicker stuff. There's not much meat left around this mortise:
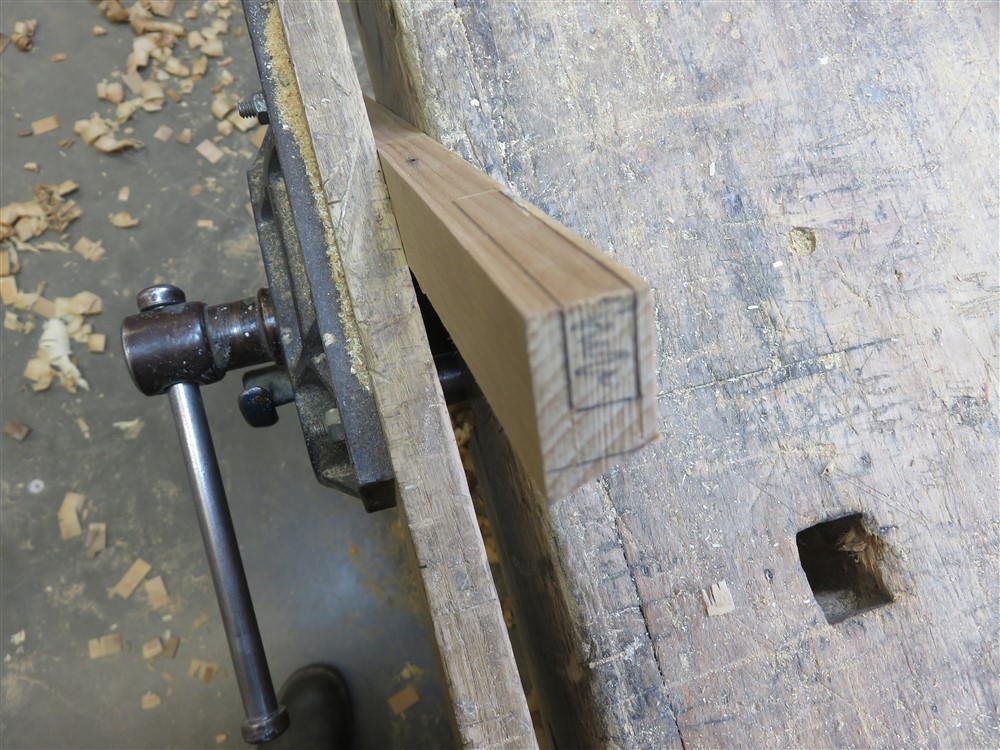
06PTmtE.jpg


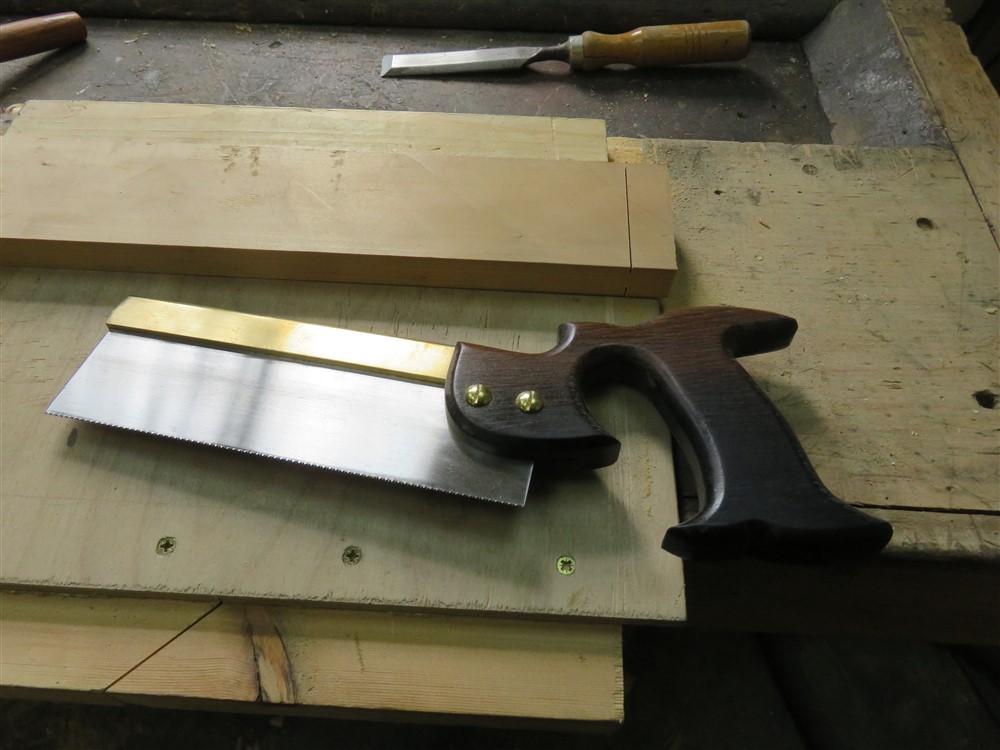
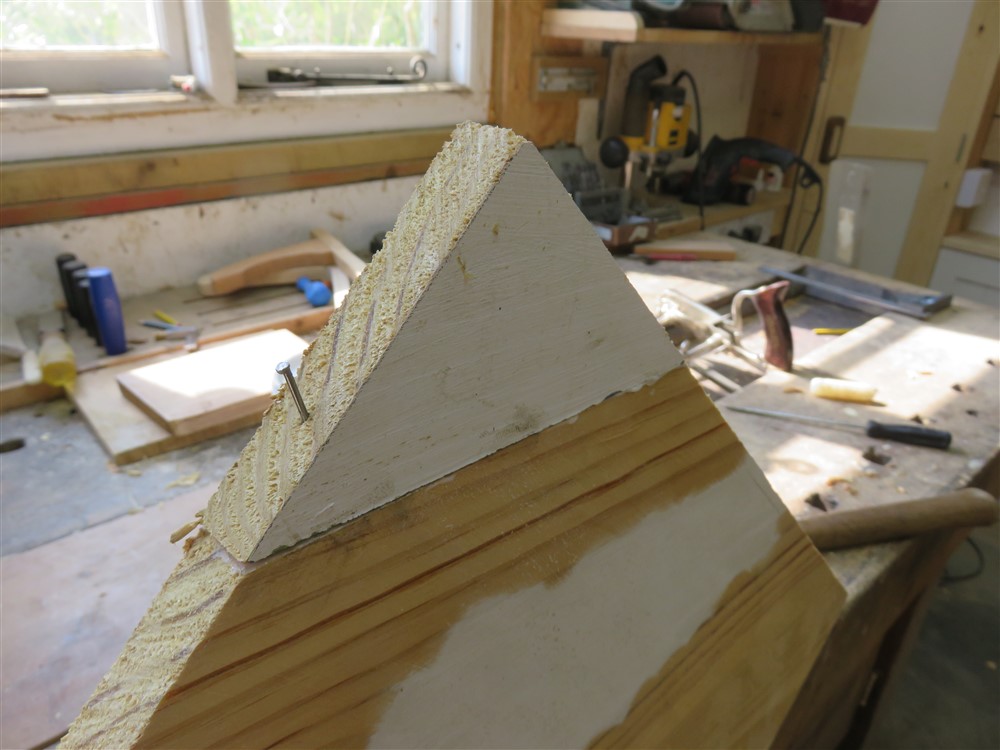
Fearing breaking out the sidewall whilst chopping the mortise, I took an unusual approach. I have a saw with about 10TPI, rip cut, which is perfect for cutting along the grain in these situations:
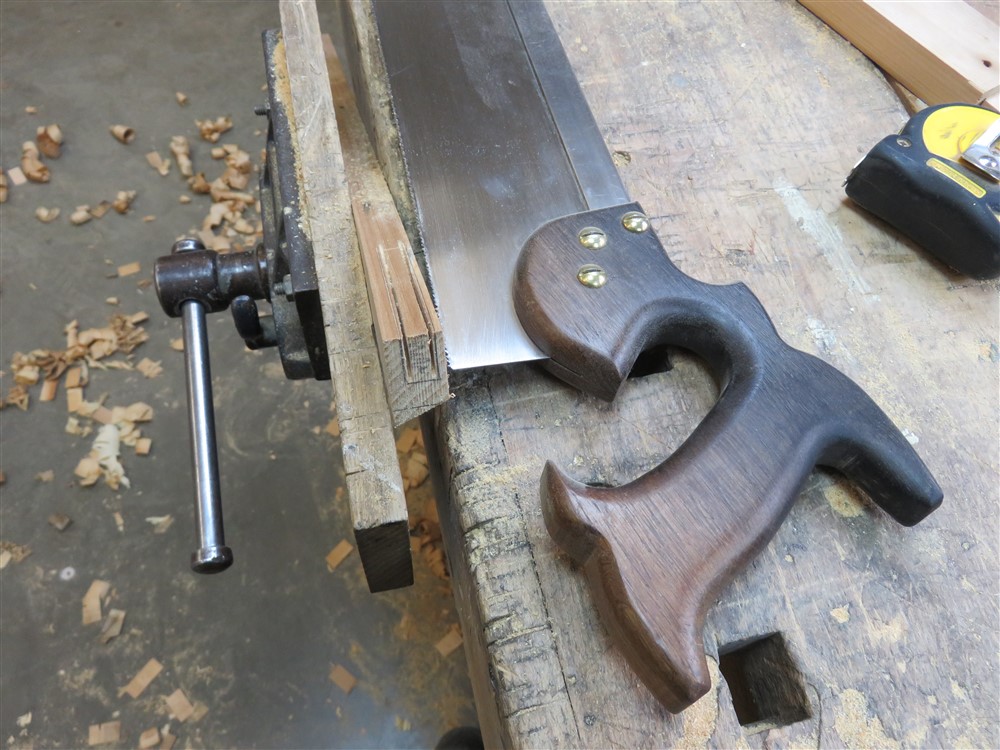
AuVa2gN.jpg


The rest was hacking out the waste with a 1/4" chisel then carefully paring. Very much NOT my normal approach to a mortise:
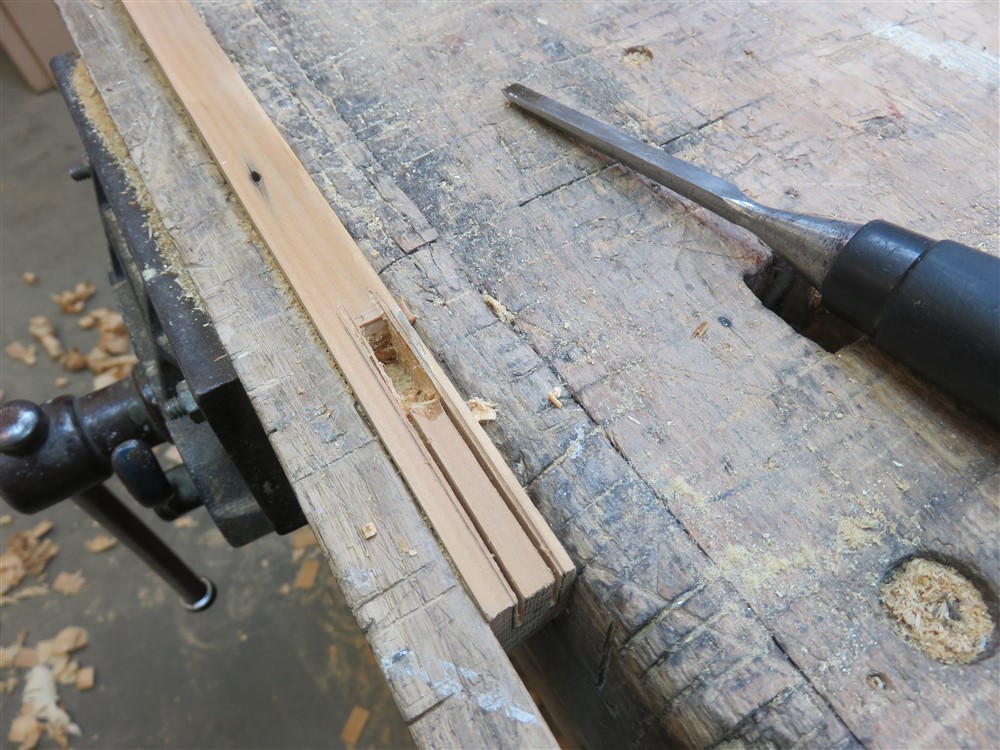
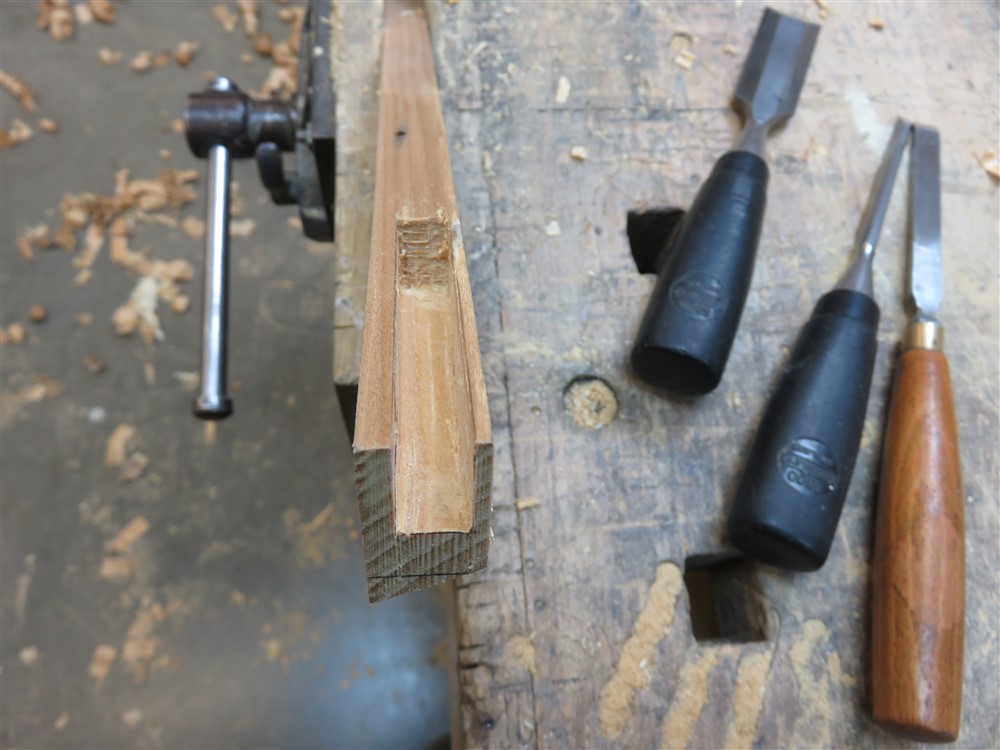
fSzFza7.jpg


attwOrZ.jpg


hvxc8Jl.jpg


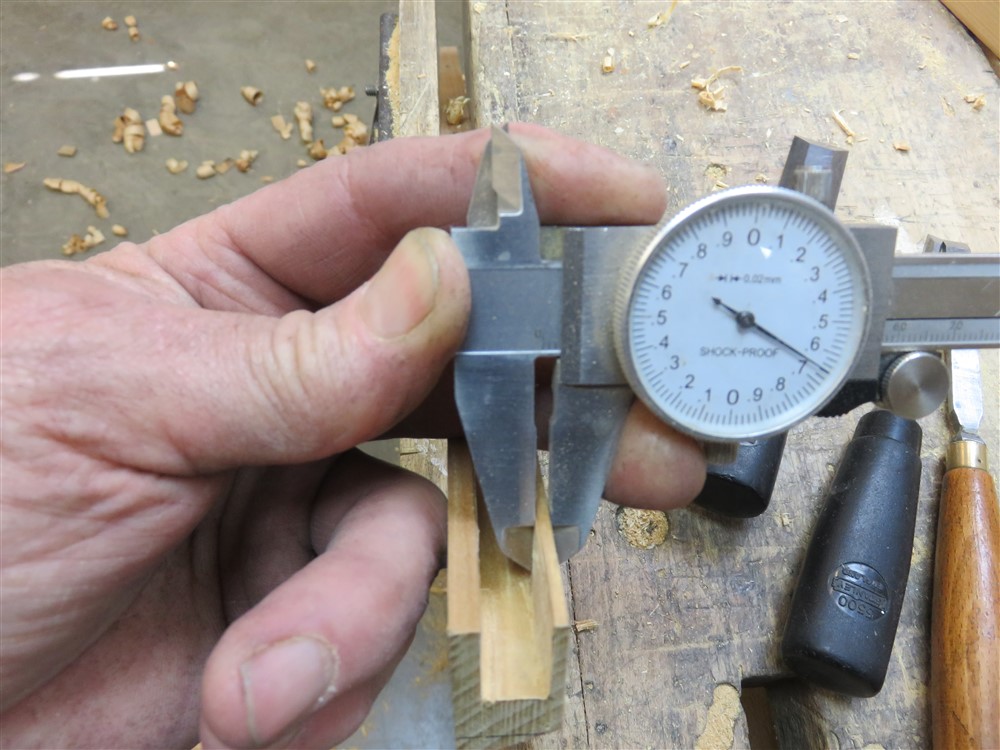
That's 3.6mm. Probably just slightly less than ideal........

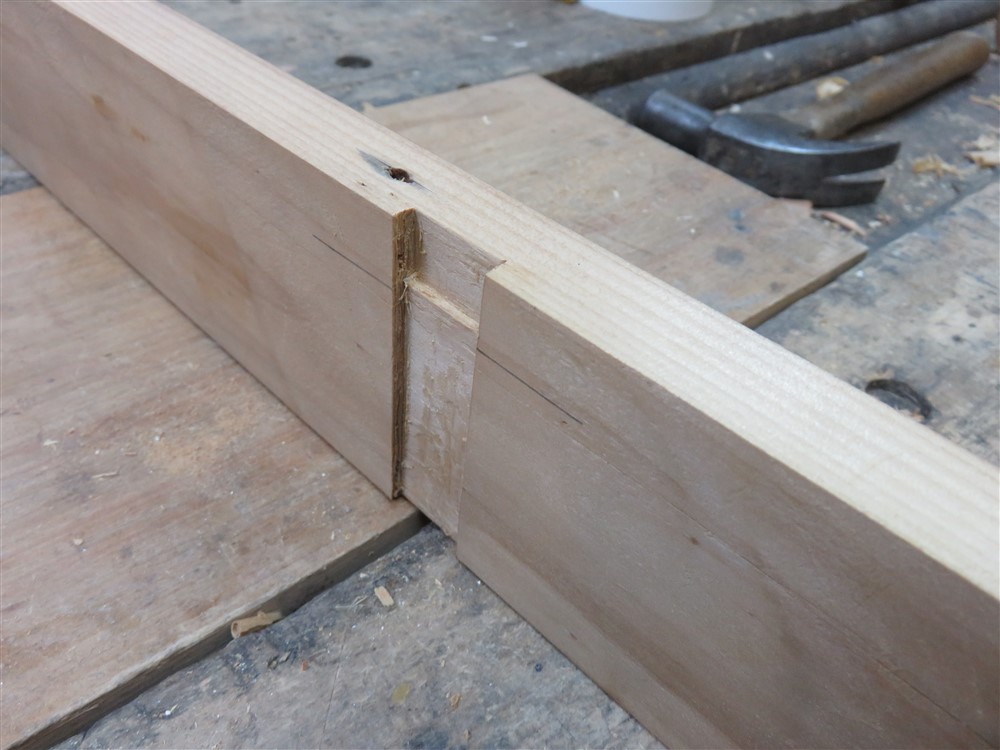
Anyway, the joints worked out OK:
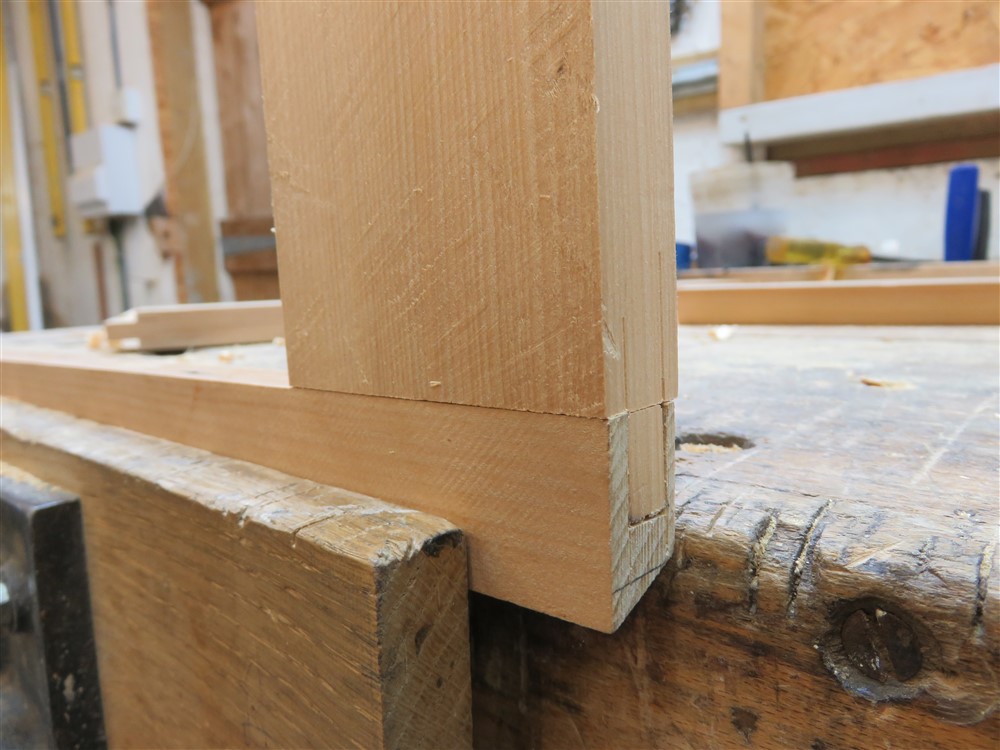
22QNgmy.jpg


.......despite the differing timber thicknesses:
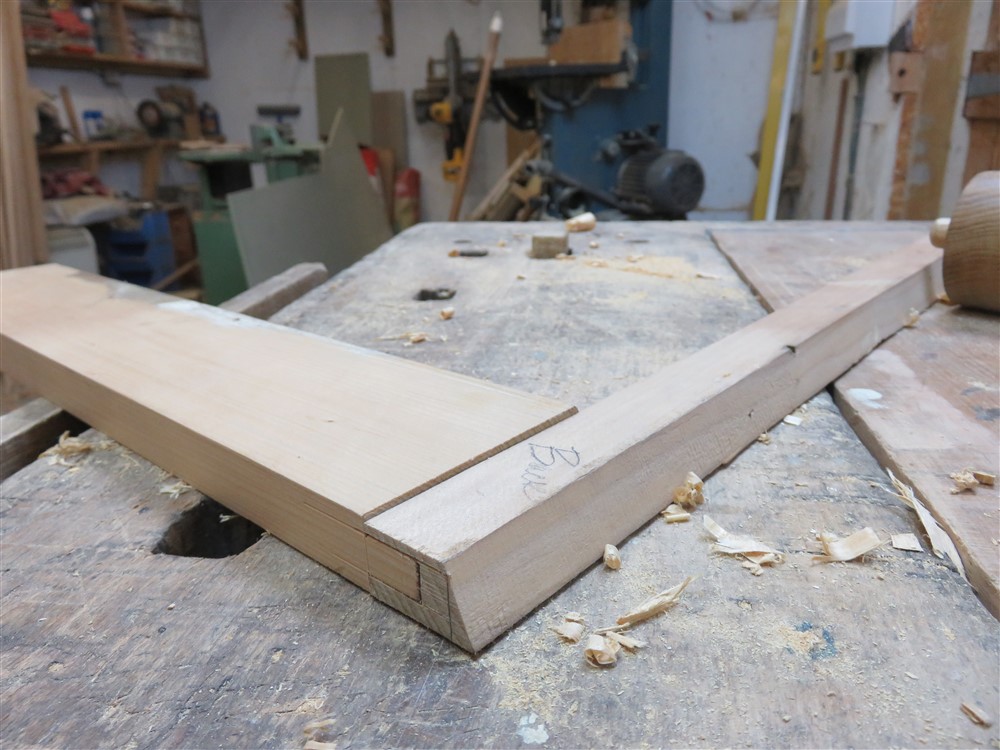
bXl0tA0.jpg


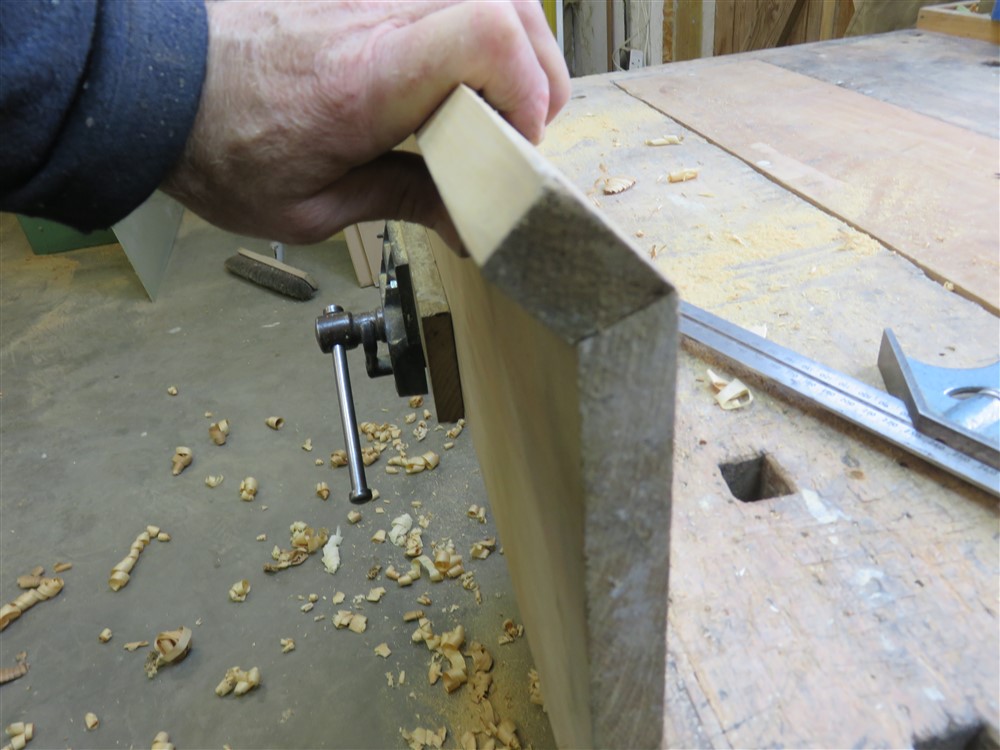
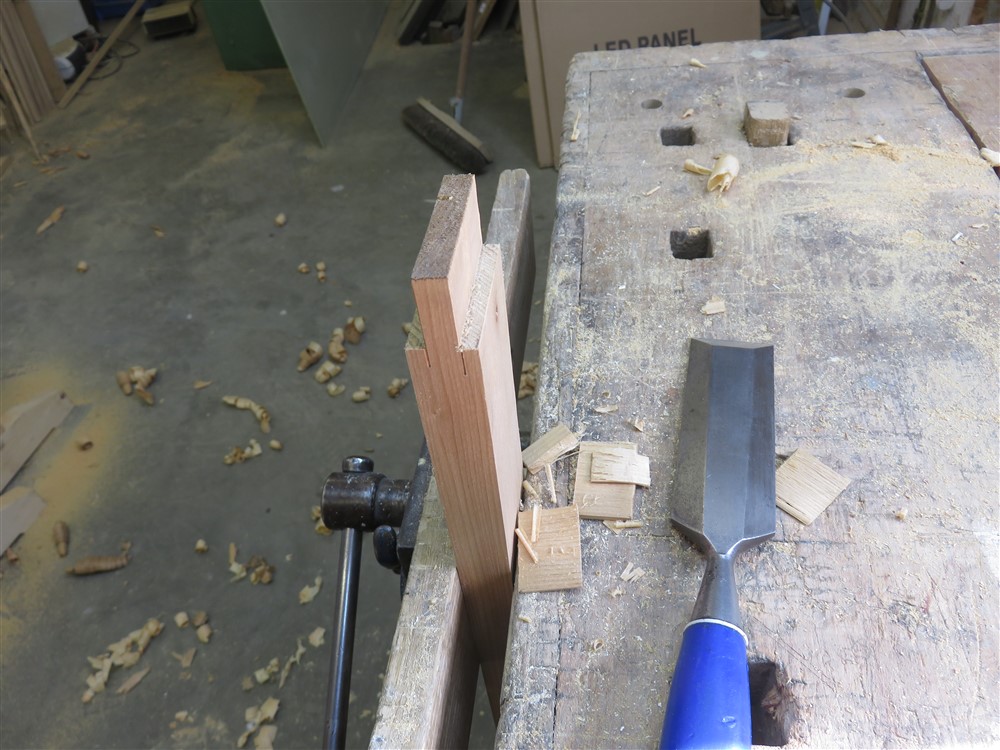
I'd never normally chisel in the vice, but with an angled face behind, I had no choice:

22QNgmy.jpg


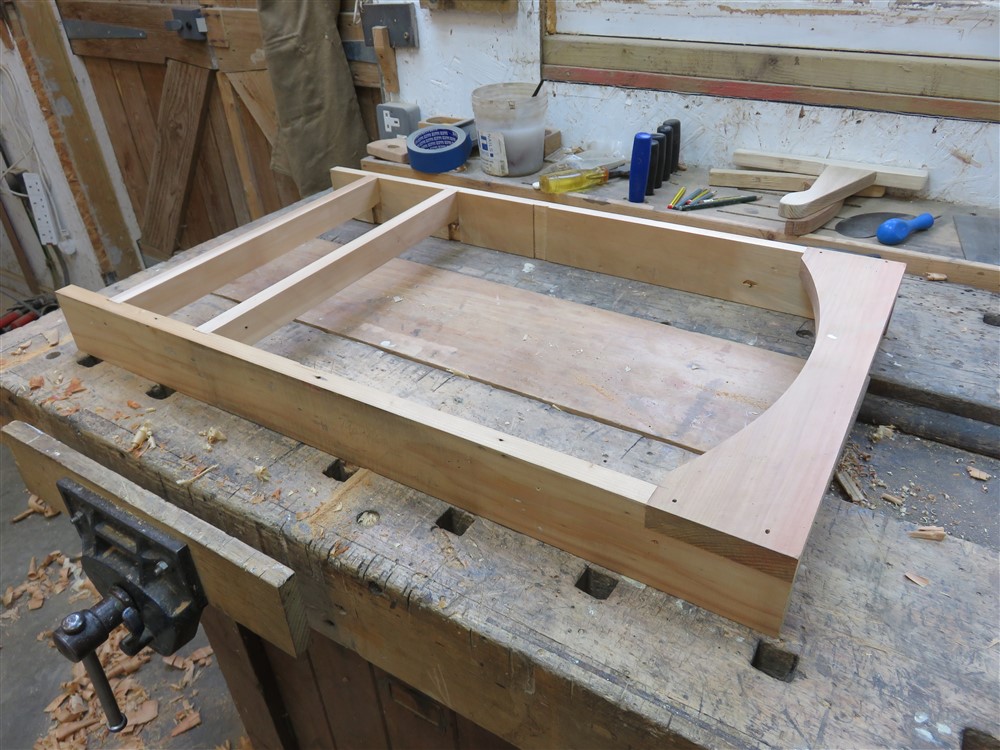
I just had time to glue up the frame before coming in to cook:
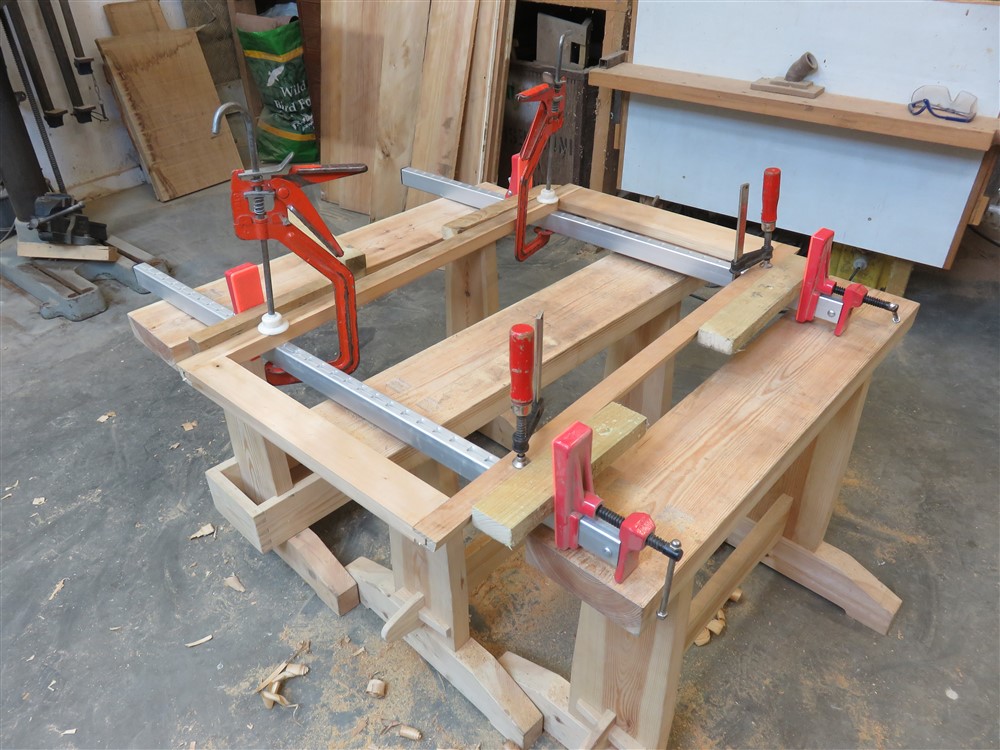
tGGMq8n.jpg
 
Deeply unmotivated today. Tardy start, easily distracted, gave up early........

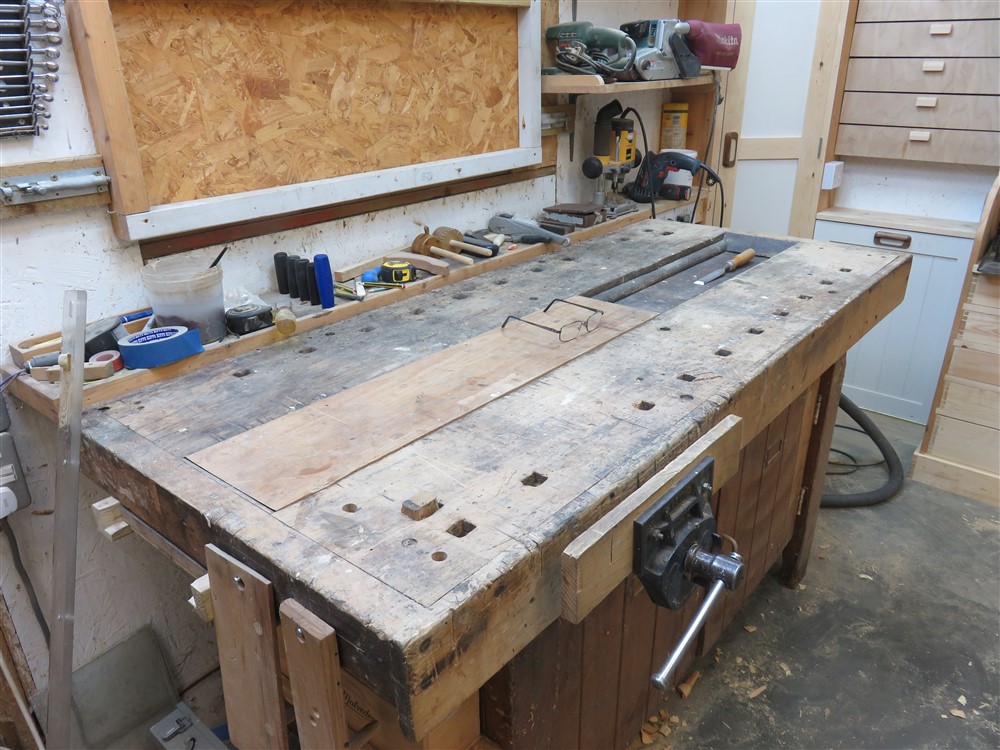
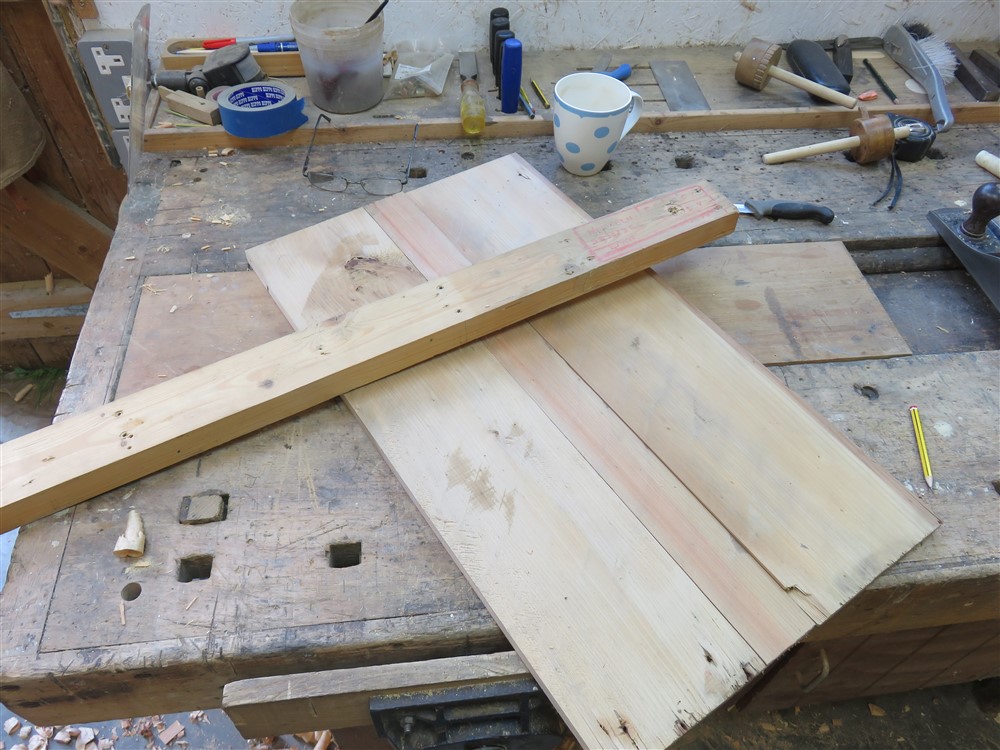
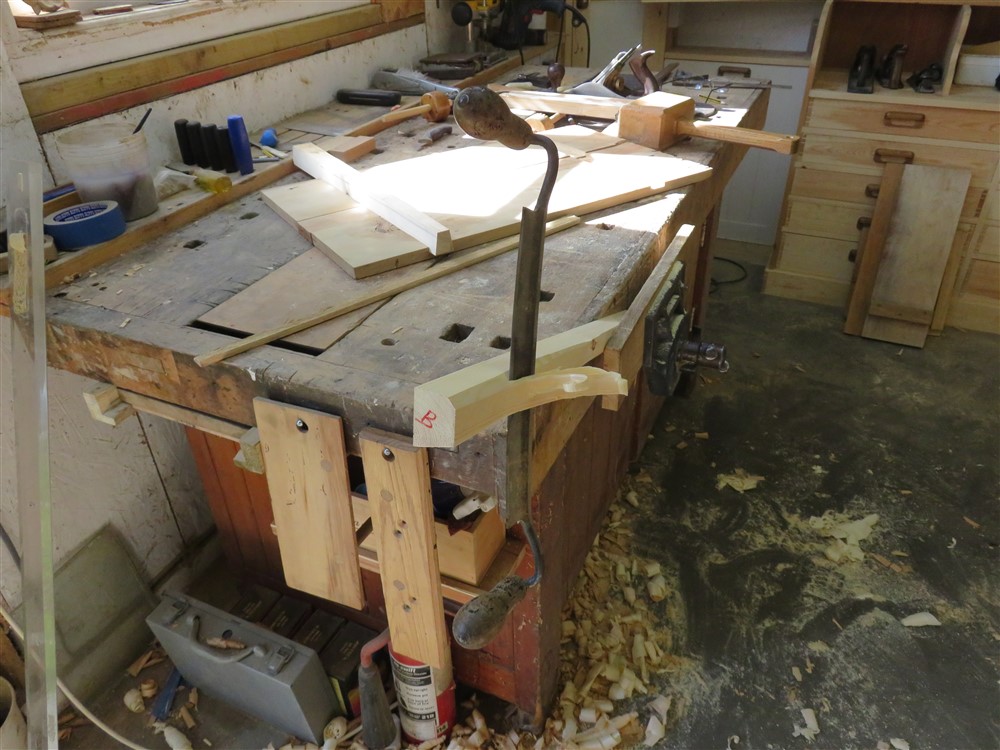
.......but at least I started with a tidy bench:

faq0lm9.jpg


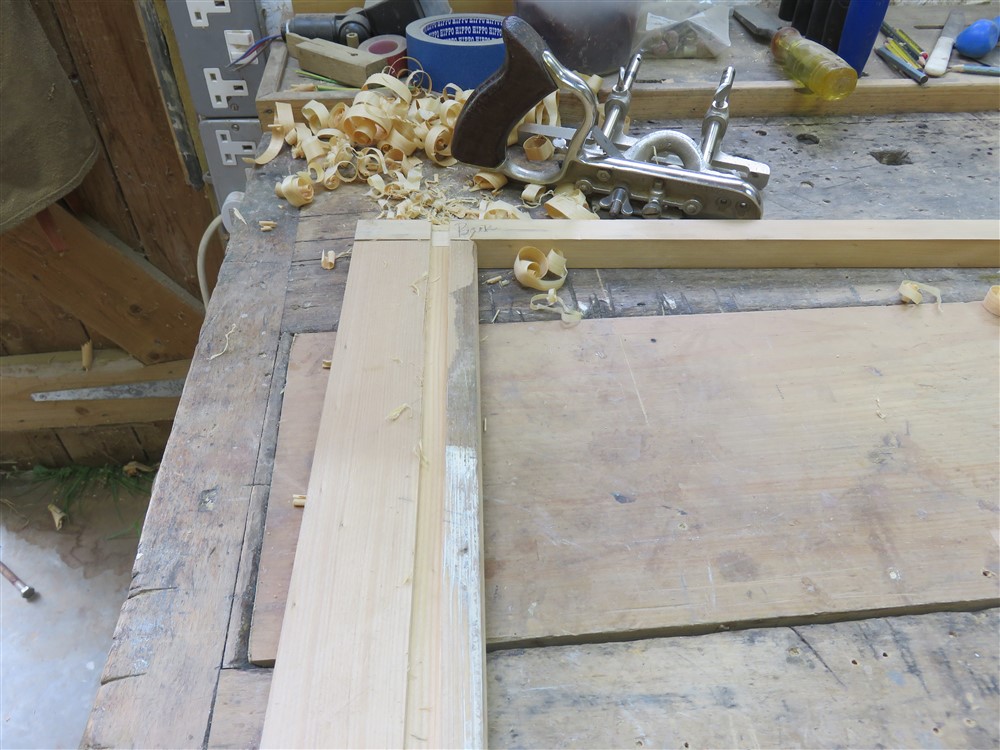
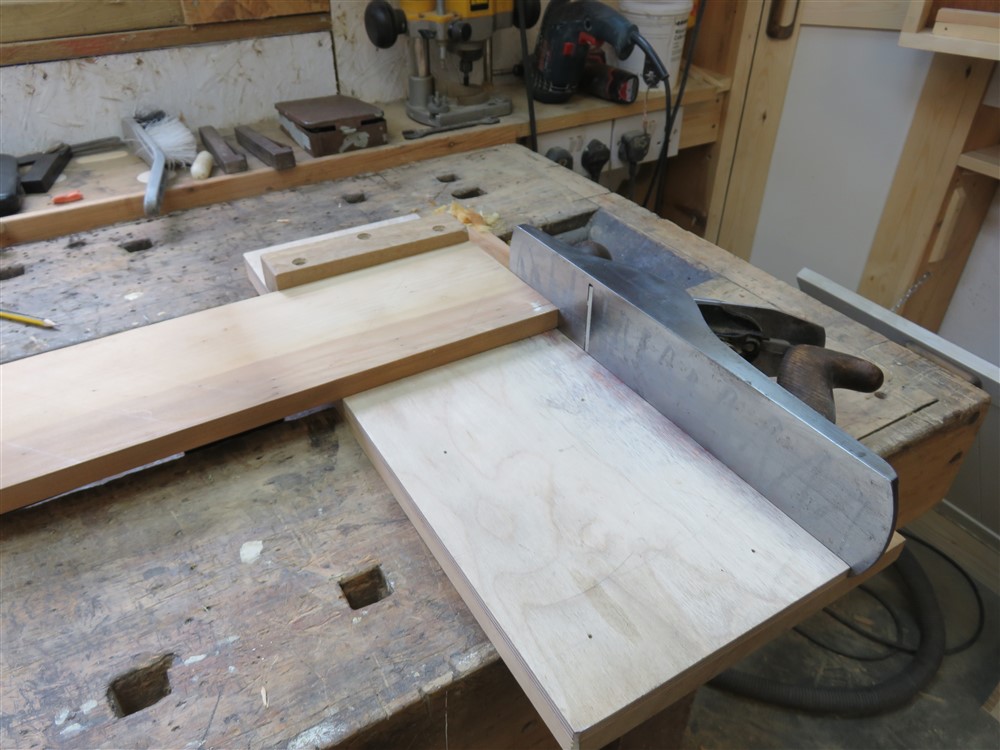
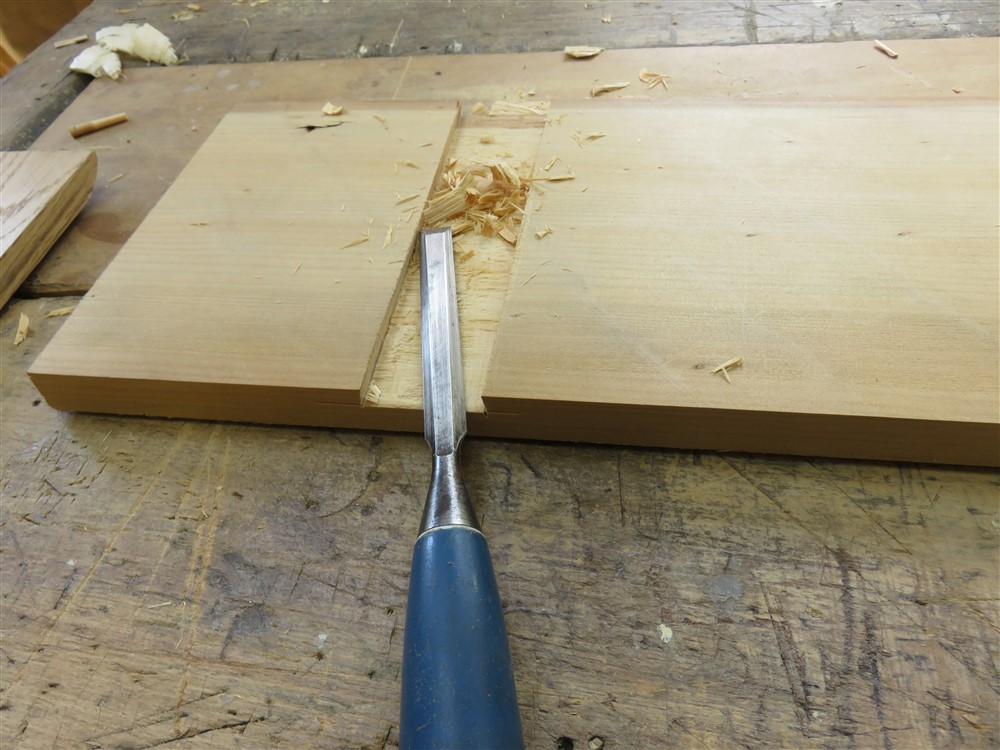
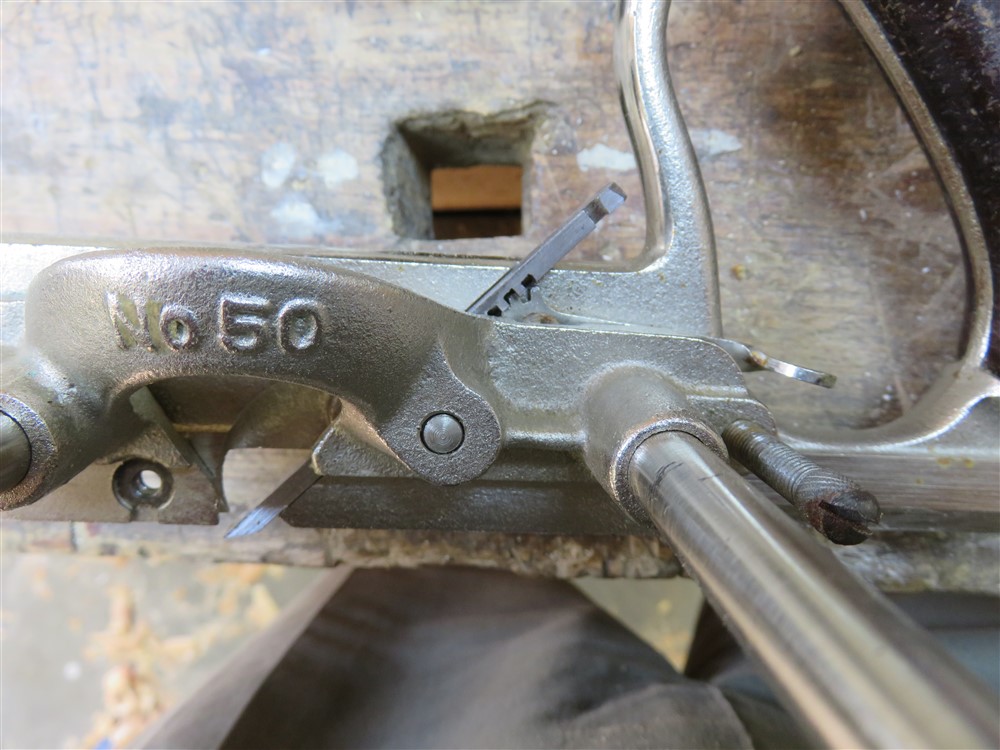
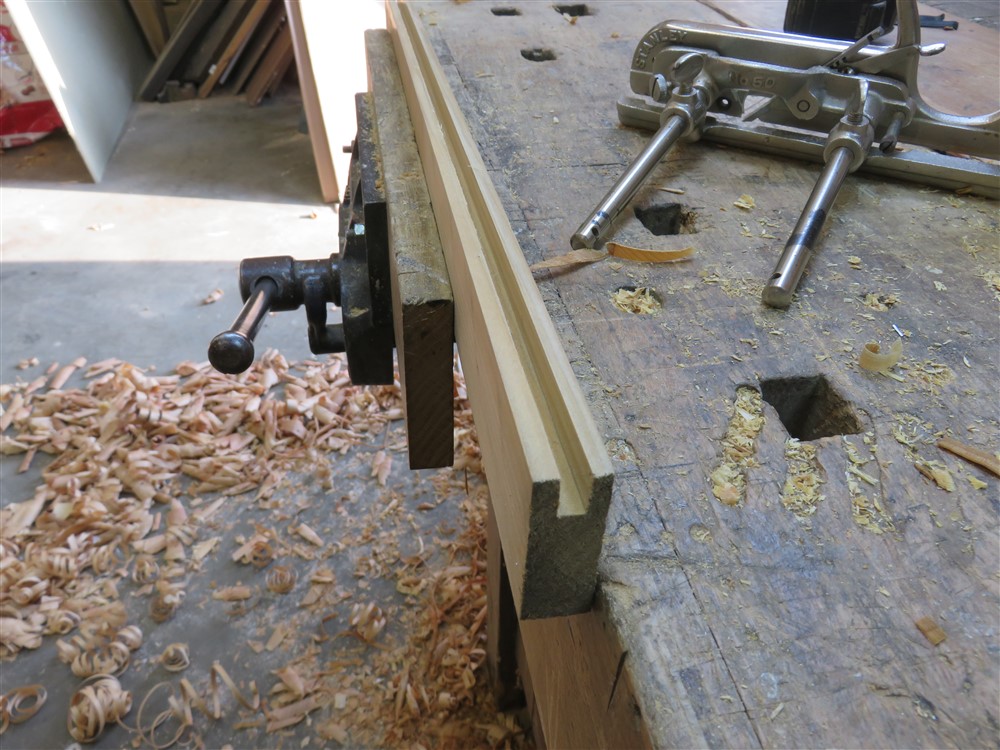
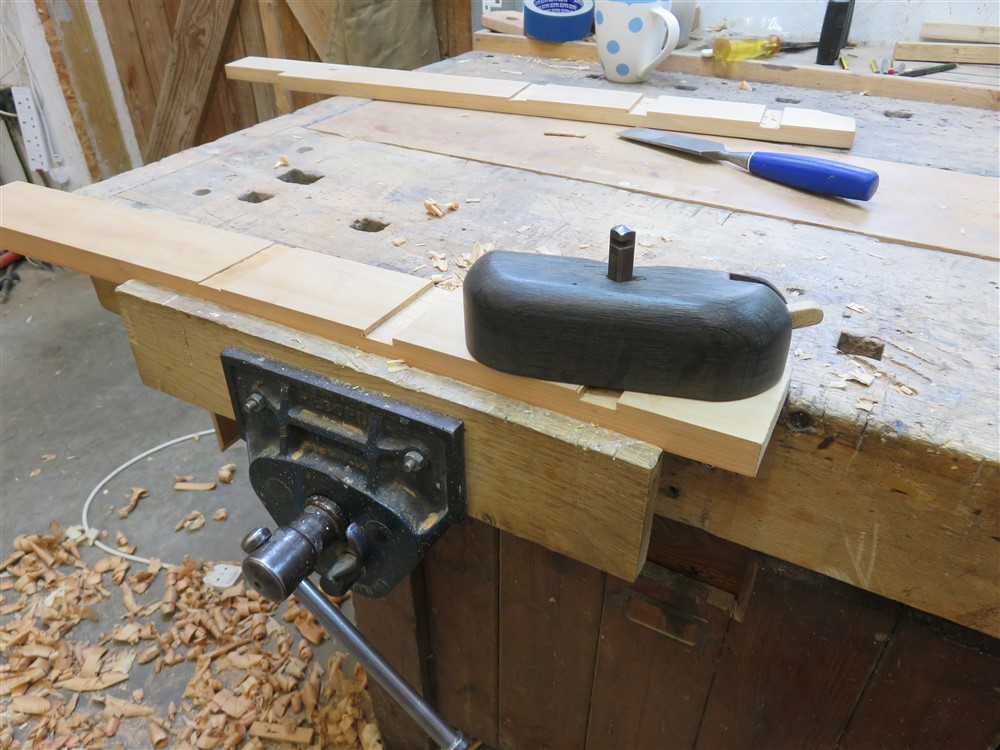
After popping the clamps off the frame I ran a groove with my Stanley #50 in the bottom member to take a shelf:

nTlDlFM.jpg


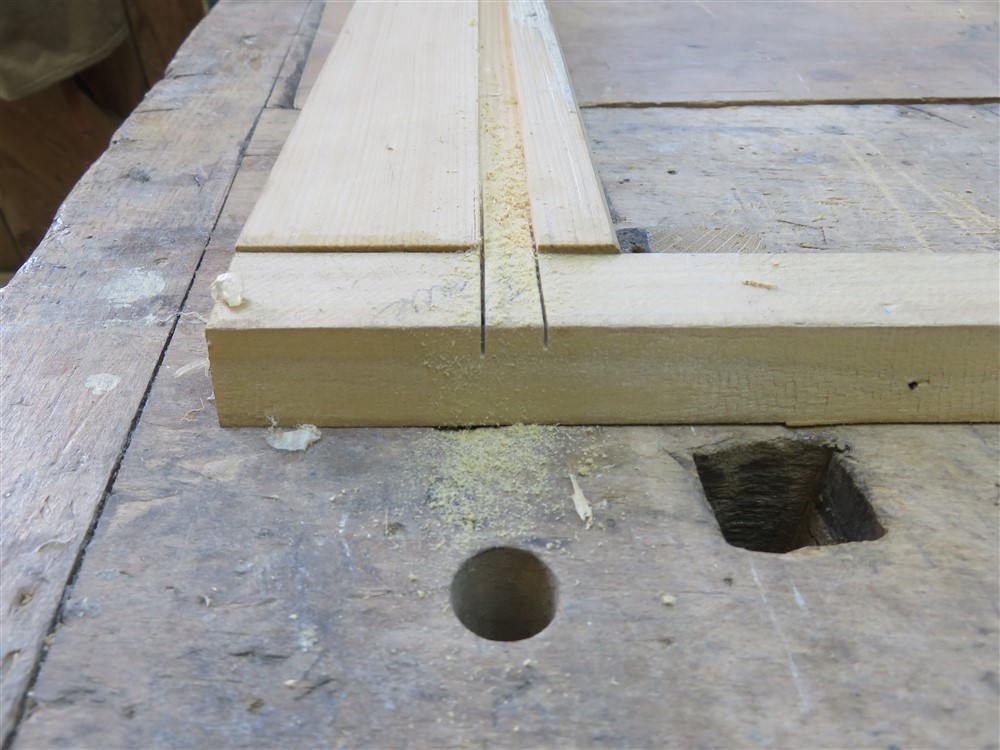
Once I worked my way back to the back edge it just seemed quicker and easier to do the cross grain stuff with a couple of saw cuts. The nickers work well, but this is quicker:

pFg7Yyg.jpg


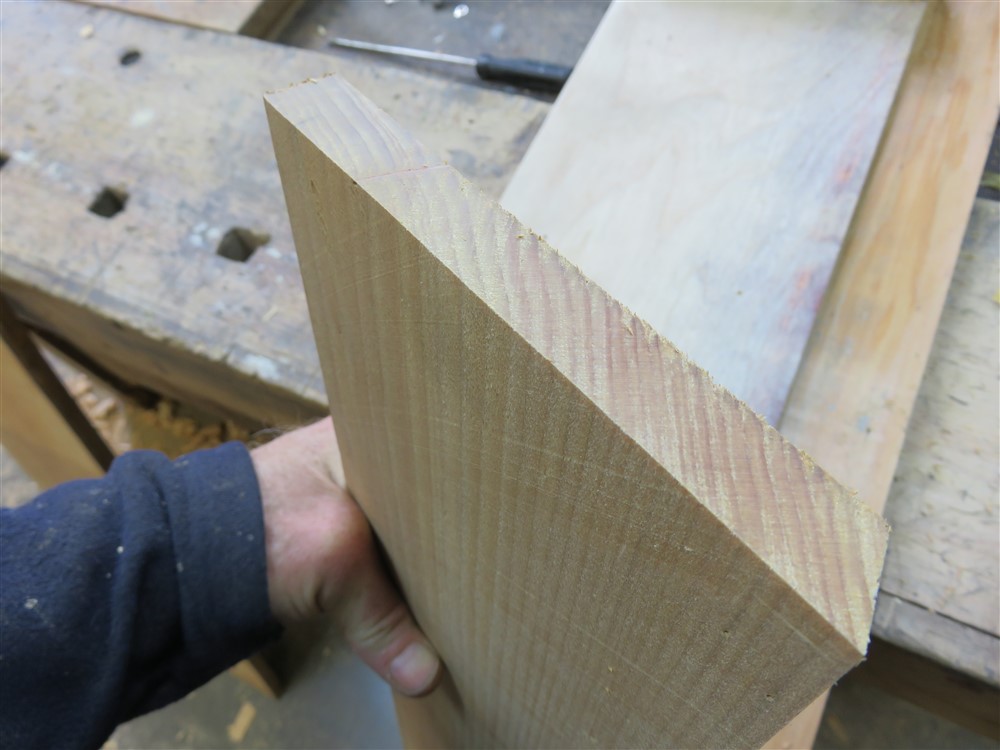
I cut the side pieces to length and cleaned them up:

gFjIIyu.jpg


Q7p44wr.jpg


sWFErBx.jpg


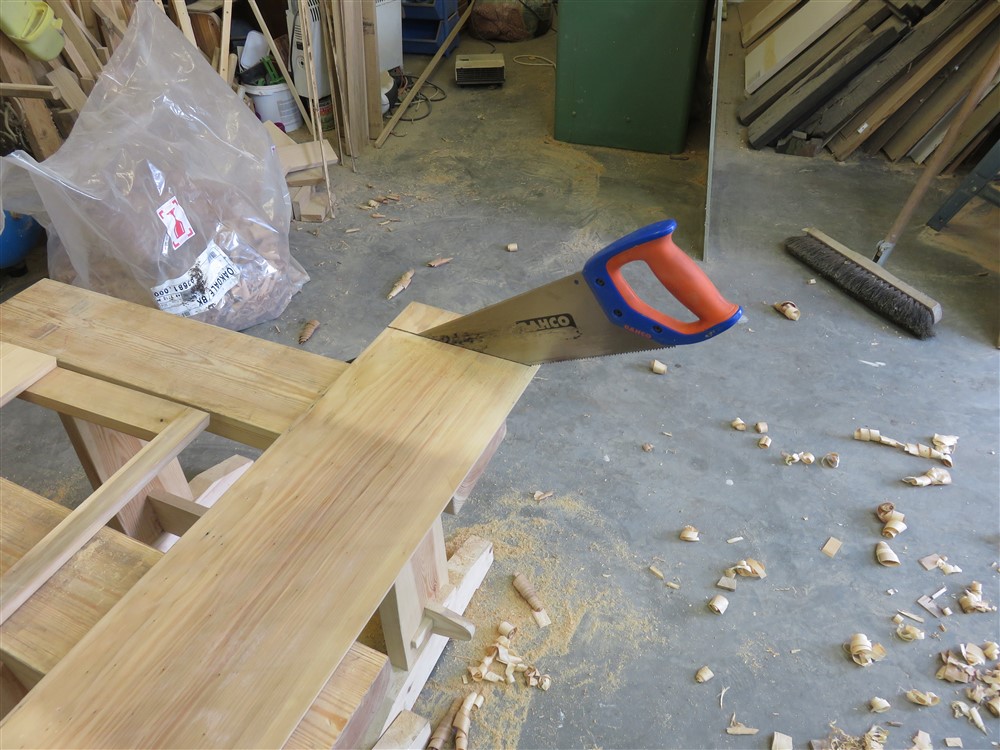
Yes!! That is a hardpoint plastic handled saw. I make no apologies. My crosscut needs sharpening, and the set is off, pulling the cut to one side. I just couldn't be bothered today. Anyway, on with the door:

3cnYllM.jpg


It's going to be a boarded door with sliding dovetail battens/ ledges. I can't remember when I last cut one of these joints. Anyway, some more ripping and planing:

eEAlybR.jpg


yELkCoG.jpg


MrGD8mL.jpg


4Vsbhkg.jpg


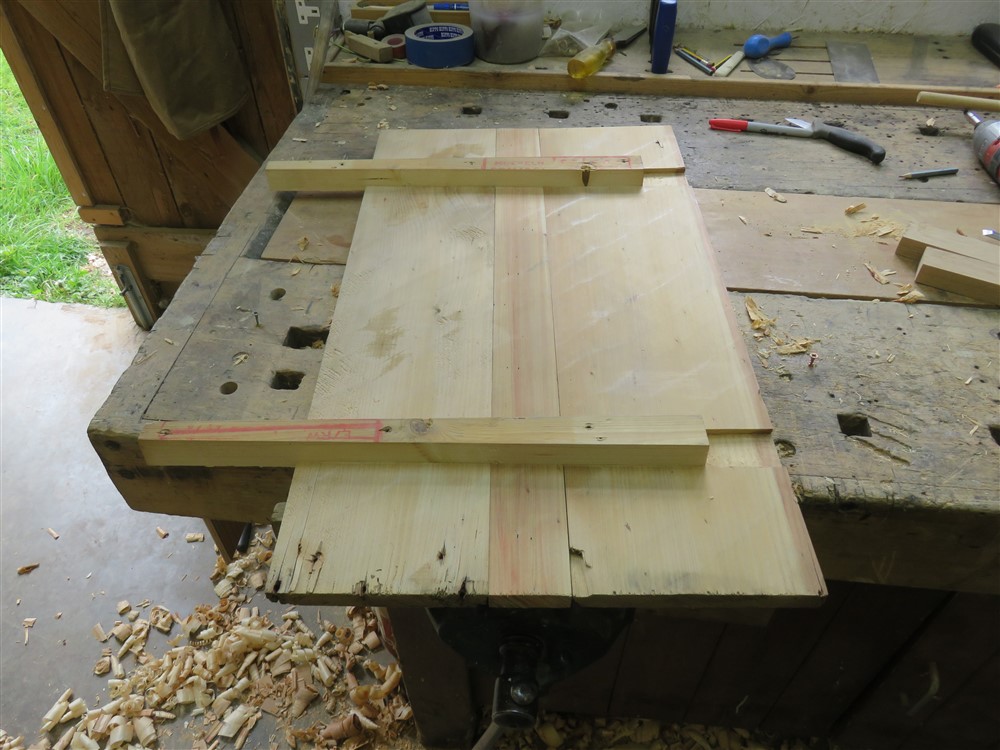
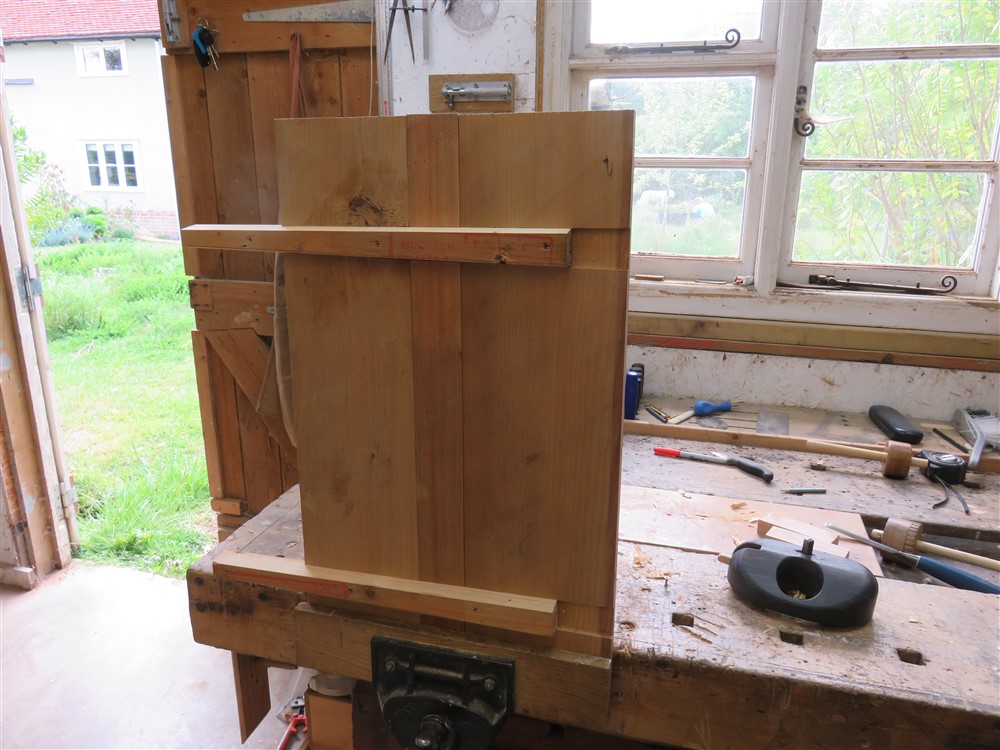
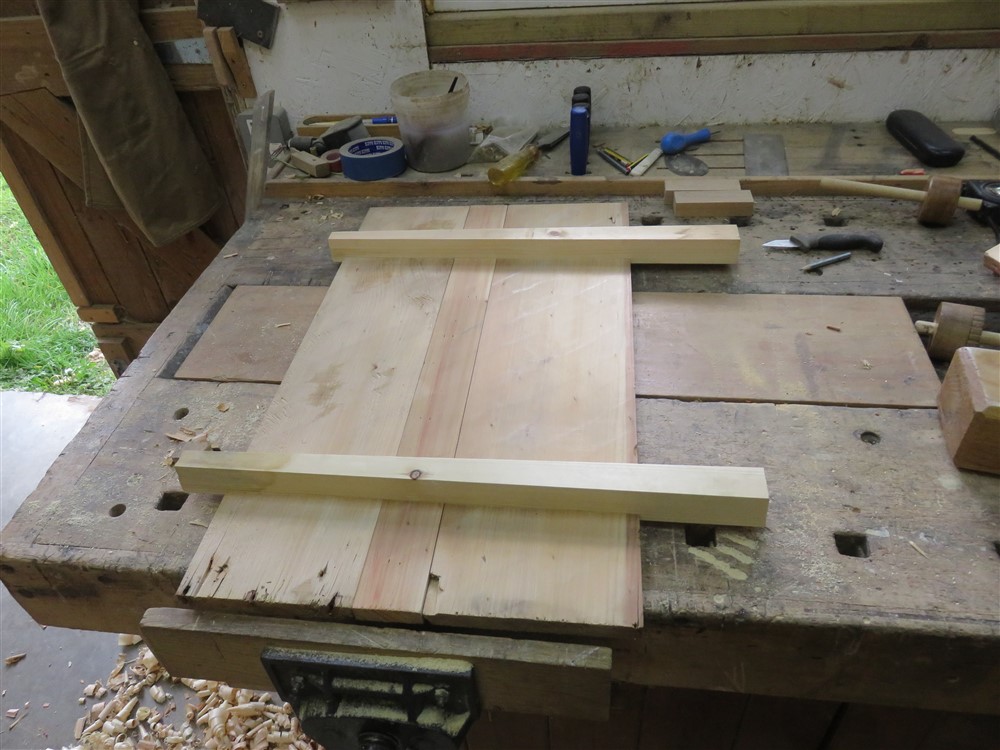
The ledges will be on the show face of the door (ie outside), so I clamped them in position, then screwed through from the other side to hold everything true for the next phase:

h7Kql0I.jpg


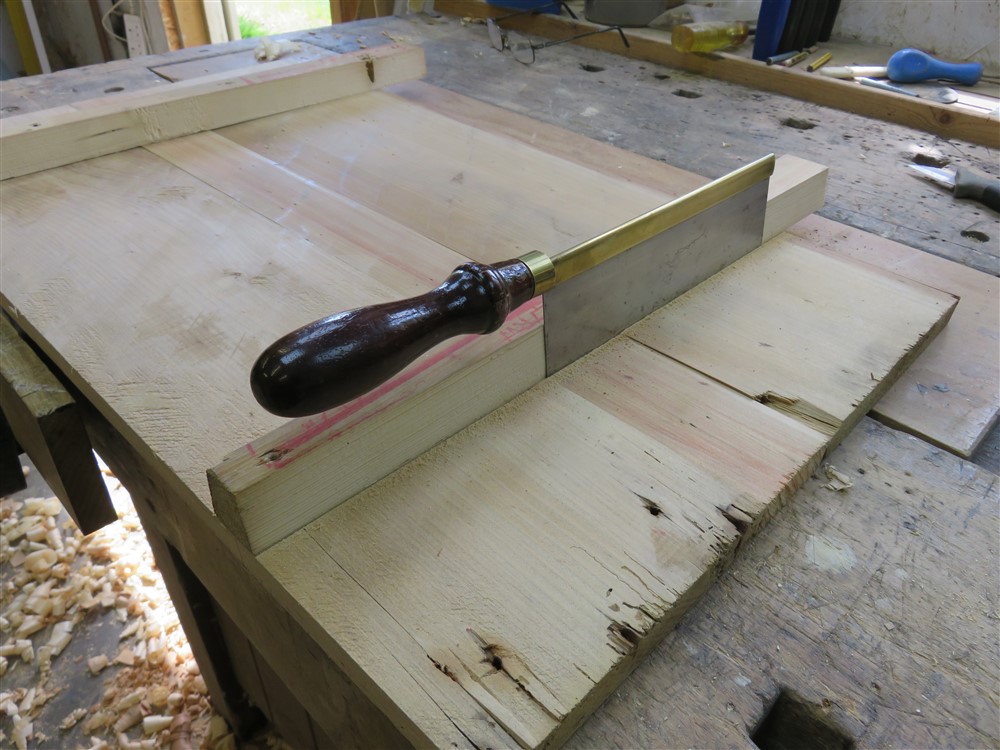
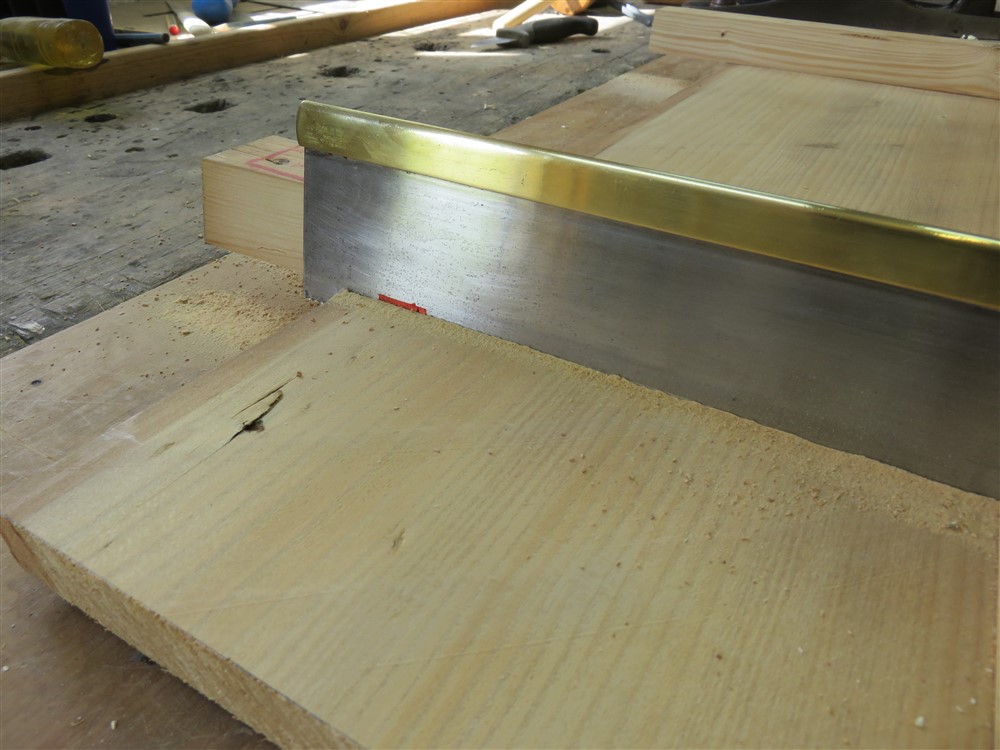
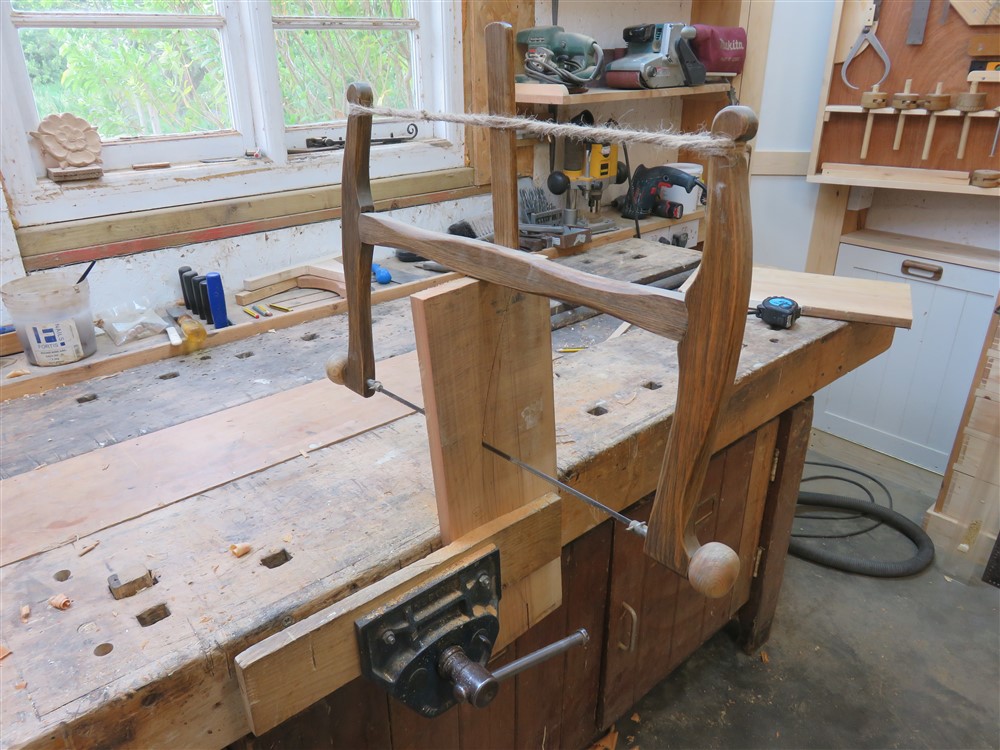
Using the sloped edge of the batten as a guide I cut carefully across the full width of the door. The only saw I could use was the gents saw, because the handles of all the others fouled the batten. I used a highly sophisticated depth stop:

kwTFuJB.jpg


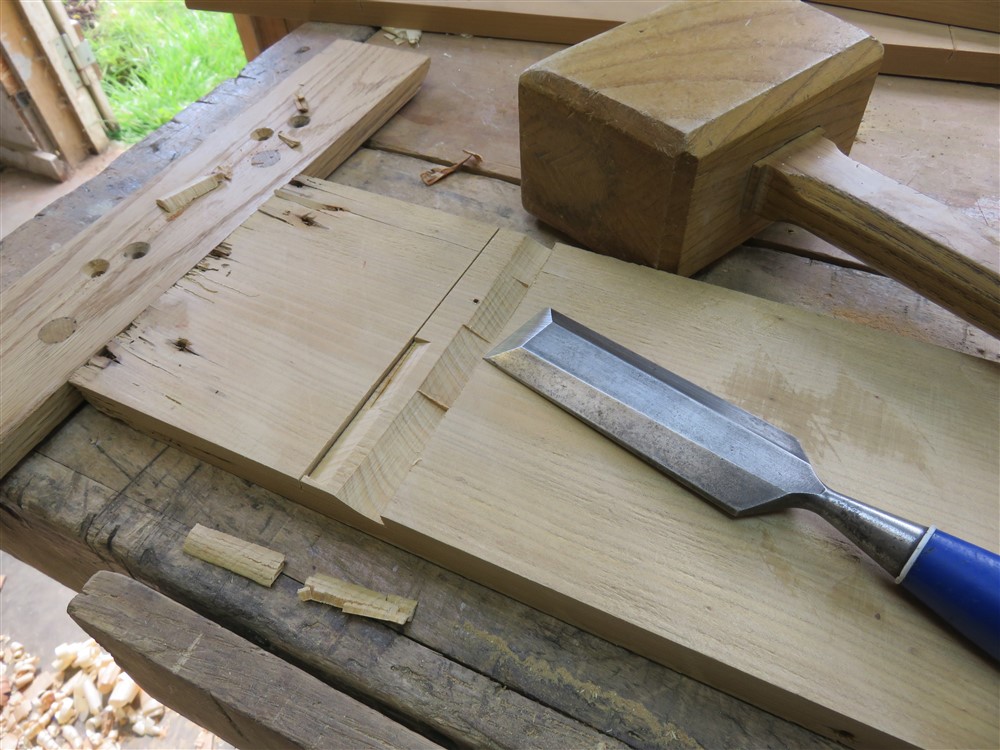
When all the sawing was done I set too with a chisel to hog out the bulk of the waste:

cvCRmXg.jpg


iCnVT3l.jpg


hQjwAvC.jpg


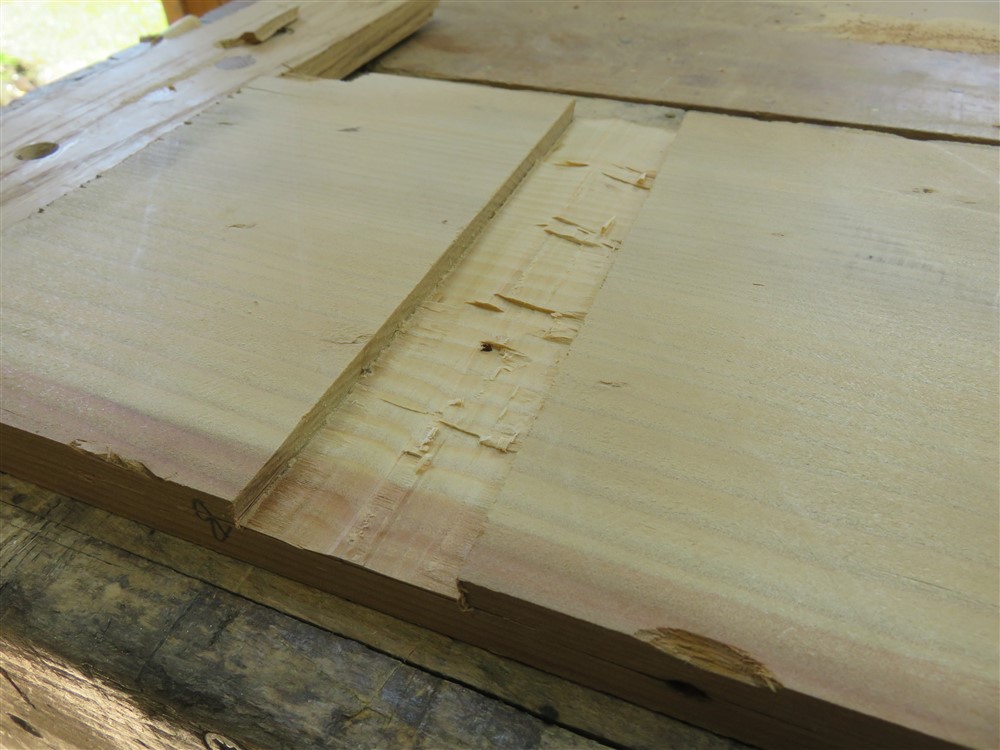
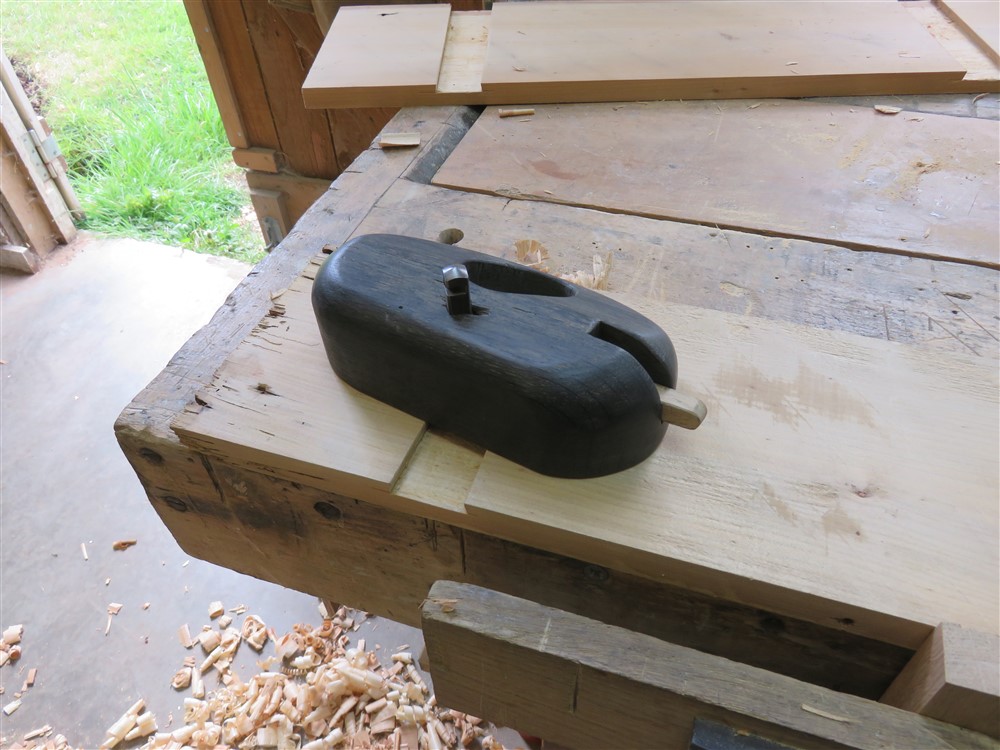
Before finishing with my router plane (unfinished):

cFNByr4.jpg


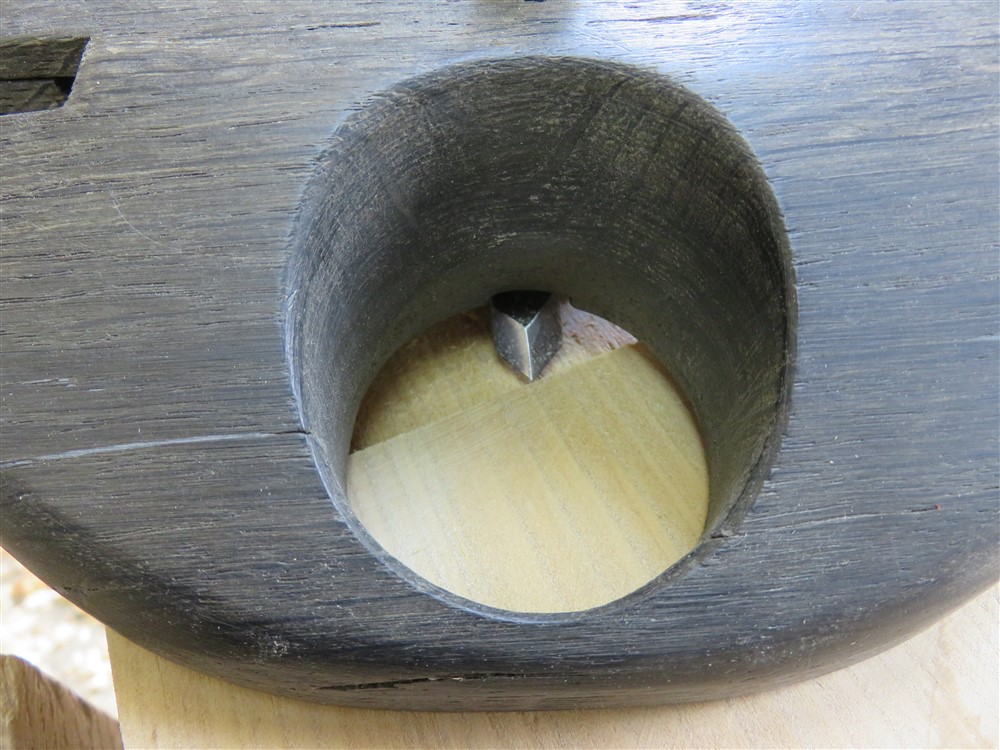
The little pointed blade was remarkably quick and effective. It seemed like less hard work than the straight fronted blades I am used to:

4EwAmQa.jpg


Time to try in the battens:

3GW24eV.jpg


0OWq7Pt.jpg


#-o #-o #-o #-o Damnation.

So I made some new battens, a little bit wider than the old ones:

qMw3Qai.jpg


a0ca5Qr.jpg


.....and they worked perfectly:

OSzcUuo.jpg


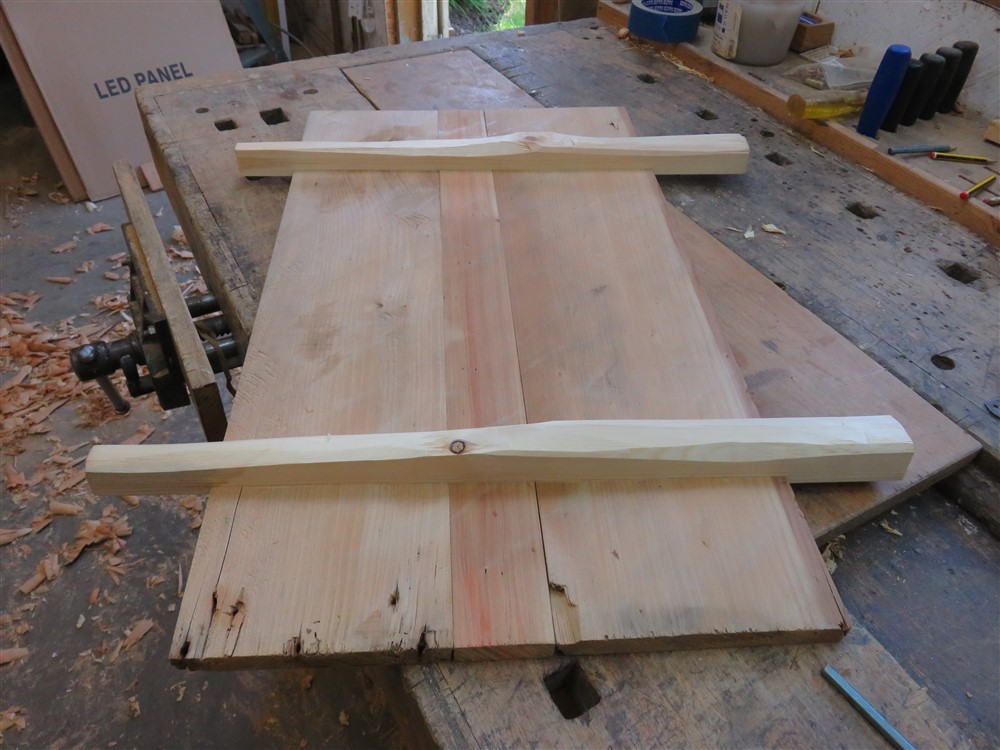
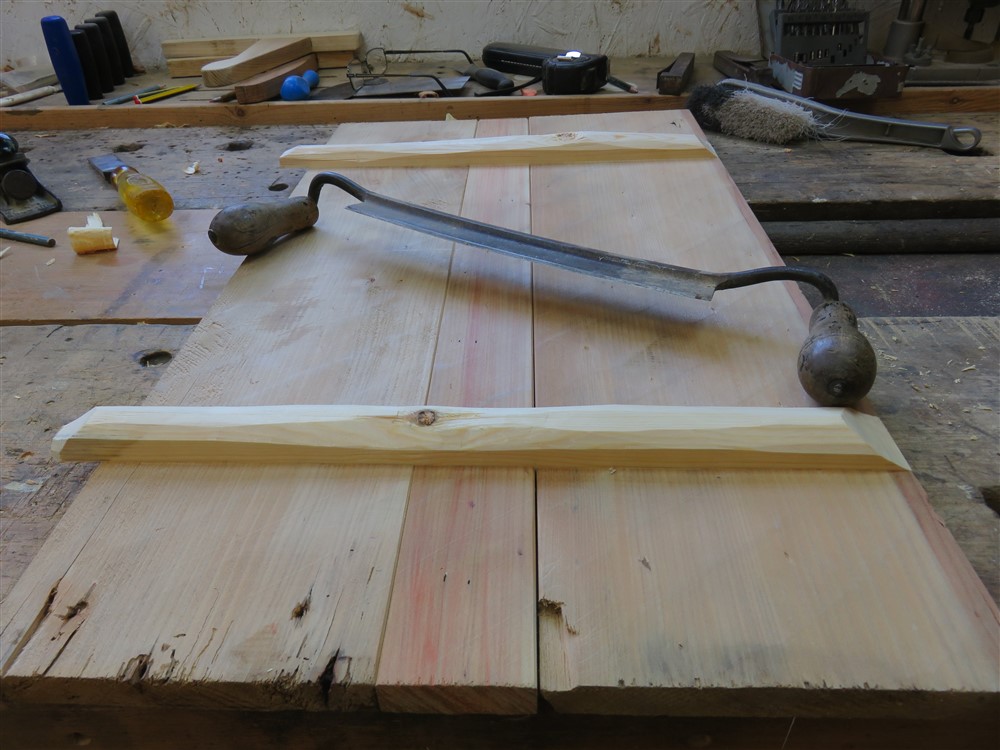
I hacked off a bit of the excess with a draw knife, then stuck them in the airing cupboard to shrink as much as I can get them to shrink in a couple of days:

XF3IcFY.jpg


O6QUcYX.jpg


I wandered off into the garden to see if there was anything else I could stuff up before the close of play, and spent some time making tool racks for the garden shed. Annoyingly, everything worked perfectly in there.........
 
I'm really pleased to see a thread like this.It might help to counter the impression that you need a workshop filled with machinery to accomplish anything.As we can see that isn't the case and you are producing a useful item and getting a good amount of exercise in the process.Not a trivial consideration in the current situation.

Whenever I see thread on a forum about using hand tools I get suspicious of some of the comments;people often insist that they just don't have the time to do things that way.It could be that they have busy and productive lives,on the other hand I suspect there is sometimes a subtext that they keep buried regarding their ability to actually use hand tools.
 
Parana is nice stuff to work with, isn't it. I've made a few projects from it and still have some salvaged boards in stock.

Shame about the battens. I think you should have shifted them along or sideways before making the second saw cut. Even allowing for that blunder, the difference between a snug fit and undersized is about one fine shaving with a plane, so you are dead right to be drying out the wood.

I do find that with any project like this there are always several ways to achieve every step and get easily distracted into exploring the differences between them.
 
You certainly have some patience Mike, re the router plane blade I find the pointed blade far more preferable to use than a square one.

Keep up the good work =D>
 
If it's any help, in orthodox countries today (Sunday) is the day of the patron saint Mavra. Any work started today is guaranteed to fail, any plants p!anted will die, everything will go wrong, and top it all today is the day all the snakes come out to play. Basically, don't bother starting, it's not worth it.

However, just in case no one else said it recently: thank you for the constant tutorials - always something to learn.
 
I had a few hours in the workshop this afternoon, and achieved a little. Odd day, though, as you'll see. I started by quickly mocking up the shape of the cabinet so I could take some rough measurements:

9hmVpAx.jpg


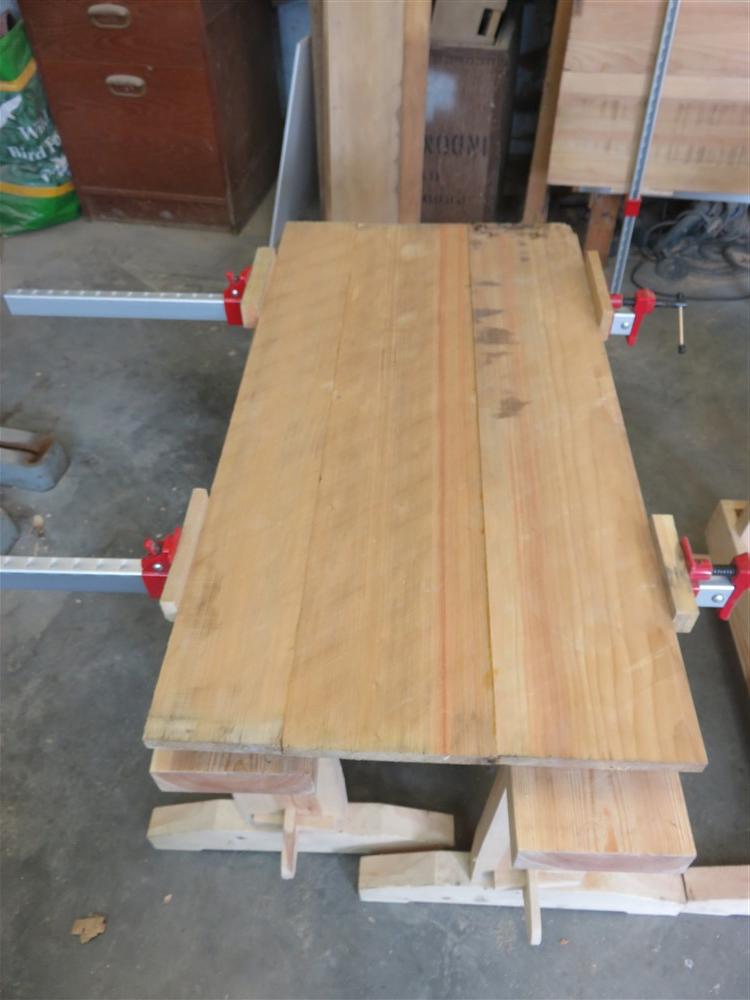
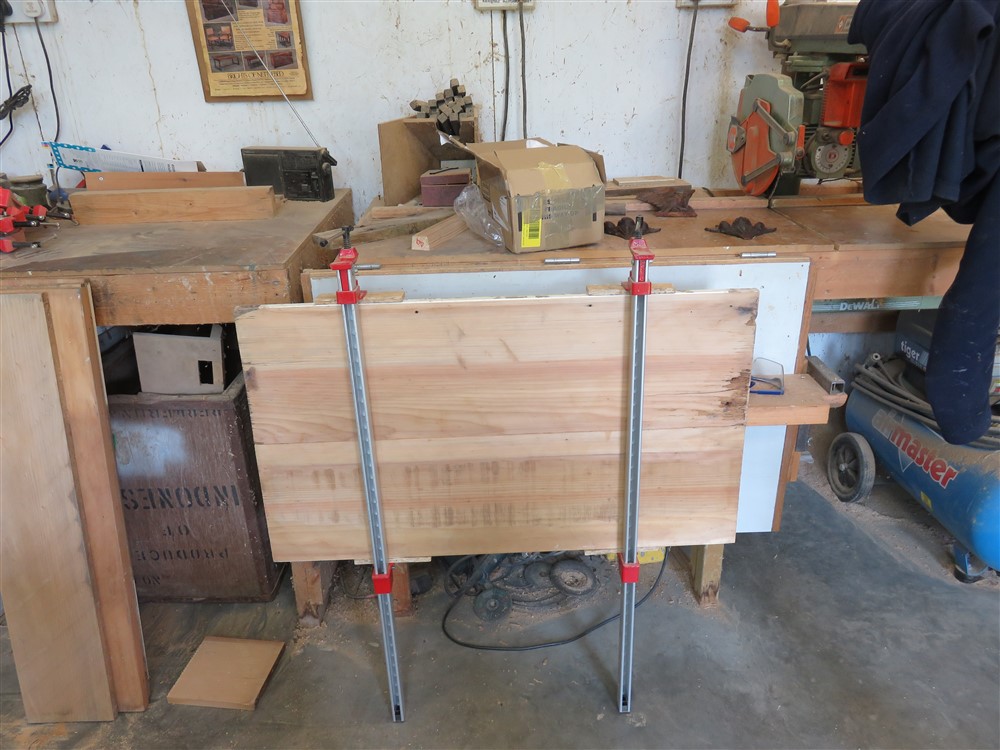
Previously, off camera, I had glued up a couple of panels:

95hQfZ1.jpg


Kc89zfj.jpg


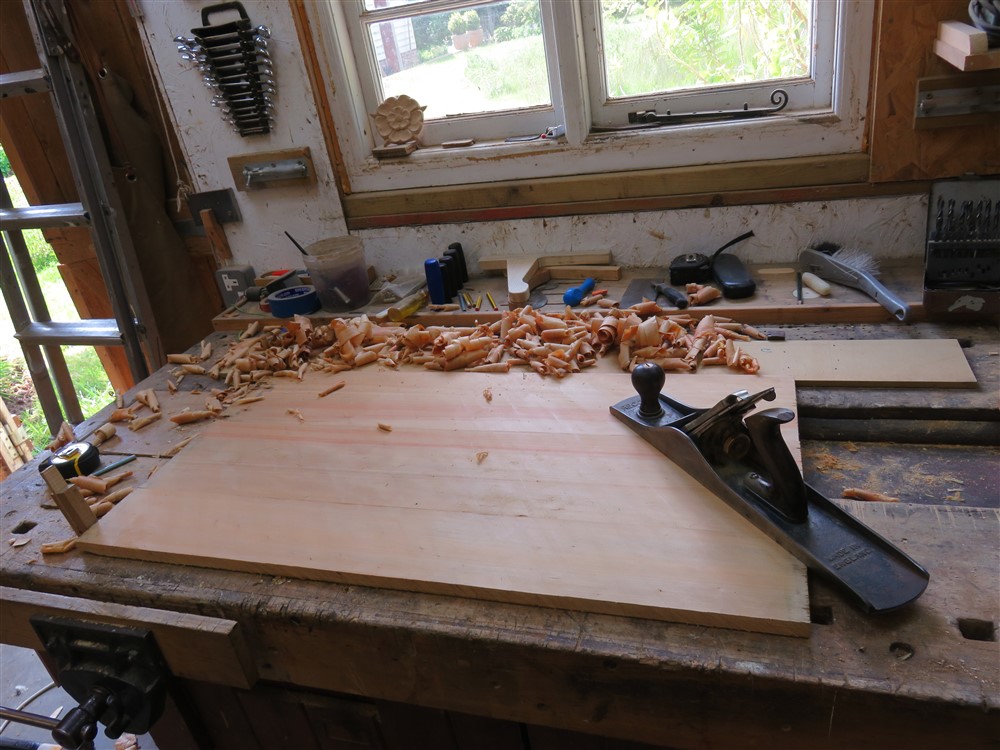
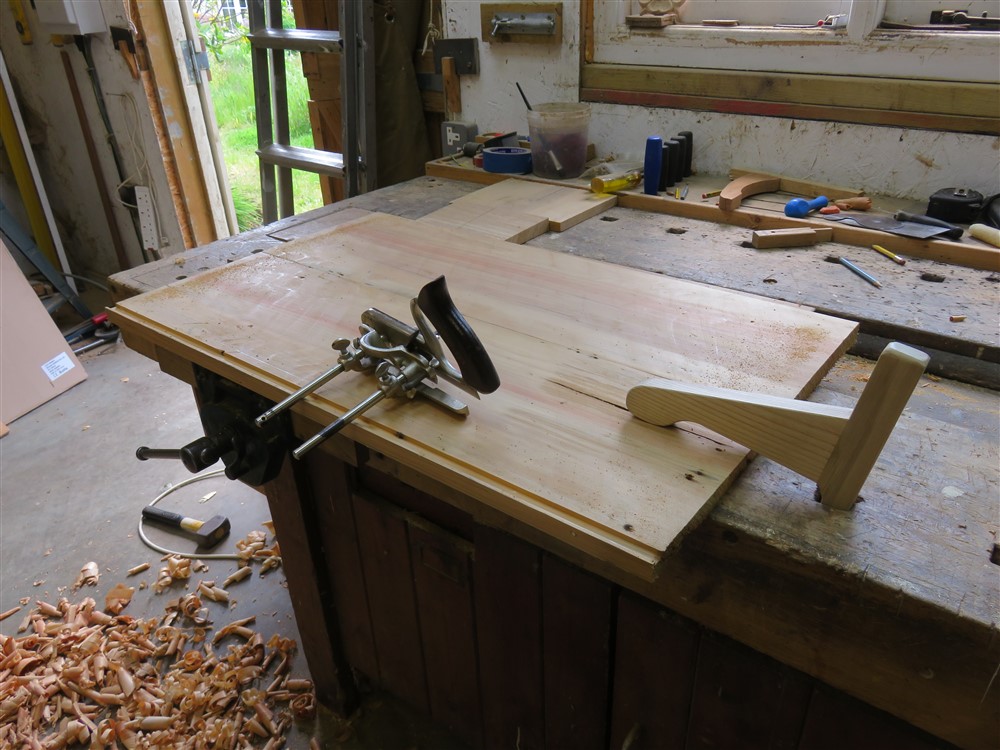
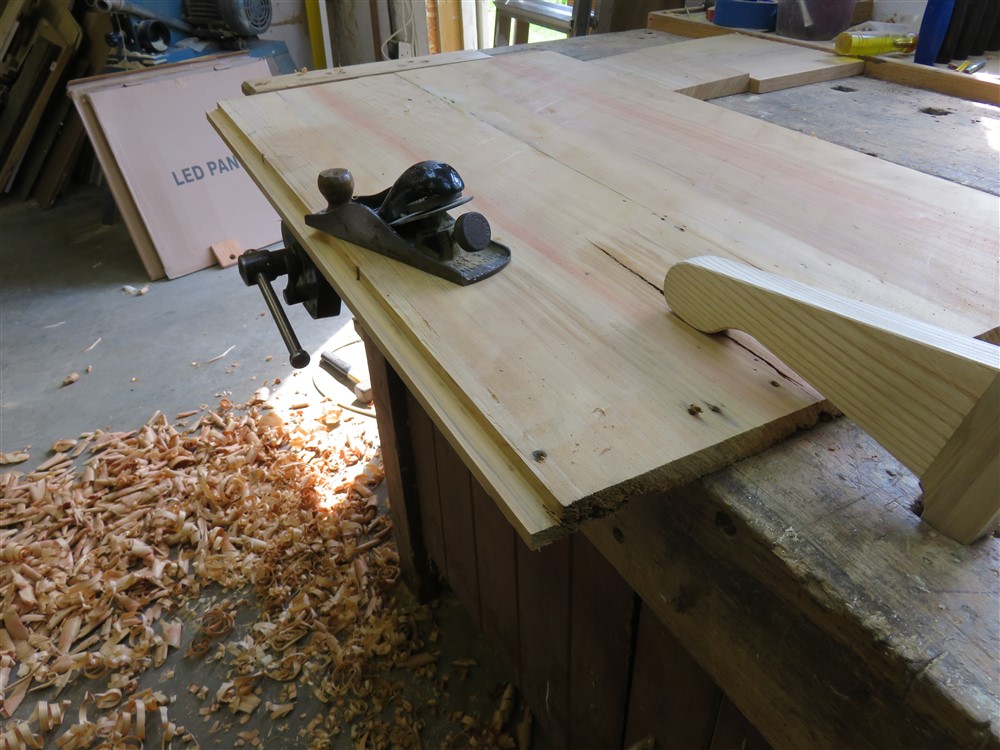
Now, I needed to flatten them then do some rebates:

eGAYFRZ.jpg


AL2FrLD.jpg


hyqZmcB.jpg


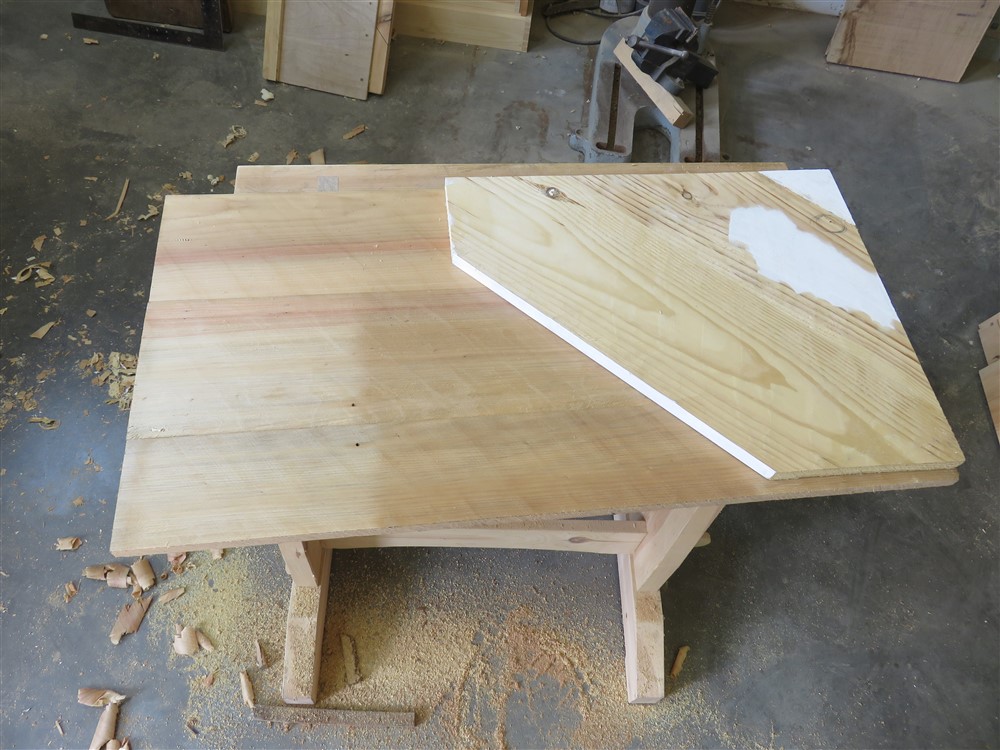
I don't have enough parana pine to do everything I need to do for these cupboards, so I grabbed an old pine shelf I'd made decades earlier. I knew it would come in handy one day. I then marked it up reasonably accurately to form the lowest shelf, and the thing which holds the whole cabinet in shape:

xWVuJ24.jpg


It wasn't quite wide enough, so I glued and pinned the extra bit on:

pPo3lBZ.jpg


0UE628M.jpg


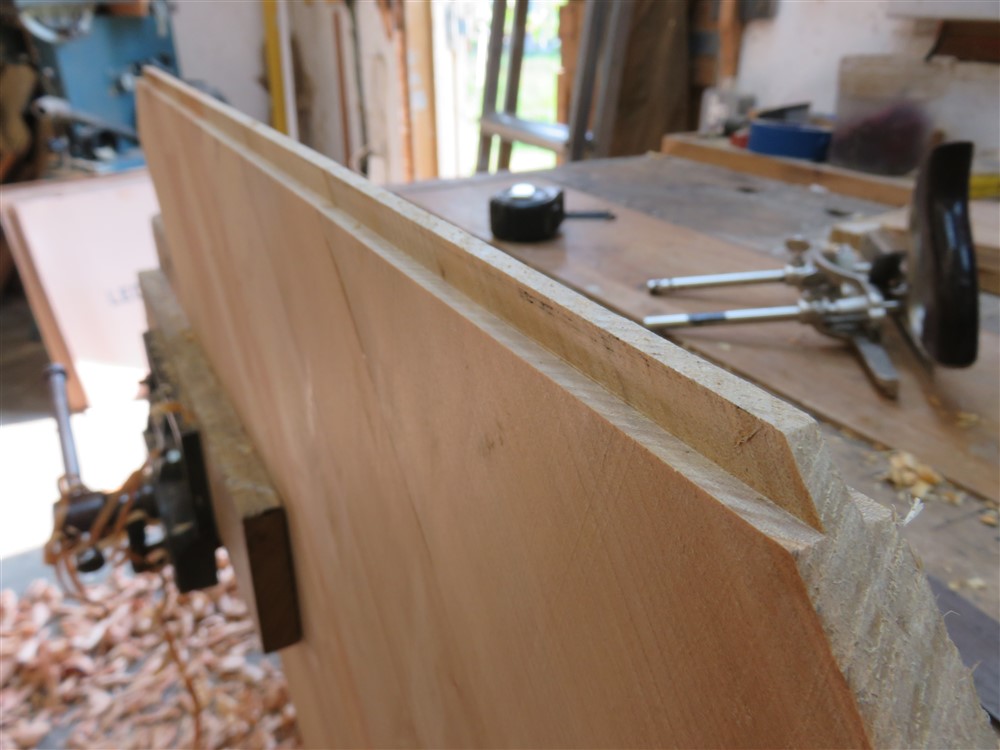
Now, pay close attention. :) Note the grain direction in the shelf I have just made. Now, note (photo below) the grain direction in the board below it, which I need to get 2 shelves out of. Are you following me so far? Right, so you see the problem: the two floating shelves will have grain running at 45 degrees to that which they need. They will sag and eventually break if I don't do something about that.

s8mD2Uv.jpg


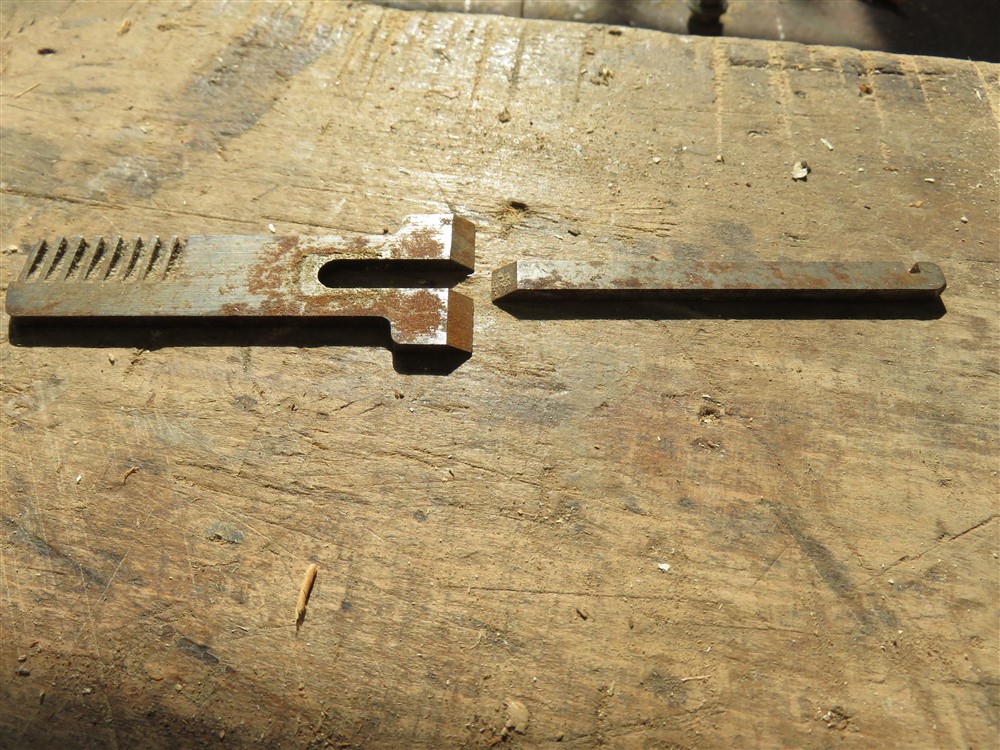
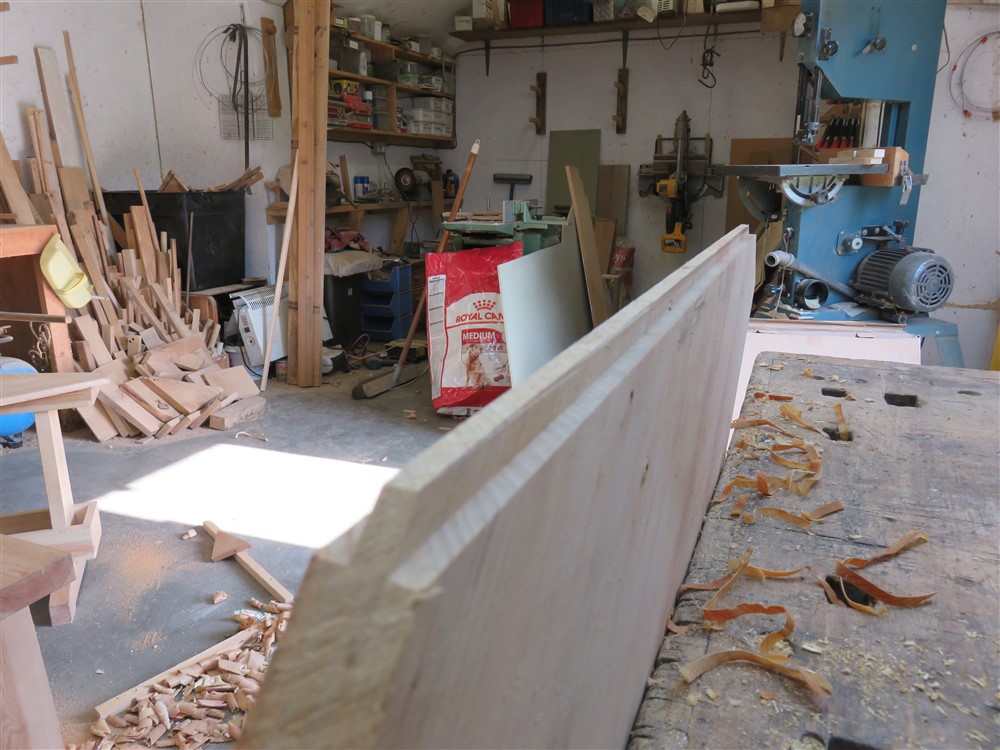
I decided to plant on a substantial front edge to hold the whole thing together. I also decided that this should be connected to the shelf with a tongue and groove joint, which meant that I had to renovate these, unused since I acquired the combination plane a couple of years ago:

aZFhi1n.jpg


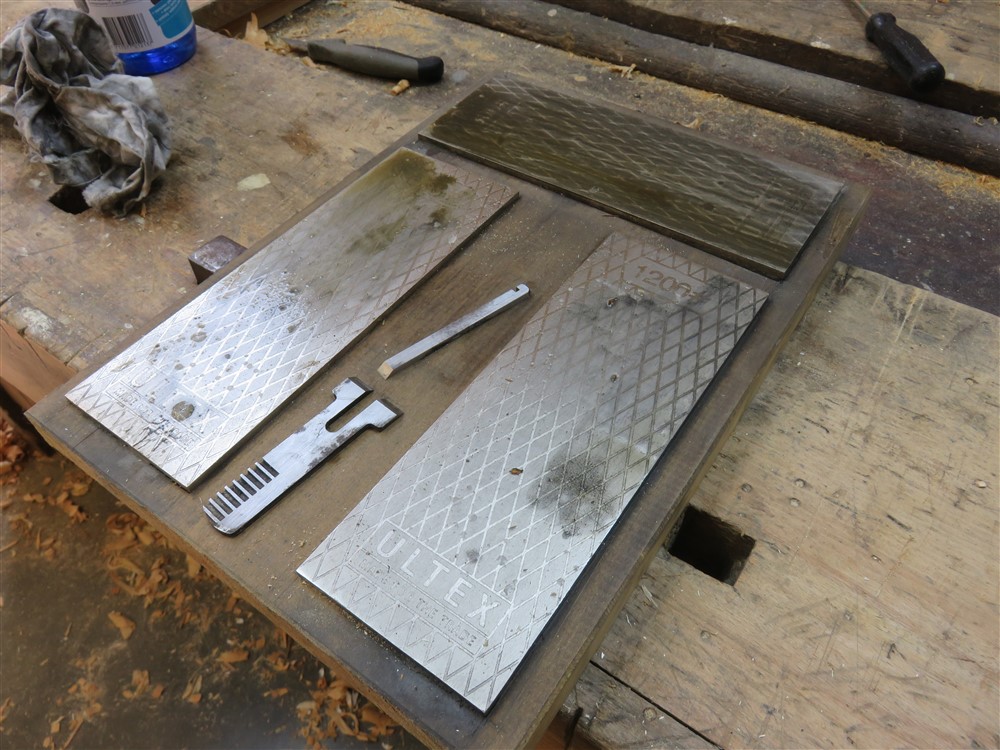
I cleaned them up on the diamond plates, and sharpened them:

tcvJu4W.jpg


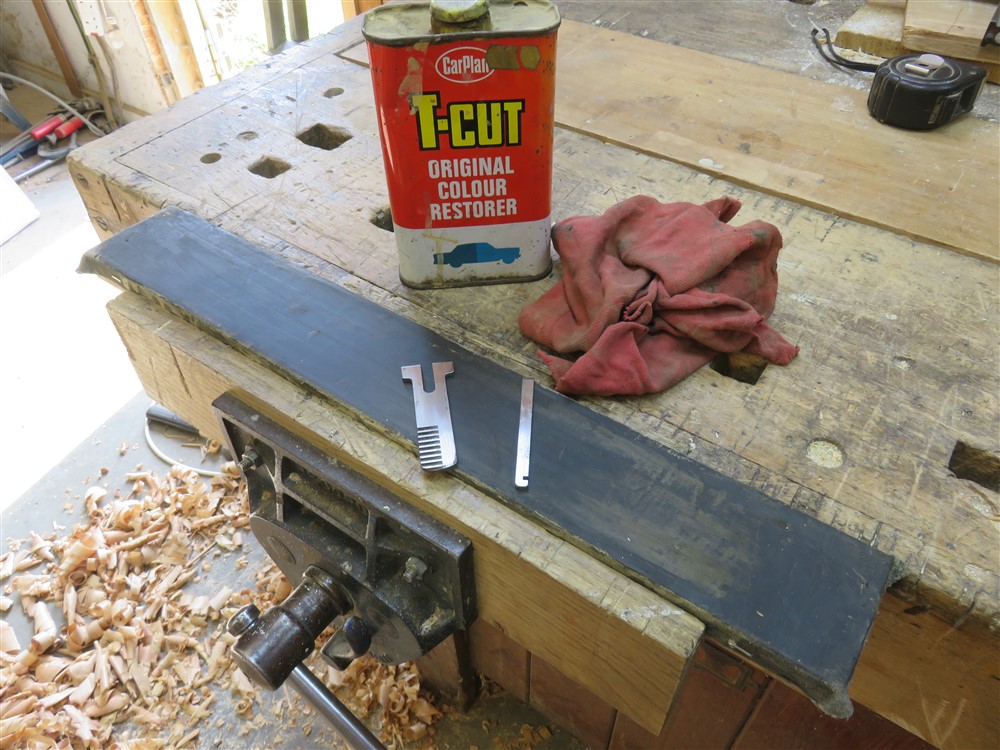
Then stropped them:

mDj2t53.jpg


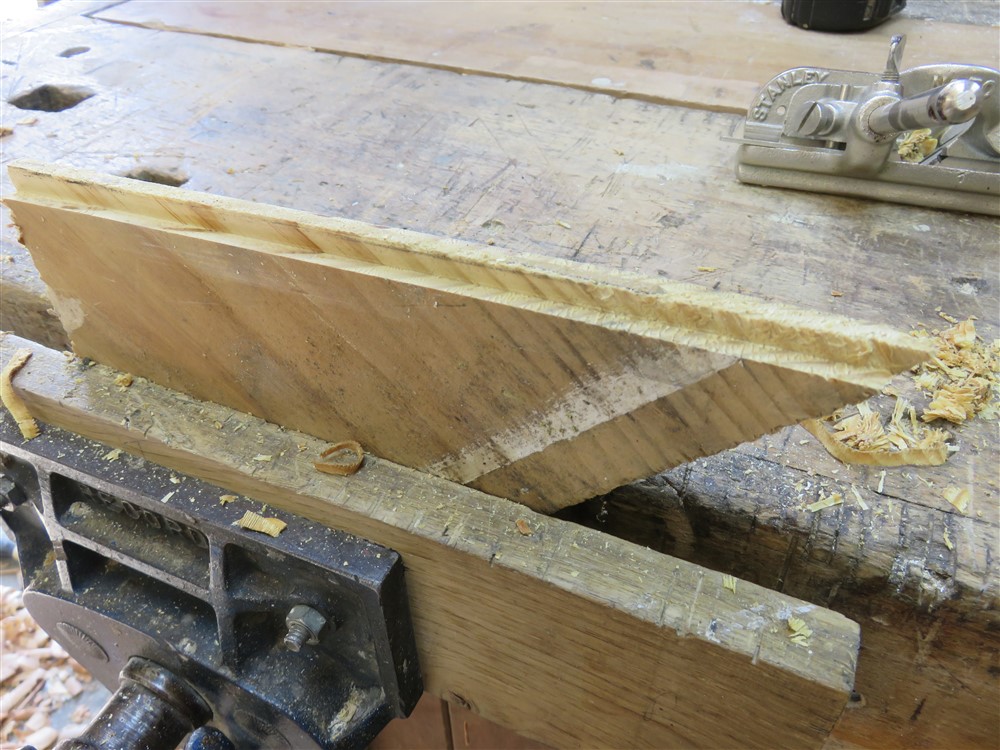
Bit of a fiddle, that, with them being so small. Anyway, they were now razor sharp, so I did a trial with the tongue-making blade:

ygz8pMs.jpg


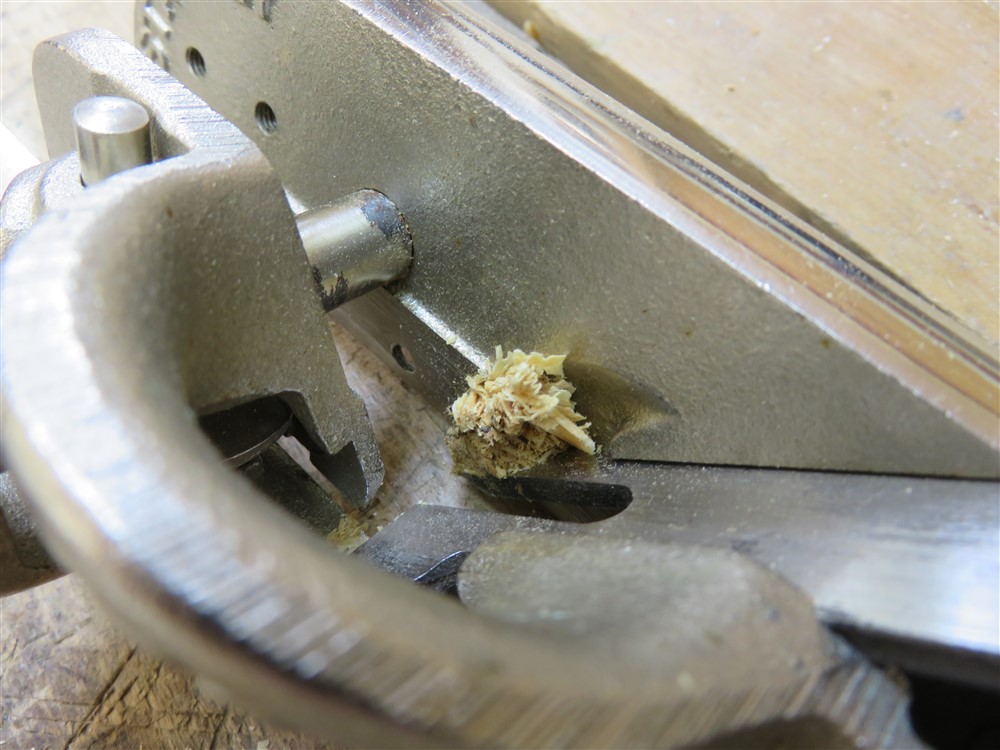
Again, note the grain direction. With the planing only being able to be done with the grain, I couldn't necessarily use the top face of the board as a reference for the guide on the plane. And I developed an annoying clogging problem:

rxIp8Q0.jpg


That was with redwood. Let's see how parana pine does:

PfVF0uE.jpg


vsIOKTO.jpg


It was an absolute dream. I had expectations of this going horribly wrong, but it cut the cleanest tongues you could ever imagine. That was the hard part out of the way, right?

Well......

jHmaEcs.jpg


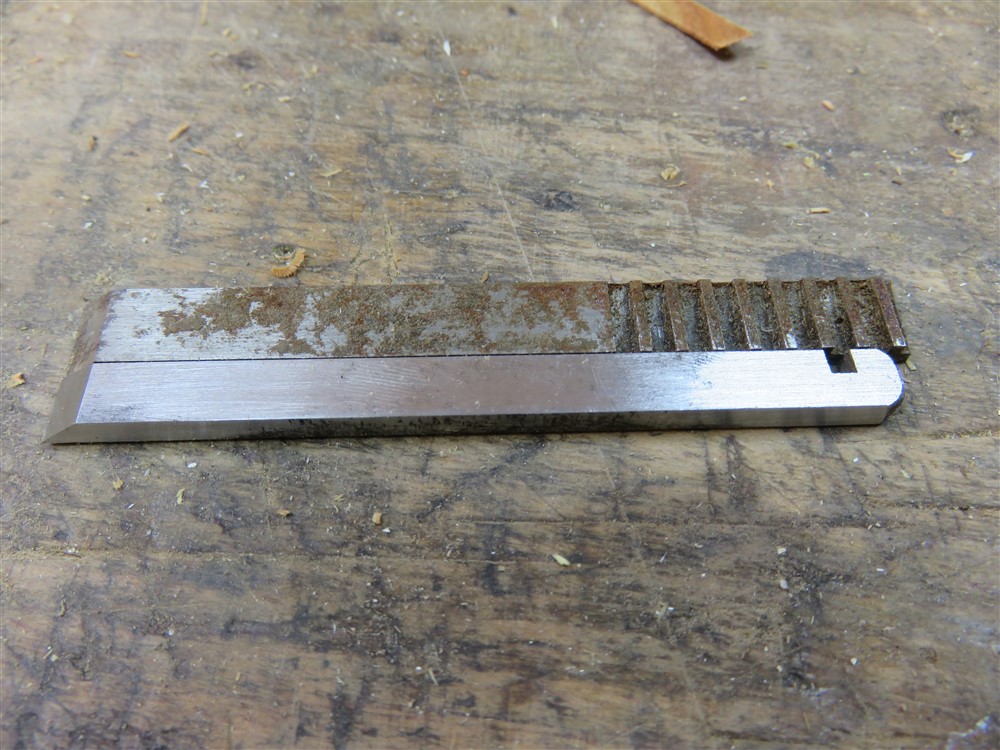
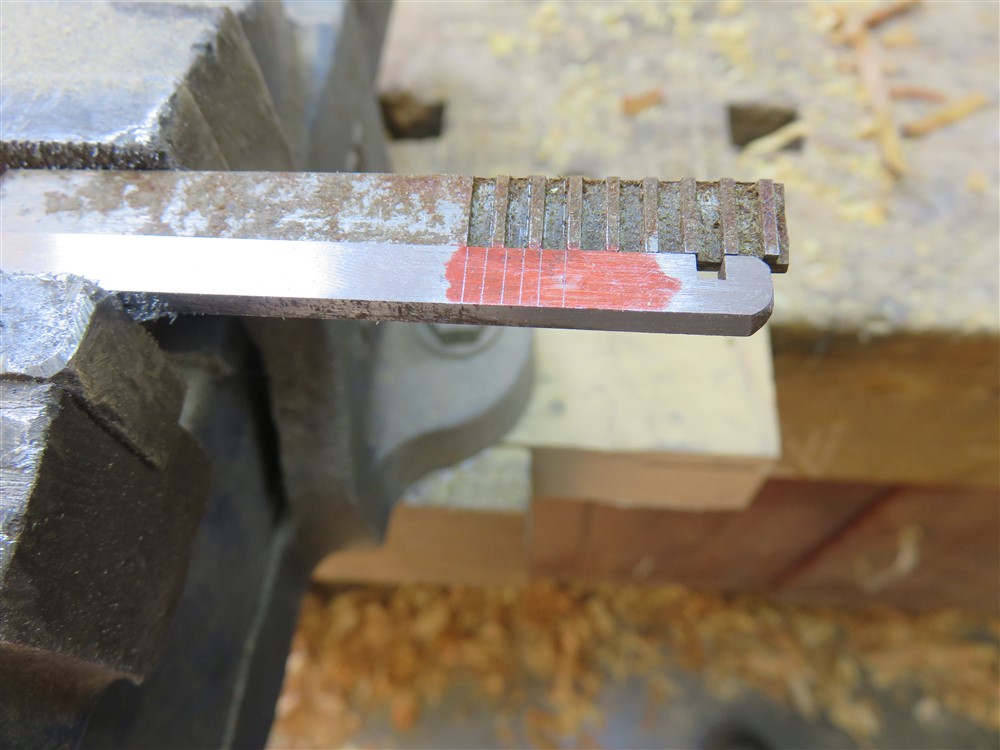
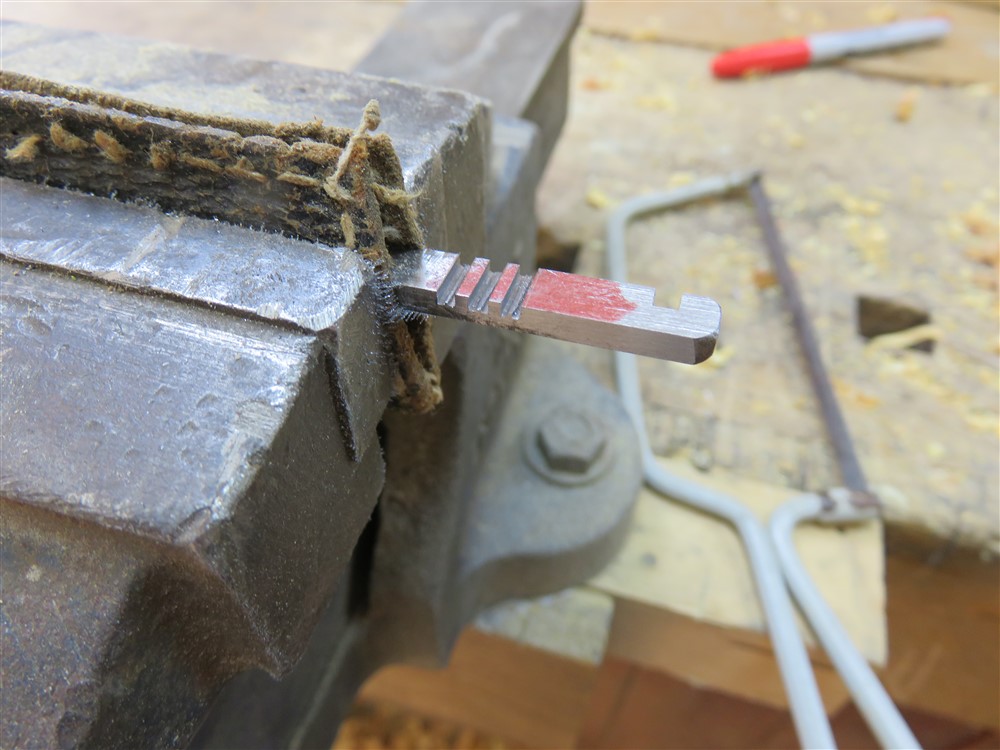
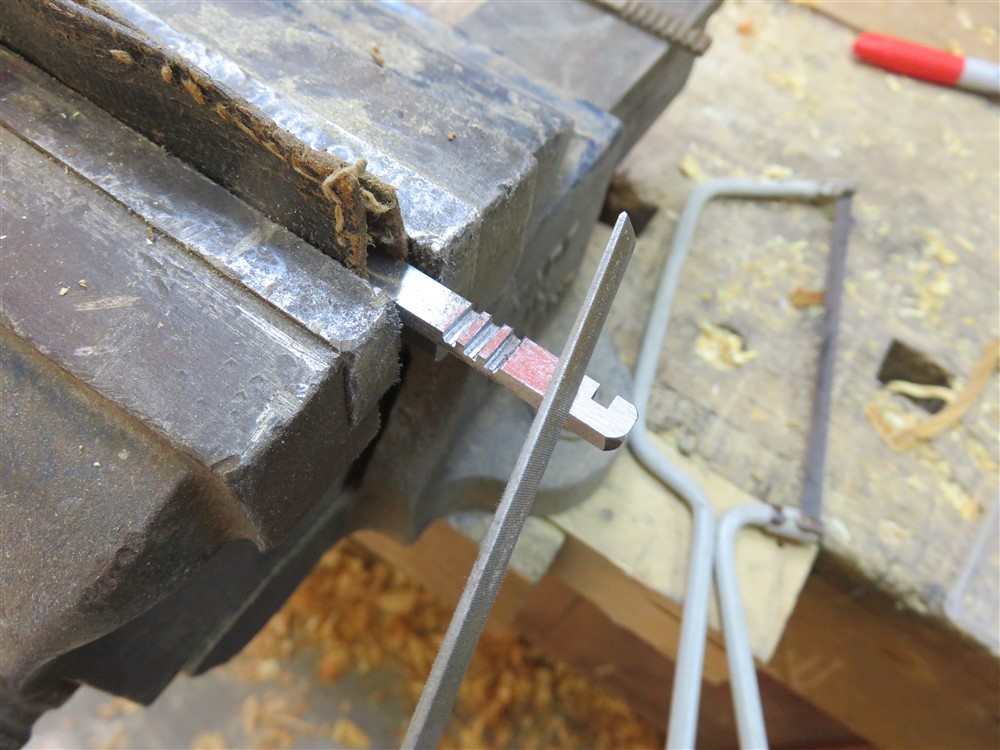
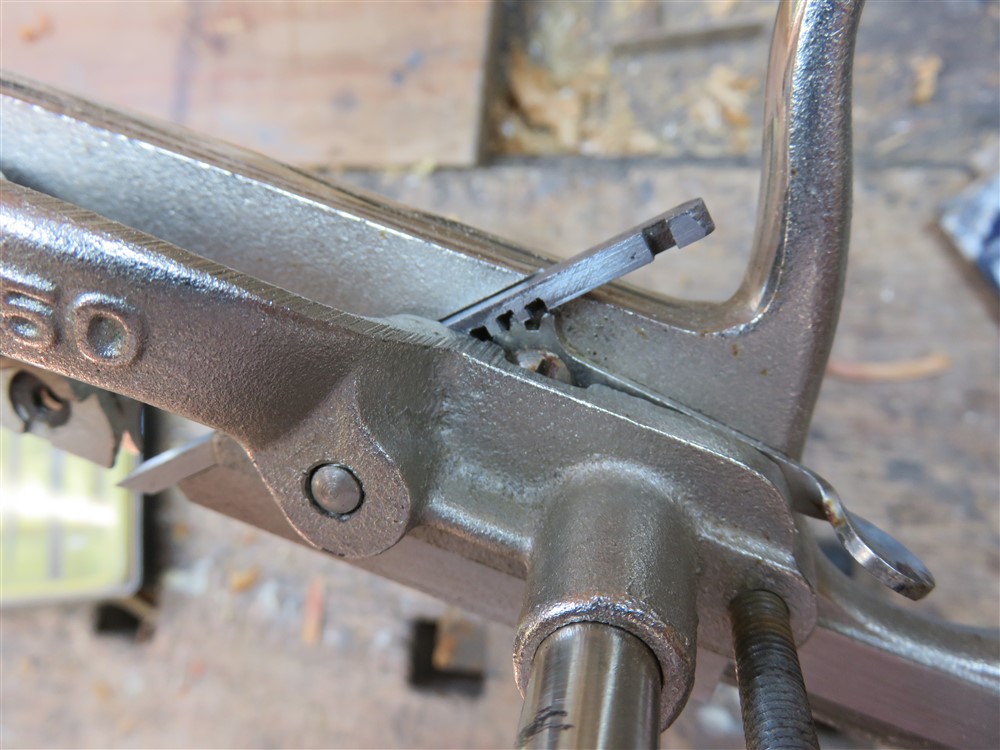
The necessary 1/4" blade (nearest the camera) was a rogue, from another set and a different type of plane! So, I swapped out of woodworking mode and into metal working mode:

gZ7Xlia.jpg


ouWHKiN.jpg


BDa0XLU.jpg


It seemed to work OK:

CheHubC.jpg


NL6aOe3.jpg


But the proof of any pudding is in the eating:

JswXGJk.jpg


That'll do.

Just time to glue up before finishing up for the day:

0KGxeBl.jpg


That's all of the principal pieces made, so there isn't an awful lot to do prior to assembly.......coming up next time. Oh, and the door is still cooking in the airing cupboard, for those of you who were anxious about that.
 
Nice job!

I think the Stanley 50 came with a special "shavings deflector" designed to cope with the annoying clogging problem. Apparently most of them are missing...
 
It didn't clog at all with the parana pine, producing shavings the entire length of the cut, despite being at 45 degrees to the grain. I don't doubt you are right about the deflector, but I can't really see how anything else could fit in there.
 
Those hard point saws are great; I use mine all the time even though I've got a couple of set n'sharpened Disston's hanging on the inside of the 'shop door - Rob
 
AndyT":3633mkze said:
Nice job!

I think the Stanley 50 came with a special "shavings deflector" designed to cope with the annoying clogging problem. Apparently most of them are missing...

This little beggar here?

Deflector.jpg


I've tried it. It makes very little difference that I can discern. (Operator error obviously excepted).
 

Attachments

  • Deflector.jpg
    Deflector.jpg
    150.6 KB
AndyT":1h2obuua said:
Nice job!

I think the Stanley 50 came with a special "shavings deflector" designed to cope with the annoying clogging problem. Apparently most of them are missing...
Yep, mine is missing too... I keep thinking about making one.
On the subject of the no 50, mine originally had a quite coarsely milled surface on the running side of the main body and the corresponding surface on the sliding section. It also tended to jam in most cuts particularly when ploughing. I set to refacing those surfaces and in doing so reduced the width compared with the cutter and also made them considerably smoother. The result is startling. Maybe I had a plane that had somehow missed a final stage of production as the difference is quite dramatic.
 
That's the bit I meant but I can't offer any direct tips as I only have the Record equivalent (which seems to be better). And a few other options for cutting T&G.
 
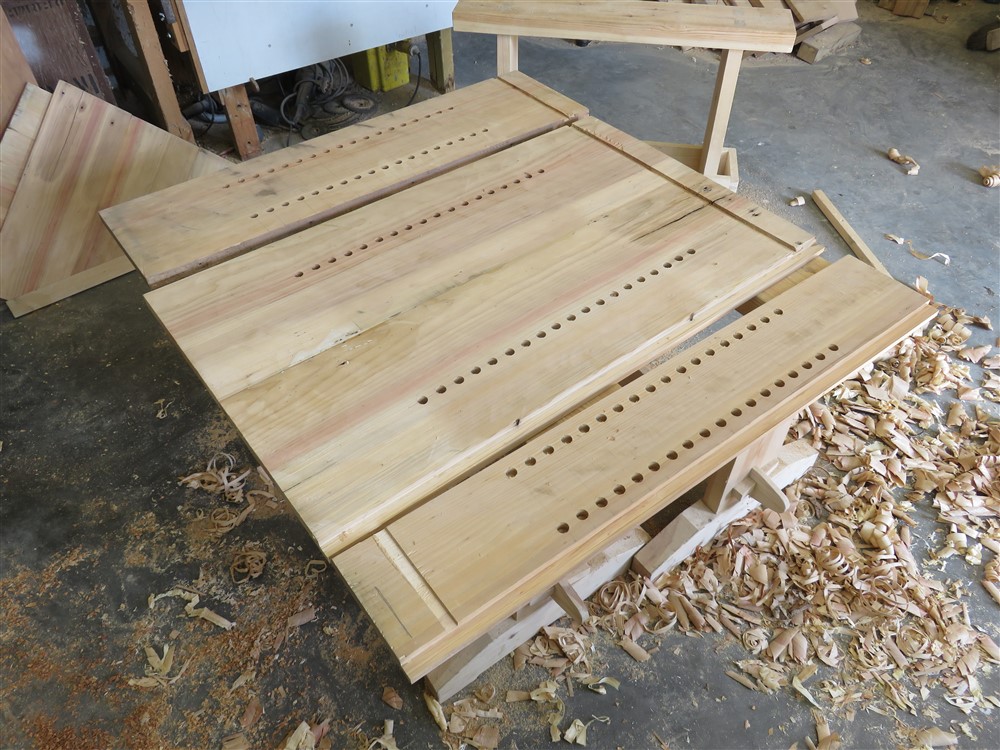
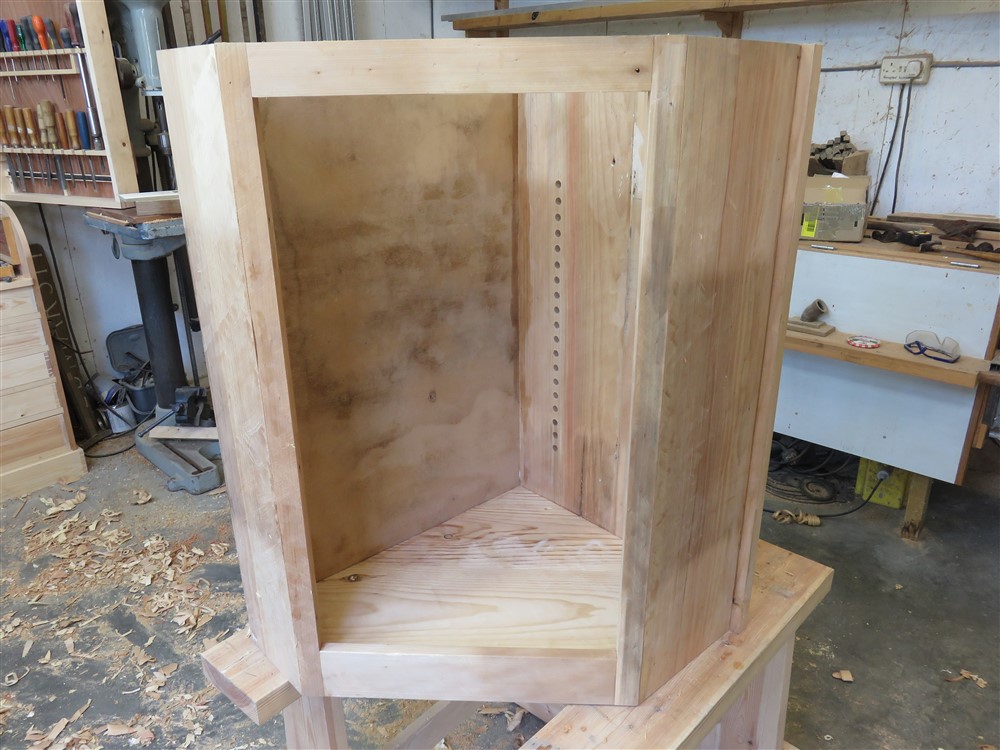
Unfortunately, I don't own a hand-drill which can take a half inch bit, so I'm afraid I had to disturb a few electrons in this hand-tool build, and drill these holes on the pillar drill. They're to take short dowels as shelf supports:

YMSggO2.jpg


After a trial fit it was time to glue up. Those places which needed nails had them pre-started:

KIBP9qT.jpg


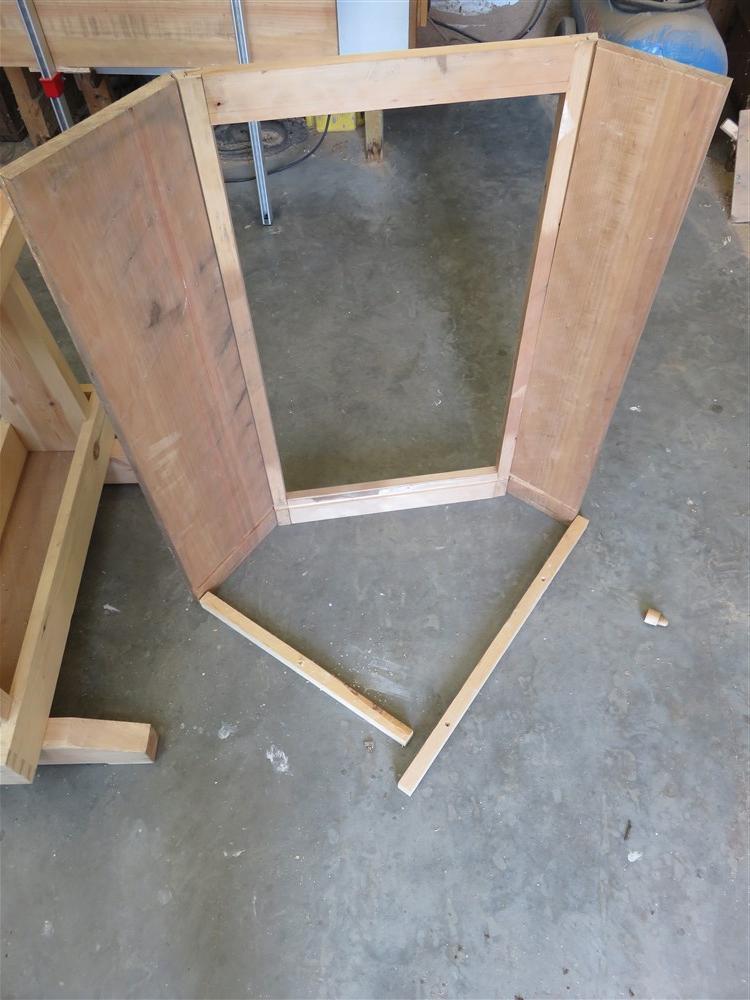
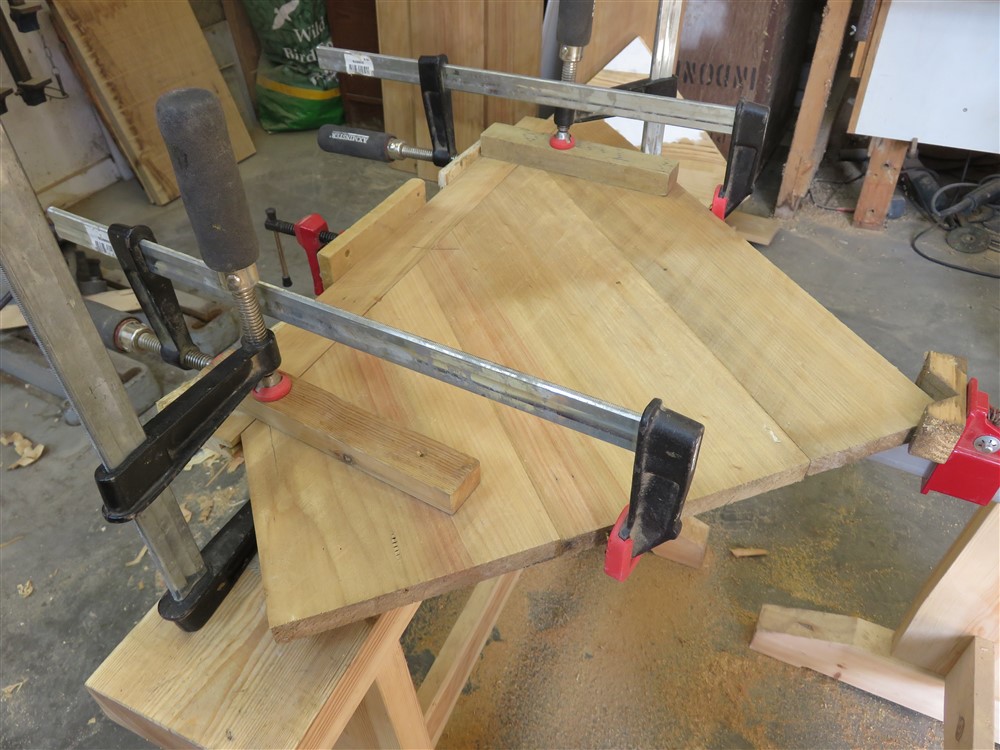
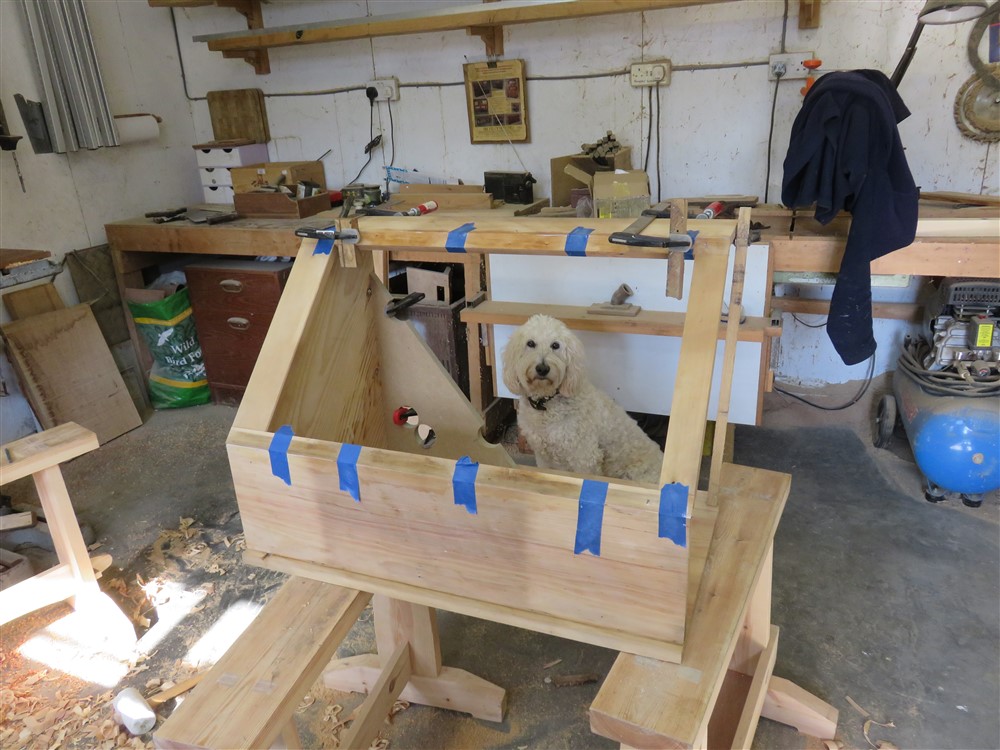
It was a difficult glue up because with the 135 degree thing, there was little opportunity to use clamps:

vGdecCl.jpg


When that had dried I found a nice bit of board for the back:

BSEtt6b.jpg


I cleaned it up as best as I could, but luckily, we're painting this, so I didn't sweat too much over it. I cut it to size and glued and pinned it in:

j7TAd36.jpg


On to the doors. I retrieved all the parts from the airing cupboard, and whacked them all together with a hammer:
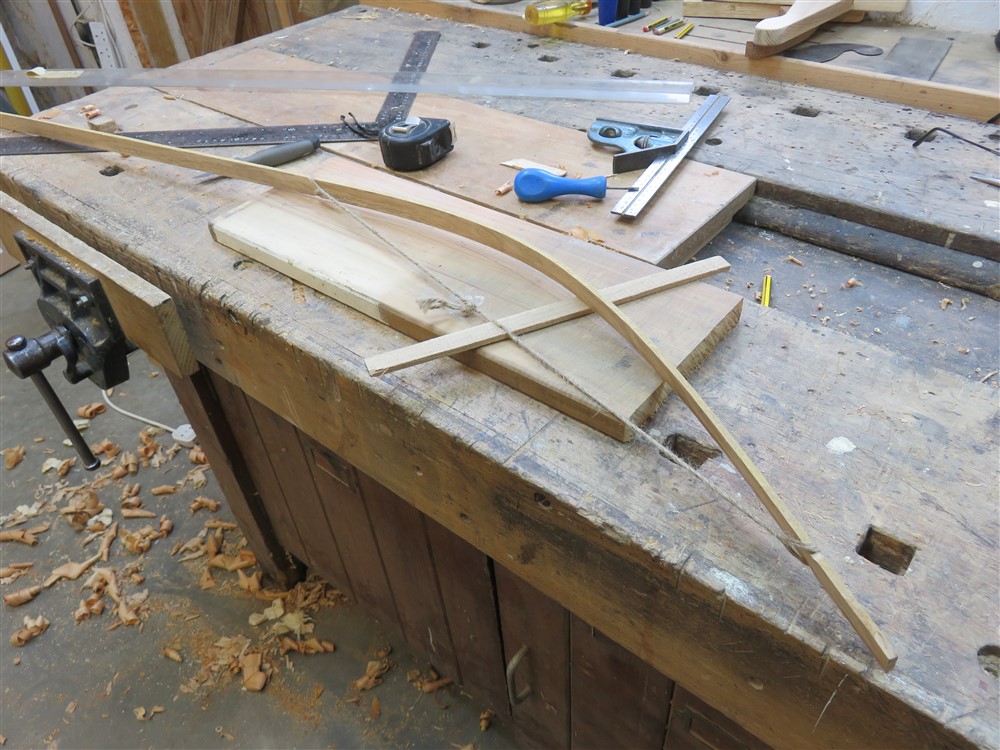
OYGdAYp.jpg


Compare that to last time, pre-airing cupboard:

O6QUcYX.jpg


You can see it was definitely worth doing. Unfortunately, as well as shrinking, one of the boards had twisted a bit, so the door no longer sat perfectly flat. If this wasn't Fred Flintstones-type furniture that would have been a real hassle. I pressed on regardless, cutting and shaping the cross members:

gaBKgb6.jpg


The doors hold together entirely by friction. There are no fixings or glued involved.

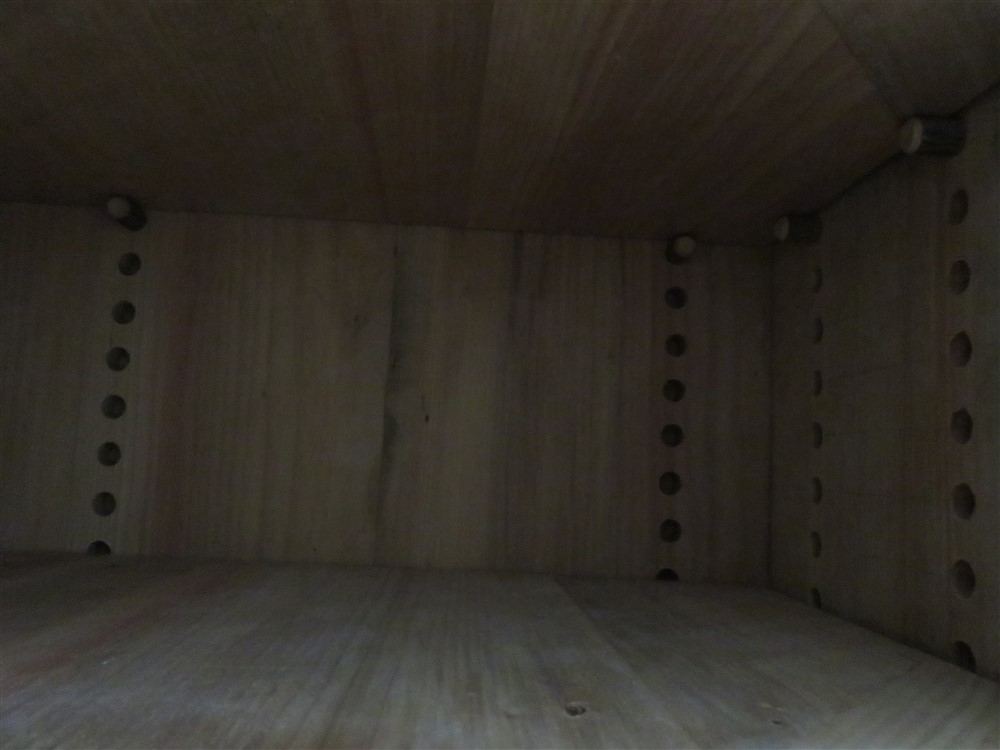
I screwed on the hinges, cut the shelves to size and planed the edges, cut some little dowel shelf supports, and carted the whole lot inside to try it in place:

BMY5cpY.jpg


LlzqOIi.jpg


GwGY4KA.jpg


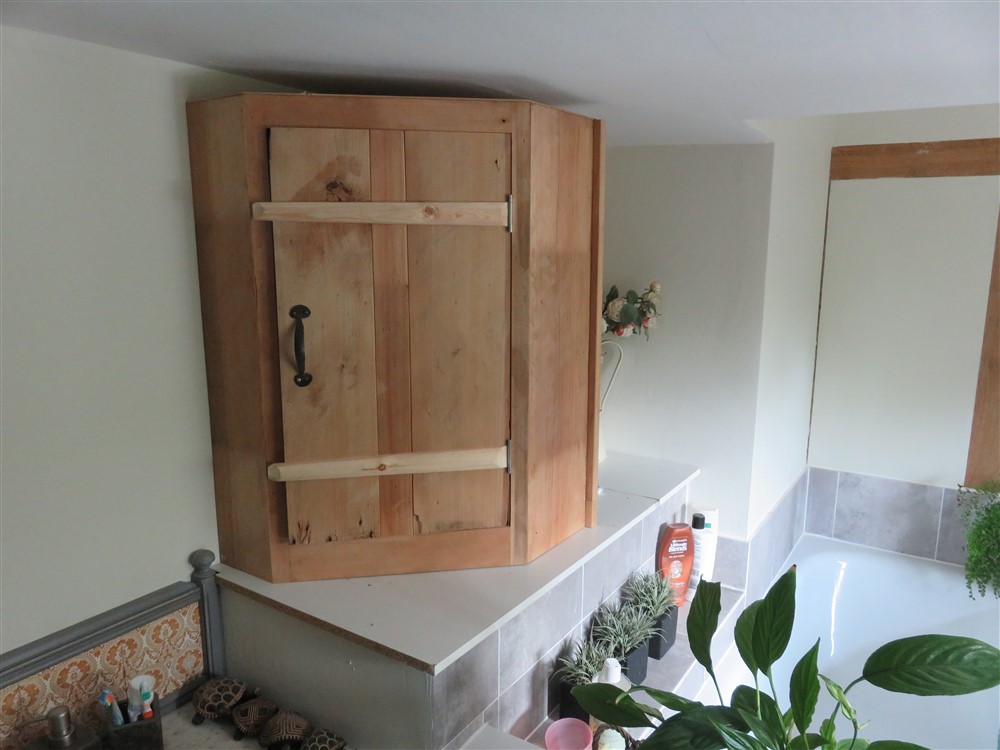
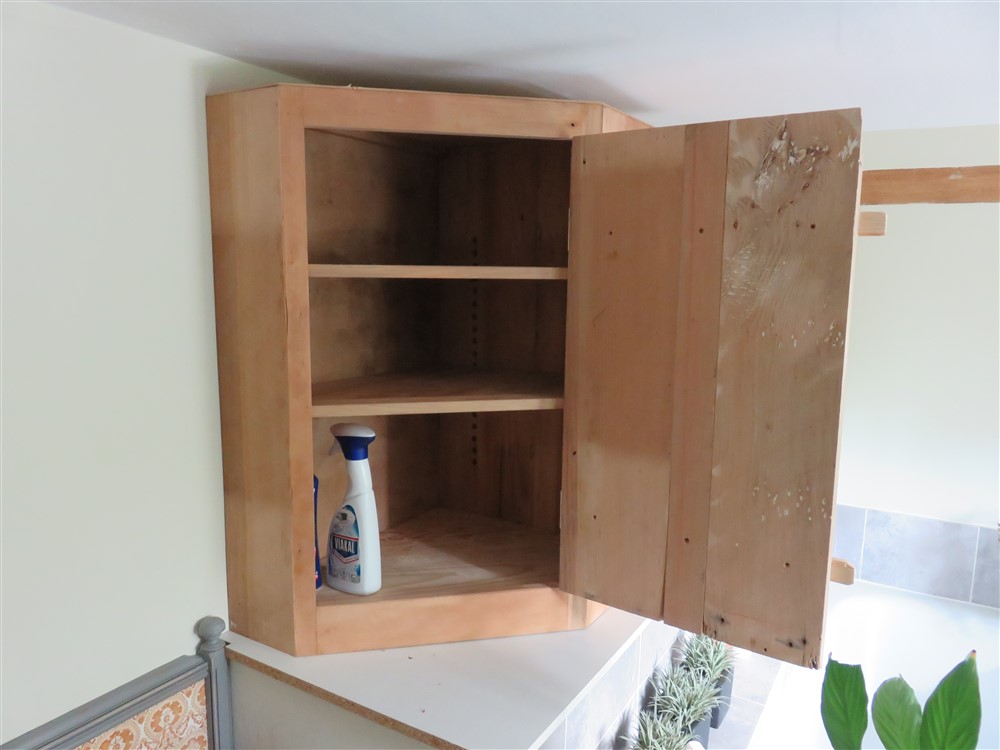
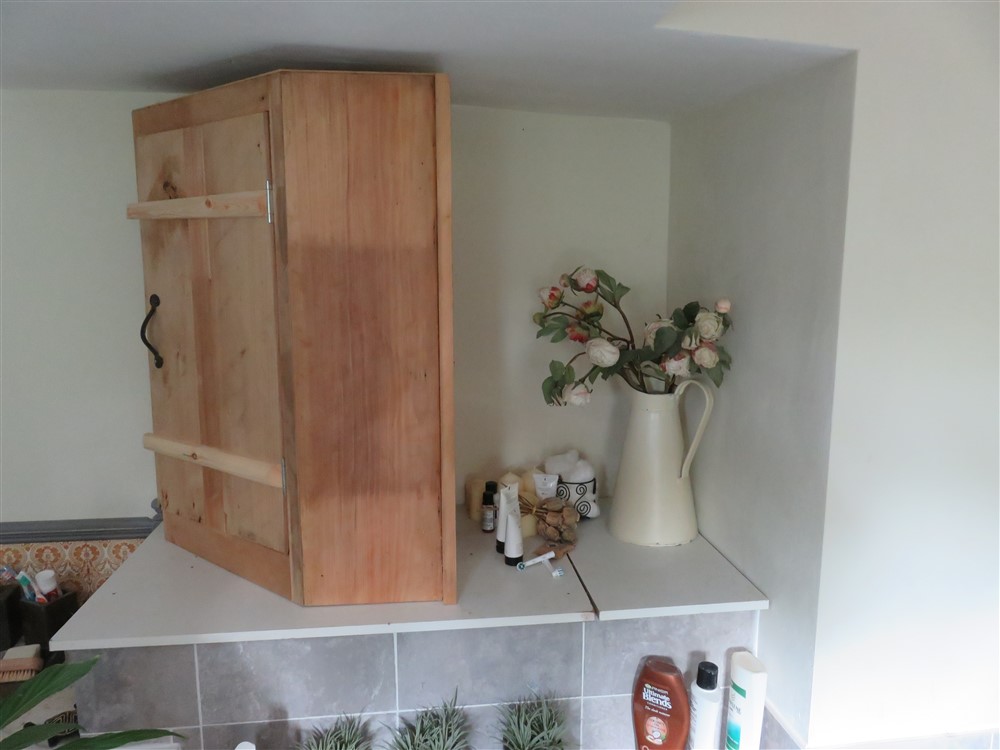
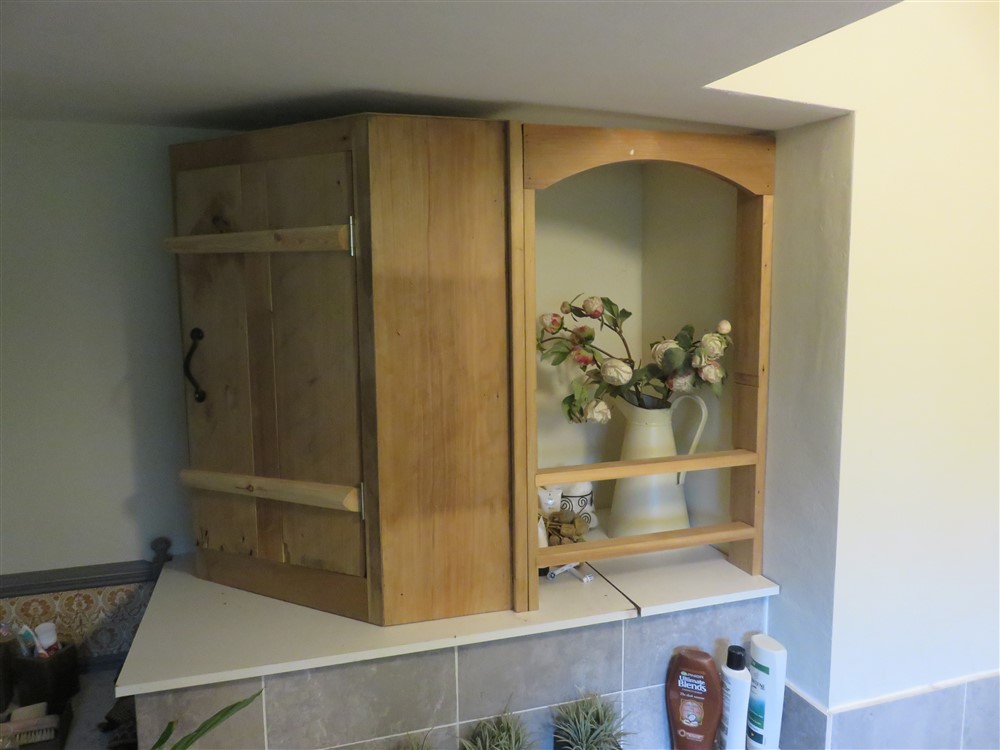
Amazingly, at this point the design team site meeting came to the conclusion that the cupboard was best left exactly like this.......naked, unfinished. I was somewhat surprised, considering how often I've heard that we've got too much wood in the house. It was agreed that we'd live with it for a while and could always do our paint-wash thing with it at a later date if we wanted to.

I took a few measurements of the adjoining space (where the plant is), because that's where we focus next:

vRqqahr.jpg
 
Lovely job.
I especially like the use of a traditional joiner's dog to help with the glue-up. ;)
 
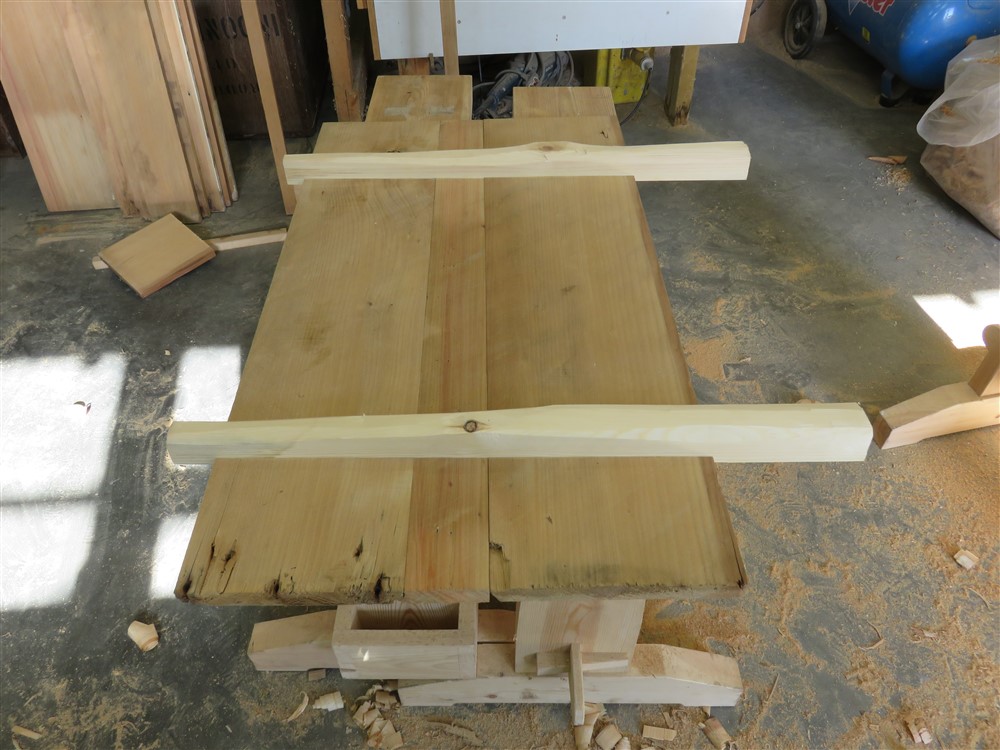
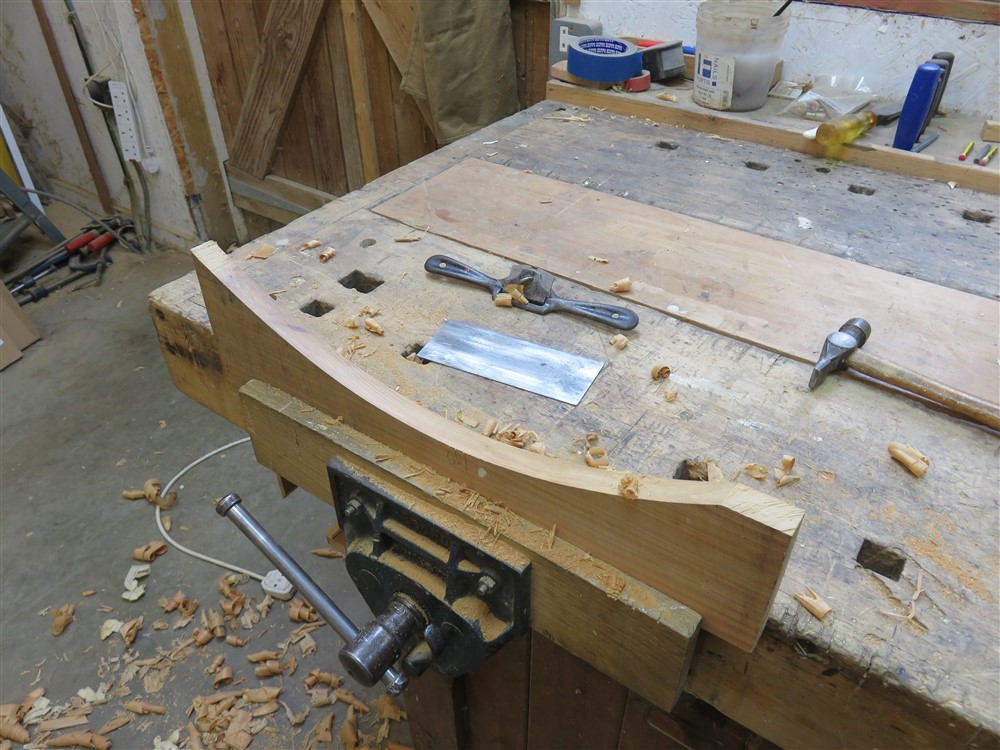
Moving on slowly (overcome with disinterest today, I'm afraid)...... I did lots of ripping and planing, and measuring and re-measuring, trying to eek out my small pile of remaining wood. You'll see how marginal it all was later. Here's one of the pieces:

eesS7yj.jpg


uQJWXkz.jpg


kt2l2Vz.jpg


FEQ7Mis.jpg


I used the scraper in the bottom of the dip where the two downhills overlap and the spokeshave got a bit chattery.

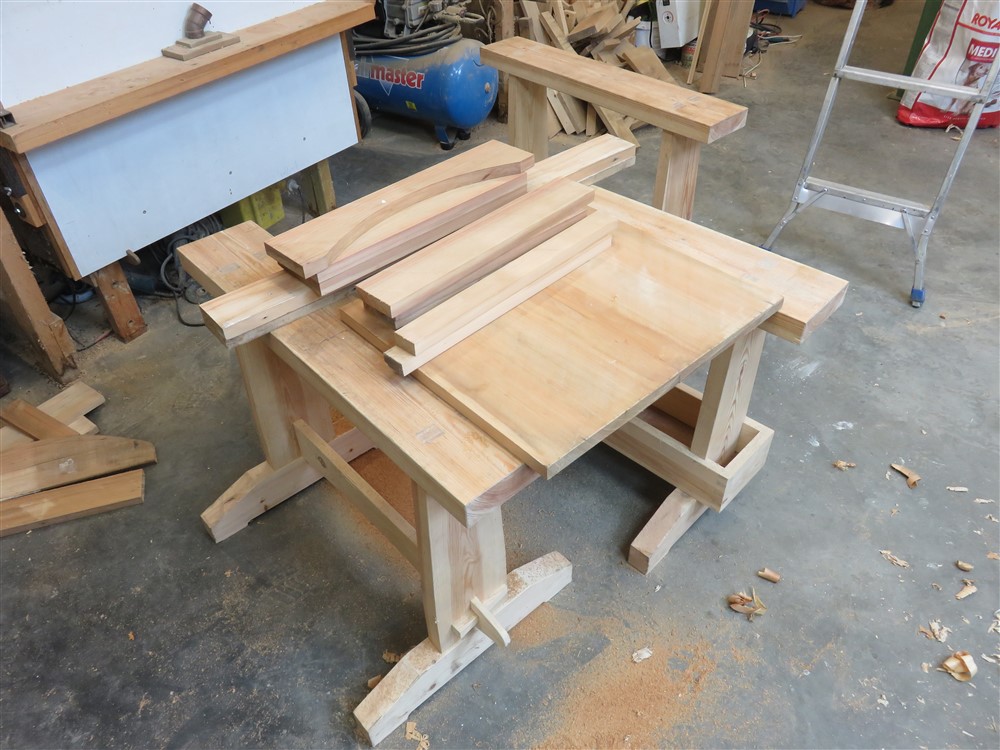
There's quite a lot of work in getting a simple little pile like this together:

vEnEp10.jpg


As always, set out your side pieces first:

HFYsKct.jpg


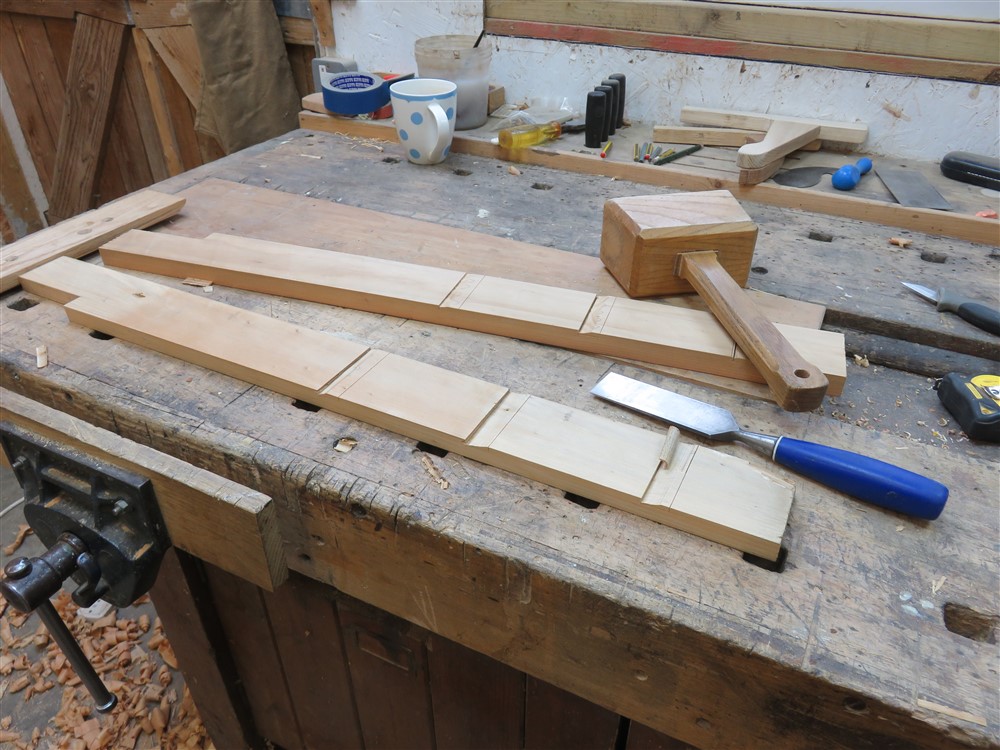
A bit of chiseling:

s0zBd5k.jpg


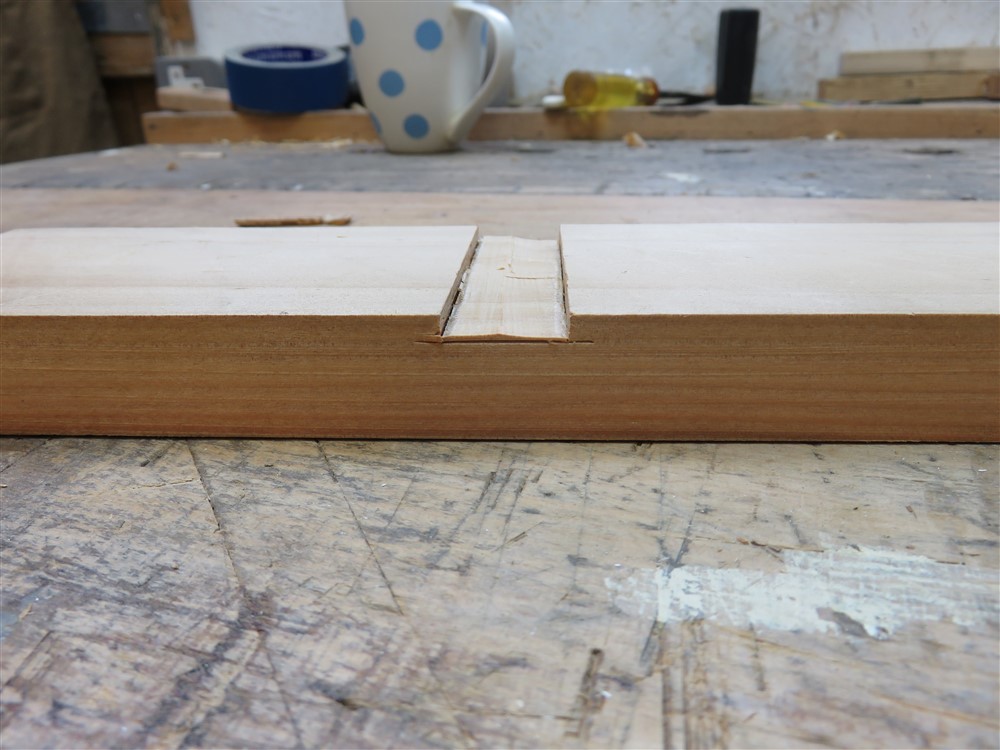
Then a bit of router planing:

n236okU.jpg


I glued and pinned that lot together, deliberately leaving the top cross-piece housing-out unfinished:

HTVjZF2.jpg


It was then a good moment to offer it up and just check I'd got the basic principles right:

GHgGqUk.jpg


All's good, so back out to the workshop, and a bit of fiddling about with the top crosspiece:

7gz17kC.jpg


8R82t3n.jpg


prh69uP.jpg


The shallower part of the housing is to take the top shelf. It's the absolute maximum I could squeeze from a board cut. There will be little upstands on the sides of the shelf to deal with the gaps to the wall and corner cupboard. The little piece I put in today is just to make the front look the same as the two cross-pieces below. Don't worry, it will be obvious tomorrow.

Just time to glue in the plinth:

G5ira5R.jpg
 
MikeG.":3r4732ue said:
Moving on slowly (overcome with disinterest today, I'm afraid)...... I did lots of ripping and planing, and measuring and re-measuring, trying to eek out my small pile of remaining wood.

"disinterest"? "eek"?

What have you done with MikeG?
 
Phlebas":3ex2vaou said:
MikeG.":3ex2vaou said:
Moving on slowly (overcome with disinterest today, I'm afraid)...... I did lots of ripping and planing, and measuring and re-measuring, trying to eek out my small pile of remaining wood.

"disinterest"? "eek"?

What have you done with MikeG?

As long as it's not a typo for dysentery :oops:

Beautiful work, Mike. I'm always impressed by hand tool skills on here =D>
 
Back
Top