Backgammon / chess table

UKworkshop.co.uk

Help Support UKworkshop.co.uk:

This site may earn a commission from merchant affiliate links, including eBay, Amazon, and others.

gasman

Established Member
Joined
14 Nov 2006
Messages
1,011
Reaction score
337
Location
Near Oxford
Earlier this year I made a 4 foot diameter drum table https://www.ukworkshop.co.uk/forums/victorian-drum-table-t48027.html and want to make a smaller version, but with a reversible chess / backgammon board set into the top.
I did want it to be swivelling, with a drawer to keep the pieces but that might mean the pieces were rattling around when the lid was flipped.
So, although I have found mention of such a table on this forum, there do not seem to be any examples
I have found stuff on the web such as http://www.silvercompany.co.uk/reversible-board-backgammon-chess-p-581.html
but not quite what I had in mind. The other thought I had was to have a circular chess board with the other side of it the same wood as the rest of the table top. Then you can have a normal plain table, a chess board, plus then by removing the 'lid' you expose a backgammon table which would be recessed so the pieces do not fall out
Anyone made anything similar?
Thanks in advance
Mark
 
The silence is deafening! It looks like the search engine on this site is right - no one has done it before. However, having seen JasonB's beautiful chess table which he detailed here http://smg.photobucket.com/albums/v156/jasonballamy/Chess Table/, I will probably do something similar except have the chess board bit removable and have a backgammon set built in below it. need to work out how the drawer will fit as we'll to put the pieces in
 
So I made a start….
My wife absolutely loved JasonB’s beautiful chess table http://smg.photobucket.com/albums/v156/jasonballamy/Chess Table/ so with apologies to you Jason (imitation obviously being the sincerest form of flattery!), the design is similar, although it will be a drum table and internally complex – with a backgammon board built in under the chess board, and probably drawers to contain all the pieces.
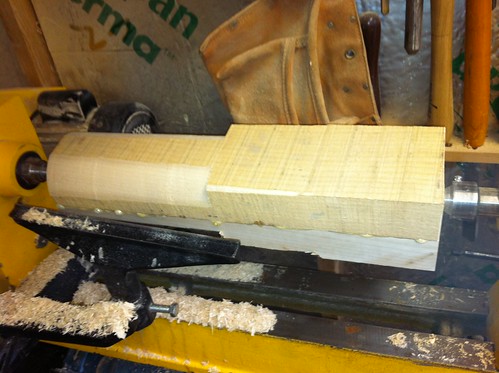
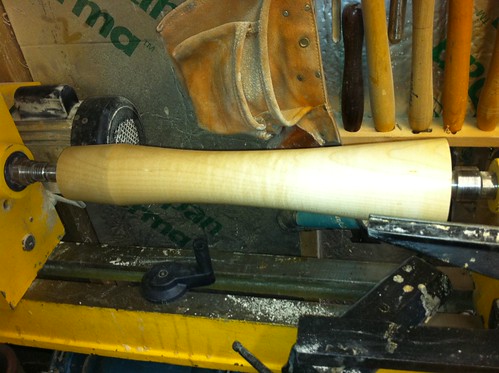
At Eynsham Sawmill I found some stunning ‘tiger’ quartersawn sycamore so decided to use that (£36 a cube), but also had one small ‘2x8’ sycamore offcut 450mm long so cut it in half to make a 100mm square piece which I turned for the pedestal
6234133469_fb25fdbf2c.jpg

After 2 coats of friction polish
6234659030_424095c23c.jpg

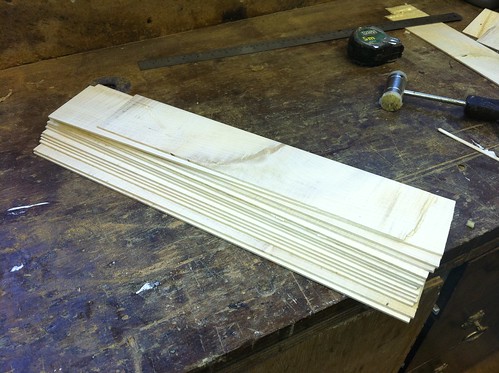
Then I started on the curved sides to the drum table – and cut 24 pieces of 85x500 sycamore roughly on the bandsaw down to 4-5 mm then thicknessed to 3mm
6234134147_6a822b1027.jpg

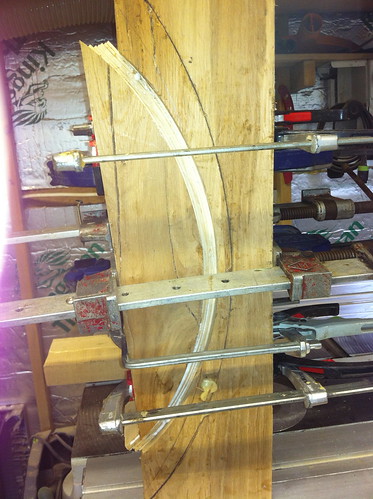
Using the former I used to make the curved sides of the Victorian drum table I cut a smaller radius in it, used hot melt glue to join the larger 2 pieces together and then glued up 6 of the 3mm thick pieces to form the first of the curved sides using PVA glue
6234669528_4784567ccc.jpg

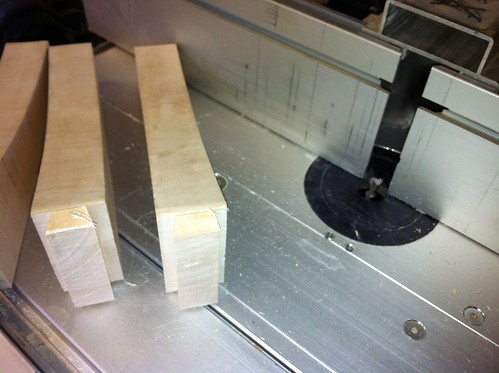
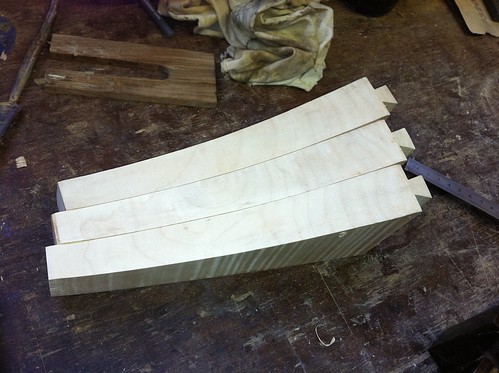
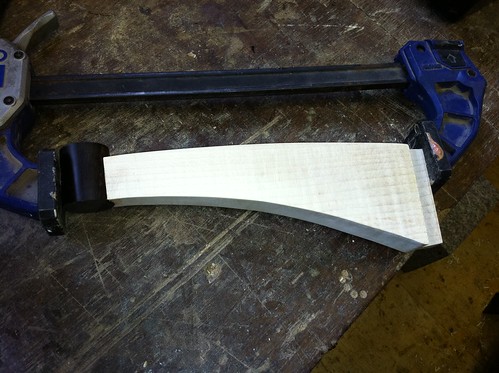
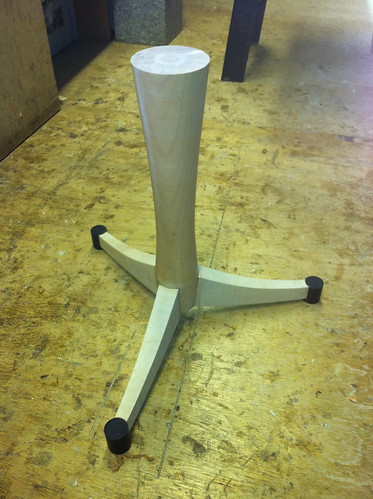
Later yesterday I started work on the feet and cut a template out of plywood and used a flush trim bit to cut 3 legs
6234137131_8b1ec9face.jpg

then dovetailed one end of each leg on the router table
6234663942_fa22526e62.jpg

6234142665_0e73141a37.jpg

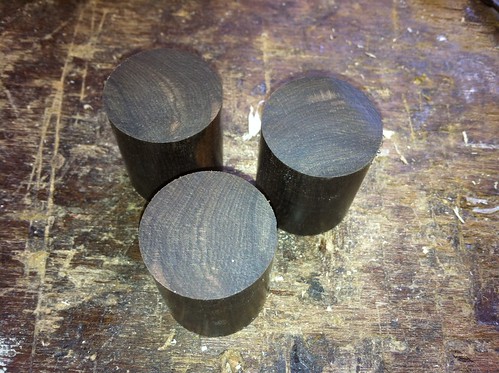
Today I started by turning a square piece of ebony to 35mm diameter and cut 3 legs each 40mm long from it
6234667764_1c9755664b.jpg

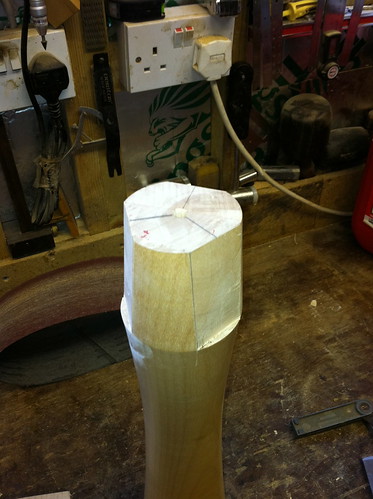
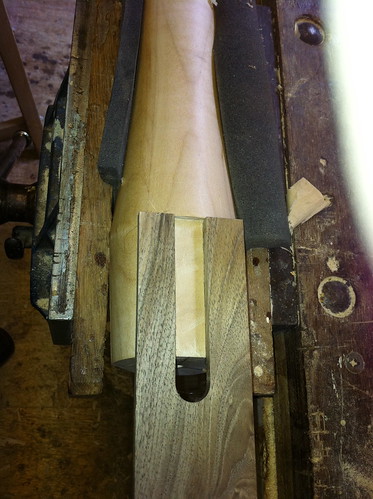
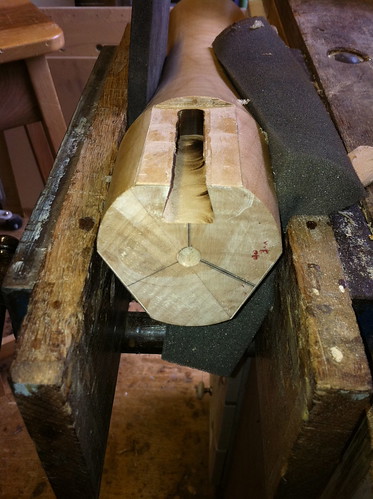
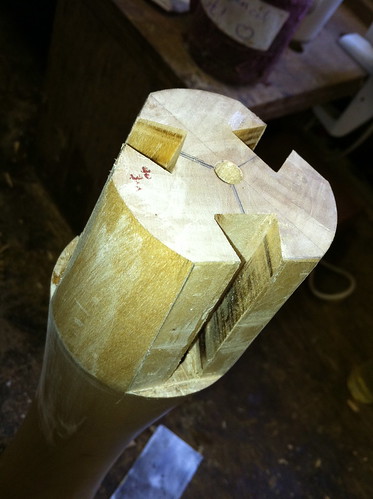
I started work on the pedestal and flattened the base of it on 3 sides to receive the legs
6234673816_634843e1dd.jpg

I made a jig from ¼ inch walnut, glueing it to the pedestal using hot melt glue
6234671764_0983b2f83c.jpg

and used a bearing-guided dovetail bit to cut a dovetailed groove in each of these 3 flat sides of the base
6234148401_002b9c85a2.jpg

6234674724_e773ec31a6.jpg

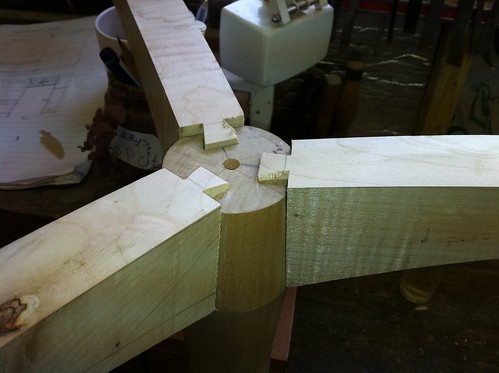
Loose-fitting the 3 legs on was a reasonably good fit
6234142037_9e95d76d99.jpg

Finally today I glued up the 3 legs (which I had tapered down to 20 mm at the tips with the low angle jointer) with the circular ebony pieces using 2 x 6 mm dowels to reinforce the joints
6234668486_03e0c5128d.jpg

Thanks for looking
Mark
 
Today I had another day's holiday so I got quite a bit done
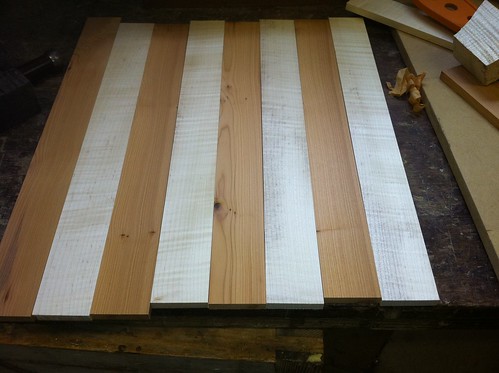
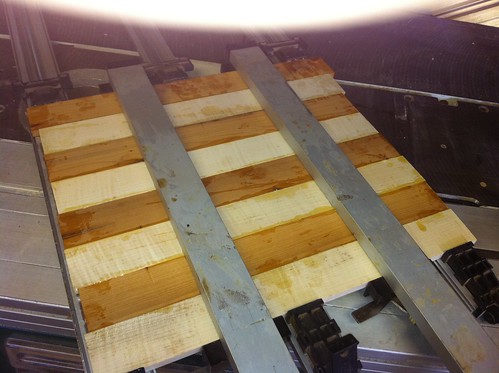
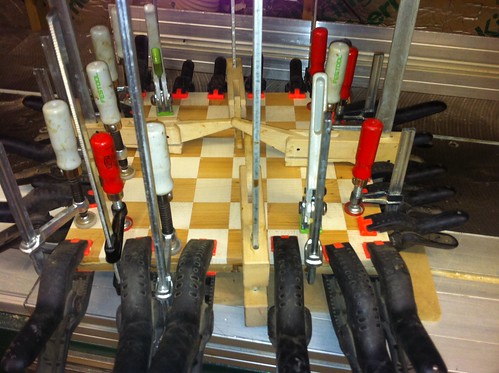
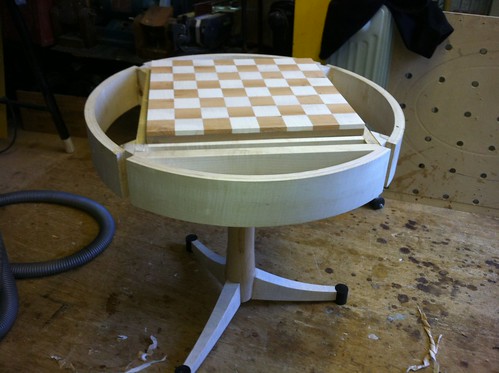
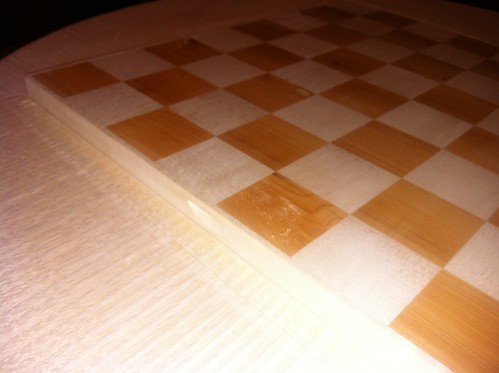
Started making the chess board - and after due consideration and discussion decided on yew/sycamore so cut up strips of 45mm of each then glued up then cut 45mm strips again then glued up again before finally glueing to 15mm MDF. Still worried this is going to move - not sure how to address this further
6238417138_0eb073c7ac.jpg

6237894837_def4aff4a5.jpg

6238419488_bf37bd051e.jpg

I had started work on the base and glued up the last of the legs into place first thing
6238421074_11a5fa6639.jpg

Then I drank a lot of coffee thinking about how to create the removable chess board, leaving a backgammon table underneath, with secure fixing to the pedestal and yet with storage for all the chess pieces and all the backgammon counters and dice
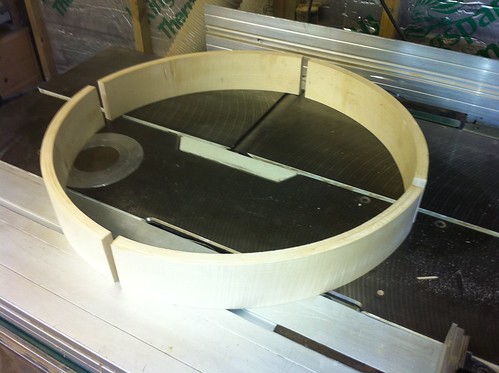
I started by cleaning up the 4 curved side pieces, squaring the ends and cutting them to 448mm length so that with a 20mm piece between each they form a circle with diameter 595mm.
6237892483_12434cd487.jpg

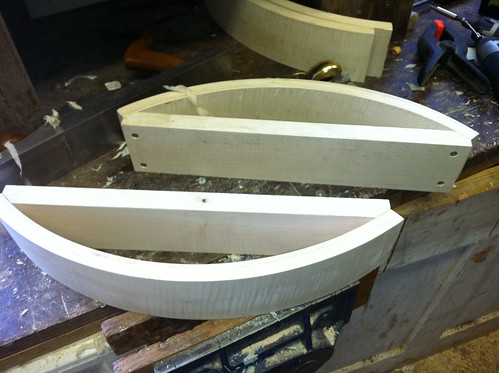
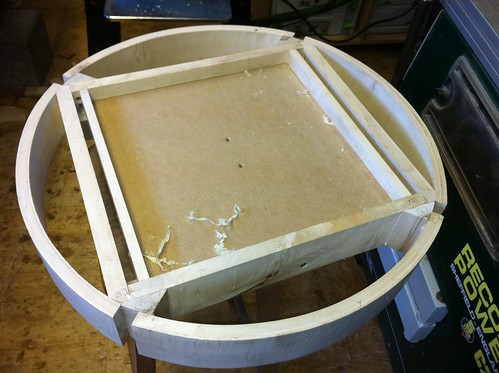
Eventually after a very long time I decided that the chess board itself would be a standalone piece 22mm thick which would sit very snugly in the four sycamore surrounds to create the table top. When you want to remove the chess board to get to the backgammon table, you take off one of two opposite sycamore surround top pieces which will have wood glued underneath so it sits very snugly within a 'box' created by the curved side and a straight piece like this
6238418558_bb95c2ae97.jpg

I am not sure if that is clearly worded but all will become clear soon I hope
Having decided that it was straightforward to create a backgammon board which will be under the main chess board
6238420274_8493c98636.jpg

Thanks for looking - sadly back at work tomorrow
Mark
 
A bit more progress in a couple of hours before work this morning
Unclamped the chess table top which I had glued last night to 18mm MDF and then with a low angle LN + 45 degree blade, flattened the top and squared the edges.
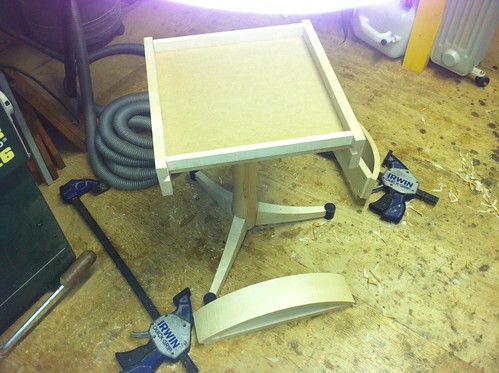
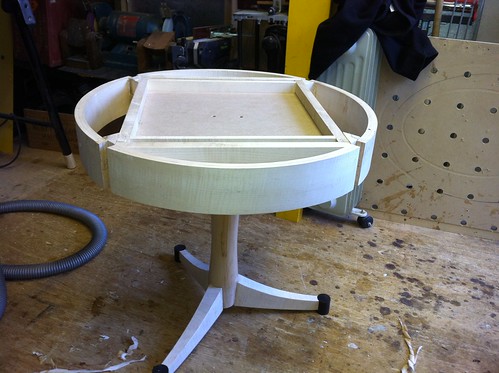
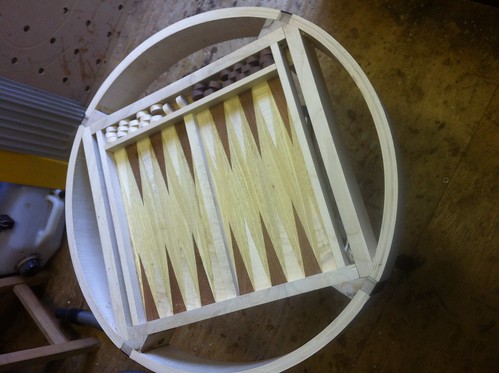
Also finished attaching the curved sides to the frame so I now have this
6243336854_eb423b616c.jpg

6243337268_9d5ebbec10.jpg

6243337604_ea87db43d6.jpg

Need to start thinking about the inlays for the backgammon which is going to be fiddly - and the top which is also going to be tricky!
Thanks for looking and comments
Mark
 
Carry on like this and you're going to have a seriously nice looking table Mark :D. I don't have the skills nor kahoolies to be attempting anything like this yet, but I'm very much enjoying the W.I.P. Cheers _Dan.
 
My absolute favourite time of the week is to get home on a friday night from work in time to do a couple of hours before a beer and supper.... so tonight I got home at 4pm and spent a couple more hours.
First I glued up the small ebony inserts, planed them down and was happy with the result- but I also cut some idigbo I had left over from a garden gate I made and thought the yellow colour would be perfect for the backgammon 'board', so I thicknessed it to 3mm, cut it to length and put it in the backgammon table to see how it looked and I think OK?
6244448484_ed365dee82.jpg

6244448484_ed365dee82.jpg

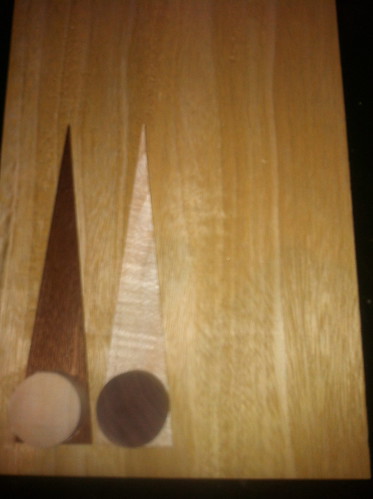
Finally I turned some walnut and sycamore to 25mm diameter - then cut one of each, and also cut a triangle each in aformosia and sycamore to see what they would all look like together. I will have a think over it overnight and see what it looks like in the morning but I think it should be alright
6243929923_5059d13095.jpg

Thanks for comments
Mark
 
I spent about 4 hours today making the backgammon table insert
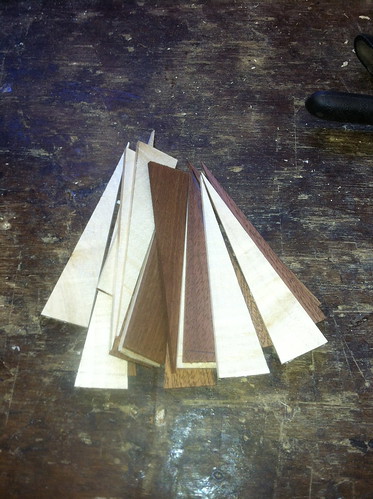
First I cut a dozen each of sycamore and aformosia (remnant from Victorian drum table) triangles each 125x27x3mm
6246467613_7c8a3d2922.jpg

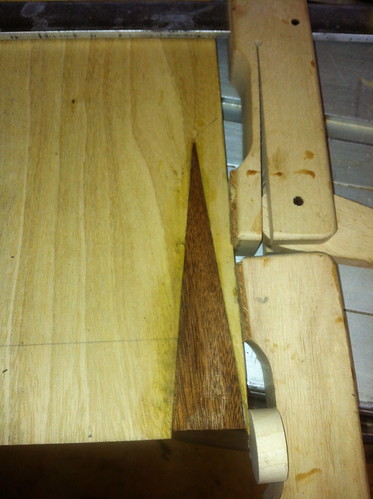
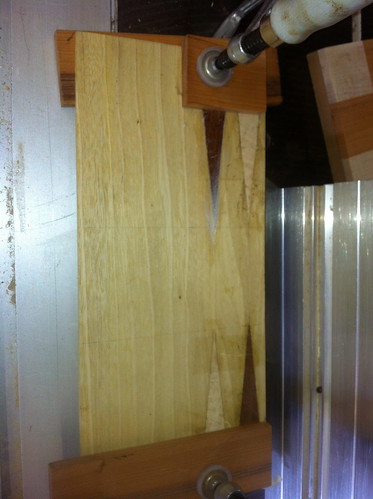
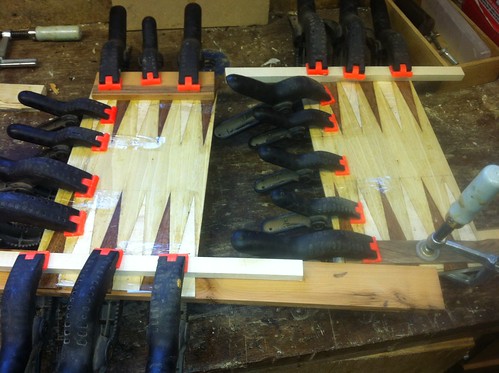
Then I carefully traced round the first triangle on the idigbo base also thicknessed to 3mm (left over from a gate), cut it roughly out on the bandsaw, then very carefully cut to the line with a big sharp chisel but did the point of the triangle with a scalpel, glued up with Titebond mitre adhesive and clamped up using a mixture of sellotape and clamps. I alternated the 2 sides so that the glue was pretty much dry before I did the next one
6246468449_f53e17d457.jpg

6246469107_4ef06134b8.jpg

Once I got going it was quite quick until they were all done and clamped flat overnight
6246466563_3a90d48c11.jpg

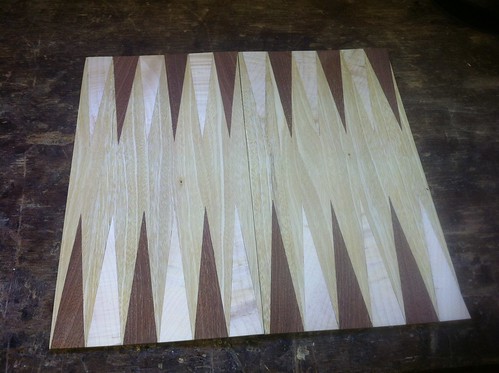
I will sand and scrape this tomorrow and fit to the table
Thanks for looking
Mark
 
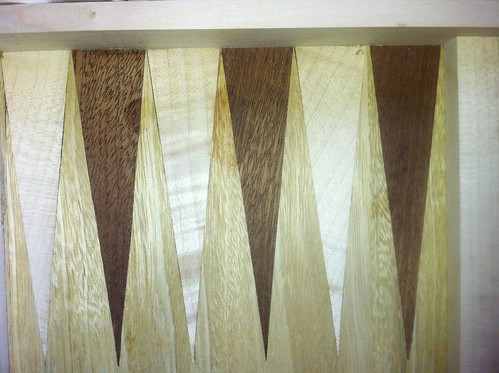
I only got a couple of hours done yesterday but I cleaned up the backgammon insert with rotary sander followed by card scraper and it has come out well - I am quite relieved as I did not know what it would look like
6252488159_ec11e0aba0.jpg

This was glued into place with PU glue and weighted down until dry
6253019658_a4eec6b417.jpg

The I glued a small divider in place which covers the edges of the 2 inlay pieces - that way if there is a small amount of expansion or compression there is room for it
6253019026_dd811e6acd.jpg

I will start on the 4 table top pieces later today and think about the compartments for the chess pieces too. Still lots of problems to solve!
THanks Mark
 
Cut and roughly shaped the 4 top pieces - and now would love some advice please\
Here are the 4 side pieces roughly laid out. The chess board will sit flush in the centre of this obviously. I have decided that just one of the 4 top pieces will be removable or hinged to allow access to the chess pieces within.
6253416314_60e1d984b0.jpg

So I now think the best option would be to hinge this removable piece in some way - which could be a strong hinge on the outside (which would then be visible) so that the leaf folds out and would then be liable to being leant on etc and the hinge would be damaged. Also it would be difficult to lift the flap up initially without an obvious gap
So instead I thought about getting invisible hinges - soss maybe? - I have never used them but I thought it might be feasible to cut a 1" strip from the inside of the hinged piece and have that fixed to the table then have the concealed hinge between that 1" strip and the other segmental piece - that way the piece would open outwards and would be easier to initiate the lift.
I will think some more and maybe draw something along these lines later - so my questions are - can I get small soss-type hinges? and when they are closed can the gap between the 2 pieces be zero?
THanks for advice
 
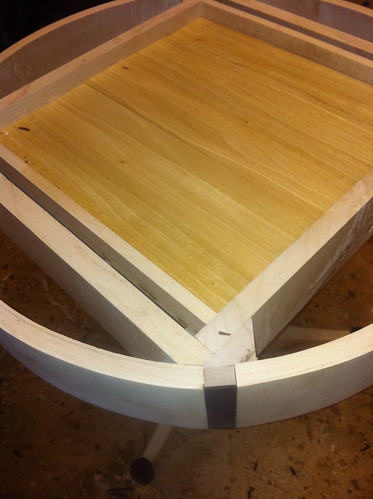
I cut and sized 3 of the side pieces and glued them into place. Then put a divider into the remaining quadrant and added a 3mm base routed into the edges
6255086306_66656fdebe.jpg

Then I cut a new top piece larger than before and cut a 3/4 inch piece off which will eventually be glued in place - then I have ordered some small zyco concealed hinges which will hinge the rest of the quadrant - I think I am happy with the design now!
6254556569_a1c73dab28.jpg

Hopefully ini shed this week
Mark
 
Sorted out a few problems which had been bothering me.
First I took 2 mm off the left hand side piece of the top which had a very nasty stain on it - a sort of greenish horrible stripe - I could not have that o the top so I then glued in a 3 mm piece and it looks much better. I will plane it label with the others tonight
6260007630_20095ebfd6.jpg

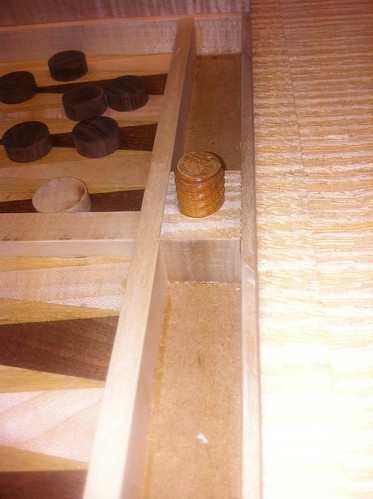
Then I was struggling to work out how to lift the chessboard out when it is in place - and I cam up with this - using a 3/4 inch wood cutting tap and die set - so I have cut a thread in a 30 x30x30 piece of sycamore, glued it into the centre of the compartment where the backgammon pieces will be and then will have a threaded handle to turn to raise a threaded rod which will lift the chessboard out.
6260007630_20095ebfd6.jpg

Light at the end of the tunnel!
Cheers
Mark
 
2 hours this afternoon finished it off.
First I used Zysa 10mm barrel hinges which are very fiddly but have done a good job and I think are man enough for the job
6266675693_a6ab6abcae.jpg


6266676333_300bc6797e.jpg

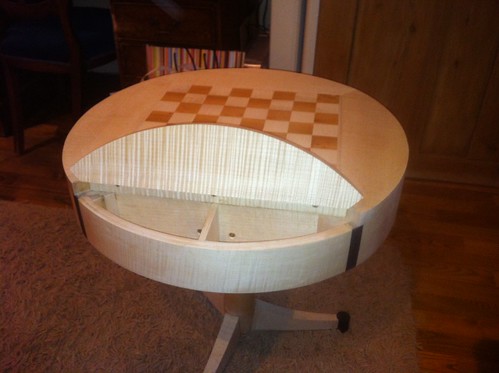
Then glued in that last quadrant piece with the hinged section very carefully, and after an hour for it to dry, using an LN 164 with a 45 degree blade and the mouth closed right down planed the whole surface flat - which got rid of all the minor tearouts which this lovely tiger sycamore acquires
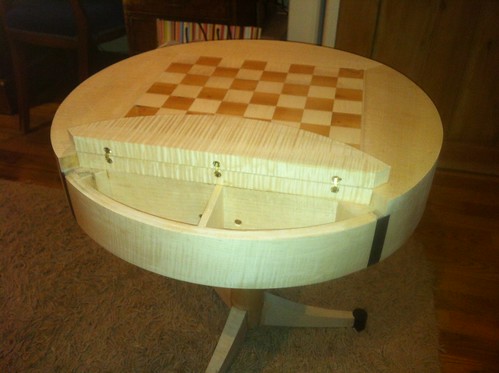
So here is the underside showing the knob which you must turn to lift the chess board out
6267203374_0651d30011.jpg

This causes this threaded rod to emerge which pushes up the board.
6260008176_f86cda5770.jpg

The board can then be lifted as it has a fingernail 'notch' in the front
6266706707_710a38a971.jpg

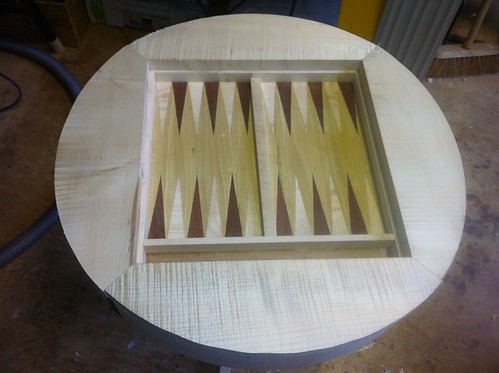
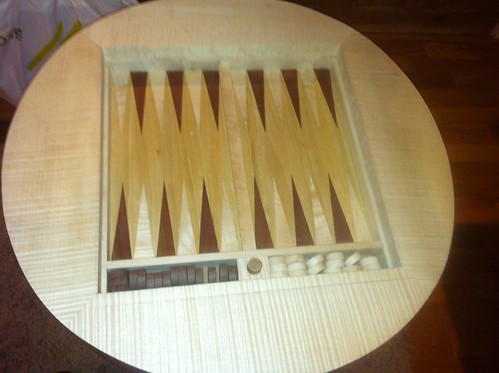
Following which you get to the backgammon table
6266677551_4e9991968b.jpg

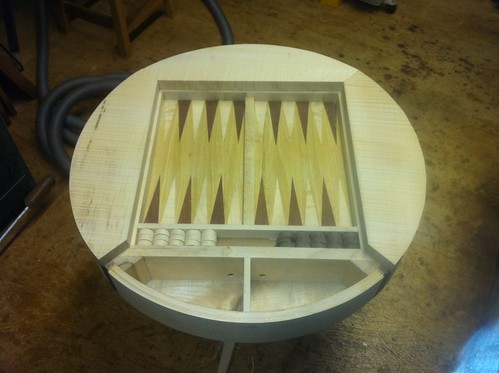
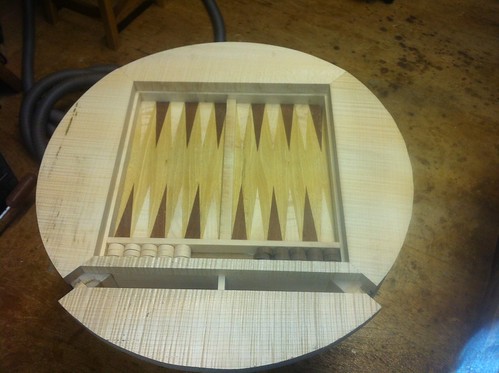
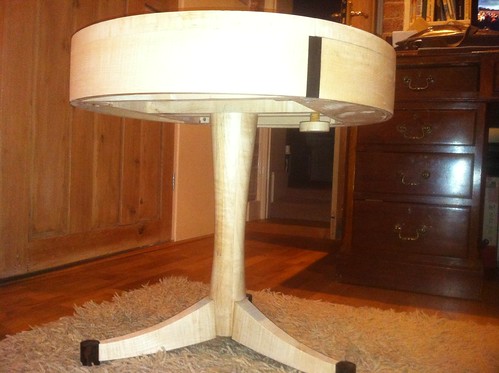
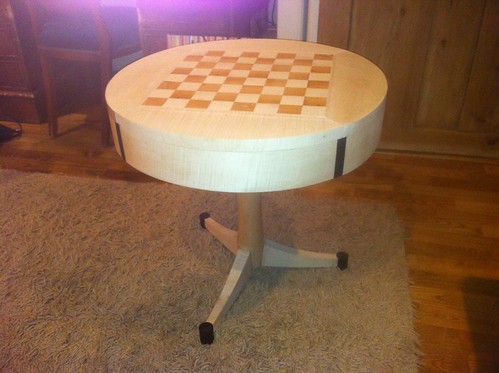
Here's the whole thing. I need to get some Fiddes Hardwaxoil tomorrow as I am out - then I will do 2 coats of that followed by wax
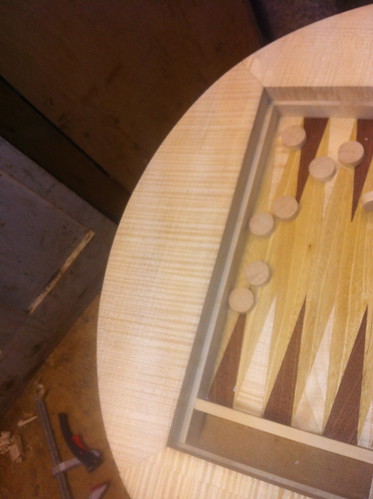
I have not sorted out baize for the chess piece storage and the backgammon piece storage - also I might make the dice myself
6266675183_4d3e4c0bed.jpg

Thanks for looking
Mark
 
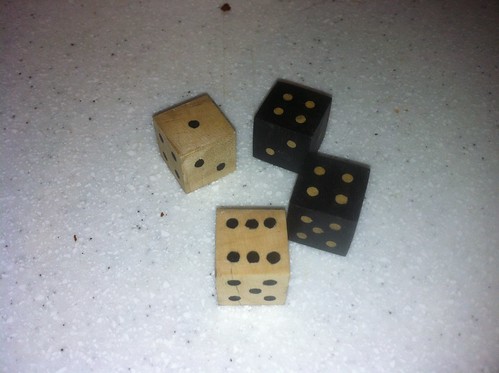
I was away over the weekend but squeezed in a bit more last night - the biggest job of which was to make 4 dice.
They are 18mm cubes of ebony and sycamore, with the reverse wood acting as the spots. A Festool 3mm brad point drill was used to drill a 3mm hole about 3mm deep. The dots were made by cutting 3.5mm strips of ebony and sycamore in 50mm lengths - then hampering these through the LN dowel plate, then cleaning them up with a sharpened card scraper. TB3 in a 5 ml syringe with a 20G needle used to inject glue then tapped home before being smoothed on the disk sander and finished by hand on 320G sandpaper - then oiled
6275563431_c4452310dc.jpg

I have to work out somehow how to make a doubling dice - tricky
For the table - 2 coats hardwaxoil so far - maybe one more then wax, then the baize and it is finished
Thanks for looking
Mark
 

Latest posts

Back
Top