woodbloke
Established Member
The back panel for the Elm Cabinet II has been polished and has been glued up into the carcase:
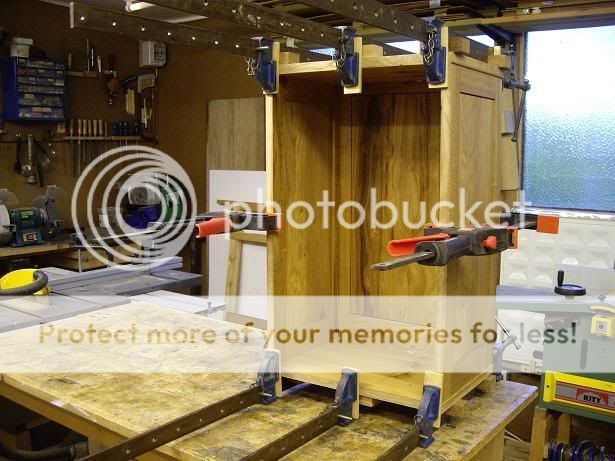
I used some small bits of cushion flooring under the cramping blocks as they were going onto a polished surface:
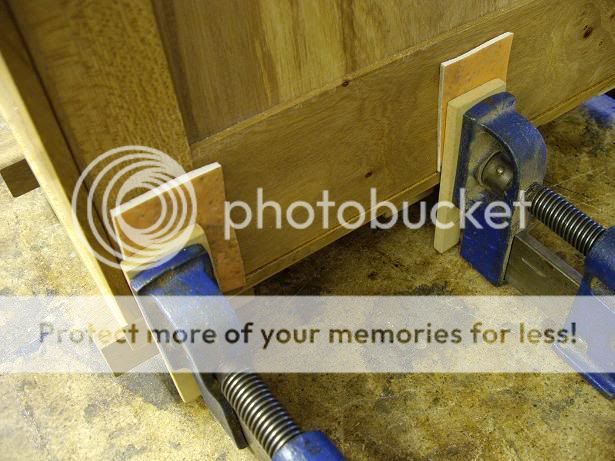
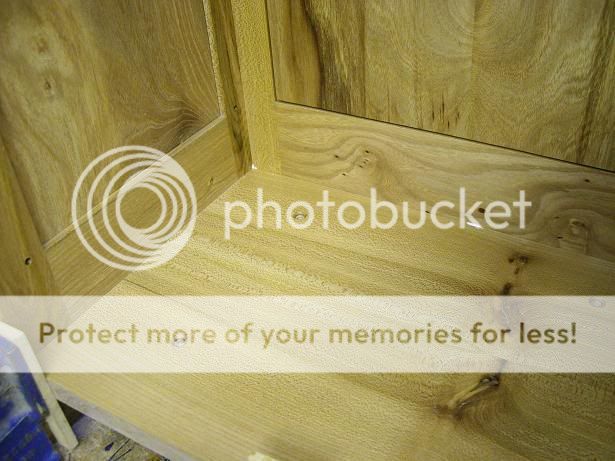
As the inside was finished and waxed I could afford to leave the glue to harden off and then it could be picked off with the point of a scalpel:
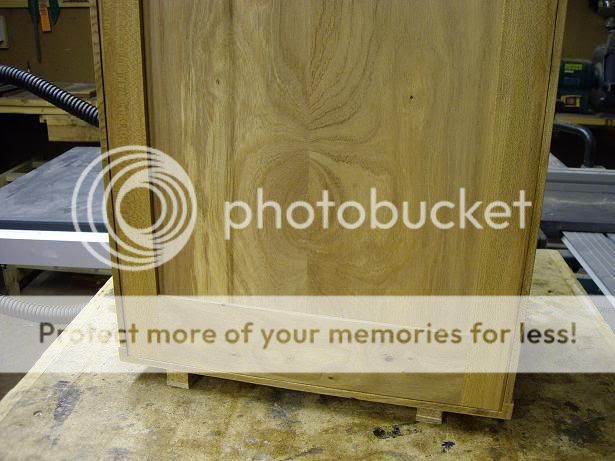
A shot of the back showing that there's no damage caused by the cramps:
[
and a final shot of the finished interior showing the bookmatched panel:
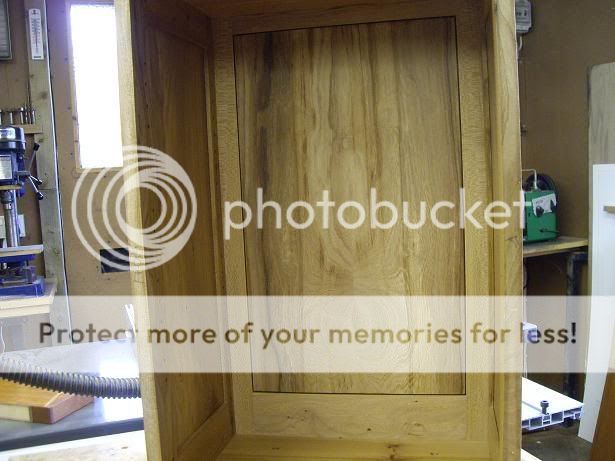
which has been finished with a couple of very thin coats of matt Osmo-PolyX with a good application of teak wax over the top, polished off with a soft duster - Rob

I used some small bits of cushion flooring under the cramping blocks as they were going onto a polished surface:

As the inside was finished and waxed I could afford to leave the glue to harden off and then it could be picked off with the point of a scalpel:

A shot of the back showing that there's no damage caused by the cramps:
[

and a final shot of the finished interior showing the bookmatched panel:

which has been finished with a couple of very thin coats of matt Osmo-PolyX with a good application of teak wax over the top, polished off with a soft duster - Rob


