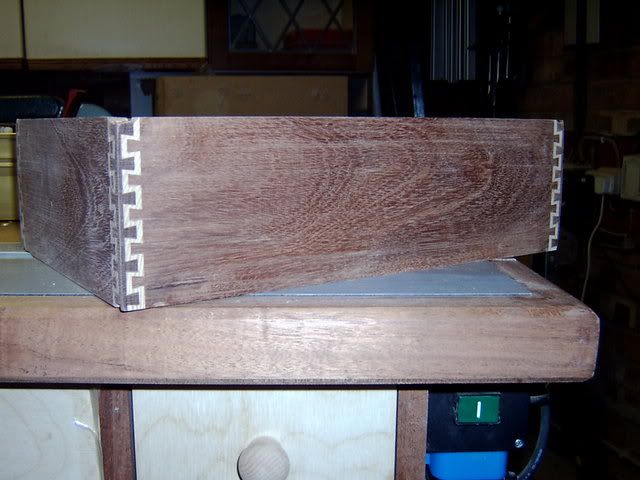
Attempt to make double dovetails and cornerpost

UKworkshop.co.uk

Help Support UKworkshop.co.uk:

This site may earn a commission from merchant affiliate links, including eBay, Amazon, and others.

motownmartin

Established Member
Joined
10 May 2007
Messages
2,147
Reaction score
0
Location
Enderby, Leicester
After spending loads of money setting up my workshop, I thought it was about time I attempted to make some snazzy little joints.

After watching the instructional DVD, I thought I would attempt a Double Dovetail with a cornerpost :shock: well, they make it look so easy on the DVD, they don't show you how to do this one so I have to make it up as I go along :?

This is the joint I want to do
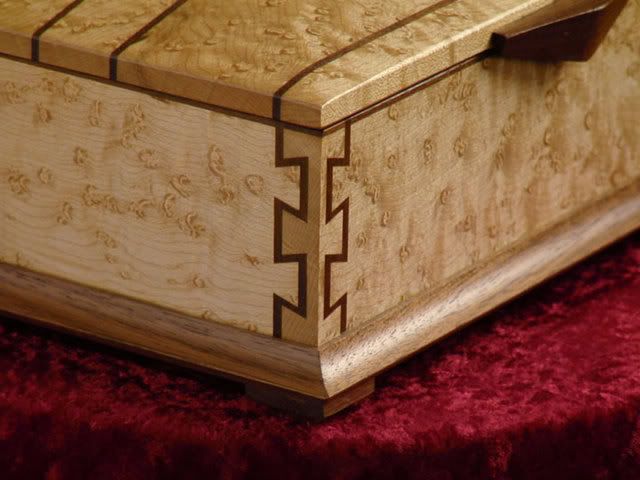
photo_gallery_frank2-1_zoom.jpg


Ooooooooerrrrrrrrr

I shall post some more in a bit, just going to sort out some WIP pics
 
I need 2 contrasting woods, Black Walnut and Maple would be perfect but beggars can't be choosers so Sapele and Ash will have to do, besides,I have some under my bench.

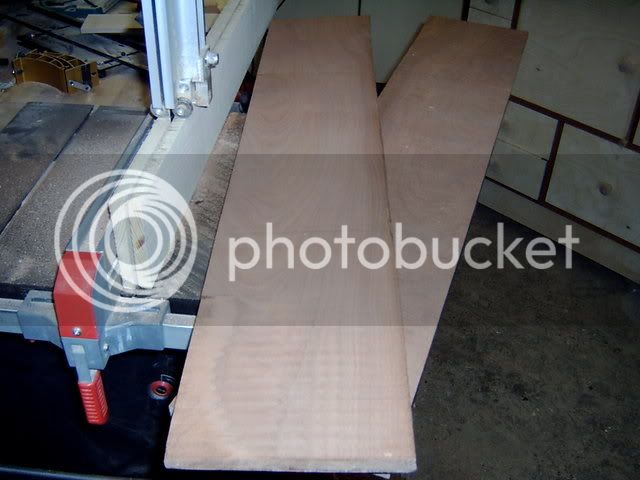
The first job was to re-saw, I need 3/8" or 10mm

Here we go, didn't quite have enough tension on the Blade, it wandered about 5mm

wood039.jpg


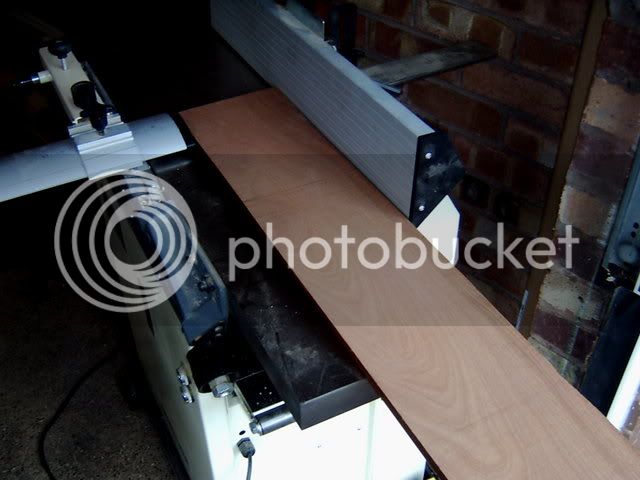
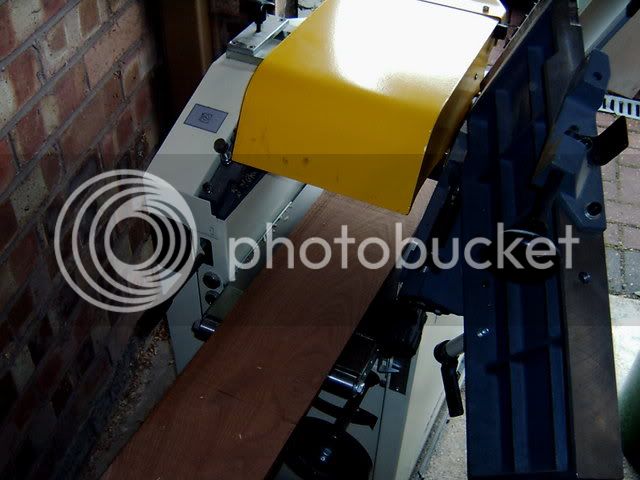
A fair bit of planing and thicknessing to do

wood040.jpg

wood041.jpg


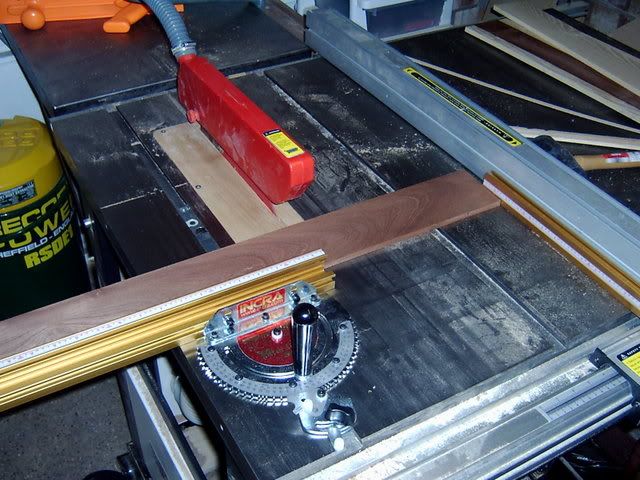
Thats it, 10mm and a few rough bits, but for this it's not too important, now to cut it to size using my new Miter 1000

wood042.jpg


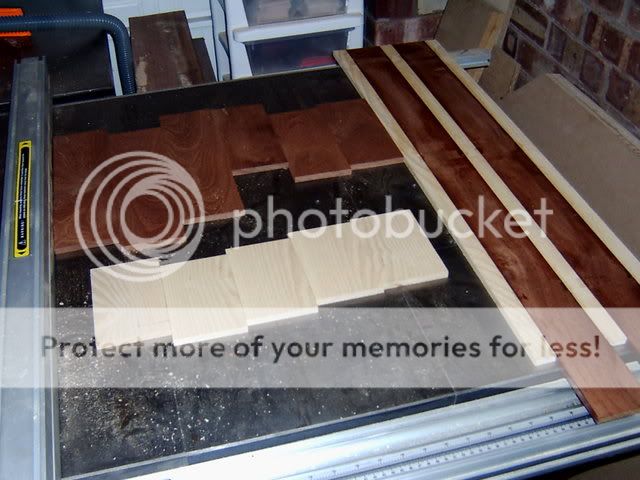
I have glued some strips together to make the top and Base

wood043.jpg


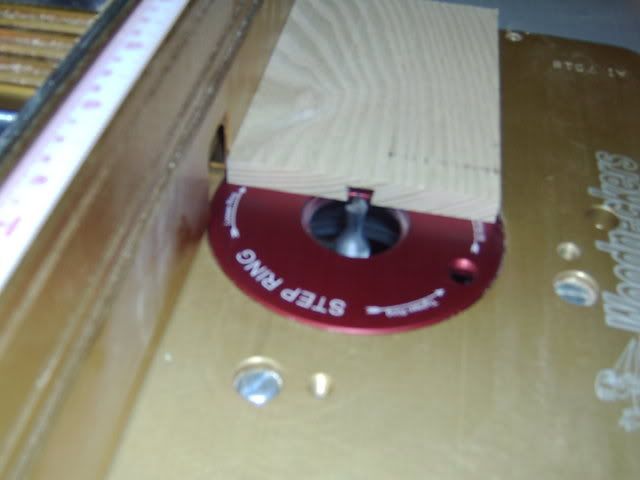
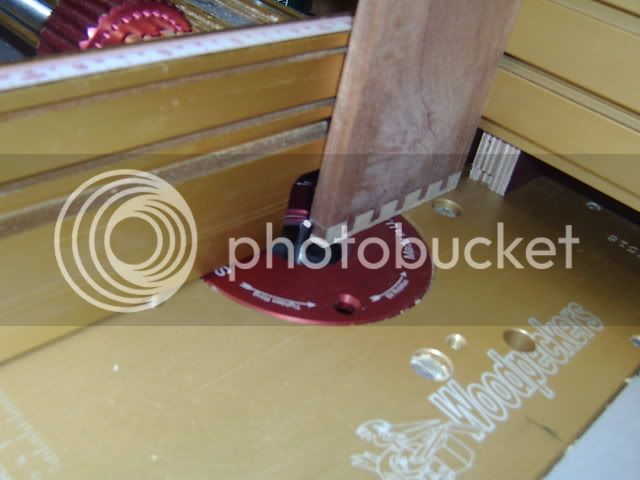
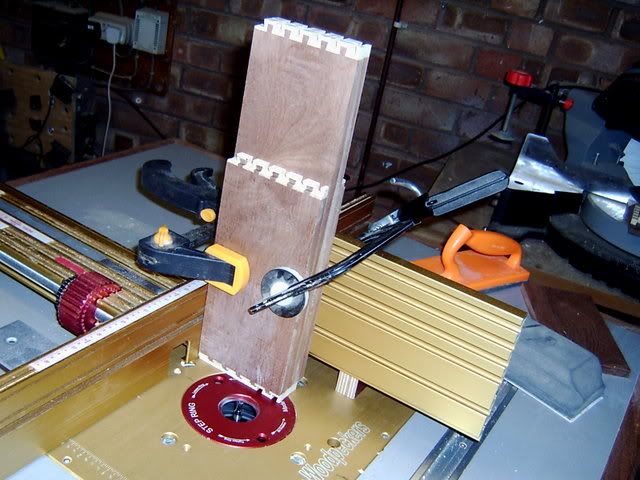
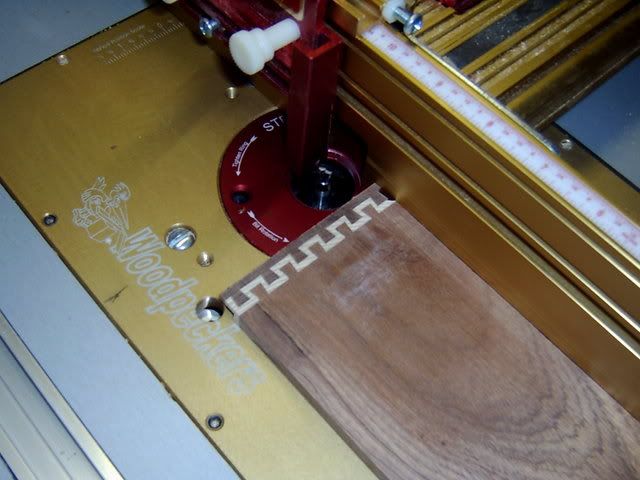
Now to the router table, first thing is to centre the jig like so

wood044.jpg


If you don't get this right it can trash your whole job, not too difficult with this set up, the Woodpecker plate has dimensions marked out, so we move the fence to the centreline, set the jig on the zero, now we know that zero is the centre of the cutter, now we measure the width of the board and move the fence back half the width of the board so the cutter should be in the centre of the board.

Now we are ready to cut the boards, there are 4 different cuts, I think :-k
we shall call them A, B, C & D, the first cut is for the tails, cut A.

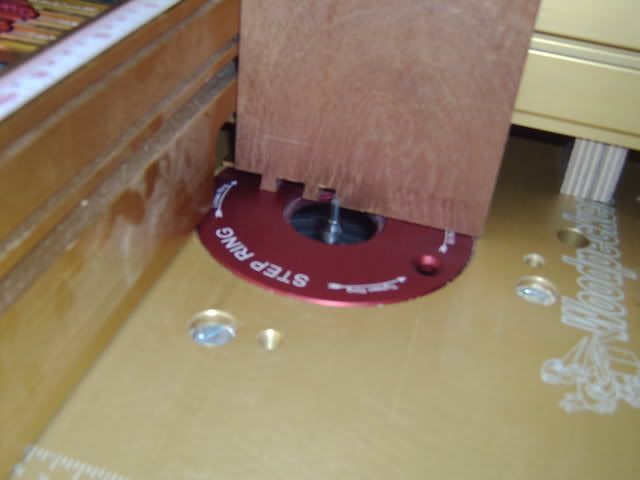
You have to put a template in the jig, in this template the A cuts are like this, cut 2 together so you get a large tail, hopefully this will become apparent later on 8-[

The A cuts

wood045.jpg


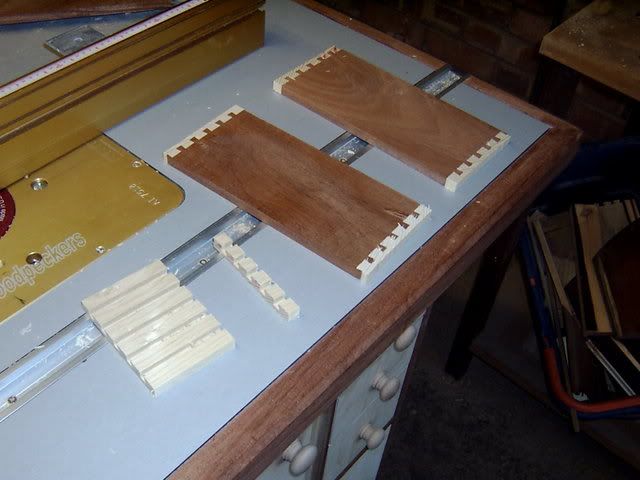
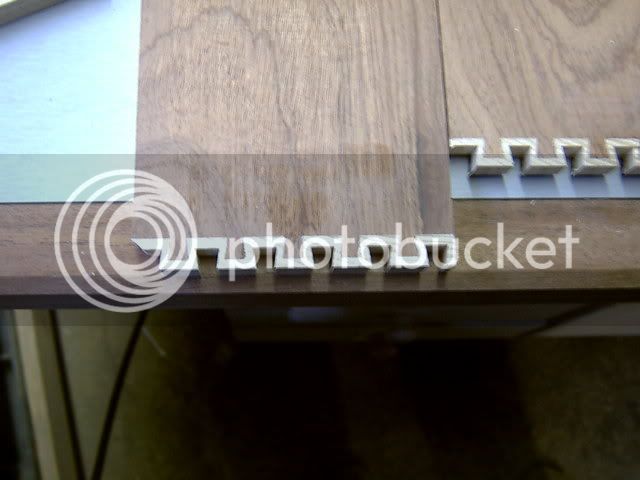
The B cuts are cut lengthways down a board then cut off in strips Like so

wood046.jpg


Then they are glued in position

wood047.jpg


Well thats as far as I can go for now, I have to go and work out how to do the C & D cuts :? :? :? :? :?
 
I've been meaning to try one of those joints on th Leigh jig. It will be interesting to see how easy it us with the incra.

Watching with baited breath!
 
Martin - nice to see someone try this joint!
I always wanted to try it when I got my Incra but have never got around to it. And even though I've looked through the instructions on how to do it I still can't quite remember how it's done!!
Keep the pics coming.
Cheers
Gidon
 
OneThou":31gcntdq said:
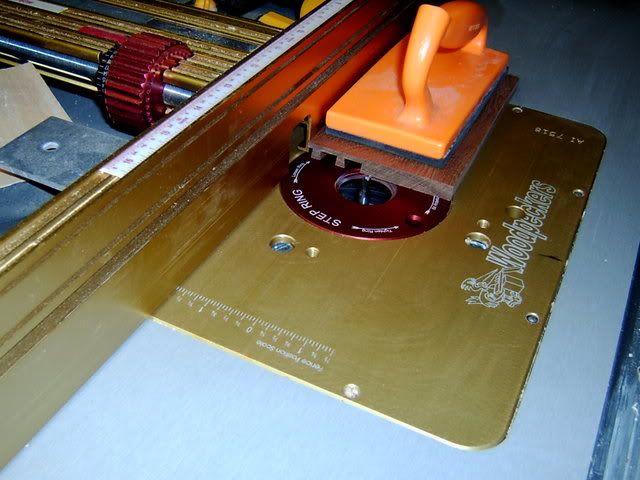
Is that the Woodpecker 1/4" alum router plate you have?
How do you like it?
Nice and flat, good insert ring system?
I've been considering one.....

Thanks

Yes it is OneThou, I think it was well worth the extra few Dollars, the levelling screws are the best feature, the insert rings lock in wonderfully and have not noticed any unflatness.
 
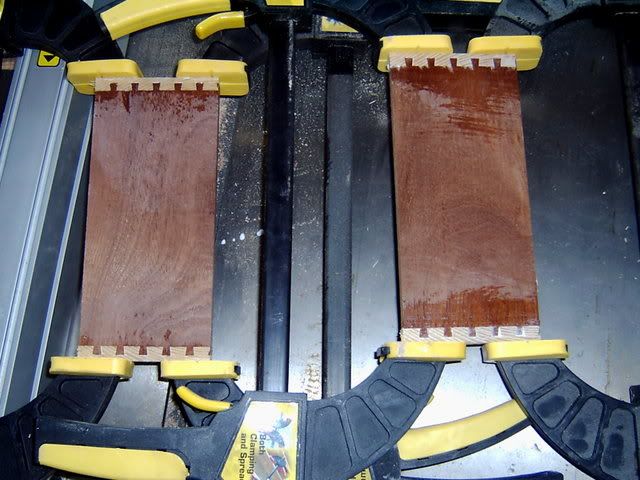
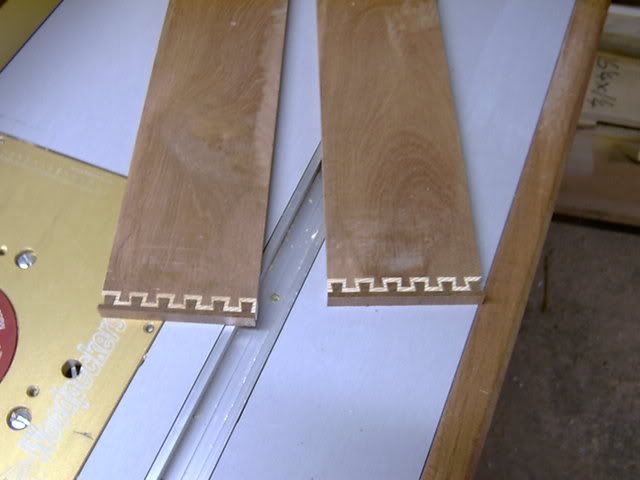
Back in the workshop this morning to cut the tails again (cut C)

Before I do this I have to cut 1.1mm off the ends of the boards then cut a Rabbet or Rebate on 2 of the boards, either the 2 ends or the 2 sides, it doesn't matter which.

Trimming the boards

wood050.jpg


Cutting the rebate

wood052.jpg


The boards are now ready for the C cuts

wood051.jpg


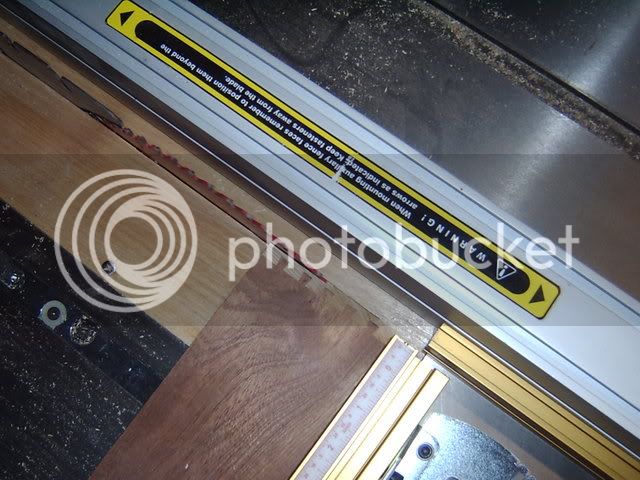
Away we go

wood054.jpg


Oh no, nothing ever goes to plan, i've learnt a few things today, some of the edges broke off, in future I must be careful and make the board width to suit the cut, if you know what I mean :roll:

wood056.jpg


Another thing or two learnt was to mark the boards so we can cut from the same datum, also to make sure that all chippings and sawdust gets removed from the work area, if not you end up with this

wood057.jpg


I suppose that was me getting to cocky :oops: Still, it's a learning curve.

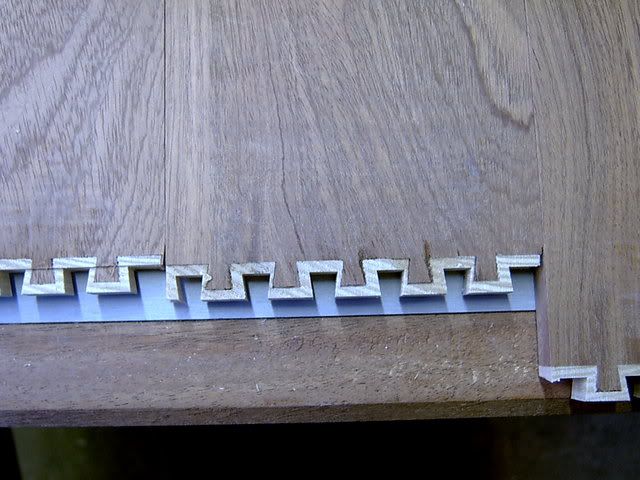
The next operation is to make the corner posts, for this we do the 'D' cuts, this done the same as the 'B' cuts only in a different position.

wood058.jpg


Then we cut it into 10mm strips

wood061.jpg


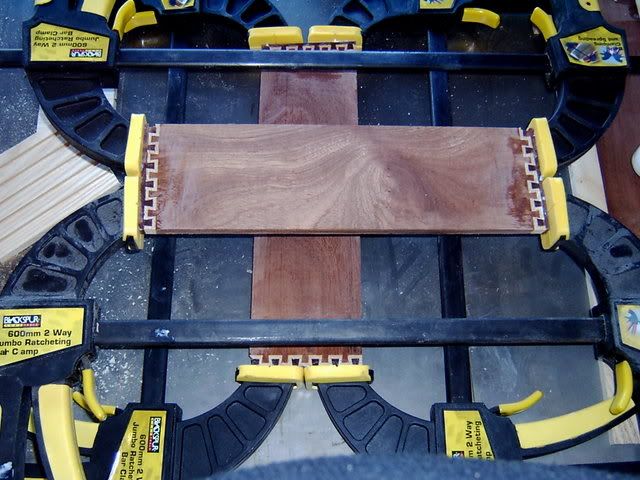
Then glue them in place

wood063.jpg


We have to wait for the glue to dry before we can cut the other 'D' cuts
 
The glues dry enough for me to carry on and finish the joint.

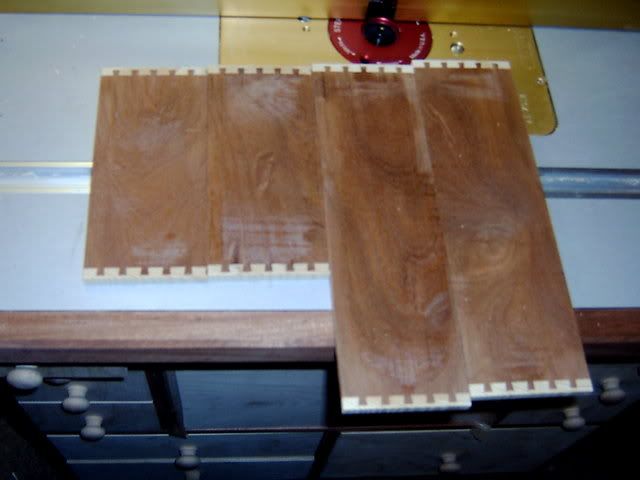
First we do the final cuts, the same cuts as if we were doing Half Blind Dovetail

wood064.jpg


Then finally we can assemble the four sides together and glue up

wood066.jpg

wood068.jpg


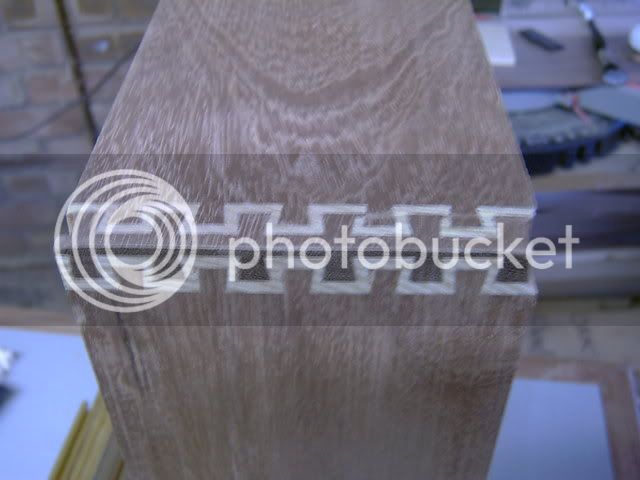
It doesn't look too bad from a distance :lol: a good clean up and it won't look bad.

To be honest, I wouldn't let this pass and i would start again and practice what I have learnt.

What I need to do is learn how to draw using sketch-up, which will help me get the proportions right.

I hope this has been helpful to somebody, if there is anybody out there that has done this joint with the incra or jointech maybe they could write up a few tips.
 
That really does make a very nice looking joint. Thanks for taking the time to do the pics and write-up.
 
Well done Martin. Alright I cannot see it as close up as you, but to me it doesn't look too bad. As fecn says thanks for taking the time to show us.

Cheers

Mike
 
Mike.C":1ht4yhfe said:
Well done Martin. Alright I cannot see it as close up as you, but to me it doesn't look too bad. As fecn says thanks for taking the time to show us.

Cheers

Mike

My pleasure Mike & fecn, I just like sharing my experiences with like minded folk.
 
Good job with the tutorial and write-up martin, we can certainly do with more of these, I've always wondered how these joints were done. I really don't like the joints personally, but it's great to see how it's done. I'm very tempted by the Ultra lite (not for these particular joints, just the precision) and I think you've given me a good reason to pick one up.
 
ByronBlack":2euts1en said:
Good job with the tutorial and write-up martin, we can certainly do with more of these, I've always wondered how these joints were done. I really don't like the joints personally, but it's great to see how it's done. I'm very tempted by the Ultra lite (not for these particular joints, just the precision) and I think you've given me a good reason to pick one up.

Hi Byron, these joints are purely for decoration and there is a lot of variation, they are certainly not a strong joint.

Glad you enjoyed the tutorial and I can reccomend the positioner very highly, go for it.

Imight look at doing a hefty dovetail joint tomorrow :D
 
Brilliant effort Martin and thanks for sharing the pitfalls with us, personally I would put a top and bottom on it and use it in the workshop. I look forward to the next attempt.

Paul
 

Latest posts

Back
Top