Corset
Established Member
I have finished mt Tv Cabinet. Its made from Pippin Oak walnut for the frame and doors and some veneered oak for the shelving and back panel.
My original plan was to do some work in progress shots but in the time it has taken me to make it the technology has moved from wooden box cameras to digital.
I had to take the photos quickly at home as i promised the wife it would be done before she got back from her holiday, it was v heavy to move on my own. so apologies for the quality.
I would like to thank everybody on the forum whos ideas i have borrowed and information that has allowed me to complete the piece as it was a lot more difficult than i thought. Every little hurdle had a solution on this site.
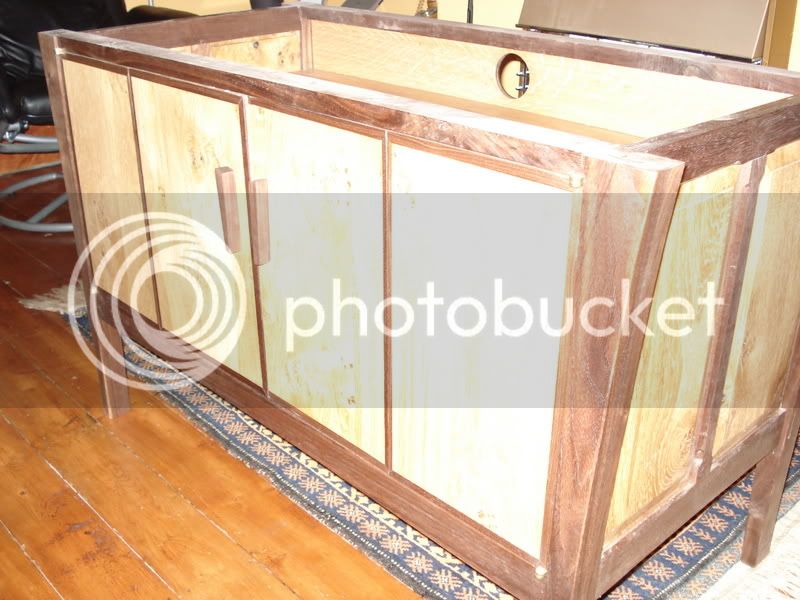
This is the first photo, with the unit top off, The sides are loose panel and frame. The legs were rough cut with a bandsaw and spokeshaved to final curve, lots of fun getting them all the same. All the rails have the same gentle curve to them to break up the shape.
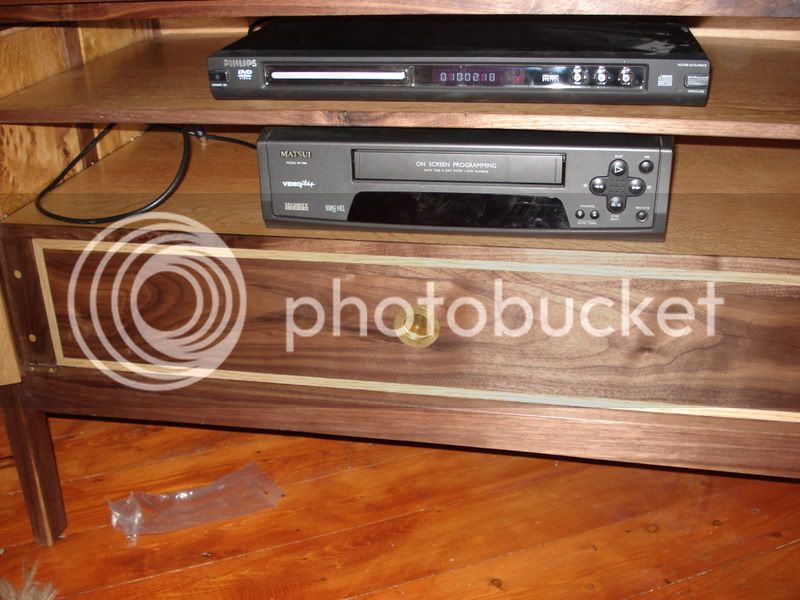
Internally There are two oak veneer shelves lipped with walnut. The drawer is on a blum soft motion closures and is fixed onto a plywood sub frame. The front is planted and trimmed with oak. The handle pull is a brusso round pull really beautiful piece of hardware.
Side Panel Detail,this was one of my targets was to learn how to undertake frame and panel. I made a few measurement errors and made all the tenons to big to allow for mistakes, unfortunely this meant a lot of time with a shoulder plane, however i did learn alot about the tool. In fact most of my mistakes were with power tools and corrected by hand.
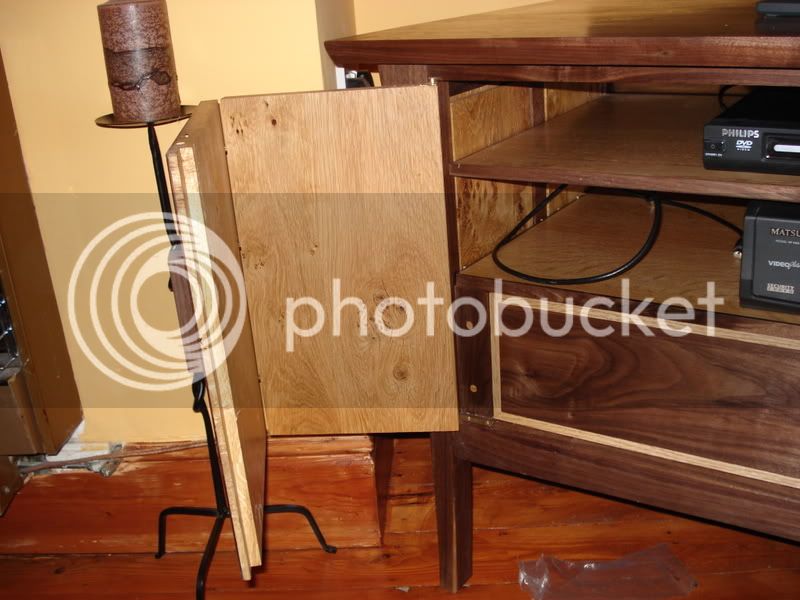
The doors are solid wood with walnut trim and have three soss hingy things in the middle. They are hung on knife hinges which wern't too difficult to fit i slipped with the router and the left door has a slight gulwing action when it opens (wife says i am being anal worring about the half centimeter swing) I have allowed for movement but i suspect people will be pointing out to me that i have done something wrong. This is the area that worried me the most, I had to remember to put the trim on only one of the overlapping doors do the design looked balanced. May i also say i hate making handles i must have made 8 before i settled on this design, these were screwed on and then plugged in walnut
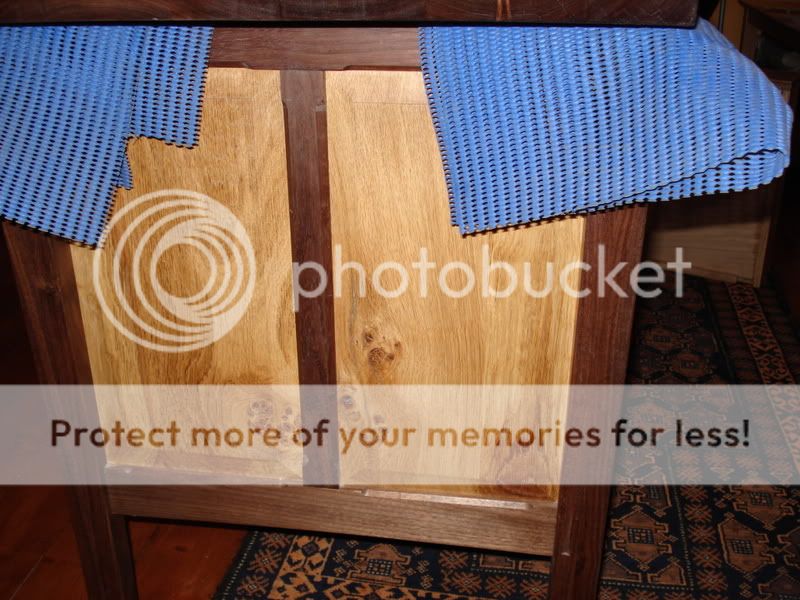
Back of cabinet, not much to say really, in oak veneer with walnut trim
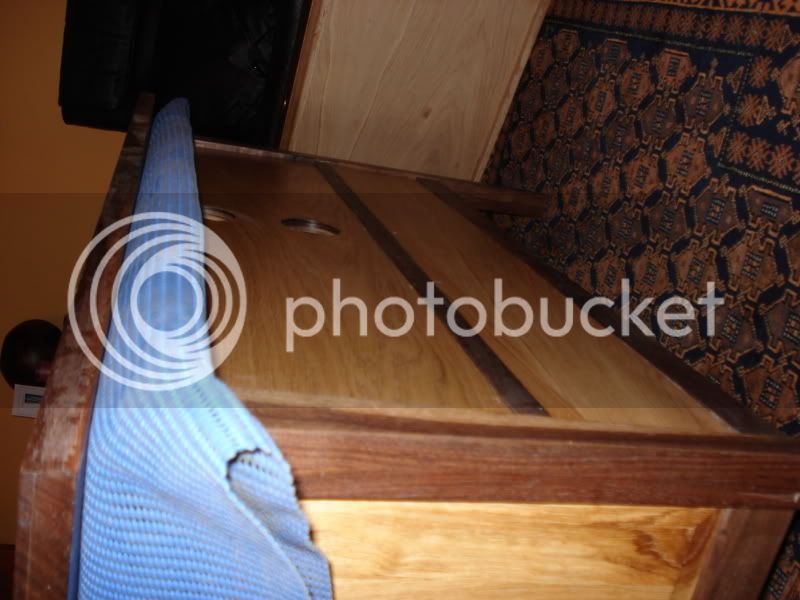
The top was great fun, i really enjoyed planing the top down as it was too big to thickness, i must admit to sanding it smooth,there are some small checks on the ends but i could not afford any more wood so i am hoping they will be ok. The top was shaped to be gently curved on three of the four sides to soften the shape and i used an mdf templated i made with a router bit to trim. I then bevelted the edges to 15degrees to match the legs. The sheen off the table top is lovely. The top was attached with expansion plates to allow for movement.
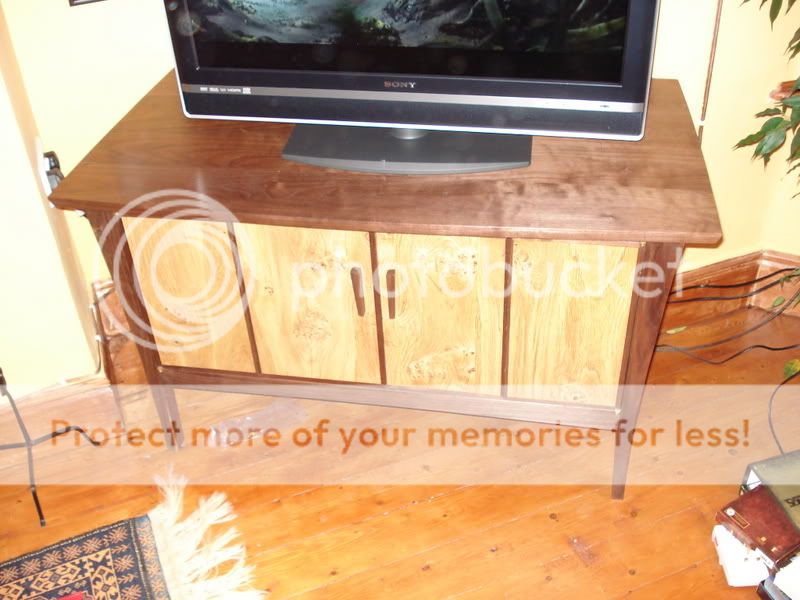
The finish was rustins/liberon (can't remember) finishing oil and wax.
I am mostly happy with it and have learnt alot, midway through i thought i was never going to finish and i thought i had taken on too much but its done now.
The wife loves it and has rearranged the lounge to make it a focal piece,so i guess that is a result.
I think my best lesson is its a lot easier to seethe mistake coming with handtools.
Owen
All comments welcome
My original plan was to do some work in progress shots but in the time it has taken me to make it the technology has moved from wooden box cameras to digital.
I had to take the photos quickly at home as i promised the wife it would be done before she got back from her holiday, it was v heavy to move on my own.
I would like to thank everybody on the forum whos ideas i have borrowed and information that has allowed me to complete the piece as it was a lot more difficult than i thought. Every little hurdle had a solution on this site.
This is the first photo, with the unit top off, The sides are loose panel and frame. The legs were rough cut with a bandsaw and spokeshaved to final curve, lots of fun getting them all the same. All the rails have the same gentle curve to them to break up the shape.

Internally There are two oak veneer shelves lipped with walnut. The drawer is on a blum soft motion closures and is fixed onto a plywood sub frame. The front is planted and trimmed with oak. The handle pull is a brusso round pull really beautiful piece of hardware.

Side Panel Detail,this was one of my targets was to learn how to undertake frame and panel. I made a few measurement errors and made all the tenons to big to allow for mistakes, unfortunely this meant a lot of time with a shoulder plane, however i did learn alot about the tool. In fact most of my mistakes were with power tools and corrected by hand.

The doors are solid wood with walnut trim and have three soss hingy things in the middle. They are hung on knife hinges which wern't too difficult to fit i slipped with the router and the left door has a slight gulwing action when it opens (wife says i am being anal worring about the half centimeter swing) I have allowed for movement but i suspect people will be pointing out to me that i have done something wrong. This is the area that worried me the most, I had to remember to put the trim on only one of the overlapping doors do the design looked balanced. May i also say i hate making handles i must have made 8 before i settled on this design, these were screwed on and then plugged in walnut

Back of cabinet, not much to say really, in oak veneer with walnut trim

The top was great fun, i really enjoyed planing the top down as it was too big to thickness, i must admit to sanding it smooth,there are some small checks on the ends but i could not afford any more wood so i am hoping they will be ok. The top was shaped to be gently curved on three of the four sides to soften the shape and i used an mdf templated i made with a router bit to trim. I then bevelted the edges to 15degrees to match the legs. The sheen off the table top is lovely. The top was attached with expansion plates to allow for movement.

The finish was rustins/liberon (can't remember) finishing oil and wax.
I am mostly happy with it and have learnt alot, midway through i thought i was never going to finish and i thought i had taken on too much but its done now.
The wife loves it and has rearranged the lounge to make it a focal piece,so i guess that is a result.
I think my best lesson is its a lot easier to seethe mistake coming with handtools.
Owen
All comments welcome


