Ash Table Finish suggestions

UKworkshop.co.uk

Help Support UKworkshop.co.uk:

This site may earn a commission from merchant affiliate links, including eBay, Amazon, and others.

delaney001

Established Member
Joined
28 Jan 2015
Messages
73
Reaction score
8
Location
Ireland
Hi,

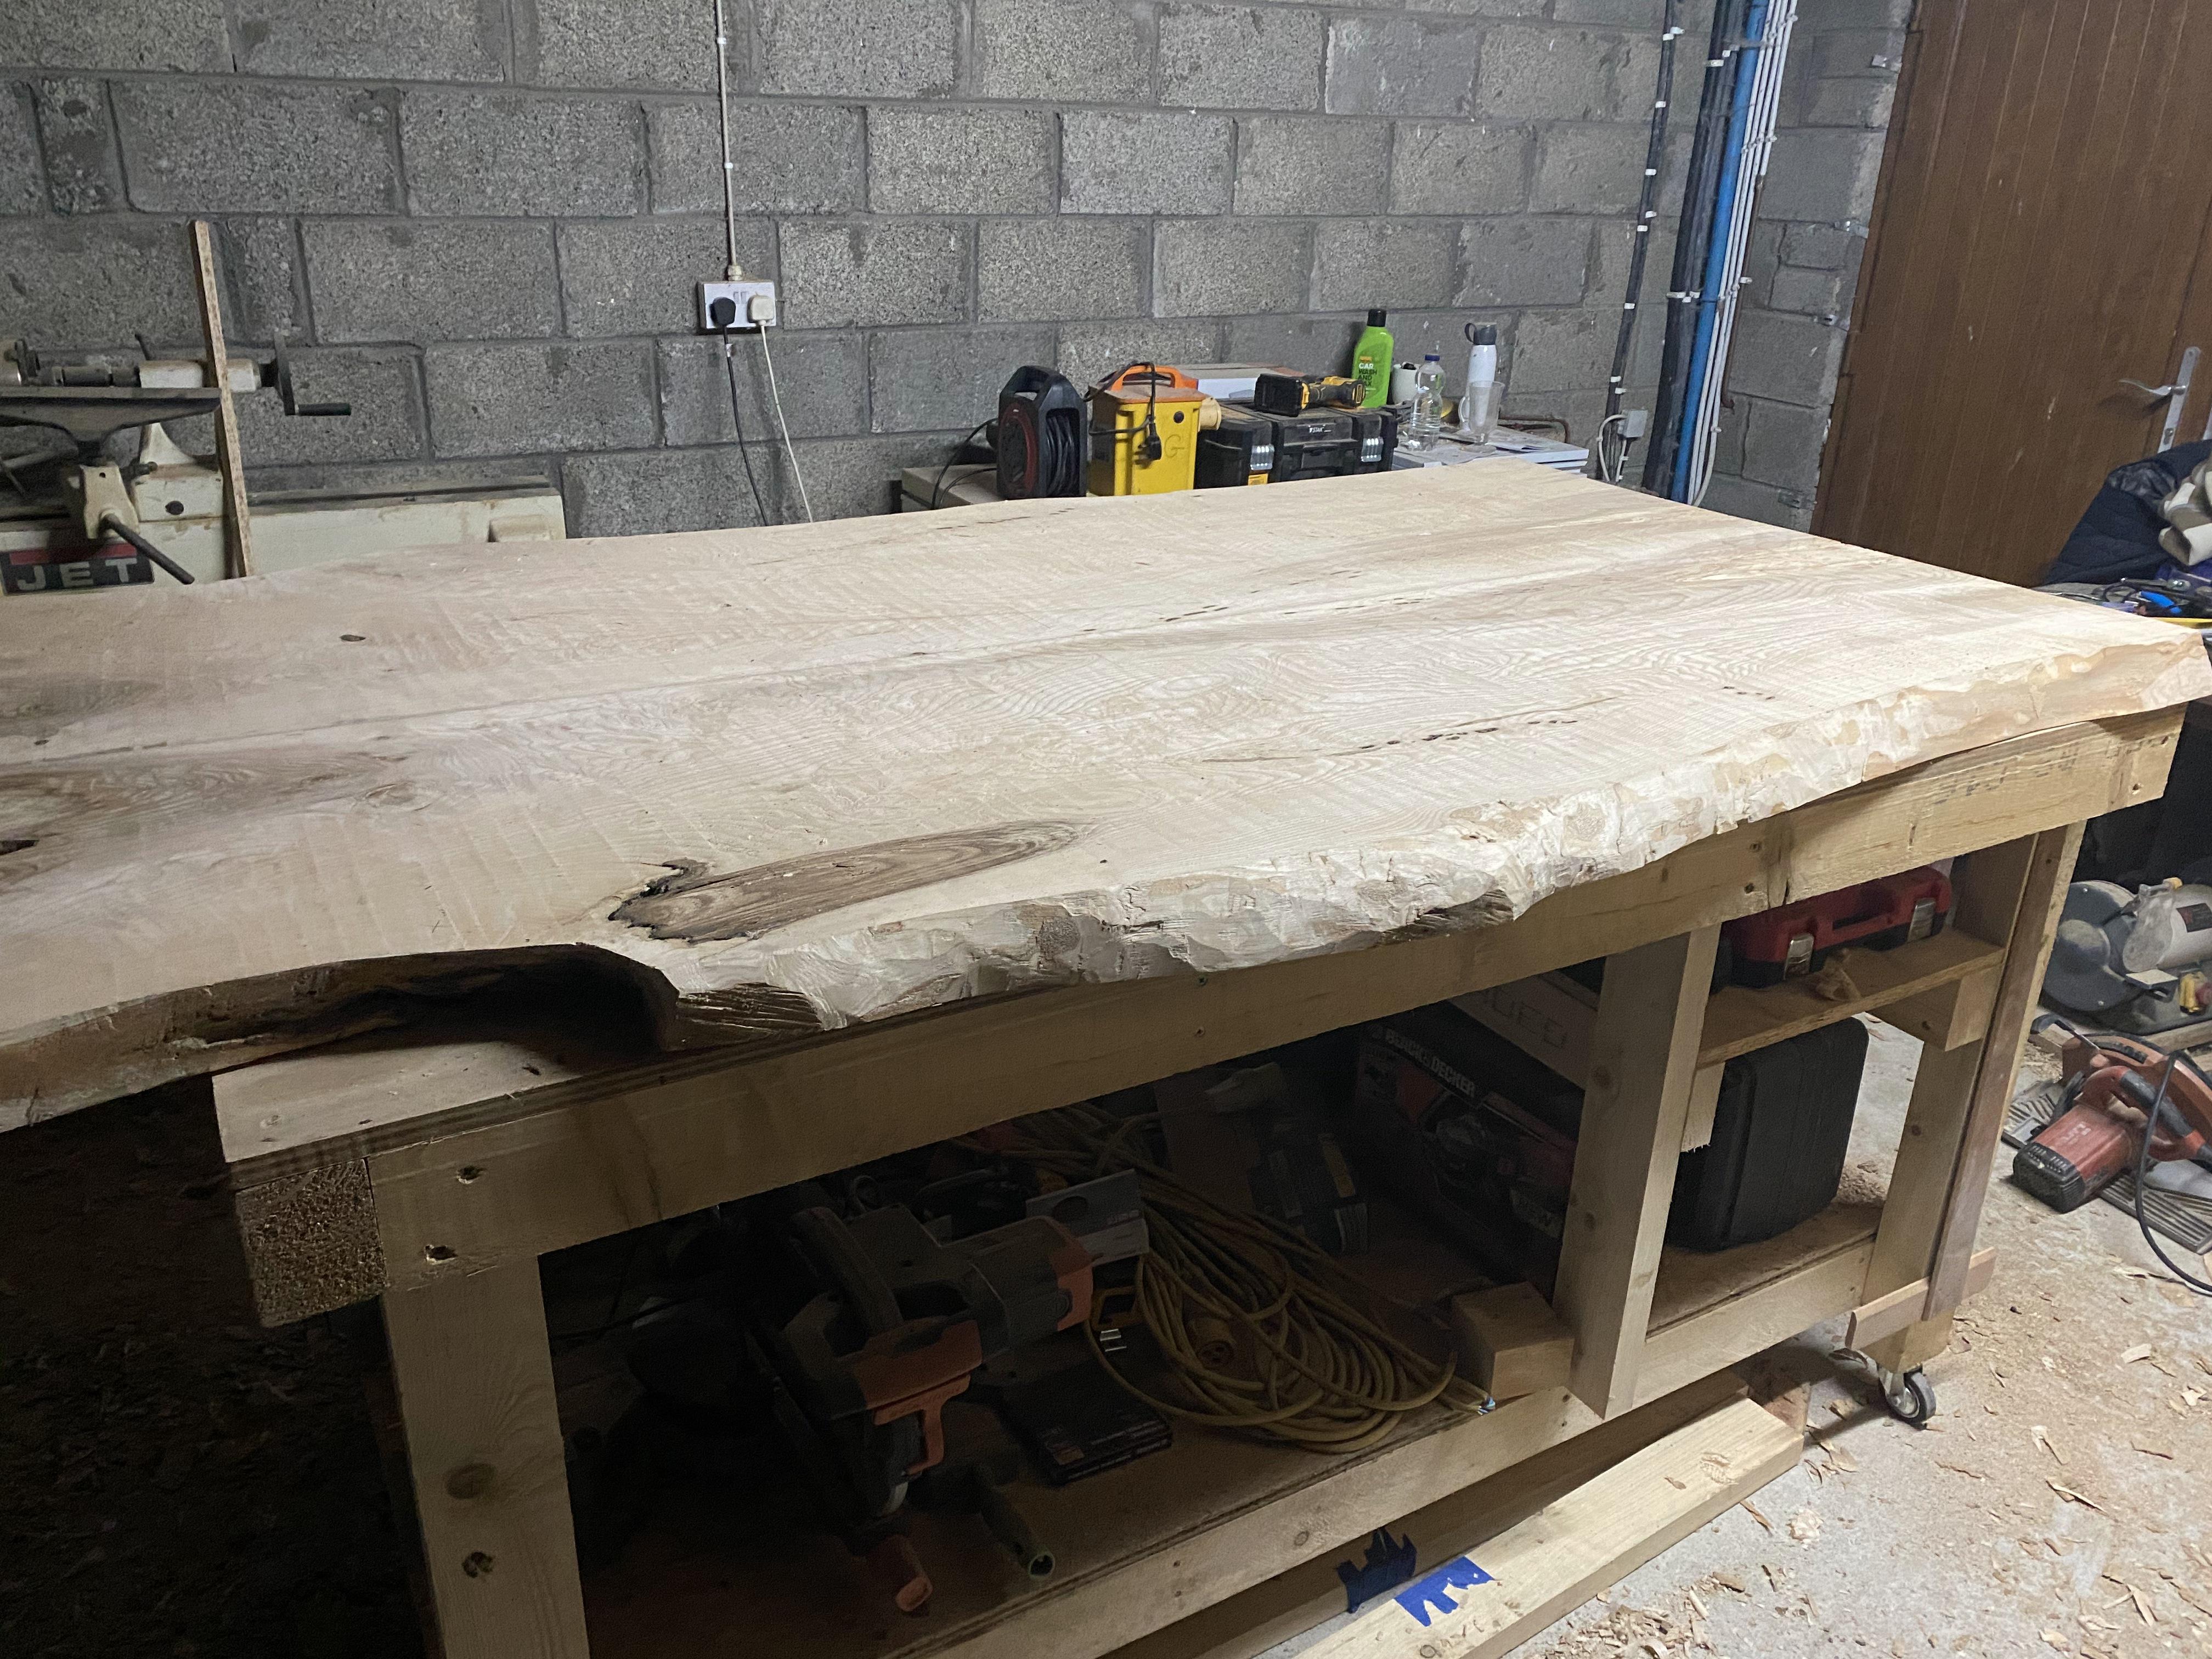
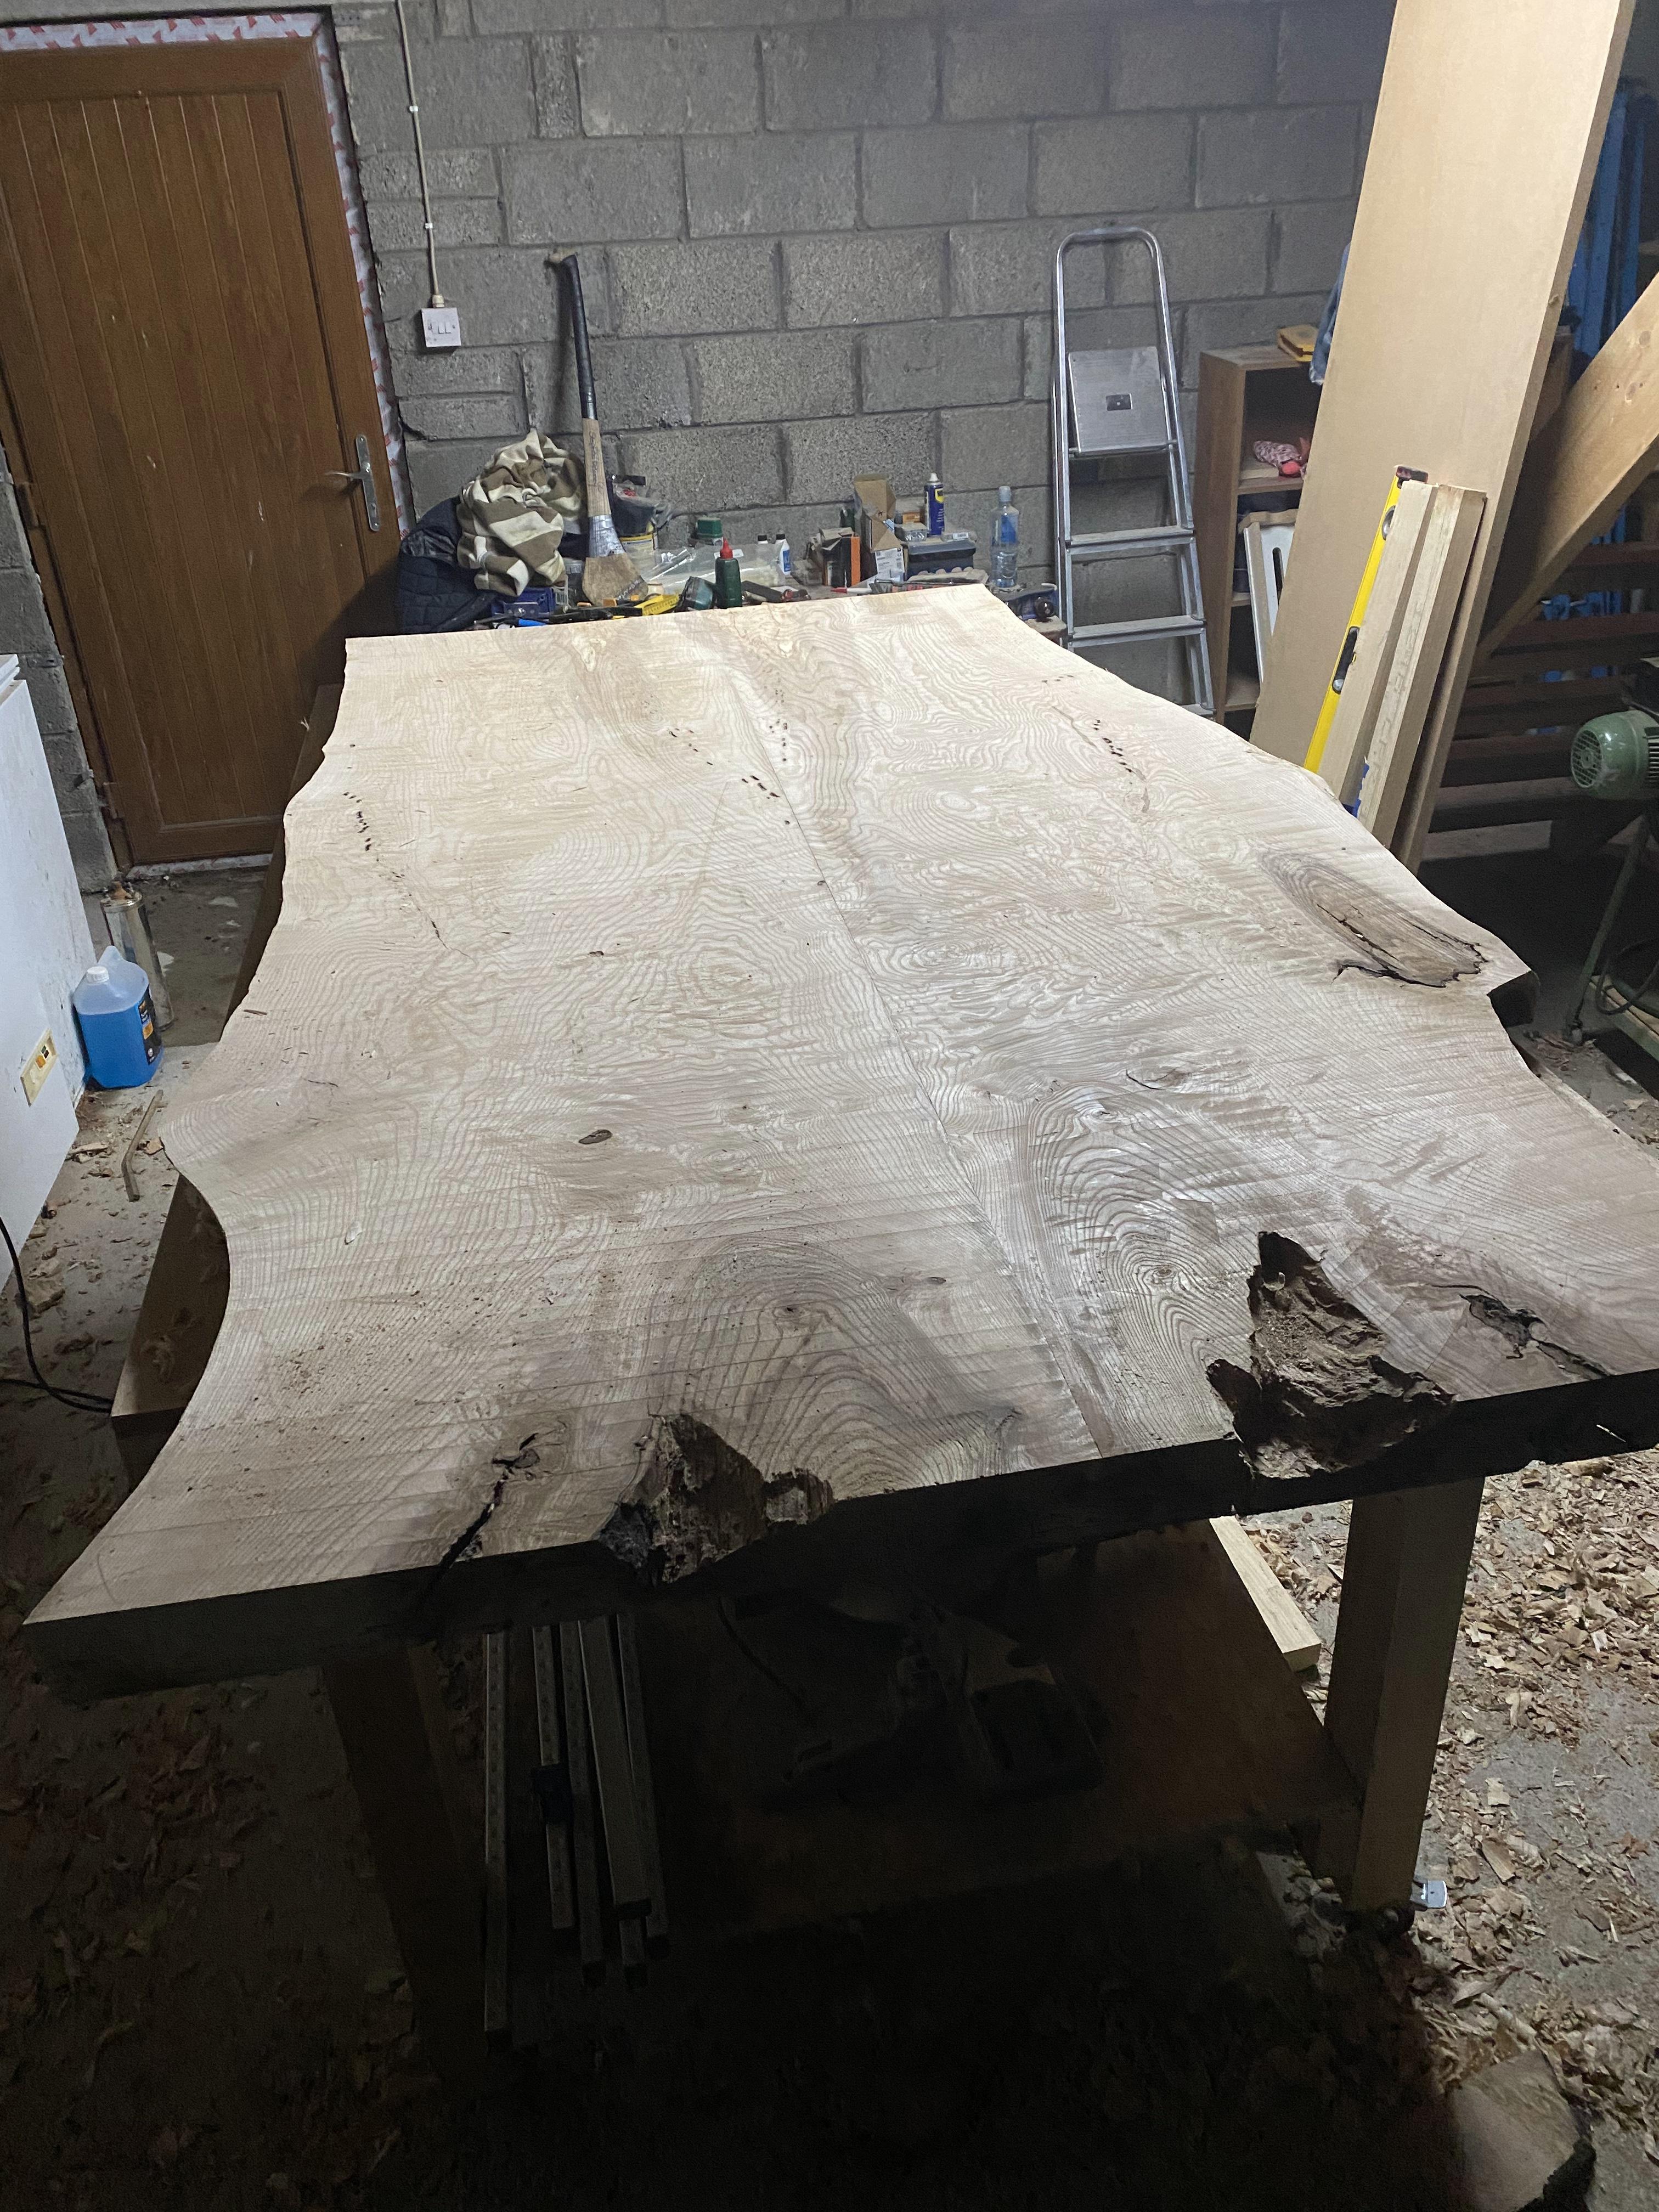
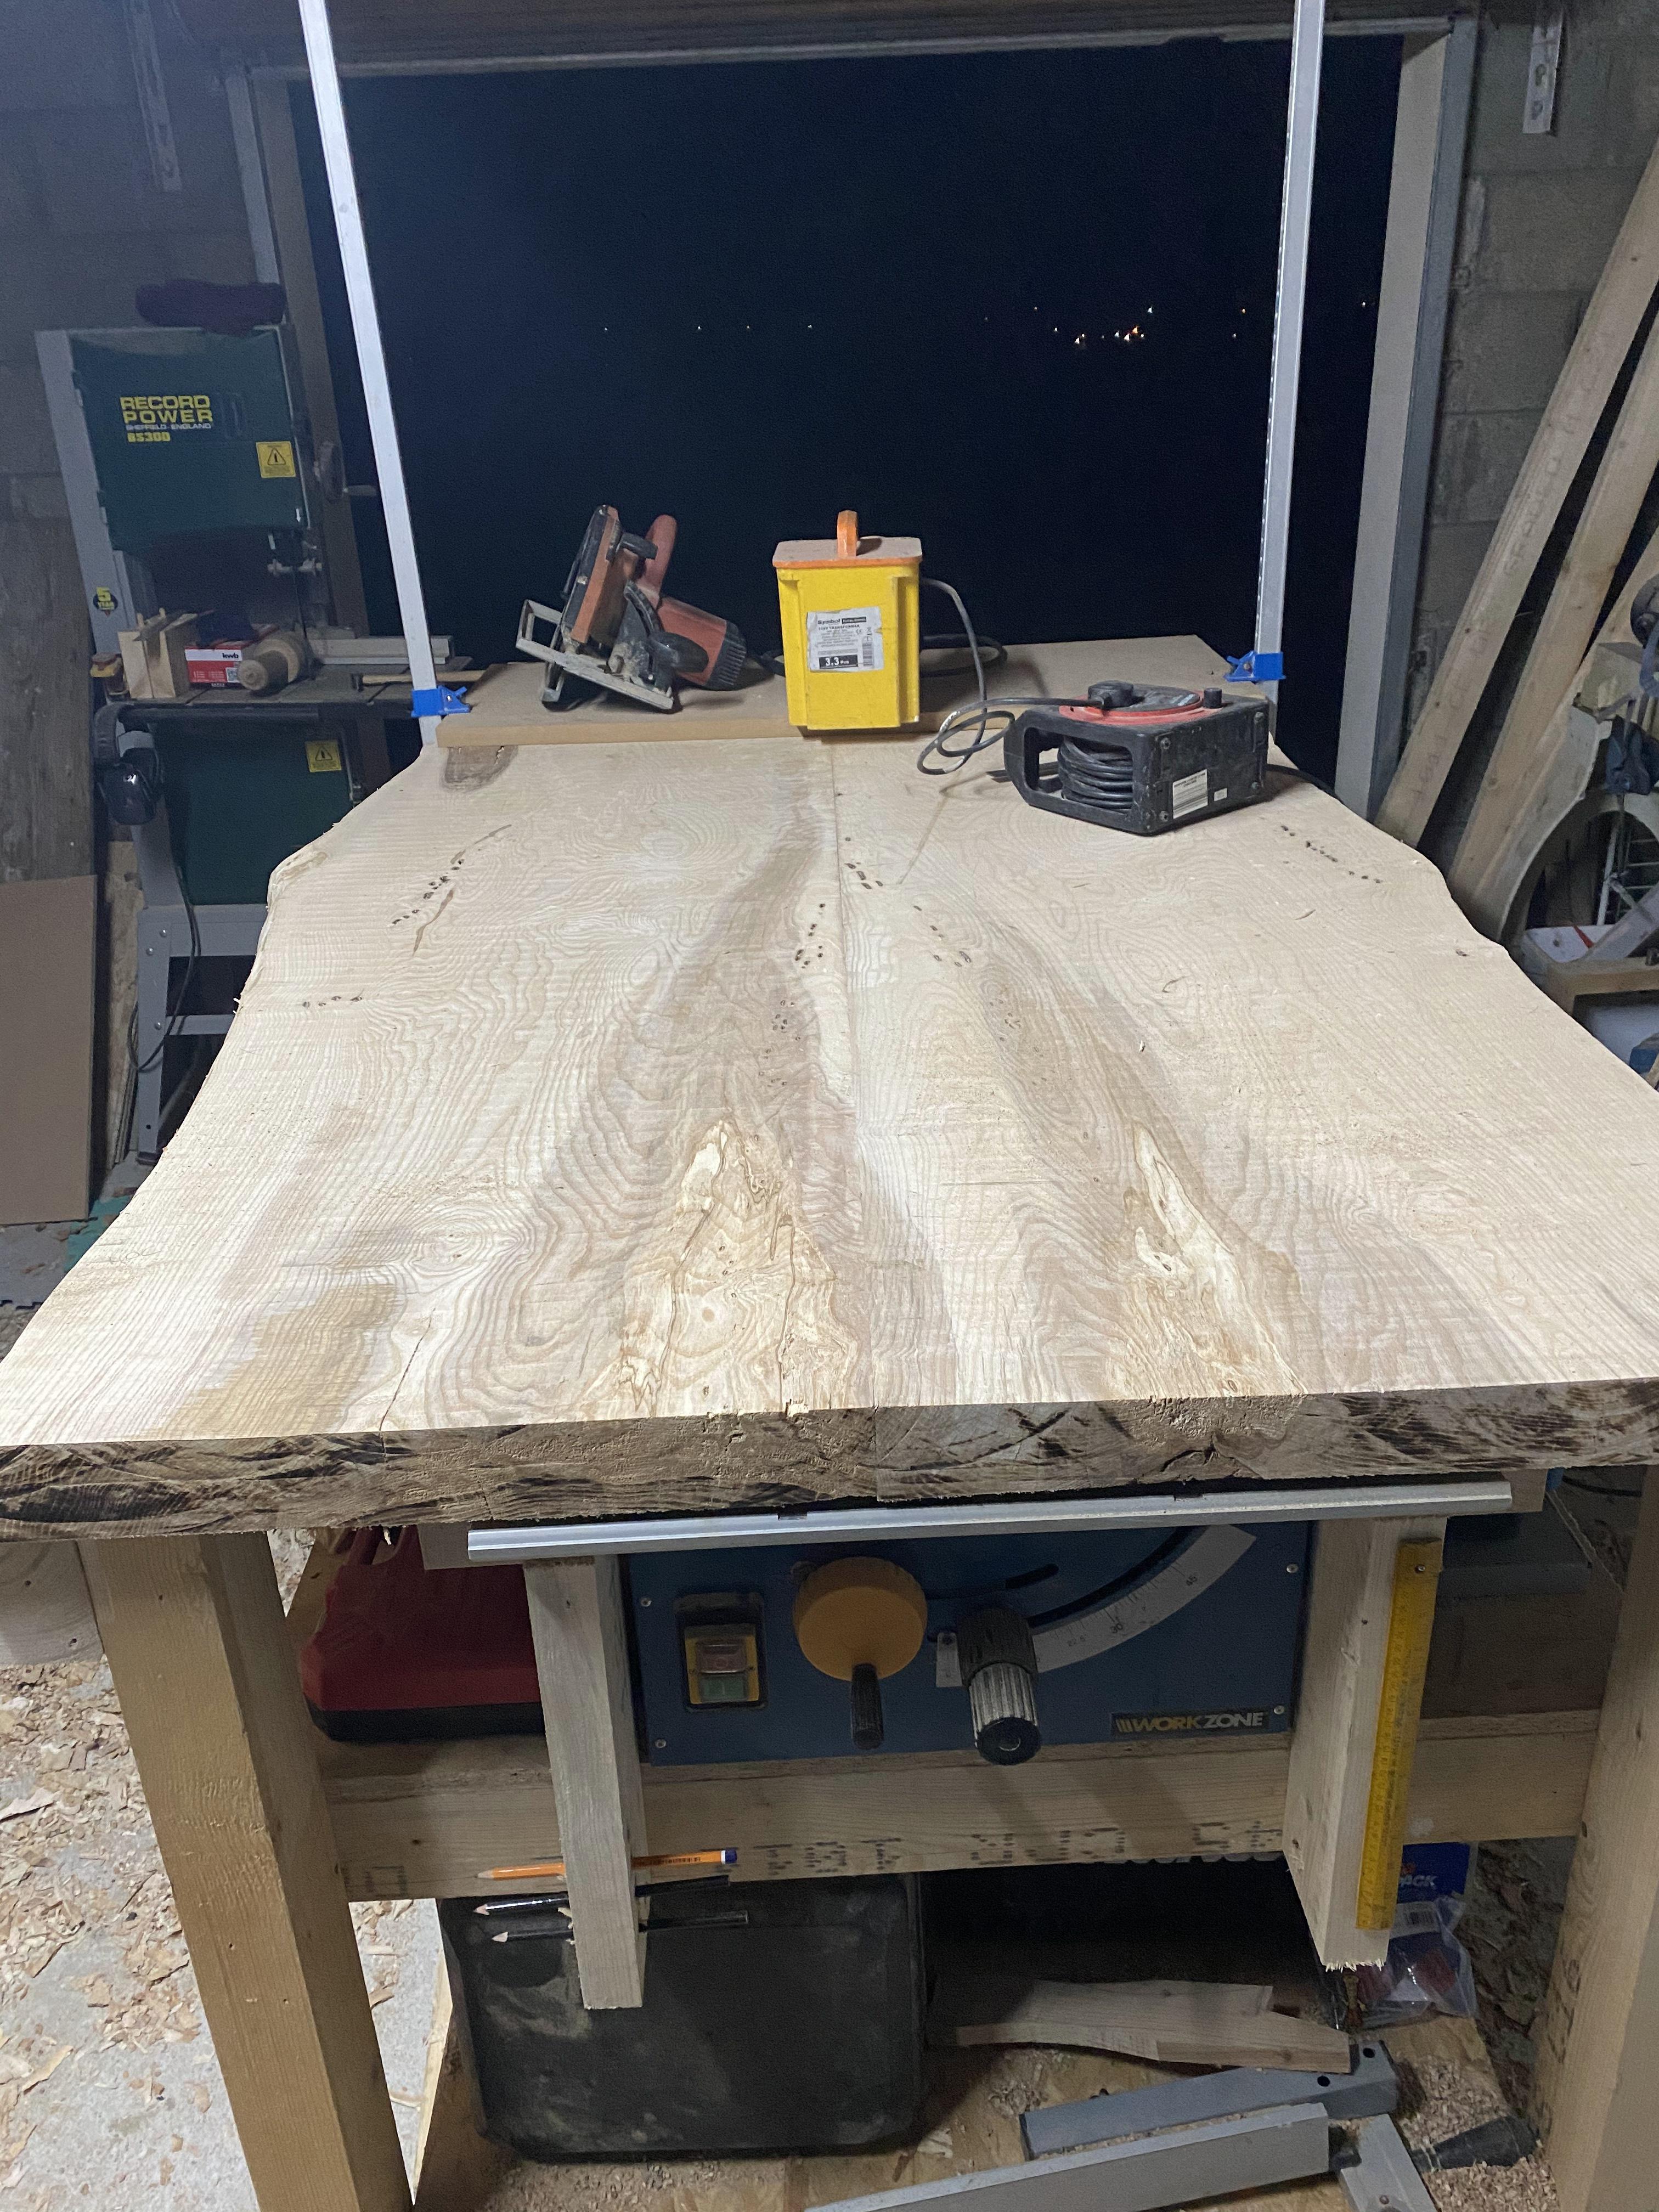
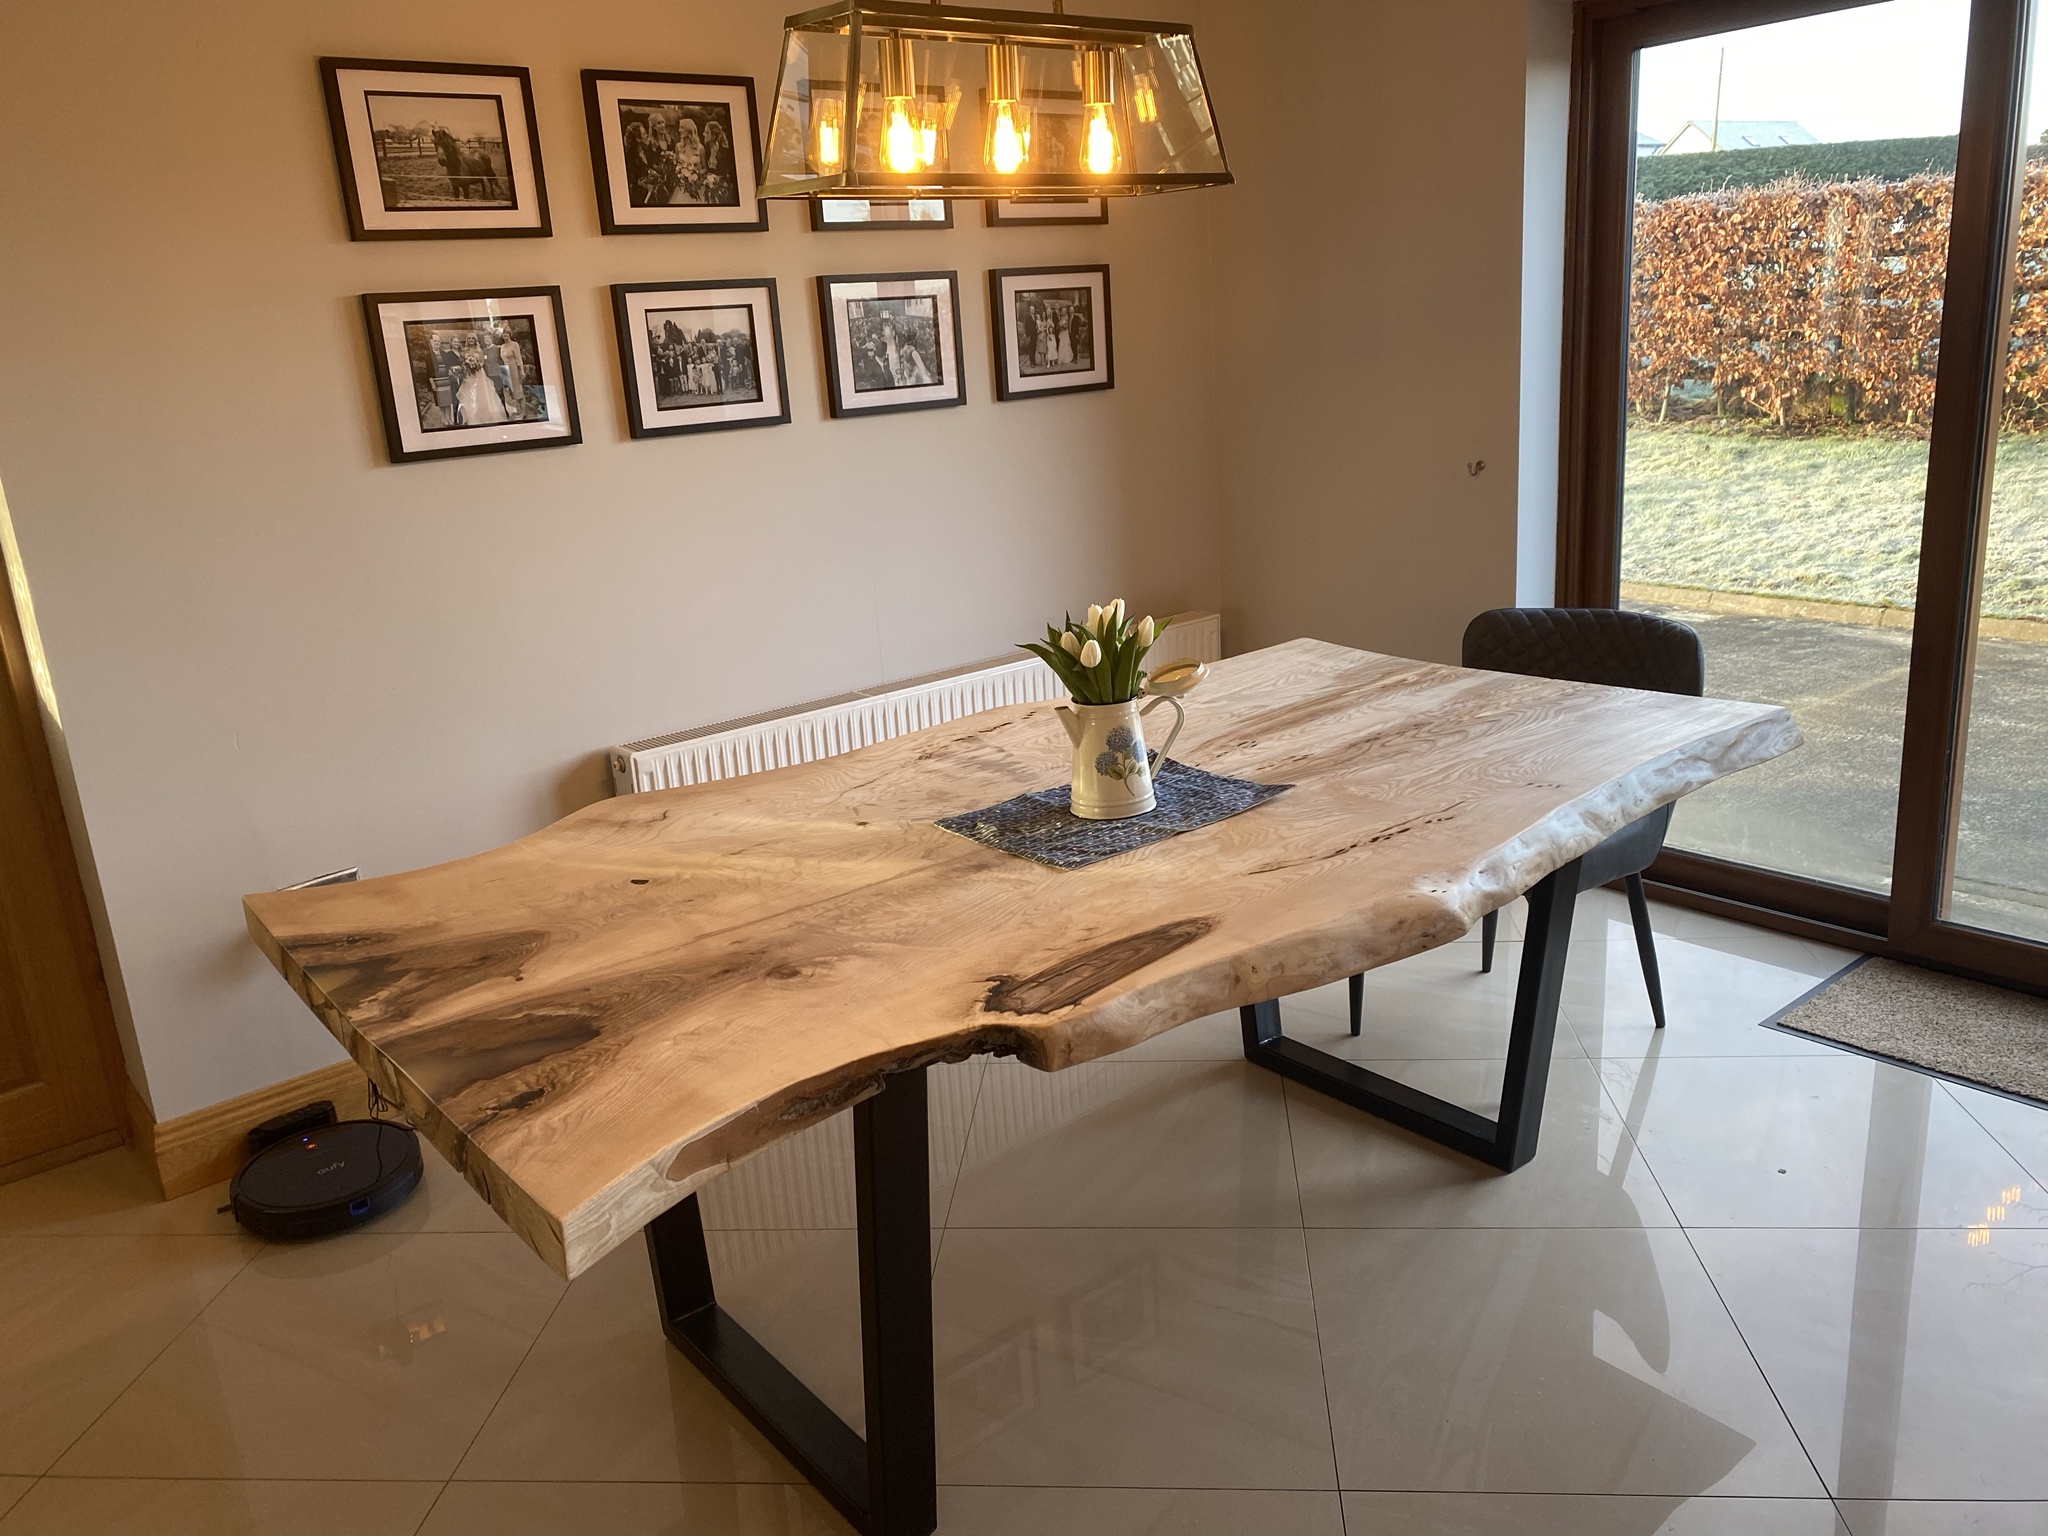
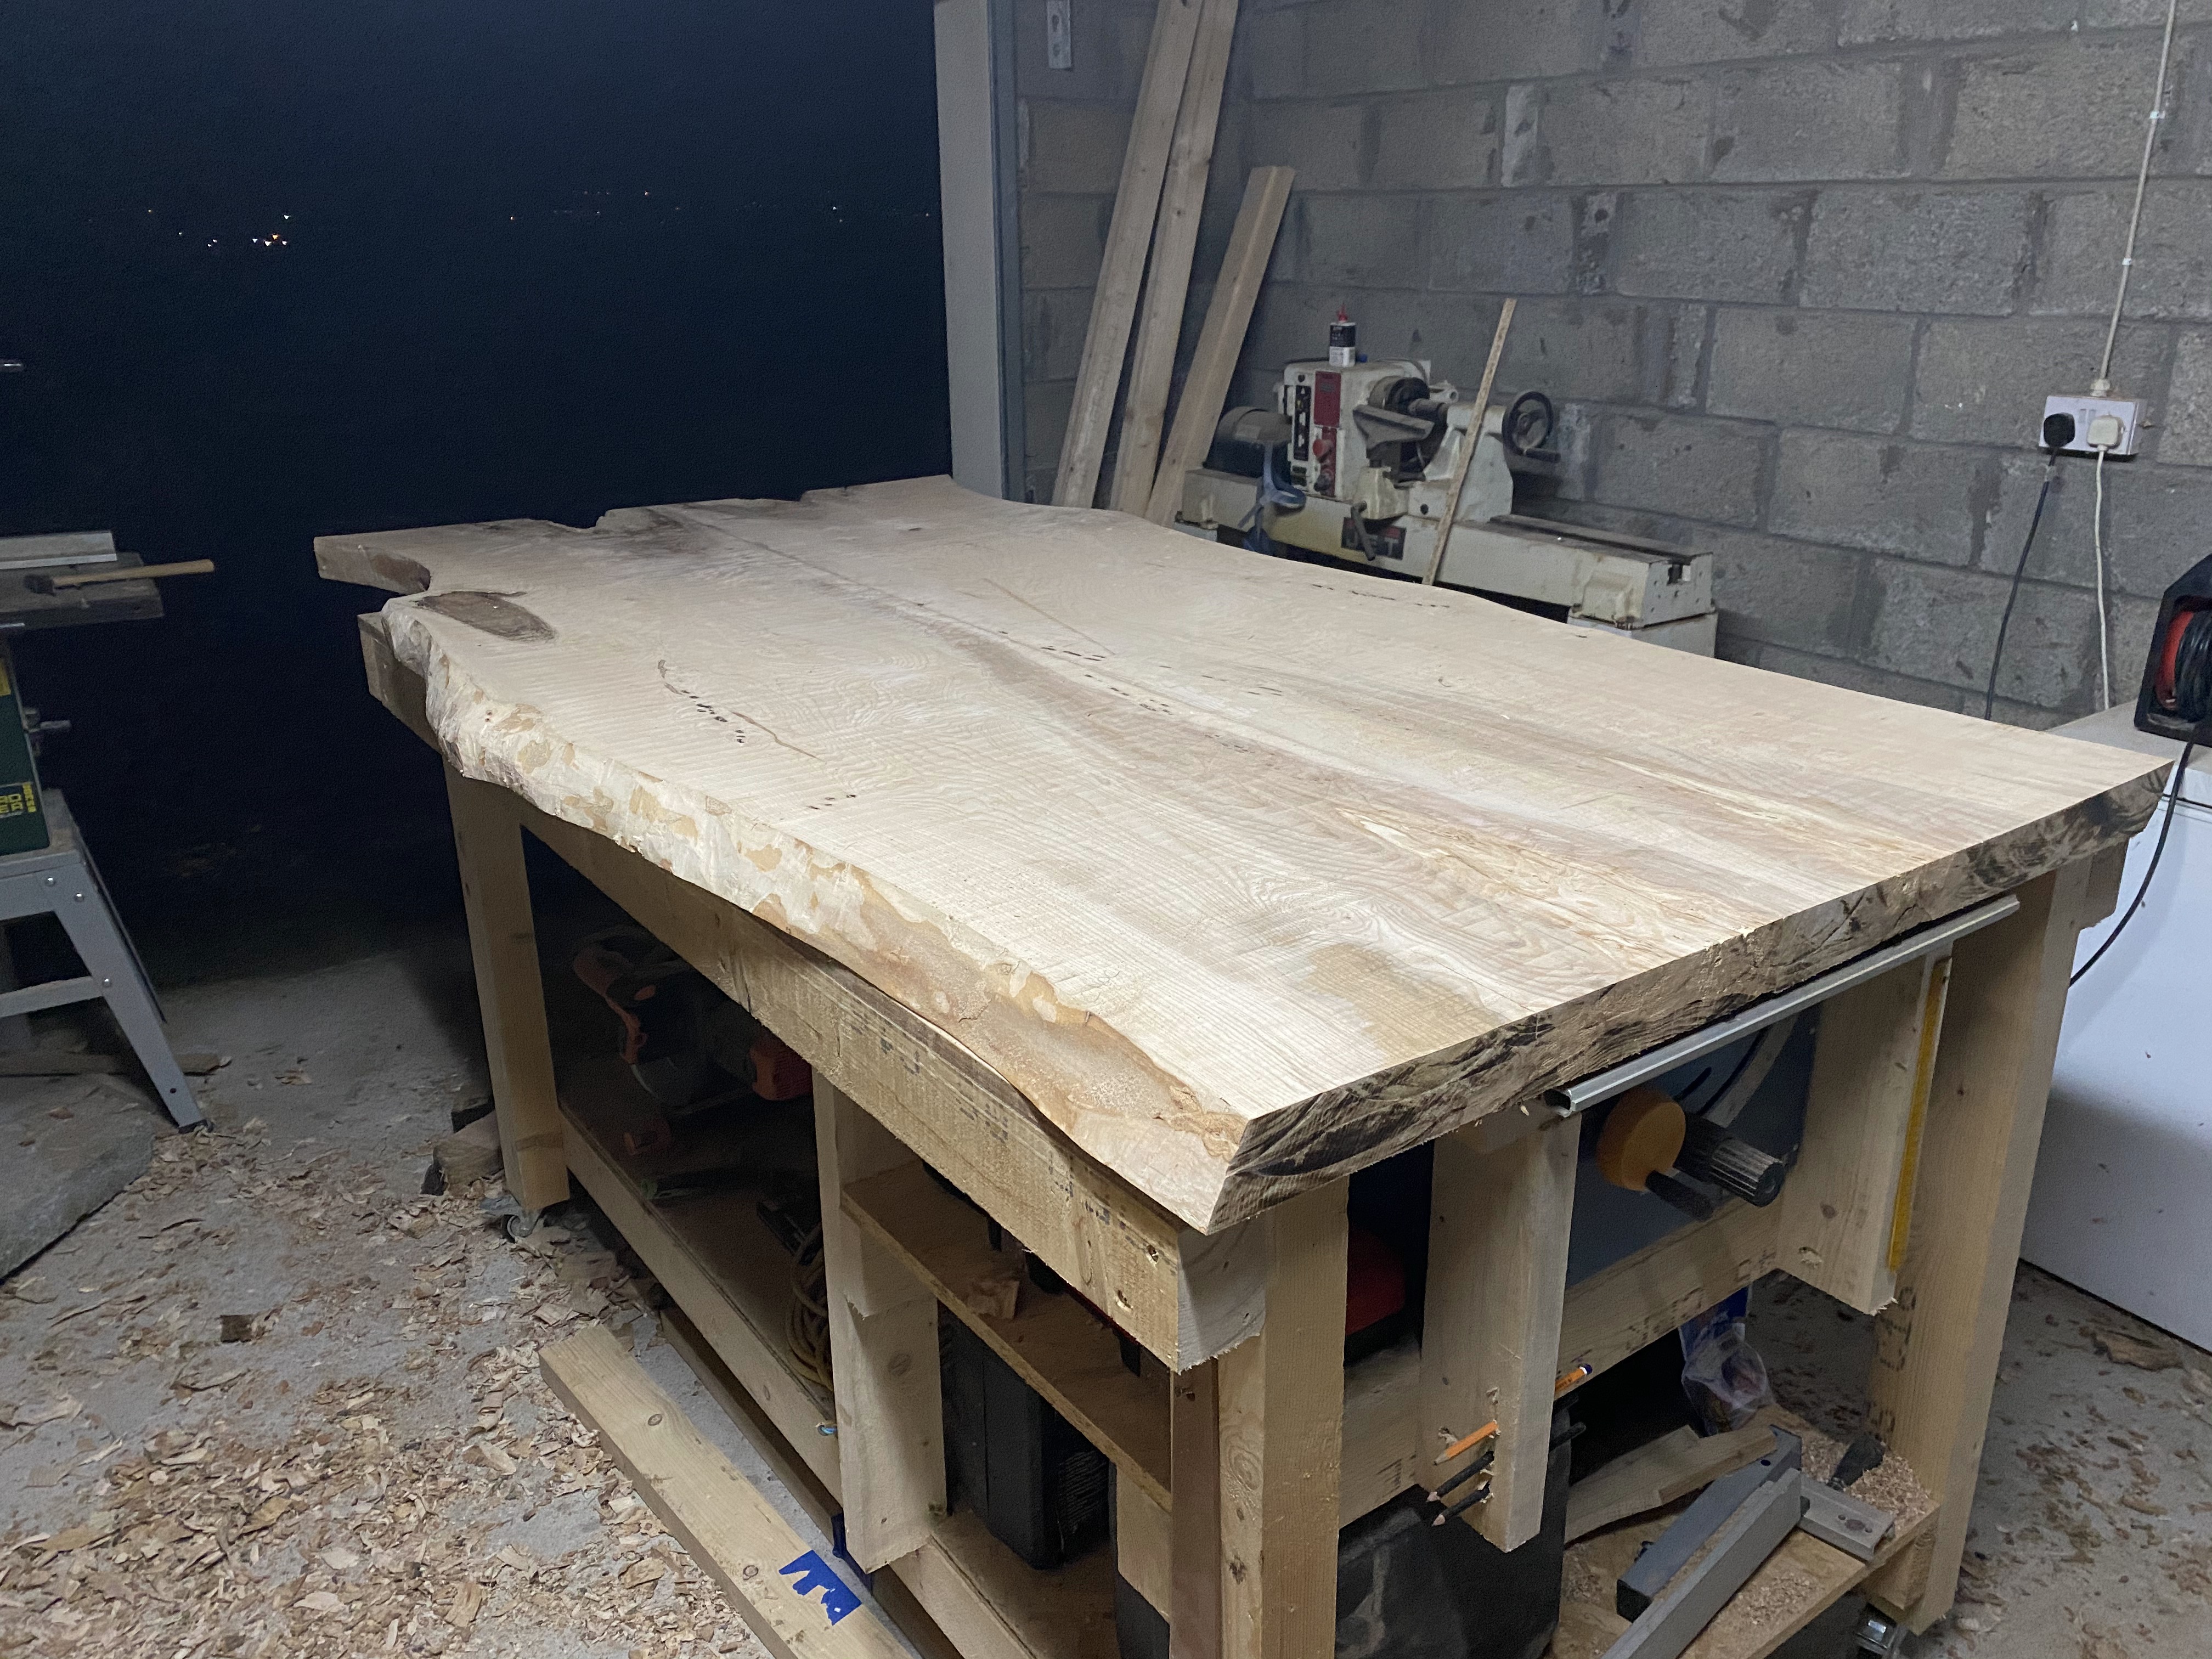
Can anyone reccomend a finish to apply to the attached ash live edge table. The table will have a small amount of epoxy (probably clear) into the two cavities at the end. The legs are going to be a black steel trapezoid shape.

I have been reading about BLO and Danish oil and i also saw Mike's 1/3 mix suggested as well. Can anyone provide any suggestions. Hoping for something not too shiny or anything that will 'yellow' the timber.

Thanks
BmQDEyN.jpg


lAGu7wr.jpg


kcVc3re.jpg


C7PUOVt.jpg
 
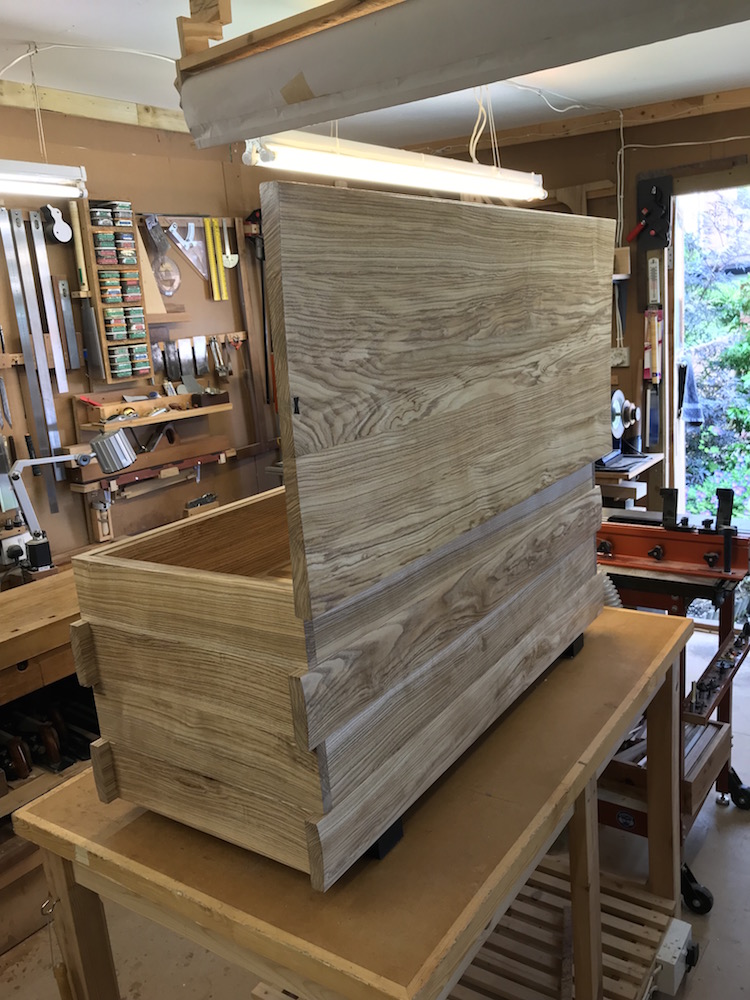
Most oils will turn ash and other light colours a 'familiar' shade of yellow after some time. One solution is to use Osmo Raw and the other is to use a matt Acrylic which I used on this Alan Peters blanket chest in Olive Ash finished earlier this year:

IMG_3315.jpg


IMG_3319.jpg


IMG_3320.jpg


https://www.axminster.co.uk/polyvine-wa ... h-ax715653

I bought the acrylic from Axminster and there's a combination of matt and satin on this job - Rob
 

Attachments

  • IMG_3315.jpg
    IMG_3315.jpg
    231 KB
  • IMG_3319.jpg
    IMG_3319.jpg
    243.1 KB
  • IMG_3320.jpg
    IMG_3320.jpg
    238.6 KB
Yep, be very careful with oil on ash.......unless you actually like the colour of strong stale urine! :)

PS....you need a new circular saw blade.
 
bestwood pure tung oil, mix it with white spirits 50/50 for the first 2-3 coats then apply it unthinned, it looks clearer and less yellow than linseed oil.
 
woodbloke66":1suu0msy said:
Most oils will turn ash and other light colours a 'familiar' shade of yellow after some time. One solution is to use Osmo Raw and the other is to use a matt Acrylic which I used on this Alan Peters blanket chest in Olive Ash finished earlier this year:


https://www.axminster.co.uk/polyvine-wa ... h-ax715653

I bought the acrylic from Axminster and there's a combination of matt and satin on this job - Rob

nice job on that project Rob, looks immaculate to me =D>
 
The ash I've used for chairs, finished with Rustins Danish oil, starts out quite pale and eventually goes a biscuit like colour - think rich tea biscuits, nicer thought than stale urine ! Linseed is probably the most yellowing option, I avoid it for ash. Boxwood goes a very yellow colour.

My experience with water based acrylic finishes is that over time they become a tacky mess if used on something frequently handled. I had to strip the garbage off one chair after the arms went sticky where handled, never again.
 
MikeG.":27lndow4 said:
Yep, be very careful with oil on ash.......unless you actually like the colour of strong stale urine! :)

PS....you need a new circular saw blade.


Ah it’s not my saw, I’ll let the fella that owns it buy a new blade.
 
woodbloke66":3ehnx52r said:
Most oils will turn ash and other light colours a 'familiar' shade of yellow after some time. One solution is to use Osmo Raw and the other is to use a matt Acrylic which I used on this Alan Peters blanket chest in Olive Ash finished earlier this year:


https://www.axminster.co.uk/polyvine-wa ... h-ax715653

I bought the acrylic from Axminster and there's a combination of matt and satin on this job - Rob


That’s a really Lovely piece of work.
That finish has a lovely look to it. Can I ask how many coats that is or do you sand back between coats?
 
delaney001":3o3lbdfo said:
..........Can I ask how many coats that is or do you sand back between coats?

Sanding between coats isn't "sanding back". Sanding between coats is de-nibbing......the very lightest possible rub just to remove any specks of dust . You are just very lightly abrading the surface of the previous coat at the most. "Sanding back" implies that you are sanding away anything lying above the surface of the wood, just leaving whatever has soaked in, and that very much isn't the case.
 
thetyreman":muutocbk said:
nice job on that project Rob, looks immaculate to me =D>

Thanks, much appreciated. This was the first job I'd done in Olive Ash and whilst much was well figured, there were some boards that were proper ash coloured so I decided not to take any chances and go for a finish that would guarantee that the wood's colour wouldn't 'alter' over time.

There were about five coats if I recollect correctly, rubbed down between each with 0000grade wire wool and then thoroughly vacuumed before the next was applied. The final coat was rubbed back and then waxed. The beauty of using an acrylic finish is that each coat dried hard within 30mins so there's no faffing around waiting for stuff to dry - Rob
 
What about a soap finish? I saw it on some chairs and it looked v nice, v matt and worthy of research.

I haven't used it myself so all I can recommend is further research. Don't take my suggestion as a recommendation for just doing it!!
 
marcros":9dvv68bn said:
What about a soap finish? I saw it on some chairs and it looked v nice, v matt and worthy of research.

I haven't used it myself so all I can recommend is further research. Don't take my suggestion as a recommendation for just doing it!!
I seem to recollect that Chris Tribe used this sort of finish on some of his Danish styled chairs - Rob
 
woodbloke66":1i9q016z said:
thetyreman":1i9q016z said:
nice job on that project Rob, looks immaculate to me =D>

Thanks, much appreciated. This was the first job I'd done in Olive Ash and whilst much was well figured, there were some boards that were proper ash coloured so I decided not to take any chances and go for a finish that would guarantee that the wood's colour wouldn't 'alter' over time.

There were about five coats if I recollect correctly, rubbed down between each with 0000grade wire wool and then thoroughly vacuumed before the next was applied. The final coat was rubbed back and then waxed. The beauty of using an acrylic finish is that each coat dried hard within 30mins so there's no faffing around waiting for stuff to dry - Rob

That’s great, thanks for the info. Very nervous about finishing, being working on this thing for 3 months now!
 
marcros":9eqsqebw said:
What about a soap finish? I saw it on some chairs and it looked v nice, v matt and worthy of research.

I haven't used it myself so all I can recommend is further research. Don't take my suggestion as a recommendation for just doing it!!

I’ll look that up now cheers, haven’t heard of it before.

I like the disclaimer =D> =D>
 
Finished the table with Osmo oil. Did 2 coats, but wondering if i should have done more now....

Yi0bvuJ.jpg
 
It looks beautiful - well done!!

Would you mind telling us a bit about the Epoxy work you did? Materials, methods, lessons learned etc.?
 
Ya sure thing. I used West Epoxy systems. Purchased online, its not cheap but it seems to be one of the best ones in terms of reviews. I think i got the hard setting hardener. I also went with clear epoxy, i was hoping to put some colouring into it, just something dark so as not to stand out - nothing too bright and gammy.
Mixing it is straight forward, i used two dishes and a basic weighing scales. Hard to gauge how much you will need, but sure like anything, give it a go and youll learn for the next time.
I made one big mistake in the pour, i moved a bit slowly and i had it in a narrow deep bowl. After 15 minutes going around the board, pouring into any little void that I could find, it started to heat in the bowl. You have to keep it very shallow, in what your mixing it in and what you pour it into, if its deep the heat has nowhere to escape and it will start to go off in your hand. So the first pour of the big cavity at the end, i poured in about an inch deep and that heated and discoloured (clouded) a little. After that i did lots of little pours, maybe half inch in depth at a time. That worked fine. The last thing is to burn off the top with a blow torch. I did this about 15 minutes after each pour and its very easy, nothing too it. Just flash the heat across the surface and it will go like glass afterwards. You can also prick any little bubbles that are presisting and the liquid will fill in around it.

Its very stressful and you need to have everything ready, but if you can do that e.g. mixing station, scales, gloves, torch(with candle) and all the splits/gaps taped up, then it will be fine.
 
Back
Top