lucky9cat
Established Member
This is the second Arts and Crafts Morris Chair I’ve built. The first was a few years ago so no WIP pics I’m afraid. Both were to designs by Gustav Stickley taken from Robert Lang’s books of Stickley’s plans, the first being the rather straight lined No. 332, and this one containing more curves, No. 336. When the originals were being sold in 1910 they fetched $33.00 and $31.50 respectively!
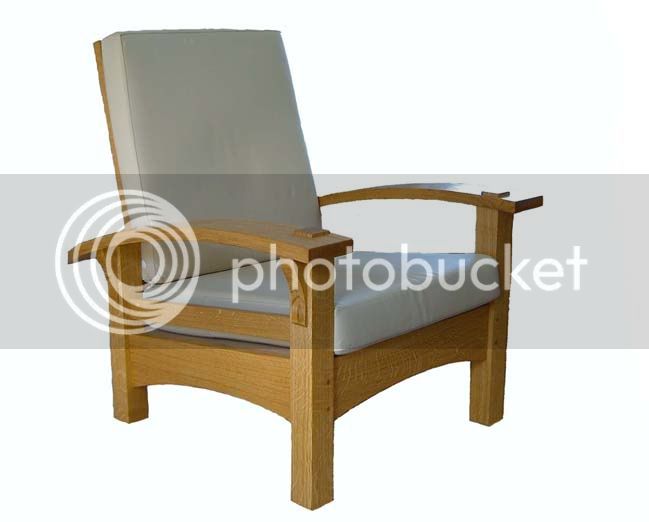
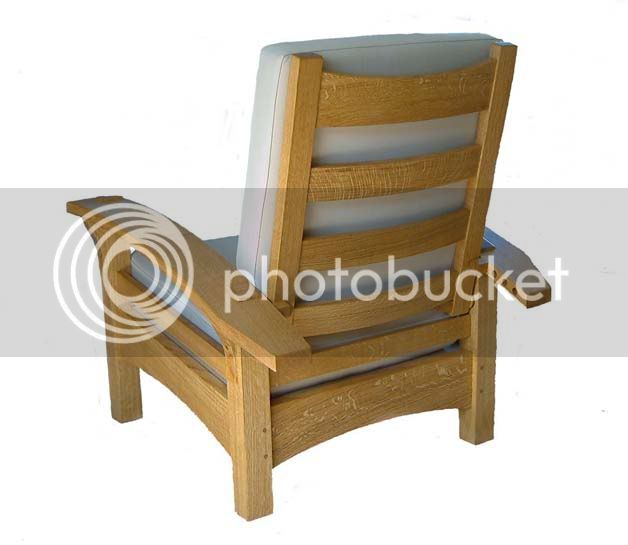
It’s built from Croation Oak got from my local supplier Goodwillies of Waterloville. I rate them highly as they’re happy to let me sort through the stock looking for the best quartersawn stuff. I spend hours over this but it’s not SWMBO’s idea of fun shifting boards from stack to stack! The staff know me as Mr.Picky.
My take on Arts and Crafts furniture is that the beauty of the wood needs to compensate for the functionality of the design, and hence I do everything I can to show off the wood to its best affect.
The wood cost just under £200; the Goodwillie prices were £1306, £1508 and £1593 plus VAT per cubic metre for 27mm, 40mm and 50mm thicknesses respectively. I got the cushions made by a local upholsterer for £230. So, not cheap but I’m very happy with it. It would have worked out cheaper had I steam bent the curved bits but couldn’t pluck up the courage. I laminated the curved bits which is pretty wasteful as I had to start off with 50mm thick boards to end up with the 1 ¼ inch (29mm) thick arms. I also wasted a complete arm by making one of the mortices the wrong size. Write out 100 times “I must pay more attention when marking out”! One thing on waste; working from a cutting list of finished sizes I usually find that I can double that volume to estimate the volume of sawn wood I need to buy. What sort of waste do others allow? This project needed about one and three quarters “extra” to the cutting list due to the reasons above.
Once the wood had been machined on the planer/thicknesser I finished the surfaces by hand using my jack plane tuned as a smoother following the lines of David Charlesworth’s article Precision Planing in the October 2007 edition of Popular Woodworking. This article transformed my hand planning by giving me a better understanding of what I was aiming to achieve and how to monitor progress using pencil markings. Ok, so I did need a bit of sanding at the end of the project but nowhere near as much as I previously did.
Now to the construction:
The Legs
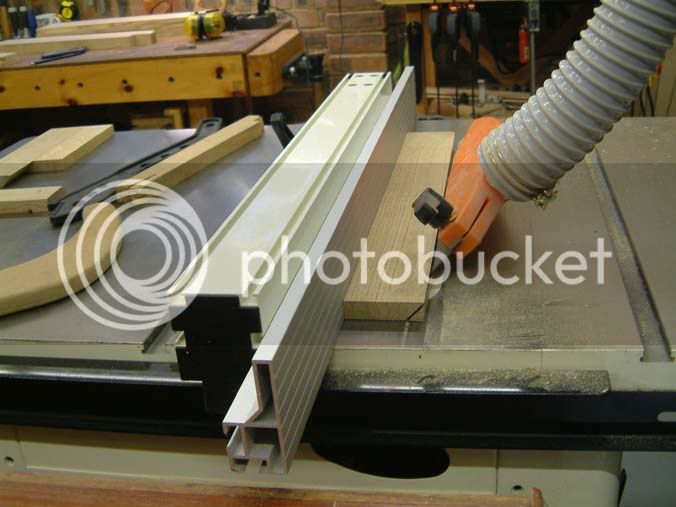
Made by gluing four faces to a core, with each face mitred on the edges. These four faces were from one piece of wood, cut in half both through the width and thickness with an aim to see the grain flowing around the leg. The mitres were cut on the table saw
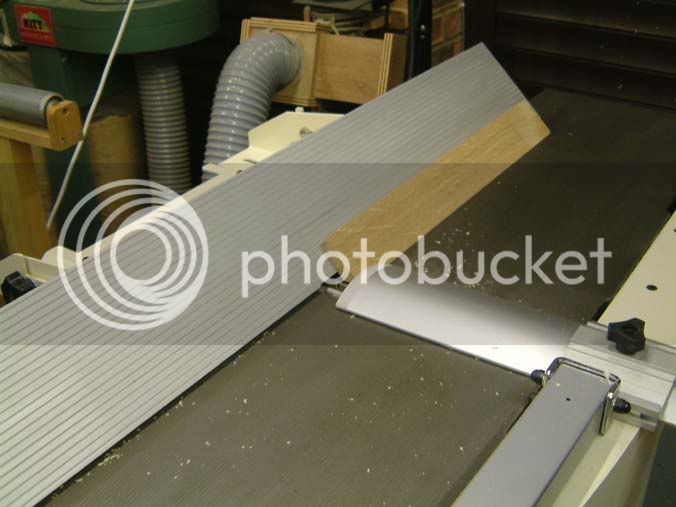
Then cleaned up on the planer
Held together tightly with masking tape
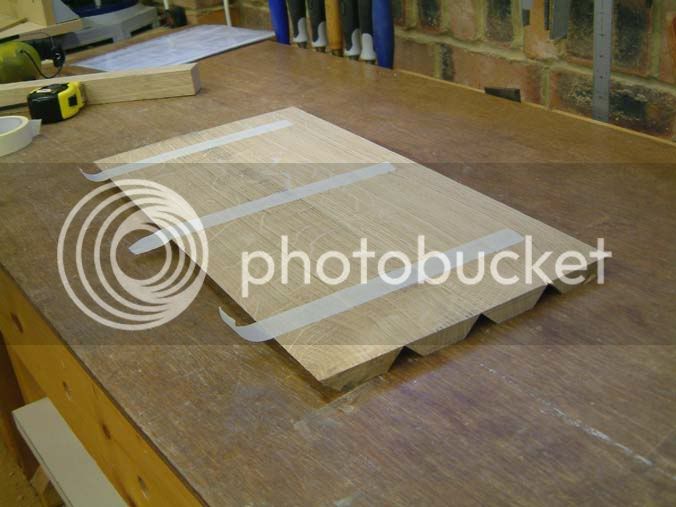
This shot clearly shows how these four pieces came from one bit of wood. I found one rather big knot and filled it!
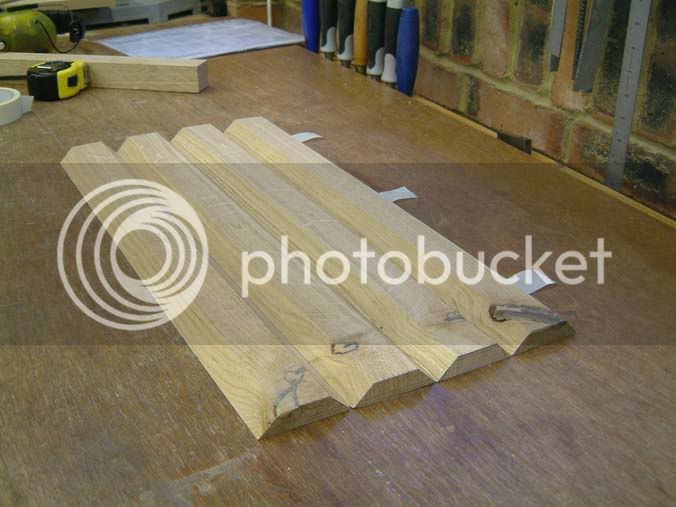
And then glued.
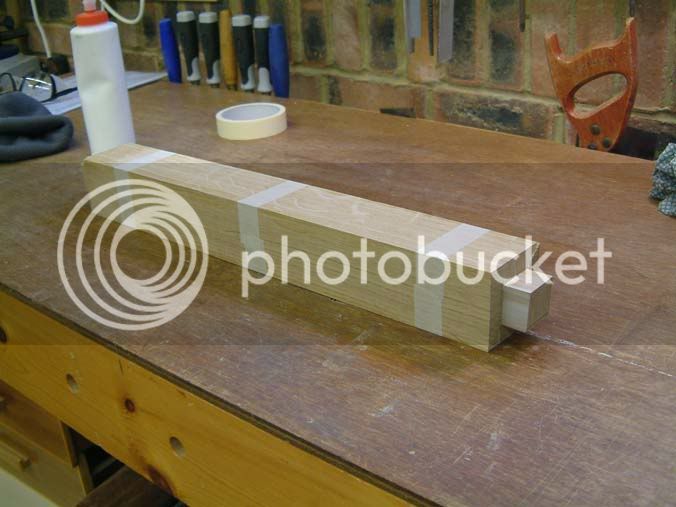
This results in the quatersawn ray-fleck showing on all four faces. Previously, when I needed this effect I veneered the non-quartersawn faces with quartersawn wood – both methods were in use in Stickley’s day. I’m glad to have used this technique this time as it’s given this nice feature to the exposed tenons.
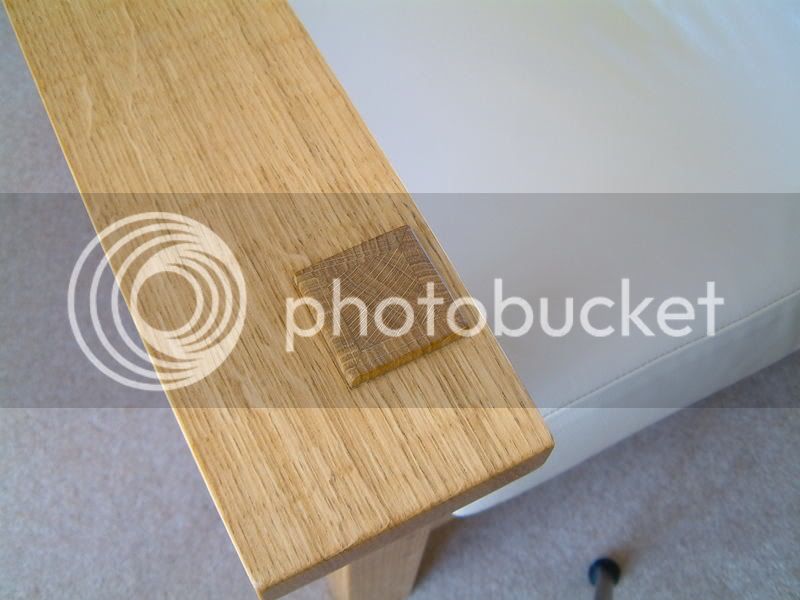
The mortises for the side and front/back rails were cut using my mortiser. A hole was drilled in the back legs to take the back adjuster pegs.
Side Rails
Using a bit of trig I worked out that the side rails sloped at 7 ½ degrees and I set my Osborne EB3 miter gauge to this angle to cut the ends of the boards
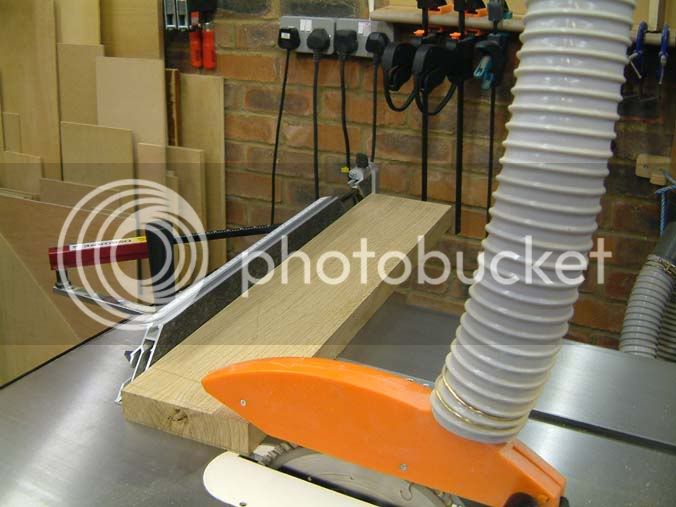
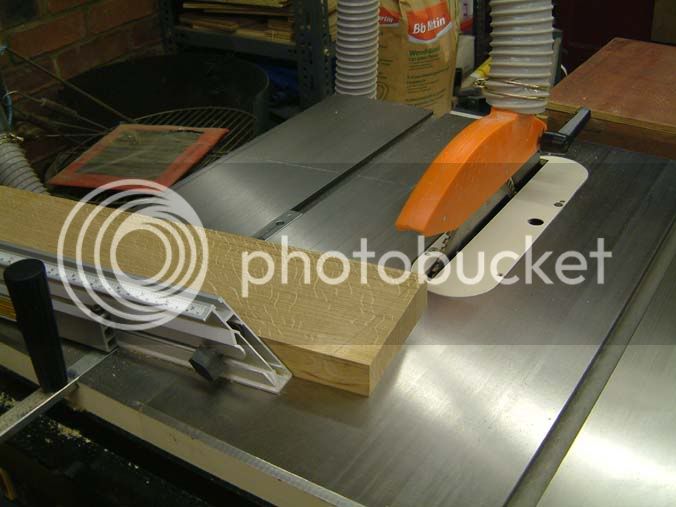
And the shoulders of the tenons.
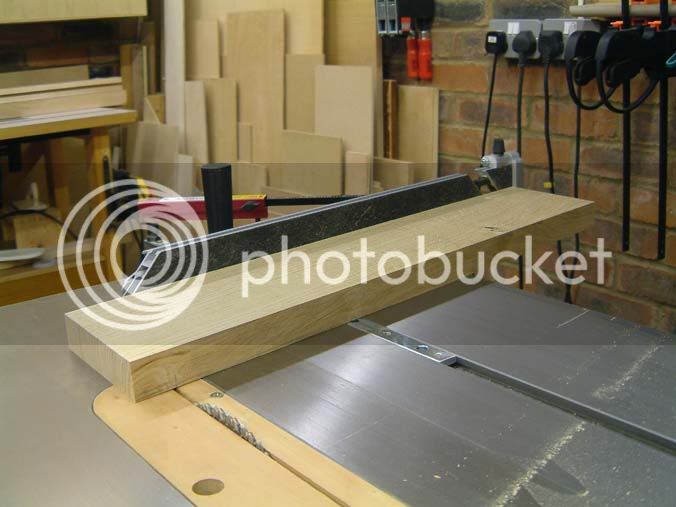
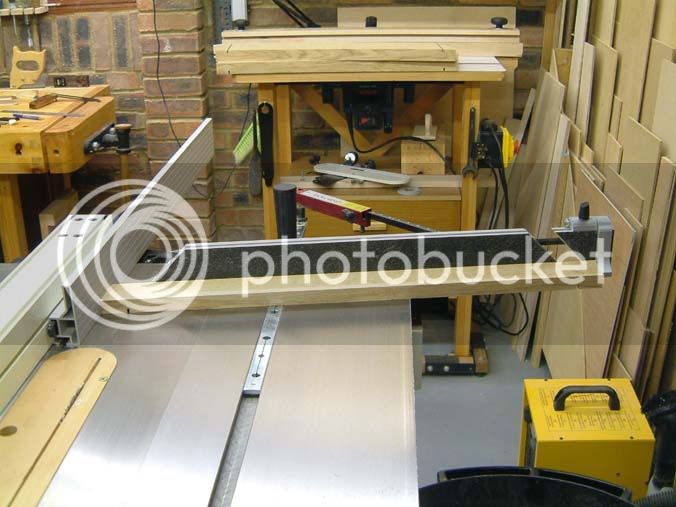
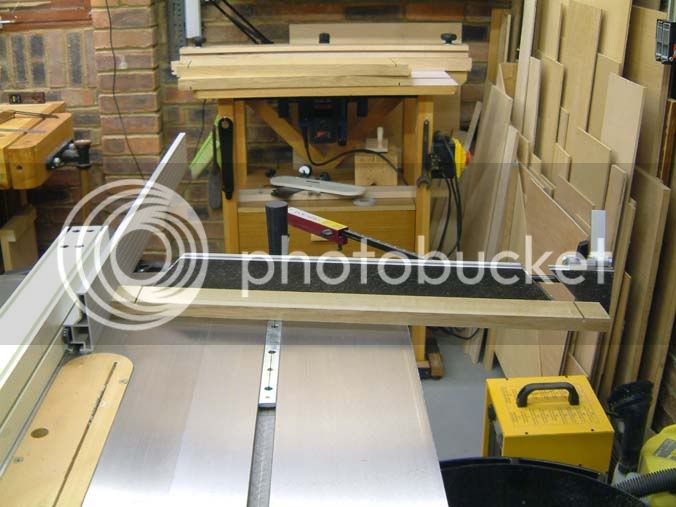
The tenon cheeks were removed with the band saw and a hand saw for the last bit (being angled) before cleaning up to fit with my shoulder plane.
The smaller side rails followed the same procedure.
The Back
The uprights either side of the slats were prepared first. I veneered the non-quartersawn edges with quartersawn faces for the finish I wanted. This was achieved by gluing a piece about 3/16 inch thick to the sides and then planning down to the finished thickness using the thicknesser and then a hand plane.
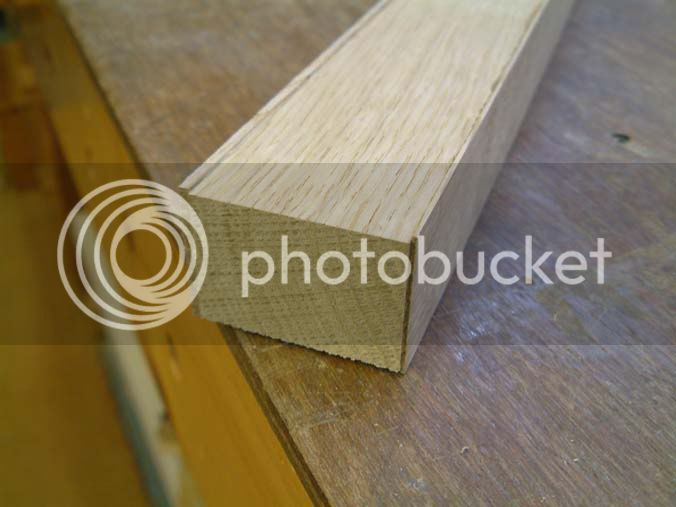
The mortises were cut with the mortiser.
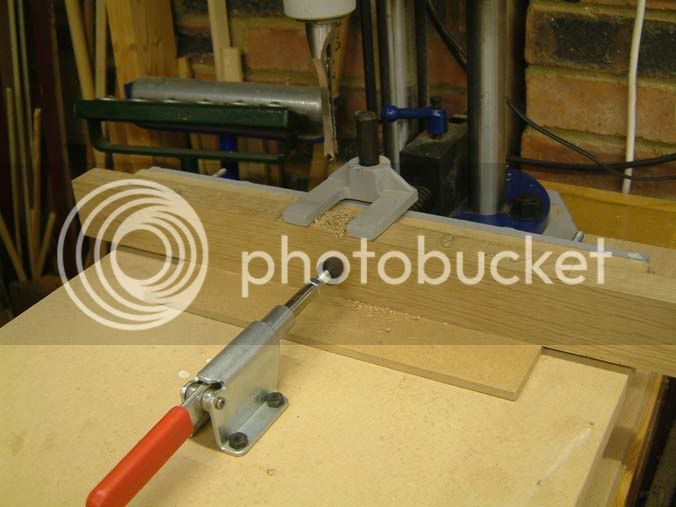
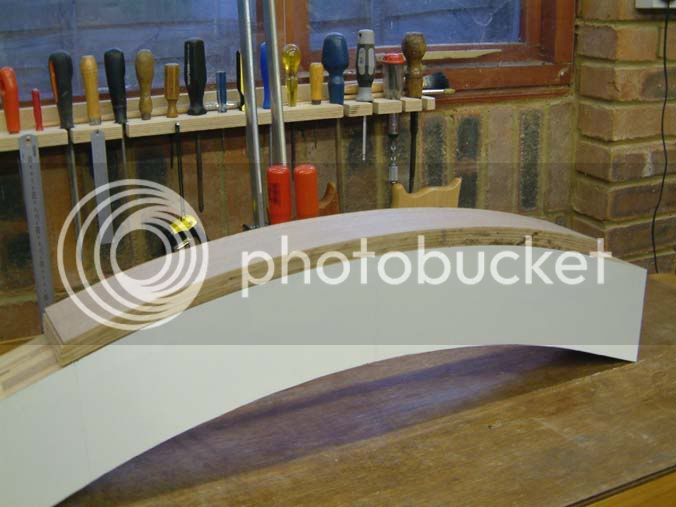
The slats are ¾ inch thick and built up of 6 laminations. The laminations are formed into a curve by gluing together and clamping to a curved former built up of layers of 19mm MDF. After cutting the MDF on a bandsaw, the first piece was shaped using files and sanding block and used as a template for a bearing guided router cutter for the rest.
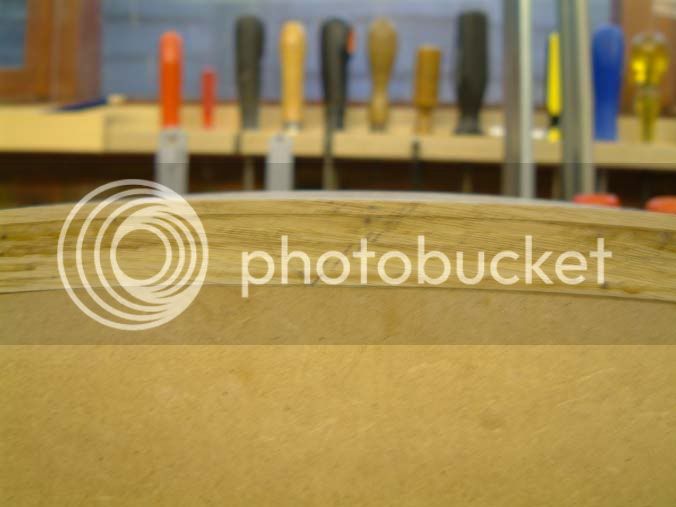
I kept the laminations in the same original orientation by marking them so that they could be re-assembled correctly, and as a result the grain still flows smoothly across the width.
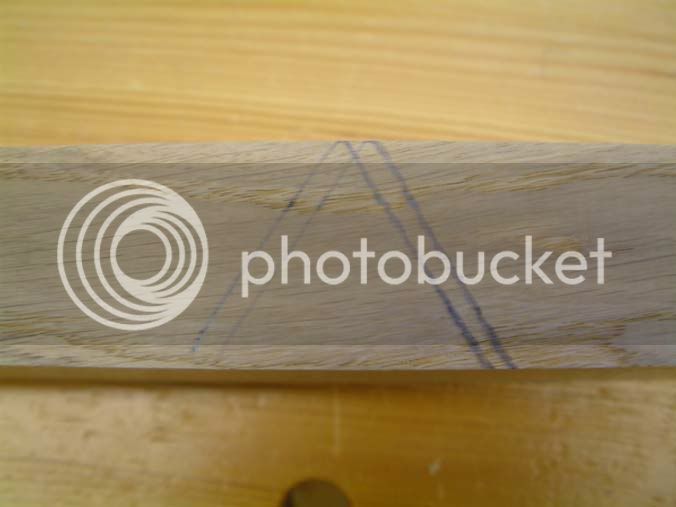
Next the cut on the bandsaw
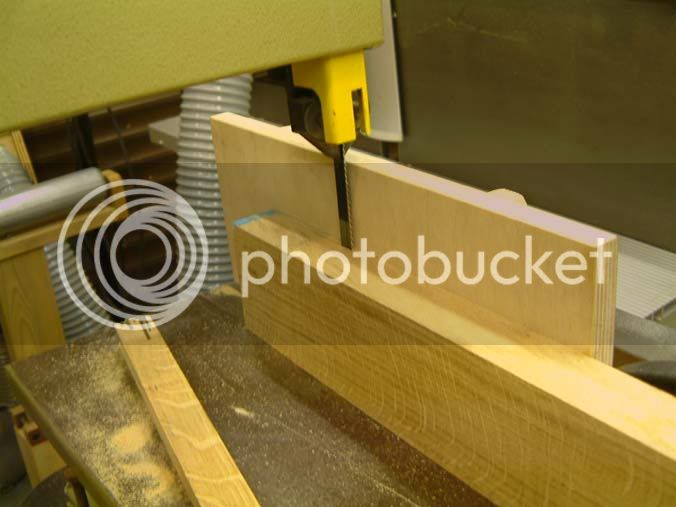
Then through the thicknesser. I made a carriage, as the thicknesser couldn’t go down to as small as 1/8 inch.
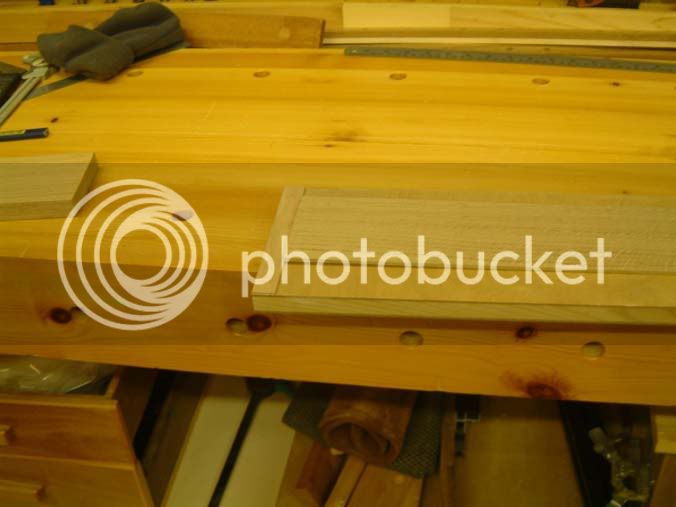
Laminations ready for gluing
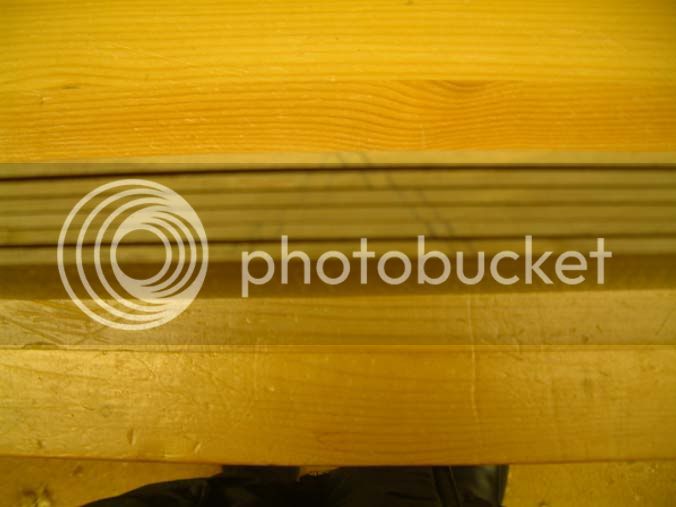
The glue up
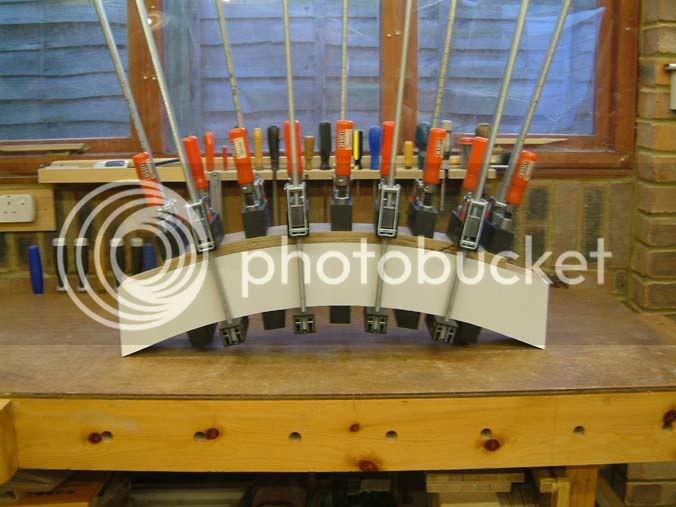
The completed slat
One edge planed on the planer
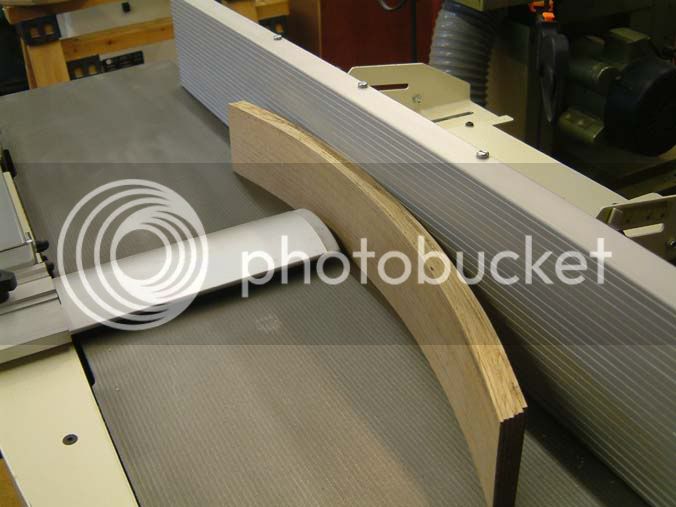
It was then cut to width and the other edge also planed. Both edges were then hand planed to finish.
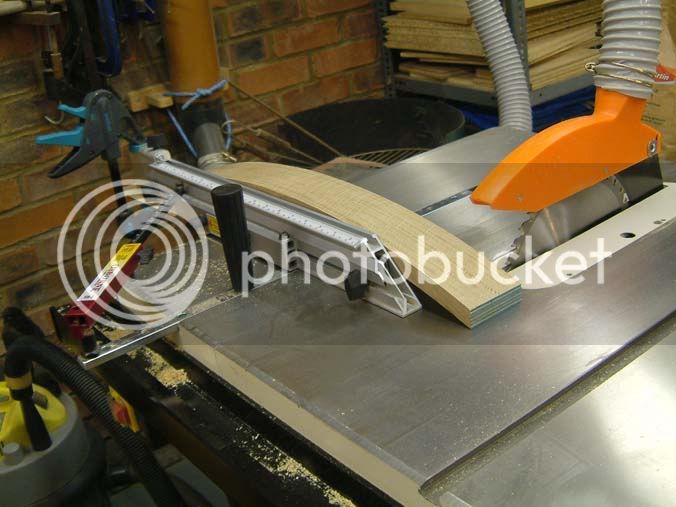
Next, cut to length on the tablesaw
As the tenons are on an angle they needed to be handcut. After marking them out making sure the mark line was scored deeply, I cut a channel on the waste side of the shoulder to act as a guide for my saw.
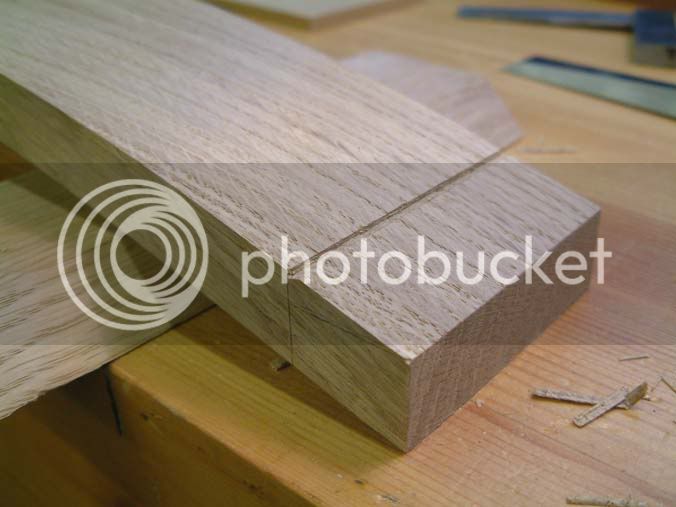
After cutting the shoulders the cheeks were cut on the bandsaw and everything cleaned up to fit with my shoulder plane. A curve was cut with the bandsaw on the larger top rail and finished off with the spokeshave.
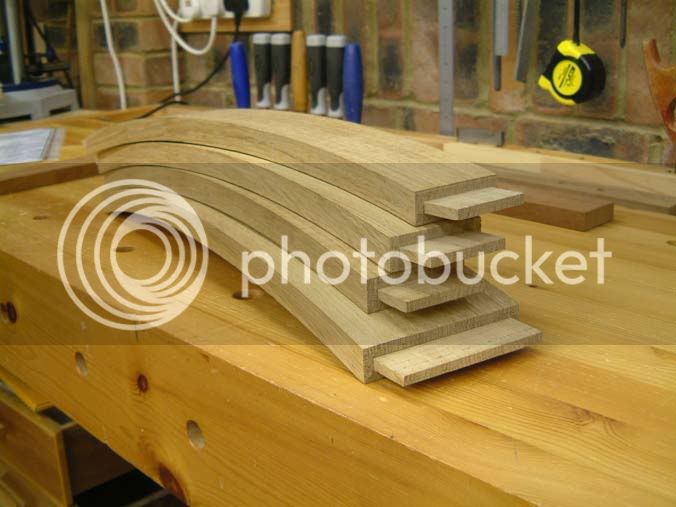
Then the glue up
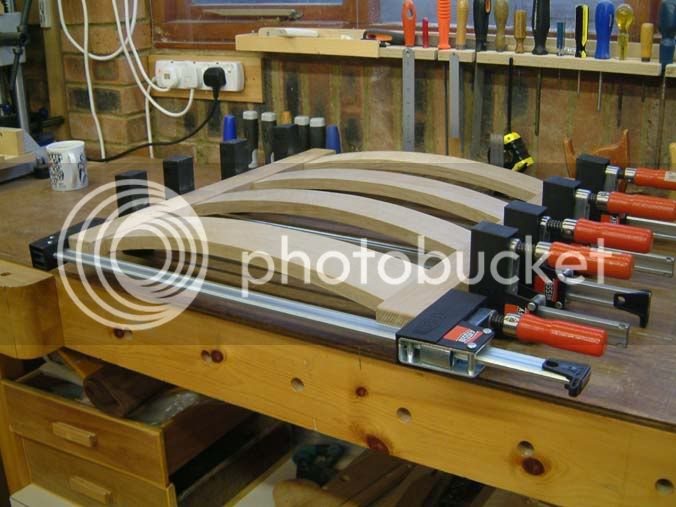
Then I realised I’d made the muck up of muck ups. The top rail had been glued in curve facing down – not up!! After putting it aside for a couple of days, not bearing to look at it, I turned to face it. Then I realised I’d made another muck up and the whole thing was 2 inches too wide. Who said two wrongs don’t make a right. I sawed off the slats on the table saw
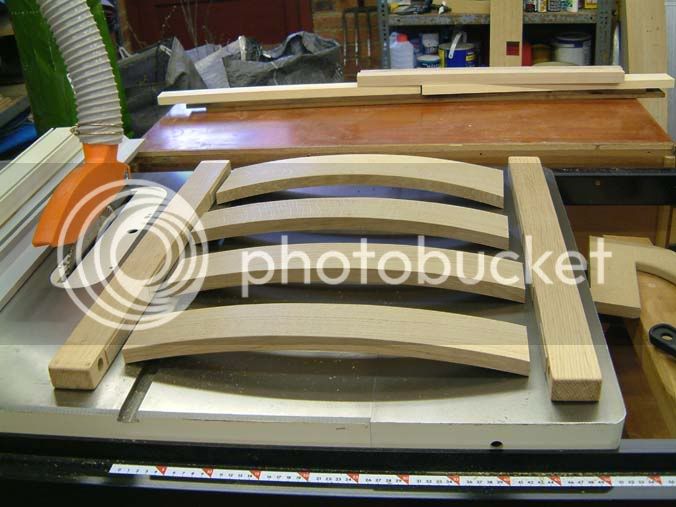
Cleaned up the uprights with a plane, sawed the slats to a new width
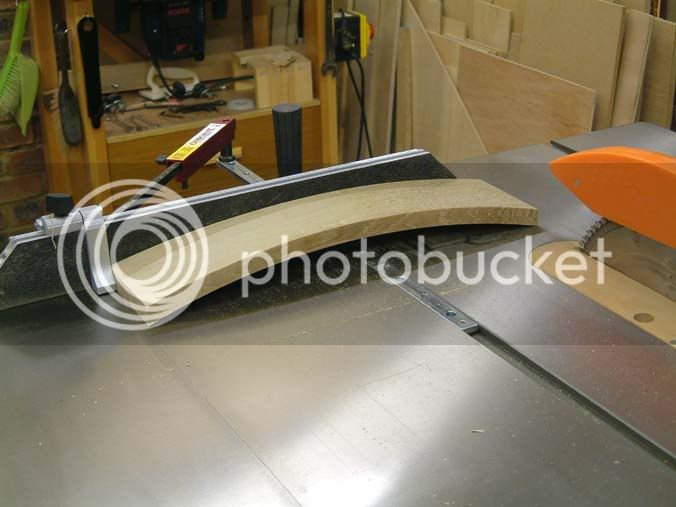
And used biscuits to put the thing back together. Perfect job.
Front/Back Rails
As I wanted to advance my hand tool skills I also cut the tenon shoulders by hand. First, after scribing the shoulder lines heavily, I removed a small channel on the waste side by chisel which I used as a guide for my saw.
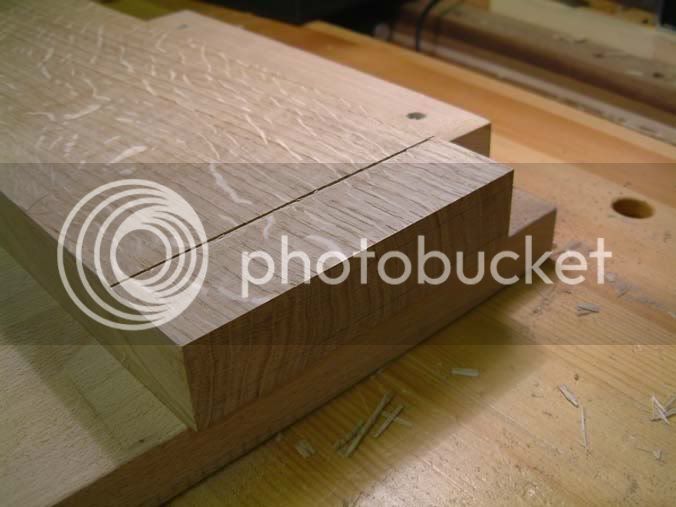
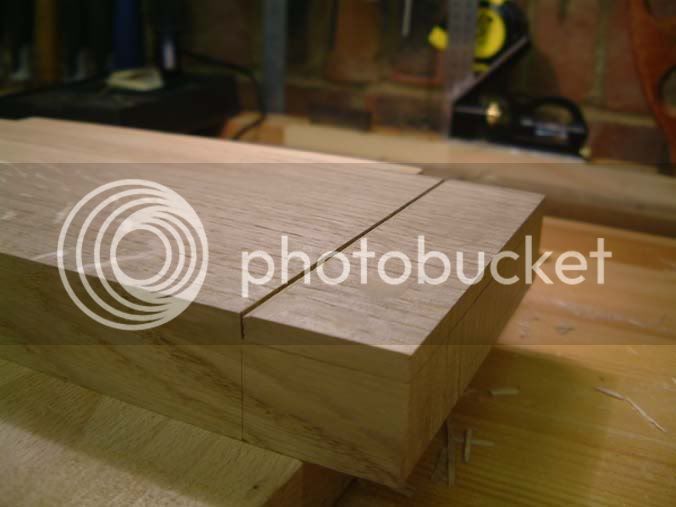
It worked well. Cheeks were cut on the band saw and finished with the shoulder plane.
Arms
Just like the slats, I used laminations again. I had noticed some flat spots on the slats from the clamps so this time a piece of ply was placed on top. The 5 laminations for each arm came from the same 2 inch piece of wood.
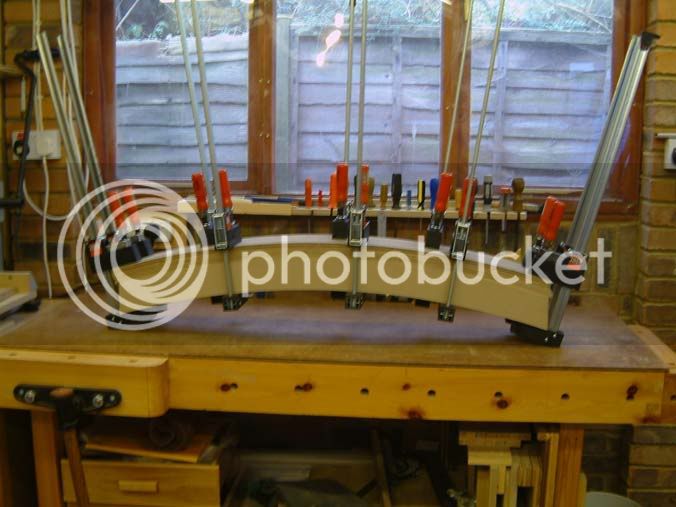
To mark out the arm mortises and leg tenons the sides were assembled and held together with clamps, and the arm clamped to the legs at the correct height. The tenon shoulders and positions where the legs met the arms were then marked.
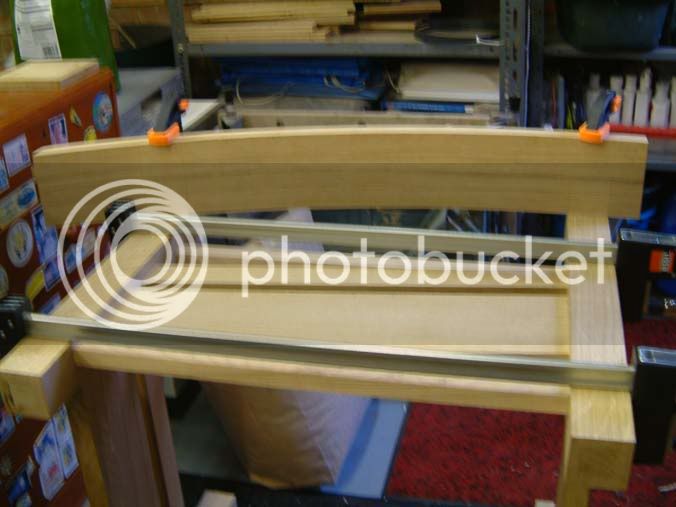
The length of the arms was then marked by reference to where they met the legs. A line was scribed all the way around. This was to be cut on the table saw using the miter gauge. To get the correct angle a piece of scrap was then taped to the arm.
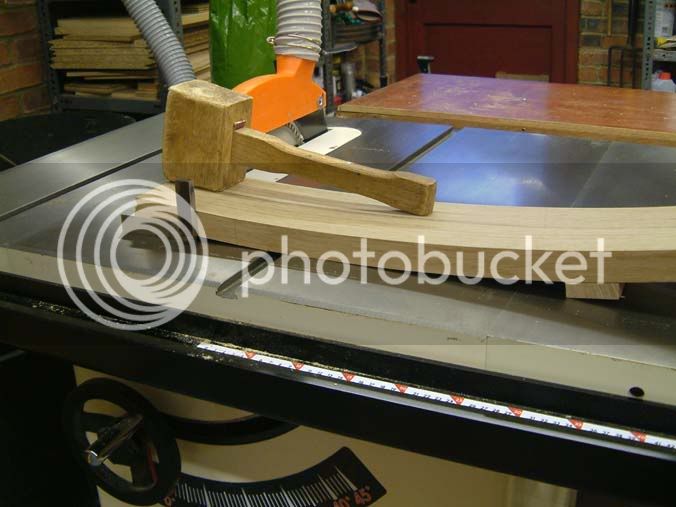
The tenon shoulders are ¼ inch. After marking out the size of the mortises they were then cut by hand after clamping them to the MDF former for extra support. It was at this stage I wasted an arm by not allowing for the tenon shoulders properly. Damn!
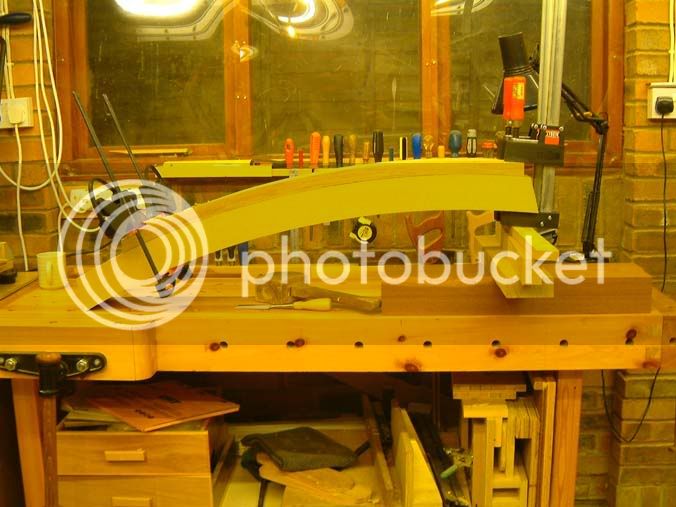
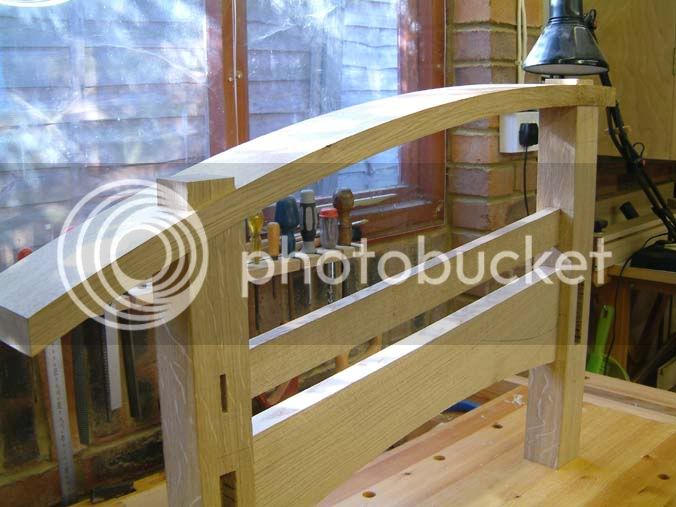
It took a fair while to cut the joints but turned out well in the end.
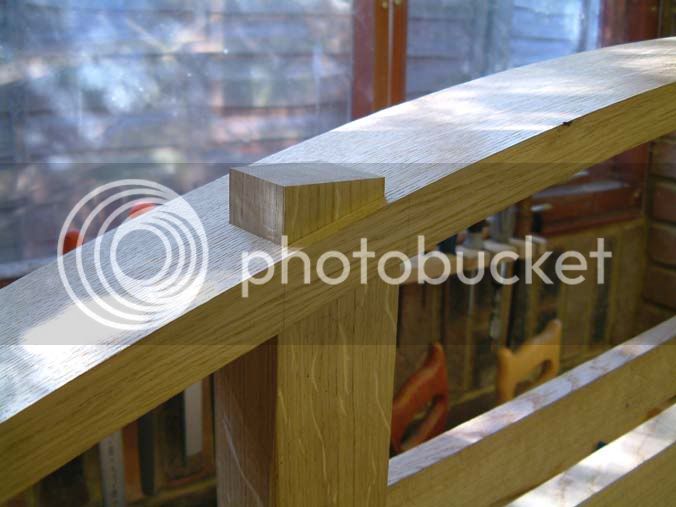
Corbels
The corbels were cut, two from a block on the bandsaw
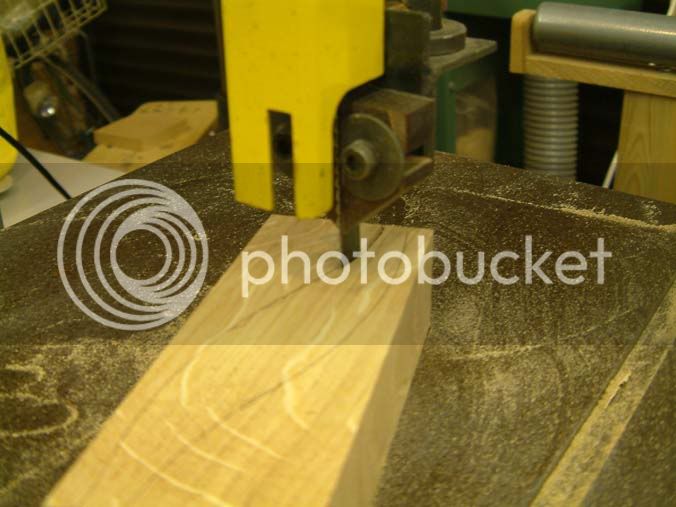
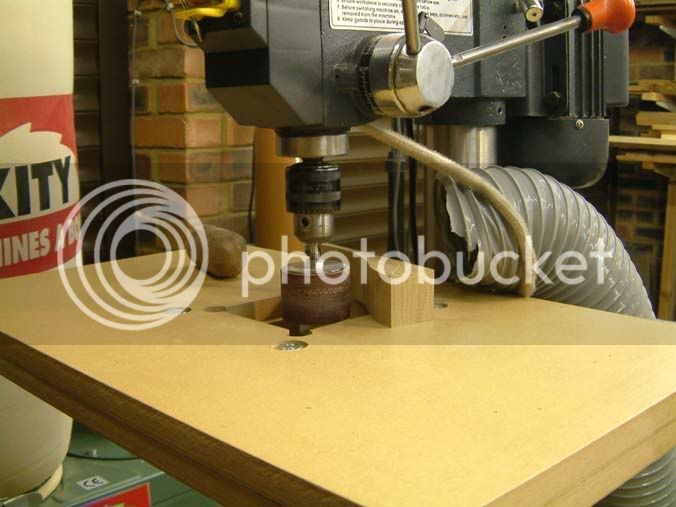
And then sanded using drum sander attachments on the pillar drill
Main Glue Up
After shaping the bottoms of the rails on the band saw and finishing them off with a spokeshave, and then lowering the leg tenon ends, the sides were glued. You can see that I used two extra batons to stop the clamps over-pulling the sides together.
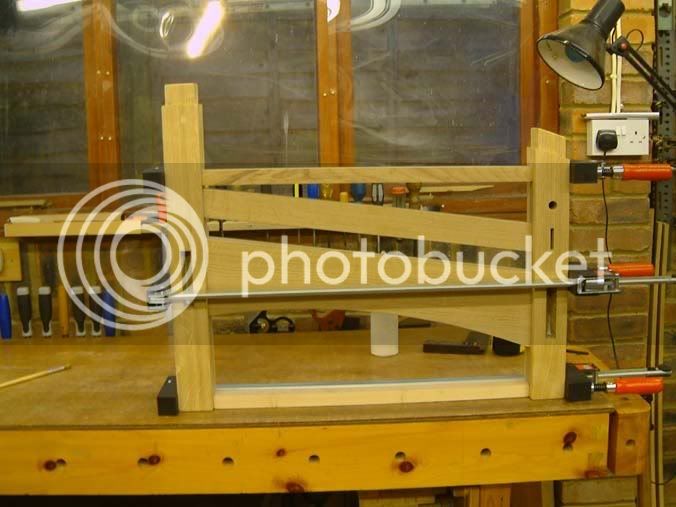
No clamps were used or needed to glue the arms to the sides. After that, the next step was to glue the corbels to the leg/arm juncture. They were further secured using dowels. All dowels were turned on my miniature metalworking lathe.
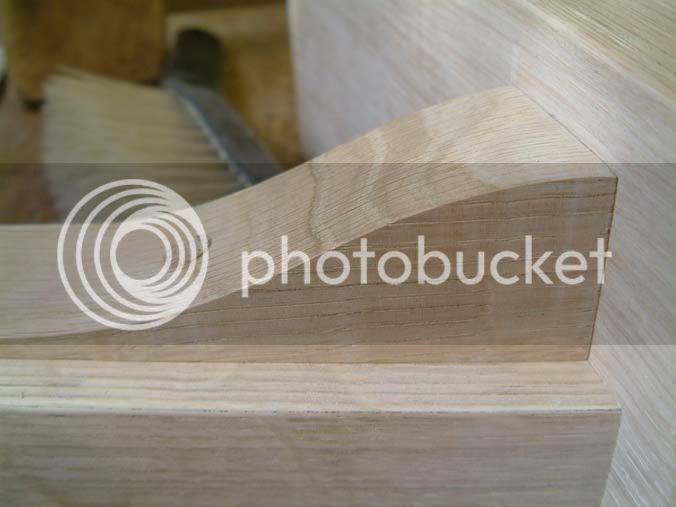
The assembled sides were glued together with the front and back rails. These rails were dowelled.
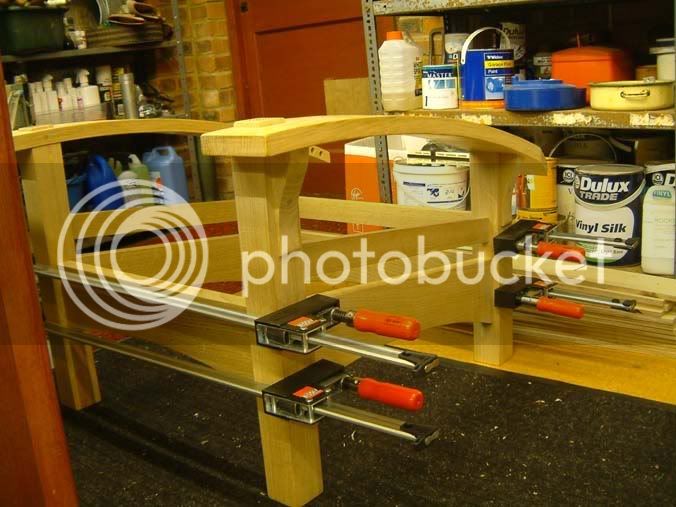
Pegs
Two pegs hinge the back to the seat and two adjust the back angle through a series of peg holes in the arms.
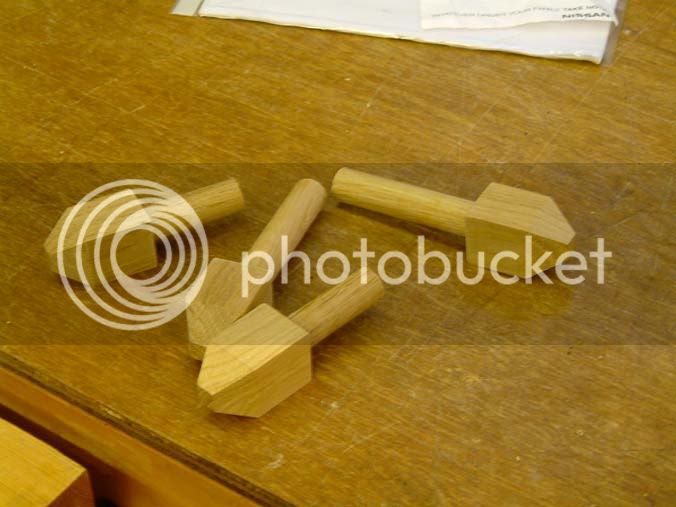
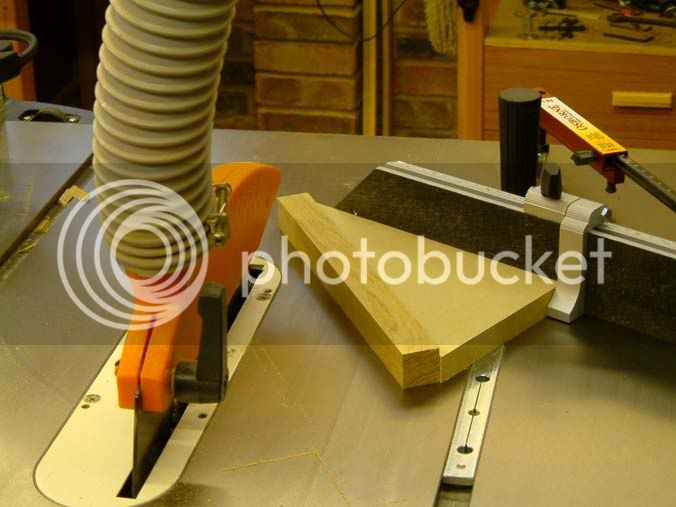
The angled ends were cut with the table saw miter gauge. I needed to use an additional spacer to get the correct angle.
Holes were then drilled into the ends and then dowels cut to length and glued in.
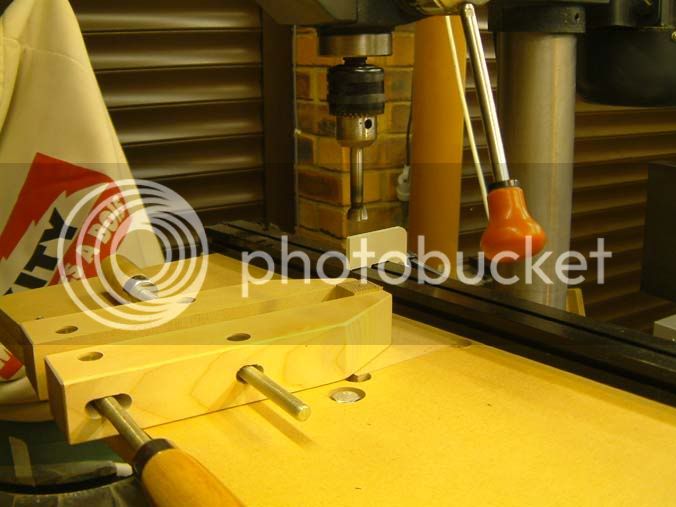
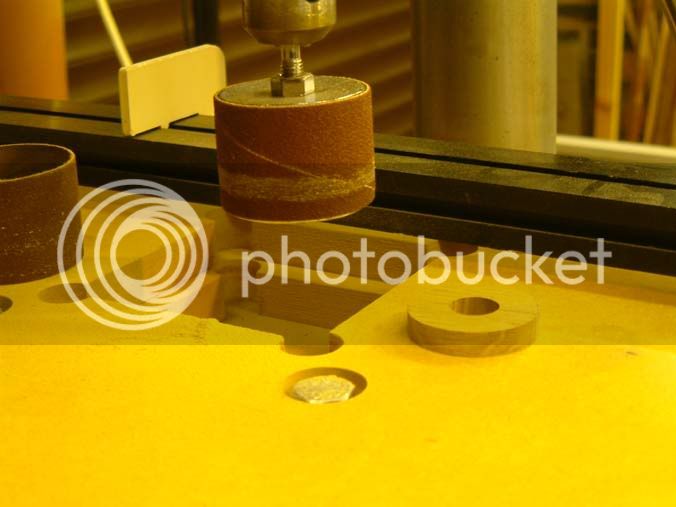
Washers to act as spacers between the seat and back were cut on the bandsaw, drilled and then sanded using a drum.
Seat
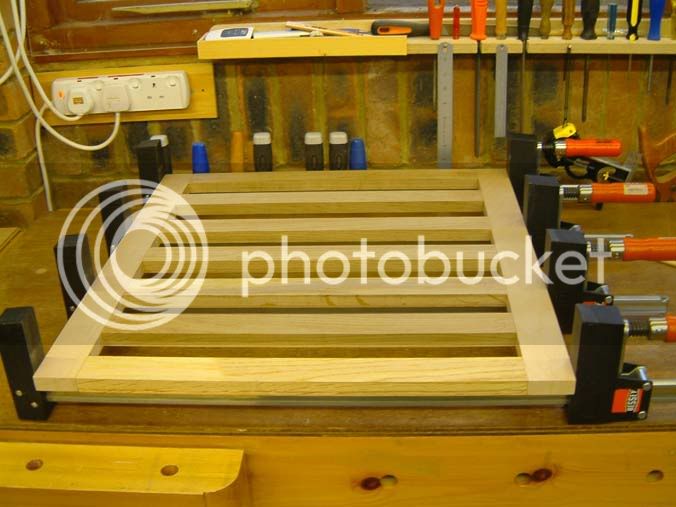
The seat supporting the cushion is held together with mortise and tenons, all hand cut except for tenon cheeks cuts that were done on the bandsaw.
Well, that’s it. It’s been built over a 3 months period in which I’ve aimed to improve my hand tool skills at the expense of taking longer. I haven’t been working on it anywhere near full time, though. SWMBO is encouraging me to take longer over projects as we’re running out of room to put stuff.
The next project is some amendments to the first Morris Chair I built. Watch this space, but don’t hold your breath.
Ted


It’s built from Croation Oak got from my local supplier Goodwillies of Waterloville. I rate them highly as they’re happy to let me sort through the stock looking for the best quartersawn stuff. I spend hours over this but it’s not SWMBO’s idea of fun shifting boards from stack to stack! The staff know me as Mr.Picky.
My take on Arts and Crafts furniture is that the beauty of the wood needs to compensate for the functionality of the design, and hence I do everything I can to show off the wood to its best affect.
The wood cost just under £200; the Goodwillie prices were £1306, £1508 and £1593 plus VAT per cubic metre for 27mm, 40mm and 50mm thicknesses respectively. I got the cushions made by a local upholsterer for £230. So, not cheap but I’m very happy with it. It would have worked out cheaper had I steam bent the curved bits but couldn’t pluck up the courage. I laminated the curved bits which is pretty wasteful as I had to start off with 50mm thick boards to end up with the 1 ¼ inch (29mm) thick arms. I also wasted a complete arm by making one of the mortices the wrong size. Write out 100 times “I must pay more attention when marking out”! One thing on waste; working from a cutting list of finished sizes I usually find that I can double that volume to estimate the volume of sawn wood I need to buy. What sort of waste do others allow? This project needed about one and three quarters “extra” to the cutting list due to the reasons above.
Once the wood had been machined on the planer/thicknesser I finished the surfaces by hand using my jack plane tuned as a smoother following the lines of David Charlesworth’s article Precision Planing in the October 2007 edition of Popular Woodworking. This article transformed my hand planning by giving me a better understanding of what I was aiming to achieve and how to monitor progress using pencil markings. Ok, so I did need a bit of sanding at the end of the project but nowhere near as much as I previously did.
Now to the construction:
The Legs
Made by gluing four faces to a core, with each face mitred on the edges. These four faces were from one piece of wood, cut in half both through the width and thickness with an aim to see the grain flowing around the leg. The mitres were cut on the table saw

Then cleaned up on the planer

Held together tightly with masking tape

This shot clearly shows how these four pieces came from one bit of wood. I found one rather big knot and filled it!

And then glued.

This results in the quatersawn ray-fleck showing on all four faces. Previously, when I needed this effect I veneered the non-quartersawn faces with quartersawn wood – both methods were in use in Stickley’s day. I’m glad to have used this technique this time as it’s given this nice feature to the exposed tenons.

The mortises for the side and front/back rails were cut using my mortiser. A hole was drilled in the back legs to take the back adjuster pegs.
Side Rails
Using a bit of trig I worked out that the side rails sloped at 7 ½ degrees and I set my Osborne EB3 miter gauge to this angle to cut the ends of the boards


And the shoulders of the tenons.


The tenon cheeks were removed with the band saw and a hand saw for the last bit (being angled) before cleaning up to fit with my shoulder plane.
The smaller side rails followed the same procedure.
The Back
The uprights either side of the slats were prepared first. I veneered the non-quartersawn edges with quartersawn faces for the finish I wanted. This was achieved by gluing a piece about 3/16 inch thick to the sides and then planning down to the finished thickness using the thicknesser and then a hand plane.

The mortises were cut with the mortiser.

The slats are ¾ inch thick and built up of 6 laminations. The laminations are formed into a curve by gluing together and clamping to a curved former built up of layers of 19mm MDF. After cutting the MDF on a bandsaw, the first piece was shaped using files and sanding block and used as a template for a bearing guided router cutter for the rest.
I kept the laminations in the same original orientation by marking them so that they could be re-assembled correctly, and as a result the grain still flows smoothly across the width.

Next the cut on the bandsaw

Then through the thicknesser. I made a carriage, as the thicknesser couldn’t go down to as small as 1/8 inch.

Laminations ready for gluing

The glue up

The completed slat


One edge planed on the planer

It was then cut to width and the other edge also planed. Both edges were then hand planed to finish.
Next, cut to length on the tablesaw

As the tenons are on an angle they needed to be handcut. After marking them out making sure the mark line was scored deeply, I cut a channel on the waste side of the shoulder to act as a guide for my saw.

After cutting the shoulders the cheeks were cut on the bandsaw and everything cleaned up to fit with my shoulder plane. A curve was cut with the bandsaw on the larger top rail and finished off with the spokeshave.

Then the glue up

Then I realised I’d made the muck up of muck ups. The top rail had been glued in curve facing down – not up!! After putting it aside for a couple of days, not bearing to look at it, I turned to face it. Then I realised I’d made another muck up and the whole thing was 2 inches too wide. Who said two wrongs don’t make a right. I sawed off the slats on the table saw

Cleaned up the uprights with a plane, sawed the slats to a new width

And used biscuits to put the thing back together. Perfect job.
Front/Back Rails
As I wanted to advance my hand tool skills I also cut the tenon shoulders by hand. First, after scribing the shoulder lines heavily, I removed a small channel on the waste side by chisel which I used as a guide for my saw.


It worked well. Cheeks were cut on the band saw and finished with the shoulder plane.
Arms
Just like the slats, I used laminations again. I had noticed some flat spots on the slats from the clamps so this time a piece of ply was placed on top. The 5 laminations for each arm came from the same 2 inch piece of wood.

To mark out the arm mortises and leg tenons the sides were assembled and held together with clamps, and the arm clamped to the legs at the correct height. The tenon shoulders and positions where the legs met the arms were then marked.

The length of the arms was then marked by reference to where they met the legs. A line was scribed all the way around. This was to be cut on the table saw using the miter gauge. To get the correct angle a piece of scrap was then taped to the arm.

The tenon shoulders are ¼ inch. After marking out the size of the mortises they were then cut by hand after clamping them to the MDF former for extra support. It was at this stage I wasted an arm by not allowing for the tenon shoulders properly. Damn!

It took a fair while to cut the joints but turned out well in the end.


Corbels
The corbels were cut, two from a block on the bandsaw

And then sanded using drum sander attachments on the pillar drill

Main Glue Up
After shaping the bottoms of the rails on the band saw and finishing them off with a spokeshave, and then lowering the leg tenon ends, the sides were glued. You can see that I used two extra batons to stop the clamps over-pulling the sides together.

No clamps were used or needed to glue the arms to the sides. After that, the next step was to glue the corbels to the leg/arm juncture. They were further secured using dowels. All dowels were turned on my miniature metalworking lathe.

The assembled sides were glued together with the front and back rails. These rails were dowelled.

Pegs
Two pegs hinge the back to the seat and two adjust the back angle through a series of peg holes in the arms.

The angled ends were cut with the table saw miter gauge. I needed to use an additional spacer to get the correct angle.

Holes were then drilled into the ends and then dowels cut to length and glued in.

Washers to act as spacers between the seat and back were cut on the bandsaw, drilled and then sanded using a drum.

Seat
The seat supporting the cushion is held together with mortise and tenons, all hand cut except for tenon cheeks cuts that were done on the bandsaw.

Well, that’s it. It’s been built over a 3 months period in which I’ve aimed to improve my hand tool skills at the expense of taking longer. I haven’t been working on it anywhere near full time, though. SWMBO is encouraging me to take longer over projects as we’re running out of room to put stuff.
The next project is some amendments to the first Morris Chair I built. Watch this space, but don’t hold your breath.
Ted


