AP Media Unit...WIP

UKworkshop.co.uk

Help Support UKworkshop.co.uk:

This site may earn a commission from merchant affiliate links, including eBay, Amazon, and others.
That groove for the rear panel(s) acts as a datum for all the other faces. Placing a little bit of 8mm stuff in the corner not only allows me to line up the slots but also to reference all the other surfaces and get them flush...essential in this job - Rob
 
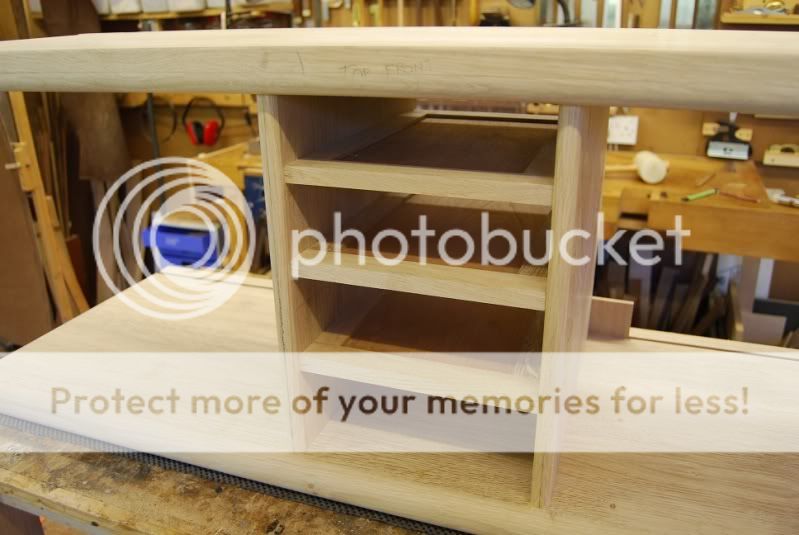
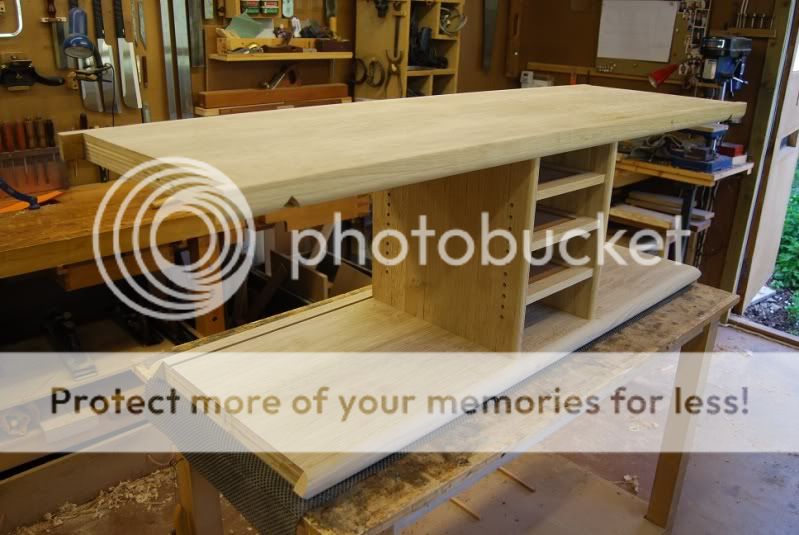
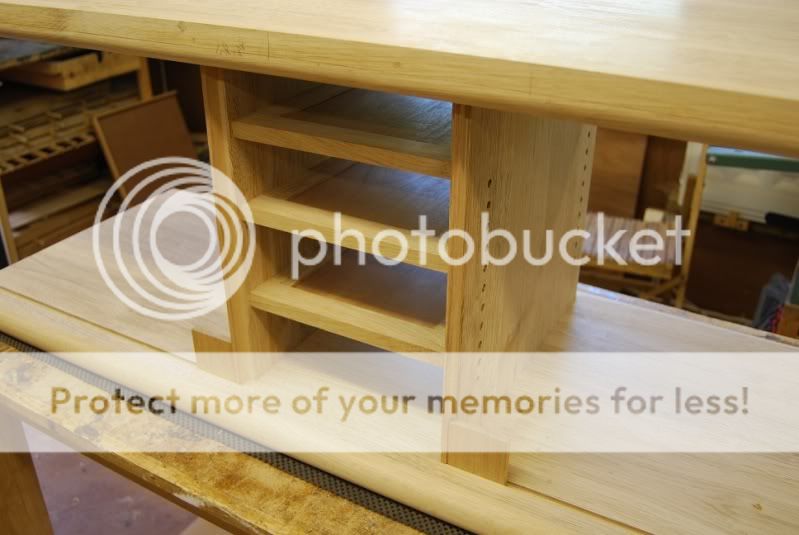
The central drawer unit has now been sorted and offered up:

007small-2.jpg


006small-2.jpg


...again, entirely biscuited together. The dust boards are veneered in mahogany as I didn't have any skinny oak veneer and are .5mm wider at the back than the front, so in theory, drawers shouldn't stick [-o<
All the grooves in the back line up:

009small-1.jpg


so that there will be two veneered panels left and right of the drawer unit which will have a separate frame and solid panel which will fit into the big rebate.

There was one ever so tiny eansy weansy little problem which the fortuitous application of Veritas plug cutter sorted out:

004small-4.jpg


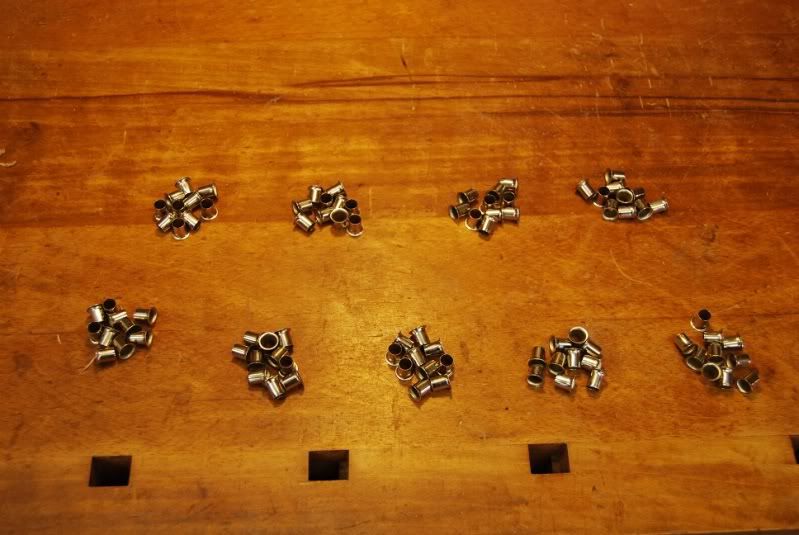
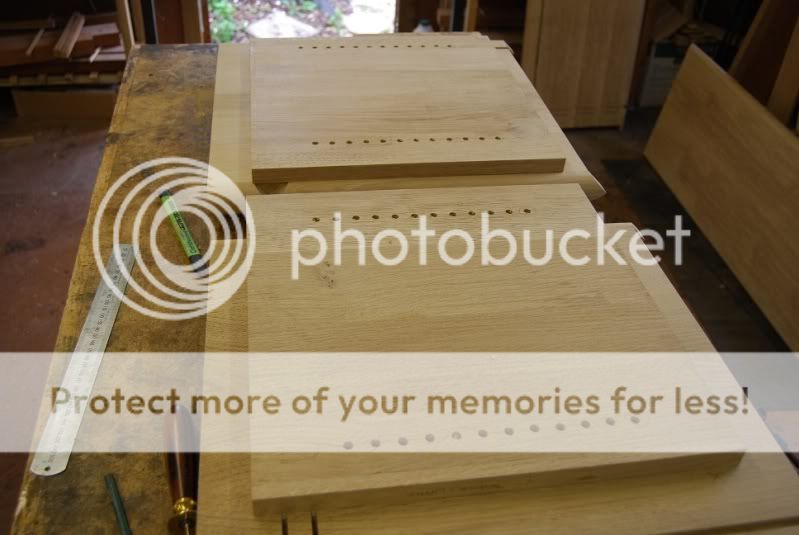
There are 90 shelf support inserts (all I have) in that pic and

005small-2.jpg


this is a quarter of the holes drilled #-o - Rob
 
Benchwayze":1xdsdf5g said:
Rob,


Are you using brass 'banjo supports' perchance?

John :)
They're chromed John, but I guess it don't make a lot of difference...I cut too many 'oles :shock: - Rob
 
woodbloke":2h2td9l7 said:
Benchwayze":2h2td9l7 said:
Rob,


Are you using brass 'banjo supports' perchance?

John :)
They're chromed John, but I guess it don't make a lot of difference...I cut too many 'oles :shock: - Rob

Achhh... The ones I have are brass! Screwfix stock them I am sure. Or ironmongery direct.

Looking good.. Nice chunky edges. Like it, too many 'oles or not!

Regards.. John :)
 
Many thanks for the offer of some inserts, but the 'oles have now been filled and plugged. A bit of care with the selection of the timber for the plugs means that it's barely visible - Rob
 
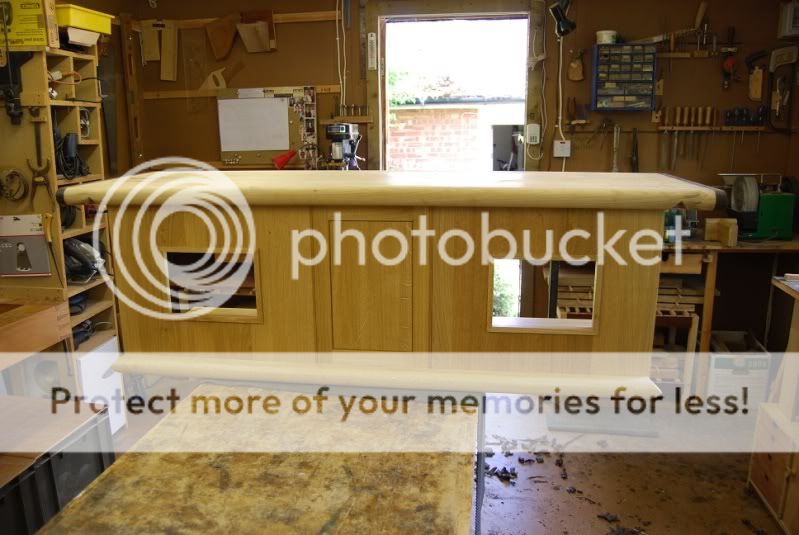
This will be the last of the WIP shots of this job before it's dun and dusted. The backs are shown in this shot:

008small-1.jpg


The left and right panels with the big 'oles (for cables etc and the 'inside out' pic frames) are veneered in oak from oddments left over and the centre one has been made with a traditional floating panel. This shot:

009small-2.jpg


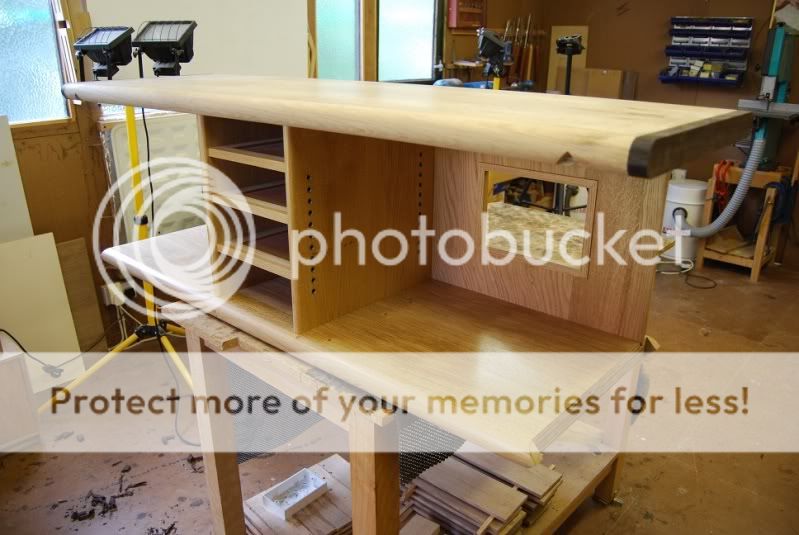
shows the front of the unit with the drawer section already glued in place. The ebony end caps have been biscuited on and have been roughly shaped with the LA jack and LN block plane...the top has just been dropped onto the locating biscuits in the drawer unit to check for a fit. Interior surfaces have already been finished with two coats of hardwax oil with wax over the top. The material for the drawers has been prepared (sides in quarter sawn oak) and the drawer bottoms in cedar have been glued and can be seen as well under the table.

The next big job will be the glue-ups, which'll need to be done in two stages. Pete (Newt) has agreed to help me do this 'cos without any doubt, it's a two bloke job...many thanks Pete :wink:

The first of the glue sessions will be to glue on the two sides (yet to be cleaned up and polished) and then the top will go on...and hopefully [-o< [-o< everything will line up.

Then it's just a simple matter :whistle: of making and fitting four drawers and handles - Rob
 
Looking good, Rob. I like the way you've framed the access holes on the back. They actually look intentional - unlike a lot of mass-produced stuff! :wink:
 
This is shaping up really nicely Rob. I love those triangular joints and feel very intimidated by the quality of the fit. Lots of ideas here for a similar project I have planned for next winter in English Oak. A few questions if I may.

Is the use of a vacuum press essential for this type of thick veneering? Would a couple of pieces of 18mm MDF clamped and weighted together be a workable alternative?

What equipment do you use? Costs?

Any threads or sites you can direct us at to learn the techniques?

Presumably the top is laminated to a 24mm ply base? Did you choose to veneer rather than build in solid to reduce timber costs, or to end up with a stable top that will be pretty much immune to shrinkage? Do you veneer both sides for stability or is this unnecessary for this thickness of top?

Sorry for all the questions, but this piece had really got my creative juices working overtime. Many thanks for the WIP piccies. WE LIKE THOSE! :)
 
Looking good Rob !

Always enjoy seeing your projects and it's great that you take the time to do the wip photo's and updates along the way.

Cheers, Paul :D
 
RogerM":3s6hl1ys said:
This is shaping up really nicely Rob. I love those triangular joints and feel very intimidated by the quality of the fit. Lots of ideas here for a similar project I have planned for next winter in English Oak. A few questions if I may.

Is the use of a vacuum press essential for this type of thick veneering? Would a couple of pieces of 18mm MDF clamped and weighted together be a workable alternative?

What equipment do you use? Costs?

Any threads or sites you can direct us at to learn the techniques?

Presumably the top is laminated to a 24mm ply base? Did you choose to veneer rather than build in solid to reduce timber costs, or to end up with a stable top that will be pretty much immune to shrinkage? Do you veneer both sides for stability or is this unnecessary for this thickness of top?

Sorry for all the questions, but this piece had really got my creative juices working overtime. Many thanks for the WIP piccies. WE LIKE THOSE! :)

Roger, a little bit of research on my behalf revealed that the joints are 'sword tip tenons' (but I'm happy to be proved otherwise)

I've not tried using boards and cauls with thick sawn veneer, which works fine if you're using commercial 0.6mm veneer as you can then guarantee the thickness of each piece and as such the boards will maintain contact under pressure across the whole surface. With bandsawn veneers there's always the possibility that there's a discrepancy in the thickness, so I think the vacuum bag is better, provided veneers are laid 'bag side up' In this way the bag will always exert pressure on the veneers.

The press I use is the AirPress but similar gear can be bought from Axminster...but it's not cheap :shock:

A forum member let me have the substrate material last year and I decided to glue two 18mm thicknesses together with 2mm veneers over each side...so the total thickness is a chunky 40mm (It didn't look right at 22mm thick, ie one thickness of ply)

I decided to do it this way really to reduce timber costs as I only had a limited amount of English Oak...doing it in the solid would have consumed a lot of prime material which I didn't have.

I think with a 40mm thickness of top there's not going to be much shrinkage or pull when the veneers are applied...the worst thing was that some of the veneer joints opened up :evil: in the hot weather but there's not a lot now I can do about that

At the Bash here later on this month, veneering is one of the topics under discussion, so there'll be some stuff on techniques in the appropriate thread - Rob
 
woodbloke":1w0g5l5a said:
Roger, a little bit of research on my behalf revealed that the joints are 'sword tip tenons' (but I'm happy to be proved otherwise)

I've not tried using boards and cauls with thick sawn veneer, which works fine if you're using commercial 0.6mm veneer as you can then guarantee the thickness of each piece and as such the boards will maintain contact under pressure across the whole surface. With bandsawn veneers there's always the possibility that there's a discrepancy in the thickness, so I think the vacuum bag is better, provided veneers are laid 'bag side up' In this way the bag will always exert pressure on the veneers.

Thanks - that makes sense.

The press I use is the AirPress but similar gear can be bought from Axminster...but it's not cheap :shock:

A forum member let me have the substrate material last year and I decided to glue two 18mm thicknesses together with 2mm veneers over each side...so the total thickness is a chunky 40mm (It didn't look right at 22mm thick, ie one thickness of ply)

I decided to do it this way really to reduce timber costs as I only had a limited amount of English Oak...doing it in the solid would have consumed a lot of prime material which I didn't have.

I think with a 40mm thickness of top there's not going to be much shrinkage or pull when the veneers are applied...the worst thing was that some of the veneer joints opened up :evil: in the hot weather but there's not a lot now I can do about that.

.... and 40mm English oak would cost an arm and leg, even if you can find some that is shake free.

At the Bash here later on this month, veneering is one of the topics under discussion, so there'll be some stuff on techniques in the appropriate thread - Rob

Great - looking forward to the reports. BTW, just read your blog. You're just going to love retirement. I got it 2 years ago and the novelty still hasn't worn off!
 
RogerM":357yl1ju said:
BTW, just read your blog. You're just going to love retirement. I got it 2 years ago and the novelty still hasn't worn off!

Doncha just love sums...SWIMBO hasn't stopped laughing since she told me on Thursday :oops: :oops: - Rob
 
woodbloke":2490o529 said:
RogerM":2490o529 said:
BTW, just read your blog. You're just going to love retirement. I got it 2 years ago and the novelty still hasn't worn off!

Doncha just love sums...SWIMBO hasn't stopped laughing since she told me on Thursday :oops: :oops: - Rob


Oops - That sounds a serious oversight Rob! Maybe SWMBO will keep you in the manner you hope to become accustomed to for that extra year!

Bob
 
Back
Top