AP Media Unit...WIP

UKworkshop.co.uk

Help Support UKworkshop.co.uk:

This site may earn a commission from merchant affiliate links, including eBay, Amazon, and others.

woodbloke

Established Member
Joined
13 Apr 2006
Messages
11,770
Reaction score
1
Location
Salisbury, UK
Having had Bob9fingers saw up some timber for me last weekend, this latest project is under way. I started on the two ends, stuck them together in the AirPress, lipped the bit going on the floor and then planed them to size and dead square.
I'd already prepared the veneers so it was fairly easy to:
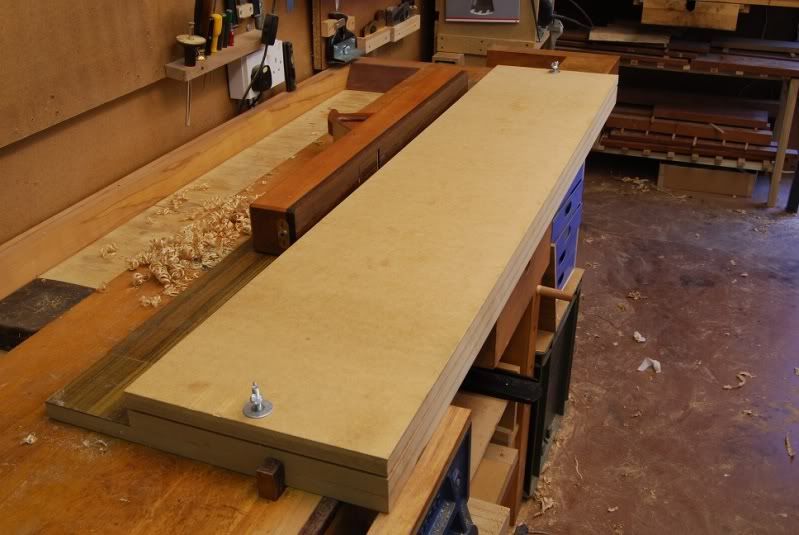
shootingtheedgessmall.jpg


shoot them in with 'Big Woodie' after which each 'lay up' can be made with masking tape (to pull them together) and veneer tape along the seam:
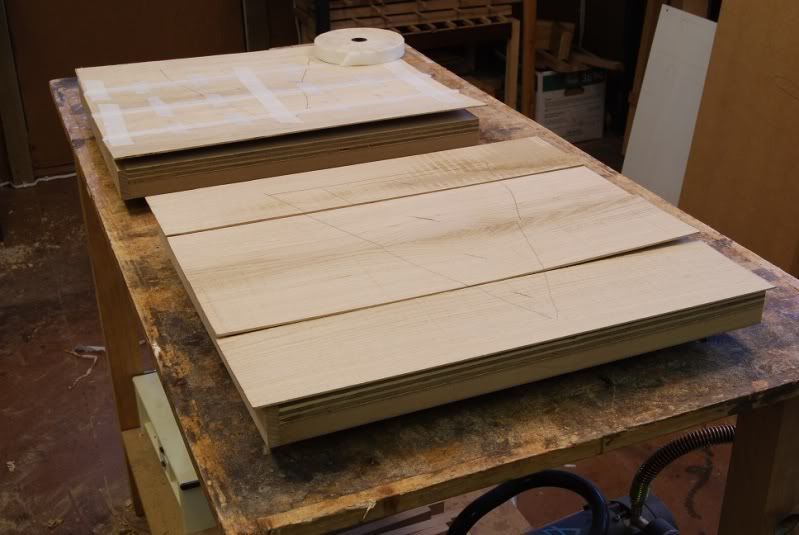
Preparingtheveneersmall.jpg


Slap on some TBIII, pop them into the bag with plenty of thick paper on the edges and corners, apply a bit of suck (the needle is well past the stop, so it's pulling a good vacuum:
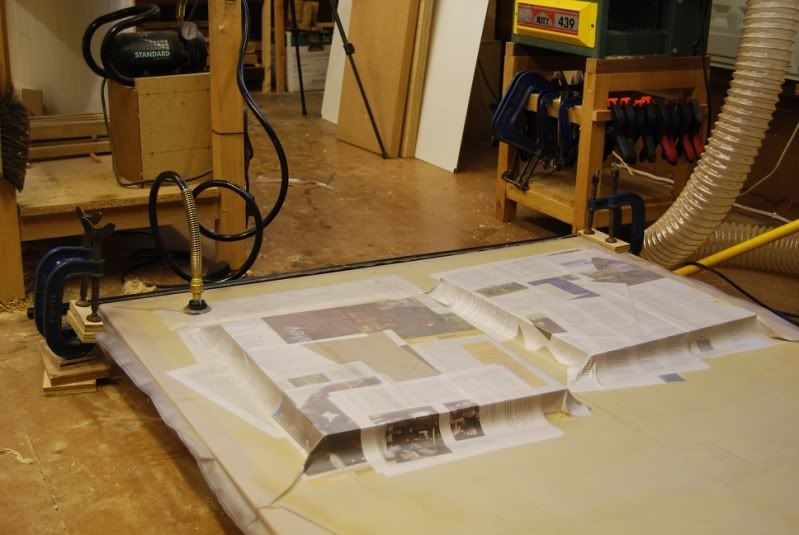
Inthebagsmall.jpg


and it should be cooked by the time I've finished the vino :wink: :lol:

You'll note that although the AriPress pump is great, the bags, especially the seal bit, is not quite so good :( ...in fact it's rubbish - Rob
 
The thick paper just relieves the pressure on the plastic bag at the corners. The breather strip doesn't need to go right the way across as long as a bit is under the valve it'll work fine as shown - Rob
 
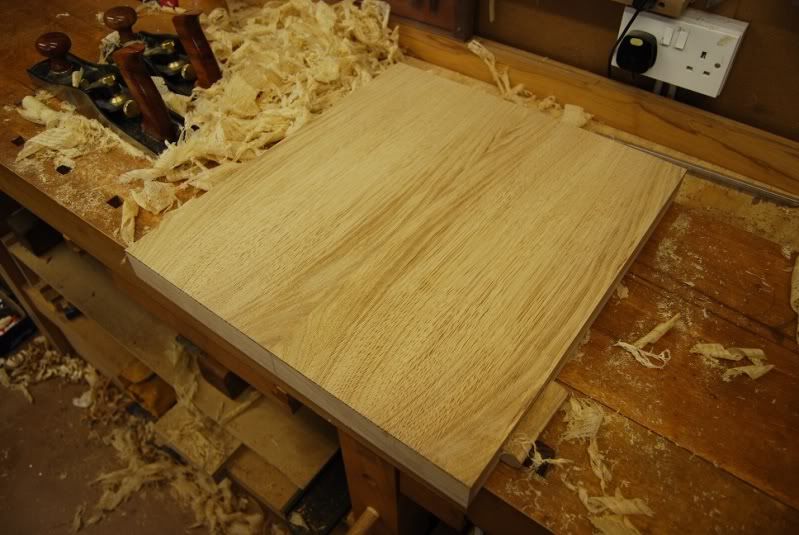
Having come out the bag last night, I've got the first one cleaned up:

002small-4.jpg


The finish is straight from the LV LA jack an BU smoother, no sanding or scraping, both having dead straight blades with just the corners knocked off, with an EP's of 50 and 60deg respectively.
There are no tramlines, so anyone who says that a straight blade will give you some and a cambered blade won't is talking tosh :p :lol:

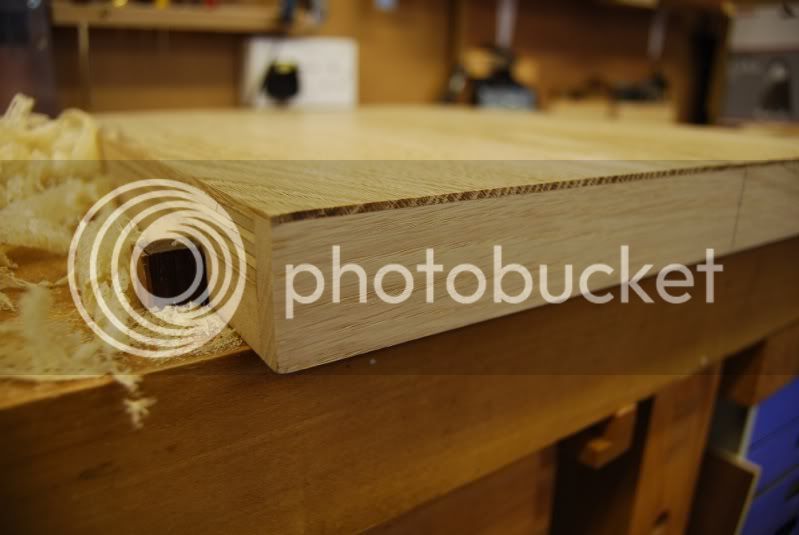
This pic shows the thickness of the finished surface:

003small-3.jpg


after planing. Using bandsawn veneers this way is fandabby as you can treat the surface effectively as solid oak, with no danger of going through as you might with wafer thin commercial veneers - Rob
 
That oak should look interesting when you come to put a finish on - what are you thinking of using, by the way? With the light and dark striping, it almost has the characteristics of tiger oak... :)
 
I believe Krenov was a fan of bandsawn (solid) veneers, for the very same reasons. Did you bandsaw these yourself on your Inca?
 
ByronBlack":3w466gow said:
I believe Krenov was a fan of bandsawn (solid) veneers, for the very same reasons. Did you bandsaw these yourself on your Inca?
BB - yup, the Euro 260 just about coped with a 3 skip 5/8" blade and sliced up a whole load of oak for the main parts of this project...veneers cut were 2mmish thick and 100mm wide.
Interestingly, JK had the same bandsaw in his personal 'shop in the Redwoods - Rob
 
I hope I'm not going to look like an silly person by asking this, but....


what is an AP Media Unit???


.
 
como":qtf2hz5y said:
I hope I'm not going to look like an silly person by asking this, but....


what is an AP Media Unit???


.

well duh

its a unit for storing "AP media" obviously :lol: ;)
 
como":1yl6ngvr said:
I hope I'm not going to look like an silly person by asking this, but....


what is an AP Media Unit???


.
Sorry...should have made it a bit clearer. The design is based on a form developed by the late Alan Peters, there are one or two examples of this type of style in his book - Rob
 
woodbloke":3e9udlur said:
Using bandsawn veneers this way is fandabby as you can treat the surface effectively as solid oak, with no danger of going through as you might with wafer thin commercial veneers - Rob

Quite agree Rob. it is 'fandabby' as you say. It also 'stretches' exotic timbers for economical use. Hence Ironballs use of a similar method for the legs of his Morris Chair.
Hmmm.. (Must check if that's finished!)

:lol:

John
 
woodbloke":2luxczyk said:
Sorry...should have made it a bit clearer. The design is based on a form developed by the late Alan Peters, there are one or two examples of this type of style in his book - Rob

Thanks for making that clearer Rob, I do have Alan Peters book, I should have known AP was refering to his initials, didn't you make his music stool recently? That was a really good WIP by the way, with excellent results.
 
como":1betyr1m said:
Thanks for making that clearer Rob, I do have Alan Peters book, I should have known AP was refering to his initials, didn't you make his music stool recently? That was a really good WIP by the way, with excellent results.

Yup, that was done recently, but not a full size version...I made a 3/4 scale stool owing to the sizes of the timber I had available.

Going through an Alan Peters phase at the moment :oops: - Rob
 
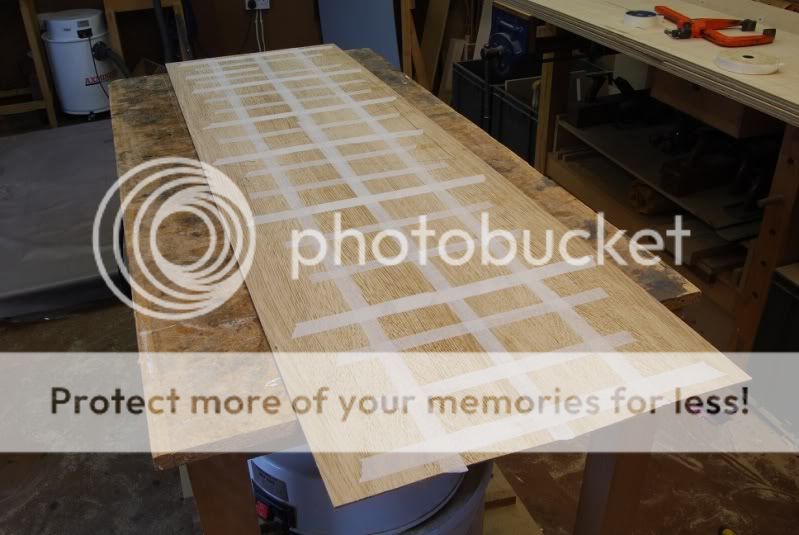
The last of the lay-ups for the main construction have now been produced:

Layupforthetopbookmatchedconsecutiv.jpg


The pic shows the lay-up for the top of the unit, made from four consecutive bookmatched leaves. All the veneering for the moment (bar the top) has been done now, so this will go into the press on the 'morrow, after which it'll be cleaning up...each of these leaves is 1.38m long (around 4.5' if me sums is right) so shooting them in with 'Big Woodie' took some time - Rob
 
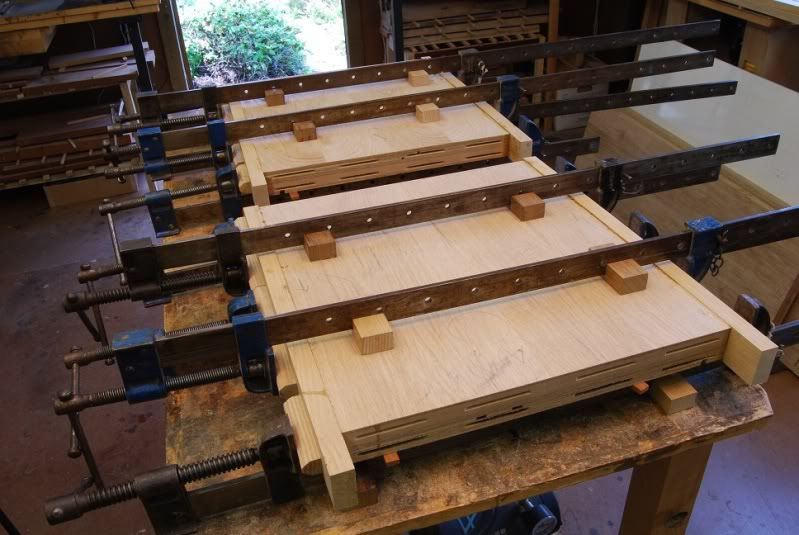
Bit of an update on this one. The veneering has all been done, together with the biscuiting...this is all held together with the things as I haven't got a Domino :-({|= :lol::

small1-1.jpg


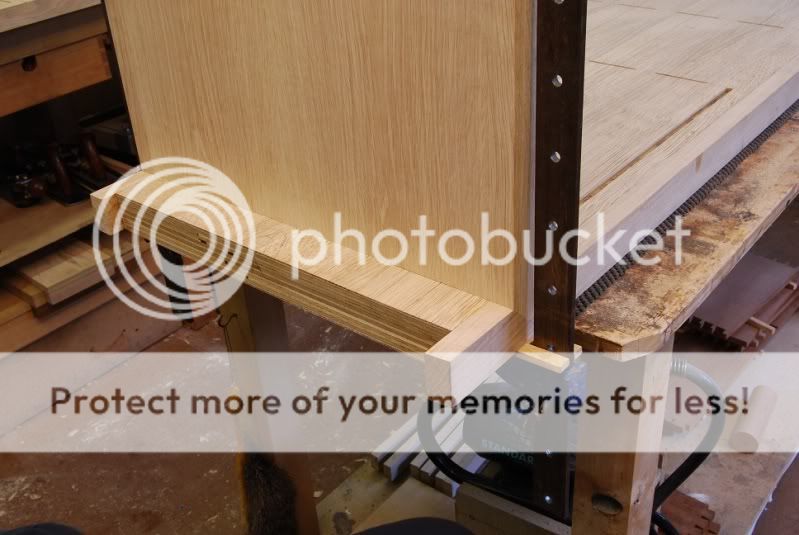
You can see that an 8mm groove has been cut at the back for the rear panels with a double line of biscuits for the central drawer unit. I had to get this together here to flush the sides exactly so that the lipping:

small2.jpg


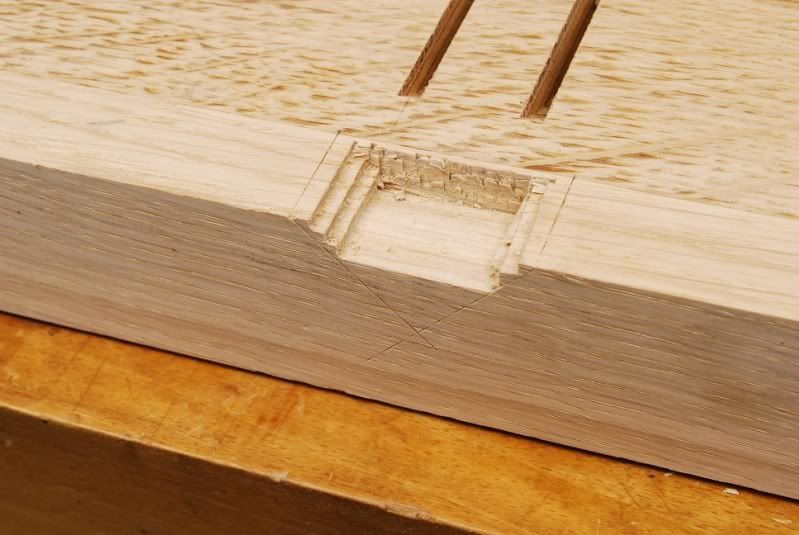
could be applied. The joints were then marked out and chopped:

small3.jpg


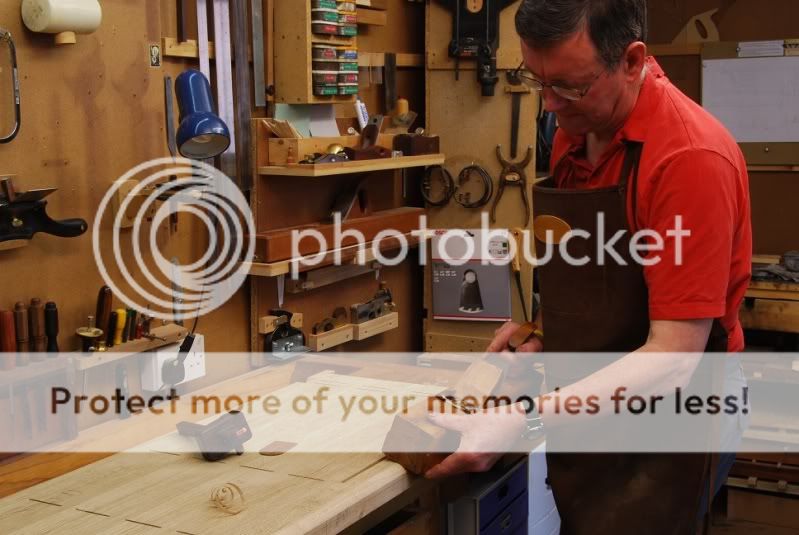
finishing off to the line by hand paring...Jap parers are good for this :p after which:
small4.jpg


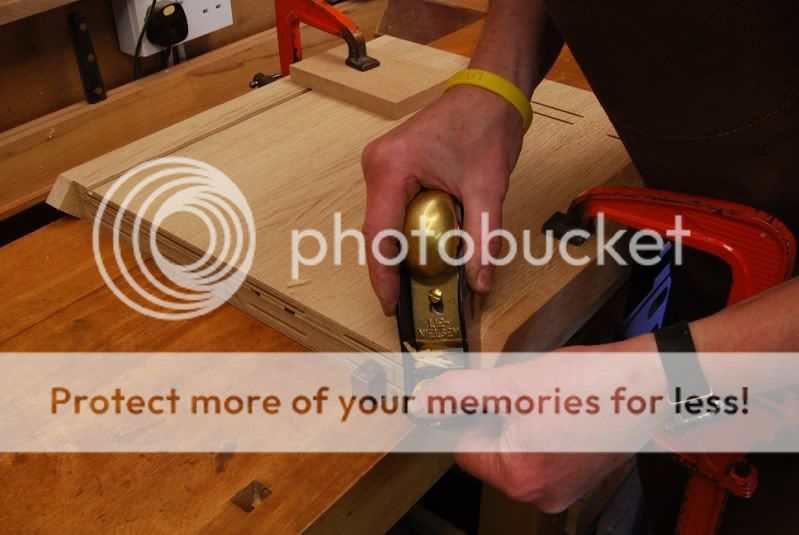
the 'V' section of the joint could be shot in using the LN block and 45deg jig.

Then the joints could be pulled up dry:

small5.jpg


to test the fit and fettled accordingly...not easy 'cos the lumps of wood are now heavy. The thing I'm working on currently is shaping the sides:
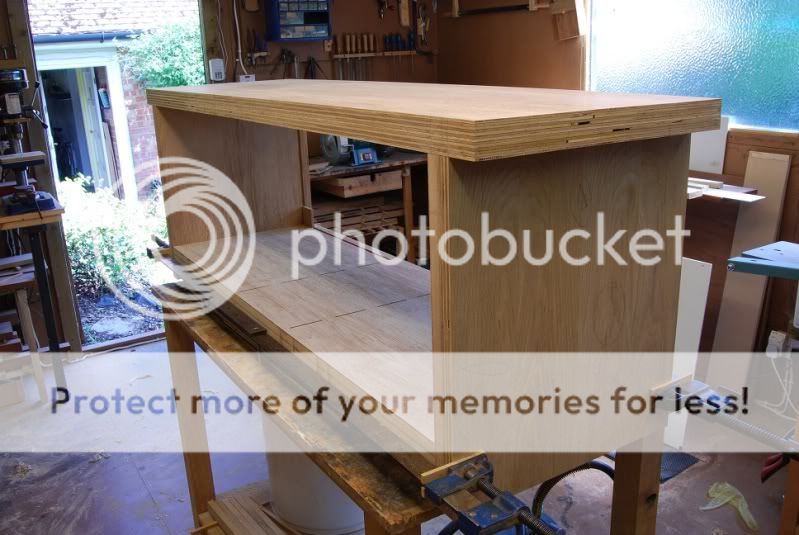
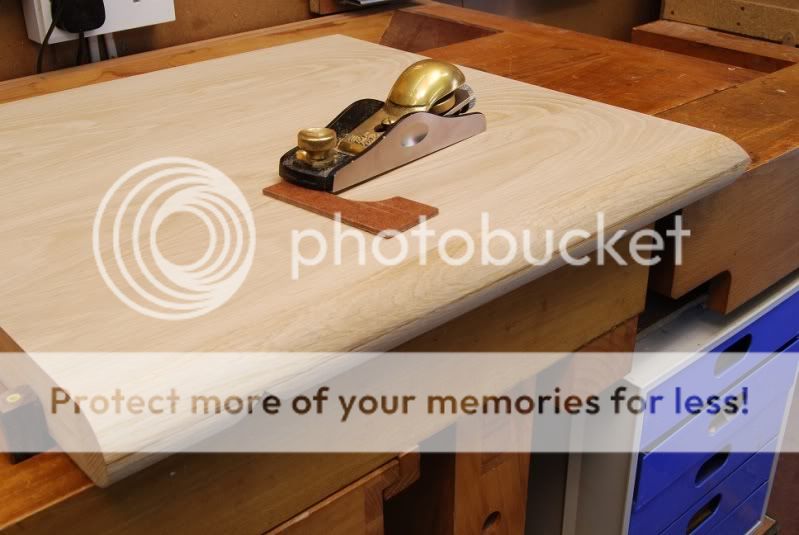
small6-2.jpg


with the initial material being removed with my woodie, after which it can be refined:
small7-1.jpg


to the profile with the LN block. I'll also make up a curved sanding block for the final sanding to profile. The easier and quicker commercial way to do this shaping would be to do it on a spindle, but I haven't got one of those either, so it's got to be done the long way.

Still a lot to do on this, mainly the back veneered panel(s) and drawer unit with it's four drawers. I'm completely stumped at the moment on the sort of drawer knobs that ought to be fitted to this sort of chunkable project...I guess I'll have a play around with some ideas once everything's in place - Rob
 
Watching with interest Rob.

My AP book went into the attic when daughter came to stay, so I haven't seen the original version of this for some time. (I assume it is from the AP 'Professional Approach' volume?)

So instead of traipsing up into the rafters, I am going to prepare to be surprised when this project is done!

Looking set-fair thus far.

John :)
 
Benchwayze":33mscpaa said:
My AP book went into the attic when daughter came to stay, so I haven't seen the original version of this for some time. (I assume it is from the AP 'Professional Approach' volume?)

John :)

This is another project John, based on an Alan Peters idea. There are severial pics of this sort of form in the book, mainly smaller tables in solid timber. I've just taken the idea and enlarged it to hold media stuff (hi-fi gear and the Sky box) and included a drawer unit in the centre - Rob
 
woodbloke":2timyhlm said:

I just spotted in the back corner of the rebate furthest from the camera that little section of bottom you've put in the rebate, I assume to keep it aligned in glue up. That is genius! I often glue up drawers etc and you get just the tiniest amount of difference and it makes it so difficult to get it togethert. I'll remember that one, thanks Rob.
 
Back
Top