jimi43
Established Member
Clearing up the workshop so I could at least get through the door the other week and I came upon another bag of lawn bowling balls I had quite forgotten about.
One of the benefits of having a super untidy workshop is you find things again and it's like Christmas every time you clear up!
Also some air dried holly and willow in the corner which had been drying for over six years now so was ready for use.
So...given that you have a suitably guarded ball and stick....
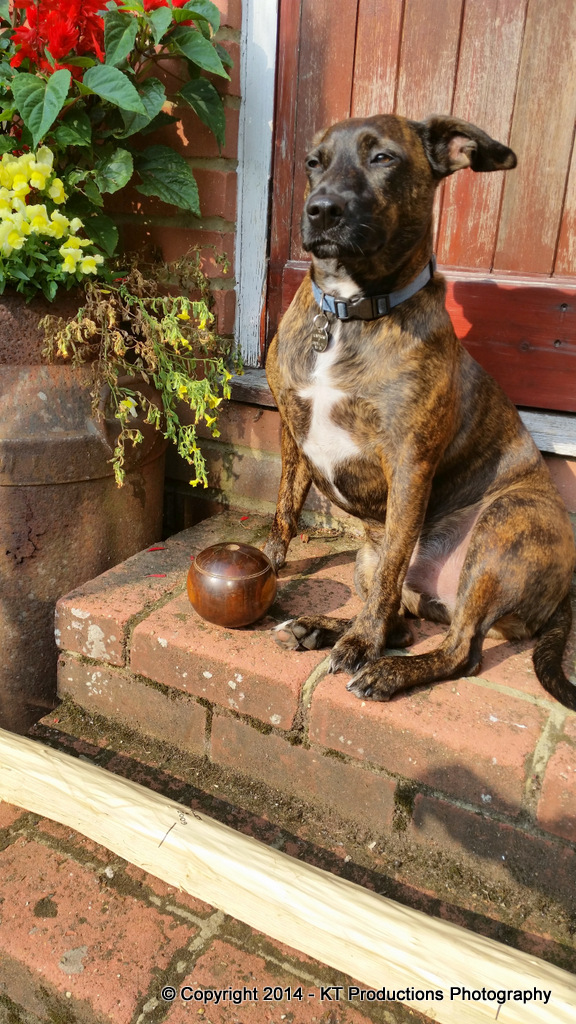
...the best thing would be to put it back or make some use out of it....so how about another mallet ALFIE!?
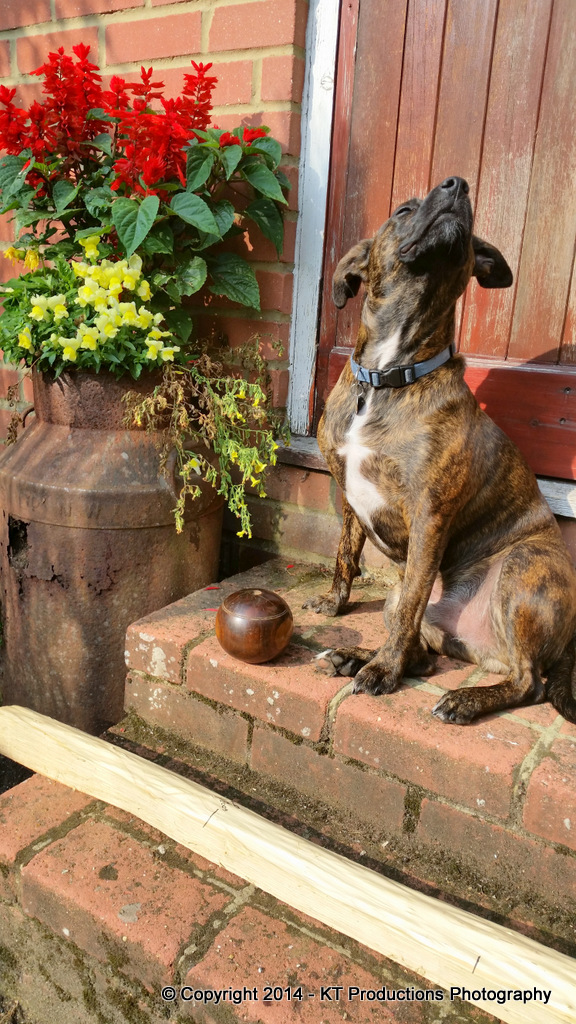
So...ignoring ALFIE's protestations of using them to throw around the garden...we went off with a rather sulky ALFIE to fire up old "TAYLOR" again.
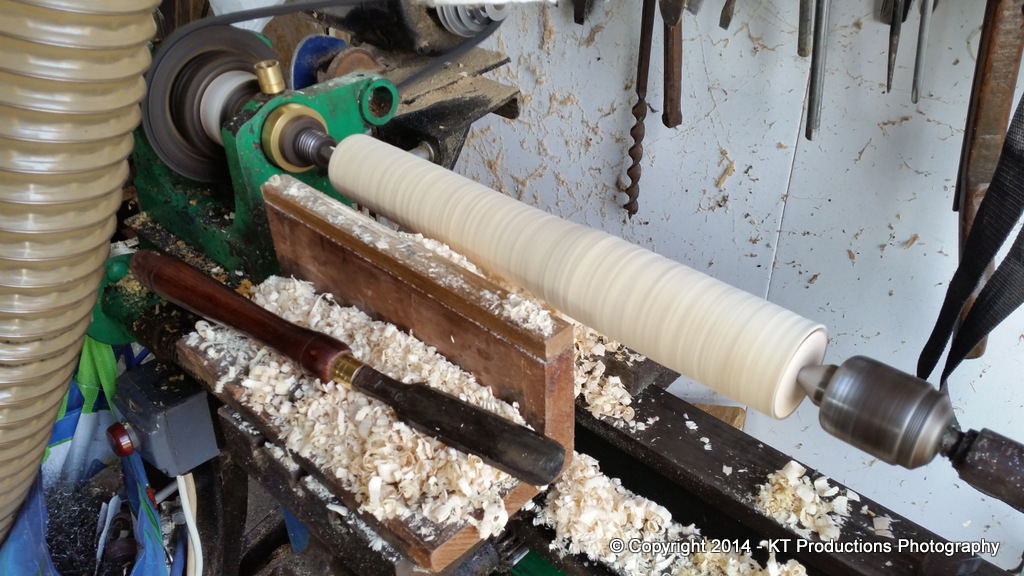
For those of you who may not have met "Taylor" yet...he's a rather old and cranky Taylor of Hulme lathe given to me by my neighbour who bought a new Clarke one (yes...I thought that too!! :shock: ) and it was in a dire shape.
It was an old metal lathe that had gone past its "accurate use" state and so was turned into a rather Heath Robinson wood turning lathe with the application of a few bits of wood and an elastic band! :mrgreen:
I don't really do much wood turning so it does me for little things and also don't expect the sort of turning mastery you are familiar with from our fellow members of the spinning forum brigade...you'll be very disappointed!
So...once the bit of holly/willow was rough rounded using an ancient gouge I trued and turned one end to fit the ball....
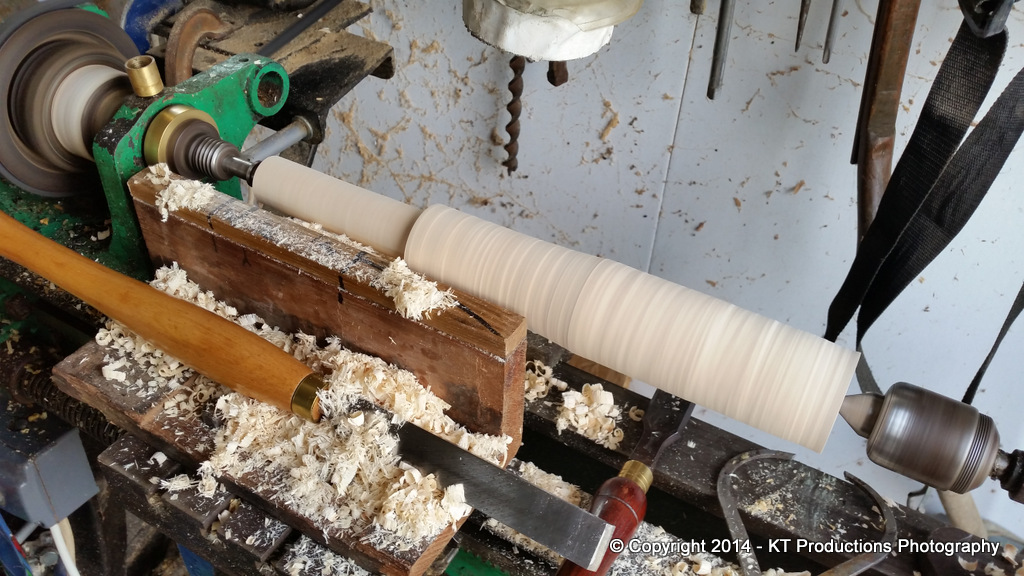
....using a flat chisel.
I find it best to ease down on the cut and keep checking because it's surprising how quickly you go from "wouldn't fit if you sat an elephant on it" to..."flops around all over the place"! :mrgreen:
The ball was placed in a vise and a hole drilled through with a long Forstner bit...but no photos were taken of that because I do have a certain level of pride! (don't ask just don't ask! :mrgreen: )
Anyway..take it from me both the shaft and the hole in the ball were made (eventually!).....
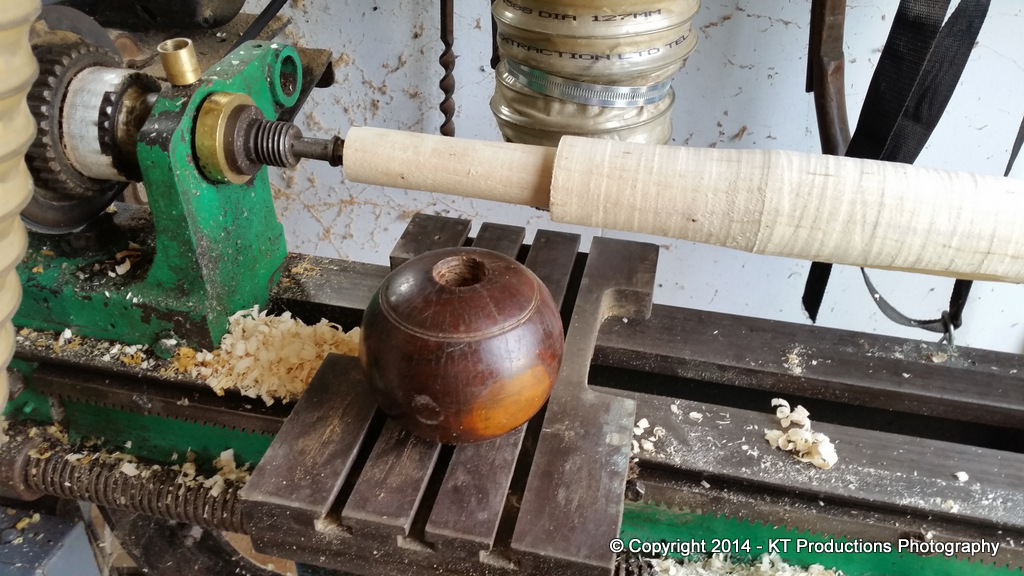
and married together in perfect harmony....
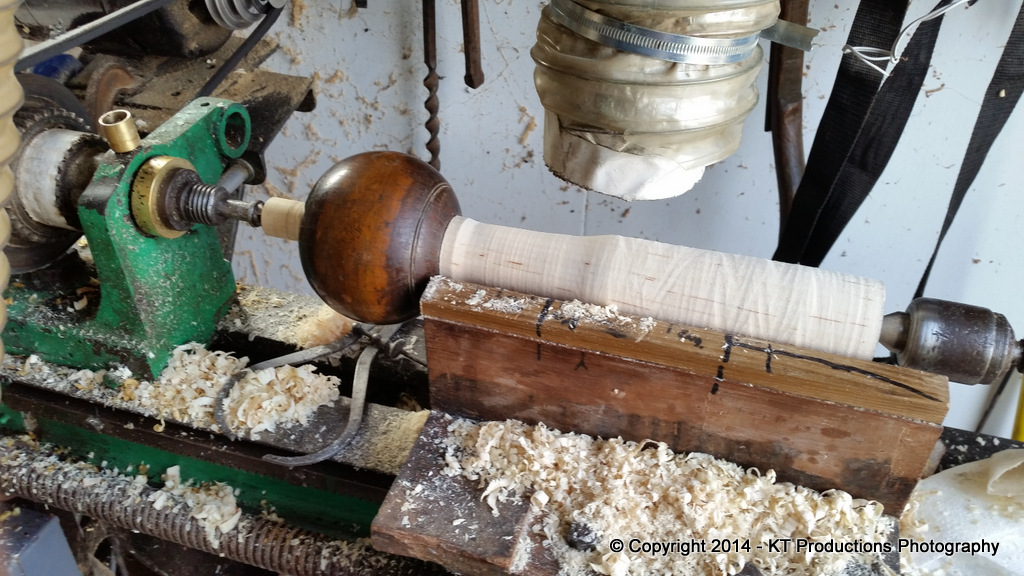
Everyone knows what flying chips look like so I'll skip that stage...plus it's almost impossible to hold a camera and a chisel at the same time....so I had to wait until Annie got back for the rest of the action shots!
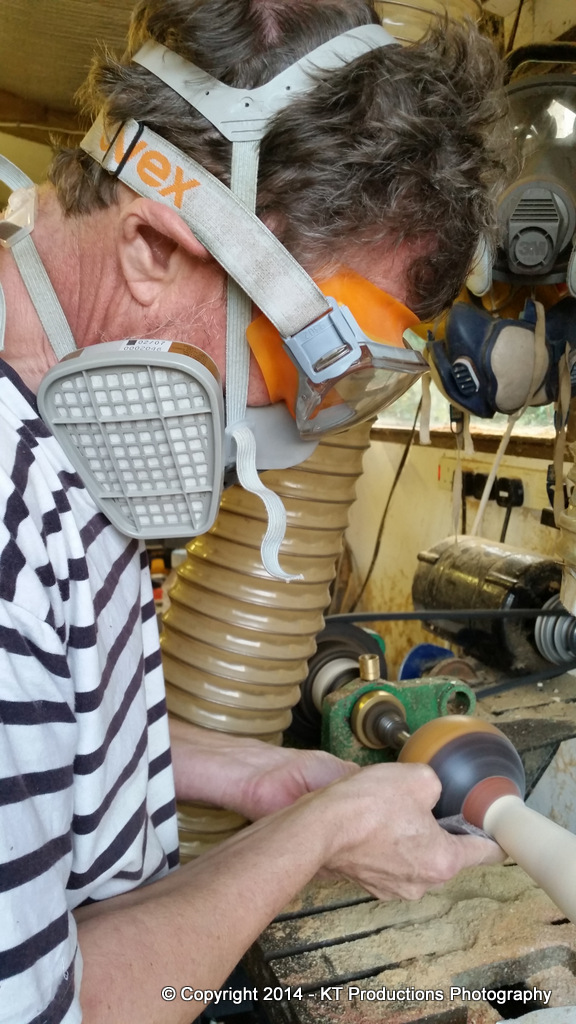
Now the observant will notice we seemed to have acquired another piece of wood in the collar...I thought I would stick an offcut of bubinga in there which Douglas gave me to add contrast... all three bits now being firmly glued together using epoxy....
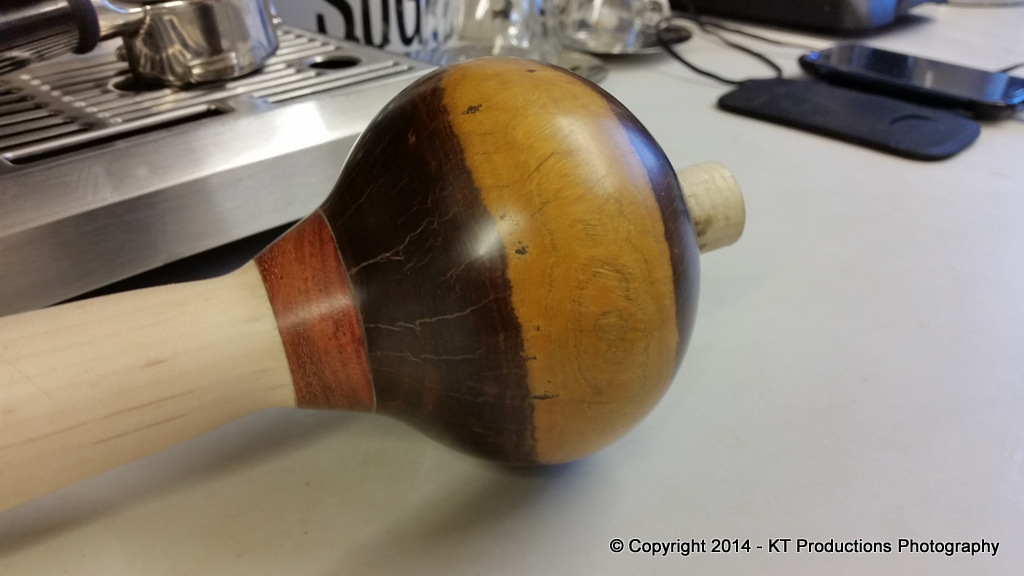
I wanted to concentrate on the head first to get the shape and once that was done...finish the handle.
The head was cut flat at the base so it didn't wobble around on the bench like a Weeble...
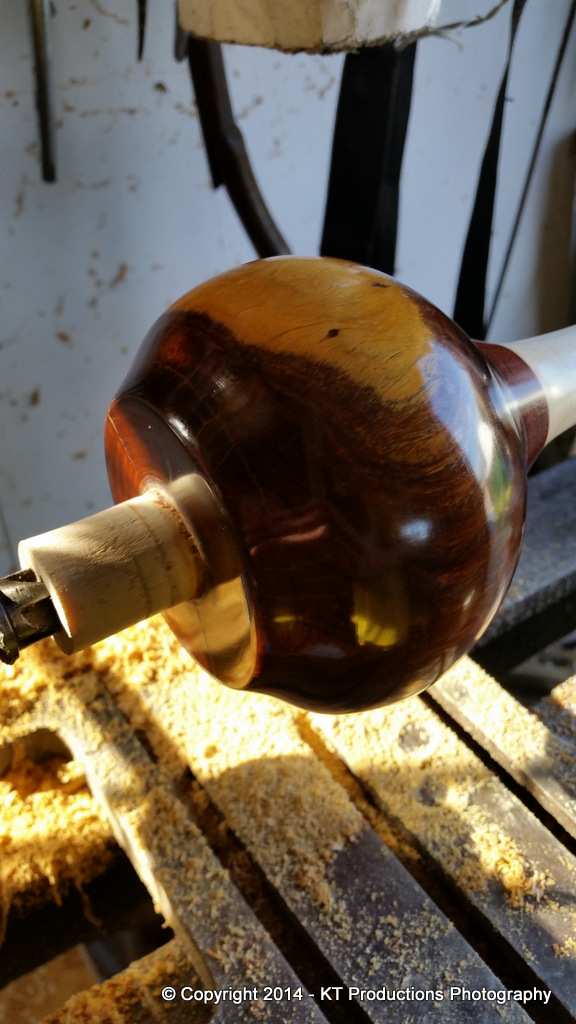
I also took the head down through the grits again...Abranet 120 to 400 and then MicroMesh 1500M to 12000M and near gloss...
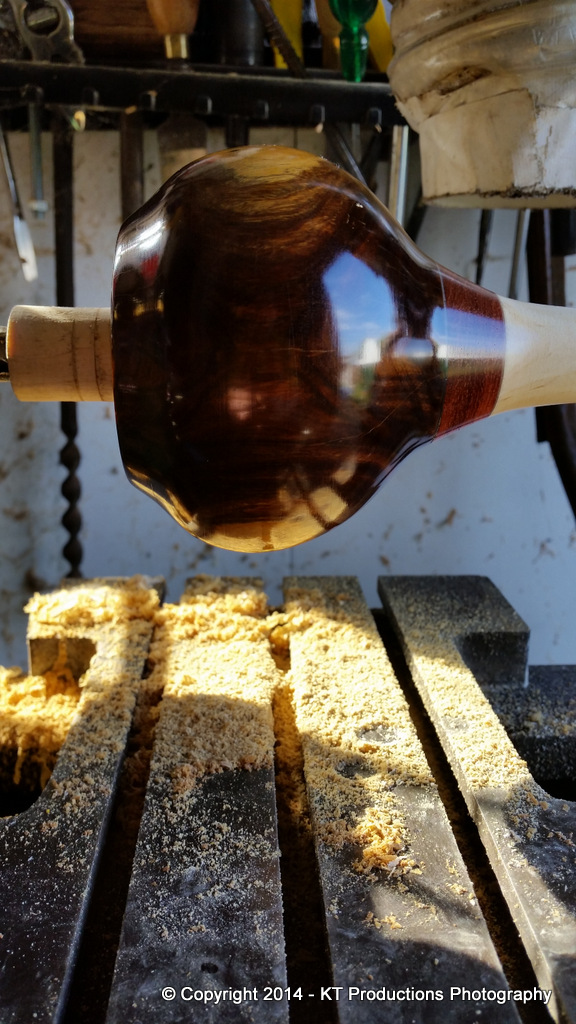
At this point I wanted to try out some Birchwood Casey Tru-Oil Sand and Sealer and Filler which was recommended to me when I was working on the infill. It apparently sets a good base coat for polishing and fills in any cracks and crevices so worth a go.
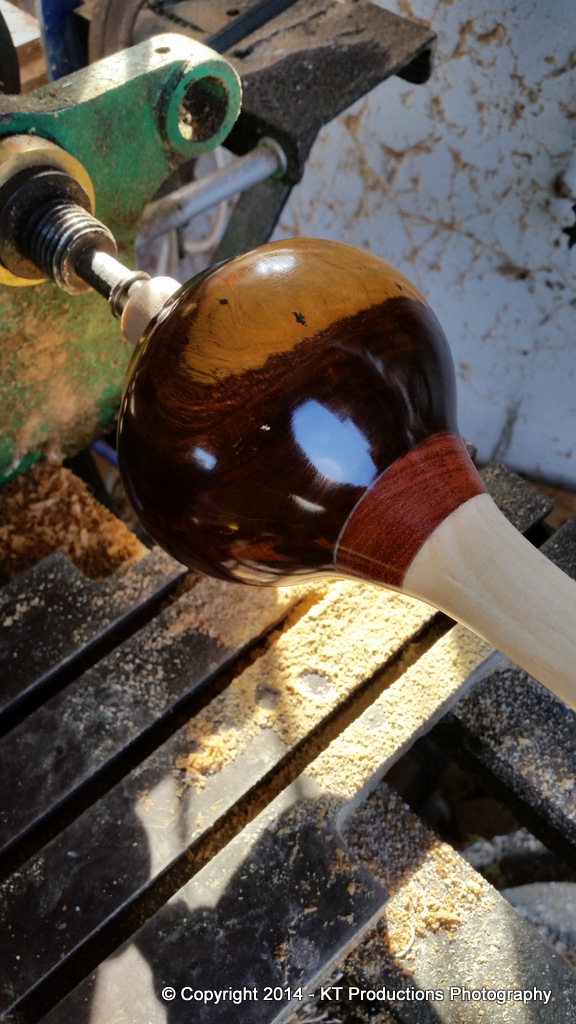
...it seemed to enhance the finish and certainly dries quickly enough.
I wanted to achieve a kind of take on the old Victorian designs with the handle but make it a bit chunkier so I could actually use it rather than stick it in a cabinet....so the handle was turned next...
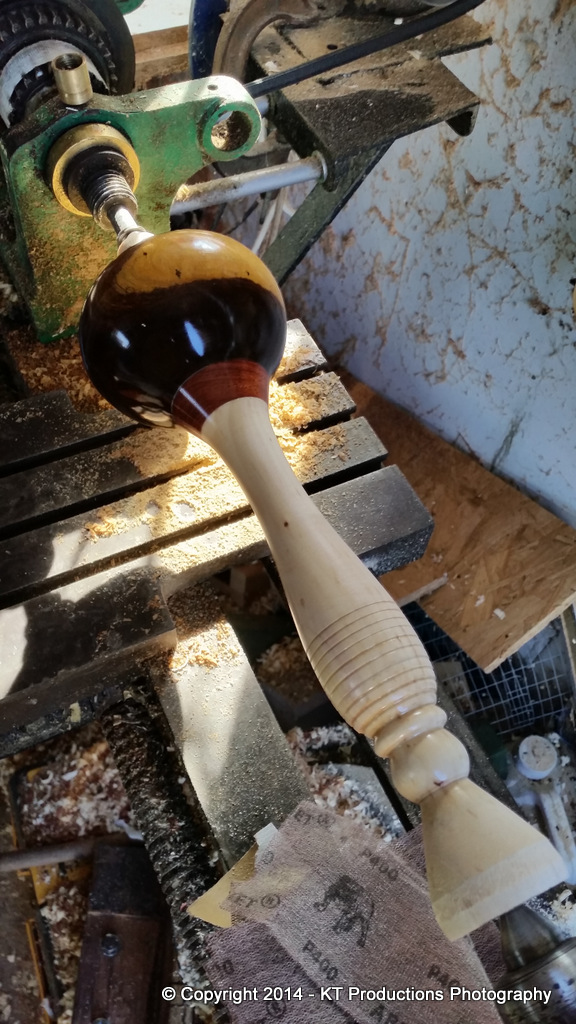
...and the sealer applied over the whole mallet.
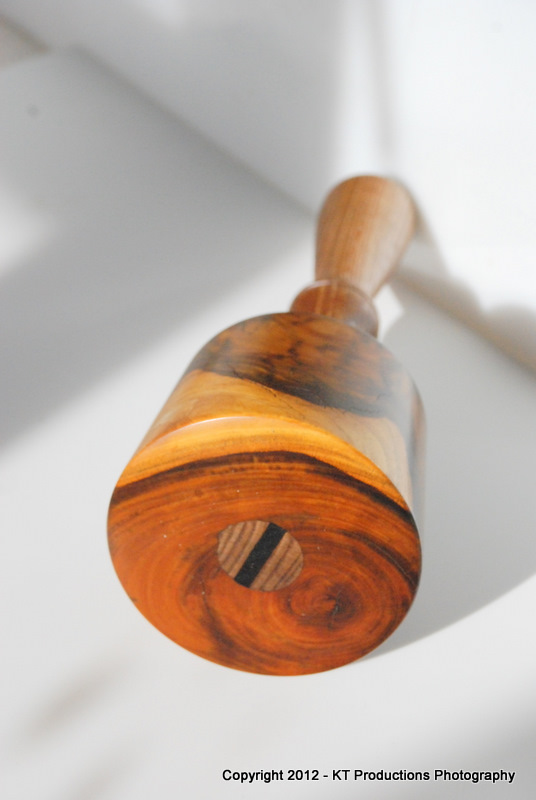
Once this was dry and hardened overnight...I took the finish back to 1500M and then up to 12000 again....and we were done.
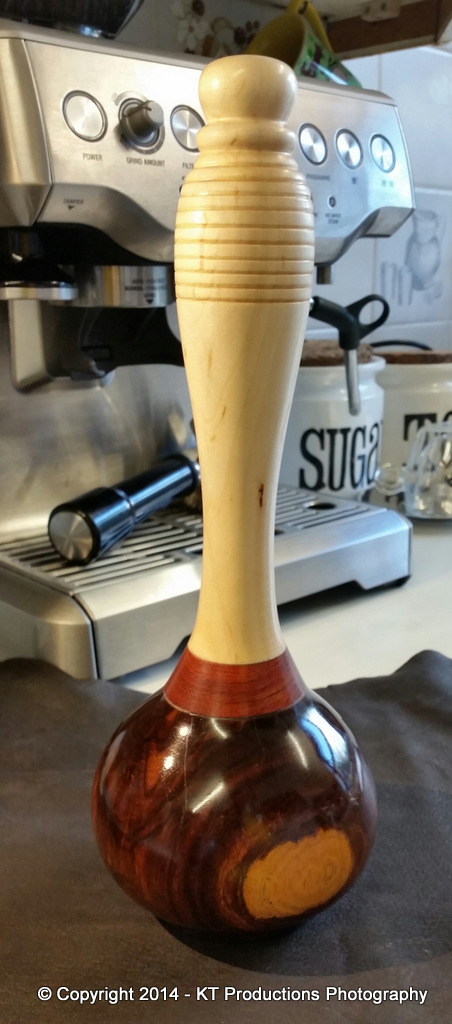
I was thinking that I should really make a stand for it..or even a box! (NO! not a box!) and just left it on the side and this weekend went in search of Georgian furniture with my daughter.
I'm rather glad I did...because I found this little box in an antique shop near Maidstone for £15.....
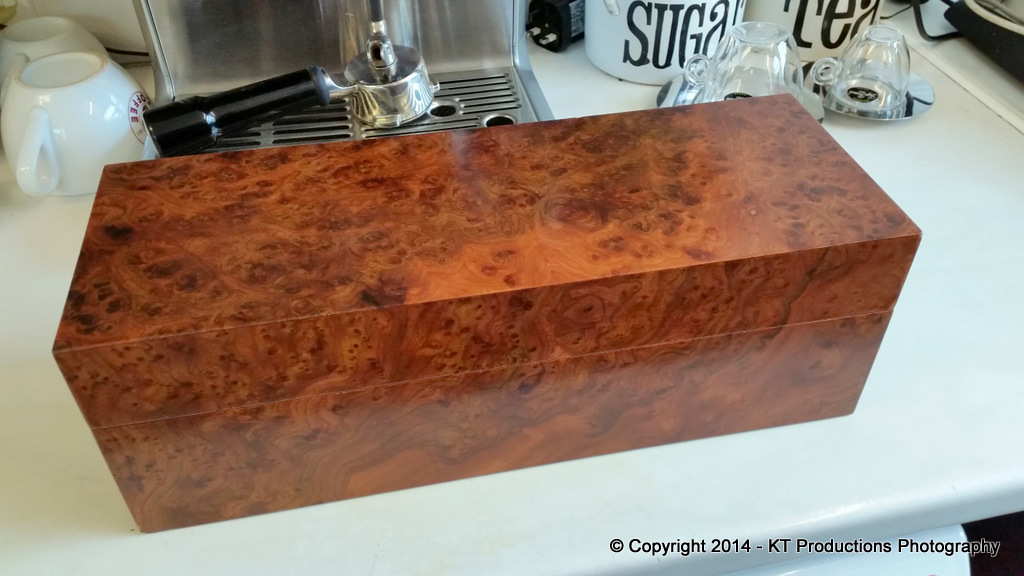
It's a rather posh wine box with fantastic finish and hinges.....but more to the point...
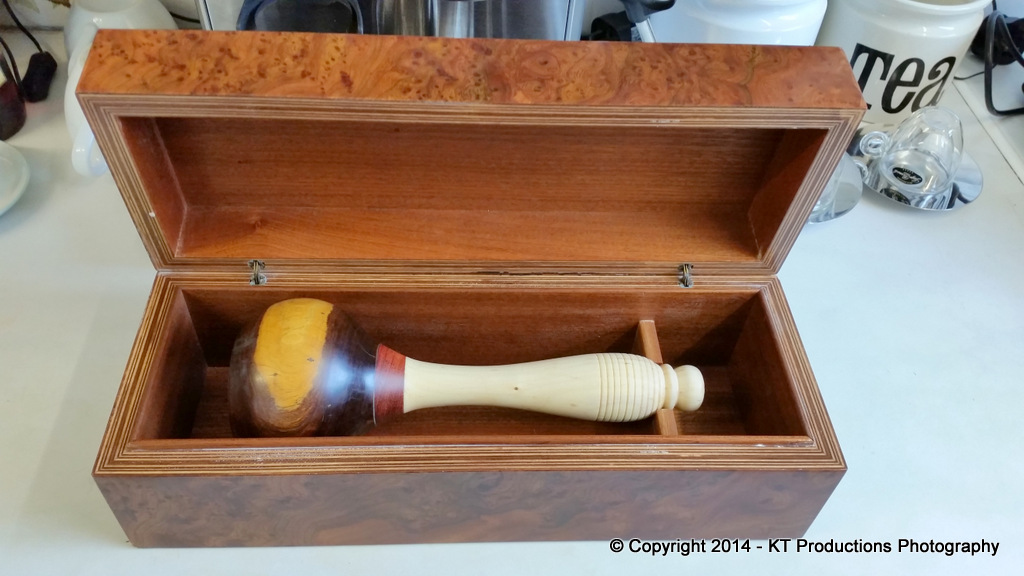
How weird is that!!! Made for it is not the word! It's perfect!
I just have to add a little insert to hold the fat end and voila!!
So...more ONIONMENTAL than ornamental but fun none the less! :mrgreen:
Jimi
One of the benefits of having a super untidy workshop is you find things again and it's like Christmas every time you clear up!
Also some air dried holly and willow in the corner which had been drying for over six years now so was ready for use.
So...given that you have a suitably guarded ball and stick....

...the best thing would be to put it back or make some use out of it....so how about another mallet ALFIE!?

So...ignoring ALFIE's protestations of using them to throw around the garden...we went off with a rather sulky ALFIE to fire up old "TAYLOR" again.

For those of you who may not have met "Taylor" yet...he's a rather old and cranky Taylor of Hulme lathe given to me by my neighbour who bought a new Clarke one (yes...I thought that too!! :shock: ) and it was in a dire shape.
It was an old metal lathe that had gone past its "accurate use" state and so was turned into a rather Heath Robinson wood turning lathe with the application of a few bits of wood and an elastic band! :mrgreen:
I don't really do much wood turning so it does me for little things and also don't expect the sort of turning mastery you are familiar with from our fellow members of the spinning forum brigade...you'll be very disappointed!
So...once the bit of holly/willow was rough rounded using an ancient gouge I trued and turned one end to fit the ball....

....using a flat chisel.
I find it best to ease down on the cut and keep checking because it's surprising how quickly you go from "wouldn't fit if you sat an elephant on it" to..."flops around all over the place"! :mrgreen:
The ball was placed in a vise and a hole drilled through with a long Forstner bit...but no photos were taken of that because I do have a certain level of pride! (don't ask just don't ask! :mrgreen: )
Anyway..take it from me both the shaft and the hole in the ball were made (eventually!).....

and married together in perfect harmony....

Everyone knows what flying chips look like so I'll skip that stage...plus it's almost impossible to hold a camera and a chisel at the same time....so I had to wait until Annie got back for the rest of the action shots!

Now the observant will notice we seemed to have acquired another piece of wood in the collar...I thought I would stick an offcut of bubinga in there which Douglas gave me to add contrast... all three bits now being firmly glued together using epoxy....

I wanted to concentrate on the head first to get the shape and once that was done...finish the handle.
The head was cut flat at the base so it didn't wobble around on the bench like a Weeble...

I also took the head down through the grits again...Abranet 120 to 400 and then MicroMesh 1500M to 12000M and near gloss...

At this point I wanted to try out some Birchwood Casey Tru-Oil Sand and Sealer and Filler which was recommended to me when I was working on the infill. It apparently sets a good base coat for polishing and fills in any cracks and crevices so worth a go.

...it seemed to enhance the finish and certainly dries quickly enough.
I wanted to achieve a kind of take on the old Victorian designs with the handle but make it a bit chunkier so I could actually use it rather than stick it in a cabinet....so the handle was turned next...

...and the sealer applied over the whole mallet.
Once this was dry and hardened overnight...I took the finish back to 1500M and then up to 12000 again....and we were done.

I was thinking that I should really make a stand for it..or even a box! (NO! not a box!) and just left it on the side and this weekend went in search of Georgian furniture with my daughter.
I'm rather glad I did...because I found this little box in an antique shop near Maidstone for £15.....

It's a rather posh wine box with fantastic finish and hinges.....but more to the point...

How weird is that!!! Made for it is not the word! It's perfect!
I just have to add a little insert to hold the fat end and voila!!
So...more ONIONMENTAL than ornamental but fun none the less! :mrgreen:
Jimi


