El Barto
👍
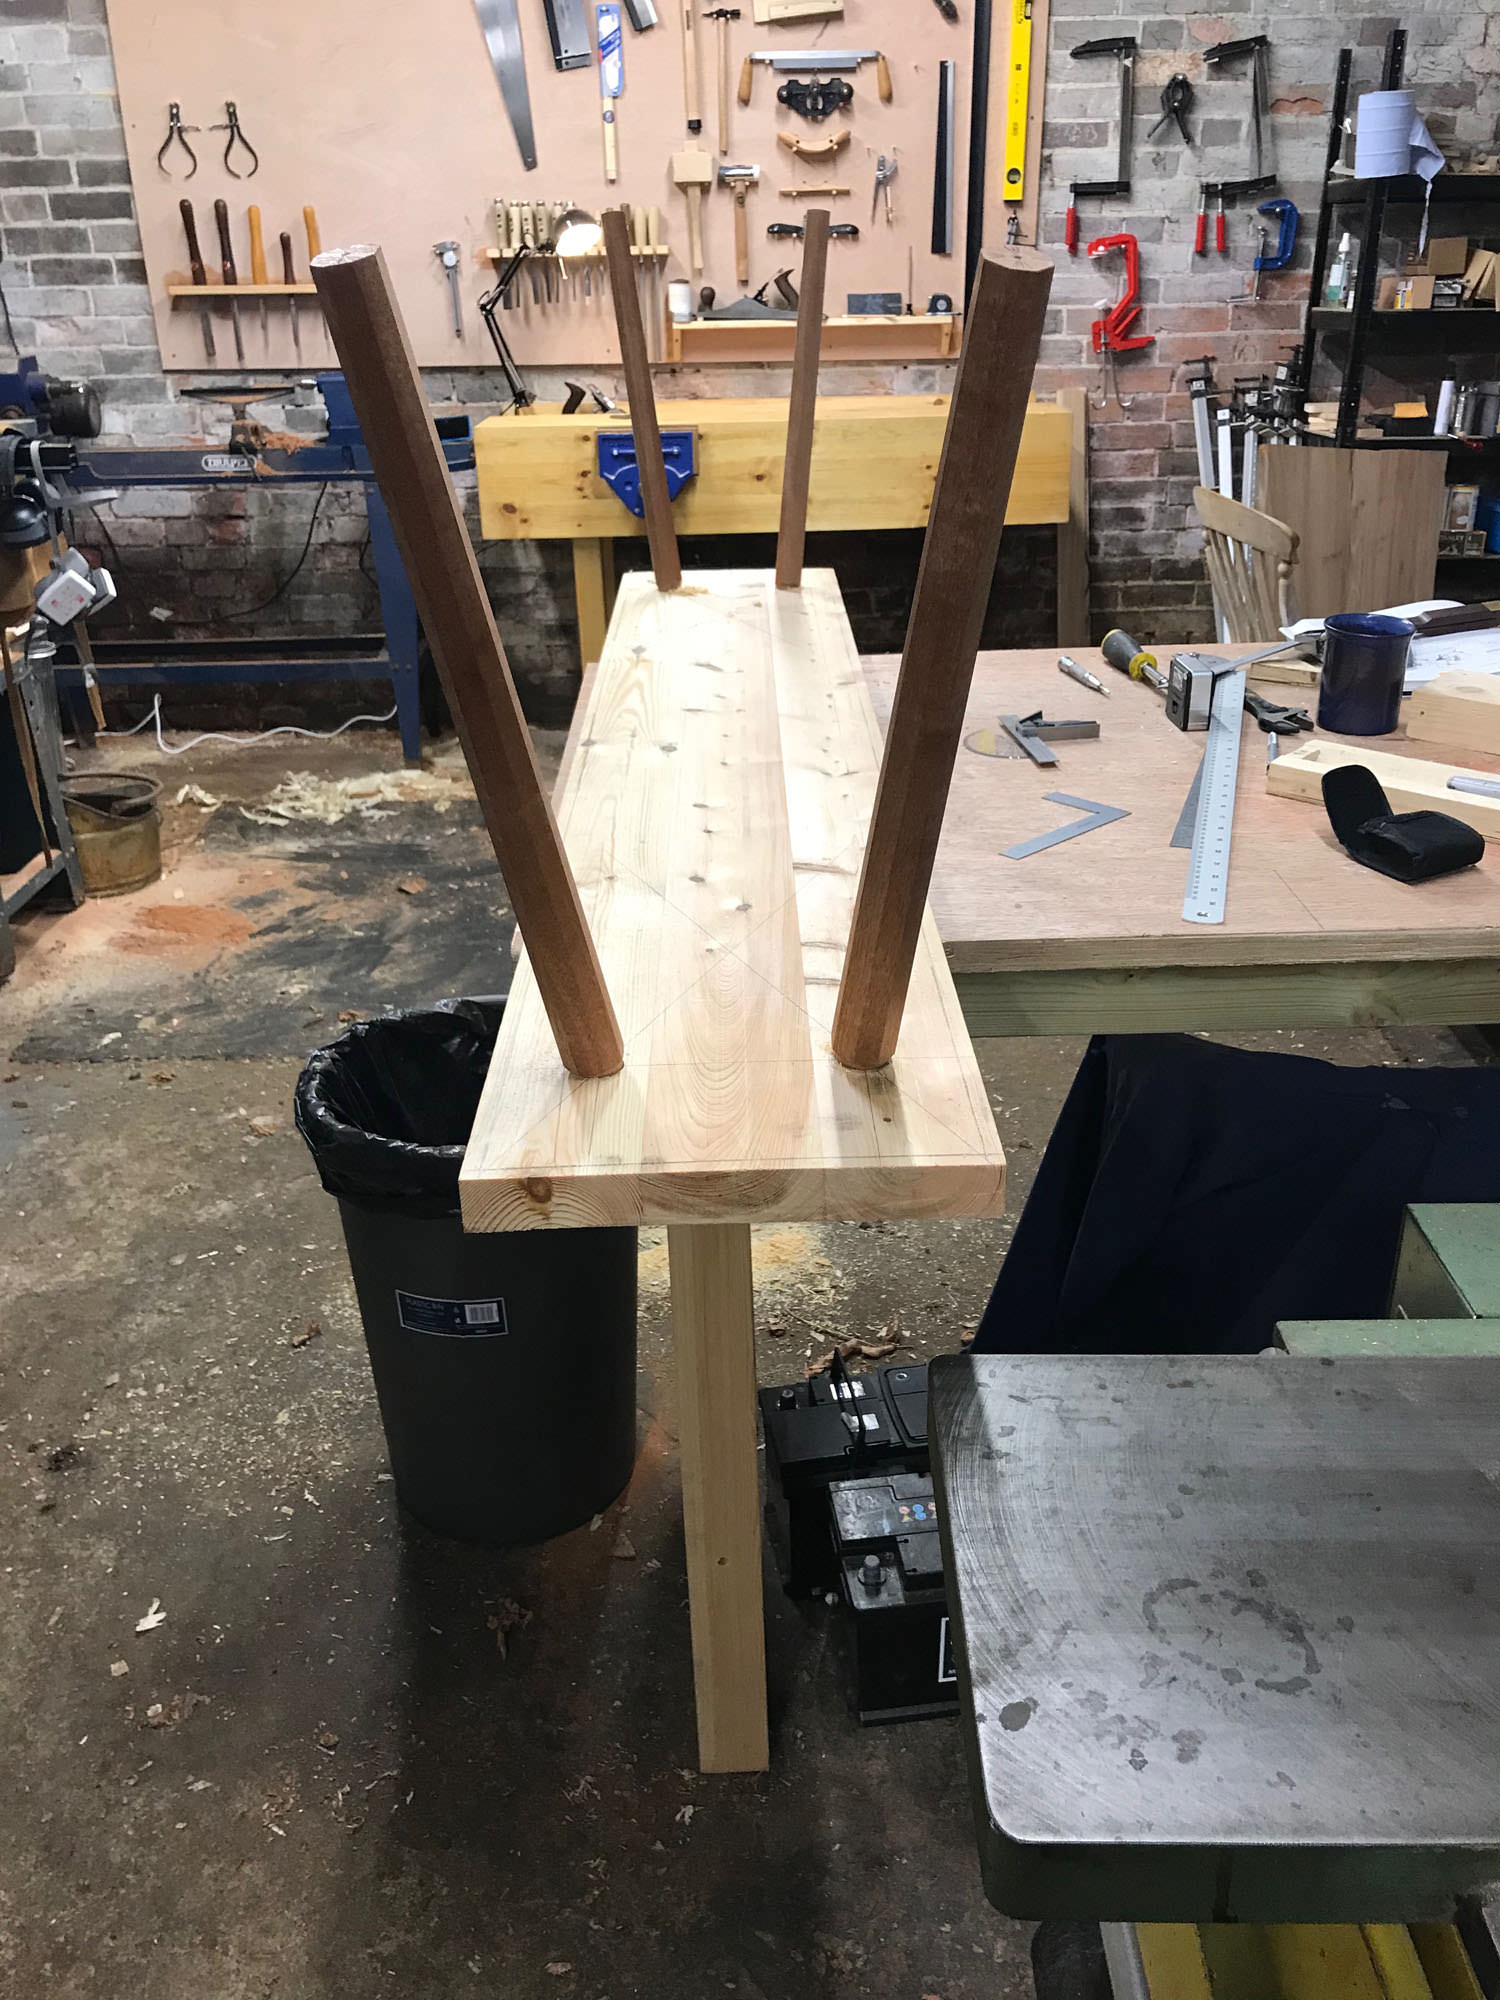
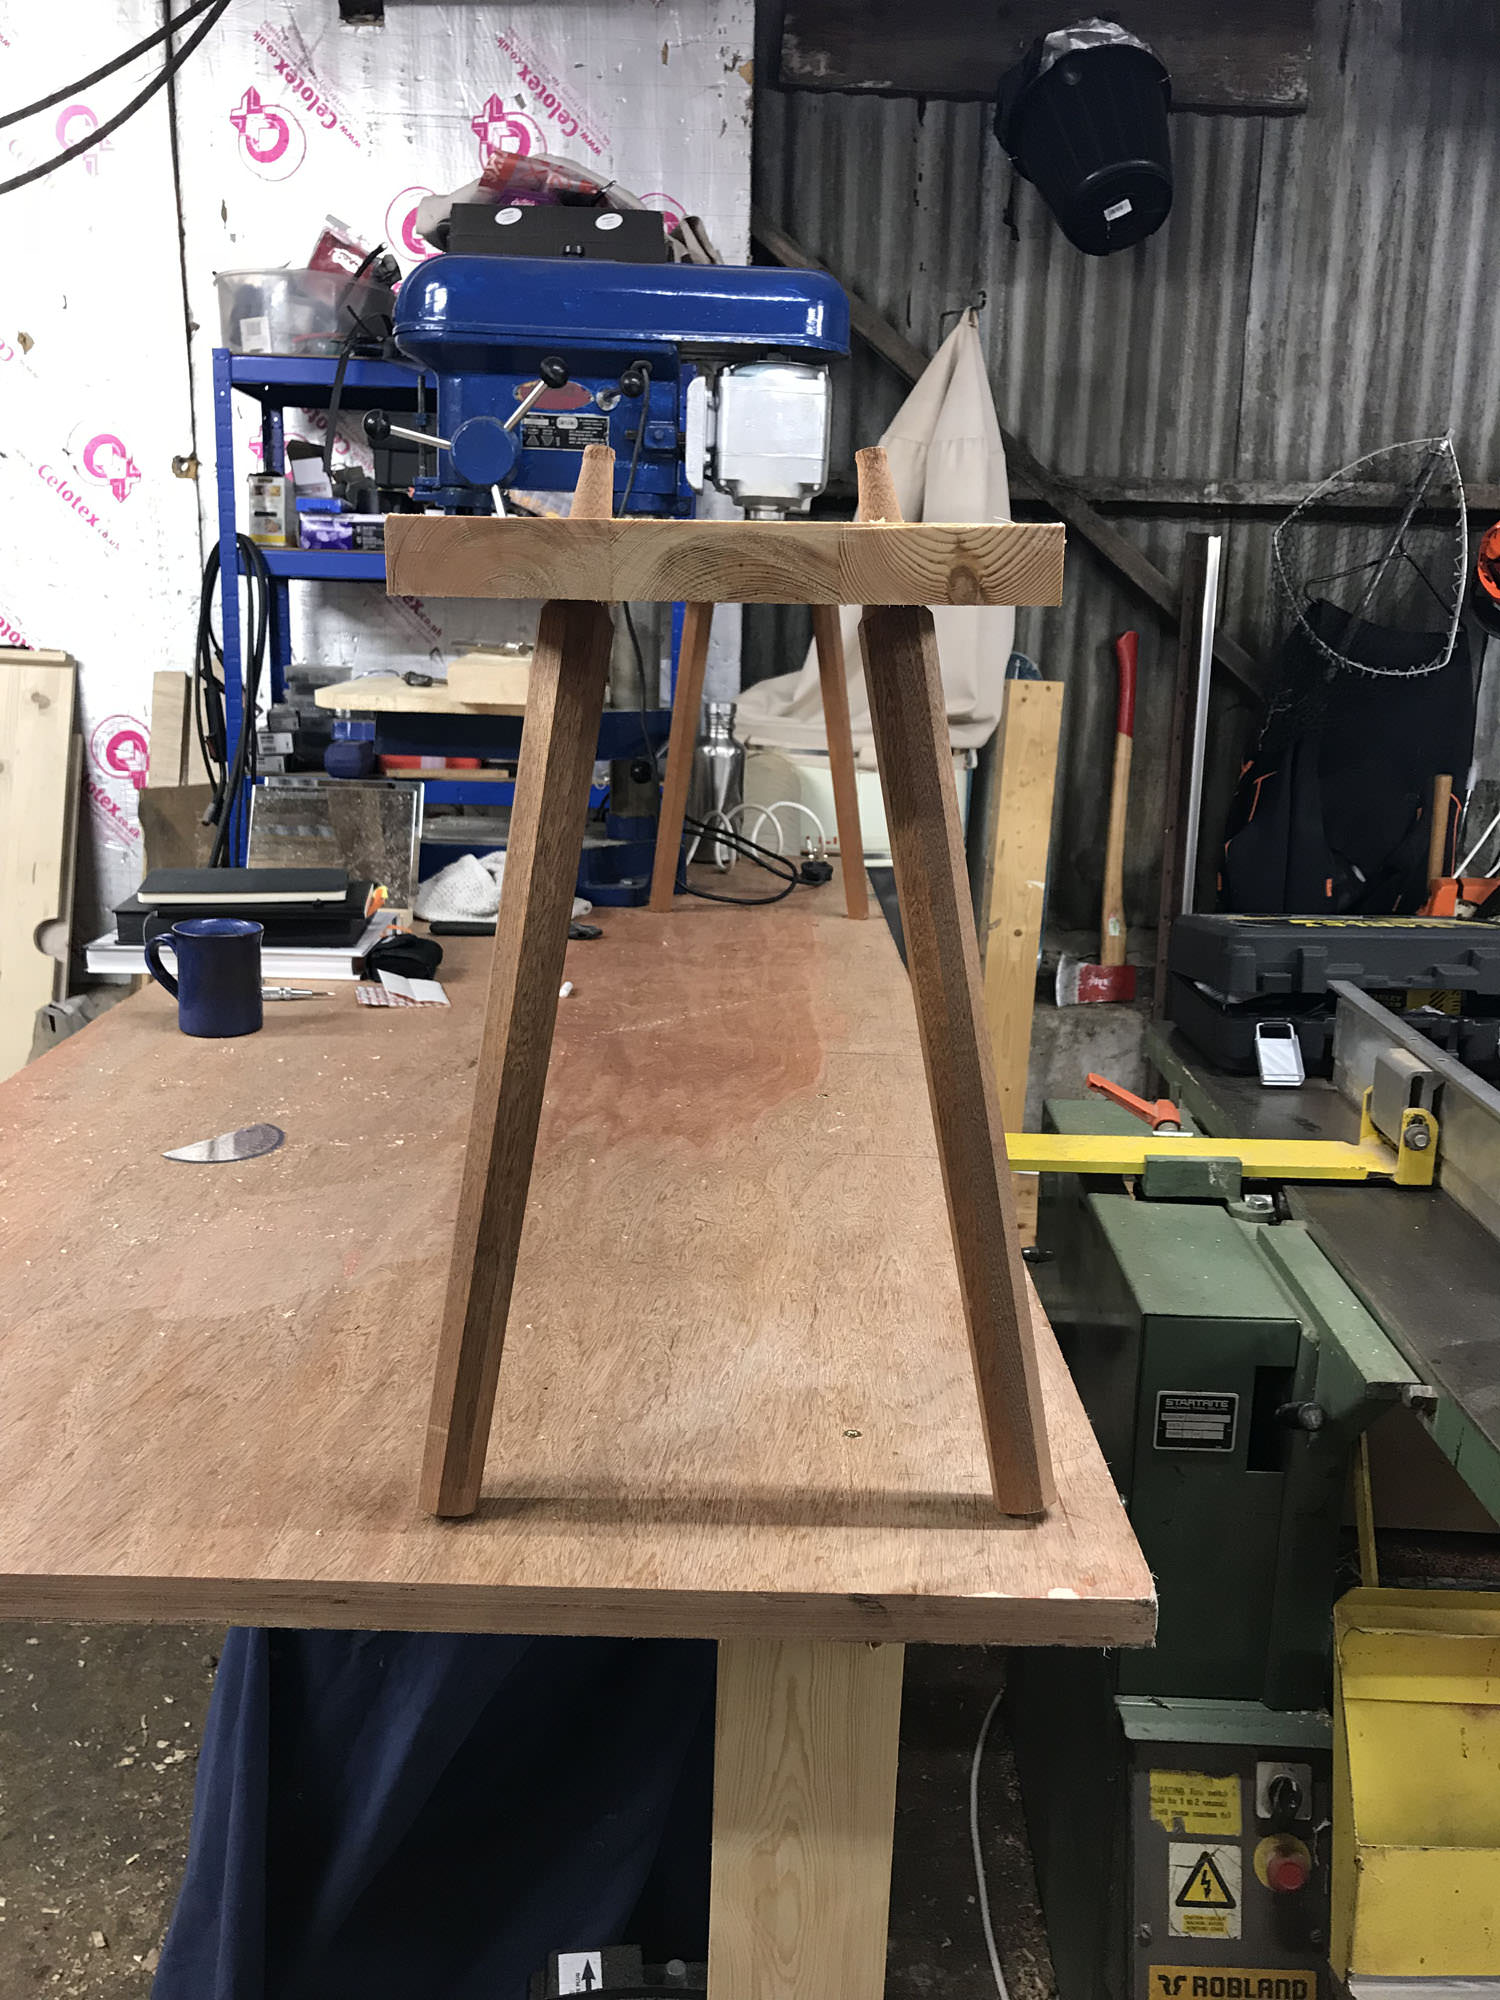
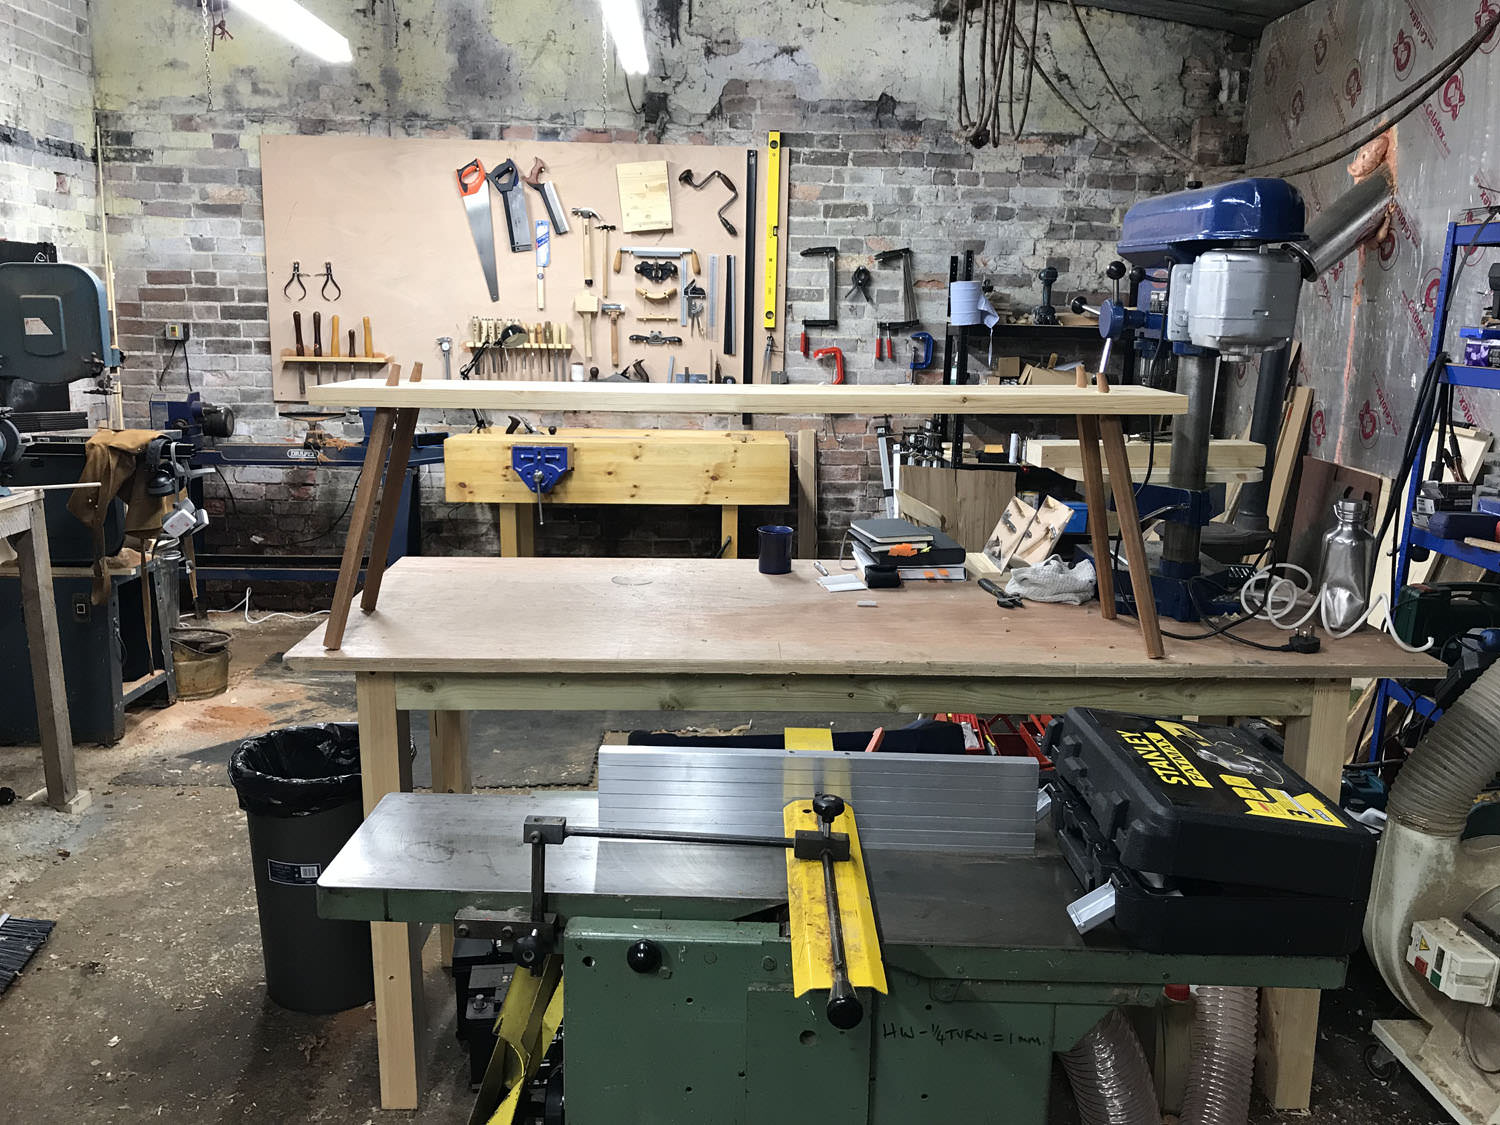
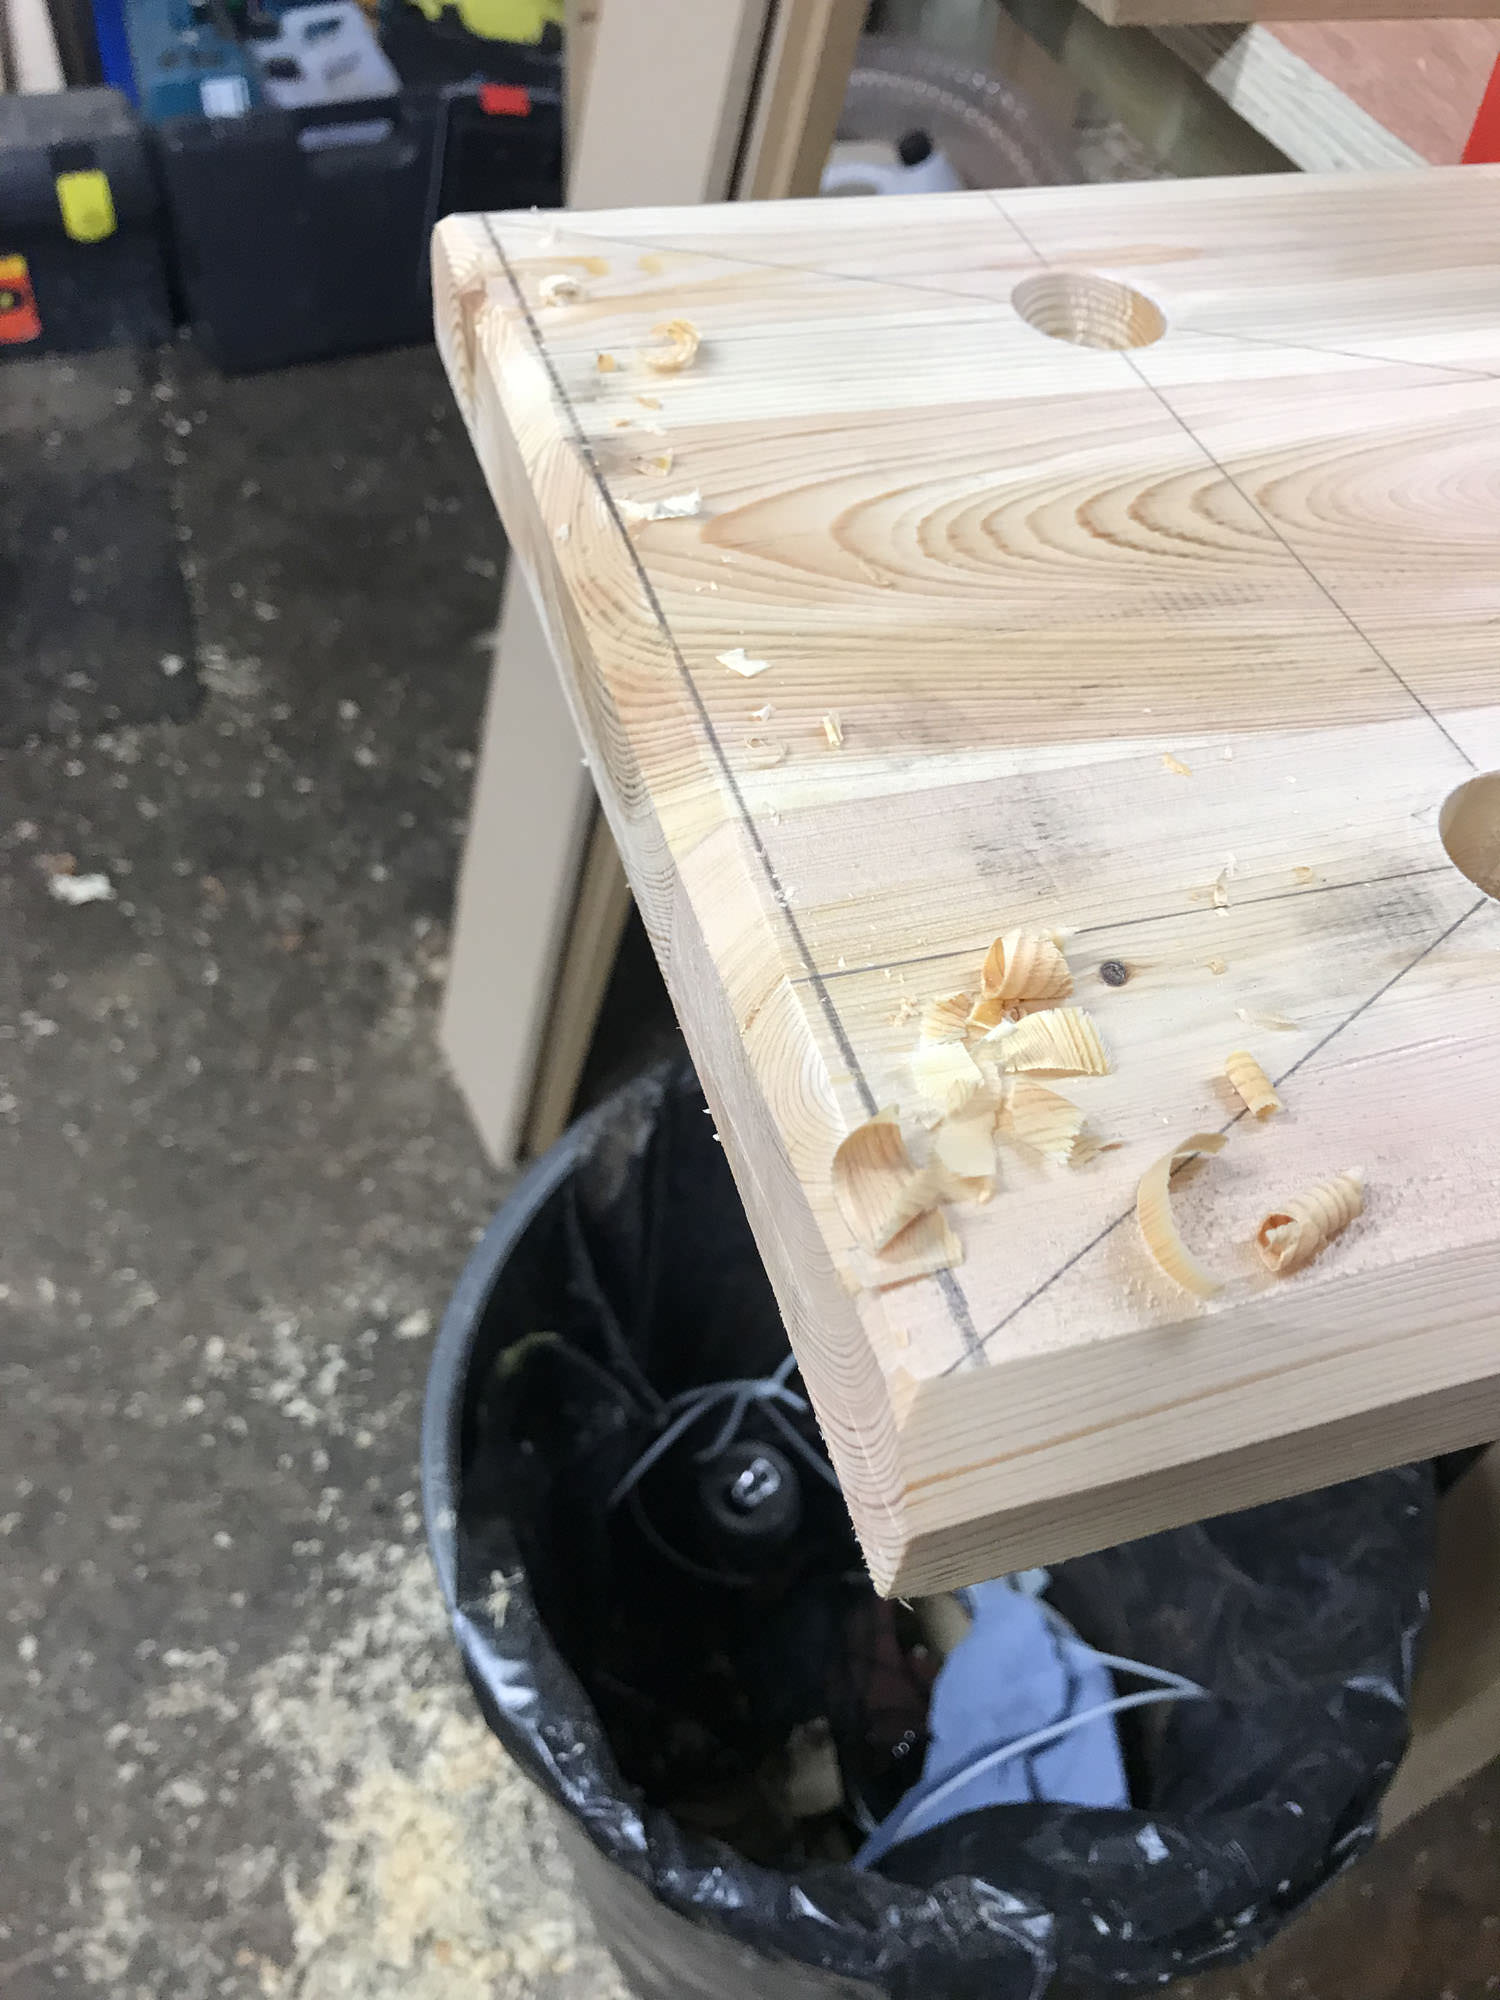
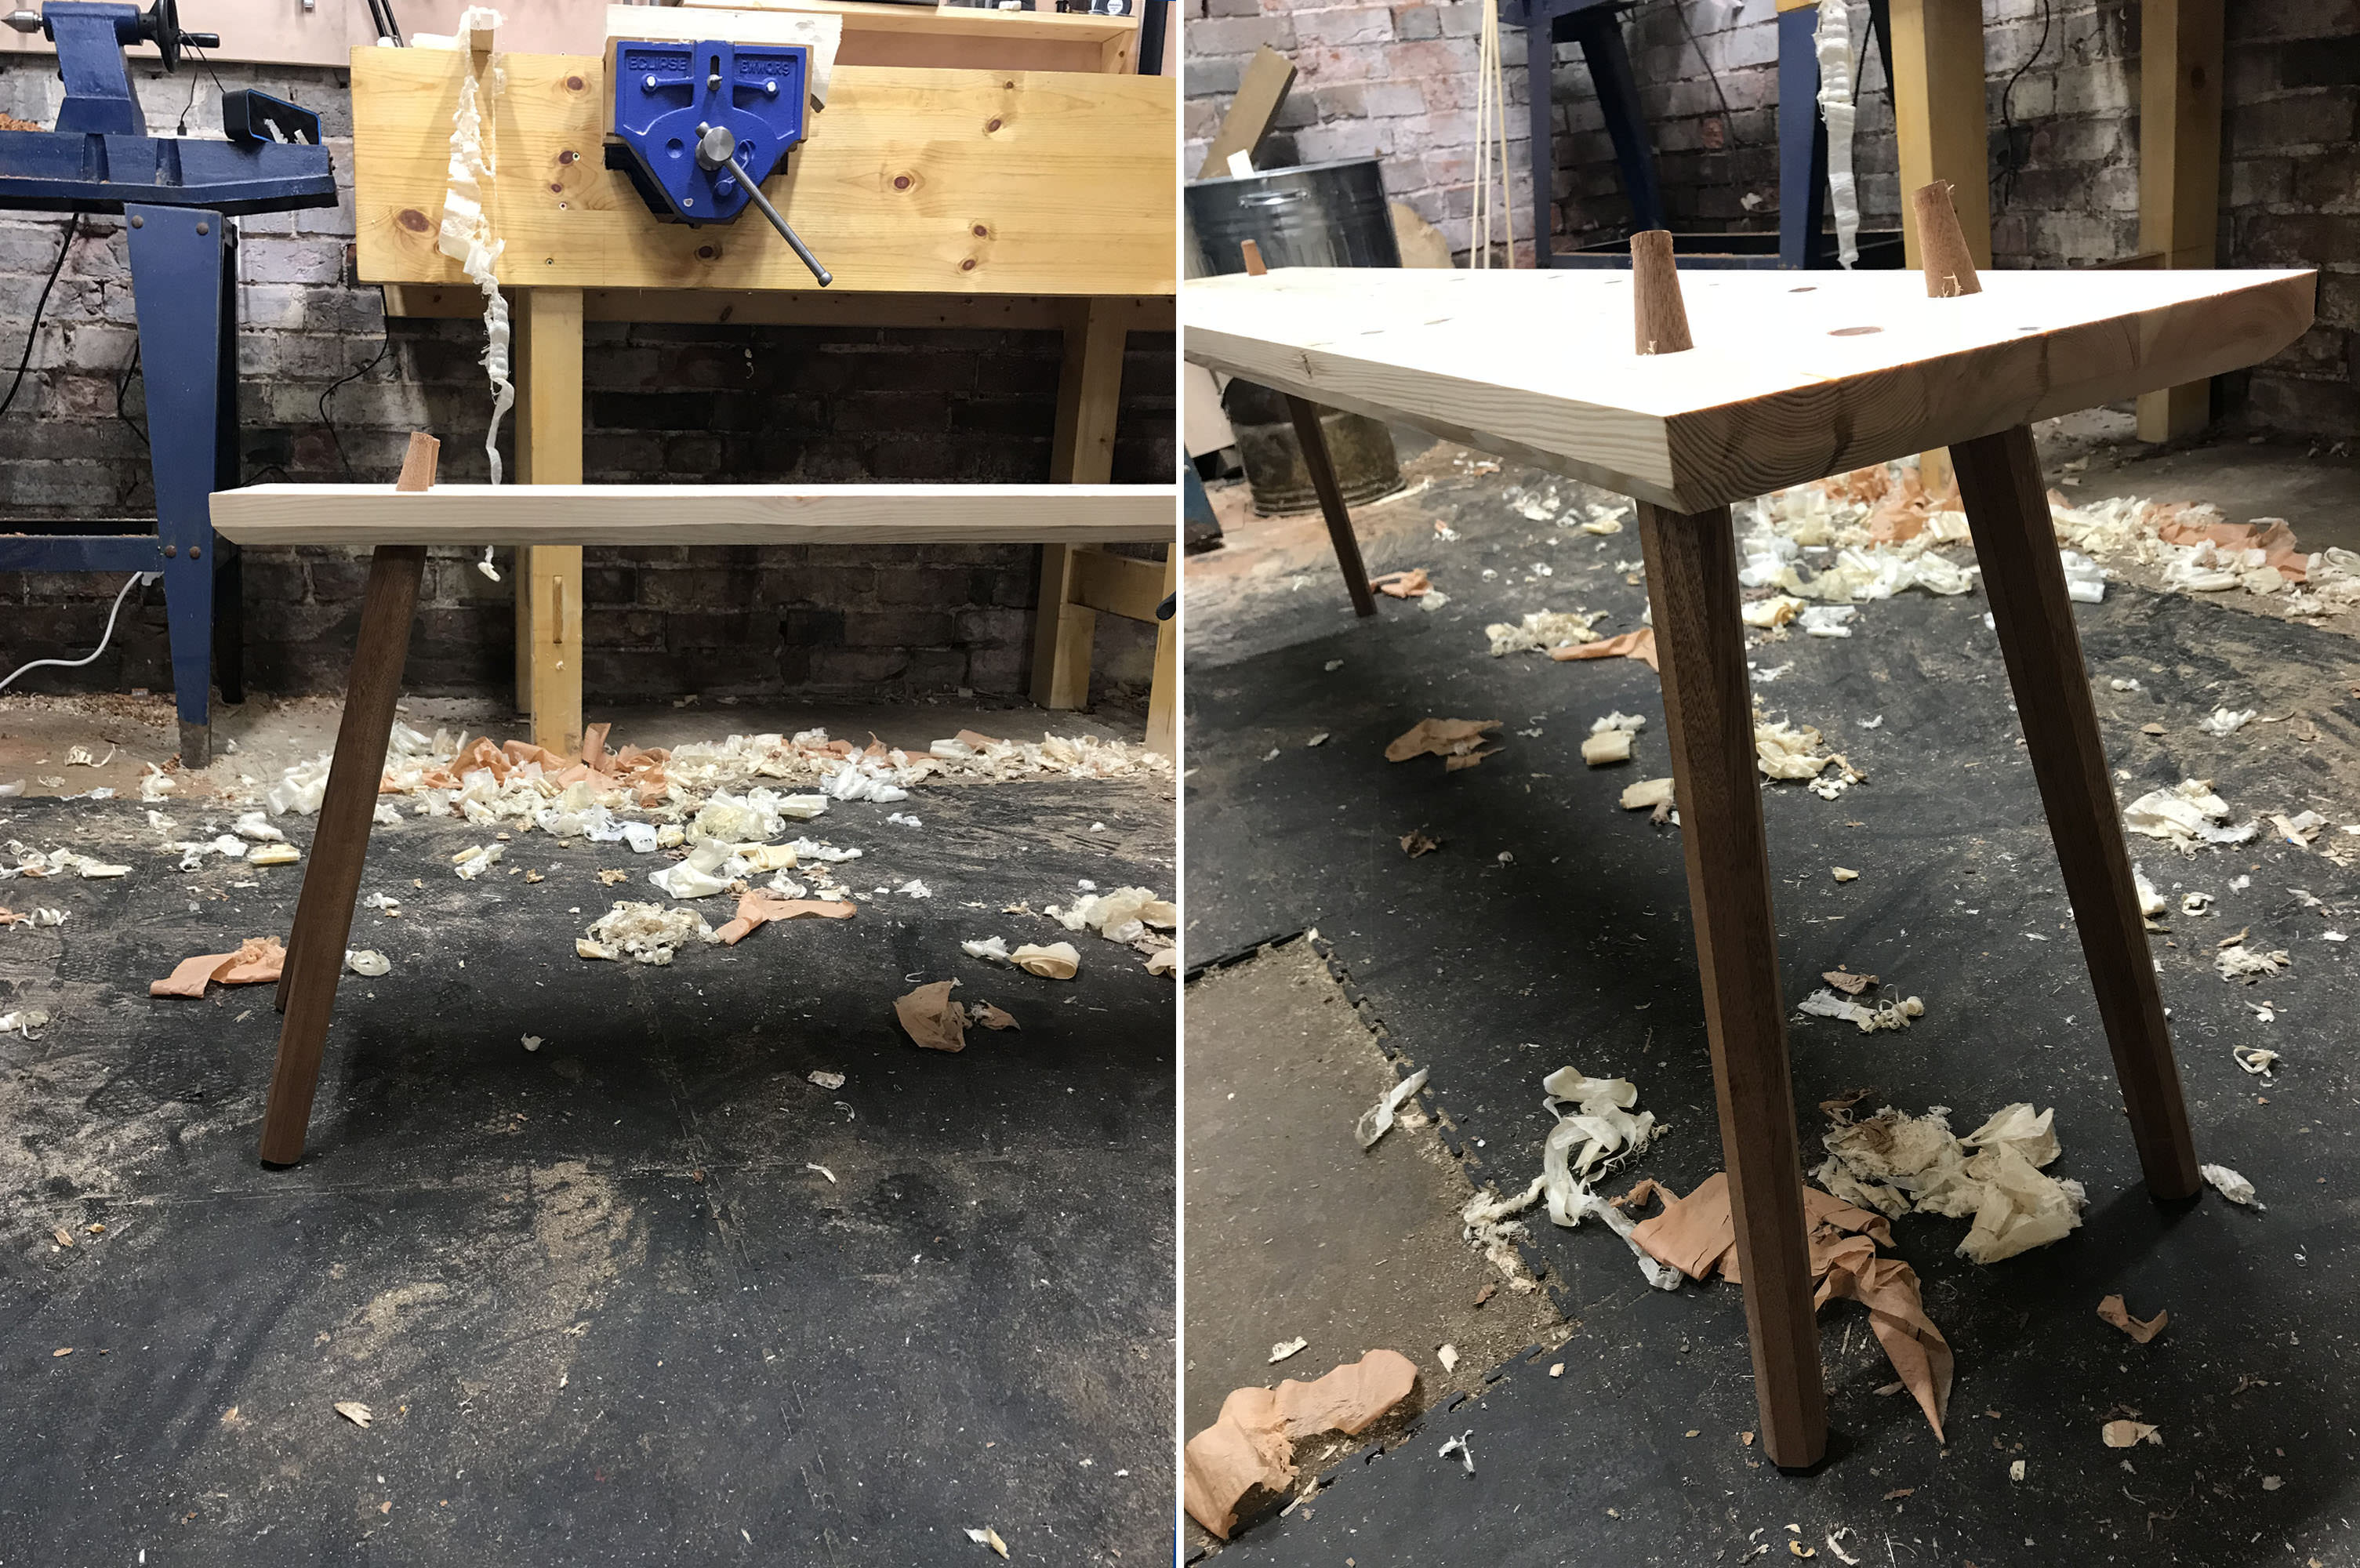
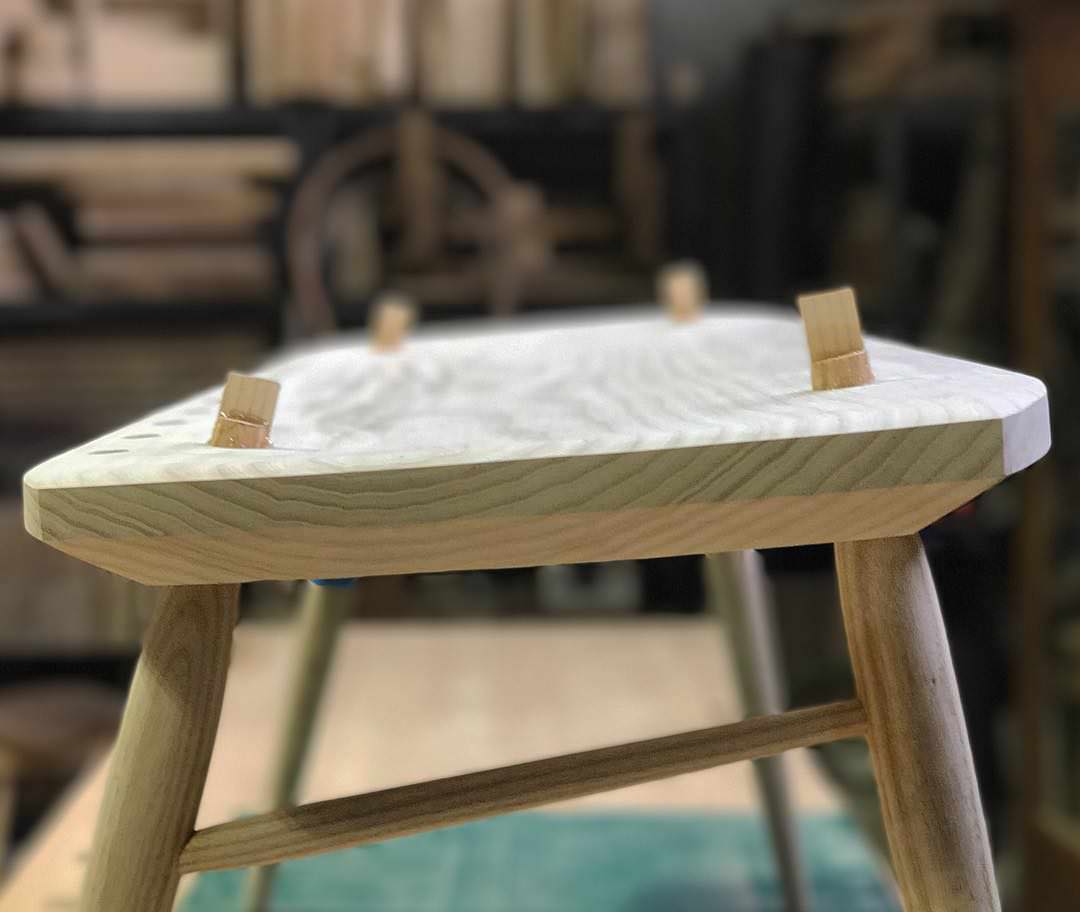
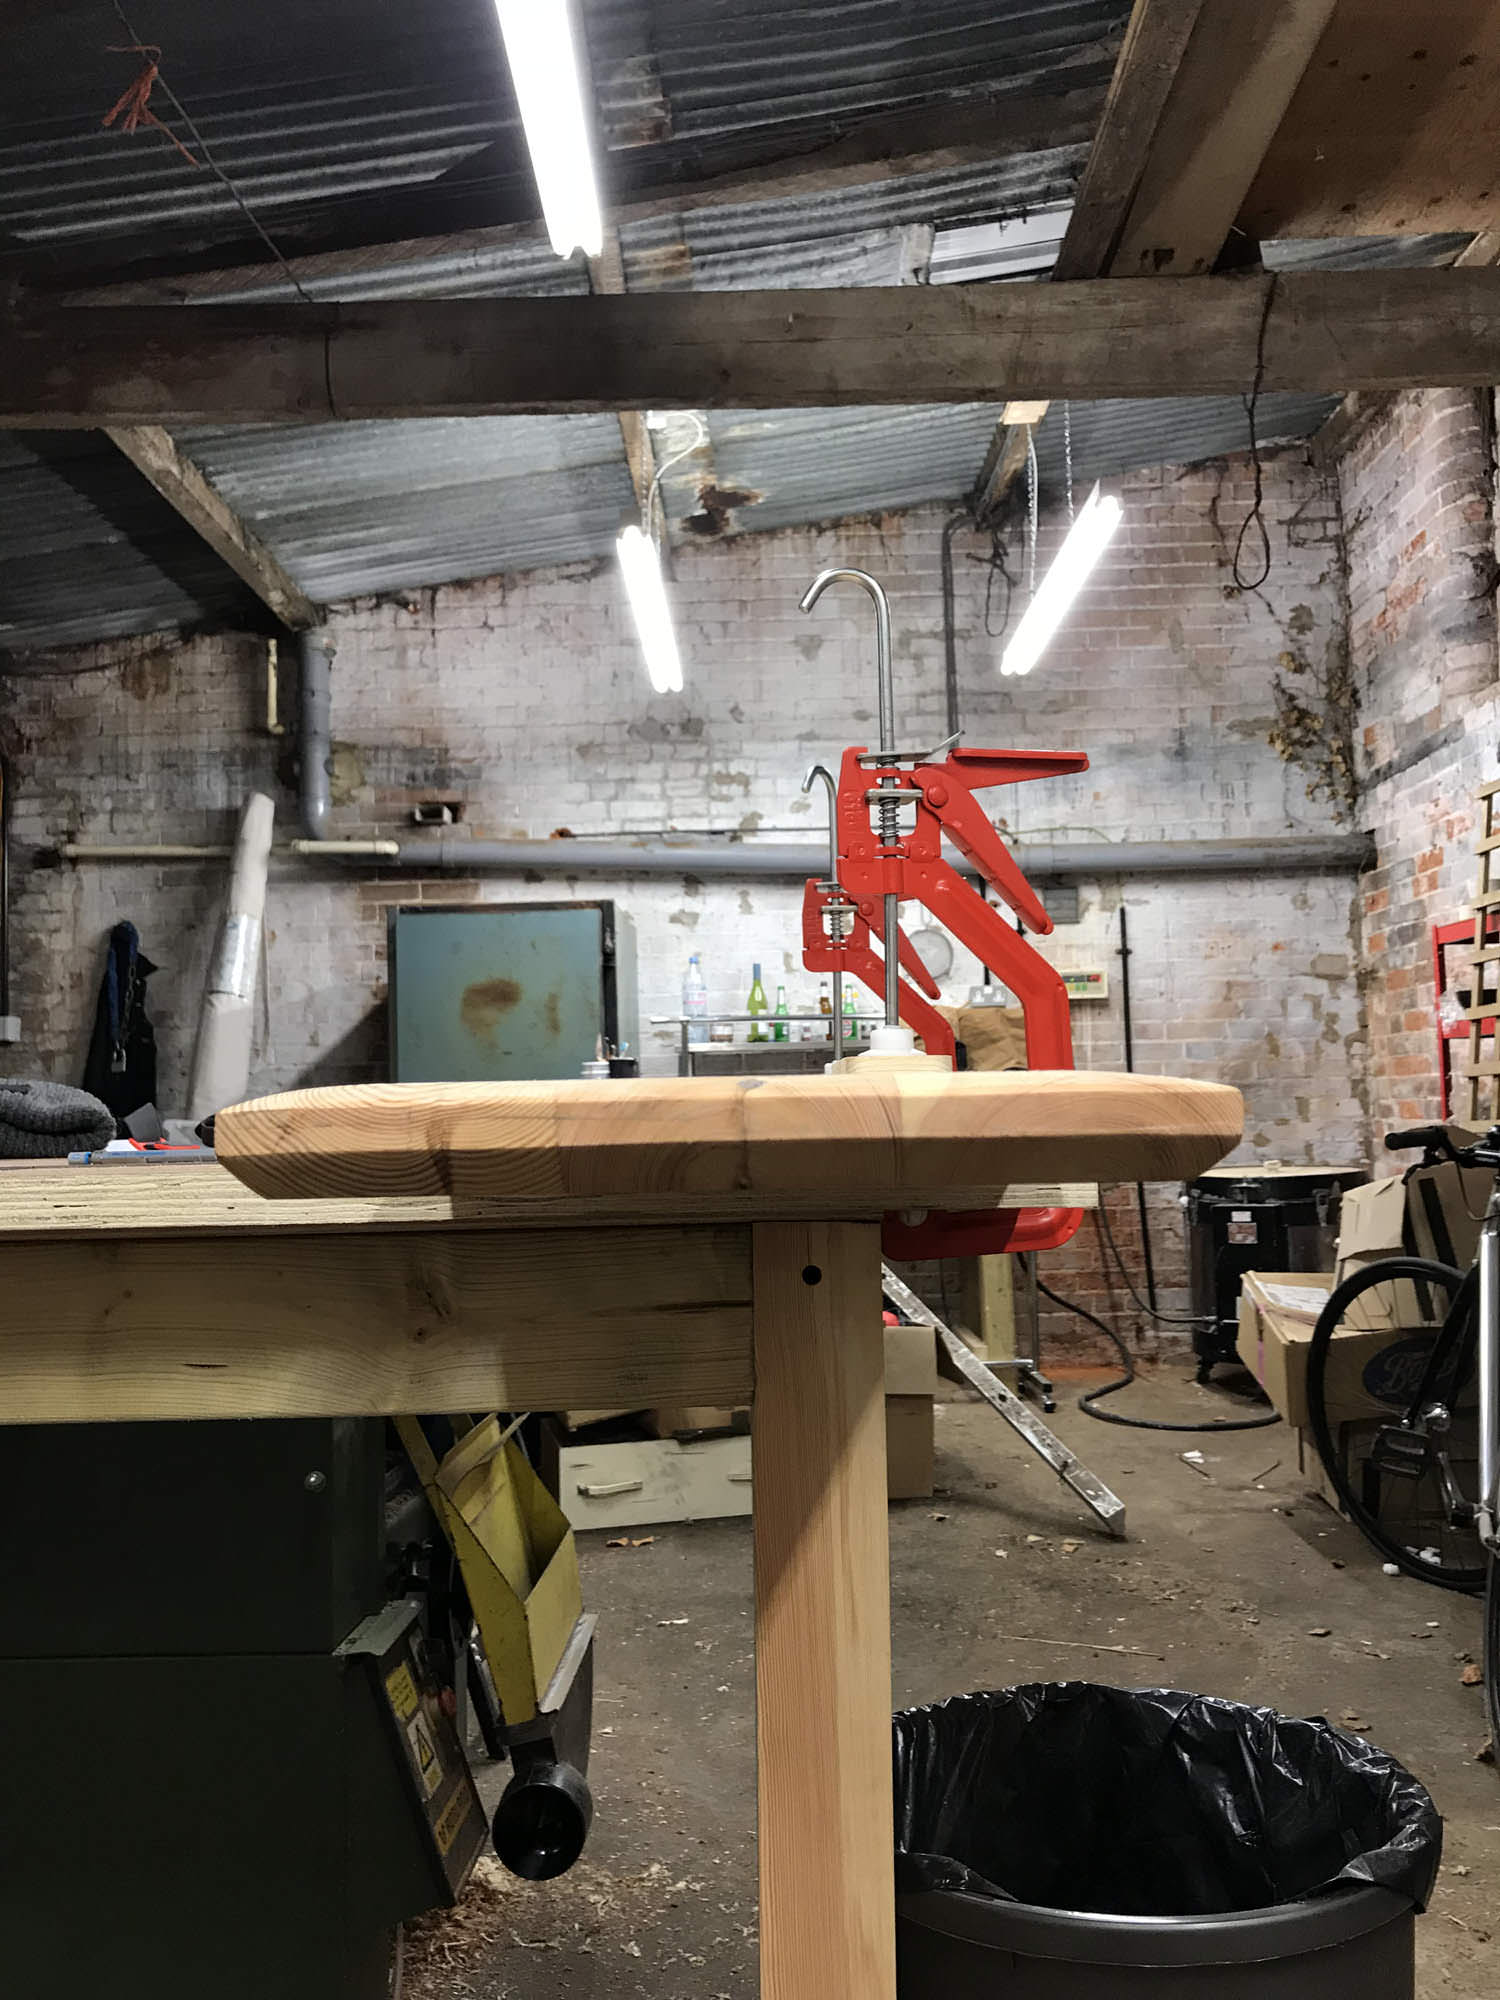
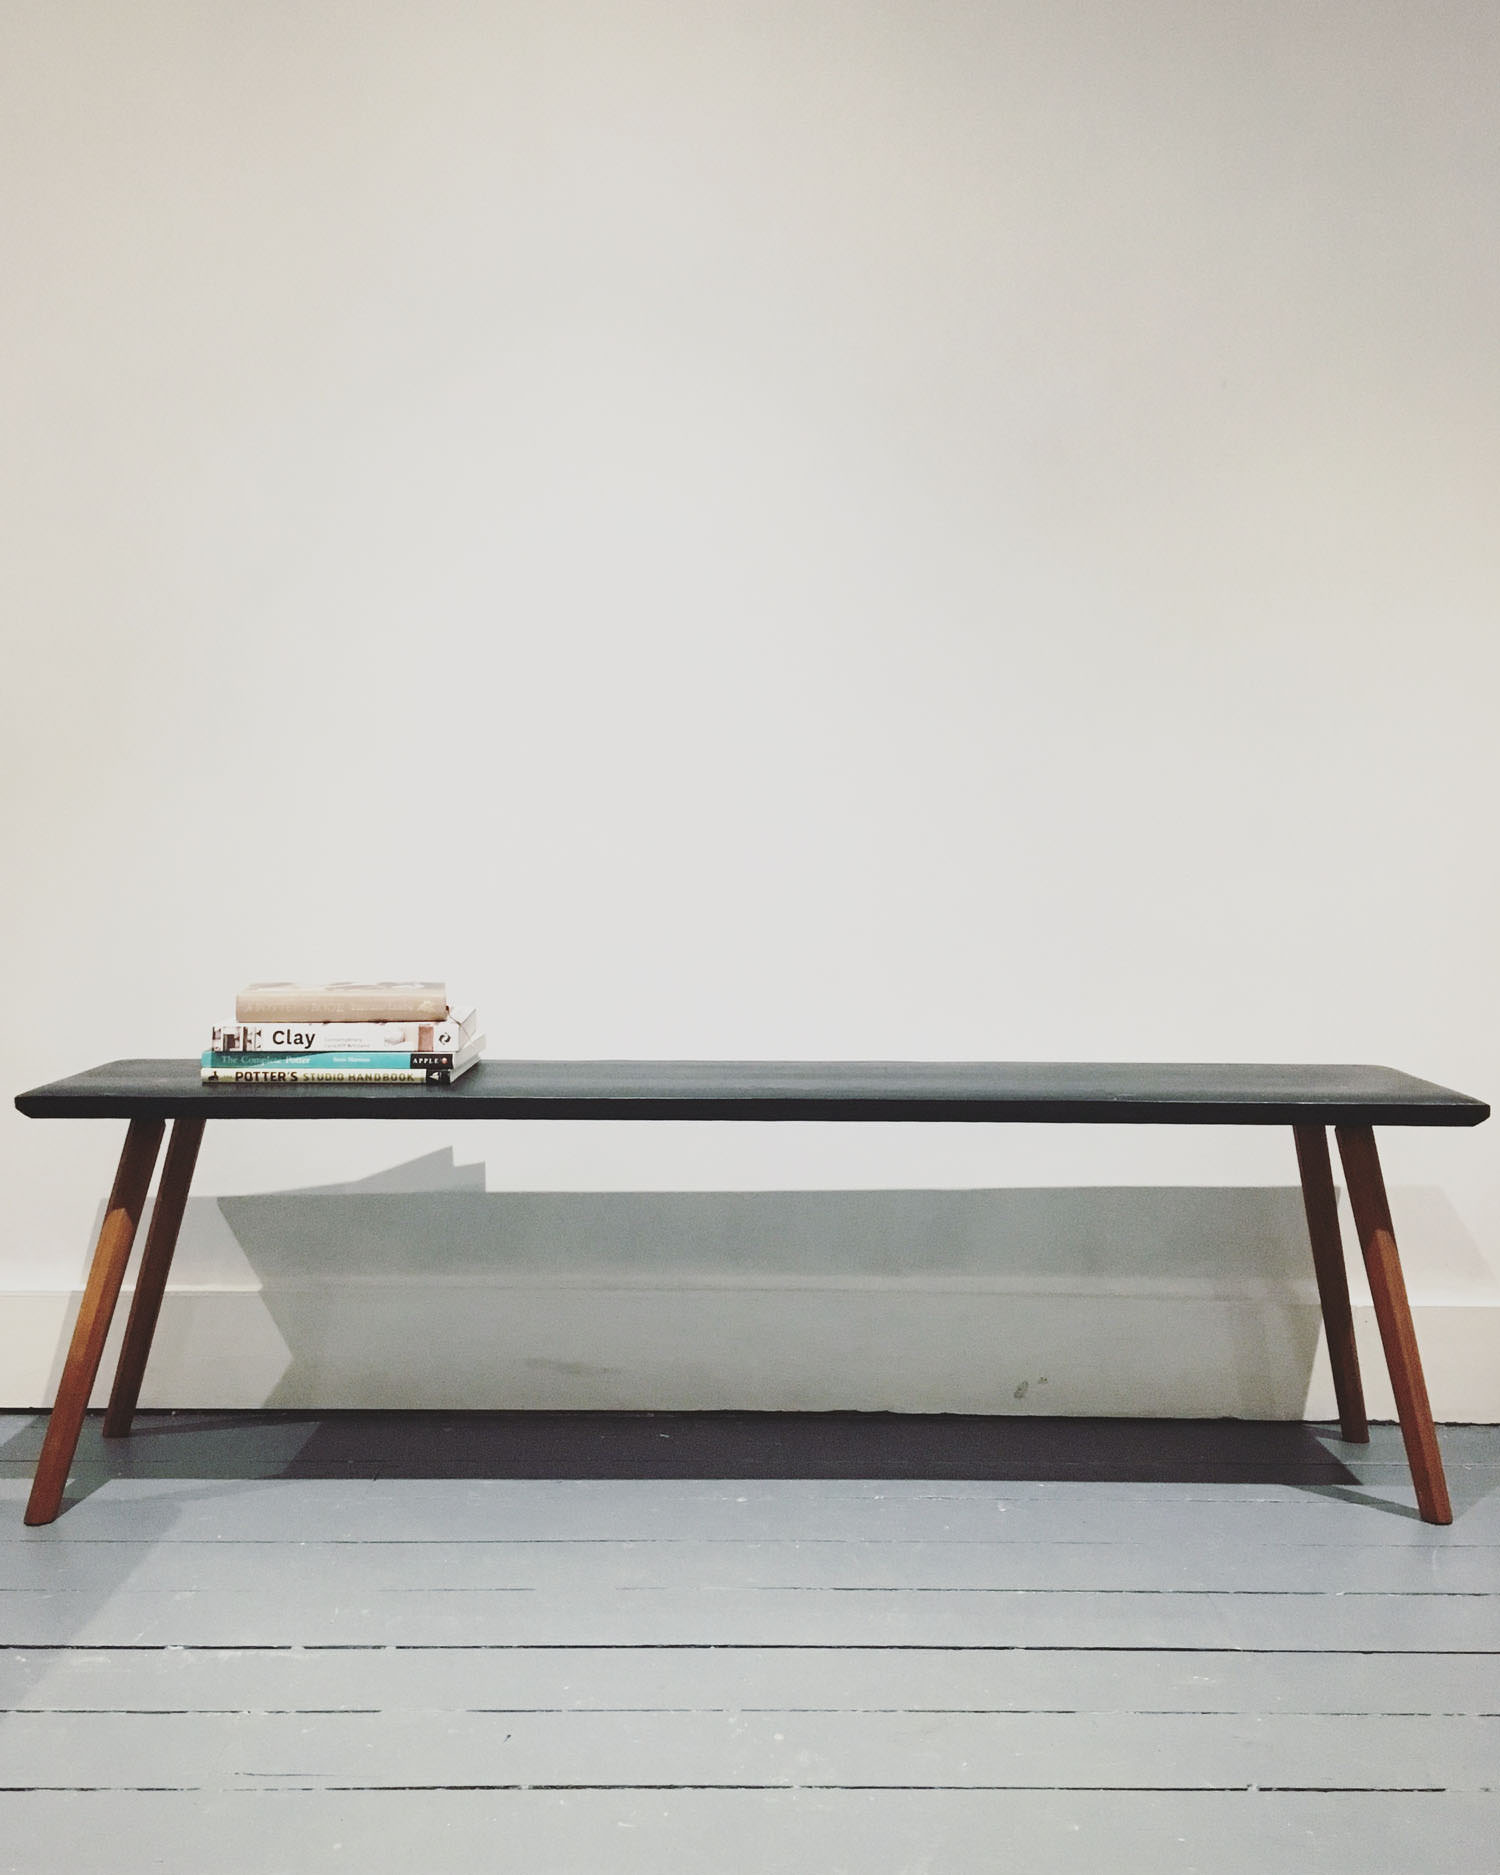
Evening all. After building my workbench earlier this year, I had a glued up apron left over. It was rejected because I did a pretty rubbish glueing job and it was also very twisted, so I stuck it in a corner and thought maybe I'd use it one day. Well, that day finally came and this week I didn't have any work on so decided to turn it into a small staked bench.
I've been an admirer of Christopher Schwarz's staked furniture for a while, he mentions often about how simple and rudimentary it is and while that may be, I don't think it should be shrugged off quite that easily. It is simple but not unsophisticated and for that I applaud him. As Dieter Rams once said, "good design is as little design as possible". Pretentious but true. So this particular bench is a sort of mix between Chris's sawbenches and one of his Roman benches.
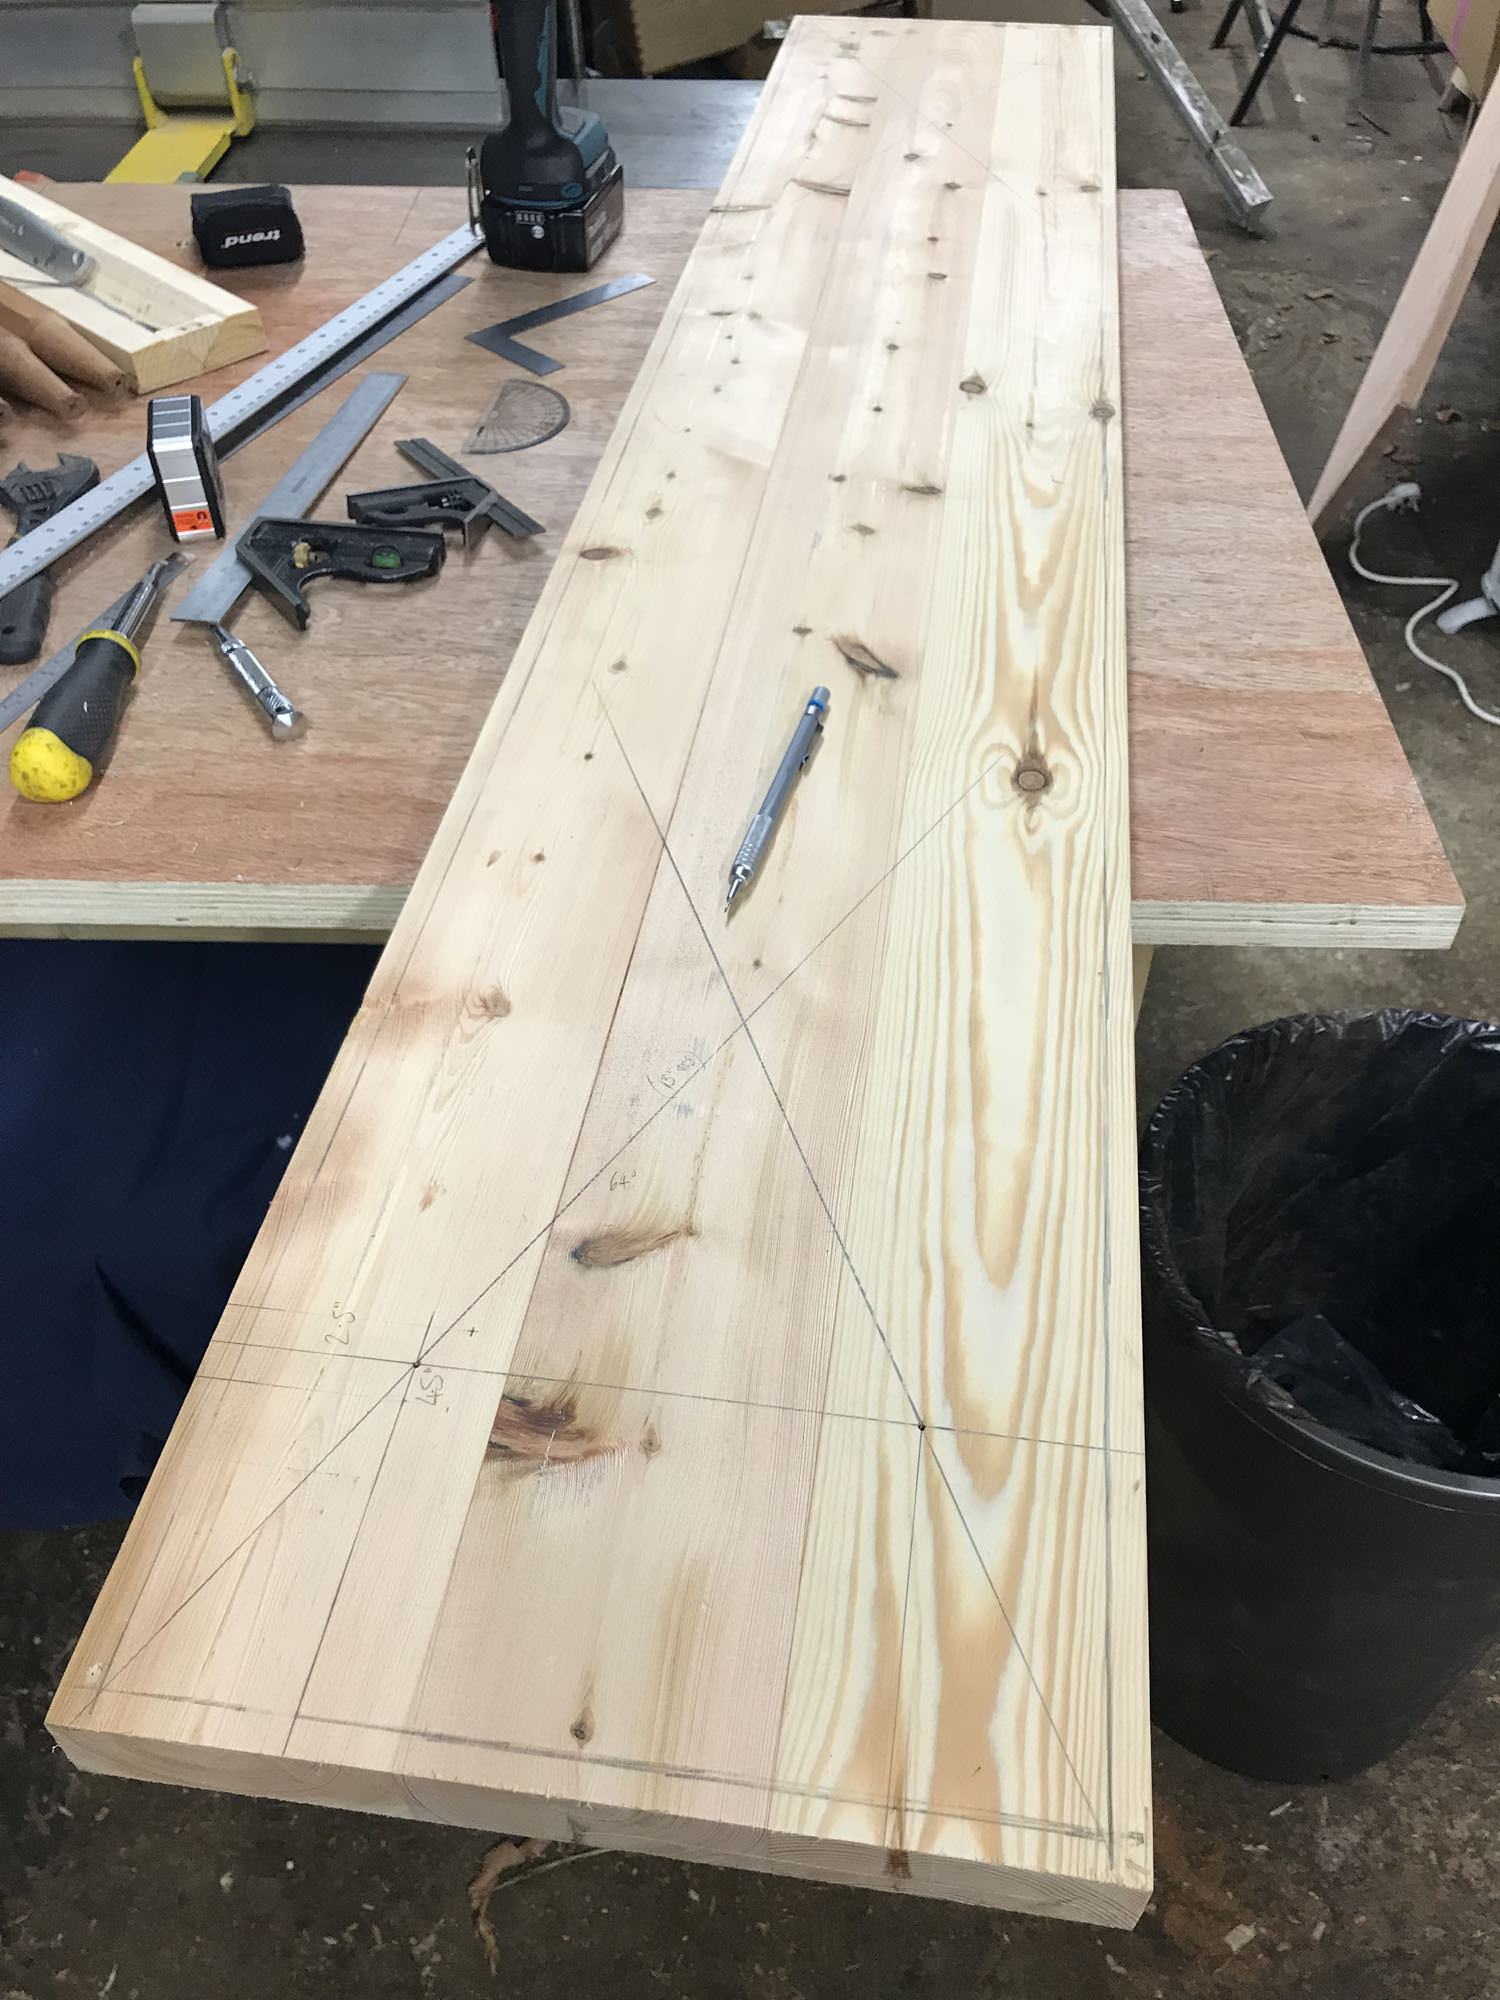
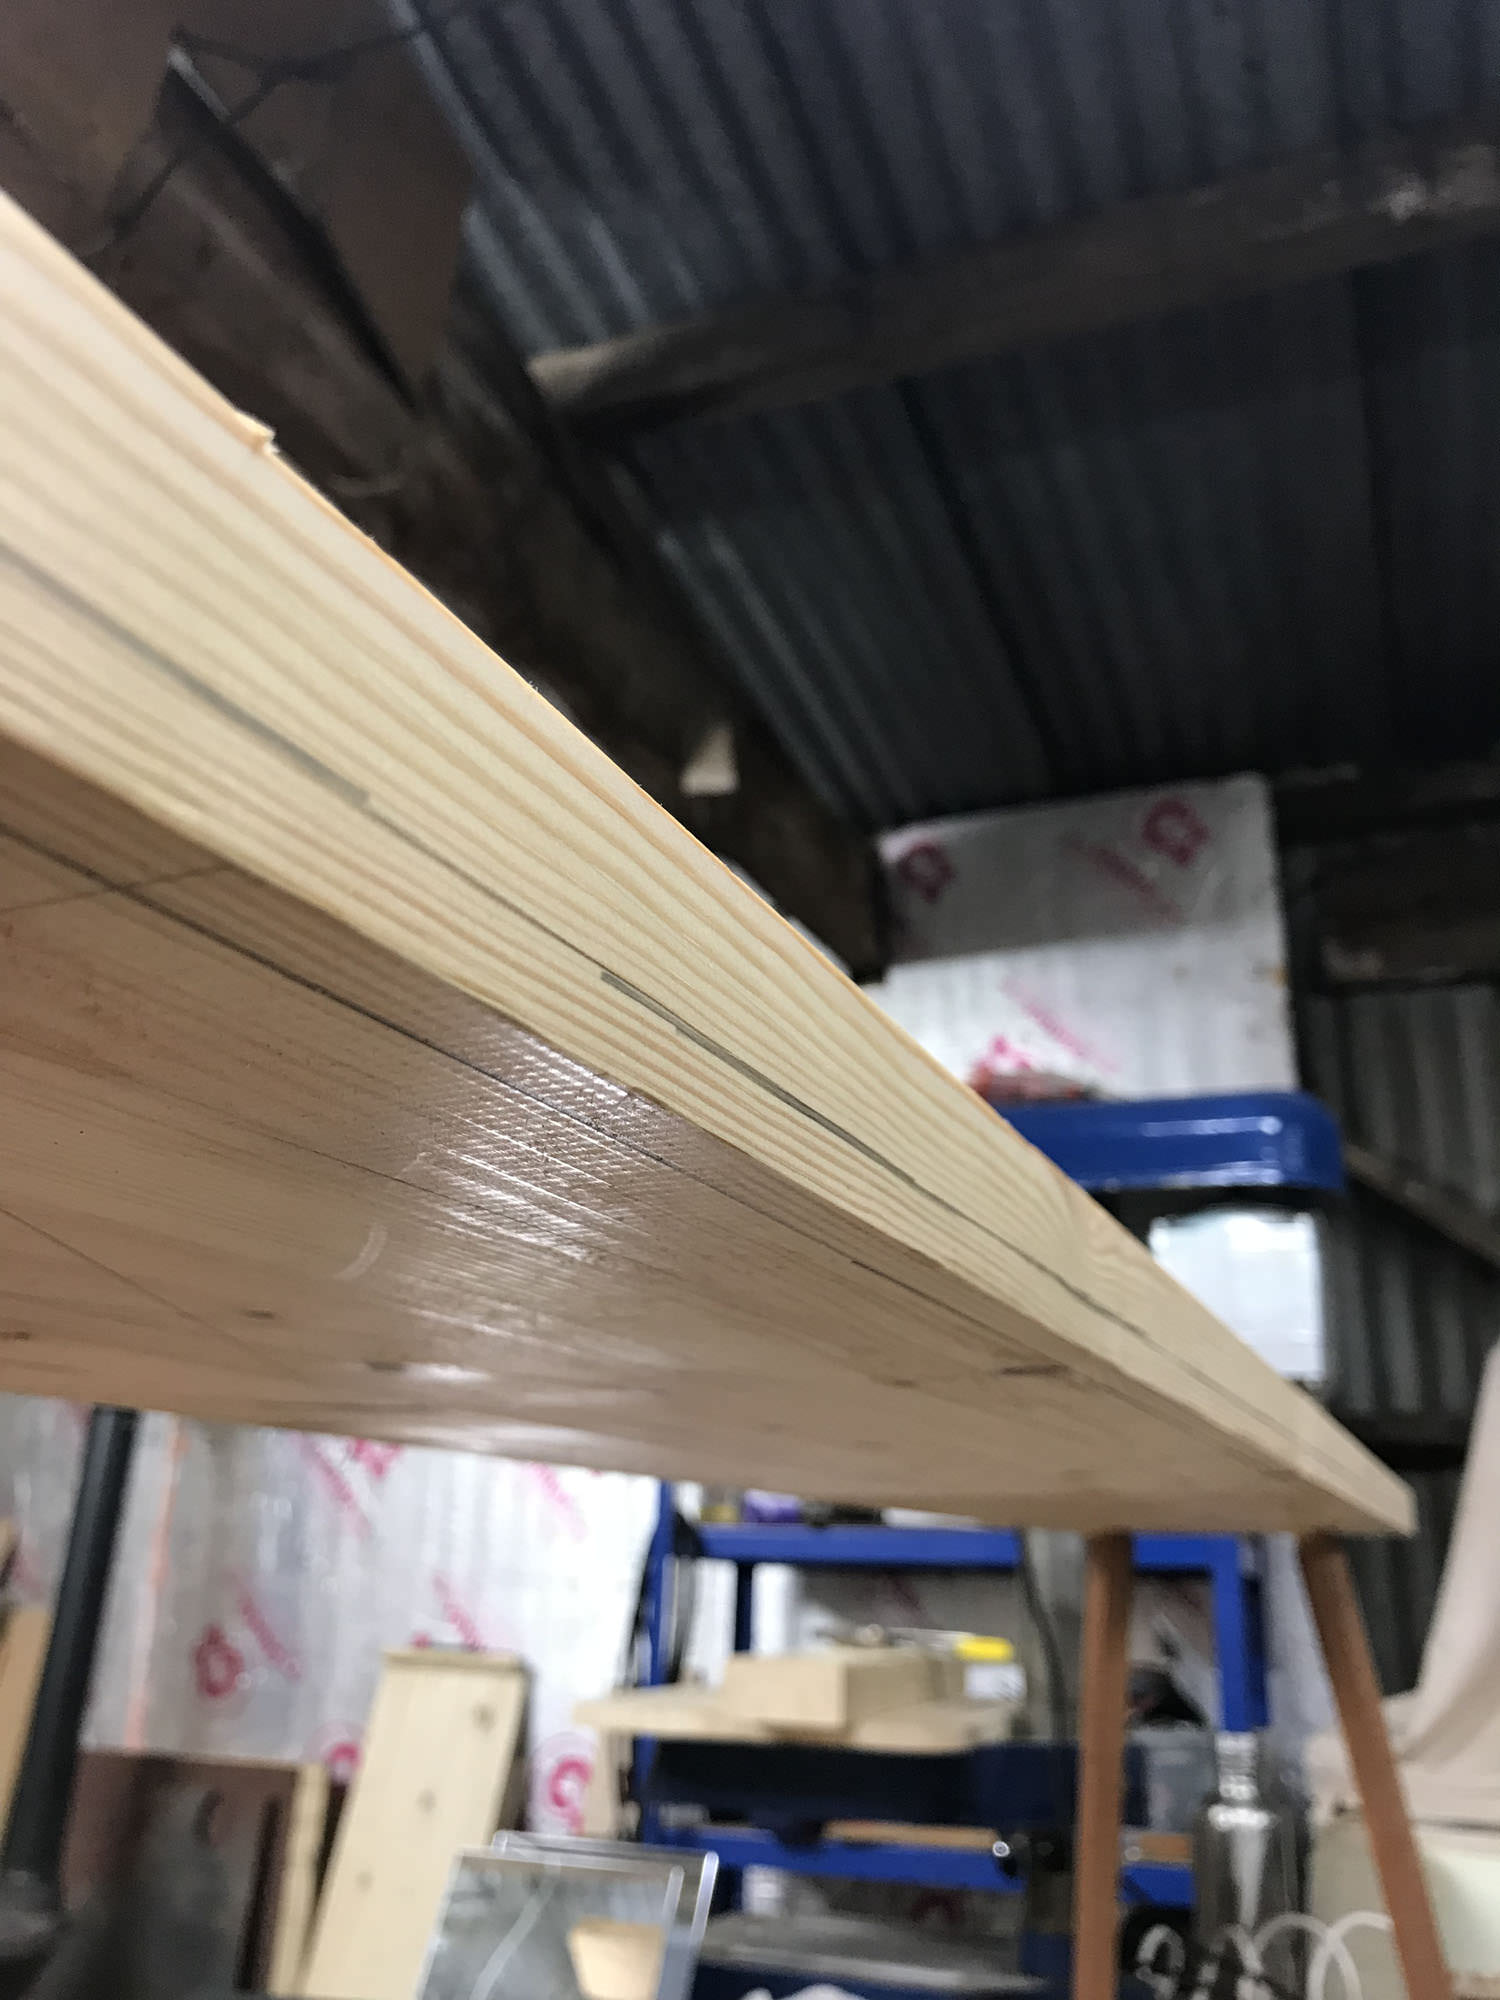
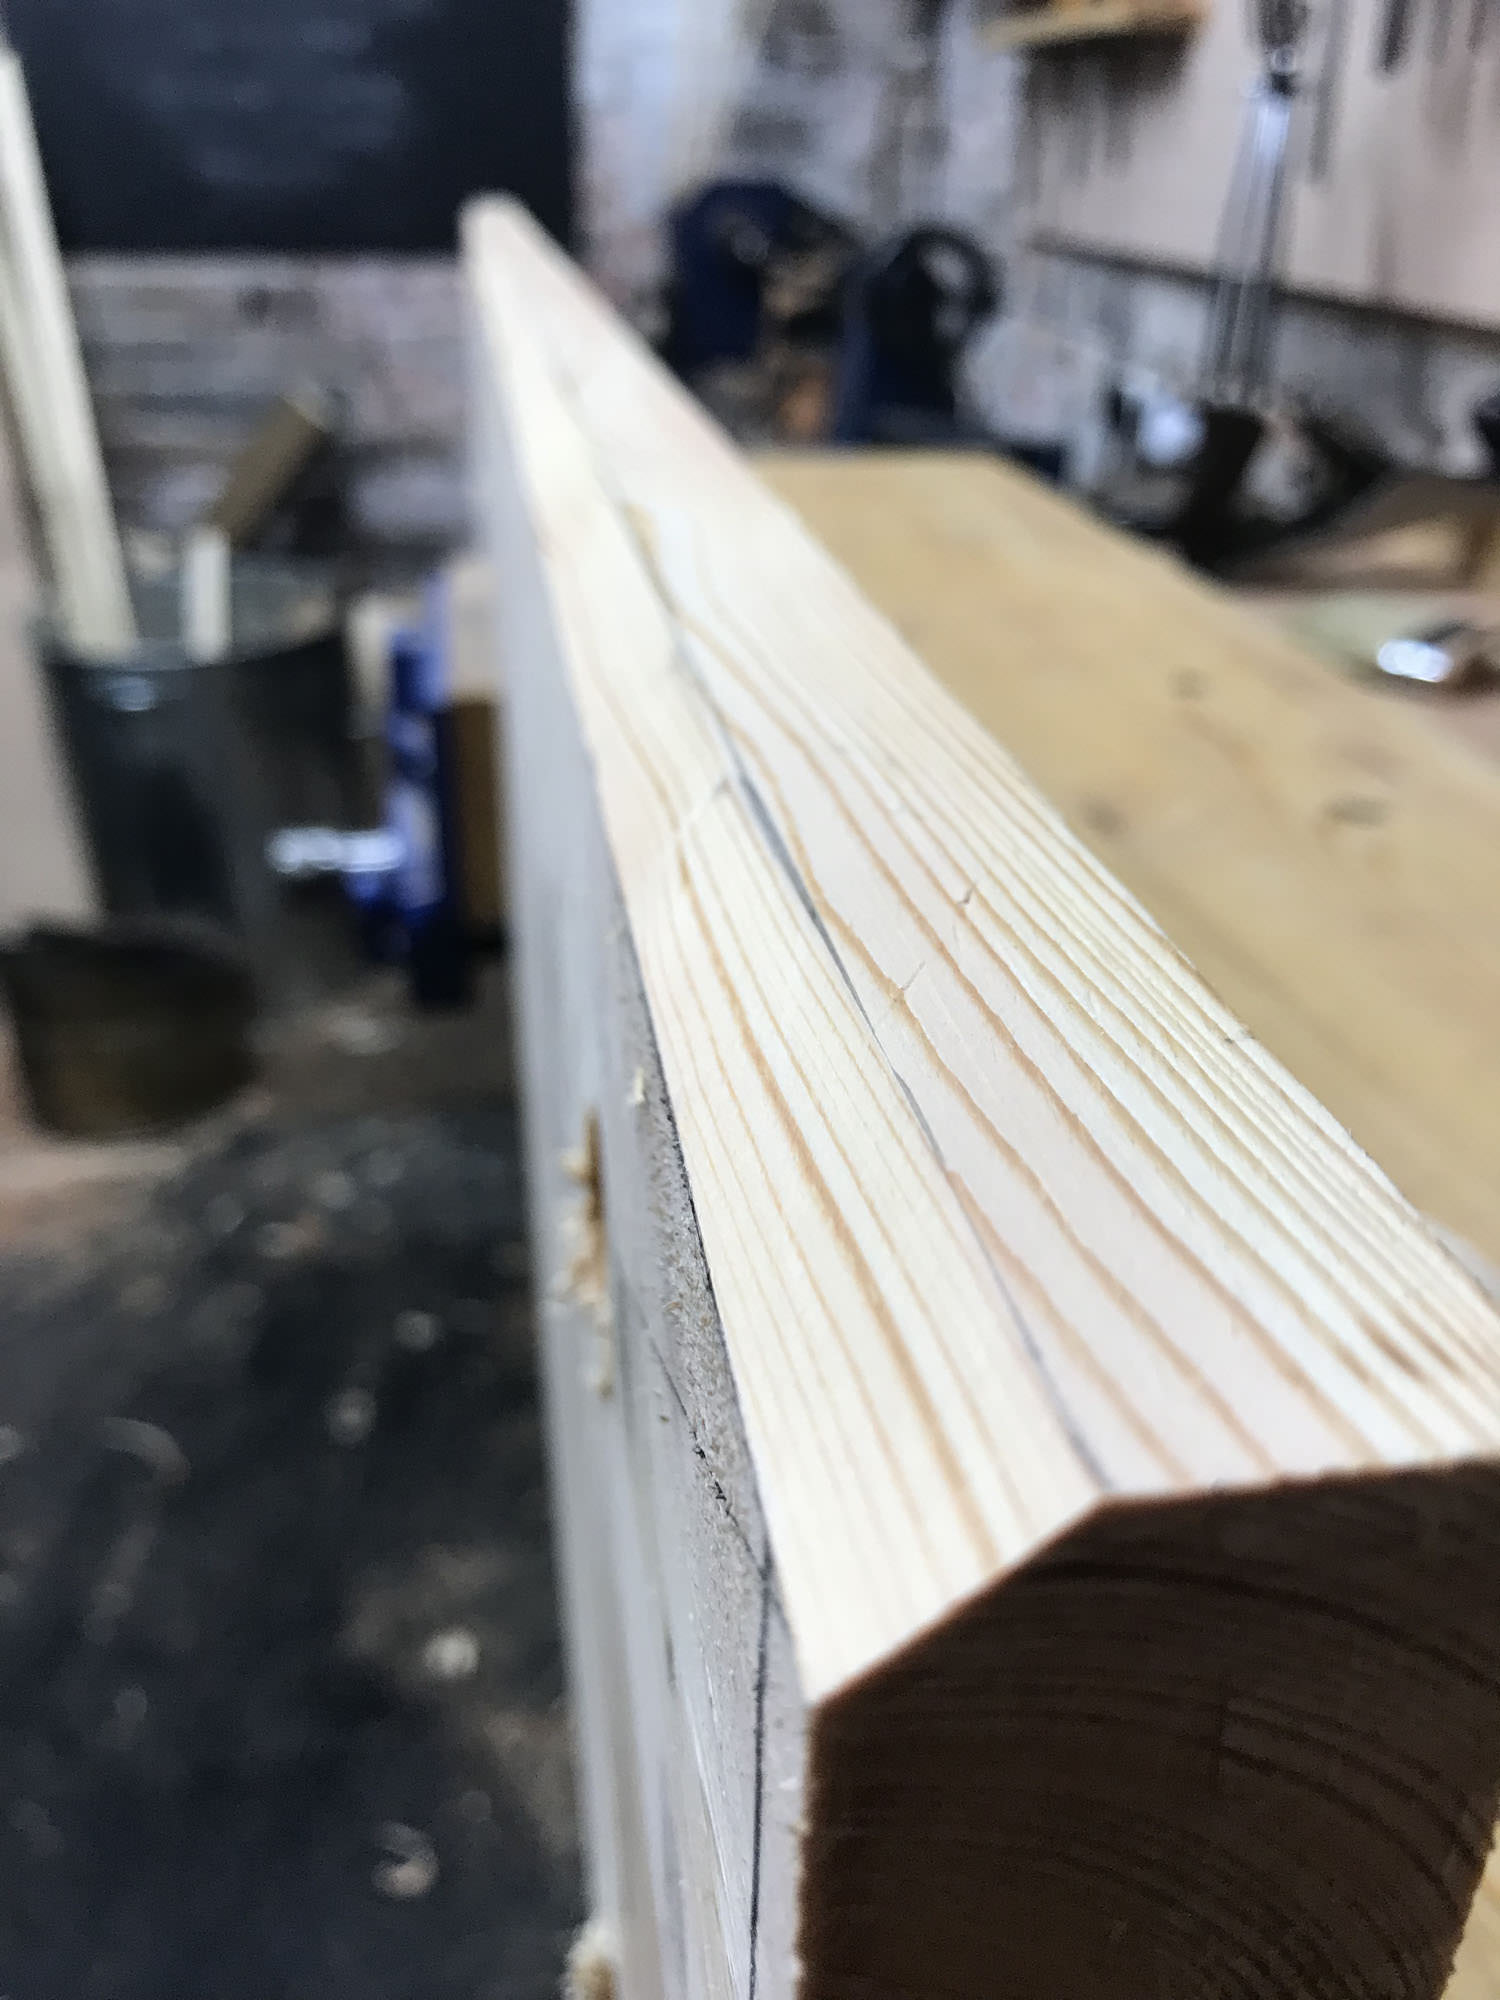
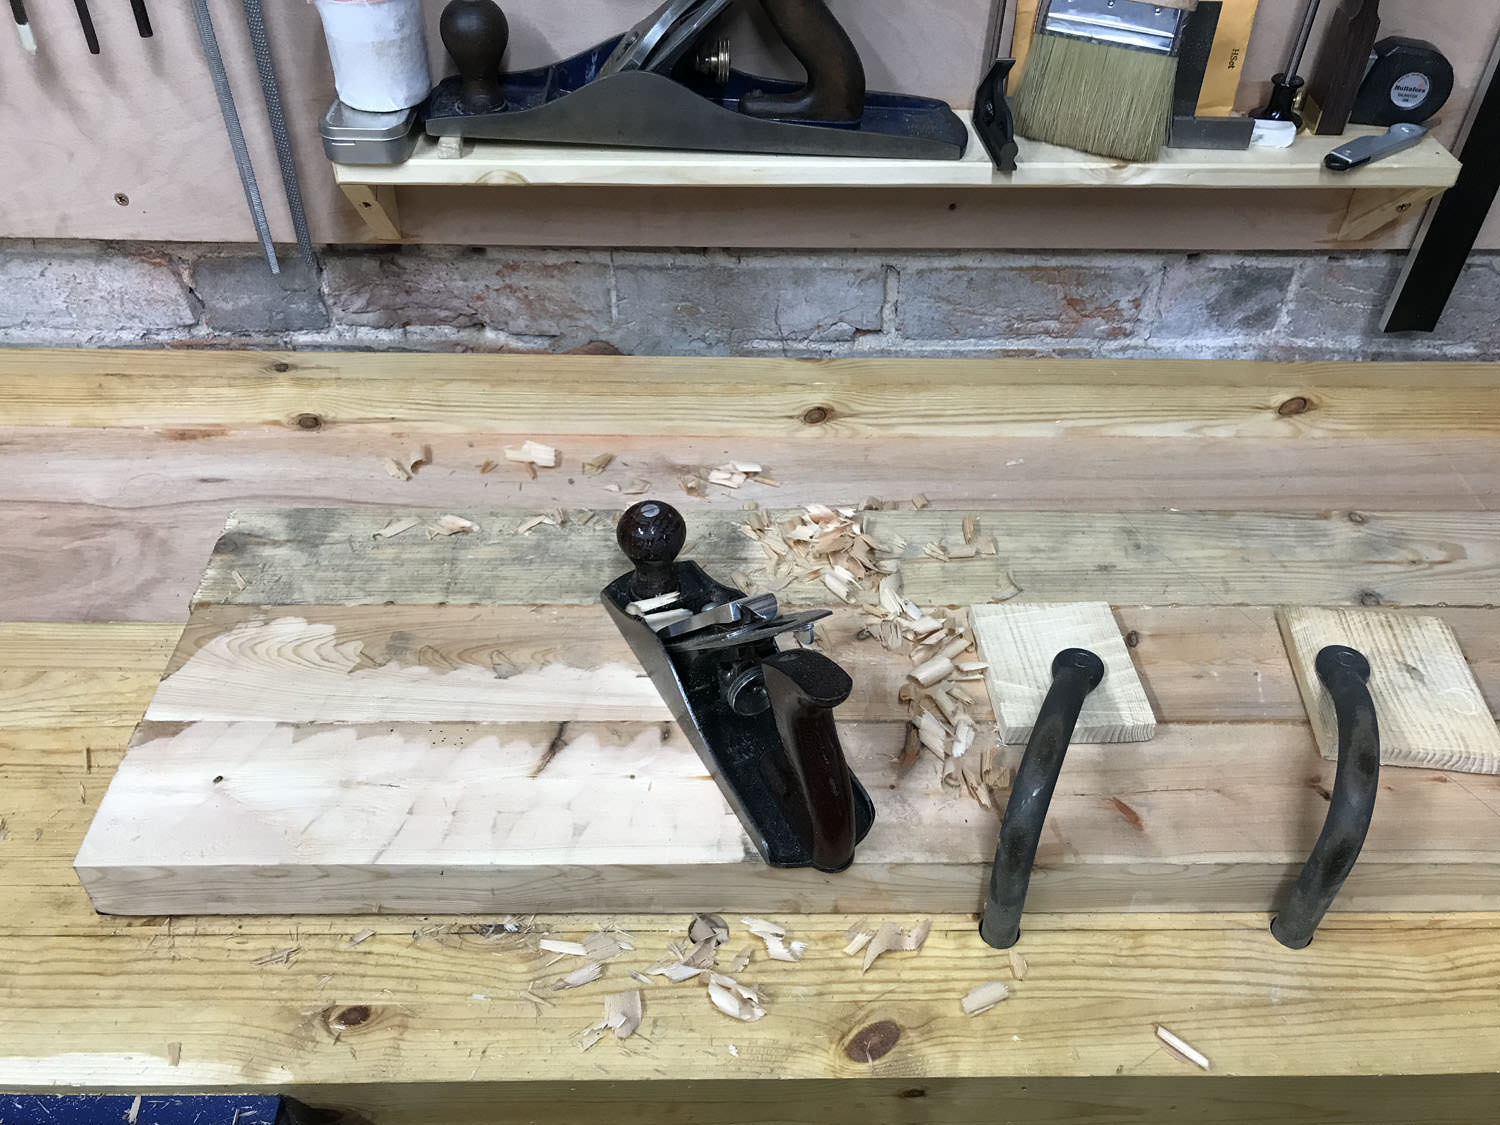
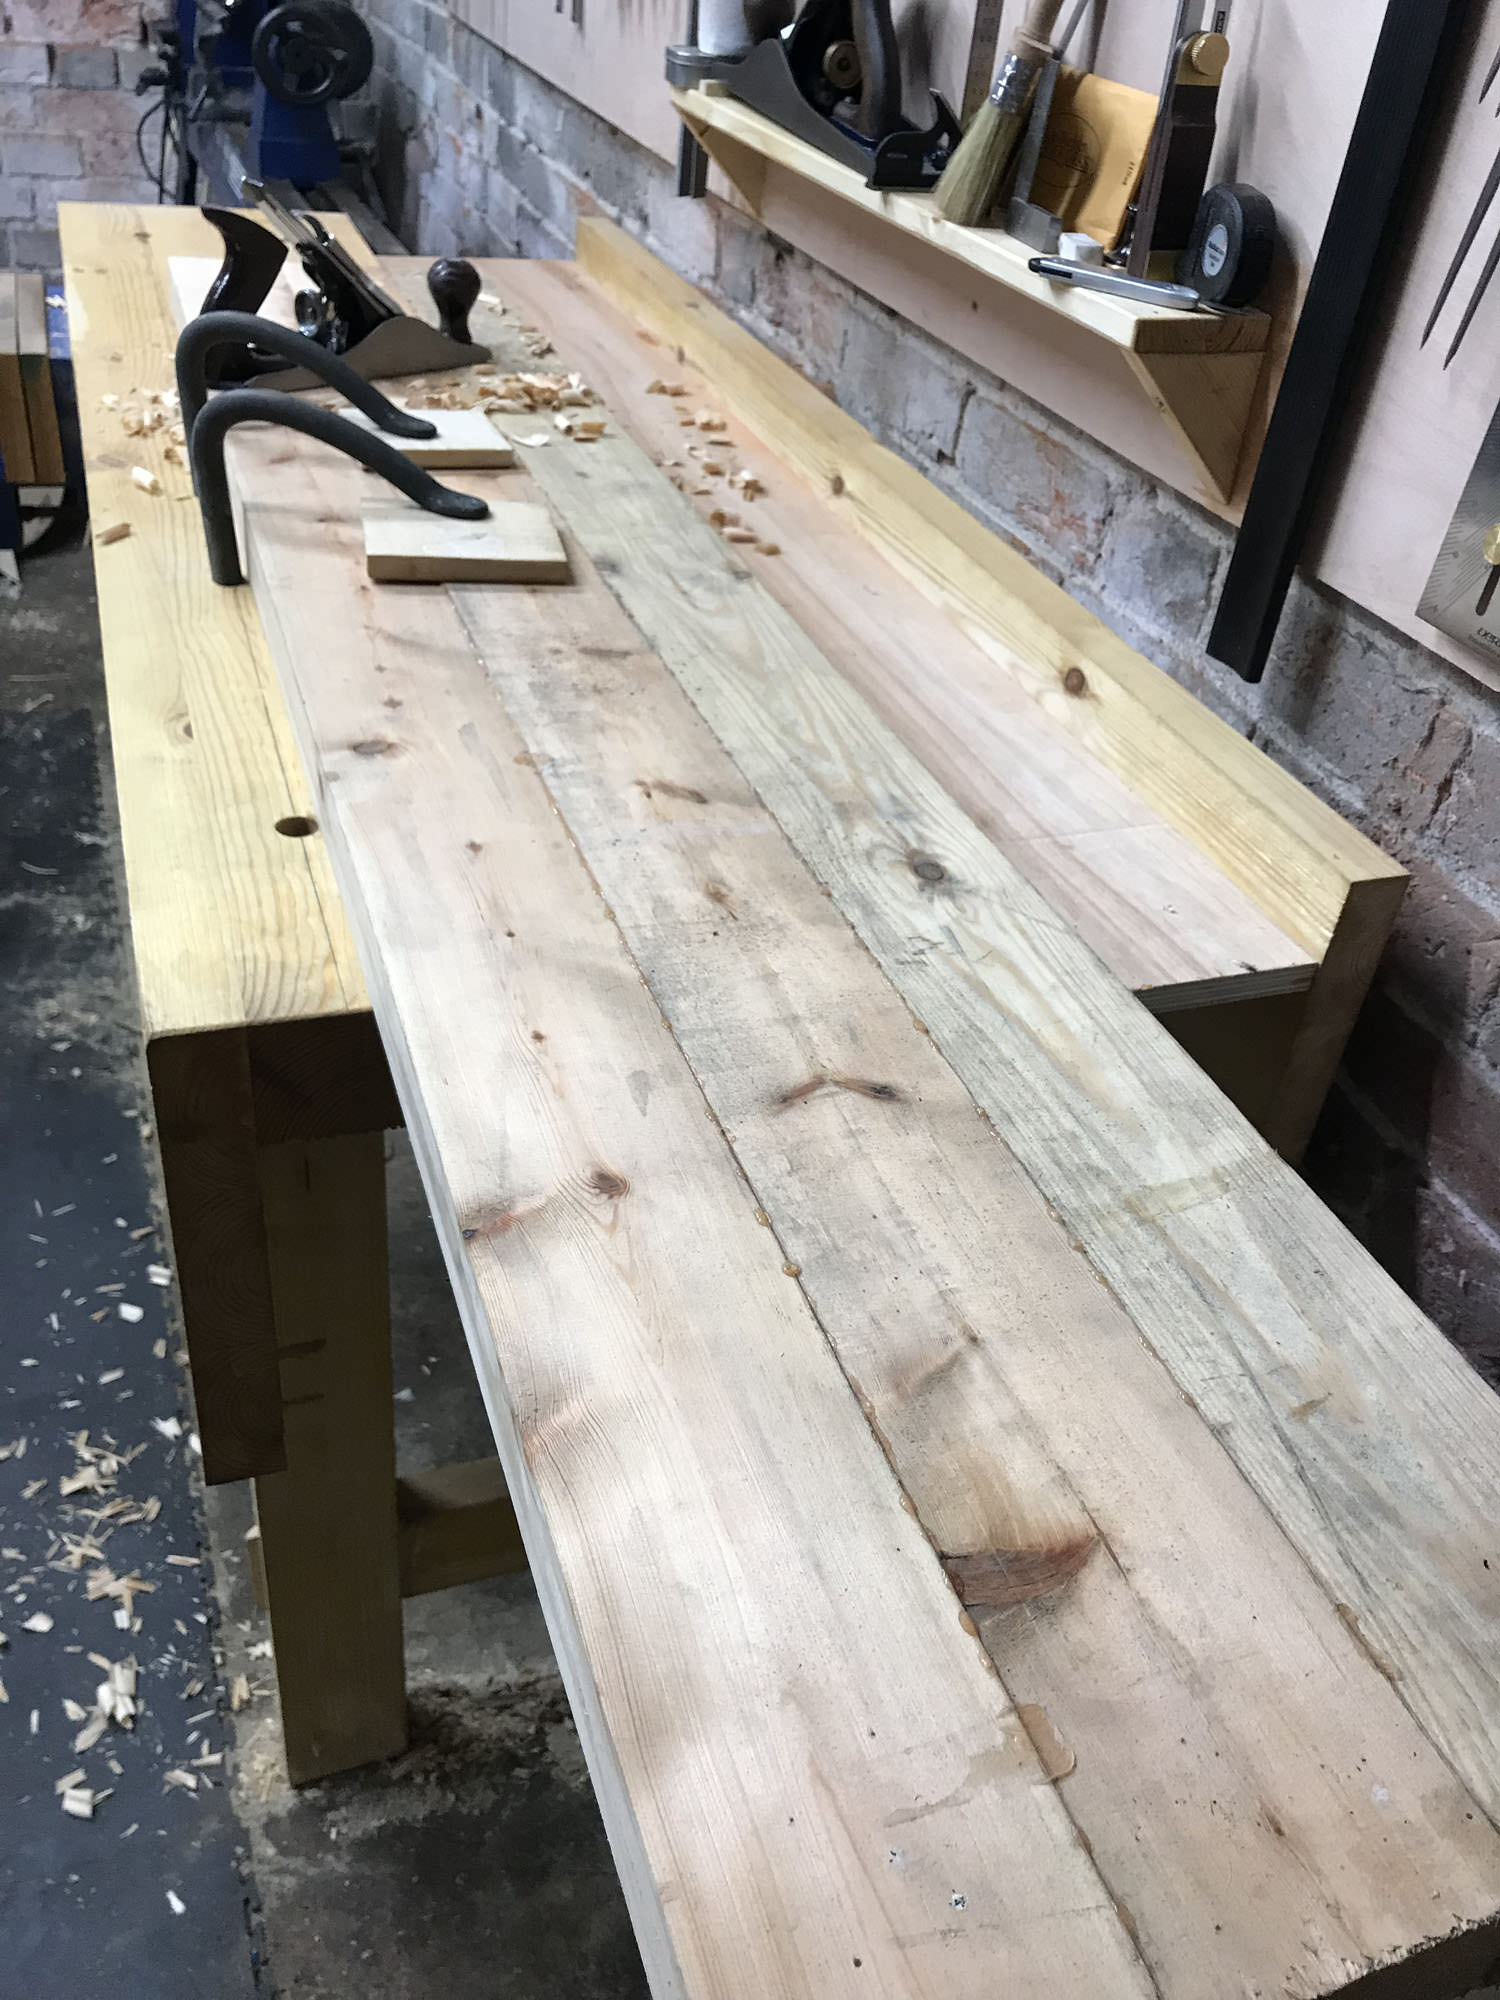
I started by scrubbing the twist out of this ugly board using a Stanley No. 4 converted into a very effective scrub plane. It should be noted that had I not just picked up a planer thicknesser, I would not be doing this at all. I love hand tools as much as the next nerd but the idea of flattening some dirty old pine by hand didn't really move me.
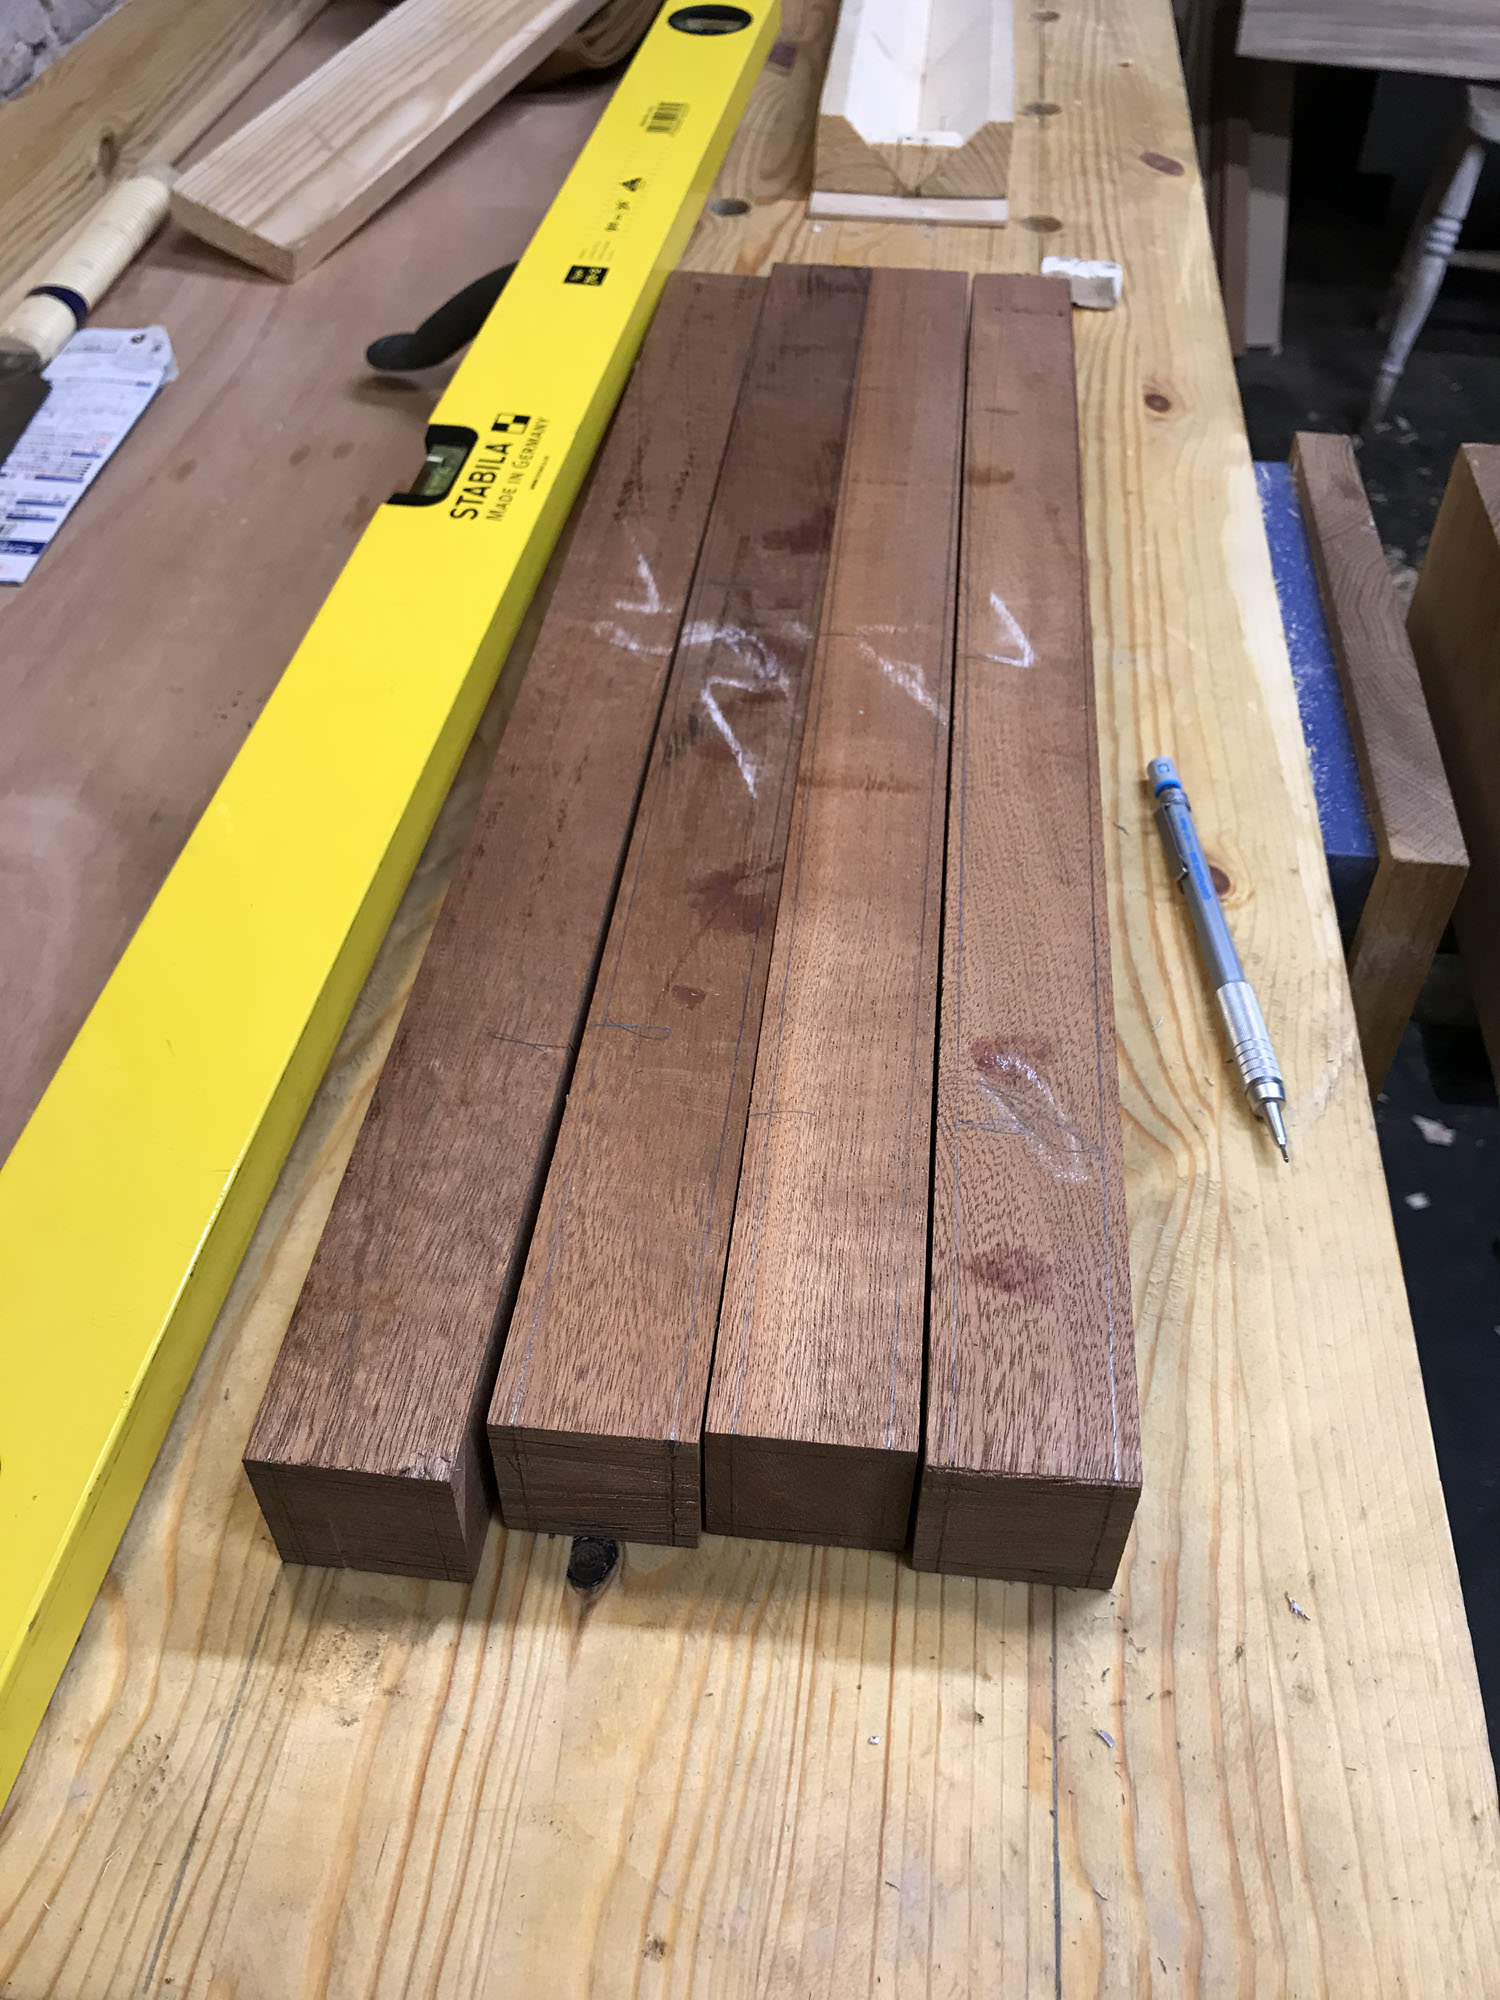
I took a trip to the timber merchant to get something for the legs. I was hoping for Ash but all they had was a giant slab of it that was expensive and not particularly straight grained. However, next to it was a smaller piece of Sapele, just the right size to make four legs. I had not used Sapele for anything before so this seemed as a good a time as any to try it out.
After cutting to size and squaring up (thank you planer thicknesser) I marked up the legs to be tapered on the bandsaw. Notice the blood across the faces, that was from a very annoying cut knick that wouldn't stop bleeding.
Rough but tapered legs, ready to be put back through the planer.
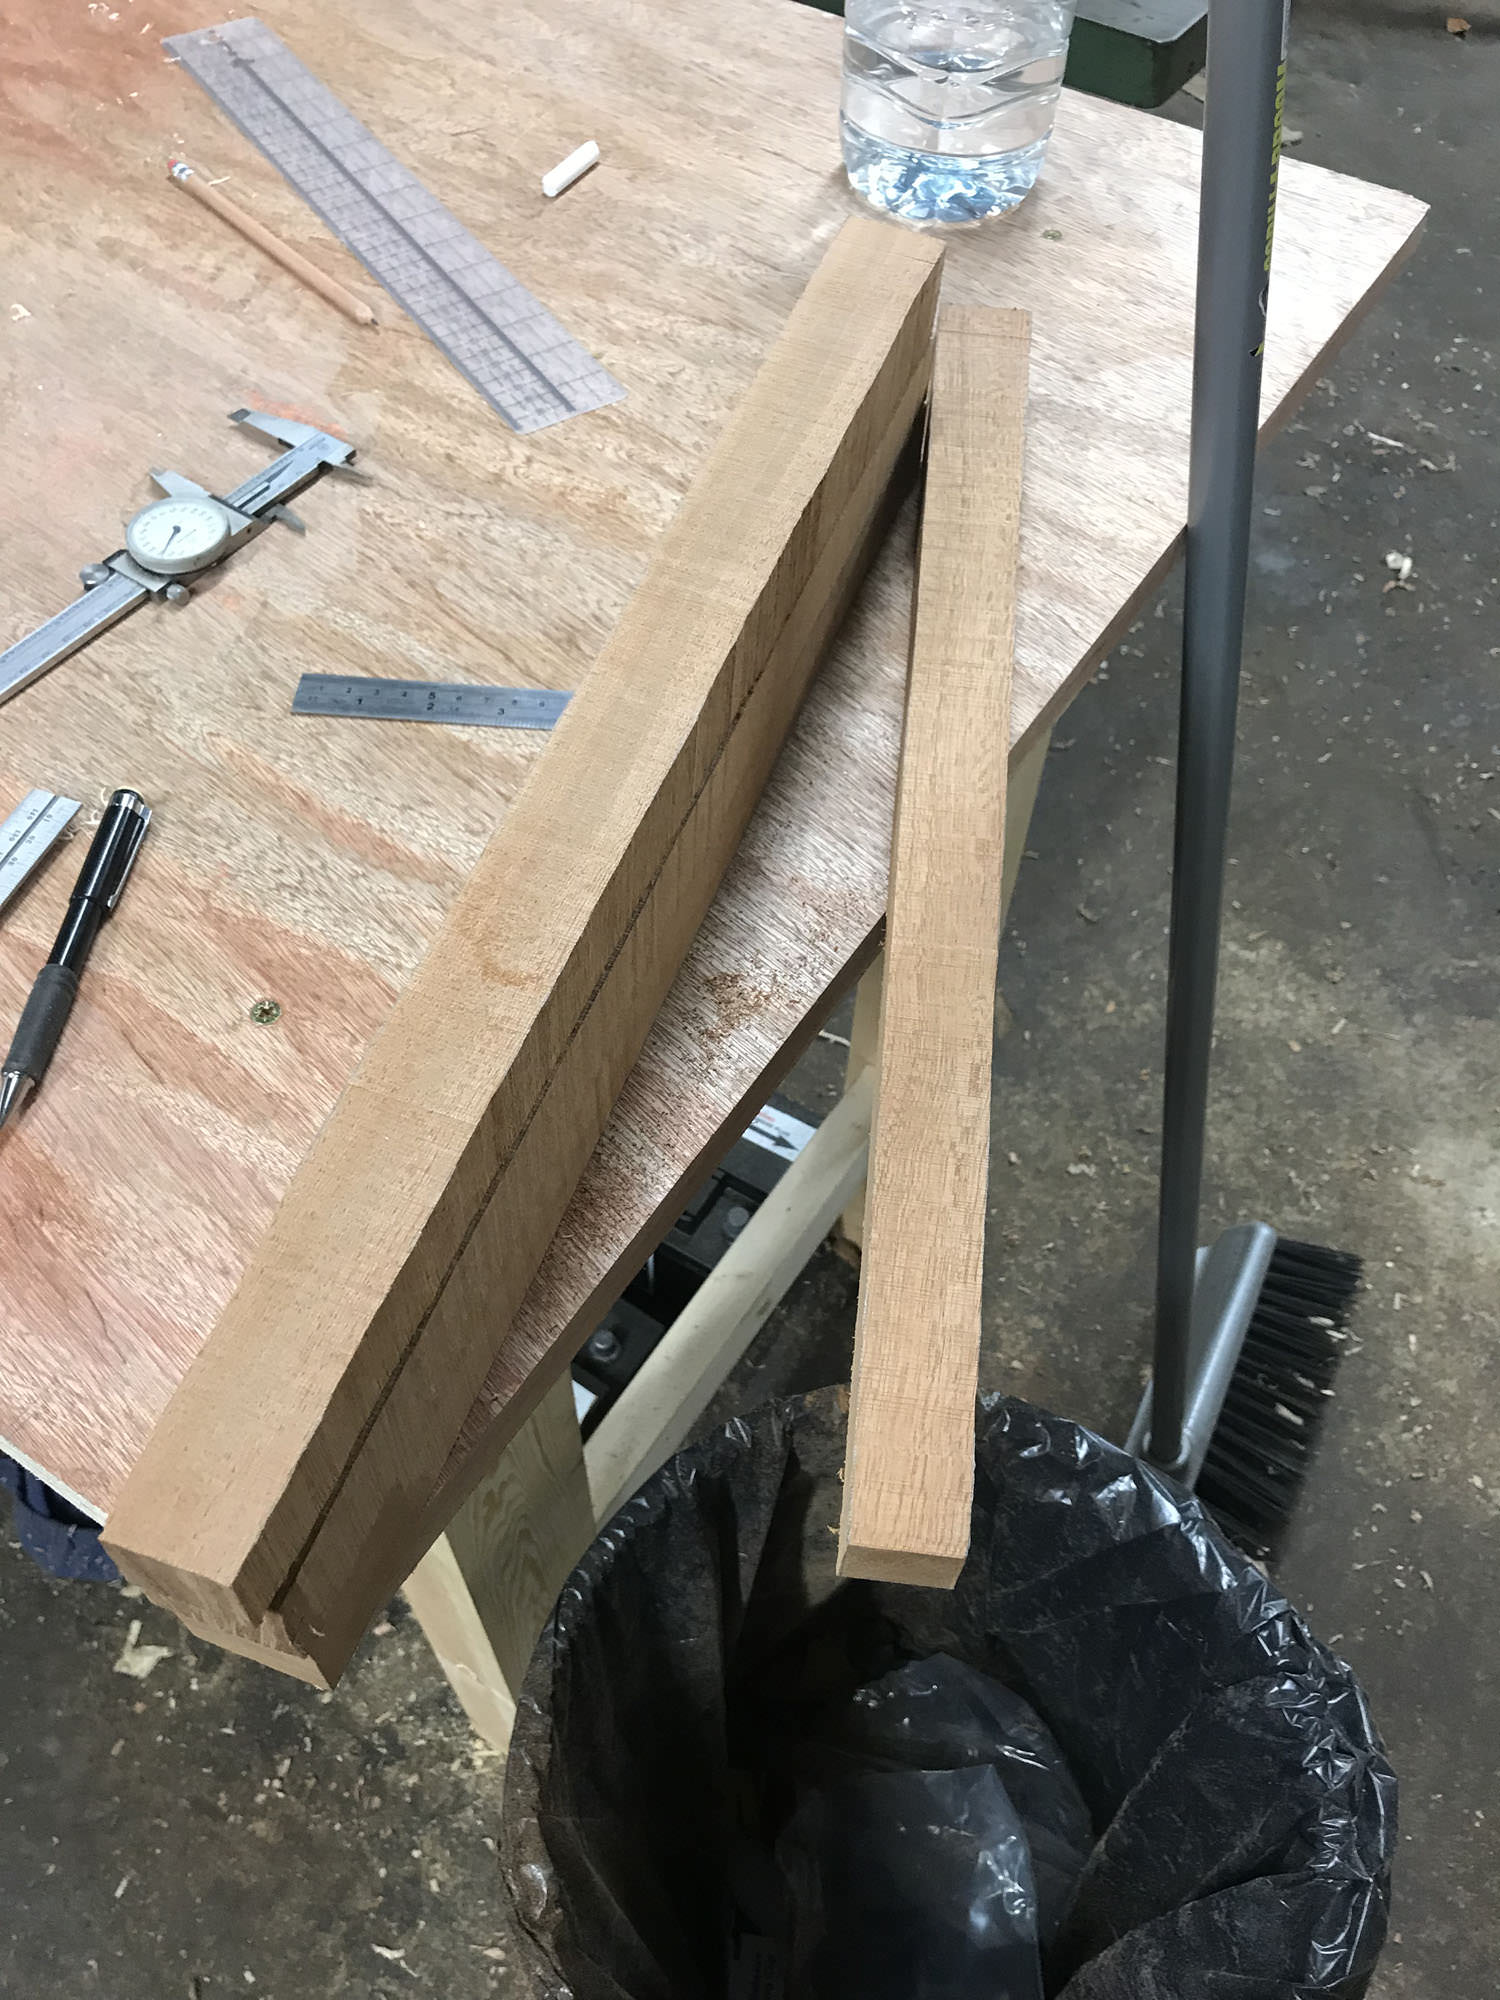
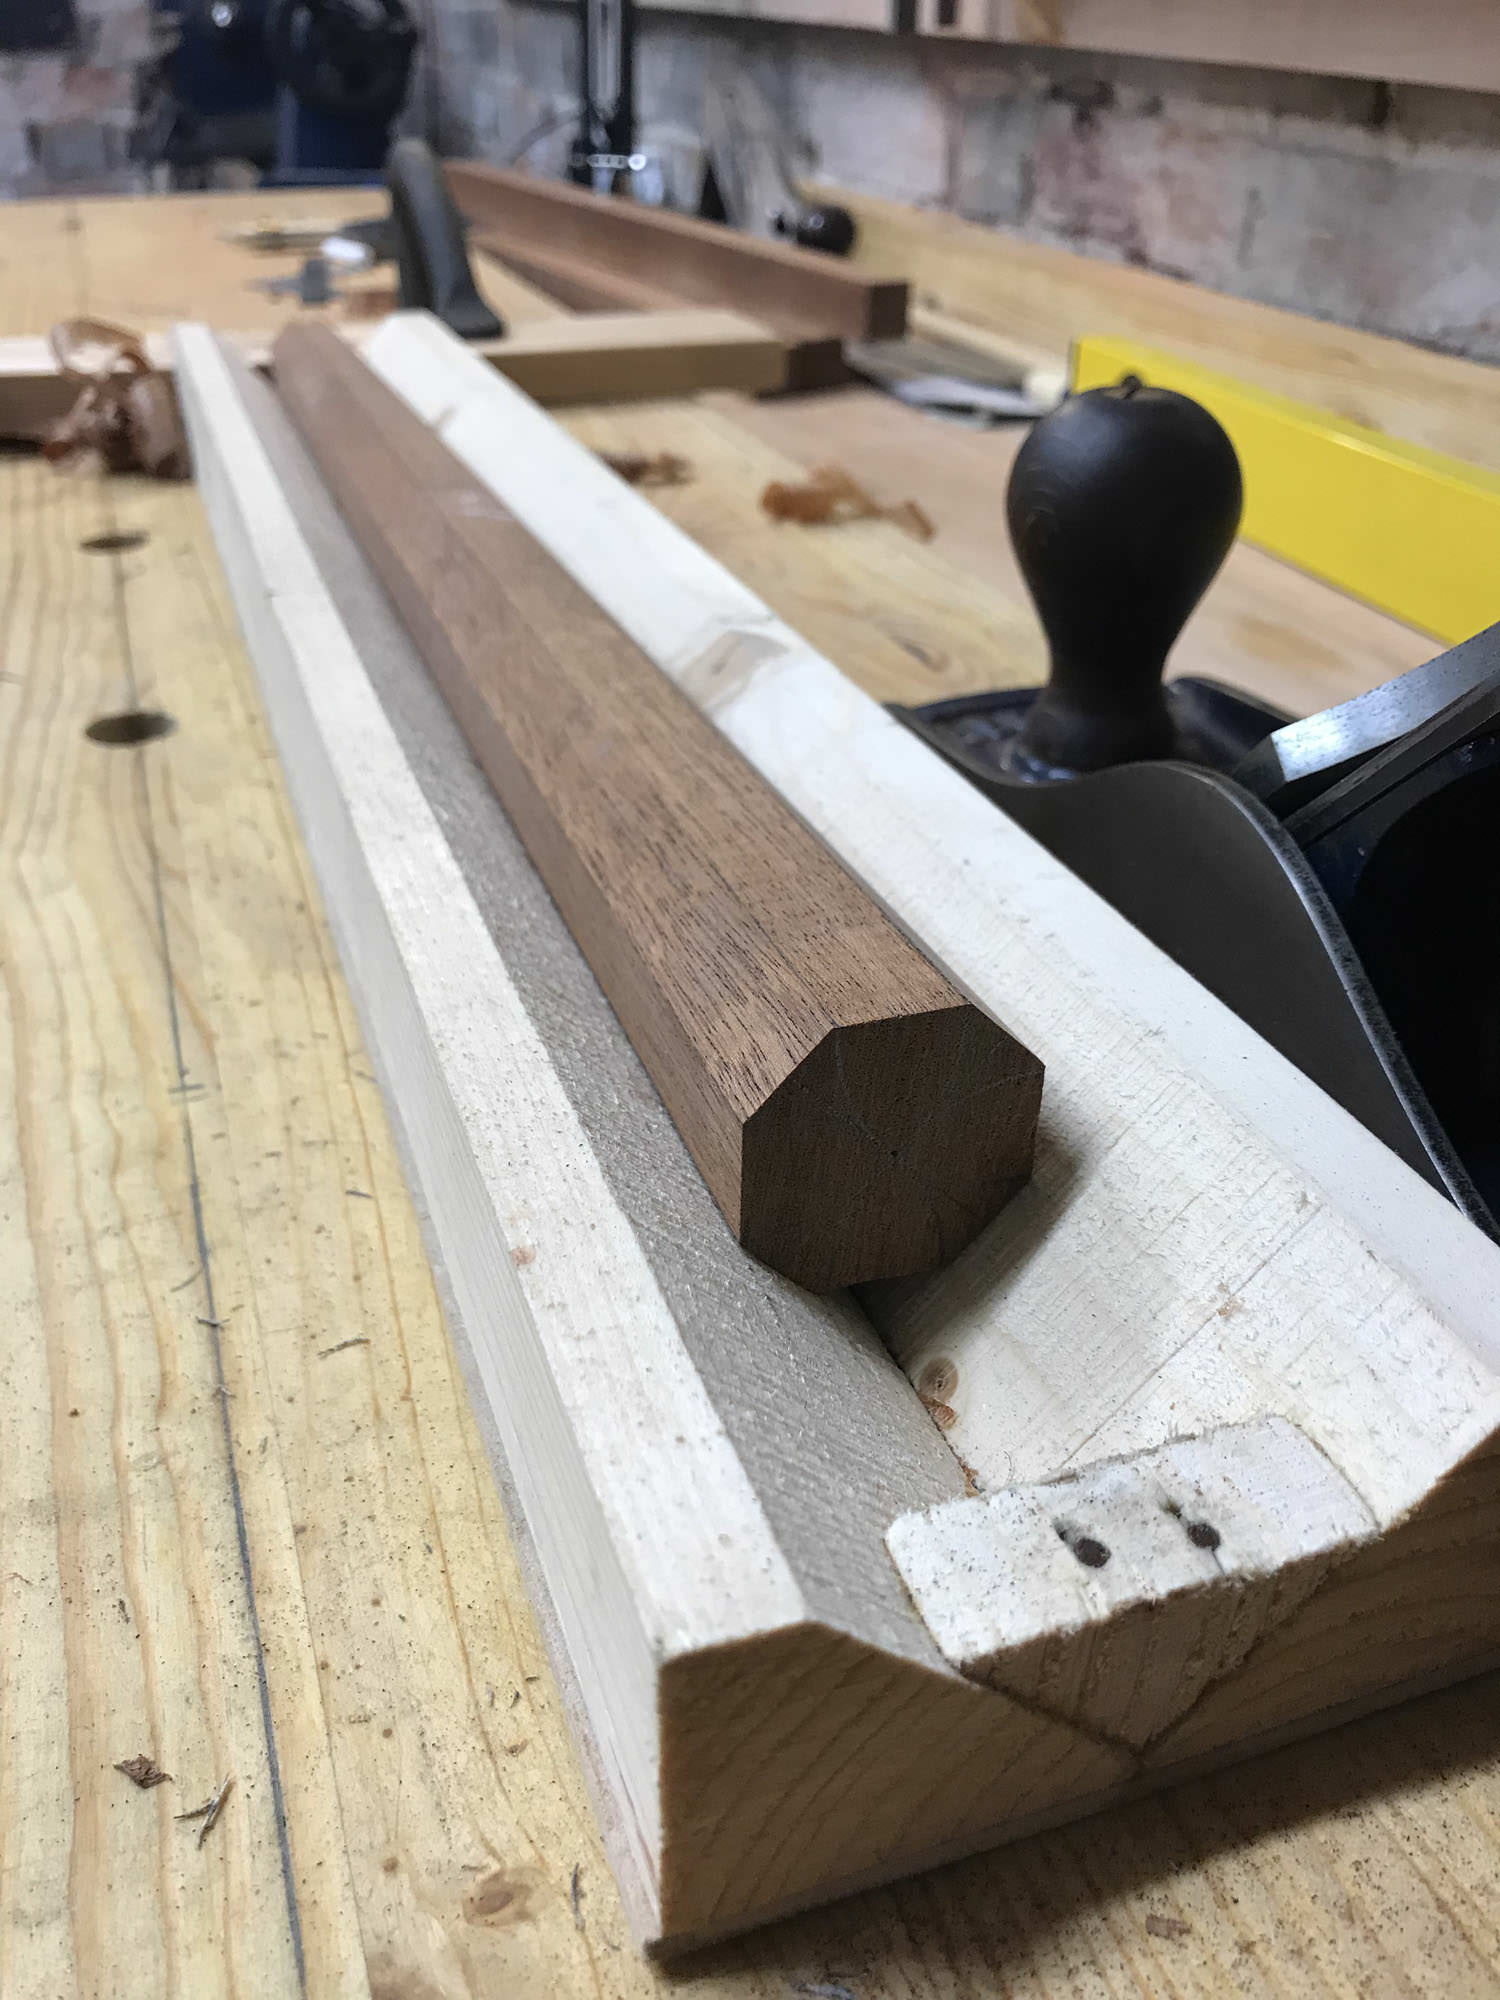
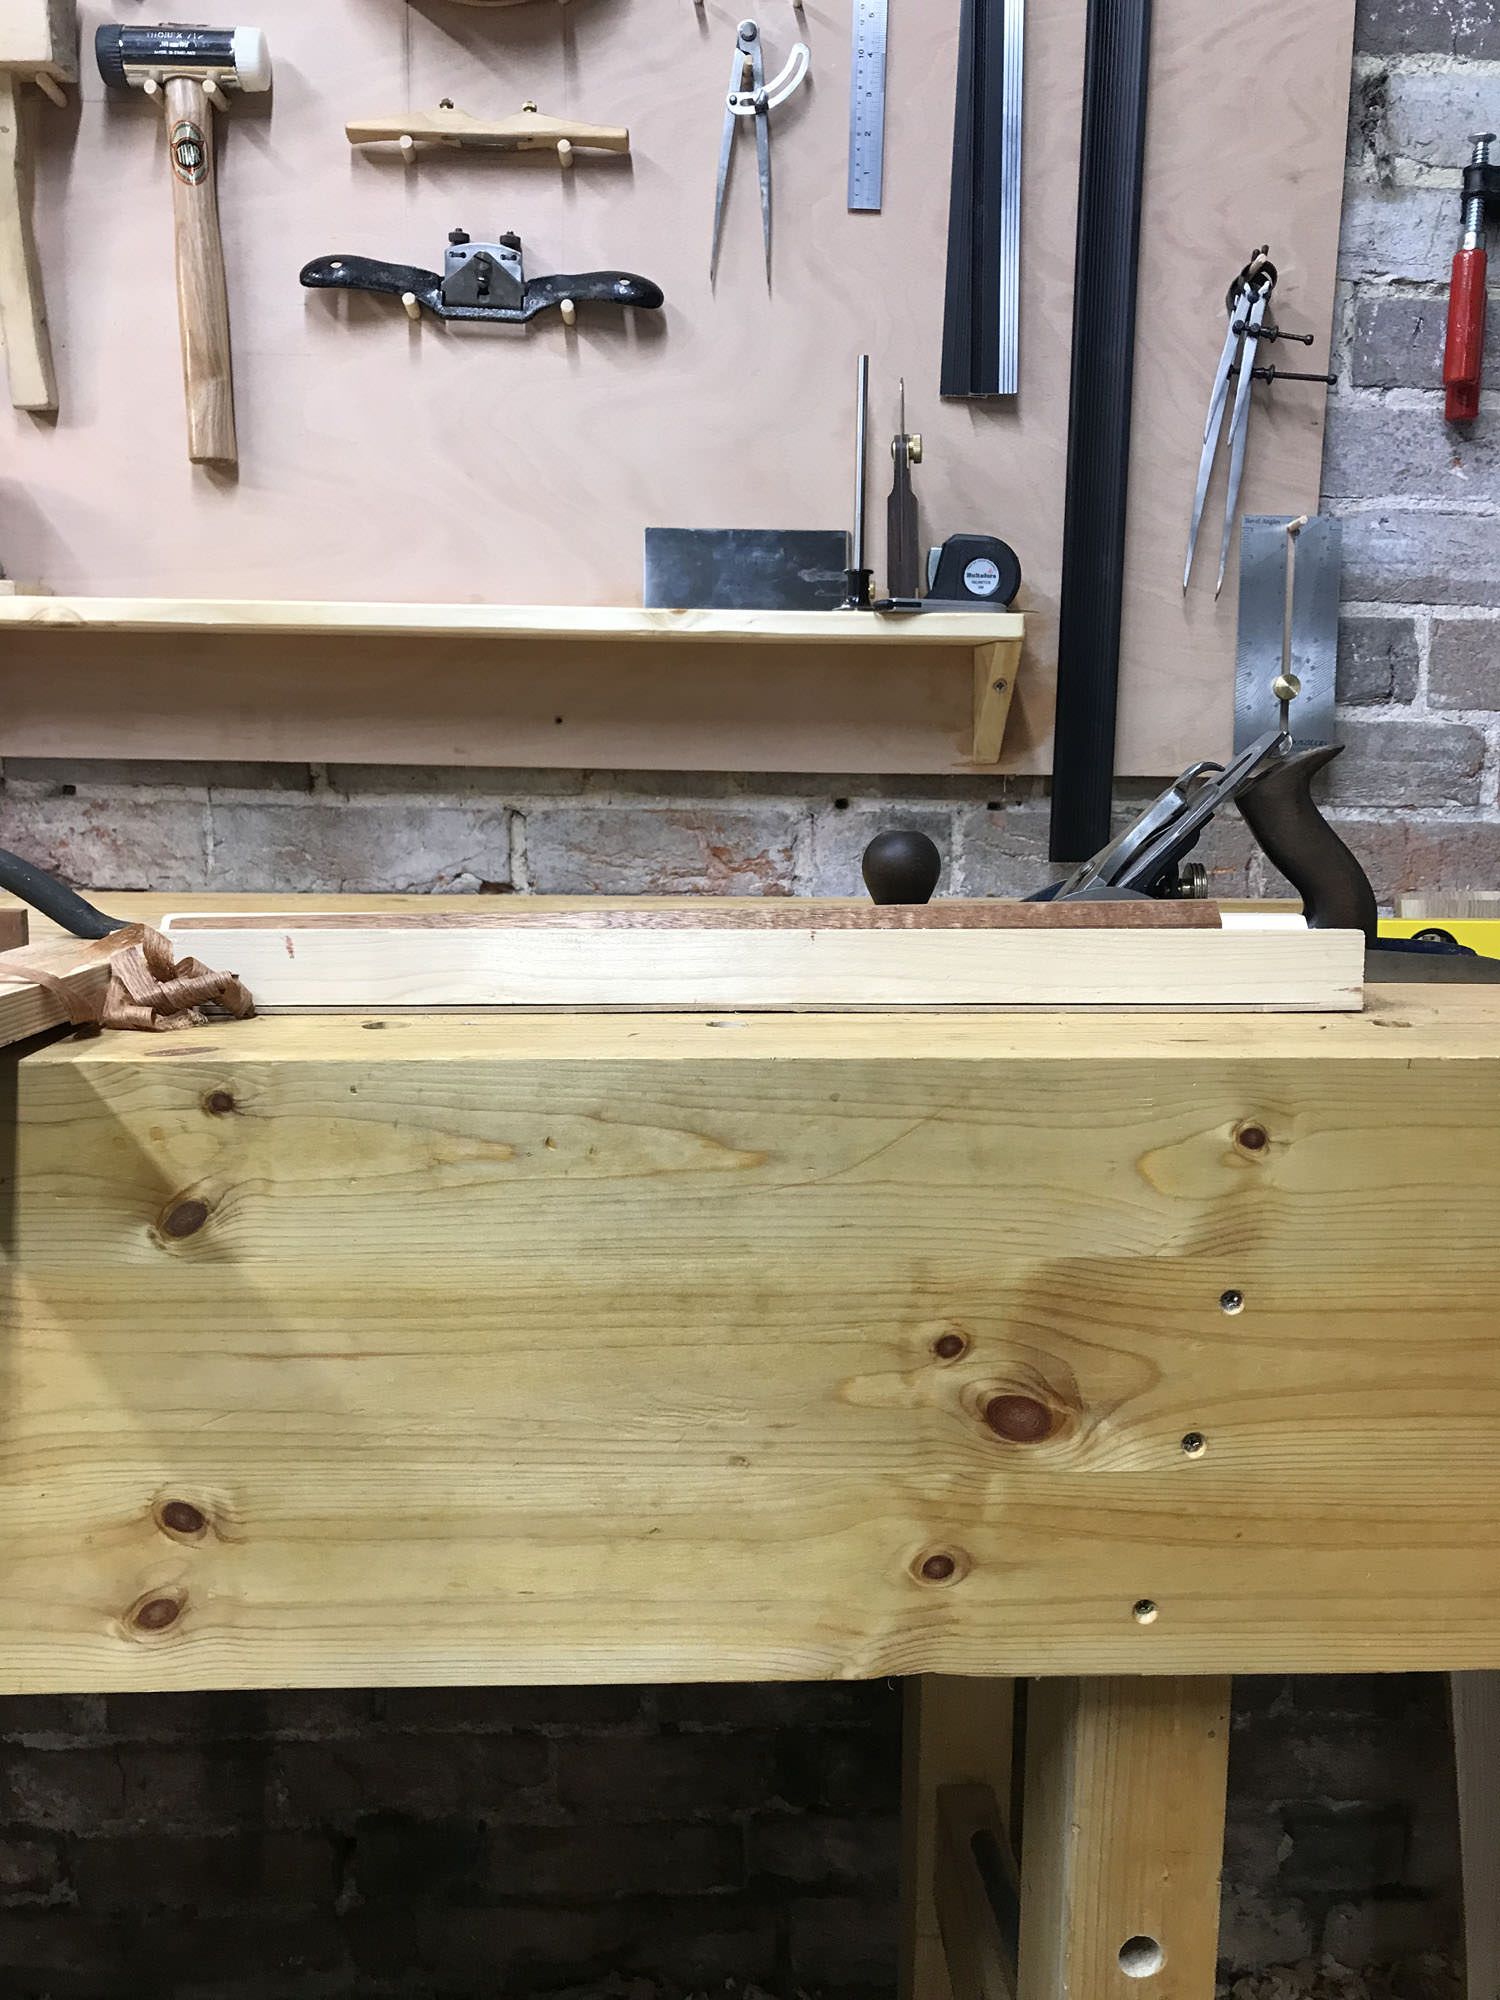
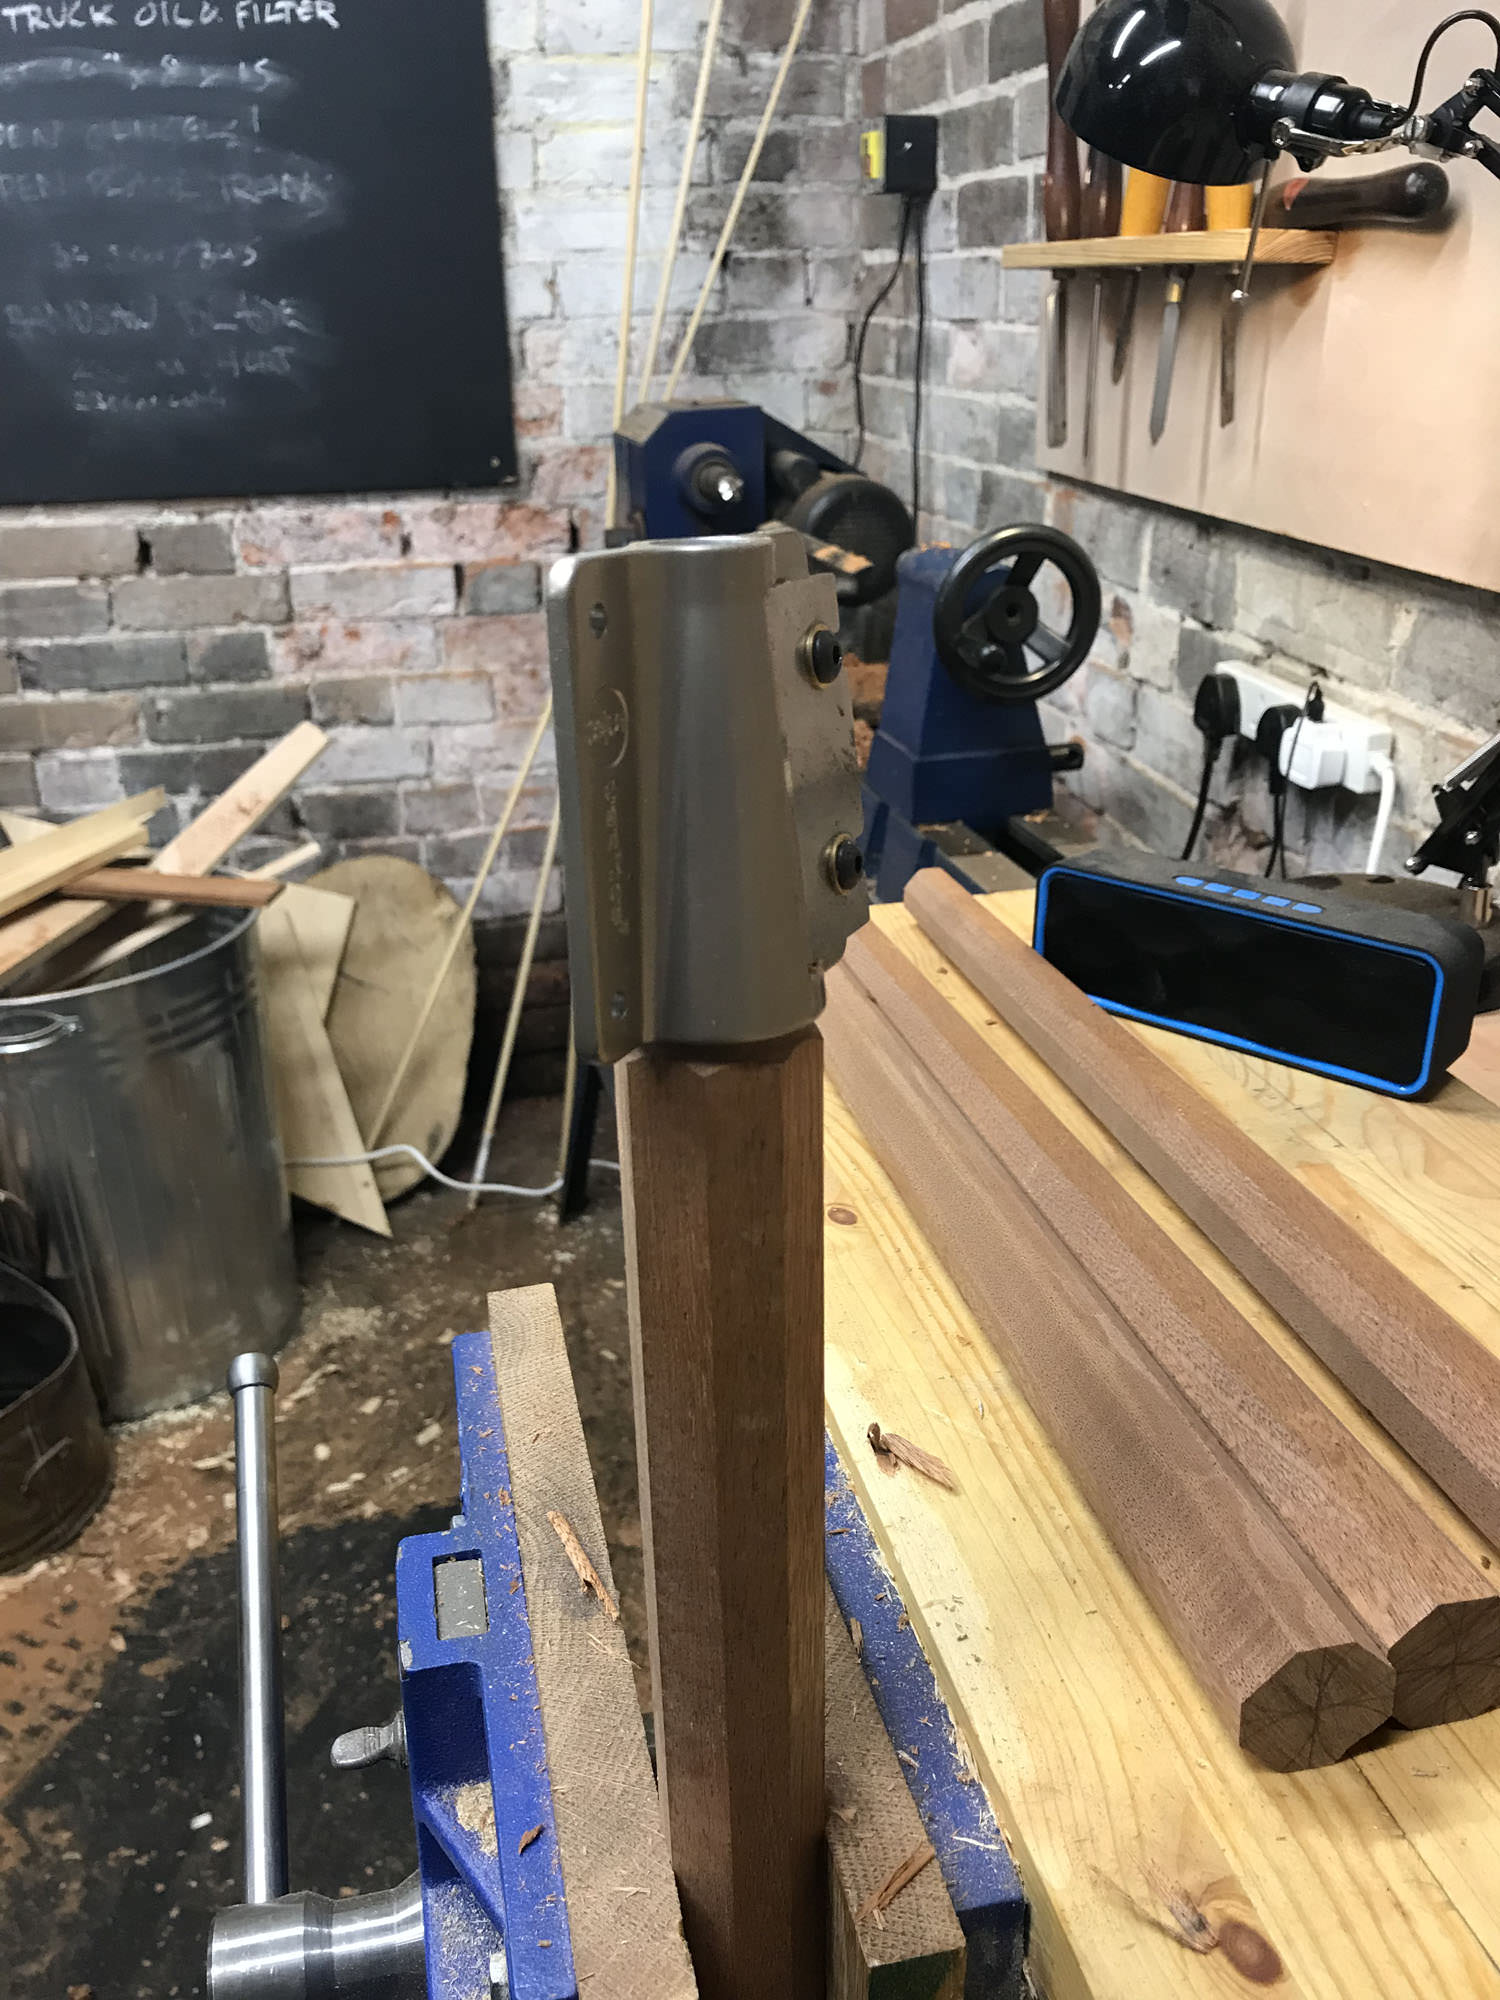
I knew I wanted these legs to be octagonal so I knocked together a rough but effective jig to hold the legs at 45 degrees.
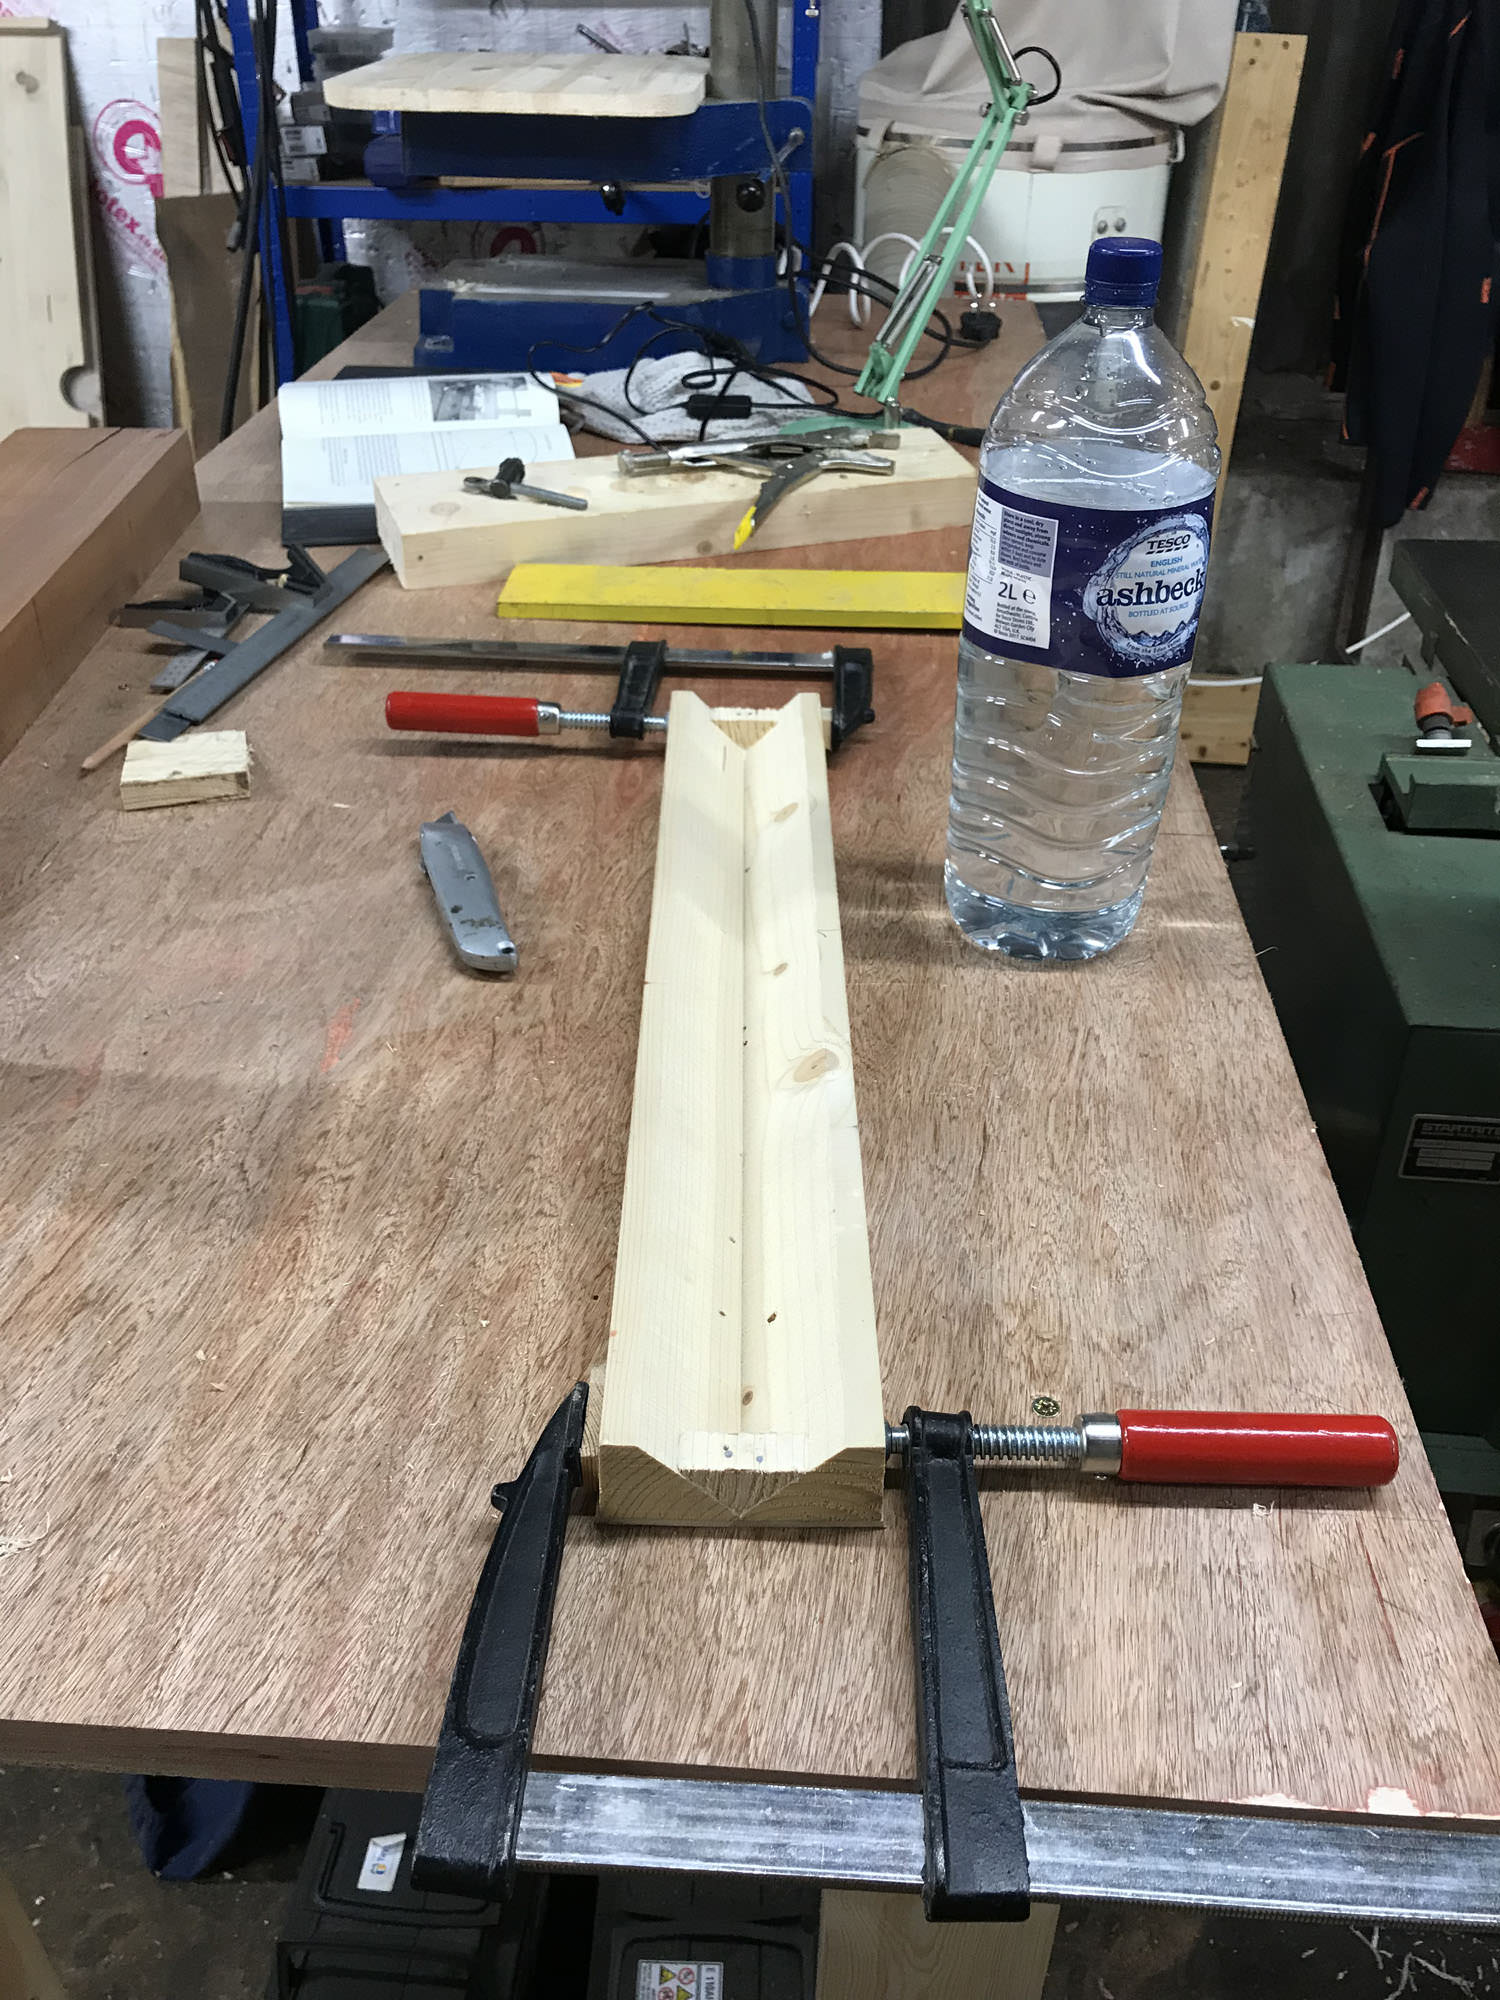
After squaring 'em up I marked out the octagons. Most of the pencil lines were pretty spot on but one or two were a bit off as you can see. I can live with it though.
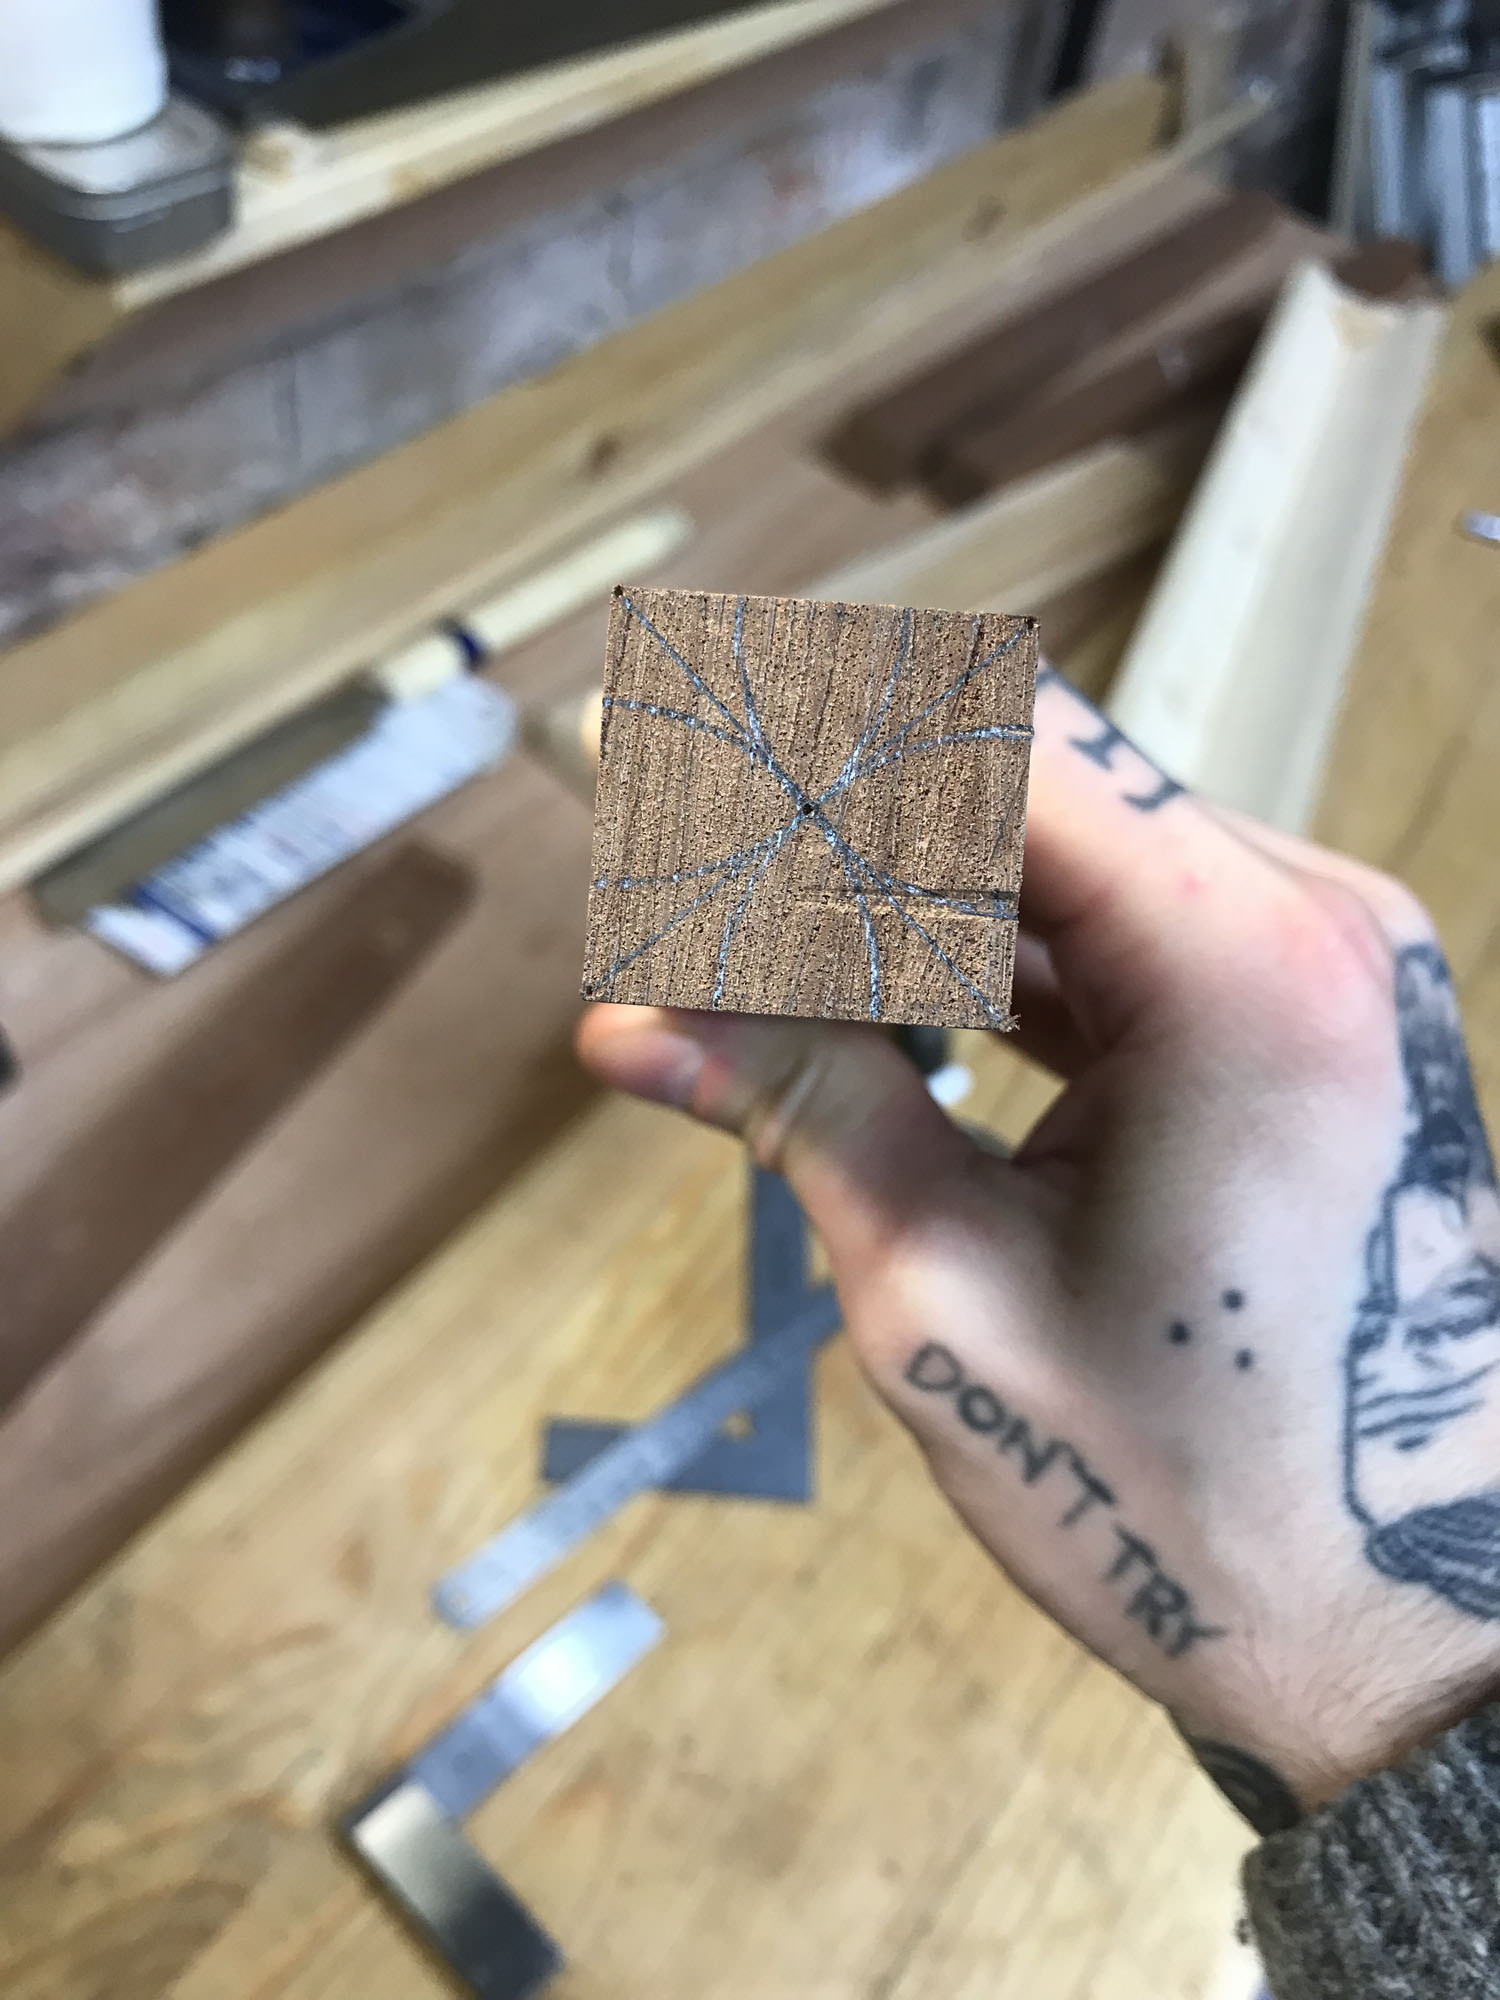
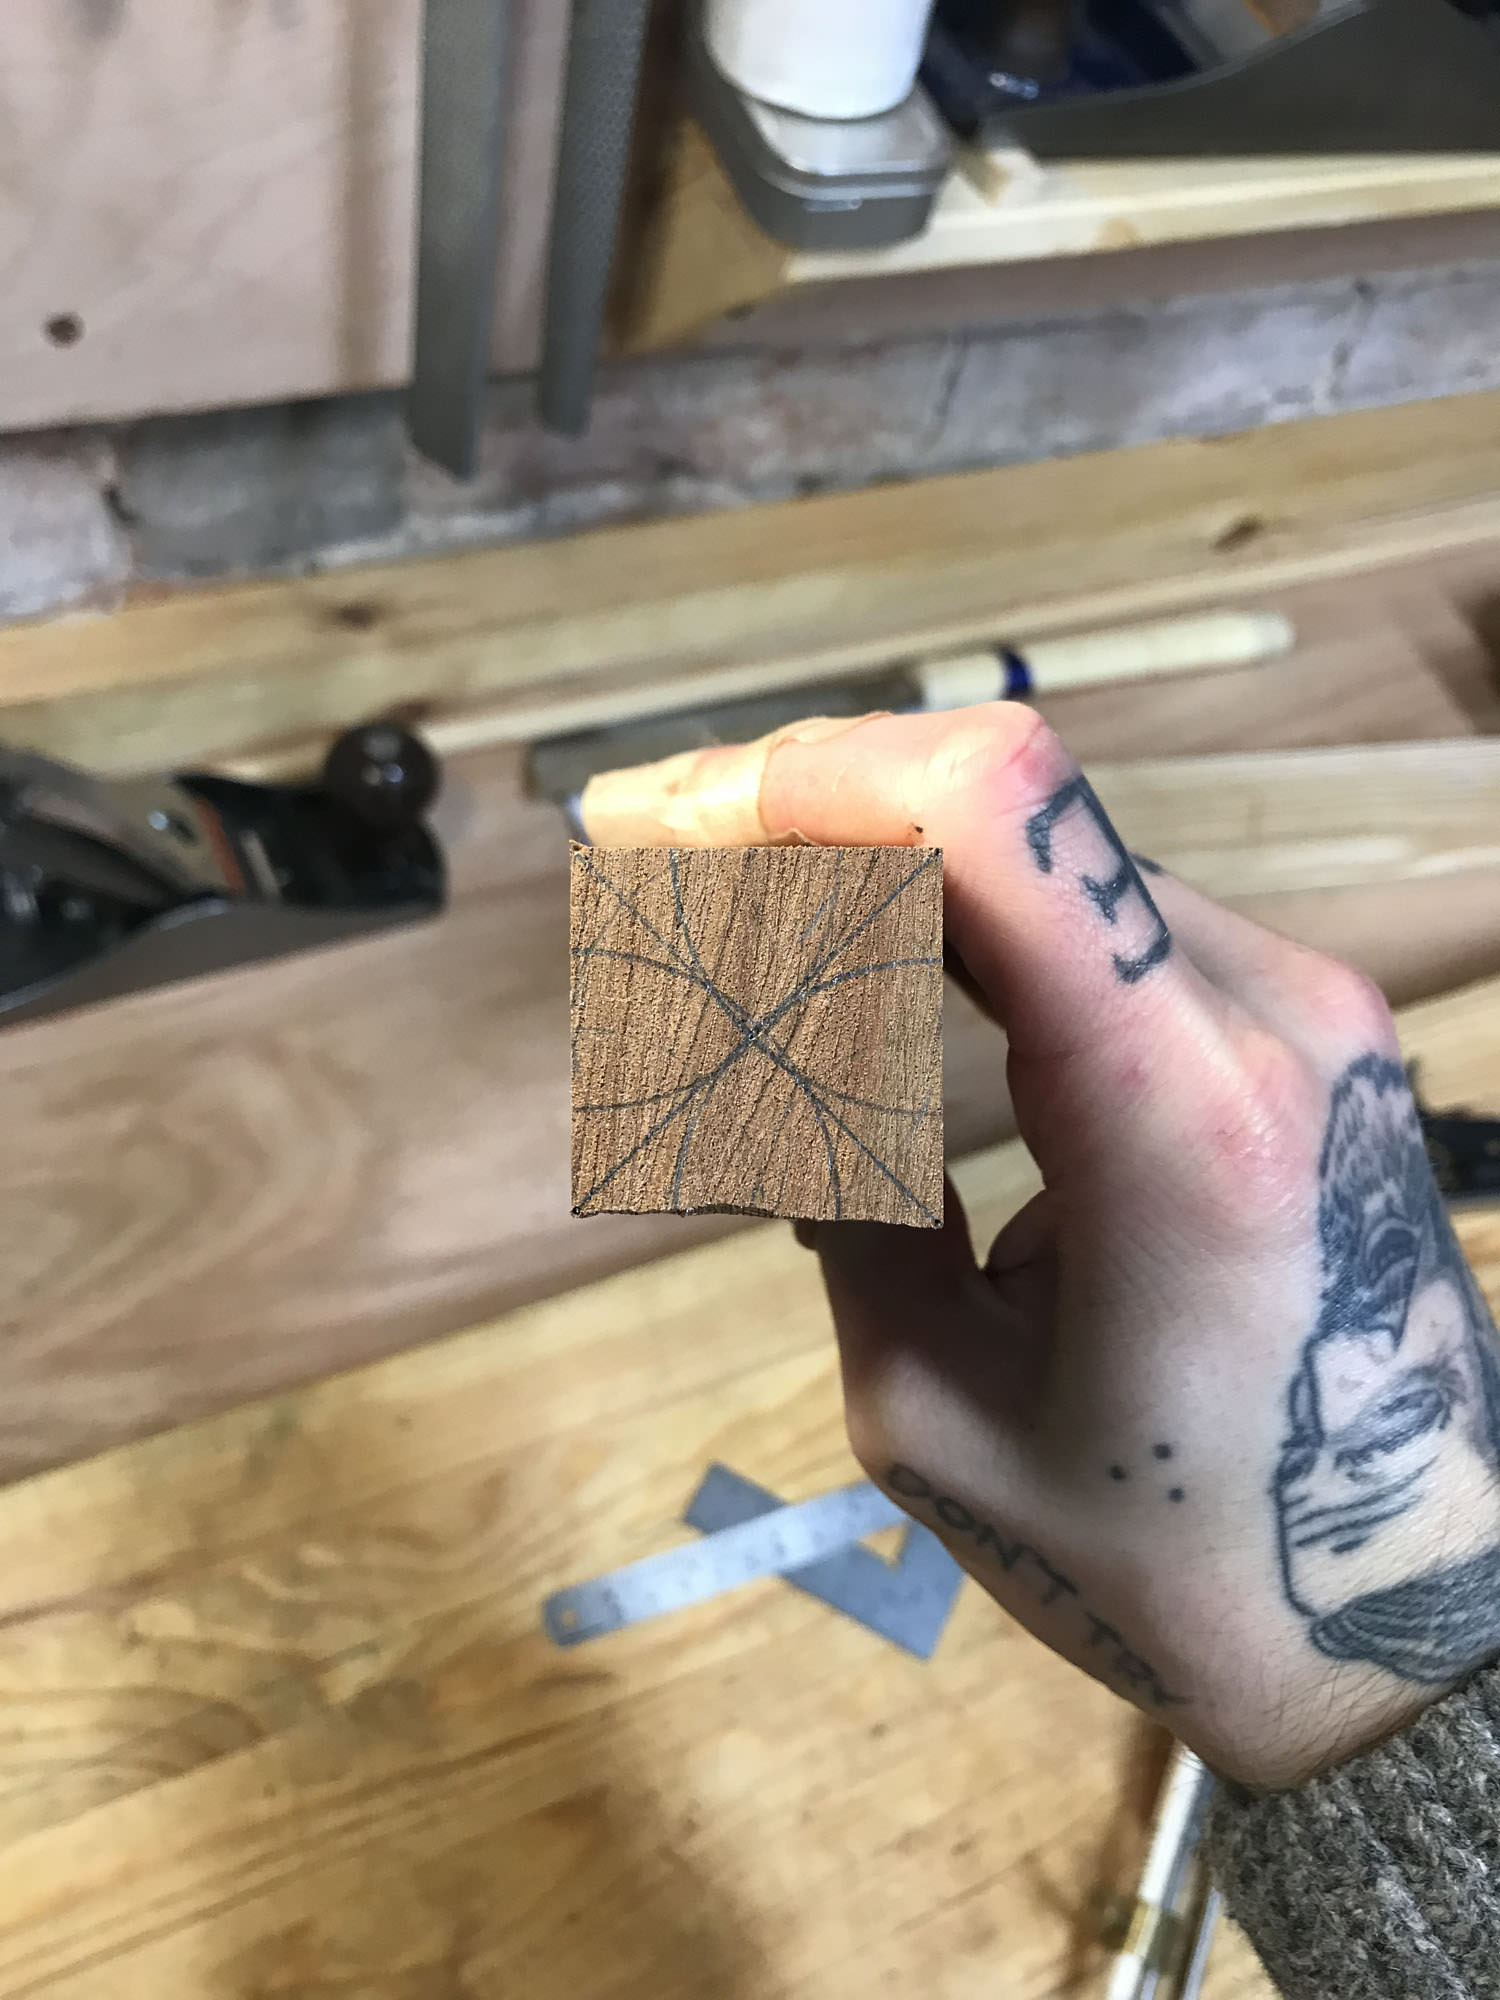
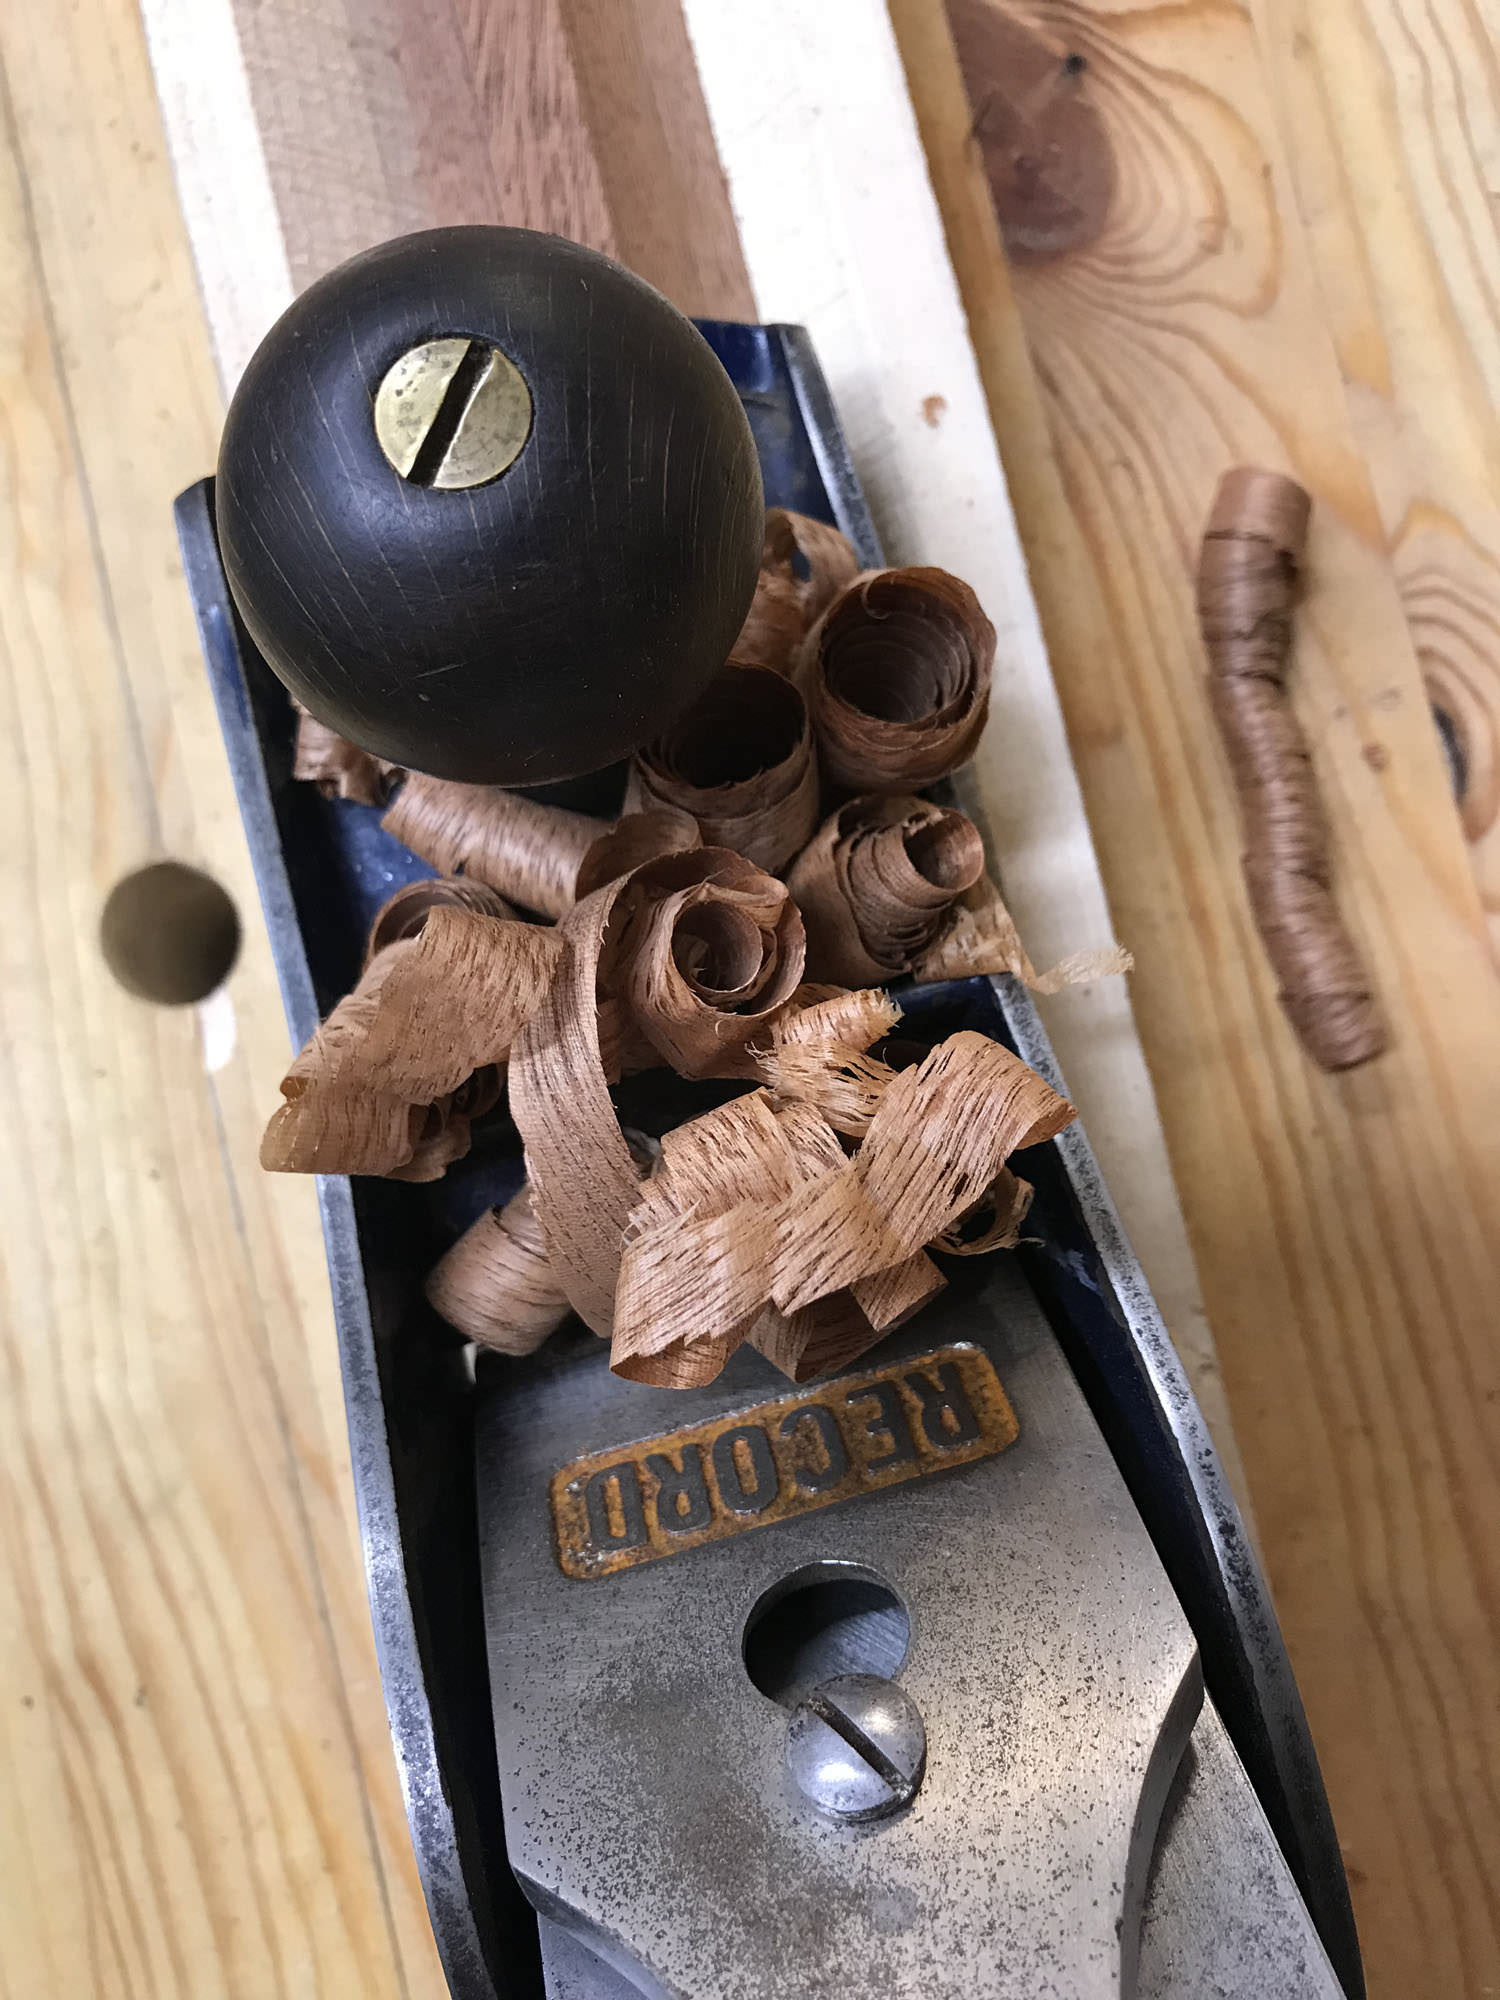
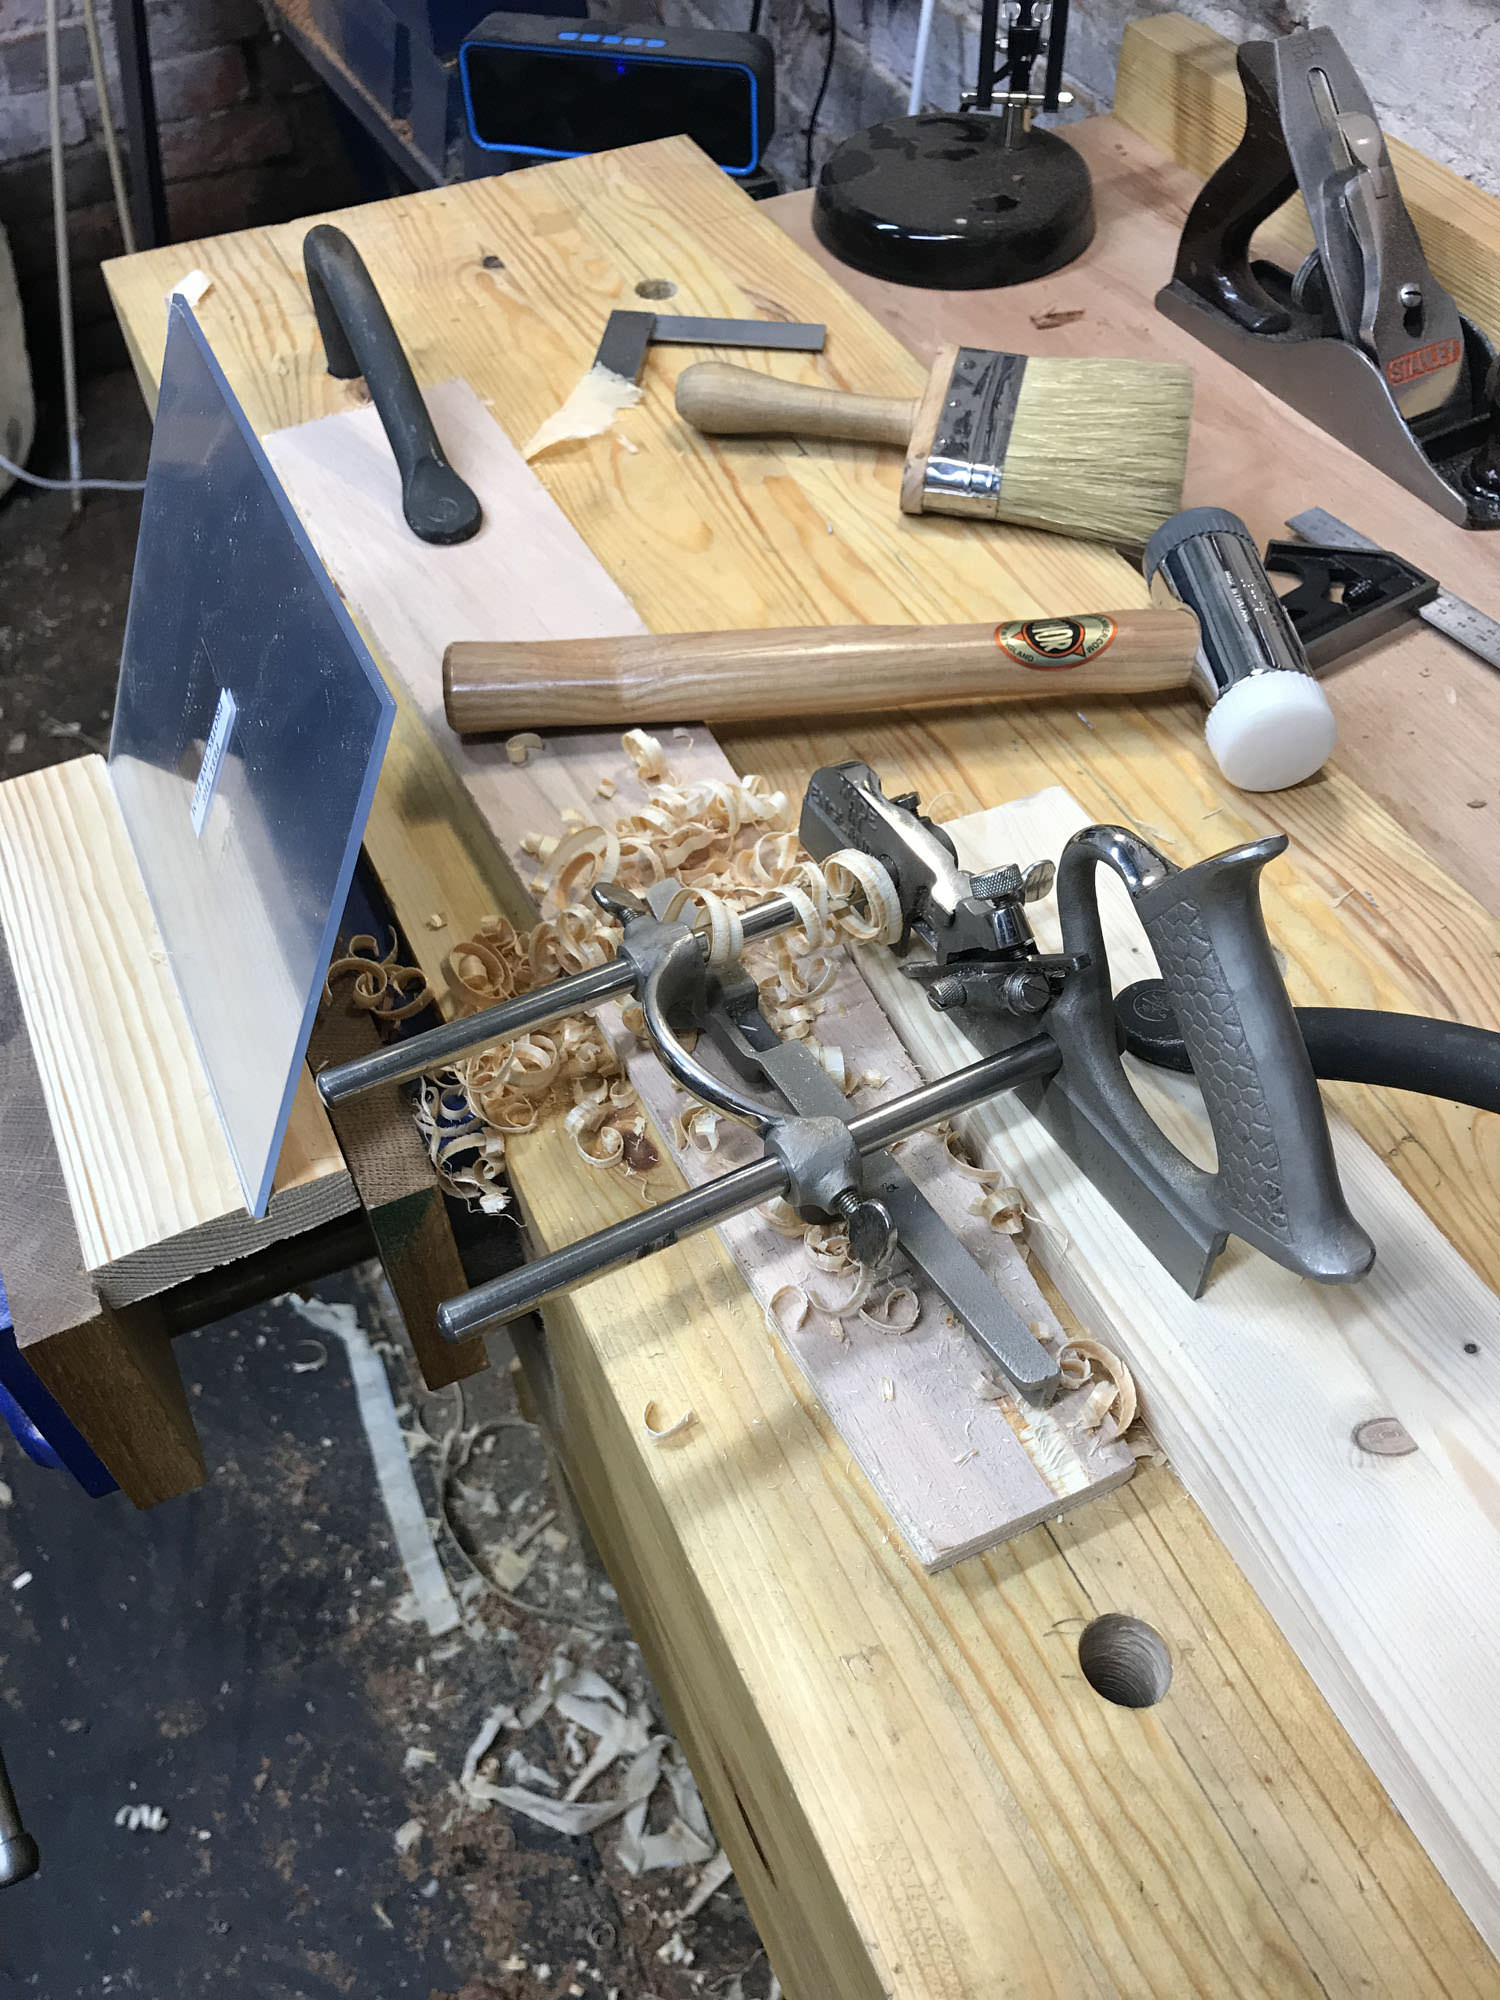
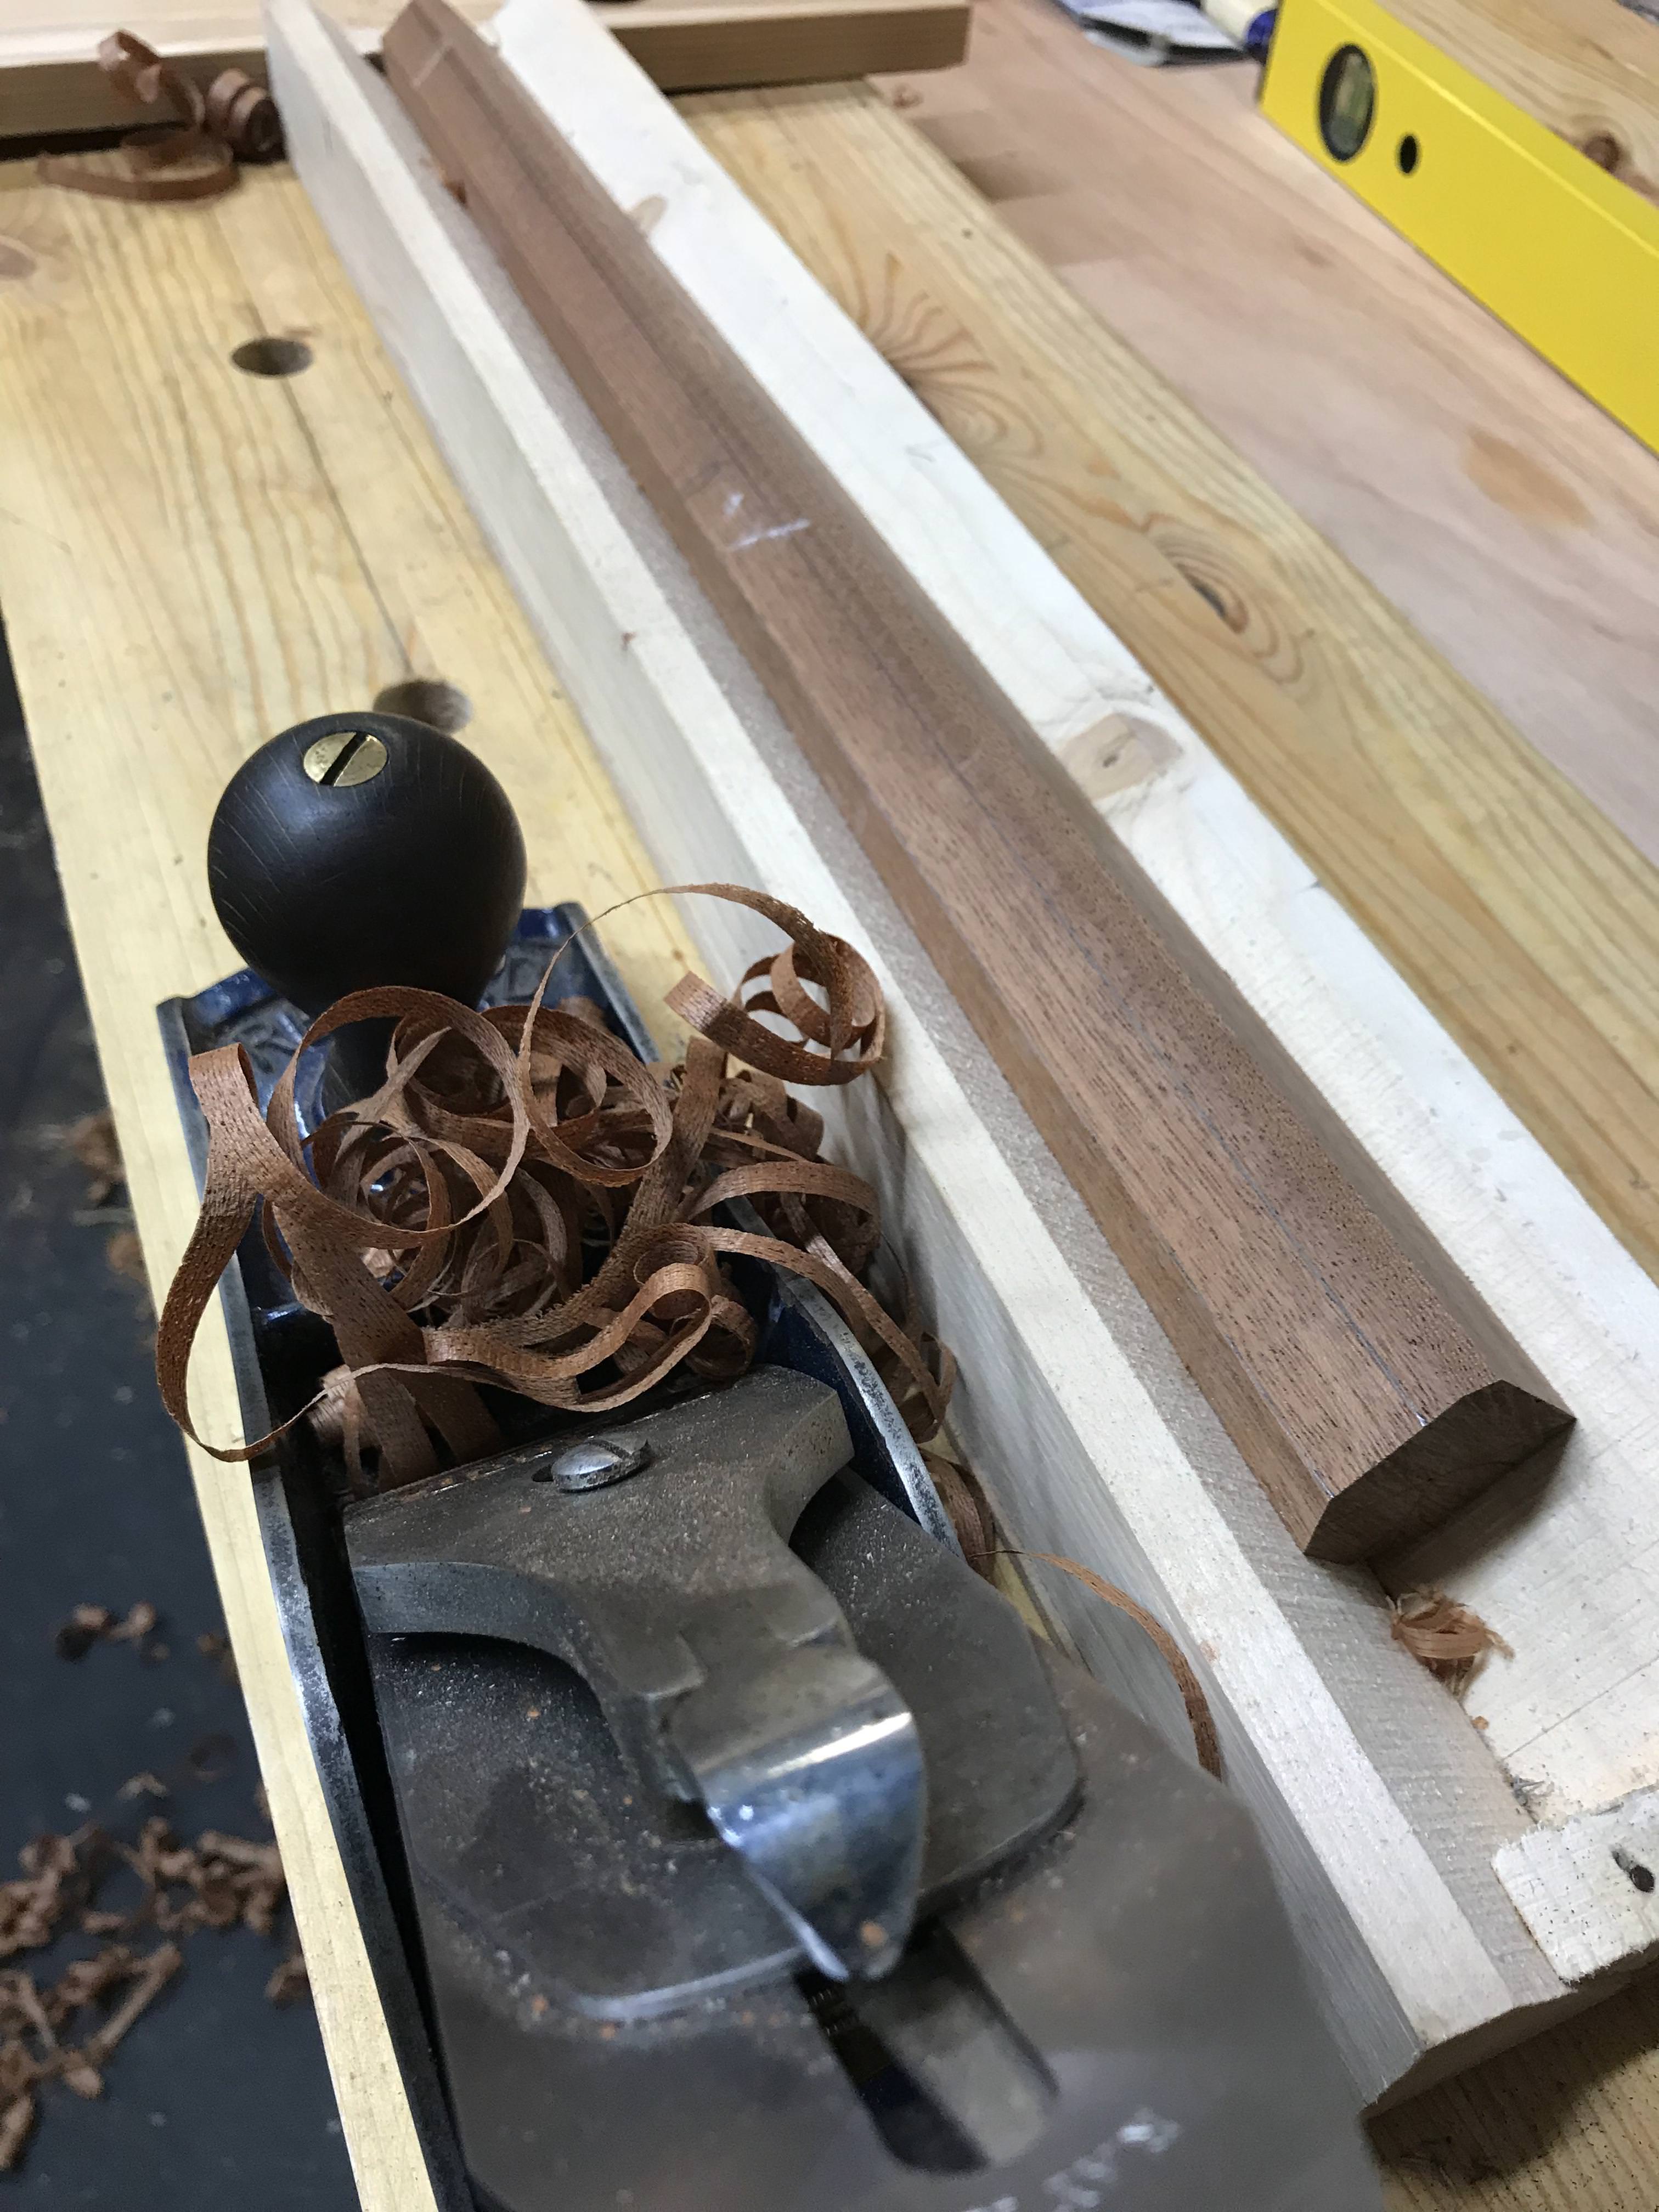
This is where the fun begins. I'd read that Sapele's interlocked grain could make it difficult to work; maybe I got lucky but it was a joy to plane. Incidentally, I recently replaced the iron on my 5 1/2 with a Ray Iles one. It's about a millimetre thicker and also amazing. The further you get into the octagons, the thicker your shavings become:
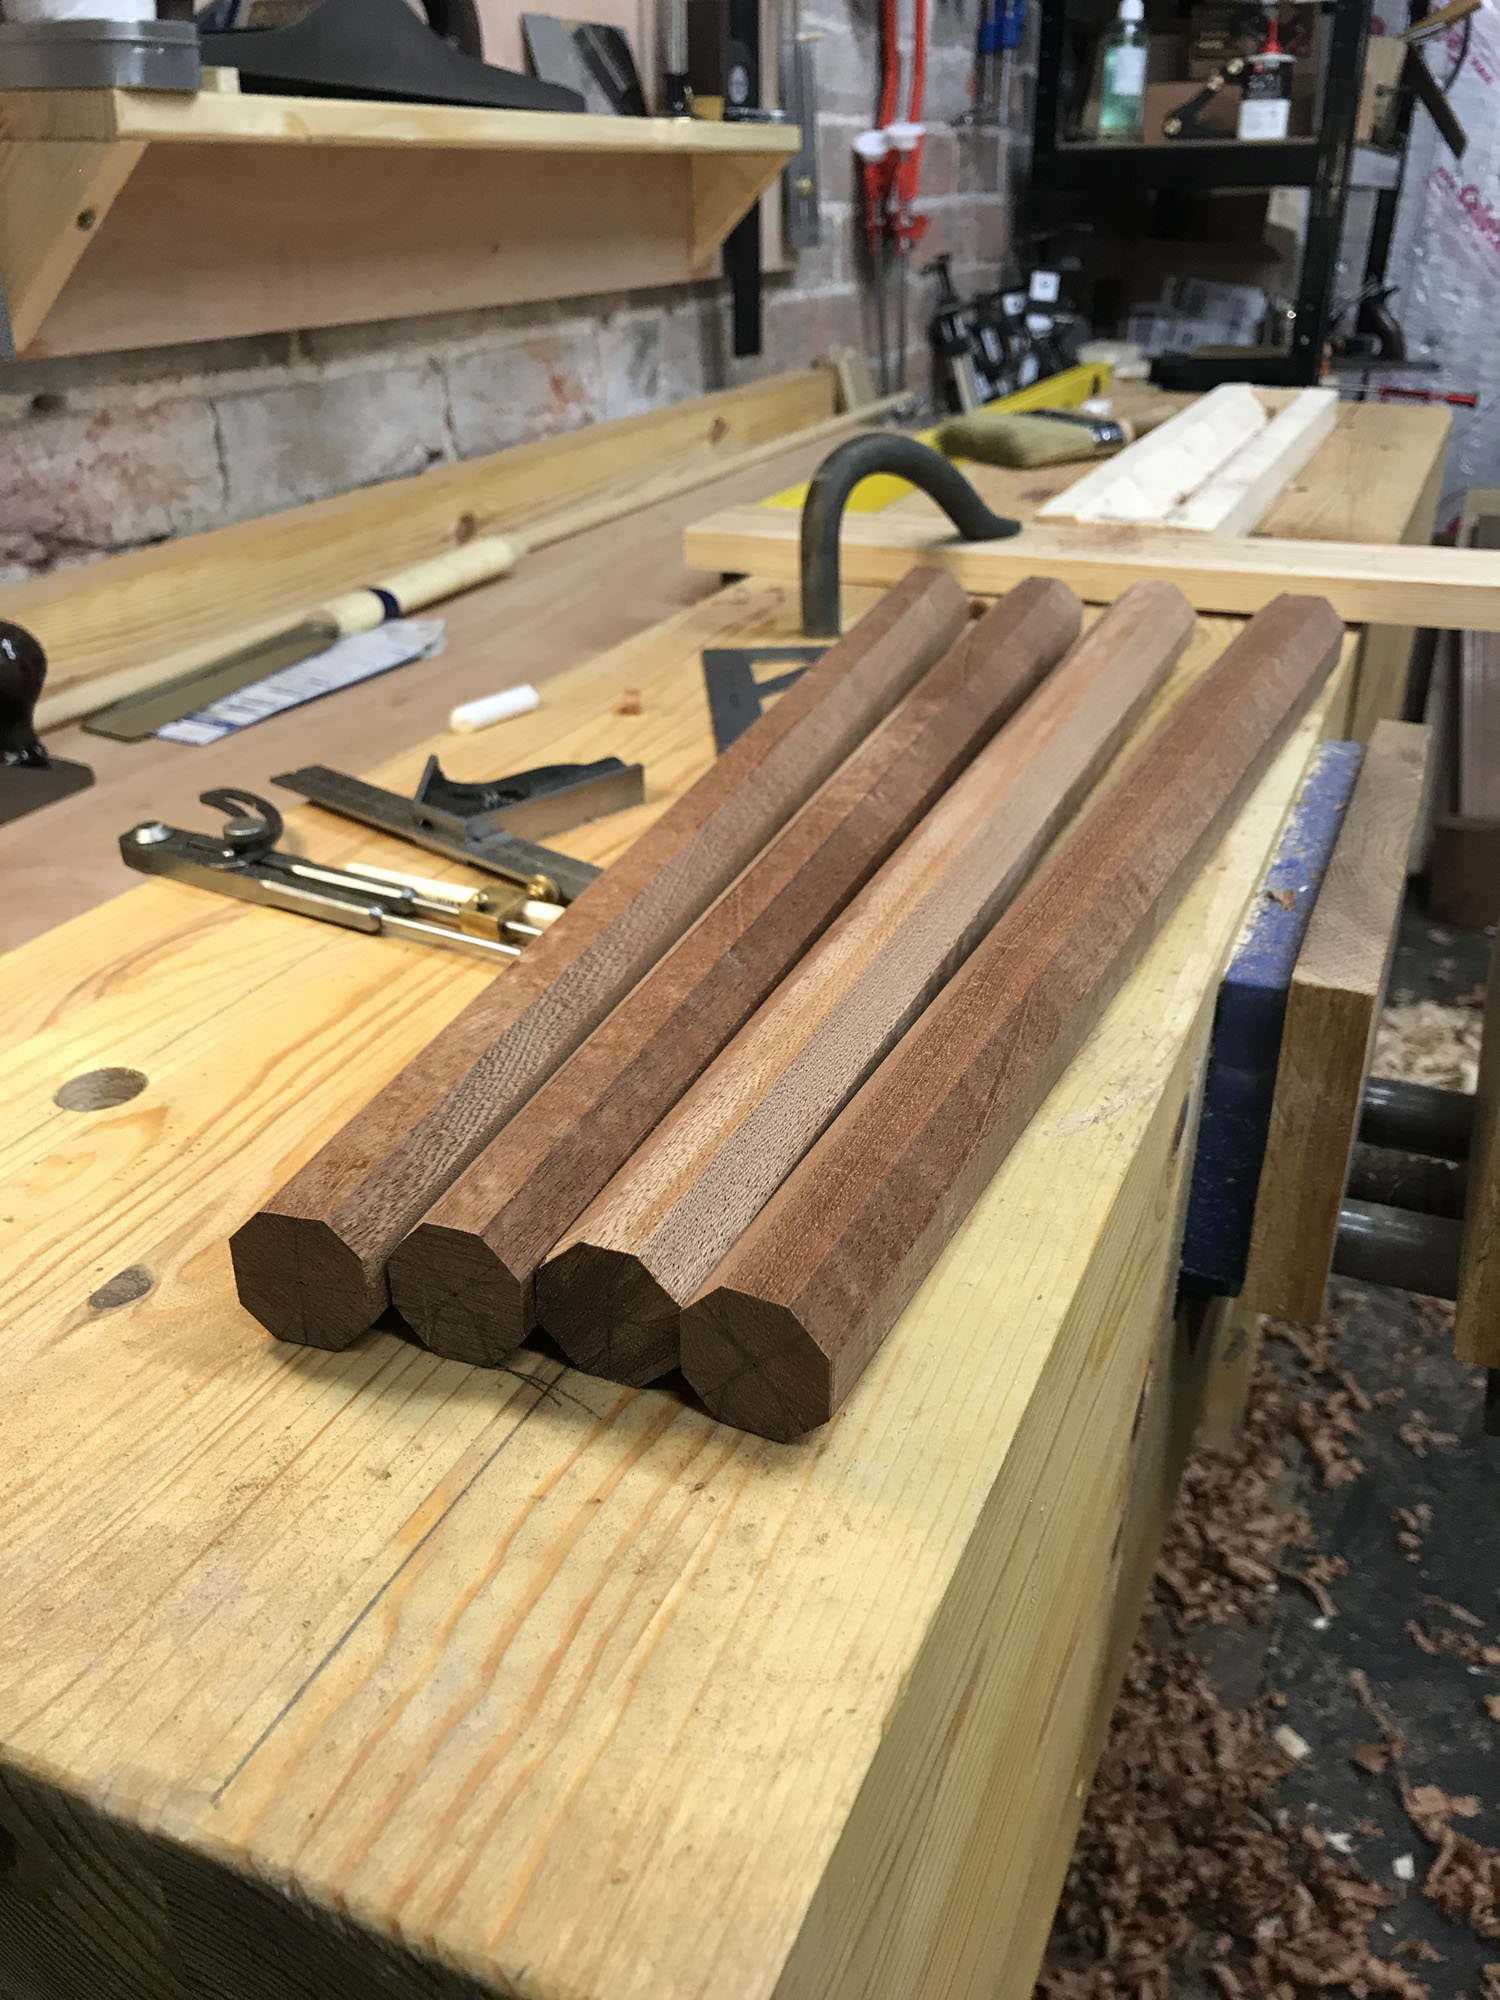
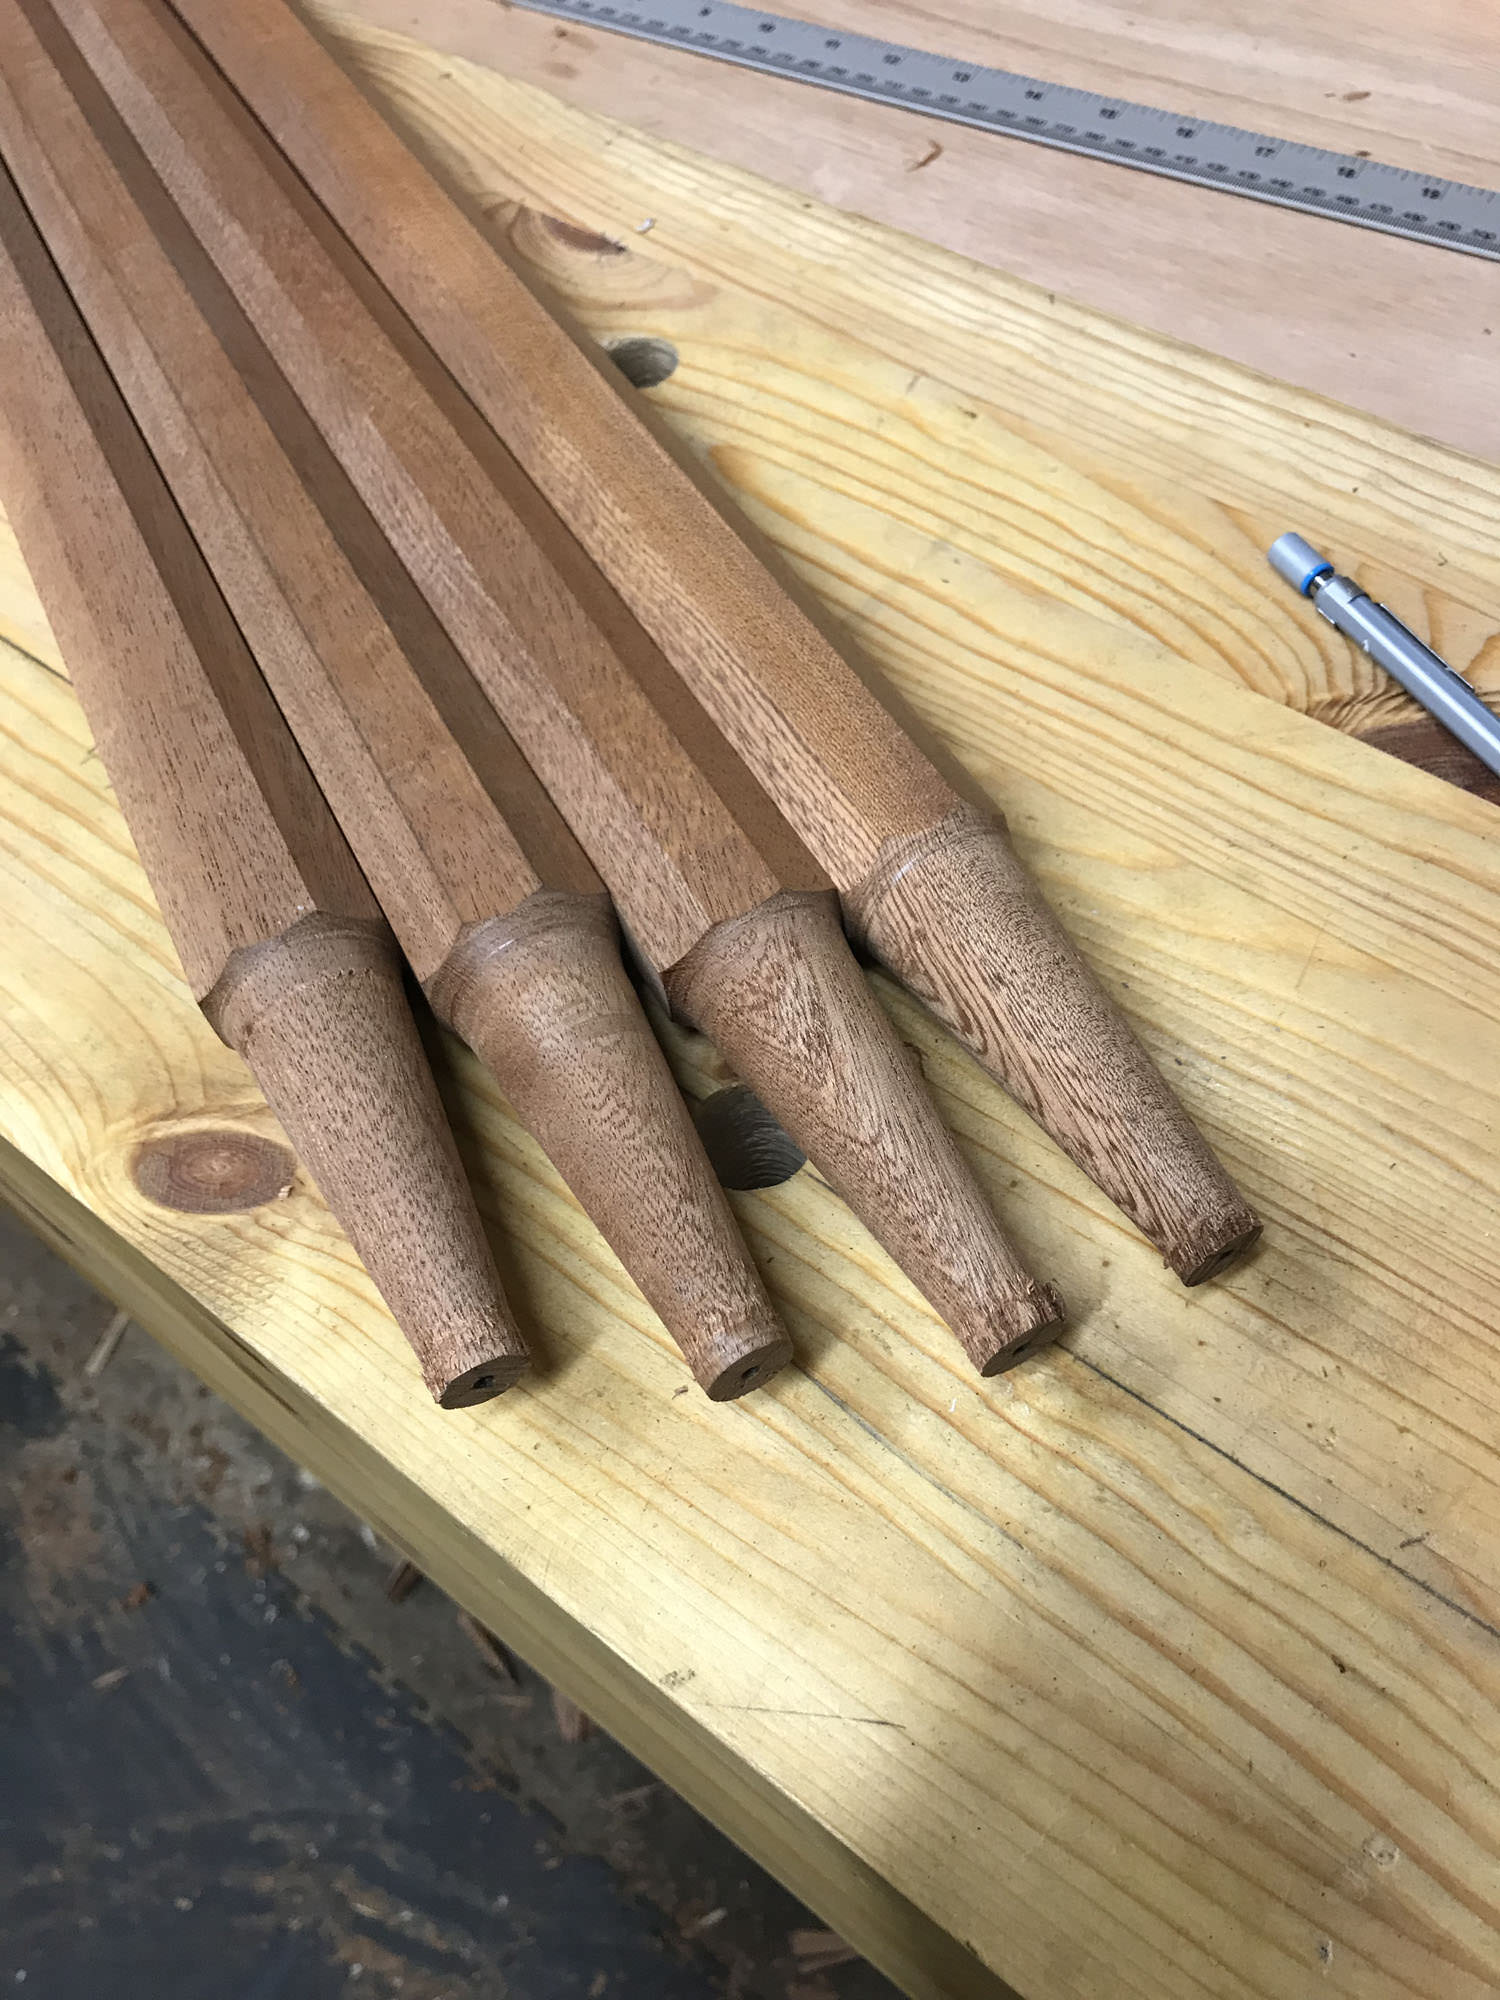
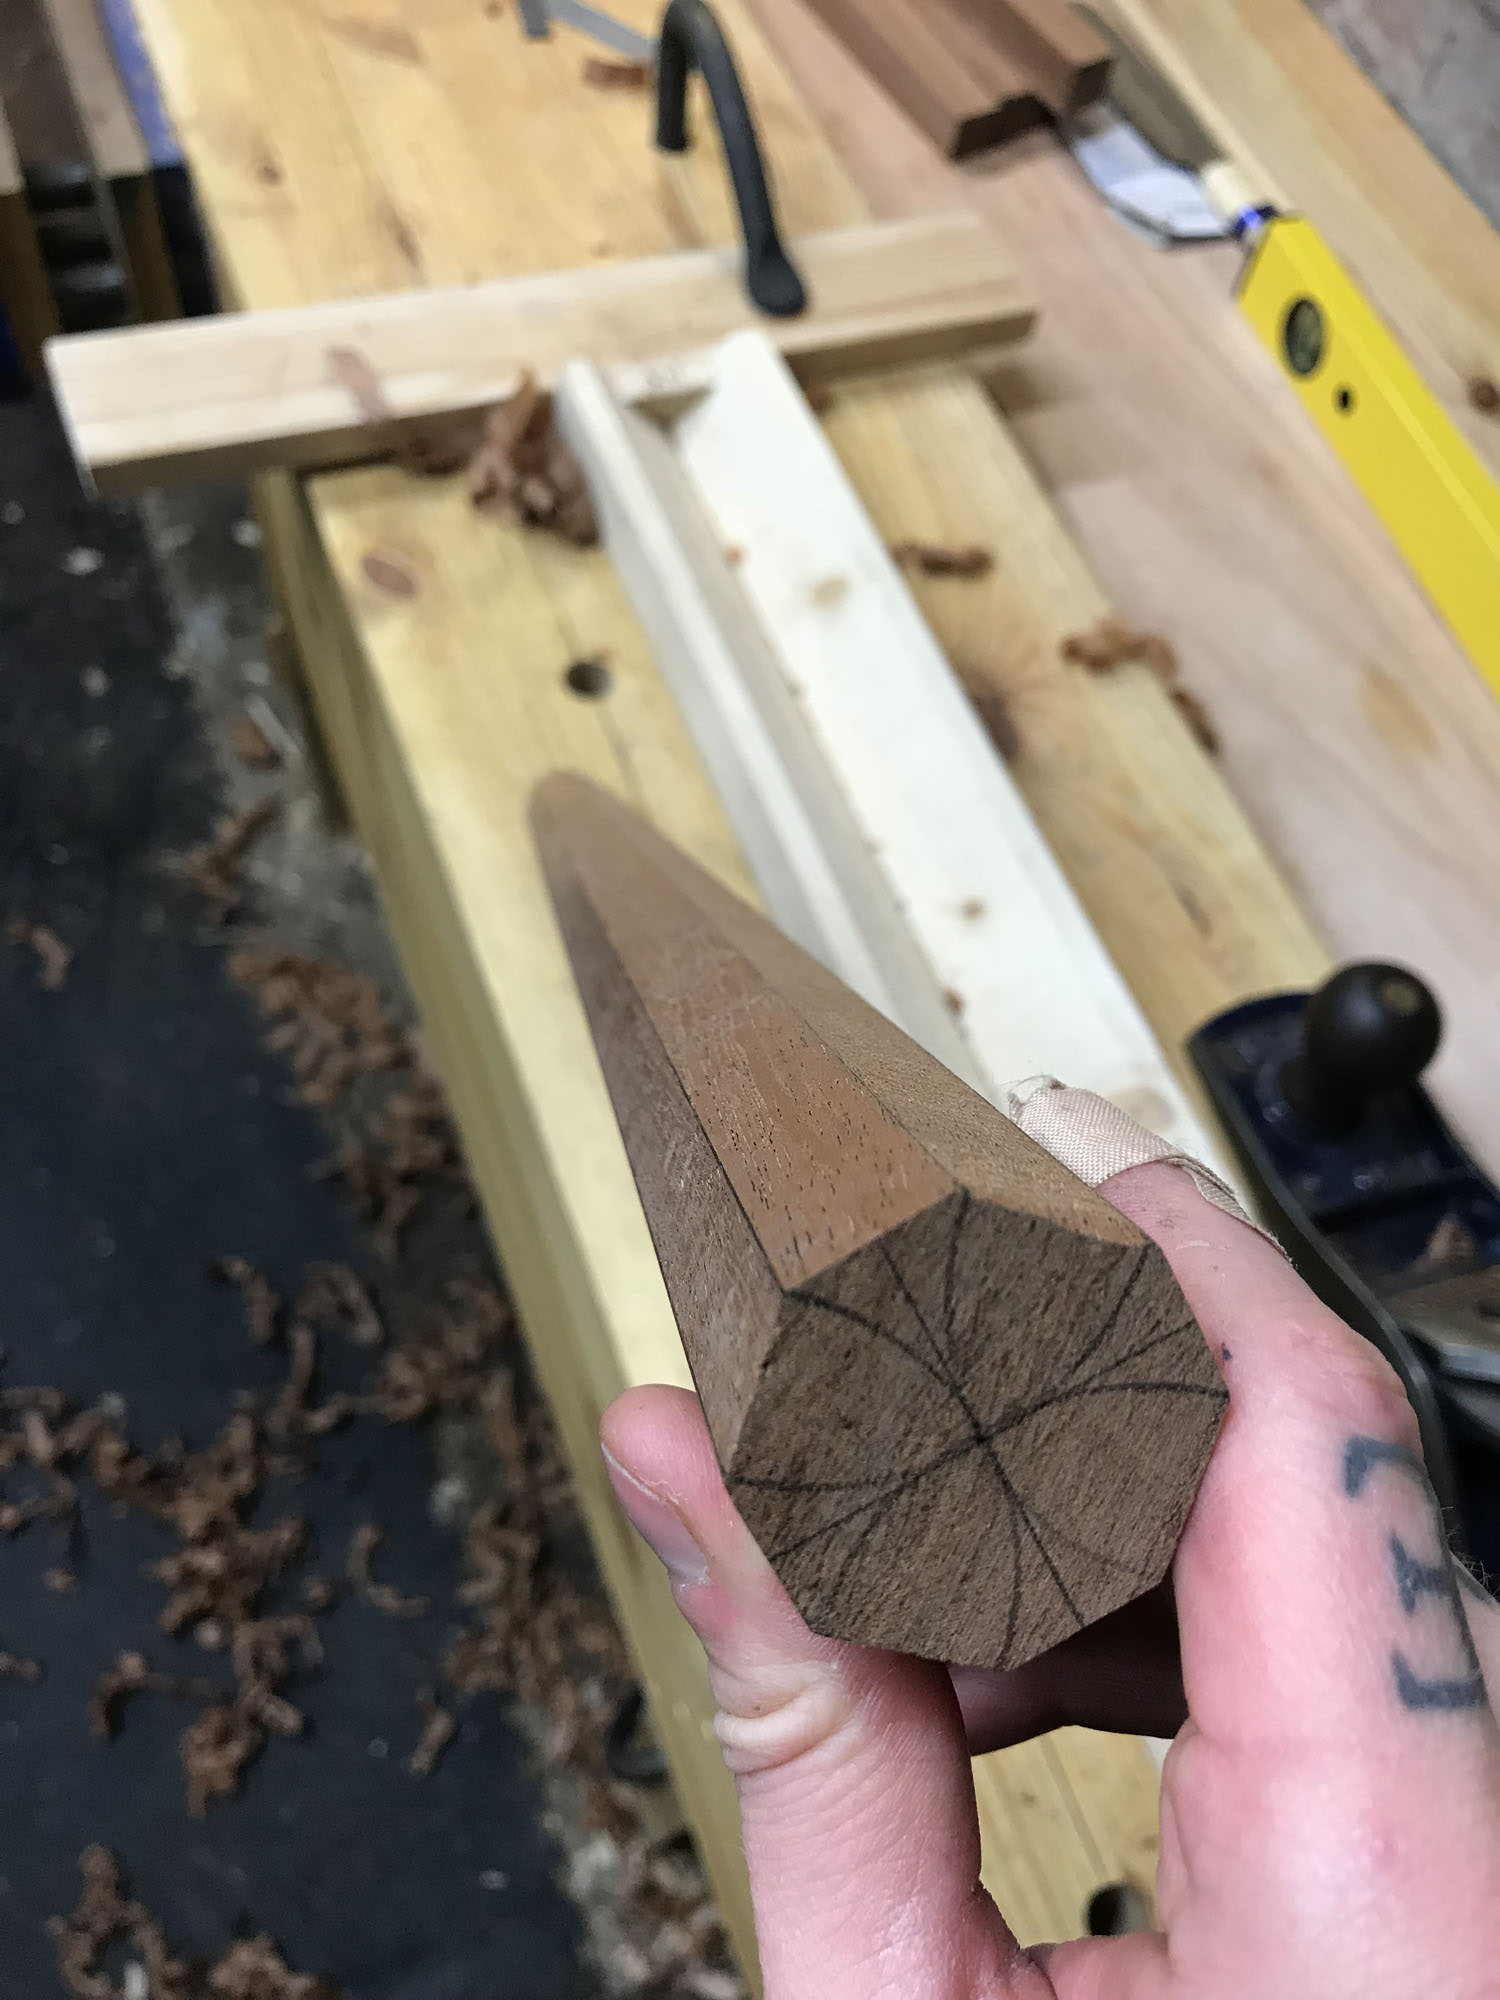
Until you're left with a nice clean octagon:
I've been an admirer of Christopher Schwarz's staked furniture for a while, he mentions often about how simple and rudimentary it is and while that may be, I don't think it should be shrugged off quite that easily. It is simple but not unsophisticated and for that I applaud him. As Dieter Rams once said, "good design is as little design as possible". Pretentious but true. So this particular bench is a sort of mix between Chris's sawbenches and one of his Roman benches.
I started by scrubbing the twist out of this ugly board using a Stanley No. 4 converted into a very effective scrub plane. It should be noted that had I not just picked up a planer thicknesser, I would not be doing this at all. I love hand tools as much as the next nerd but the idea of flattening some dirty old pine by hand didn't really move me.


I took a trip to the timber merchant to get something for the legs. I was hoping for Ash but all they had was a giant slab of it that was expensive and not particularly straight grained. However, next to it was a smaller piece of Sapele, just the right size to make four legs. I had not used Sapele for anything before so this seemed as a good a time as any to try it out.
After cutting to size and squaring up (thank you planer thicknesser) I marked up the legs to be tapered on the bandsaw. Notice the blood across the faces, that was from a very annoying cut knick that wouldn't stop bleeding.

Rough but tapered legs, ready to be put back through the planer.

I knew I wanted these legs to be octagonal so I knocked together a rough but effective jig to hold the legs at 45 degrees.

After squaring 'em up I marked out the octagons. Most of the pencil lines were pretty spot on but one or two were a bit off as you can see. I can live with it though.


This is where the fun begins. I'd read that Sapele's interlocked grain could make it difficult to work; maybe I got lucky but it was a joy to plane. Incidentally, I recently replaced the iron on my 5 1/2 with a Ray Iles one. It's about a millimetre thicker and also amazing. The further you get into the octagons, the thicker your shavings become:

Until you're left with a nice clean octagon:


