4 drawer unit - WIP - COMPLETED!

UKworkshop.co.uk

Help Support UKworkshop.co.uk:

This site may earn a commission from merchant affiliate links, including eBay, Amazon, and others.
Didn't bother taking photos of me painting the MDF panels so I continue by slotting the panel into it's slot...
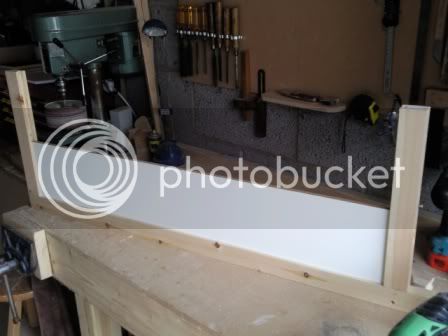
Photo0515.jpg


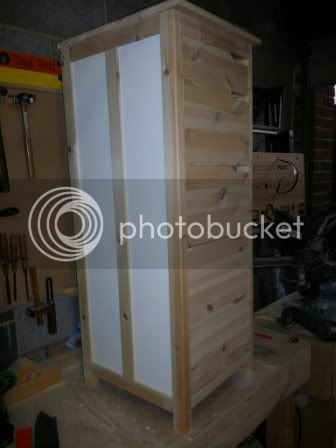
No need to glue the panels as they fit nice and snug into the slots. I fit the centre piece then dropped in the 2nd panel and fitted the end...
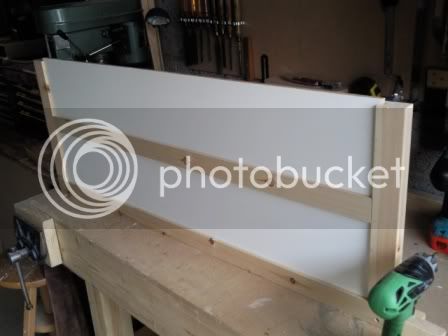
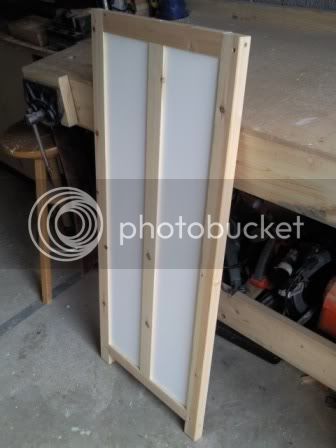
Photo0516.jpg


Photo0517.jpg


that looks twisted in that photo above but I can assure you it's not. Trick of the photo.

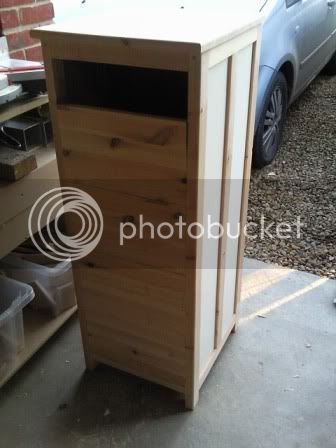
I'm enjoying this, seem to be making good progress today. I assembled the right hand side next, same as the left.
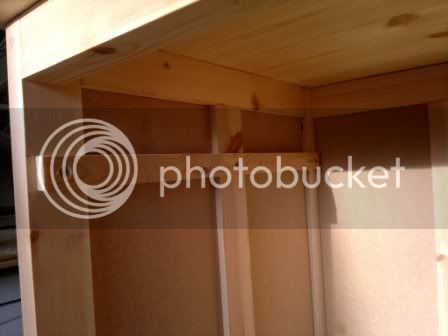
I decided at this point that I needed 3 pairs of arms. I had to put the rear together which required some cunning propping up of the side panels. I fixed the bottom rail in, then slotted the 2 rear panels in place and then from the top I inserted the centre upright. Slid it straight down. I realised it didn't fit. Much head scratching to be done for the next 10 mins while I work out what on earth I'd done. Looked like I'd not gone deep enough with the slots on the centre piece and I needed to run the router down them again taking out 2mm from each side - sorted, put the top brace on and the front braces too, stood back and admired my work... with pot of tea in hand of course.
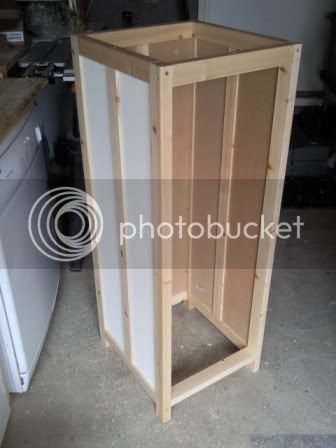
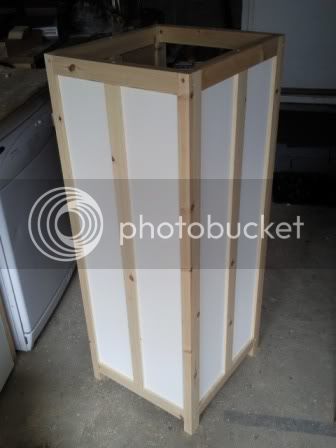
Photo0518.jpg


Photo0519.jpg


Photo0521.jpg


**********************
got distracted for a while cos some people came to buy some bird boxes I'd made from pallet wood. I put them on the wall at the end of my drive and get a fiver a piece for them.

**********************

Right-o, ten quid better off I returned to my masterpiece lol
As I'd chosen to screw/glue the frame together I was left with 8mm holes in the frame. Now I'd planned this so the holes were all in the same place all around. I took an 8mm dowel and went around the whole frame glueing the dowels into the holes...
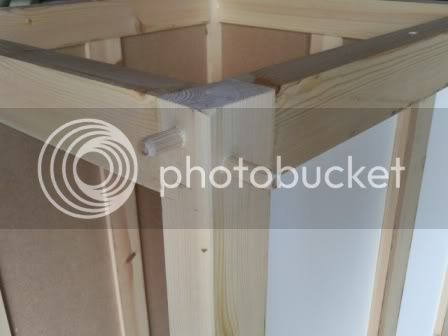
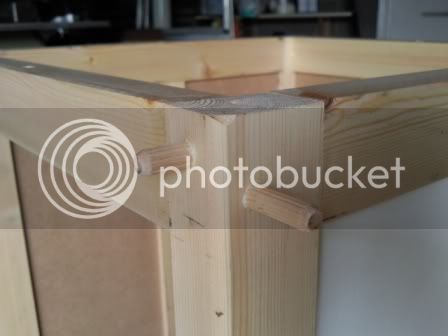
Photo0522.jpg


Photo0523.jpg


then when dried I trimmed them with my flush cut saw and gave them a light sanding down, nothing to serious though because the whole thing needs a good rub down later (oo-er)
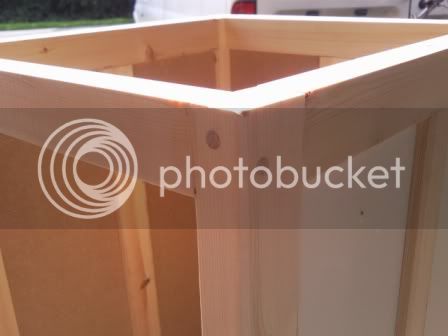
Photo0530.jpg


The top for this unit had me stumped for a while. Couldn't decide on what to make it out of then I spied my pile of timber I'd not allocated for a job yet. Thought I'd knock up a top from this and if it doesnt look any good at least I'd not forked out for good timber. A lot of planing up needed though, wish I'd of bought a thickneser/planer now.

The rough cuts...
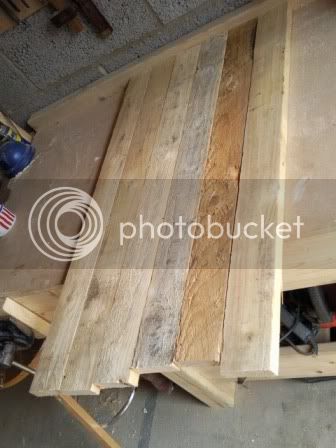
Photo0524.jpg


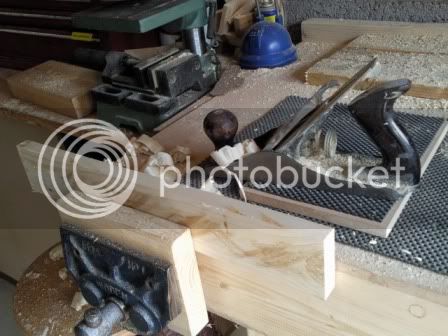
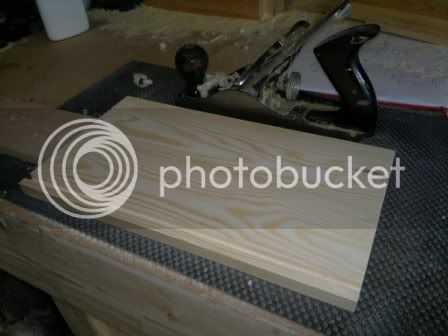
Hand planing the edges...

Photo0525.jpg


isn't this what every woodworker wants to see? nice long smooth shavings...
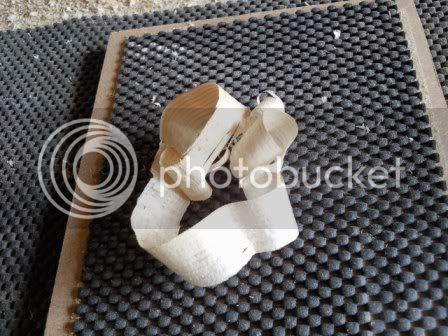
Photo0526.jpg


I put biscuit slots into the edges of the roughly planed timber (I'll be planing it a bit better once it's one piece)
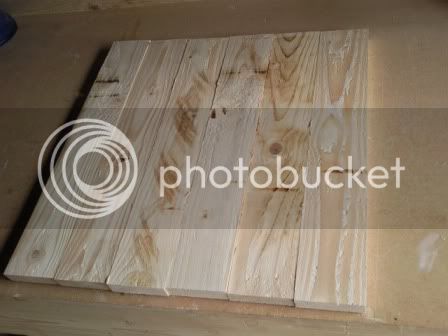
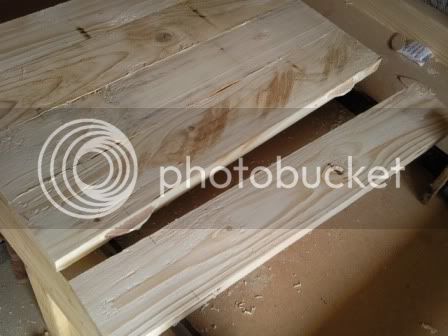
Photo0527.jpg


Photo0528.jpg


and clamped it up...

Photo0529.jpg


and that concludes todays events. More to follow...
 
Hi - good to see some progress and looking good -- you might even shame me into posting my WIPS of my similar but different project

It looks a bit taller than the original sketch? but then I read the dimensions

If it's going to be white couldn't you use mdf for the top? might save quite a bit of work cleaning up the old wood?

Like the bird box idea by the way

Pete
 
Thanks Pete, I'm leaving the frame natural with maybe some tinted wax (oakish colour) as a finish. The side panels will be the only white bits.

The drawer fronts I think will be pine as will the drawer boxes.

thanks for you input.

**Bird boxes - it has been a good idea to sell them out front. I live on a country lane and about 2 mile down the lane is a garden centre. So, I make garden planters from reclaimed deck boards and sell them out front. I catch the people coming back up the lane with a boot full of new plants. They see the planters and stop to buy. I keep the prices low too. Garden centre charges £25 for a 3ft planter, I charge a tenner. they charge £9.99 for a bird box and I charge a fiver.
Cos mine are made from reclaimed wood they've cost me nowt to make.
 
Scrap the top. I came to plane it up and spent a couple of hours sanding it and filling it and I couldn't get it anywhere near good enough to use for the top to this unit so I binned it. I need suggestions on what to use for the top. maybe should start with some ready planed furniture grade pine from a timber yard? at least then it'll join with no gaps and it wont take a lot of finishing. Pallet latts are too rough for this. I dont have a thickneser/jointer/planer machine.

Also, I think I am going to make the top hinged at the back so I can build into it a jewelery tray. hmmmm. [scratching chin]
 
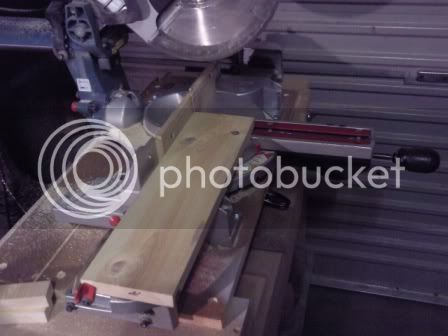
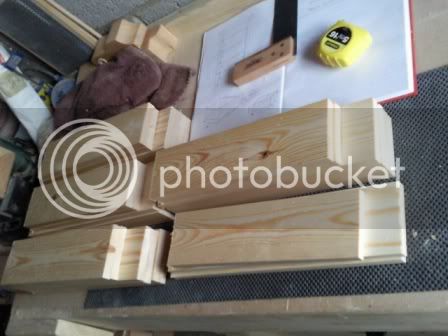
I scrapped the pallet wood top idea and purchased some professional grade pine timber instead. I carefully measured up and cut each piece using my mitre saw and a stop...

Photo0620.jpg


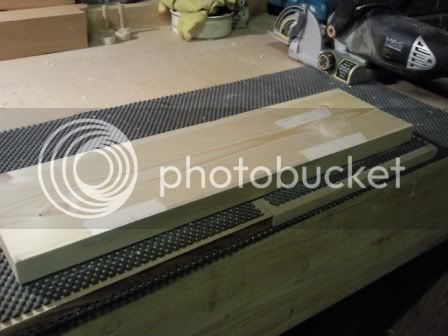
Then I carefully found the best fit for the 4 pieces and on a blob of masking tape I labelled each one and ruled a line across each joint, for the biscuit jointer to line up to...

Photo0618.jpg


Once I had done that I took each piece and laid it on the bench...

Photo0619.jpg


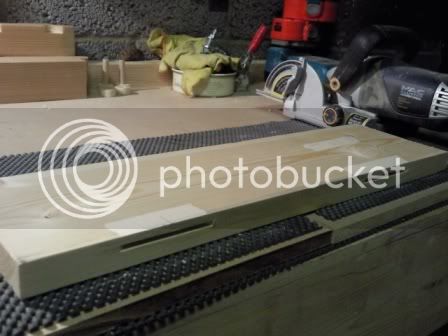
...and proceeded to put biscuit slots in each edge (except for the two outer edges :wink: )

Photo0621.jpg


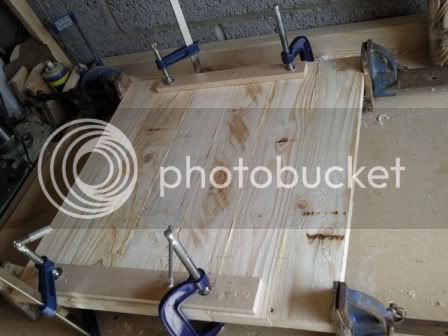
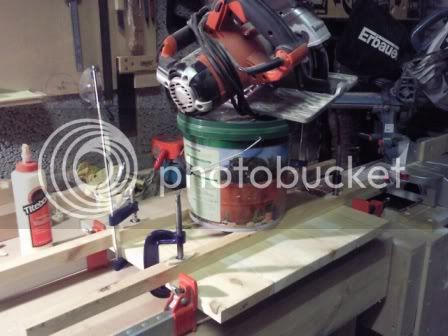
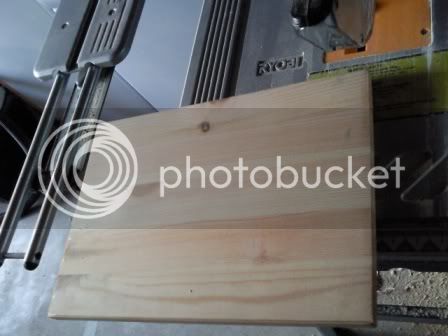
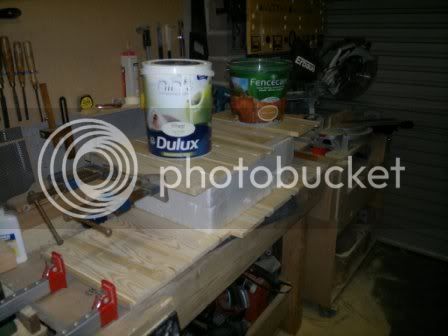
Then the glue up. I know it looks a bit unusual but I needed weight on it to stop it bowing...

Photo0622.jpg


next job will be the drawers.
 
A tip for glueing and avoiding bowing, alternate your clamps above and below the piece. So for your piece there I would have had a clamp underneath at each end and then a clamp sat above in the middle to help even out the clamping forces. You also don't need huge amounts of clamping force here either, the more you clamp a piece the worse you can make the bowing - imagine you're pressing a piece of flat card between your hands, the more pressure you add the more it wants to bow. So nice and tight but not clamping down as hard as you can
 
Thanks Ironballs for that info - noted it down.

'er indoors is pushing for this unit now, it's gonna go into her dressing room/wardrobe room. I also want it done and out of the workshop before xmas to be honest.

But, as I am a busy fella I can only do small bits at a time.

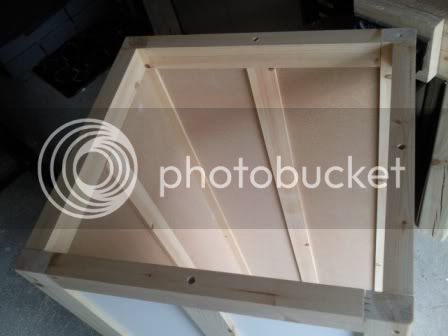
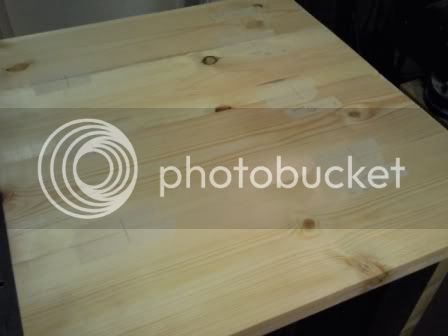
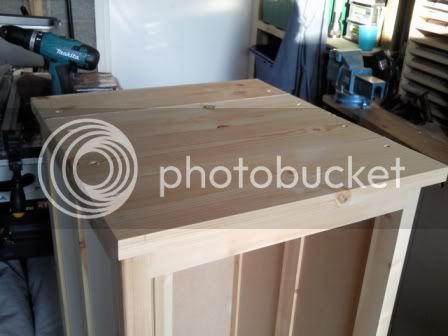
so I cleaned the glued top up a bit and located it on the top of the unit. I was going to use the button method to fix the top to the carcass but I didn't put the slot into the carcass to accept the buttons and the biscuit machine is too long in the body to get into the gap. So I had to settle for 4 screws along each edge but NO GLUE! I screwed the top to the frame...

Photo0625.jpg


I then used beech dowel to plug the holes where the screws had gone in...

Photo0629.jpg


Drawers next!

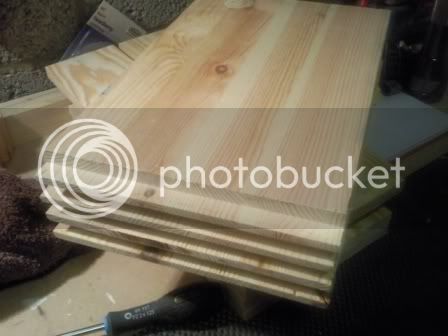
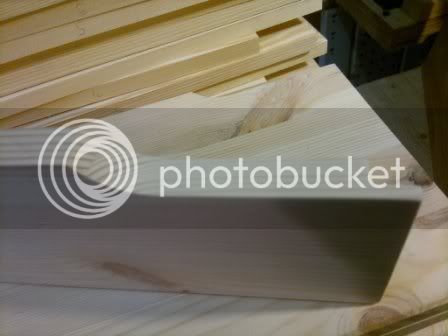
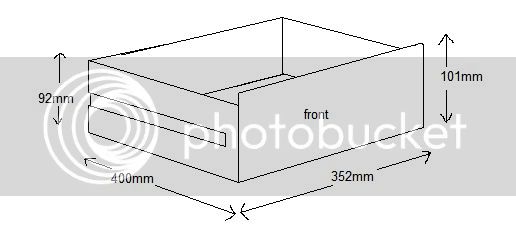
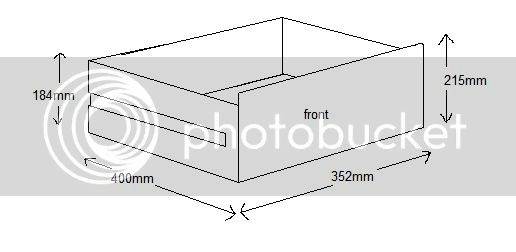
I set the stopper on my mitre saw and chopped some nice planed smooth timber (D:15mm x W:92mm) to make the drawer sides. Because I'm having 5 drawers in total the bottom 4 drawers will be 8.5" deep and the top drawer is to be 4" deep I need to double up the timber on the sides/back of the drawers to make them as deep as possible.

this is my sketch for the 4" drawer...

4inch-drawer.jpg


and a sketch for my 8.5" drawers (4x)

8inch-drawer.jpg


these are the sides cut to length...

Photo0635.jpg


For the drawer front I wanted them to be one piece (already joined together) but nice quality pine so I took the plunge and bought some premium furniture pine (£24 for a 2.4m length, 350mm wide, 18mm thick)

I cut the drawer fronts...

Photo0636.jpg


and I couldn't resist having a dry fit just to see...

Photo0637.jpg


Tonight I continue...
 
getting there!

it's going to be massive must be a big wardrobe it's going in

just looking at it - have you fitted the runners for the drawers yet? doesn't look like it but I could be wrong. Might have been easier to do it when it was flat - before you glued the carcass together?

just a thought.

looking forward to the finished article
 
hi mate, the wardrobe is a single bedroom converted to a walk in wardrobe (highly recommended for maximum brownie points!)

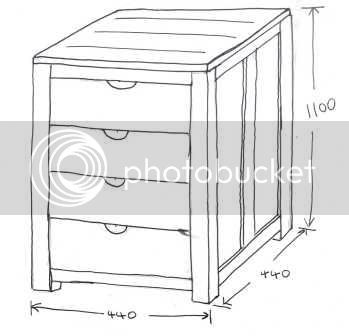
This unit is approx H:1100mm W:440mm D:440mm

Not fitted the runners yet, plenty of access to the inside though so should be ok to get an arm into it. Would you rout the runner slots on the drawers sides first (while in pieces) and then mark the carcass off the assembled drawer? seems the only logical way to do it.
 
Lee J":2hi1mejf said:

For future reference you really ought to put the dowel as close to the shoulder of the joint as reasonably possible. The cross grain of the stile will move seasonally while the long grain of the tenon won't. The result will be stress on, and eventual failure of, the glue, and an open gap at the shoulder. Either that or the stile might split.
 
Single bedroom = wardrobe

does that mean you get a room for the train set?

I'm not an expert but I think generally you do as much of the joinery as you can before you glue things together or cut weird shapes in them (like curves).

Not sure whether you would put the runners in the sides and then rout the grooves in the drawers to match or the other way round to be honest - I think questions like this are why apprentices were invented!!

I'm sure you'll find a way - or someone sensible will help?

Pete
 
Well my great idea of using dovetails to join the drawer fronts to the sides was scuppered when my dovetail jig made a right balls up of the job. Lined it all up and ran 3 test pieces and seemed to get it right, popped the first front in place and the left side piece, did the route and it was out by 4mm. Now I could've got away with this but it took that long to set up and faff about I just wasn't looking forward to doing the rest. Then I offered 'er indoors an option. I'll either persevere with dovetails but may require more wood and may end up fluff it up completely or I could use this type of joint...

drawerplan.jpg


screwed through the sides and holes plugged.

Then I offered to drill and plug the front panels as a feature to match the frame and the top and this went down really well and I got permission to change the brief and crack on.

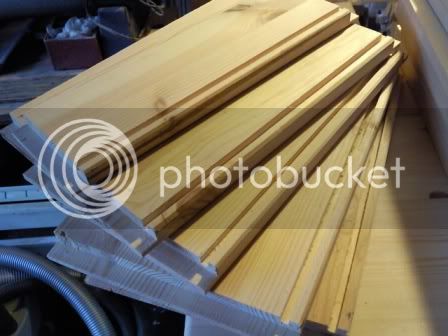
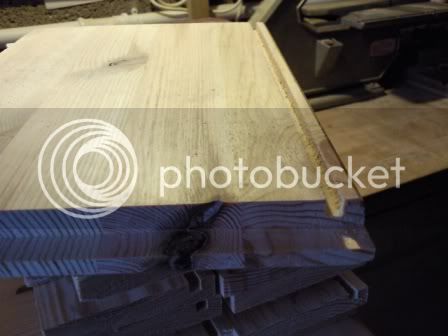
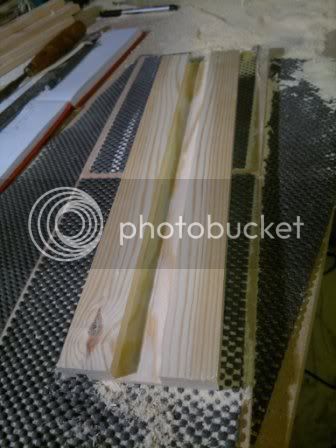
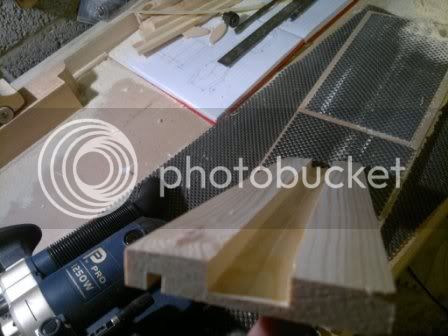
Set my router up in the table, measure it all out and routed the rebates in the rear face of the front drawer panels...

At first only routing as far up as the drawer sides needed to go...

Photo0639.jpg


but this was proving to be taking ages and for what? So I blasted straight through...

Photo0640.jpg


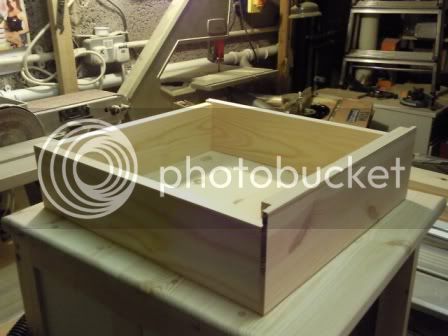
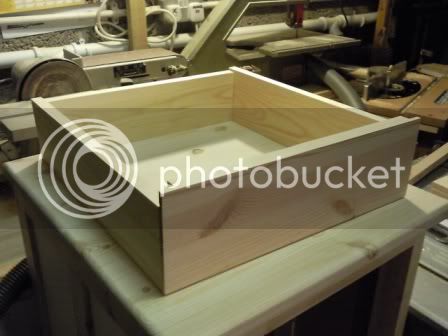
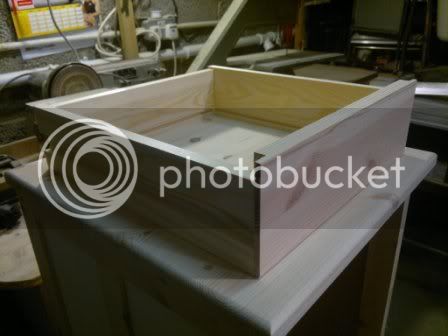
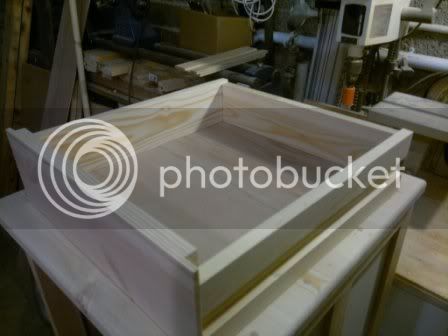
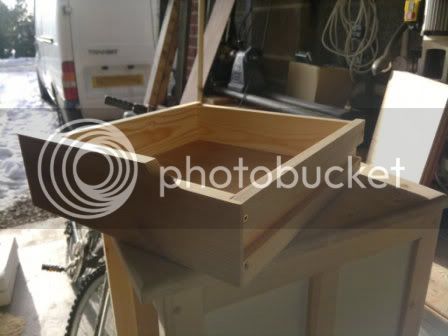
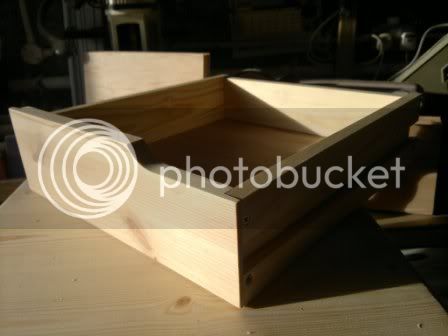
Heres the smallest drawer (the top drawer of the unit) dry fit...

Photo0641.jpg


Photo0642.jpg


and thats all folks as it was nearly 10pm and the router isn't the quietest tool in our sleepy village.

Back in tonight to rout the slots for the 6mm ply drawer bottoms and the runner slots too.
 
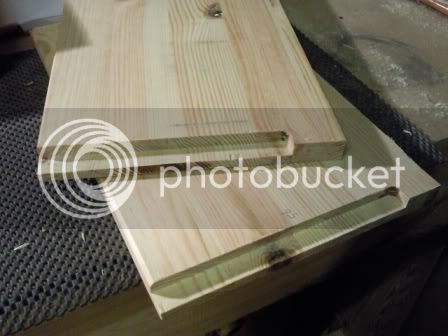
Slots routed for the 6mm ply. I used a 6.35mm straight cutter in the router table. made two passes with each piece because when I tried to go through with a single pass it didn't sound too healthy.

Here's the front panels with the slots sorted!

Photo0644.jpg


and of course, the fronts close up too...

Photo0645.jpg


So this weekend I will attempt to rout the slots that will be used for the runners. Not sure the best way to approach it really?

I think rout the slots then offer the drawers up one by one and mark out where the runners will be, then fix the runners to the carcass.
 
keep at it - nearly there

drawers take absolutely ages!! (well they take me absolutely ages)

looking forward to seeing the finished - very tall - article

cheers
 
cheers mate, it's not that tall really :D

I've set myself a deadline of Sunday to get this to a state ready for a finish to be applied. so all drawers assembled and fitted, rubbed down, final sand off and then let the dust settle - couple of days later I'll coat it with some varnish type stuff I did the internal pine doors in. It's just a standard satin clear varnish. Should be enough to protect it from scuffs. I'm gonna spend a bit of time on the drawer fronts and the carcass top to ensure a nice finish
 
Here I am again. Plodding on.

I got in the workshop on Saturday lunchtime despite the fact it was minus 4 degrees outside. No heating in there this year but I may look into oil radiators for next year. I decided this year I'd get this unit finished then close the shop up until Spring (yeah right lol).

I set the hand held router up using the fence to put a slot into these side bits. Looks like I've made them a little too deep. But, this shouldn't be a problem as they still seem strong enough.

Picture005.jpg


Picture004.jpg


Once I'd completed this it was time to glue up the drawer panels and leave them to go off.
I know this looks a bit daft but it works. Didn't need a lot of clamp pressure, just enough to nip the glue out of the join.

Picture007.jpg


I cut up the 6mm hardboard drawer bottoms ready for assembly.
That was Saturday done, it was 4pm and it was minus 7 degrees outside. Brrrrr


Sunday and it looks a bit brighter outside. Still under a cover of snow but hey ho.

I planed up the side panels using my hand plane. Something satisfying about using a hand plane and seeing all those shavings roll off...

Picture006.jpg


Time for a dry fit...

Picture013.jpg


...and then with the drawer bottom in place...

Picture014.jpg


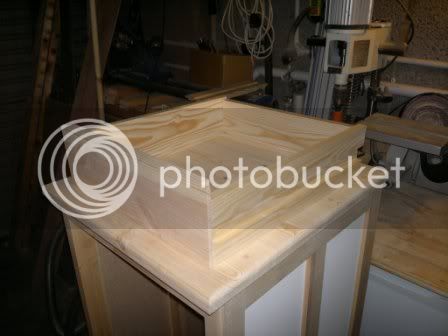
This dry fit photo shows the drawer sat on top of the unit, looks kinda good really, I'm well pleased so far...

Picture008.jpg


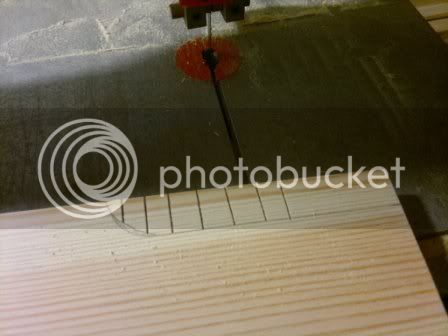
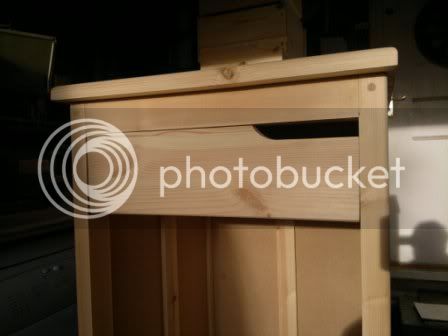
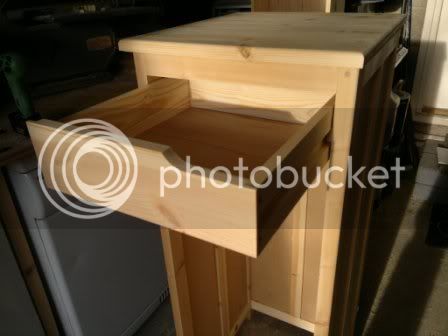
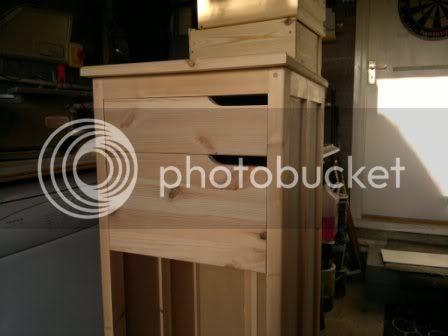
Next job it was shaping the drawer fronts. I dont want to fit handles to this unit so I'm going for a 'cut away' style handle. I roughly marked out a cut away on the top drawer and cut a series of relief cuts on the bandsaw...
Picture016.jpg


then cut out the waste until I had this...

Picture017.jpg


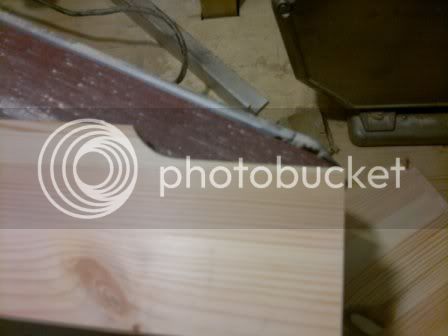
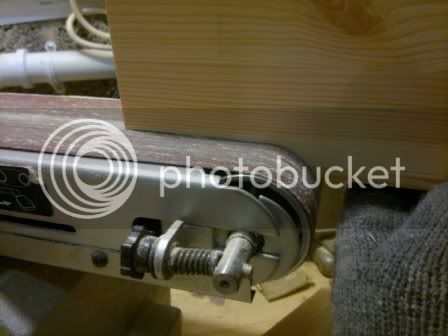
It was potta tea time while I thought through how to sand this down to the correct shape and while I was stood gazing I spotted my flatbed sander thingy-me-bob. The profile of the flat bed and the end roller was perfect for my drawer front so I did this...
Picture019.jpg


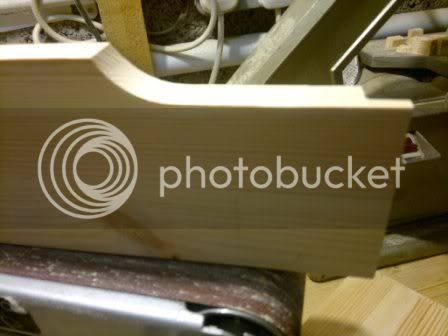
...and I ended up with this...
Picture018.jpg


Picture020.jpg


What a result! I was well chuffed. I did them all then went for drawer assembly.

Here's the story up to date, drawers...

Picture021-1.jpg


Picture023.jpg


Shouldn't be too long now! Brrrrrrr
 
Ah you see I was looking at those drawers with the big lumps sticking out the top with the rebate going all the way up thinking "I don't really like that"

and then you cut it all away and shape it and I'm thinking "I like that" it's amazing how things change

are you going to do the other side or keep it on one - I like the asymetric look but would fret if I had that rebate on the other side leering at me each time I opened the drawer!

I'm not an expert but as you say I also suspect the rebate for the slides is probably too deep - quite what it should be though I have no idea - I'm sure it'll be fine

looking forward to it getting finished keen to see how you fit the runners and keep it all evenly spaced

cheers
 
Applied the same assembly principles to the other 4 drawers and I was now ready to fit them into the unit. I'm going to use pine runners for this as these drawers wont get heavy usage to be honest, missus is gonna store some clothes that aren't used much and a bits of make up and jewelry that she wants to keep - for what ever reason women keep these things :roll:

Anyway, I thought long and hard over a potta about the way to do this and came up with putting marks on the front of the drawer inline with the slots on the sides, then offering the drawer up into the unit, get it central/level and mark the unit sides. Then hold a runner up so the front is on the marks at the front and with a level mark all the way across. Drill clearance hole in runner, counter sink, pilot hole in unit and hey presto...

11122010069.jpg


and then the moment of truth...

11122010070.jpg


11122010071.jpg


Repeat process another 4 times...

11122010072.jpg


11122010073.jpg


I had a problem with drawer number 3, it didn't shut right. took me ages to realise I had made a mistake and put the right hand runner on wonky. Only about 2 or 3mm but enough to stop the drawer running freely. Quick adjustment and all was well again.

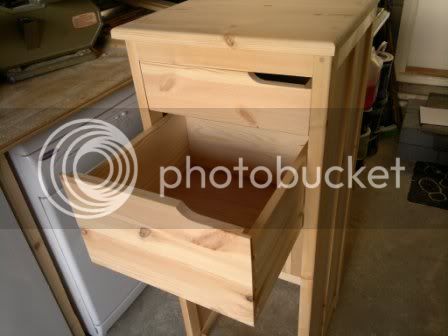
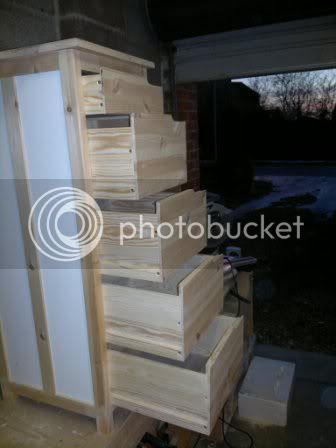
Well wont you look at that, all fitted and functioning...

11122010079.jpg


11122010074.jpg


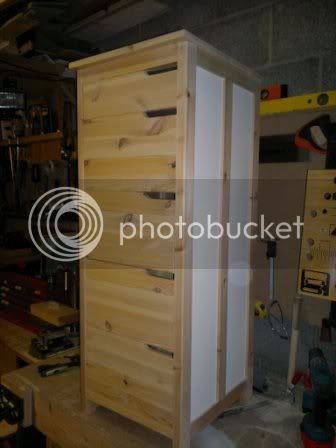
Not bad really, I'm quite pleased to be honest. I spent a few hours just sanding down through from 120 grit to 240 grit, then 400 grit and finally 600 grit. Gave it a few coats of satin varnish and it looks really good.

So I started with this...

sketch-1.jpg


and ended up with this...

11122010076.jpg


I thank you
 
If I was from del monte I would say yes!

like the drawer pull/cut out especially.

well done and thanks for sharing
 

Latest posts

Back
Top