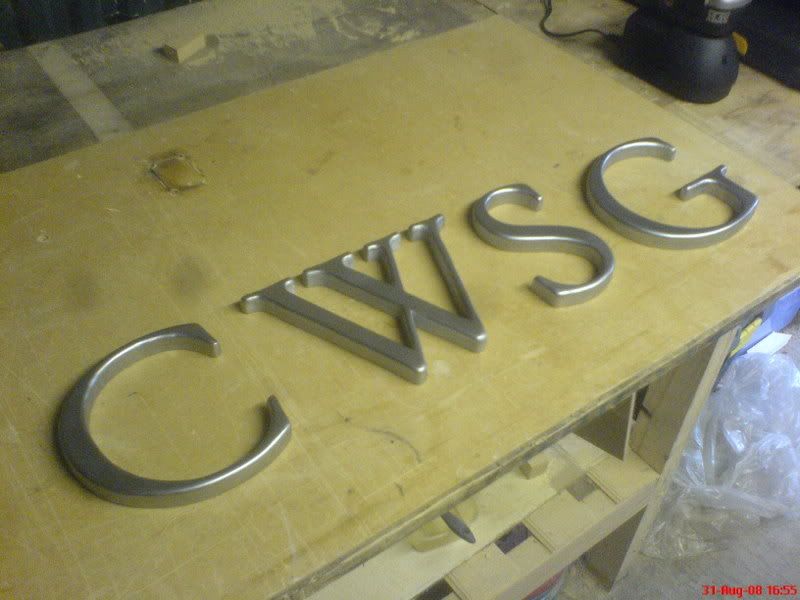
3D letters .....

UKworkshop.co.uk

Help Support UKworkshop.co.uk:

This site may earn a commission from merchant affiliate links, including eBay, Amazon, and others.

pren

Established Member
Joined
13 Feb 2008
Messages
652
Reaction score
0
Location
Gogledd Cymru / North wales.
Without wishing to put my head above the parapet again, I decided to focus my efforts on recreating some 3D letters that a friend had seen on eBay ....

.....that she couldn't afford .... :whistle:

So...

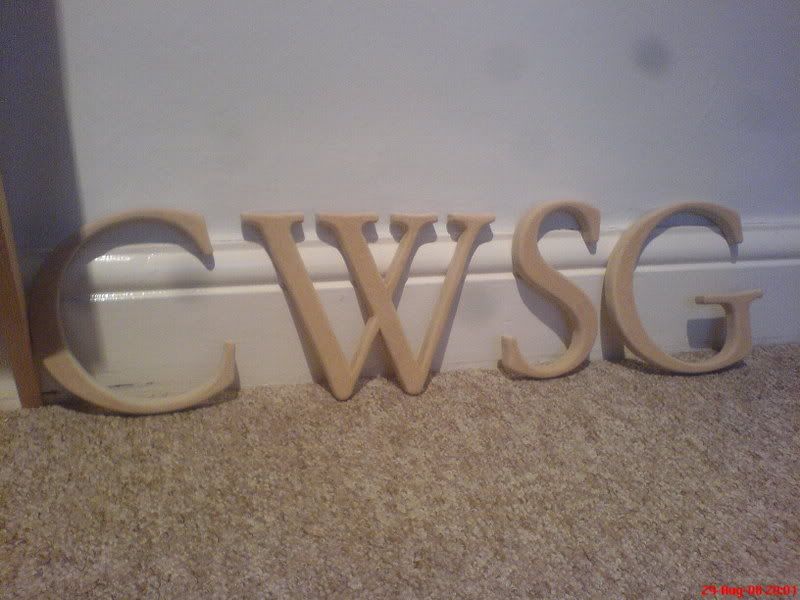
Take one £45 scrollsaw, a £20 router, some B&Q 18mm MDF and some spray paint and:
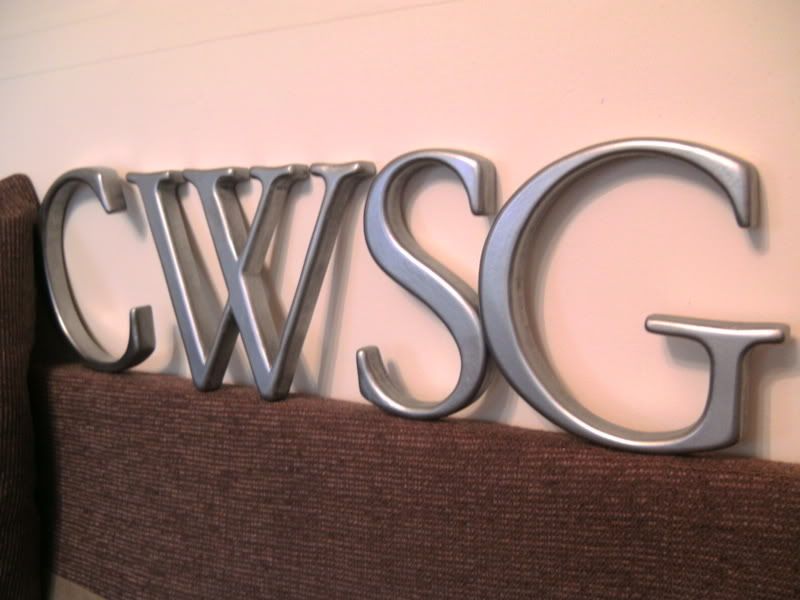

PICT0593.jpg


First efforts at both working with MDF and spraying .... anything. There are areas around the sides of the letters where i didn't get the sandpaper in as thoroughly as I could have. These turned quite rough looking under the paint.

All in all, though: I'm fairly pleased with these!

Hey ho.

Cheers.
Bryn :D


ps: 'CWSG' is Welsh for 'Sleep'. Pronounced 'Koosg'.
 
I'm not going to stick my head above the parapet again either... but I've made some enquiries which have reinforced my original opinion :-# .

MDF is an ideal material for that sort of scrollwork, especially when finished with a spray paint... as your pictures prove :D .

Super job, Bryn!

Gill
 
blimey that's better than any of my attempts. Well done, did you draw the letters yourself or did you use a printed font template?
 
Thanks, Gill & Wizer! 8)

From what i've found so far, MDF seems perfectly suited to this sort of work (as long as I get the sanding down)!

I've just realised I've got some WIP's to show the group! :roll: :lol:

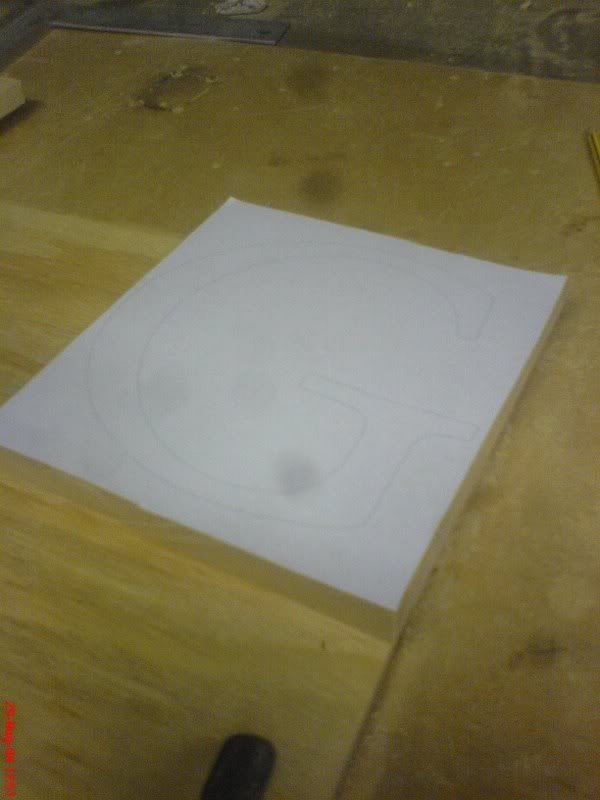
The pattern was a font (Garamond Macron - MS Word), printed out at 700pt for 19cm high letters. The printout was glued to the MDF blank with UHU repositionable spray-mount adhesive. I found this to be a perfect way of affixing a pattern which can then be peeled off afterwards!
DSC00847.jpg


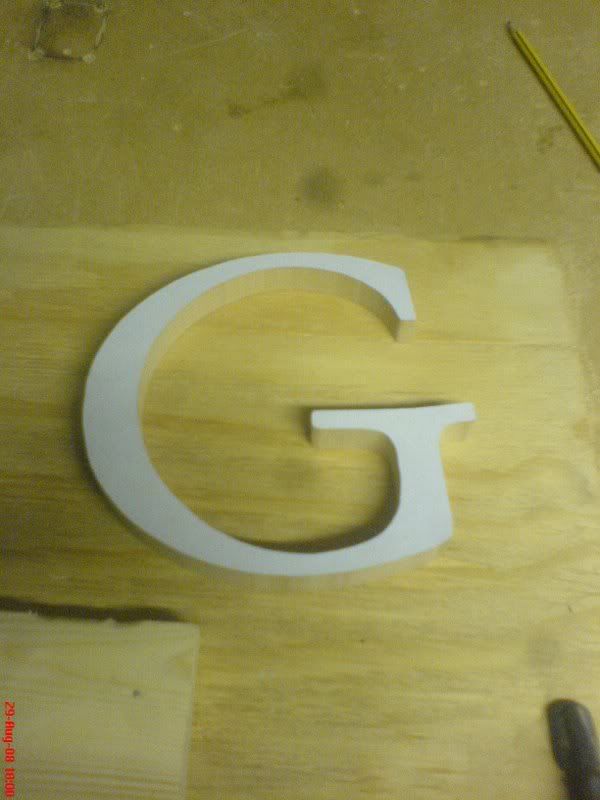
All cut round with me scroll saw:
DSC00849.jpg


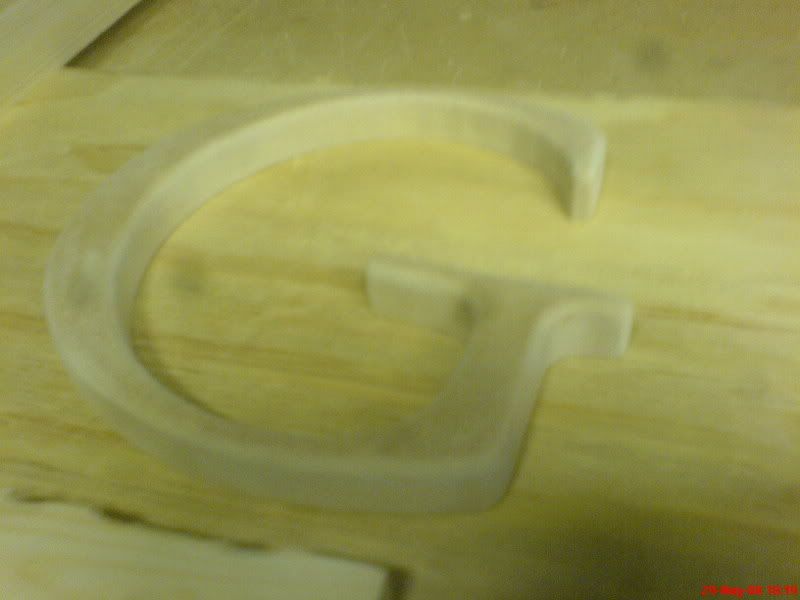
Then rounded over with a 1/4" (IIRC) router bit:
DSC00850.jpg


Given a good sanding (obviously not good enough :roll: :oops: ) with 80-120-180-320gt papers;
DSC00852.jpg


Then, 2 coats of white Plasticote spray sealer/primer (think I could get away with just the one coat next time) and 3 coats of Plasticote Gloss silver spraypaint (again, with better sanding, 1-2 coats would have probably done).
DSC00853.jpg


Anyway; I really enjoyed this!

Cheers!
Bryn :D
 
Great WIP pictures :) .

It's interesting that you used Plasticote spray sealer/primer. Although I've used that in the past, I've never got on with it. Whatever primer I used, loose fibres from the cut edges of the MDF would still get raised and have to be sanded back. Sanding Plasticote clogs up the abrasive paper faster than cornflour in a stew. Now I use Wickes' acrylic primer/undercoat which I paint on by hand. It's cheap, it gives a good coverage and hand painting doesn't take significantly longer than spraying, especially as it dries within twenty minutes. Then a light sanding followed by another coat of primer and (if the MDF is decent quality) the top coat can be applied. Unfortunately, most MDF nowadays is rather fluffy and I find that another light sanding plus an undercoat is usually necessary.

Gill
 
Try as I can, I can't see the imperfections just from the photograph. I think it's an impressive bit of work. The silver spray gives a very attractive sheen to it.
 
Gill":1anfvu7x said:
Sanding Plasticote clogs up the abrasive paper faster than cornflour in a stew. Now I use Wickes' acrylic primer/undercoat which I paint on by hand.
Gill

I found that as well! The Plasticote stuff seemed to stay tacky instead of fully drying. When I tried sanding it, the primer would just come off the MDF instead of being smoothed out. :?

I had a quick look in B&Q for a similar Primer to the one you mentioned. I couldn't find one that said it was acrylic - there was an MDF primer, tho. I've used their wood primer before for interior woodwork (windows, doors etc..) and although it worked well, it did take a good few hours to dry. Not great for fast finishing.

Is there a particular brand name I can look for that is an acrylic primer?

My nearest Wickes is in Chester (45min drive away). Bit of a mission to get there if I can get the primer else where.

Cheers.
Bryn :D
 
Hi Bryn

From what I can make out, the Wickes product is very much the same as 'gesso', a thick, chalky, water-based paint that artists use. You should be able to get some from an art or craft supply shop, but it will probably be more expensive than a tub of Wickes' own brand.

I'm sorry I can't pass on the names of any particular brands; I've only ever used Wickes' undercoat/primer, so I've had no reason to look for an alternative.

Gill
 
Hey Gill.

Thanks for that! Is this the primer you use?

I eBay'd 'Gesso' and came up with a 500ml pot for about £8!

Sounds perfect for what I need.

Cheers.
Bryn :D
 
That's the fella :) ! I see Mr Wickes has re-designed the packaging since the last time I bought some - it does last a long time 8) .

I hope you get on with your gesso as well as I get on with the stuff I use.

Gill
 
I have the best results using MDF sealer and use a 3 M's scotchbright do that twice then no problems at all don't even need a primer.
Mal
 
Sorry guys what I should have said was I use an MDF sealer sanded with a finishing wheel bought from axminster tools it is like a flap wheel but it has 3M's scotch bright on it as well as the abrasives I use the sealer twice and sand in the same manner and I do'nt even use a primer.
Mal
 
love the 3d letters, you have done a great job, i like the WIP pictures too, but would like to know how you held the letters whilst routing?
 
Hi!

Glad you liked them :D .

Routing these letters was a bit hit-an-miss. I tried pinning some scrap mdf to some ply to surround the letters thus creating a sort of jig to contain them.

Didn't really work. :(

I found they would get knocked away by the router and the letters would go skittering across the worktop. I didn't really fancy getting my fingers too close to the bit whilst set up in a router table either.

I'm in the process of making some more (WIP's on the way) and have found it much easier to pin the letters to some 9mm ply with 13mm brad nails. I can round them over with the router in one go before prying them off the protruding 4mm of brads using a wide chisel.

This seems to work just fine for me. :D
 
Can I suggest a multi-tool fitted with a round-over bit held in a dedicated router table? That's what I use to round over small segments. I find a multi-tool is better than a router because it isn't so aggressive and the round-over bits are a more suitable size.

As Pren suggests, you can make a pad from off-cuts into which prongs are inserted (I used cut off veneer pins) so as to protrude through the base to hold your workpiece. I've even got one pad which has the tip of a No3 screw protruding just far enough to get a hold on slightly larger segments too.

I find several shallow passes are needed, removing a little more material with each pass. Try to remove too much in one pass and you'll soon be playing 'hunt the workpiece' :) .

Gill
 
Hi Gill, I am intrigued by your setup for rounding over pieces - do I have this right:

you use a dremel (or similar) inverted with a round over bit akin to a normal router in a small scale - fair enough. Does the bit therefore have a bearing guide on it to stop it going through the workpiece is my first question, and my second is do you incorporate a lead in pin or just push the workpiece into the cutter? With a router I believe this is not a good idea but wasn't sure whether a multitool, being less fierce, made it OK.

Last question - do you hold the workpiece in your fingers, or hold pins stuck into the workpiece? I cannot quite picture how you handle really small pieces. Typically for intarsia or segmentation I have been using a file or sandpaper (small drum sander in a drill press) but it lacks the uniformity a roundover bit would produce as well as being time and labour intensive!

Many thanks,

Steve.
 
If only I had some photos to show the set up in operation!

Insofar as the rounding bit is concerned, it's just the standard bit supplied by Dremel. Unfortunately, it has a guide pin instead of a bearing so there's always a little bit of sanding required after to tidy up. However, it isn't onerous.

Here's a picture of the round over bit being used to shape a scroll sawn box I made a few years ago:

Rounding.jpg


As you can see, I didn't use a lead-in pin when I shaped the box; I don't use one when rounding over segments either. There again, I don't use a lead-in pin when I'm shaping larger objects with a table-mounted router :oops: . Perhaps I should, but I've never found it necessary. My view is that if you're removing so much material that you need to rely on a lead-in pin, you're probably trying to remove too much material in one pass. Added to which, there's the possibility of indenting the sides of the workpiece if you press against a pin. But that's just my opinion, for what it's worth :lol: .

The pad...

Imagine these Axminster pads on a tiny scale with the tips of veneer pins protruding through the base so they grip the workpiece:

388022_xl.jpg


That's all they are. If the segment is large enough for me to be confident that my fingers won't go near the exposed cutting bit, I'll hold the segment with my fingers. However, that's a rarity because I'm very aware of the risks associated with this practice. It's much more likely that I'll use one of these pads instead.

Hope this helps.

Gill
 
I forgot to mention... :oops:

Some thin segments have a tendency to lose stability and rock as the round-over bit cuts away material. You can overcome this by placing an off-cut of material the same thickness as that being shaped near to the round-over bit. By resting the pad on the off-cut as you shape the segment, you will ensure the segment remains vertical throughout.

I'm sure most woodworkers will already be familiar with this technique through their use of routers. Nevertheless, I mention it for the benefit of any scrollers who are not experienced with routers.

Gill
 

Latest posts

Back
Top