paulm
IG paulm_outdoors
Here's some pics of fitting the second vice as I forgot to take any of the first 
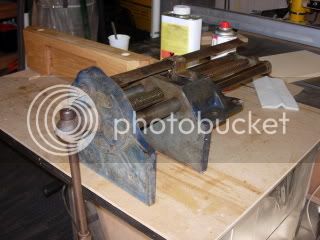
This is the secondhand vice, bit scruffy to start with but nothing a wirebrush and airline couldn't clean up. Took the opportunity to clean the thread as well and sprayed liberally with pfte spray so the action is nice and smooth. This one is a Record 52 1/2 quick release, a big heavy beast !
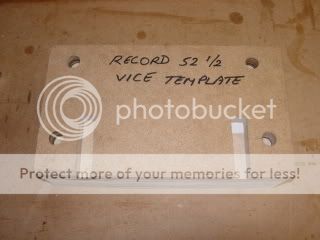
Next thing to do was make up an mdf template for the vice mounting holes and also with cut outs for the reinforcing ribs on the vice.
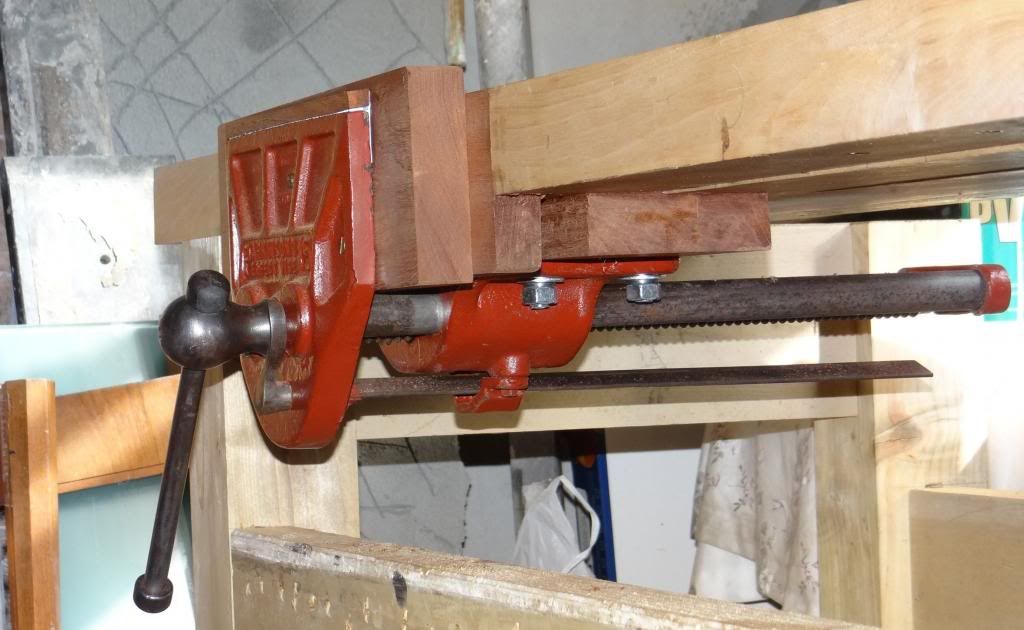
Used the template to cut and drill four more bits of mdf the same and glued them all together as a spacer block for under the bench so that the vice could be mounted with the top of the jaws about 1" below the top of the bench.
I cut the mdf blanks to size, then glued them together and then with the template on top drilled and made the cut outs all in one.
Found that four pieces of 15mm mdf gave me just the right overall thickness of 60mm for the spacer.
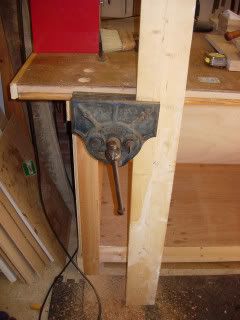
Then using the single most useful tip ever I used a stout piece of timber and held it vertically against the bench and marked the timber where I wanted the top of the vice jaw to be, about 1" below the bench top, then put the piece of timber in the vice with the jaws at the marked point and tightened it up. It's then really easy to position the vice in place against the bench with the piece of timber taking all the weight (which is pretty considerable !).
Having checked that the vice workings were going to clear the bench leg, I then used the template to mark the mounting holes and drilled the bench, using a large spade bit to a depth of around 5mm so that the coach bolt heads would be below the surface of the bench, and then drilled through the bottom of the large holes with a smaller spade bit. I was using 10mm by 130mm bolts so made the holes 12mm to make sure there was a bit of adjustment for lining everything up. Would have used 12mm bolts if I could have found any but had to take what I could get at B&Q as I didn't want to wait for a Screwfix delivery !
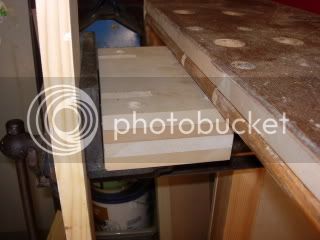
Then positioned the spacer block on the vice and moved the whole thing into place, still taking all the weight with the piece of timber in the vice, dropped the bolts through and tightened them all up, making sure the back of the vice jaw was tight against the edge of the bench. Could have taken a rebate out of the front edge of the bench so that the front face of the back jaw was flush, but decided to do it this way instead.
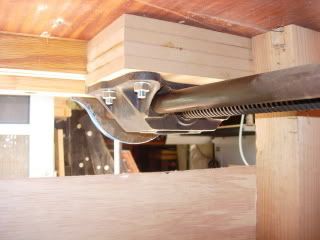
Picture of the vice and spacer block from underneath in case I haven't explained very well.
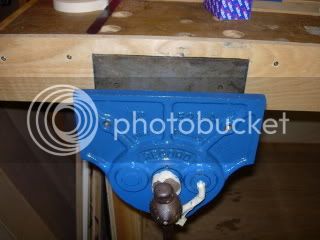
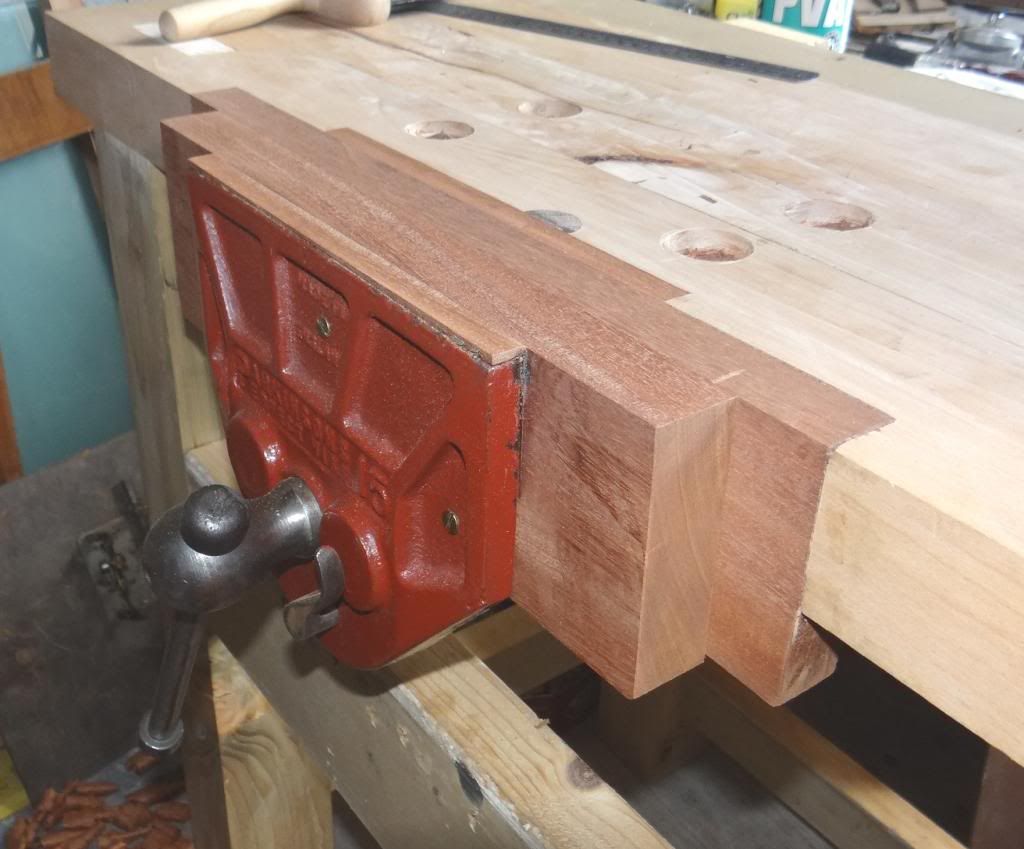
Then used a piece of my reclaimed oak flooring to edge the bench top, cutting out a suitable recess for the rear vice jaw.
Took the time to give the front face of the vice a couple of coats of blue hammerite paint to smarten it up.
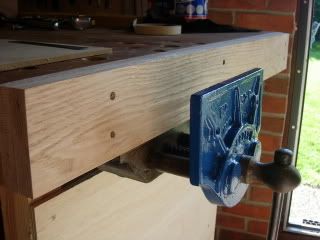
Then fitted another piece of oak flooring over the front of the first piece and covering the exposed rear vice jaw. Unfortunately the vice jaw protruded a couple of mill in front of the rebated piece of oak so on the second piece I had to skim a shallow recess on the back to compensate and allow it to sit flush.
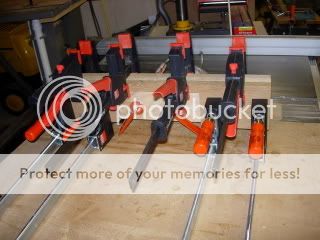
Then I made up a front jaw facing by laminating three pieces of oak flooring, cutting a recess first in the back piece so that it would sit over the front vice jaw. Cut off the corners on the tablesaw and drilled some benchdog holes.
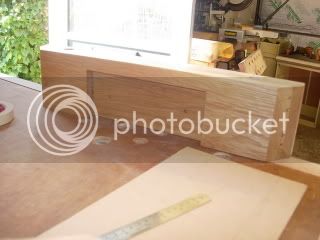
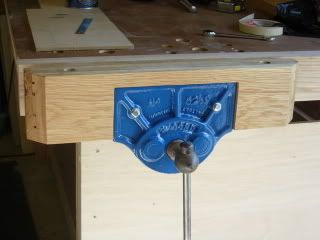
Mounted the jaw facing on to the front jaw, fastened with a couple of stout coach screws through the front as I couldn't find any bolts to match the threaded holes ( sorry Paul C !).
Planed the bench lipping and top of the vice jaw flush and a couple of coats of Danish to seal the oak.
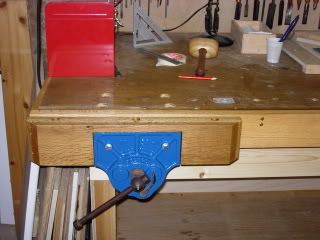

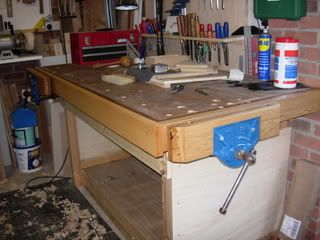
Also fitted a new front apron having removed the original to make fitting the vice easier.
Just need to make up some new drawer units sometime to sit underneath the bench and give it some weight.
Hope this helps someone else understand better how to go about fitting a bench vice.
Whether the new vices willl help me cut better dovetails remains to be seen though :lol:
:lol:
Cheers, Paul.

This is the secondhand vice, bit scruffy to start with but nothing a wirebrush and airline couldn't clean up. Took the opportunity to clean the thread as well and sprayed liberally with pfte spray so the action is nice and smooth. This one is a Record 52 1/2 quick release, a big heavy beast !

Next thing to do was make up an mdf template for the vice mounting holes and also with cut outs for the reinforcing ribs on the vice.
Used the template to cut and drill four more bits of mdf the same and glued them all together as a spacer block for under the bench so that the vice could be mounted with the top of the jaws about 1" below the top of the bench.
I cut the mdf blanks to size, then glued them together and then with the template on top drilled and made the cut outs all in one.
Found that four pieces of 15mm mdf gave me just the right overall thickness of 60mm for the spacer.

Then using the single most useful tip ever I used a stout piece of timber and held it vertically against the bench and marked the timber where I wanted the top of the vice jaw to be, about 1" below the bench top, then put the piece of timber in the vice with the jaws at the marked point and tightened it up. It's then really easy to position the vice in place against the bench with the piece of timber taking all the weight (which is pretty considerable !).
Having checked that the vice workings were going to clear the bench leg, I then used the template to mark the mounting holes and drilled the bench, using a large spade bit to a depth of around 5mm so that the coach bolt heads would be below the surface of the bench, and then drilled through the bottom of the large holes with a smaller spade bit. I was using 10mm by 130mm bolts so made the holes 12mm to make sure there was a bit of adjustment for lining everything up. Would have used 12mm bolts if I could have found any but had to take what I could get at B&Q as I didn't want to wait for a Screwfix delivery !

Then positioned the spacer block on the vice and moved the whole thing into place, still taking all the weight with the piece of timber in the vice, dropped the bolts through and tightened them all up, making sure the back of the vice jaw was tight against the edge of the bench. Could have taken a rebate out of the front edge of the bench so that the front face of the back jaw was flush, but decided to do it this way instead.

Picture of the vice and spacer block from underneath in case I haven't explained very well.

Then used a piece of my reclaimed oak flooring to edge the bench top, cutting out a suitable recess for the rear vice jaw.
Took the time to give the front face of the vice a couple of coats of blue hammerite paint to smarten it up.

Then fitted another piece of oak flooring over the front of the first piece and covering the exposed rear vice jaw. Unfortunately the vice jaw protruded a couple of mill in front of the rebated piece of oak so on the second piece I had to skim a shallow recess on the back to compensate and allow it to sit flush.

Then I made up a front jaw facing by laminating three pieces of oak flooring, cutting a recess first in the back piece so that it would sit over the front vice jaw. Cut off the corners on the tablesaw and drilled some benchdog holes.


Mounted the jaw facing on to the front jaw, fastened with a couple of stout coach screws through the front as I couldn't find any bolts to match the threaded holes ( sorry Paul C !).
Planed the bench lipping and top of the vice jaw flush and a couple of coats of Danish to seal the oak.


Also fitted a new front apron having removed the original to make fitting the vice easier.
Just need to make up some new drawer units sometime to sit underneath the bench and give it some weight.
Hope this helps someone else understand better how to go about fitting a bench vice.
Whether the new vices willl help me cut better dovetails remains to be seen though
Cheers, Paul.


