Bluekingfisher
Established Member
Further to the re-toothing of a tenon saw I refurbished and posted yesterday I also refurbished a couple of small dovetail saws. They didn't require so much work as the tenon saw, although you may still find the post interesting? I certainly learned a few things while undertaking the task.
The saws I won as a 3 saw job lot on eBay. Along with the saws came a box of saw nuts and a box file, which was half the reason for my my interest in the first place ( the saw nuts). I have a few more old relics in need of saw nut replacement so why not?
Here are the saws from the original listing,all in need of a little TLC. The two saws in this thread are the two on the right. Both of which are unbranded, steel back variety. One (the light handle ) has a 10" plate while the other (dark tote) has a 9" plate. I have no idea as to vintage - would post war be close enough?
The saw on the left is a little older with a brass back and in need of a little more consideration. I'll save that one for later.
http://www.ebay.co.uk/itm/201480114856? ... EBIDX%3AIT
In addition, both saws had those stamped in rivets securing the plate to the tote, both also had a cross cut type 15 tpi tooth pattern. On both saws the totes were loose.
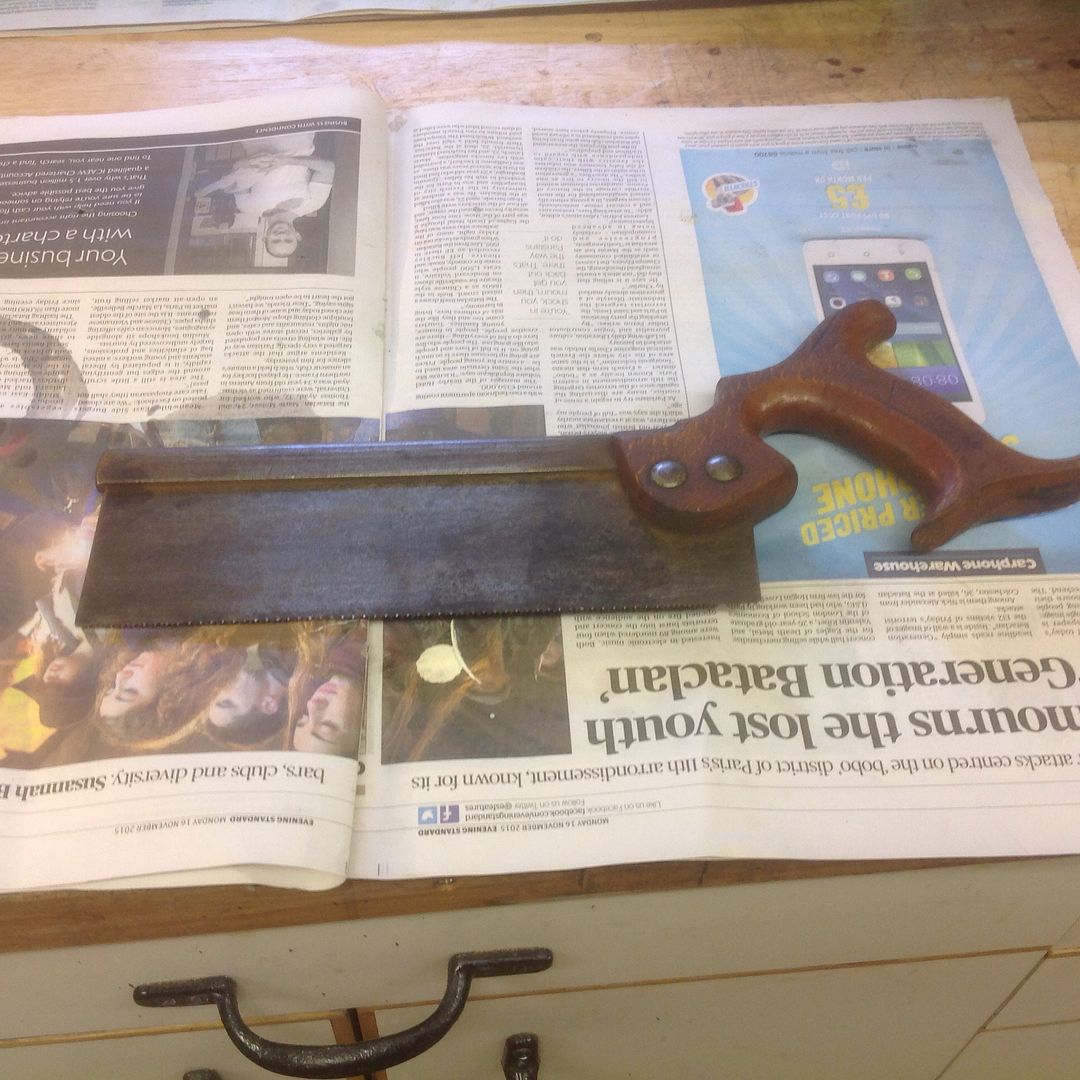
The 9" version before refurb
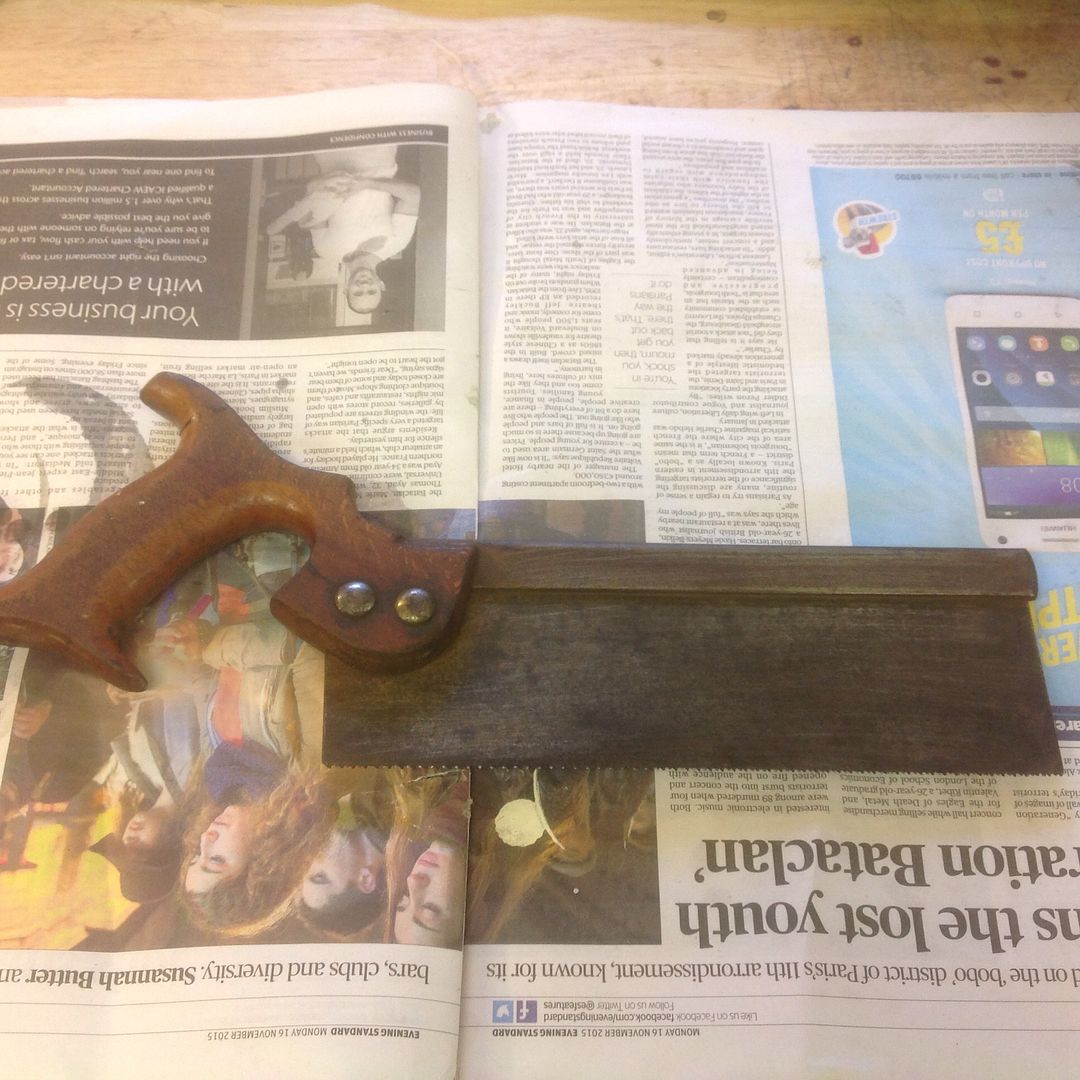
....and the 10" saw
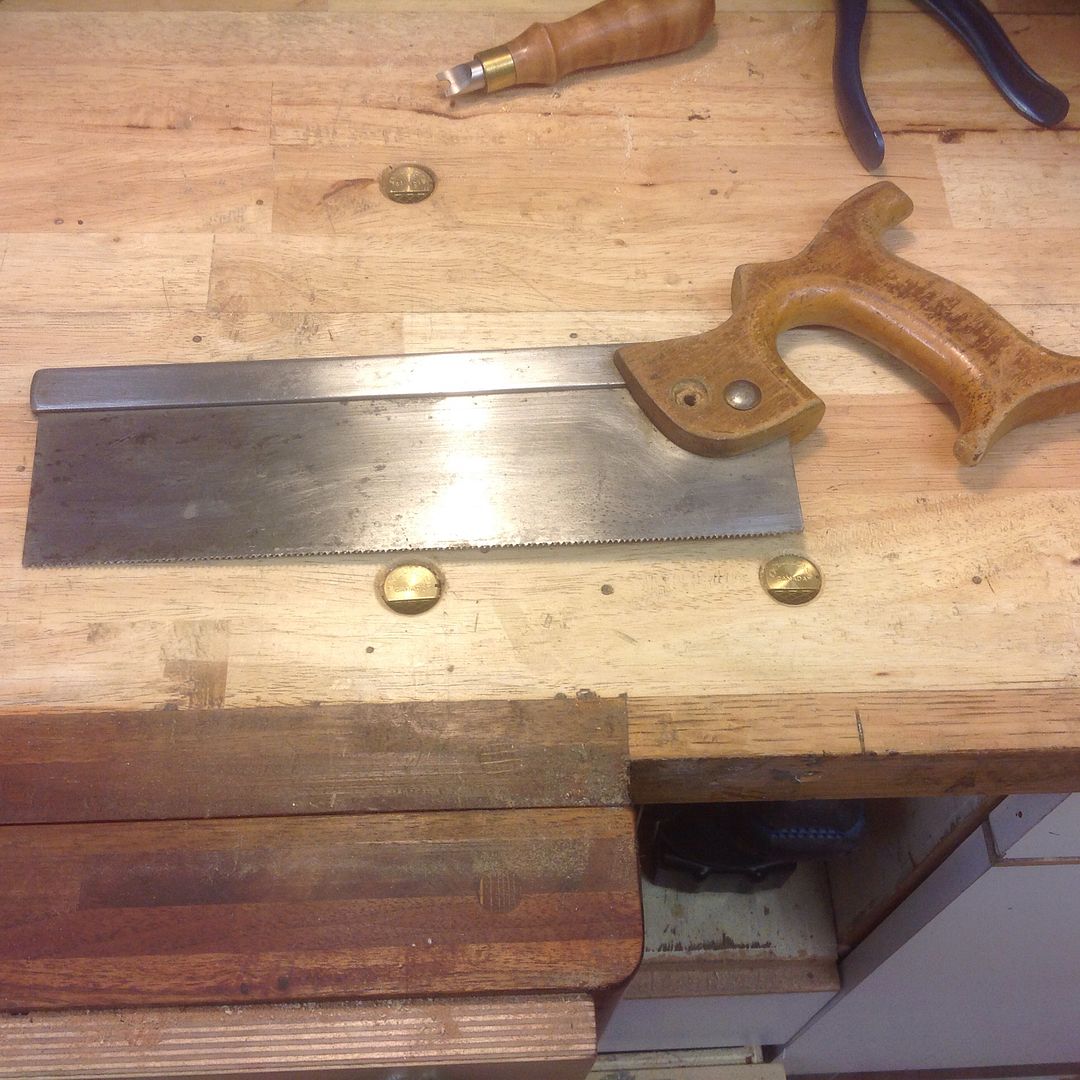
I wanted to replace those awful rivet saw studs with the ones which came as part of the package .
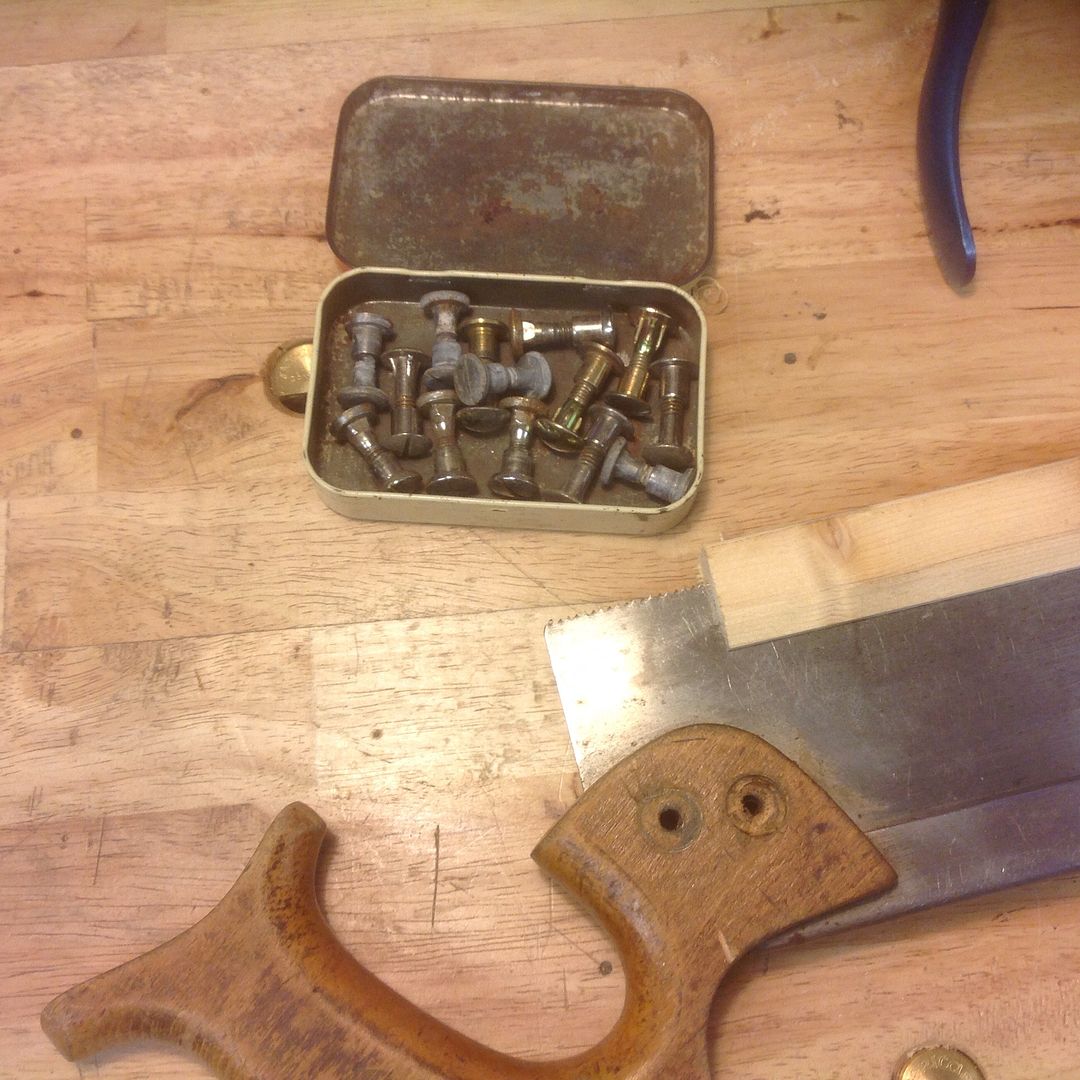
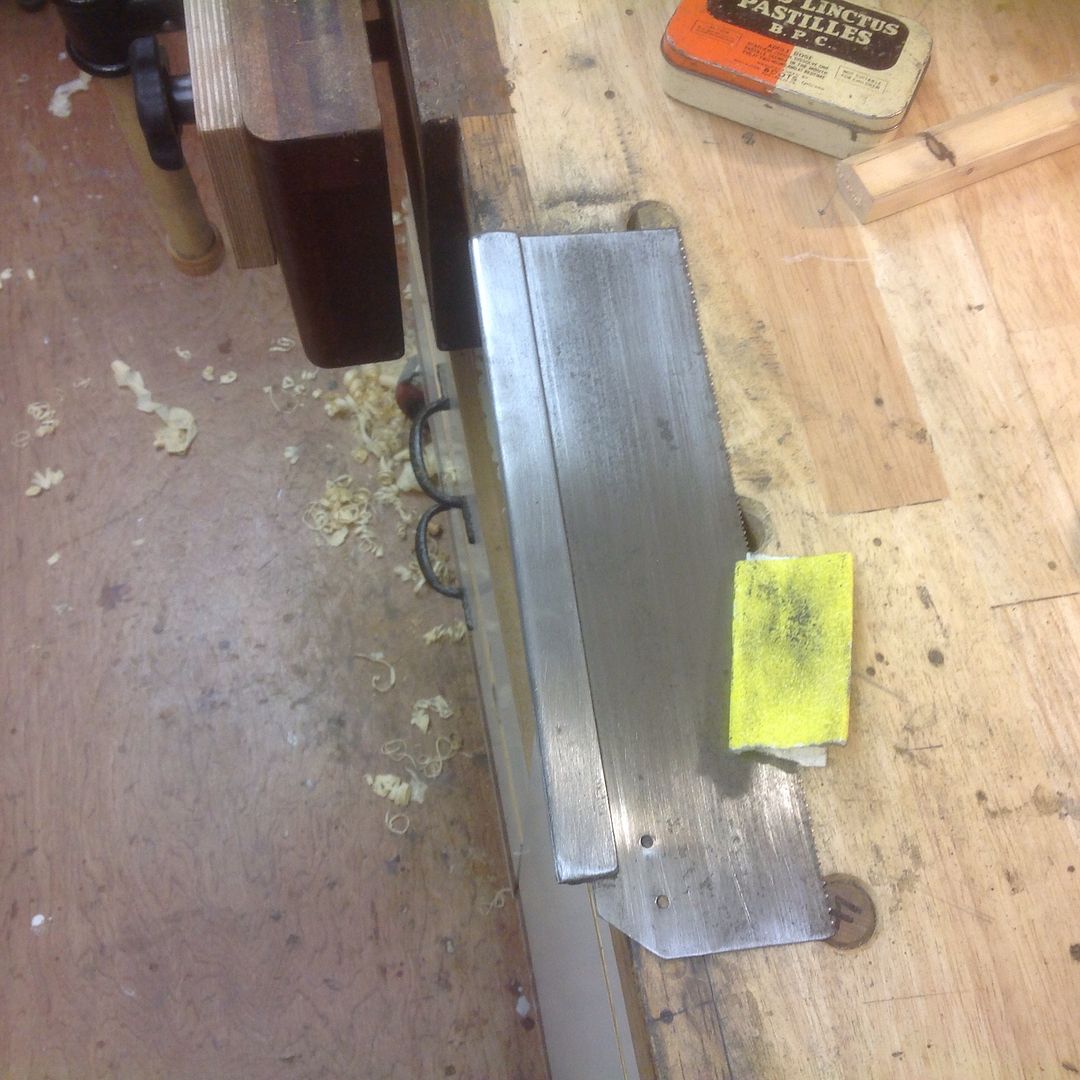
So, the totes came off giving me the opportunity to clean the plate unhindered, also to see what sort of state they were in. As it turned out, not too bad. I removed most of the rust and debris with sand paper of varying grits then a buff on the polishing mop..
The totes looked and felt clunky in my large hand so I thought removing some of the wood at both horns would allow a little more space for my hand as well as lighten the appearance a little. Perhaps you can see the pencil line marking out for the wood to be removed?
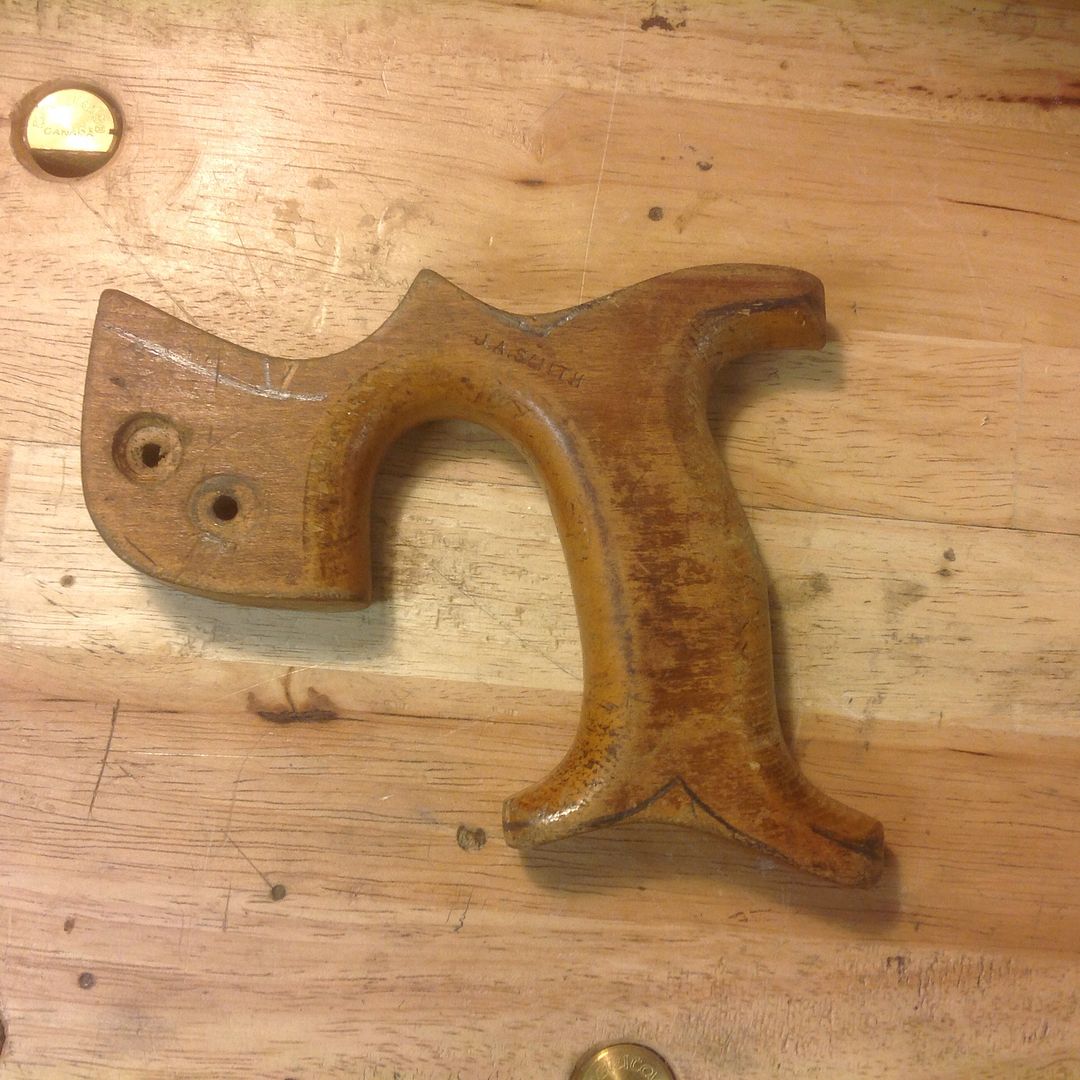
I removed the waste at the bandsaw then used a rasp and sand paper to form the final shape.
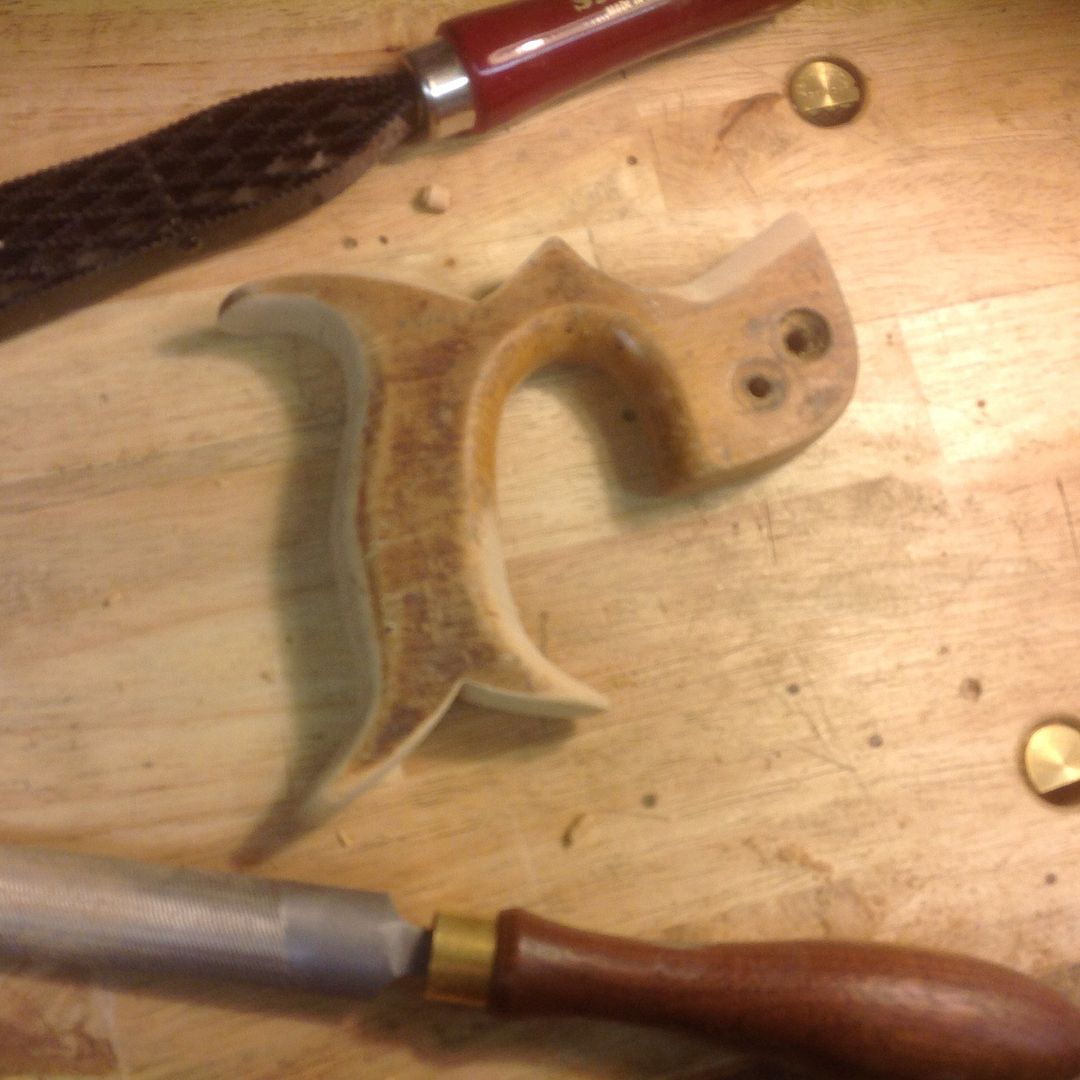
I think the new shape has a more traditional look? I didn't go so crazy on the tote for the 9" saw. I only paid attention to the horns on this one.
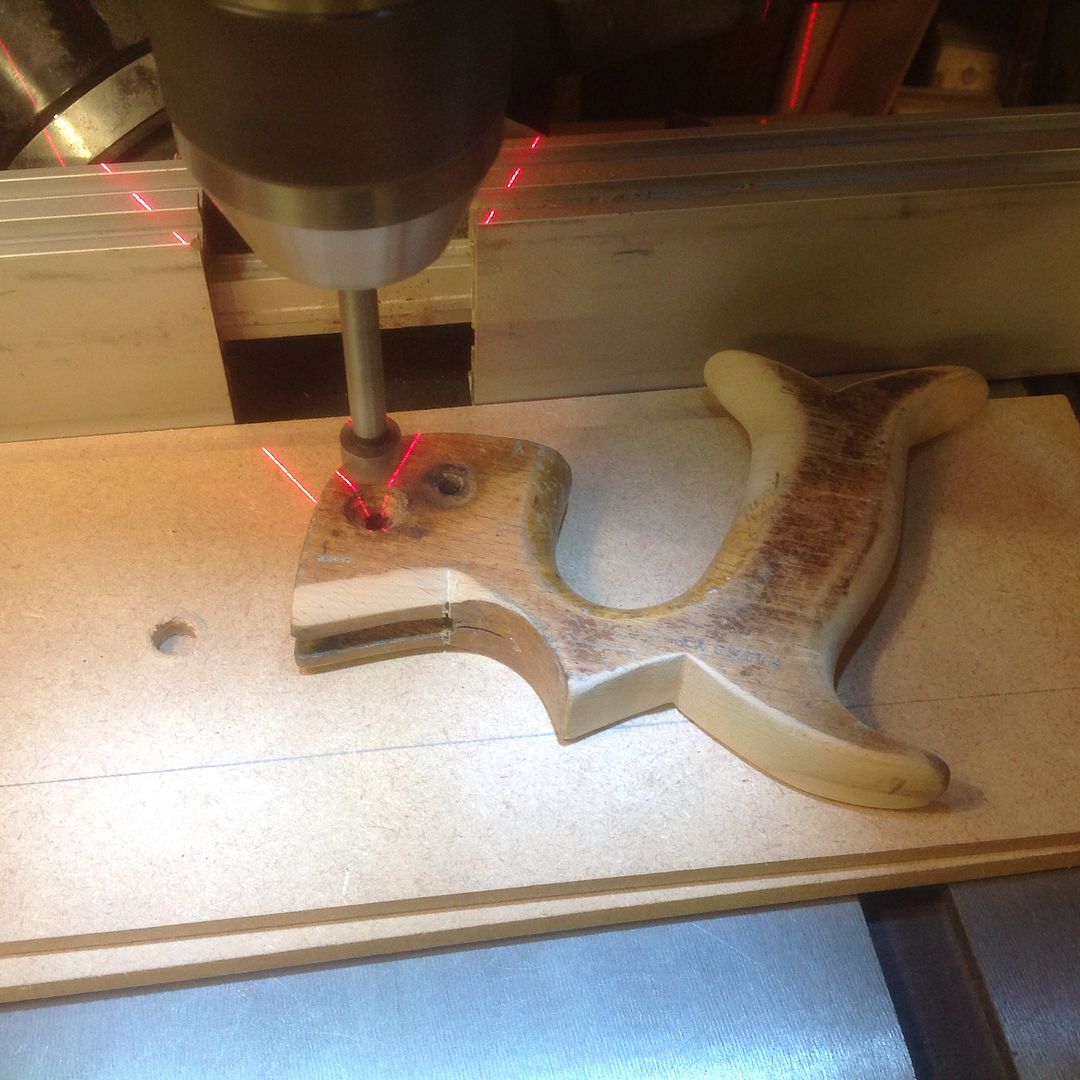
The saw nuts were of two different sizes (lenghts). The ones I wanted to use would need to be recessed into the wood of the tote to meet in the middle. The existing mortices were a little chewed up so I drilled them out with a forstner bit to find clean wood so I could install and glue in a plug (so I could re drill a mortice to the correct depth)
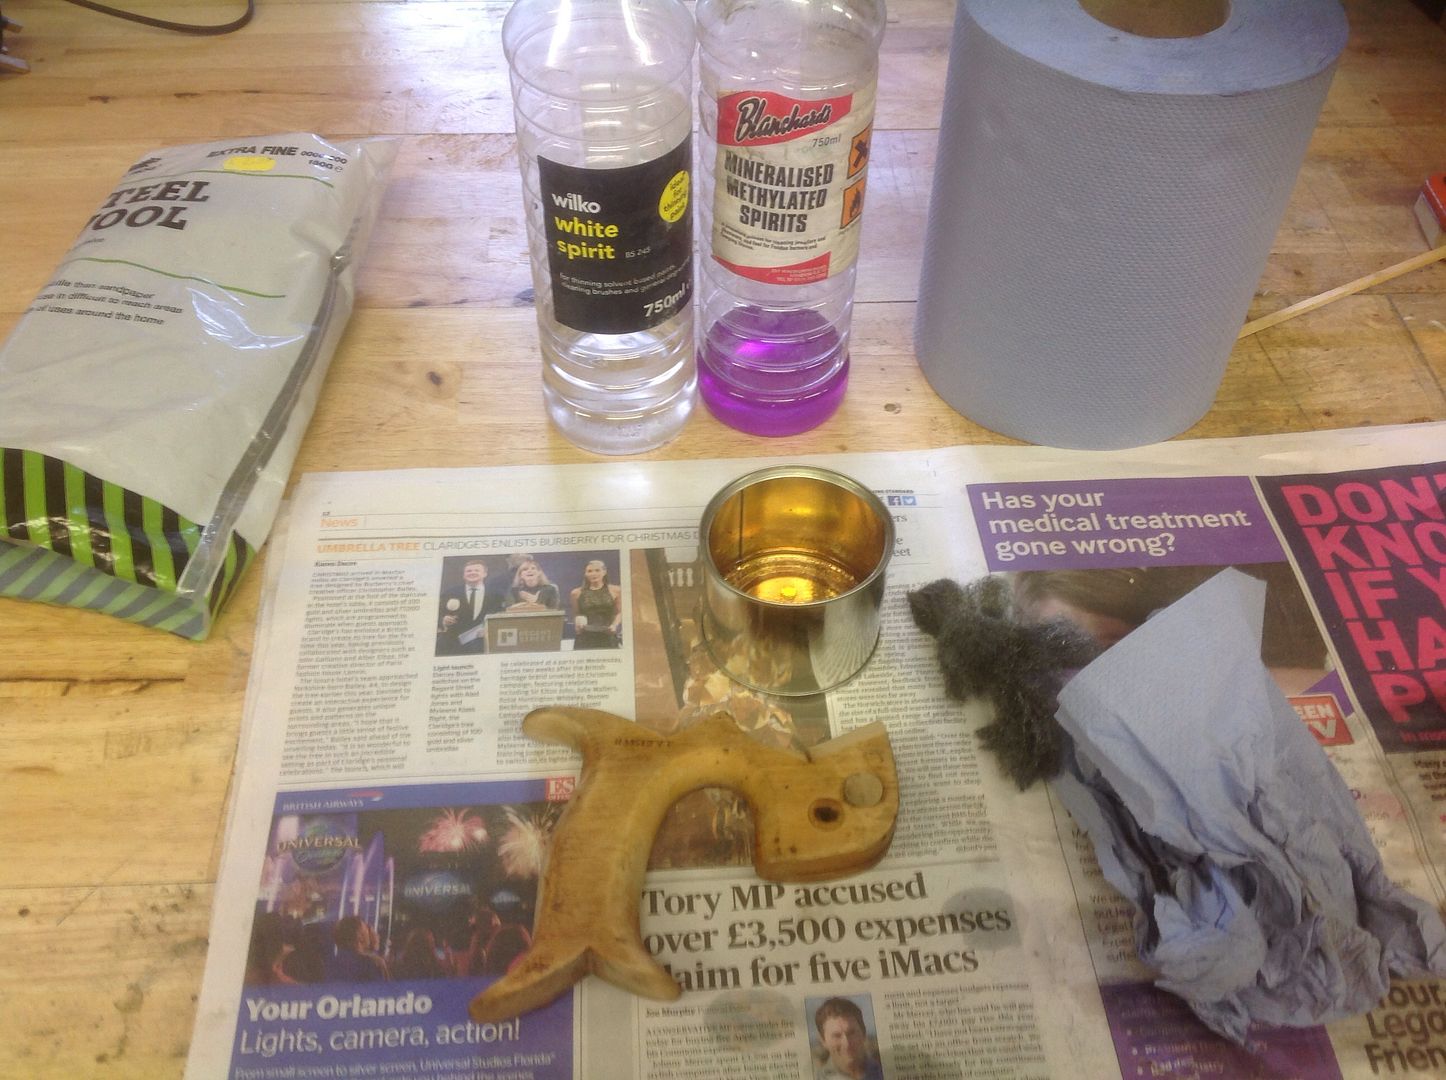
Once done I cleaned most of the old grime off the handles with a white spirit and meth mixed 1 to 1. This also helped by shifting some of the grime (patina lol) onto the new exposed wood to even the colour.
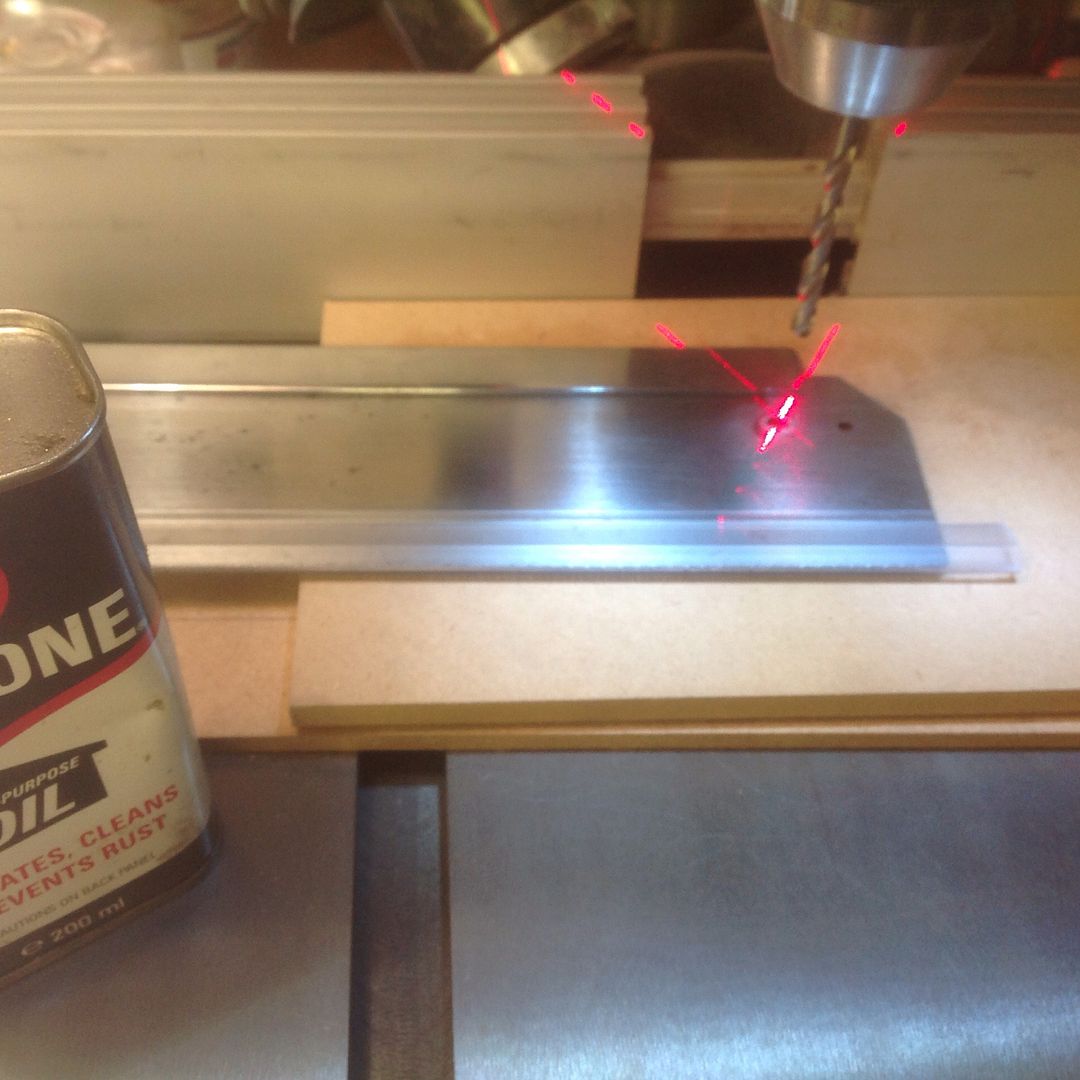
The saw nut holes in the saw plate were smaller than the diameters of the new (recycled) saw nuts so I drilled them out to match the size of the new nuts.
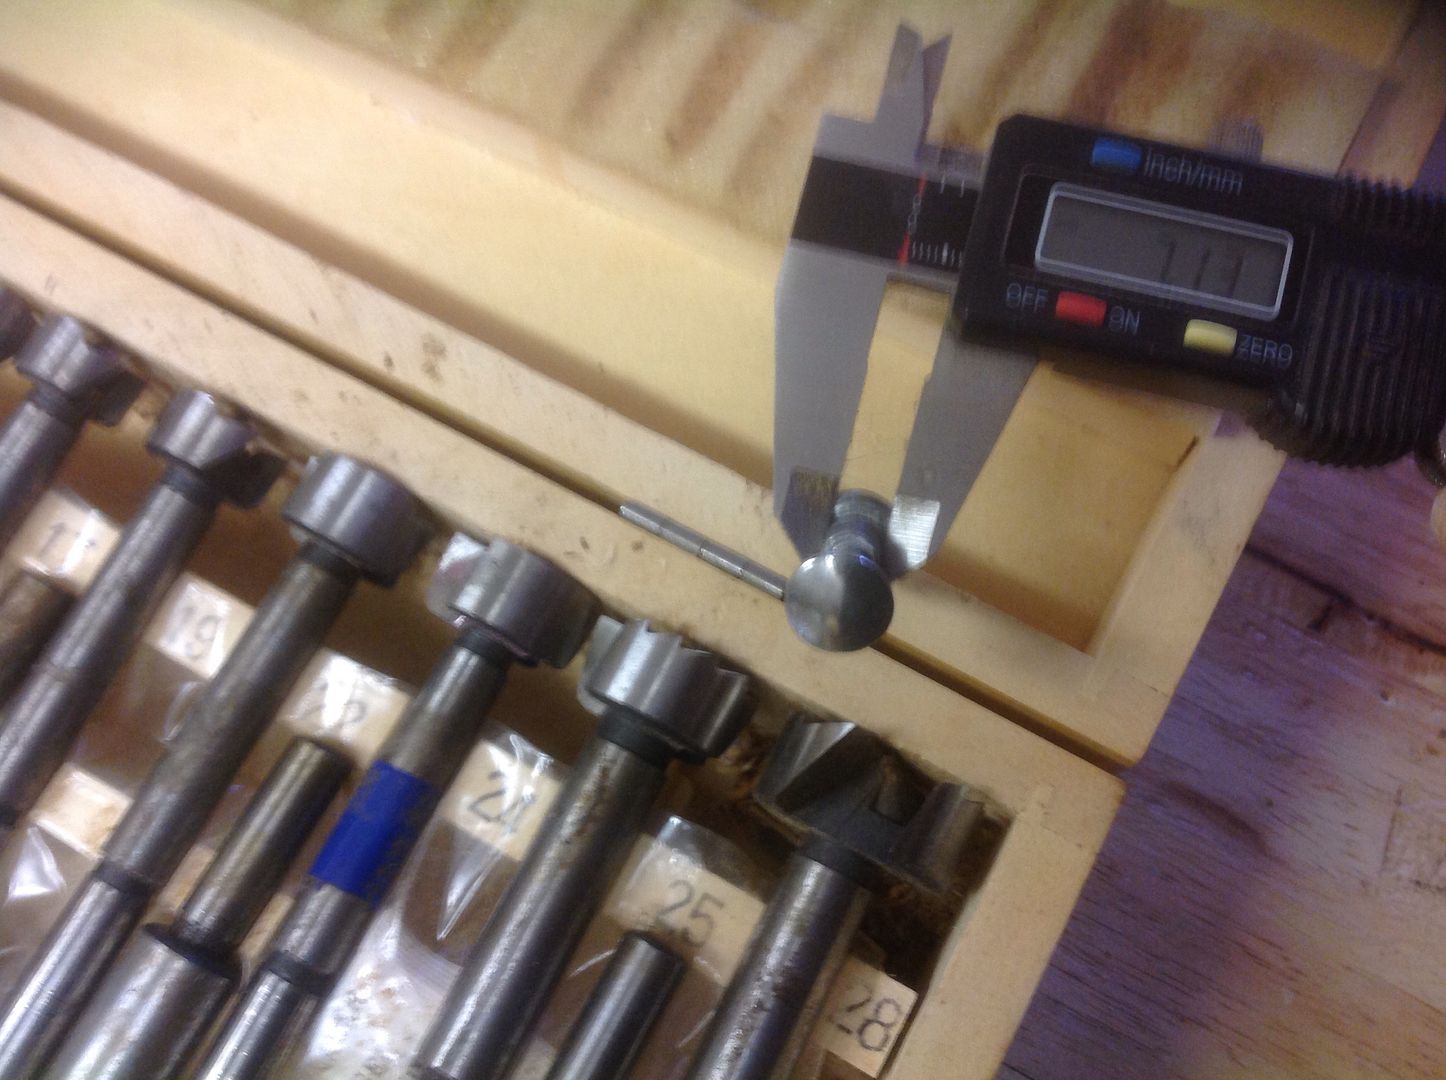
The next step was really unnecessary, however as I will cleaning the whole saw I might as well give the saw nuts a shine up at the rotary mop (primed with a aluminim oxide abrasive).
Before buffing ......
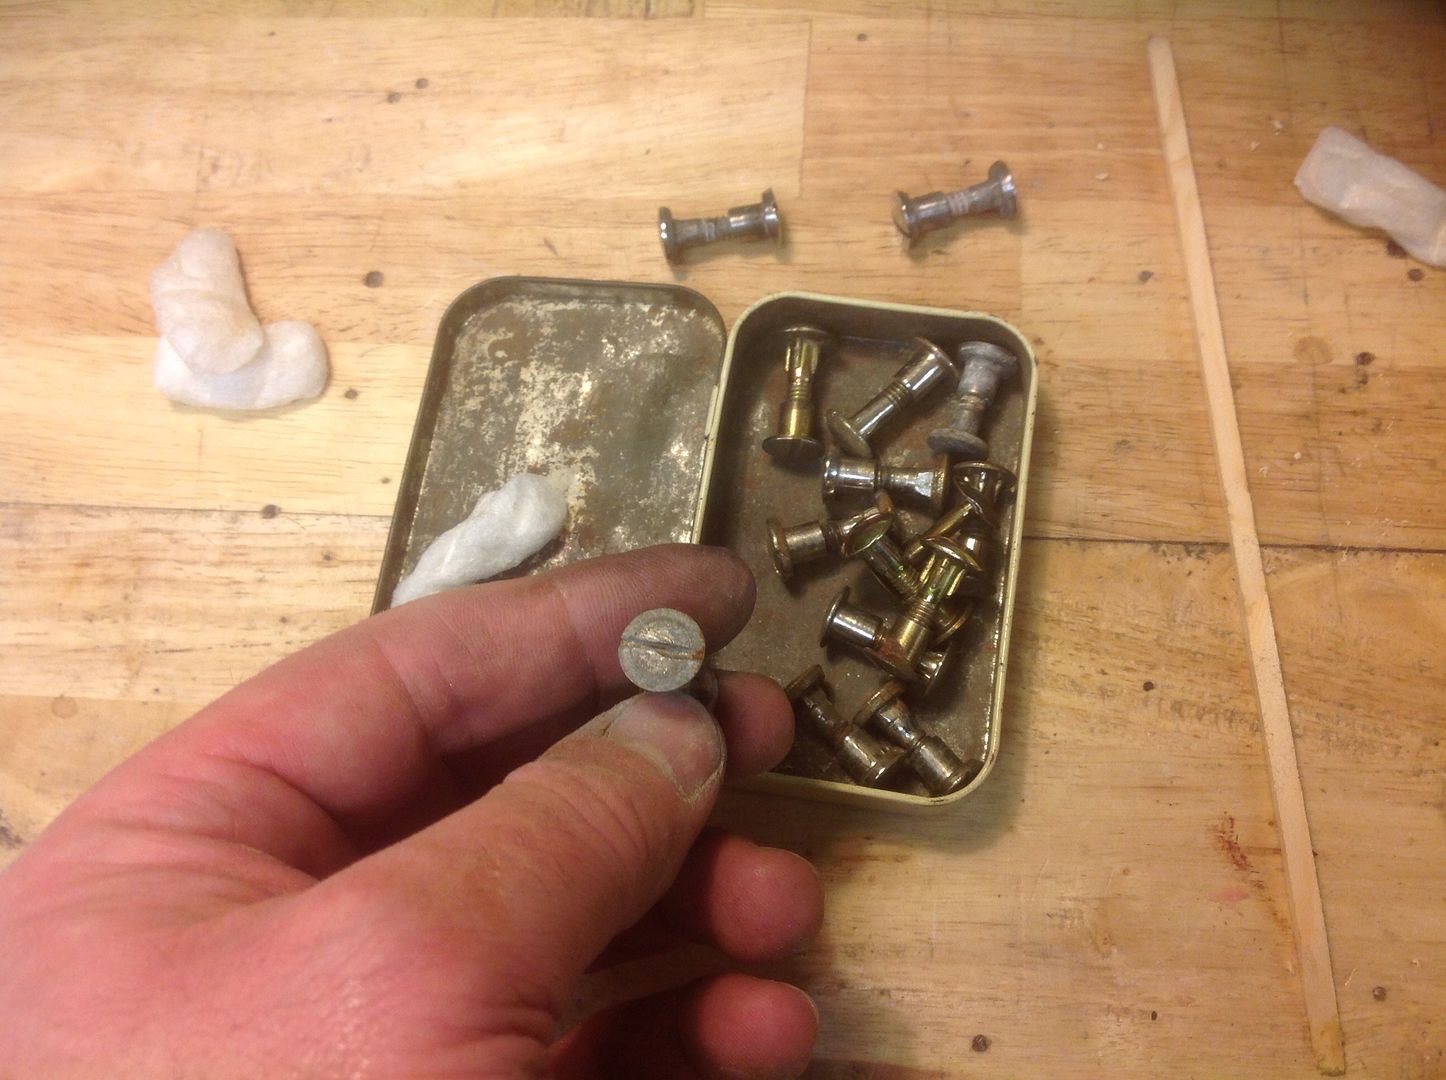
Then afterwards.
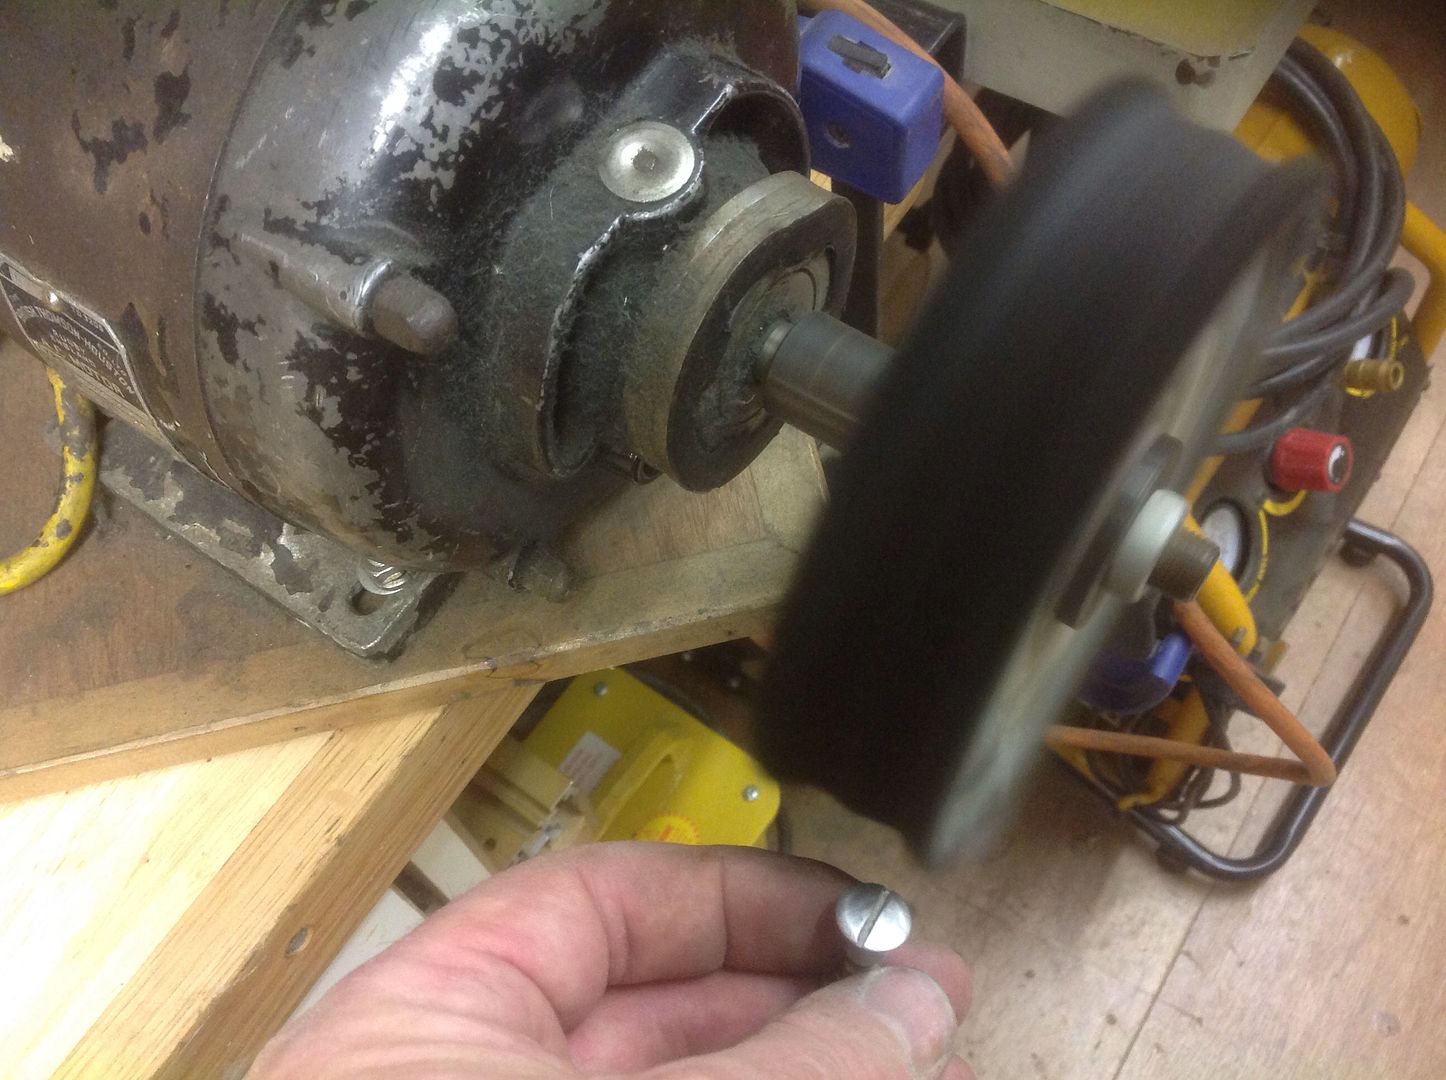
The image doesn't highlight the sheen but you get the picture hopefully.
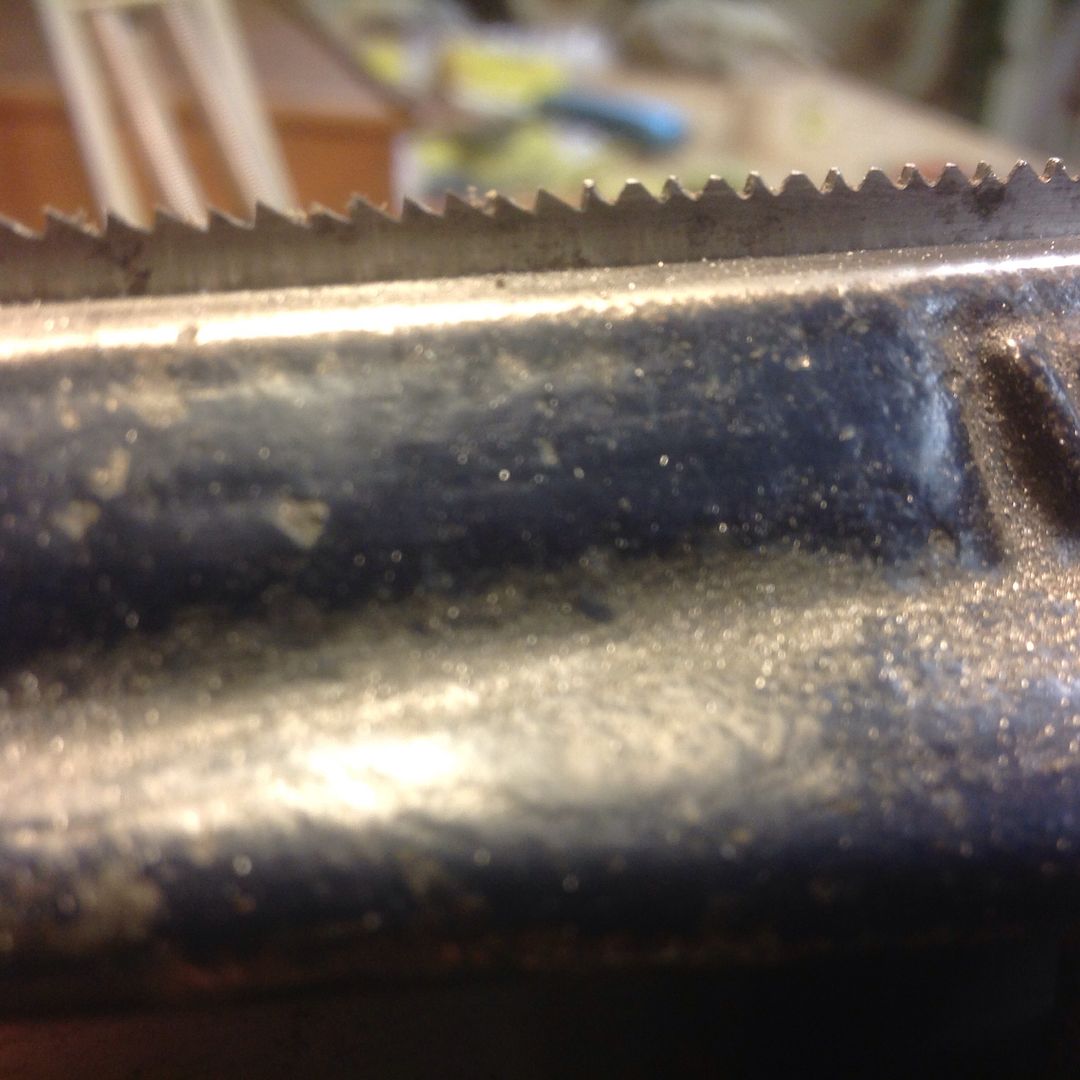
I now turned my attention to filing the teeth, which were quite evenly spaced and shaped although they were in a cross cut pattern. I want the saws for dovetailing so I filed for a rip cut using the progressive filing on the front teeth as done on the tenon saw.
In the photo you can see the new teeth forming on the left with the original teeth on the right. Note the the crosscut file pattern.
From here on in it was just a case of assembling the saws.
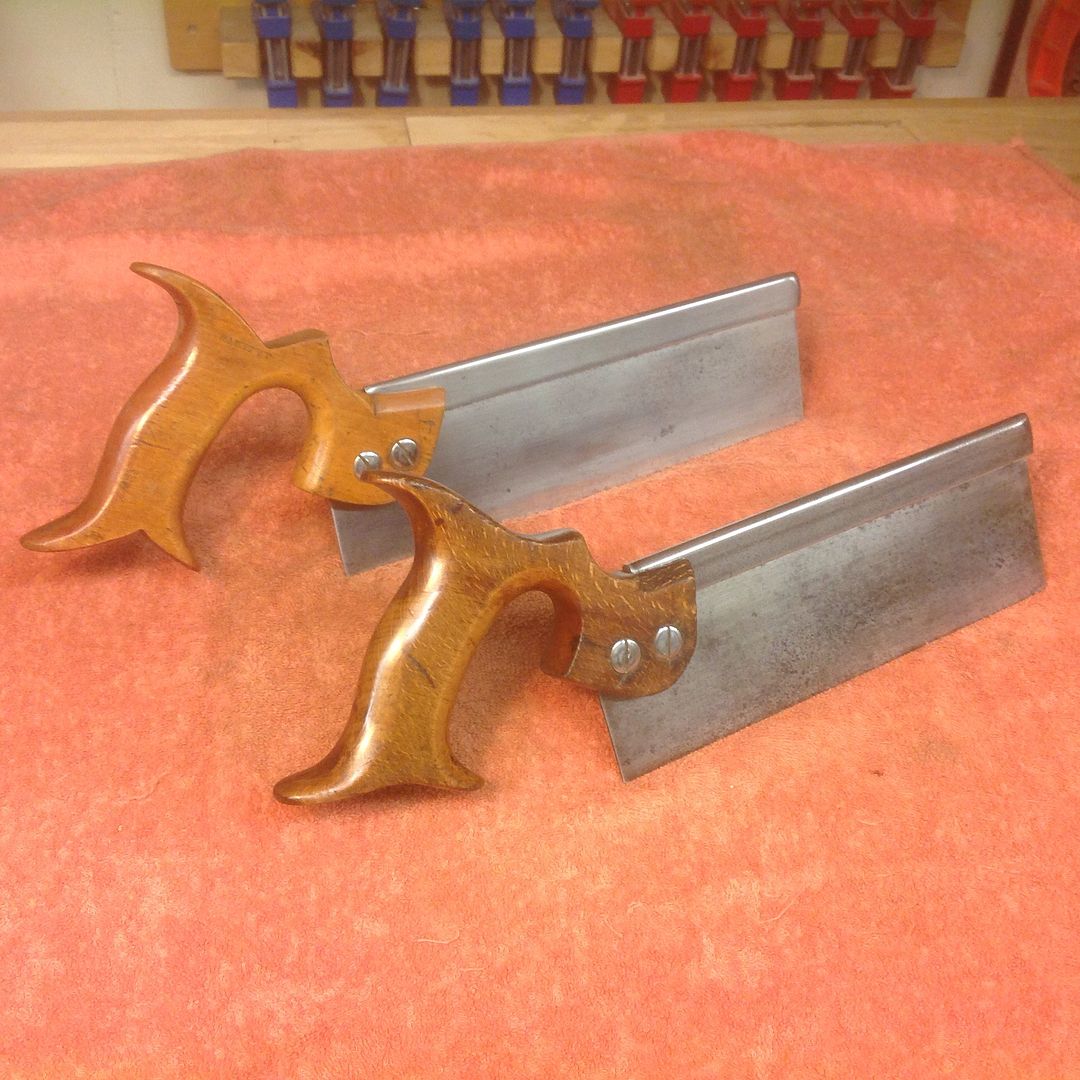
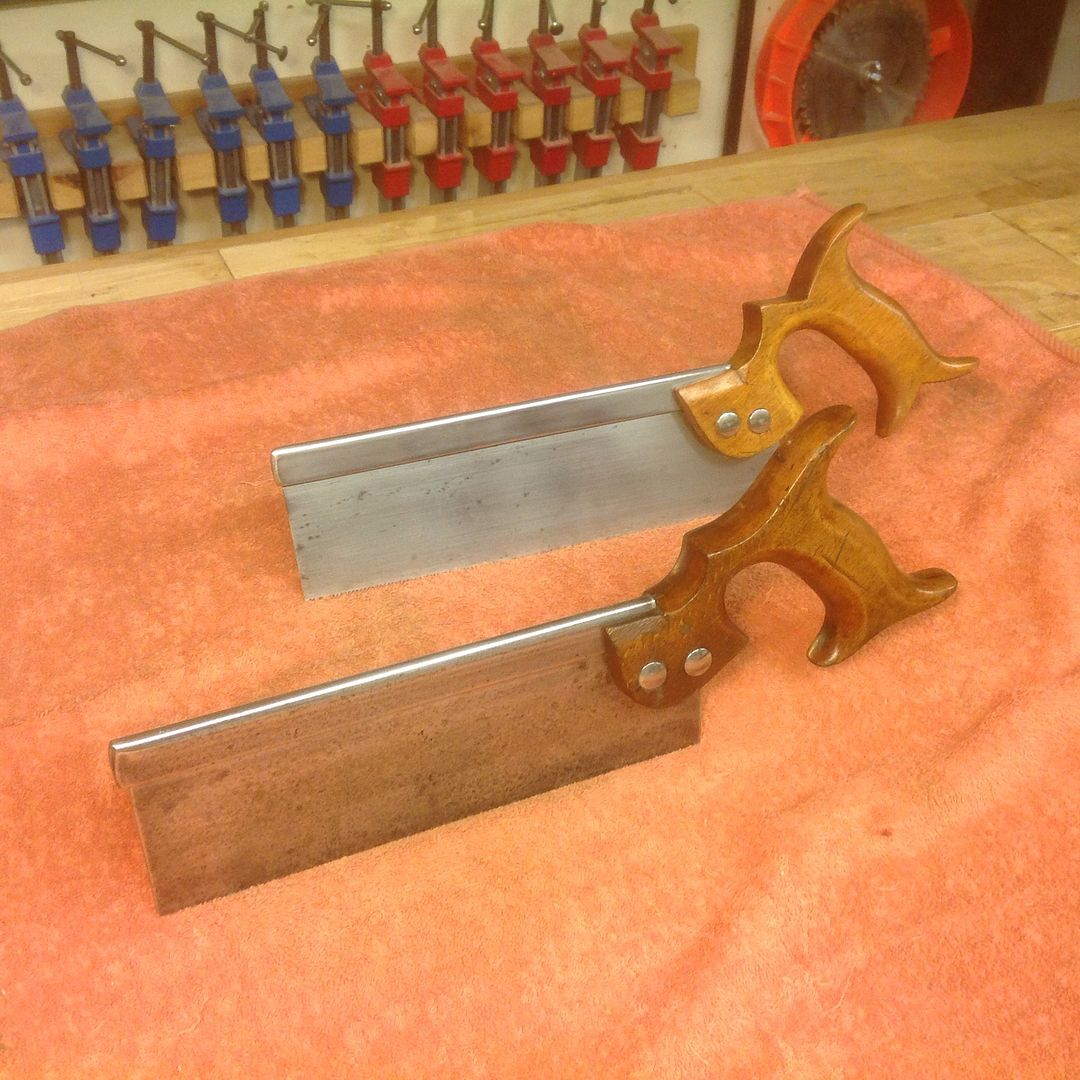
So here they are in all their glory. A little stain was applied to the handles to even out the new and old wood finish, followed by a couple of coats of shellac and a couple of coats of paste wax then buffed with a soft cloth.
The proof of the pudding.....do they cut Ok?........................ Yes.......but!
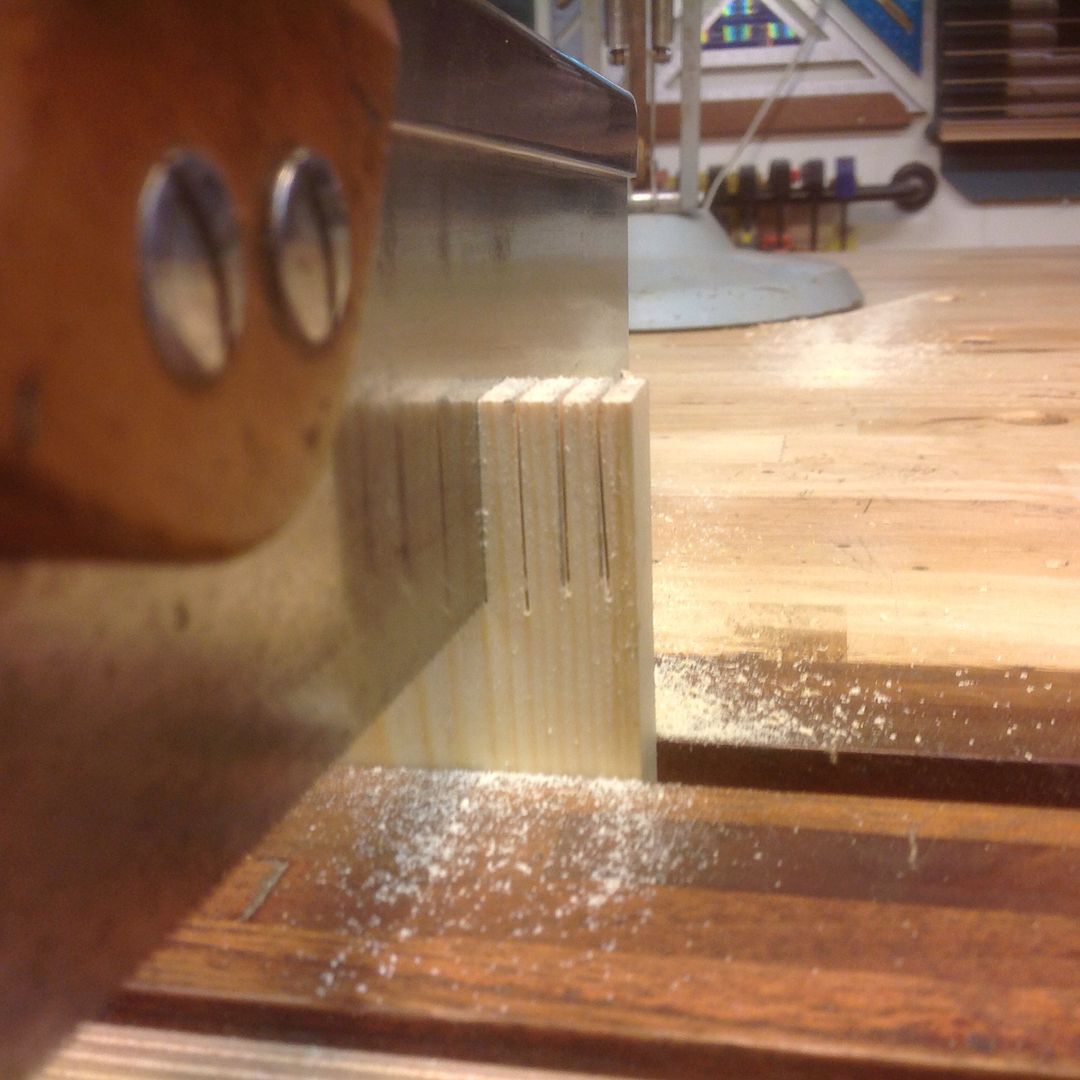
The above is the 10" saw. You will notice the first two kerfs wanderoff right towards the bottom of the cut.
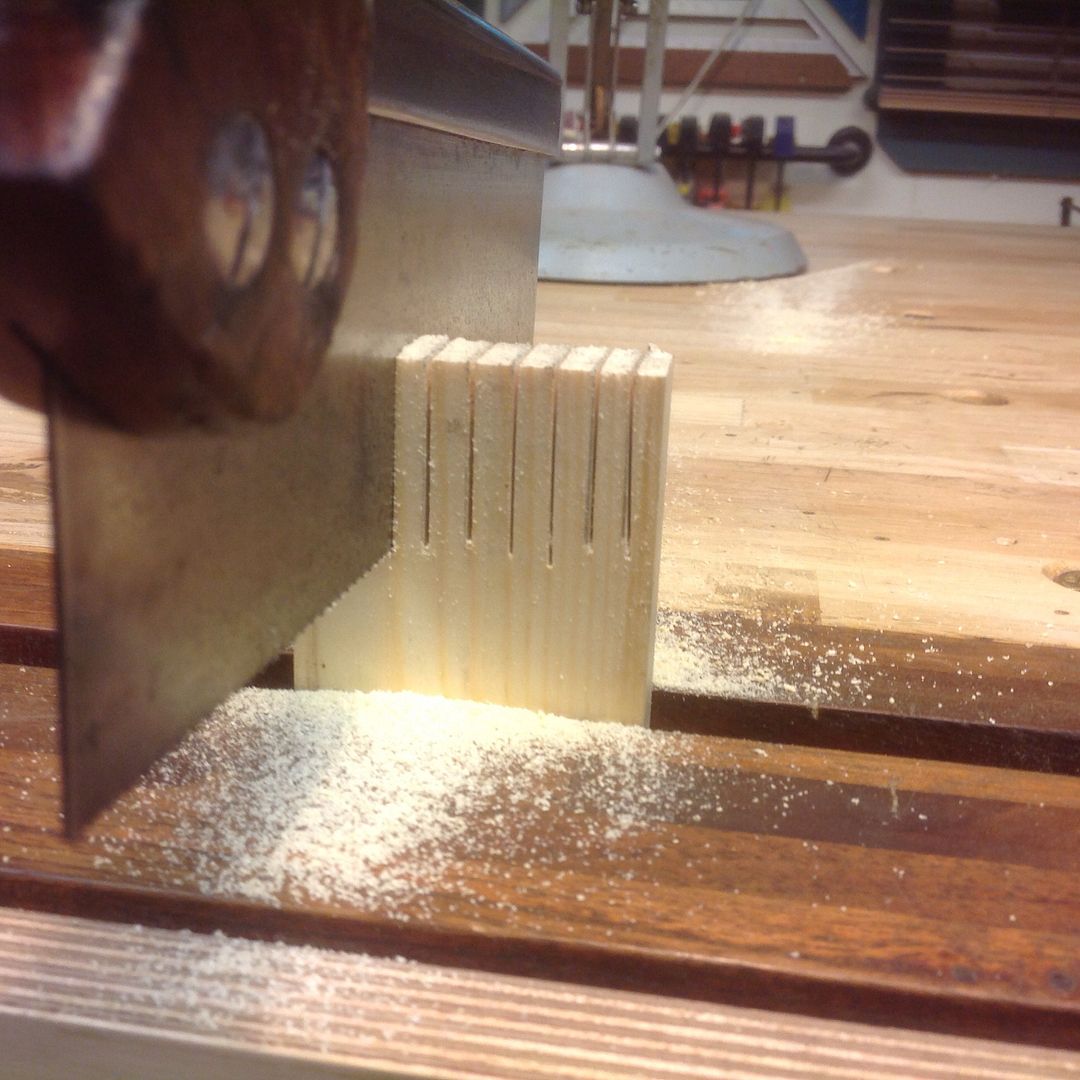
The 9" saw cut great although the kerf is wider.
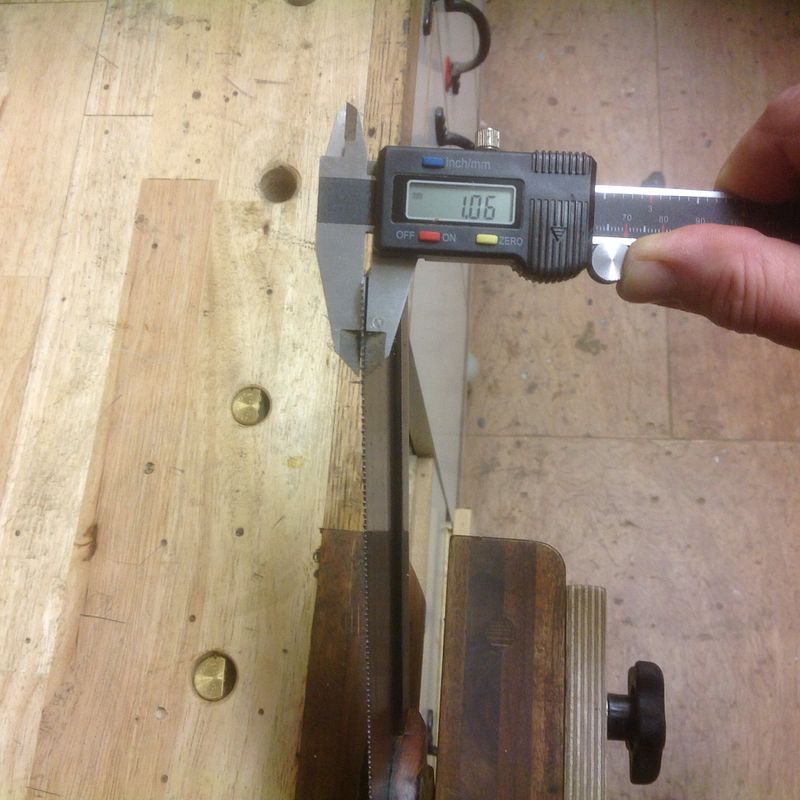
The plates on the saws differ slightly in thickness.....apologies for the image, trying to take a photo with an ipad then hold and take a measurement with the vernier scale was fiddly. Just taken to show the difference in plate thickness.
The first reading is the 9" saw.
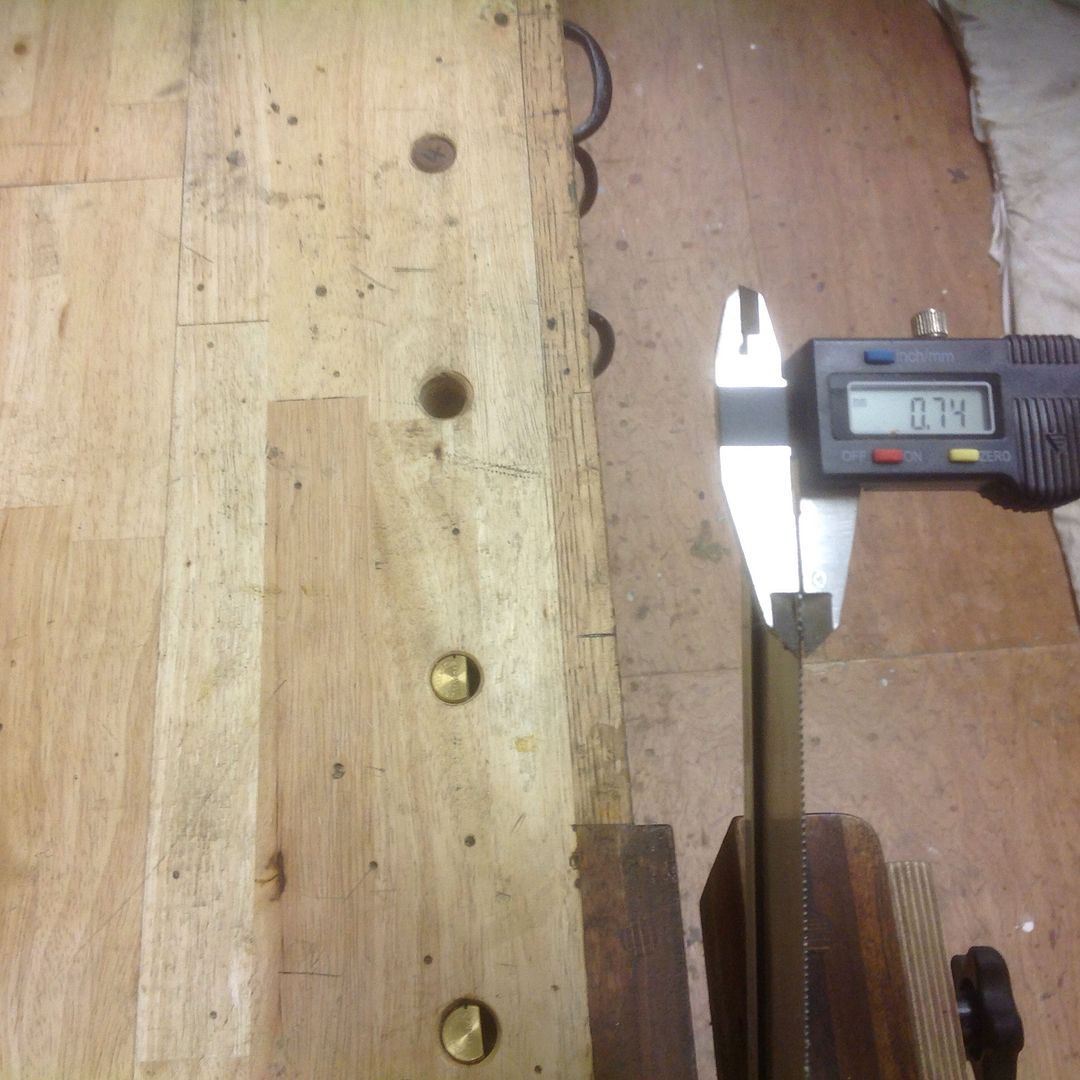
Then the 10" saw.
I wasn't happy with the result of the cut with the 10" saw. Perhaps I had incorrectly set the teeth, so I reset and dressed the teeth. The result was the same. While looking at the set I noticed a slight kink about a third of the way back from the toe. It was so slight that I missed it when I initially inspected the saw. I could only see it as the newly polished blade was now reflecting the light at the point where there was a slight bend in the plate. I applied gently increasing pressure and re tried. It seems to have fixed it OK. No big deal but again enough to affect the end cut.
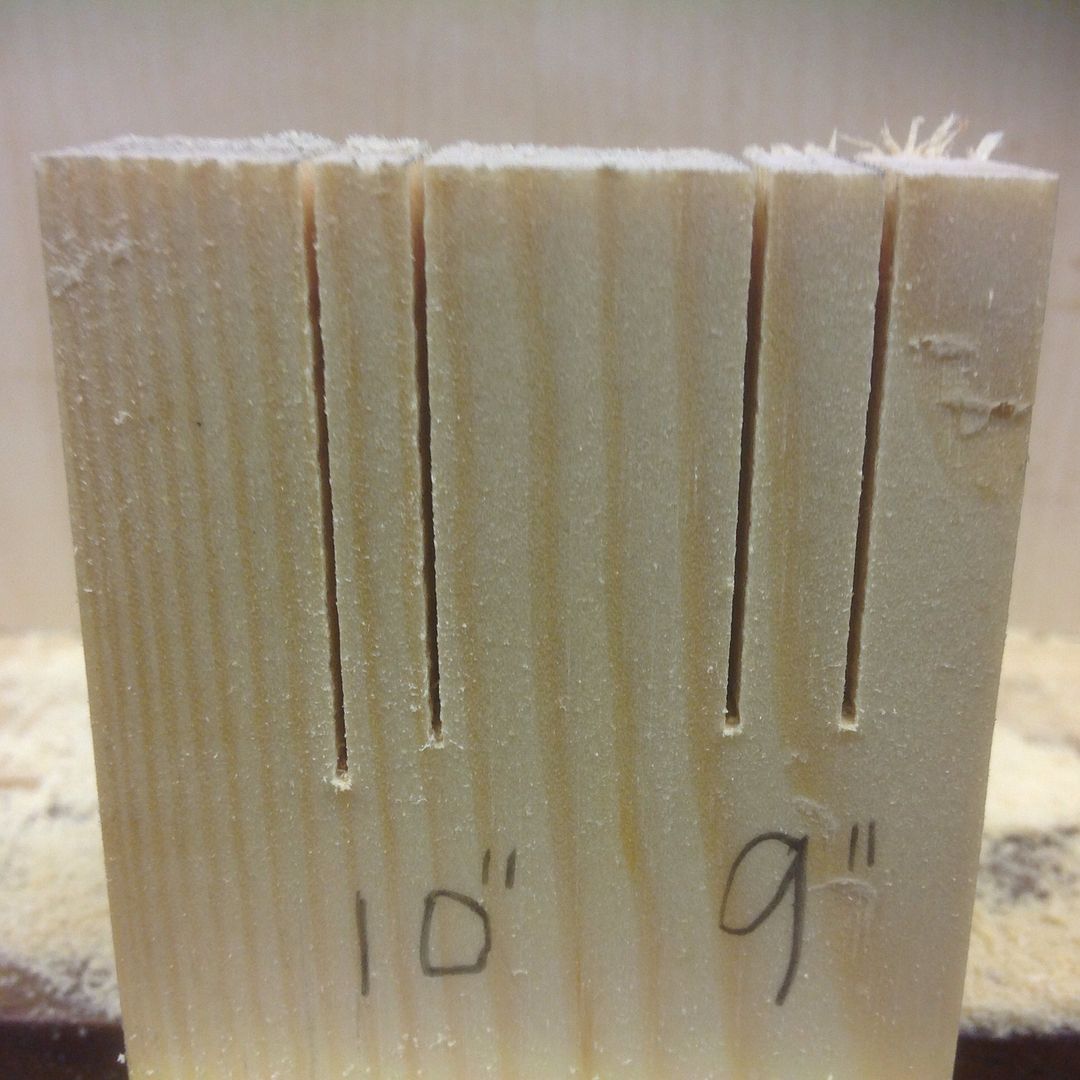 .
.
.....................and on the reverse. I would say acceptable?
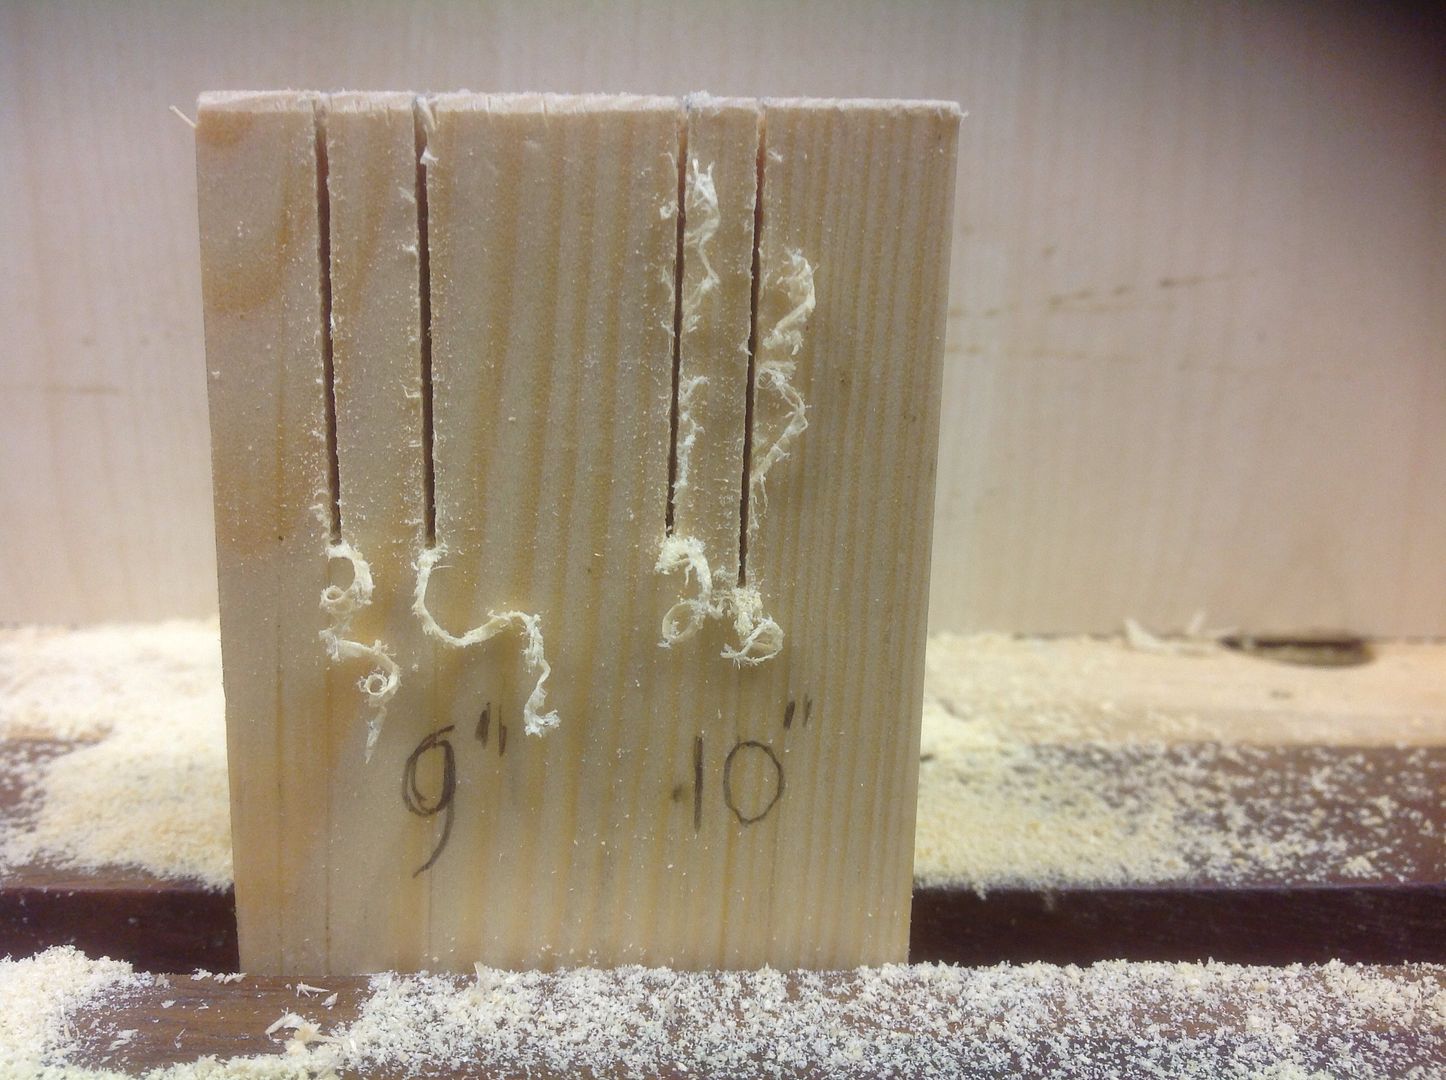
As a matter of interest, I compared the action and the saw kerfs to my brand new unused LN tapered plate DT saw, The LN kerf is the centre cut line, marked LN
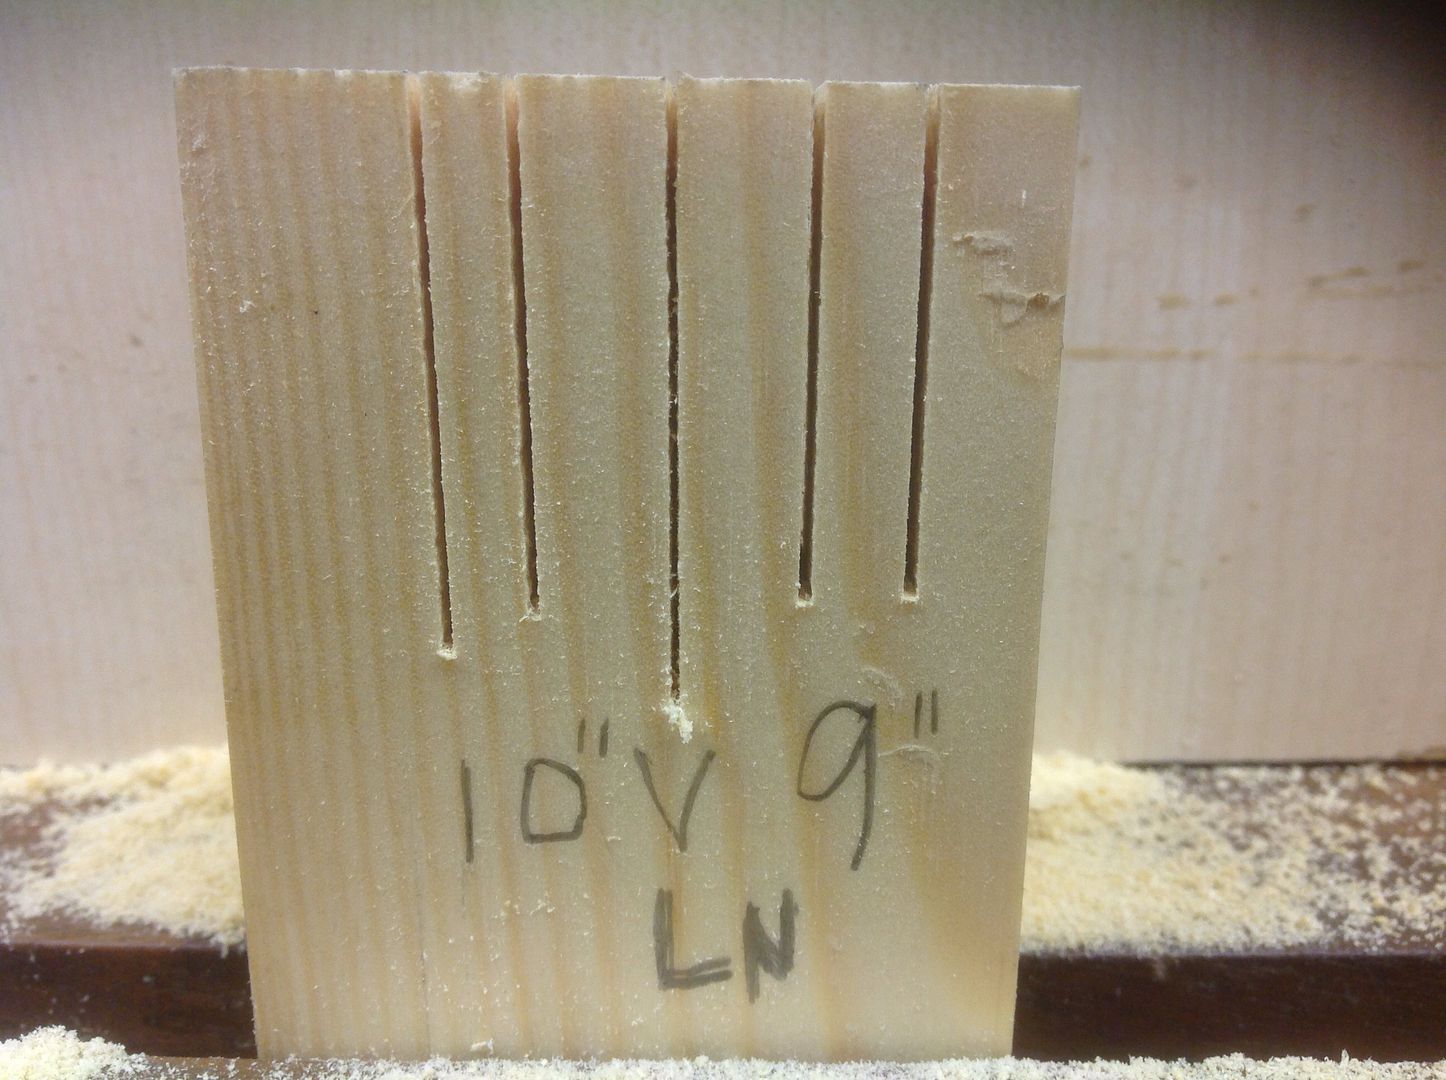
Overall, both of the saws now perform quite well. The 10" version for some reason feels better in my hand, although I may need to tickle the teeth on the 9" saw as it feels slightly jerky towards the end of the stroke. The 10" version feels very much like the the LN with pressure being applied to the back of the saw to push forward. The 9" feels as though my hand is over the top of the saw pushing down more than forward. It may be this causing the jerking, it feels as though my hand is directly over the cut as the saw finishes its strokes, a feeling of more down than pushing through.
Anyway, hope you like the pictures folks.
Merry Christmas to you and yours.
David
The saws I won as a 3 saw job lot on eBay. Along with the saws came a box of saw nuts and a box file, which was half the reason for my my interest in the first place ( the saw nuts). I have a few more old relics in need of saw nut replacement so why not?
Here are the saws from the original listing,all in need of a little TLC. The two saws in this thread are the two on the right. Both of which are unbranded, steel back variety. One (the light handle ) has a 10" plate while the other (dark tote) has a 9" plate. I have no idea as to vintage - would post war be close enough?
The saw on the left is a little older with a brass back and in need of a little more consideration. I'll save that one for later.
http://www.ebay.co.uk/itm/201480114856? ... EBIDX%3AIT
In addition, both saws had those stamped in rivets securing the plate to the tote, both also had a cross cut type 15 tpi tooth pattern. On both saws the totes were loose.
The 9" version before refurb


....and the 10" saw

I wanted to replace those awful rivet saw studs with the ones which came as part of the package .

So, the totes came off giving me the opportunity to clean the plate unhindered, also to see what sort of state they were in. As it turned out, not too bad. I removed most of the rust and debris with sand paper of varying grits then a buff on the polishing mop..

The totes looked and felt clunky in my large hand so I thought removing some of the wood at both horns would allow a little more space for my hand as well as lighten the appearance a little. Perhaps you can see the pencil line marking out for the wood to be removed?

I removed the waste at the bandsaw then used a rasp and sand paper to form the final shape.

I think the new shape has a more traditional look? I didn't go so crazy on the tote for the 9" saw. I only paid attention to the horns on this one.
The saw nuts were of two different sizes (lenghts). The ones I wanted to use would need to be recessed into the wood of the tote to meet in the middle. The existing mortices were a little chewed up so I drilled them out with a forstner bit to find clean wood so I could install and glue in a plug (so I could re drill a mortice to the correct depth)

Once done I cleaned most of the old grime off the handles with a white spirit and meth mixed 1 to 1. This also helped by shifting some of the grime (patina lol) onto the new exposed wood to even the colour.

The saw nut holes in the saw plate were smaller than the diameters of the new (recycled) saw nuts so I drilled them out to match the size of the new nuts.


The next step was really unnecessary, however as I will cleaning the whole saw I might as well give the saw nuts a shine up at the rotary mop (primed with a aluminim oxide abrasive).
Before buffing ......

Then afterwards.

The image doesn't highlight the sheen but you get the picture hopefully.
I now turned my attention to filing the teeth, which were quite evenly spaced and shaped although they were in a cross cut pattern. I want the saws for dovetailing so I filed for a rip cut using the progressive filing on the front teeth as done on the tenon saw.
In the photo you can see the new teeth forming on the left with the original teeth on the right. Note the the crosscut file pattern.

From here on in it was just a case of assembling the saws.
So here they are in all their glory. A little stain was applied to the handles to even out the new and old wood finish, followed by a couple of coats of shellac and a couple of coats of paste wax then buffed with a soft cloth.


The proof of the pudding.....do they cut Ok?........................ Yes.......but!

The above is the 10" saw. You will notice the first two kerfs wanderoff right towards the bottom of the cut.
The 9" saw cut great although the kerf is wider.

The plates on the saws differ slightly in thickness.....apologies for the image, trying to take a photo with an ipad then hold and take a measurement with the vernier scale was fiddly. Just taken to show the difference in plate thickness.
The first reading is the 9" saw.

Then the 10" saw.

I wasn't happy with the result of the cut with the 10" saw. Perhaps I had incorrectly set the teeth, so I reset and dressed the teeth. The result was the same. While looking at the set I noticed a slight kink about a third of the way back from the toe. It was so slight that I missed it when I initially inspected the saw. I could only see it as the newly polished blade was now reflecting the light at the point where there was a slight bend in the plate. I applied gently increasing pressure and re tried. It seems to have fixed it OK. No big deal but again enough to affect the end cut.
 .
......................and on the reverse. I would say acceptable?

As a matter of interest, I compared the action and the saw kerfs to my brand new unused LN tapered plate DT saw, The LN kerf is the centre cut line, marked LN

Overall, both of the saws now perform quite well. The 10" version for some reason feels better in my hand, although I may need to tickle the teeth on the 9" saw as it feels slightly jerky towards the end of the stroke. The 10" version feels very much like the the LN with pressure being applied to the back of the saw to push forward. The 9" feels as though my hand is over the top of the saw pushing down more than forward. It may be this causing the jerking, it feels as though my hand is directly over the cut as the saw finishes its strokes, a feeling of more down than pushing through.
Anyway, hope you like the pictures folks.
Merry Christmas to you and yours.
David


