New rear handles (totes) for hand planes

UKworkshop.co.uk

Help Support UKworkshop.co.uk:

This site may earn a commission from merchant affiliate links, including eBay, Amazon, and others.
tt - If you don't like the idea of a coping saw, (and it's not really a scary tool), use your bench drill, with Forstner bits to take out the main internal curves, then take out the rest of the waste on the outside curves, again with a smaller Forstner bit. As long as you can hold the workpiece down, I don't think you should have a problem. Don't go too close to your finished line, and remove the rest with a sharp chisel. Finish with a rasp, or, if you don't have one yet, at a pinch, a coarse metal file will do., then abrasives, sand paper or whatever.
The good part about all this is you can take it at your own pace, and take incremental cuts until you are satisfied. You will learn a lot about tool handling on the way.
 
toitoi":3rqj3frk said:
Every village here has a saw mill. But they mostly only have pine and once in a while some Beech. The other hardwoods have been depleted from the forests here over the centuries. Sadly.
The saw I am contemplating is a floor standing model.

My "fear" of the coping saw has nothing to do with safety and more to do with my abilities!
A coping saw will take more effort, but you'll find that it's very easy to control (especially if you're being careful to stay away from the lines).

Beech will be fine - you could either oil, oil + shellac, or even make a dyed shellac as I've detailed earlier (if you wanted a dark coloured handle). Indeed the handles from the Record #3 I have are beech.

For bandsaws - have you seen Matthias Wandel's designs? It would be a lot of work to build one, but if you were looking to spend ~500 euros on a commercial machine I suspect you'd get a much better saw by building rather than buying.
 
Making your own handle / tote takes ages if you do it well and to be honest, not worth the time taken.
That said, you can at least design the desired angle, if for example the tote on a Stanley 4 is too tight
for your hand to fit etc. You'll have to bend the tote screw though.
 
BenCviolin":3ptzr19j said:
Making your own handle / tote takes ages if you do it well and to be honest, not worth the time taken.
That said, you can at least design the desired angle, if for example the tote on a Stanley 4 is too tight
for your hand to fit etc. You'll have to bend the tote screw though.
If the tote were too large then you could just file down the existing (not useful if it's too small, obviously).

As for changing the angle - the "beauty" of Stanley is the near random choice of threads and designs; pretty much every plane I have has a differing tote design. Indeed the Veritas templates seem to have the main screw at a subtly different angle to one of my #4 models. However, the suggested drill hole size does allow a little "wiggle room".

It is a lot of work to make them though. I have a CNC machine, and the problem is that even cutting a basic 2D shape would still leave all the shaping and drill holes. I was thinking of making a jig into which a CNC machined tote would fit (a bit like a pocket hole jig, to guide your drill bit cuts) but I don't really need to make more so haven't got around to it.
 
Thanks for all the input guys. I appreciate your comments and I guess I need to just get on with it and stop finding Reasons why not.

But as I said earlier, I need to finish my bench first. Bit hard to make anything without a solid work surface. (Have you ever noticed, while building a bench, you actually really need a bench to do the job properly!)
 
toitoi":v8alp8qa said:
I guess the thought of using a coping saw for the cuts is just scaring me off a little. I need to finish my bench first though, then on to projects like this.
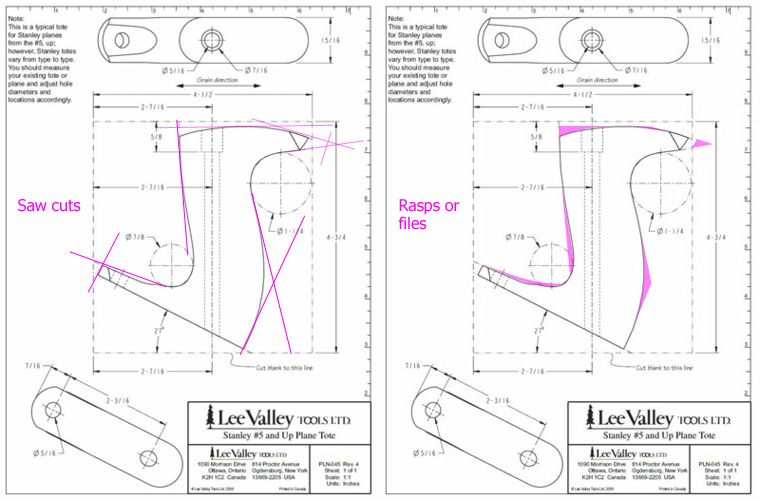
You could try an alternate method:

oqYAkHU.jpg


As you can see after the drilling and saw cuts are all done there's a trivial amount of wood left to remove by rasping (or come to think of it, by whittling or paring if preferred).
 
BenCviolin":3m3ptjey said:
Making your own handle / tote takes ages if you do it well and to be honest, not worth the time taken.
Eh? I don't see how it couldn't be worth the time taken if it's the difference between the plane being a comfortable user and a bit of a drag to handle every time it's used. Related blog post.

The handle might last the plane for a century of use, just as commercial ones do, seeing it through the ownership of three or four further users. I'd consider that time very well spent 8)
 
toitoi":30jaz3t0 said:
But as I said earlier, I need to finish my bench first. Bit hard to make anything without a solid work surface. (Have you ever noticed, while building a bench, you actually really need a bench to do the job properly!)

I know what you're saying, but it's only partially true.

Most of the parts of a bench are big enough that they're rigid enough not to need continuous support when planing,
and heavy enough not to move when being sawn or chiseled.

So you can (probably...) make a bench using trestles.

I build my bench on a B&D Workmate.

BugBear
 
ED65":k7oty8i8 said:
You could try an alternate method:

oqYAkHU.jpg


As you can see after the drilling and saw cuts are all done there's a trivial amount of wood left to remove by rasping (or come to think of it, by whittling or paring if preferred).
Yea, that was my reference to "Though, you could even rough cut with a tenon saw and carefully chisel out the curves" in an earlier post. E.g. make straight cuts to get close, then smooth out.
 
bugbear":3i4ttigd said:
toitoi":3i4ttigd said:
But as I said earlier, I need to finish my bench first. Bit hard to make anything without a solid work surface. (Have you ever noticed, while building a bench, you actually really need a bench to do the job properly!)

I know what you're saying, but it's only partially true.

Most of the parts of a bench are big enough that they're rigid enough not to need continuous support when planing,
and heavy enough not to move when being sawn or chiseled.

So you can (probably...) make a bench using trestles.

I build my bench on a B&D Workmate.

BugBear

You are absolutely correct there. I have built my bench using a 3x4 foot piece of Plastic laminate covered lumber core sitting on two cheap flimsy wooden trestles and an old B&D Workmate. Thus the wish for a real workbench to make my bench with. It is standing on its own and is most ways fastened together. Still needs a lot of 3/4 inch holes drilled for the Holdfasts to be of any use. I keep getting sidetracked and never seem to stay on track to get it finished. I need to get it done so I can make a Handle now. So maybe that will get me moving.
 
So. Finally, I'm done.

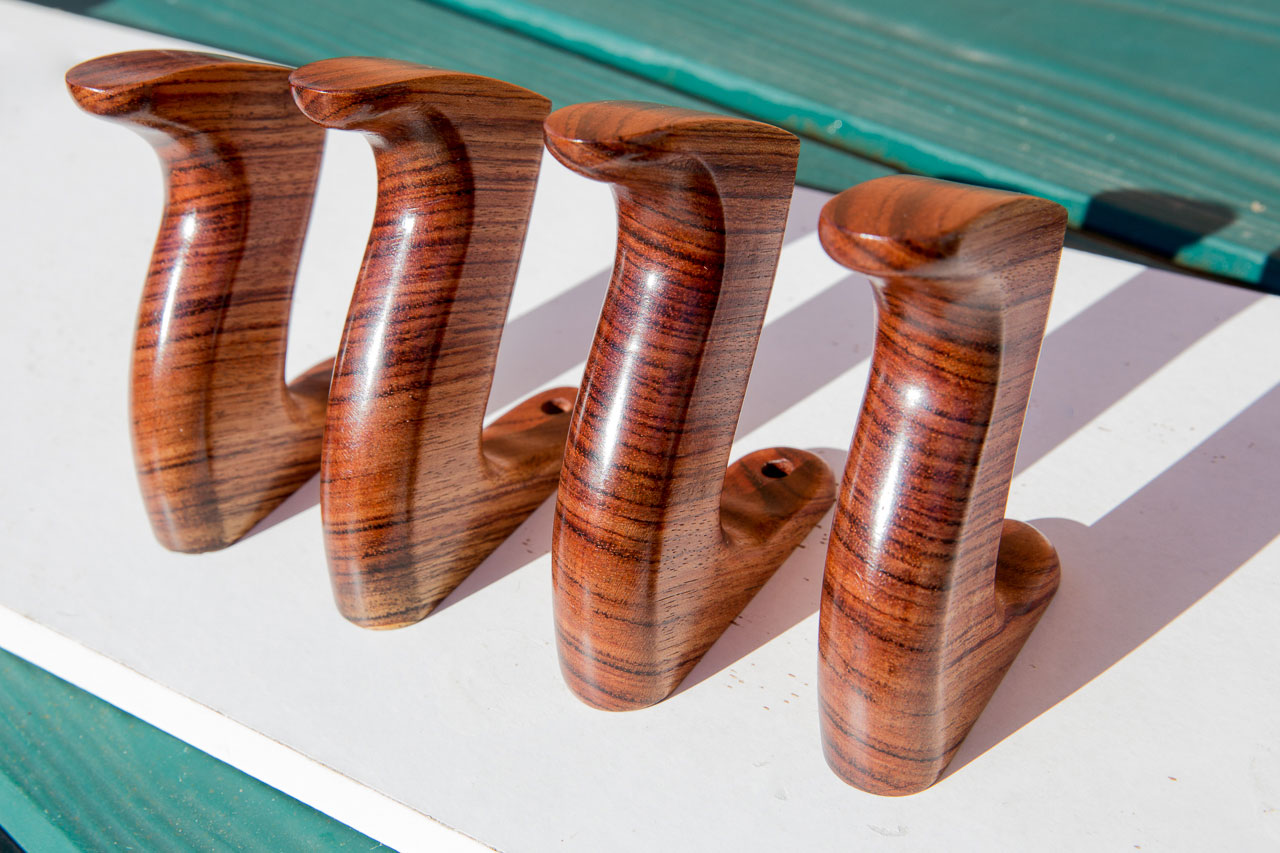
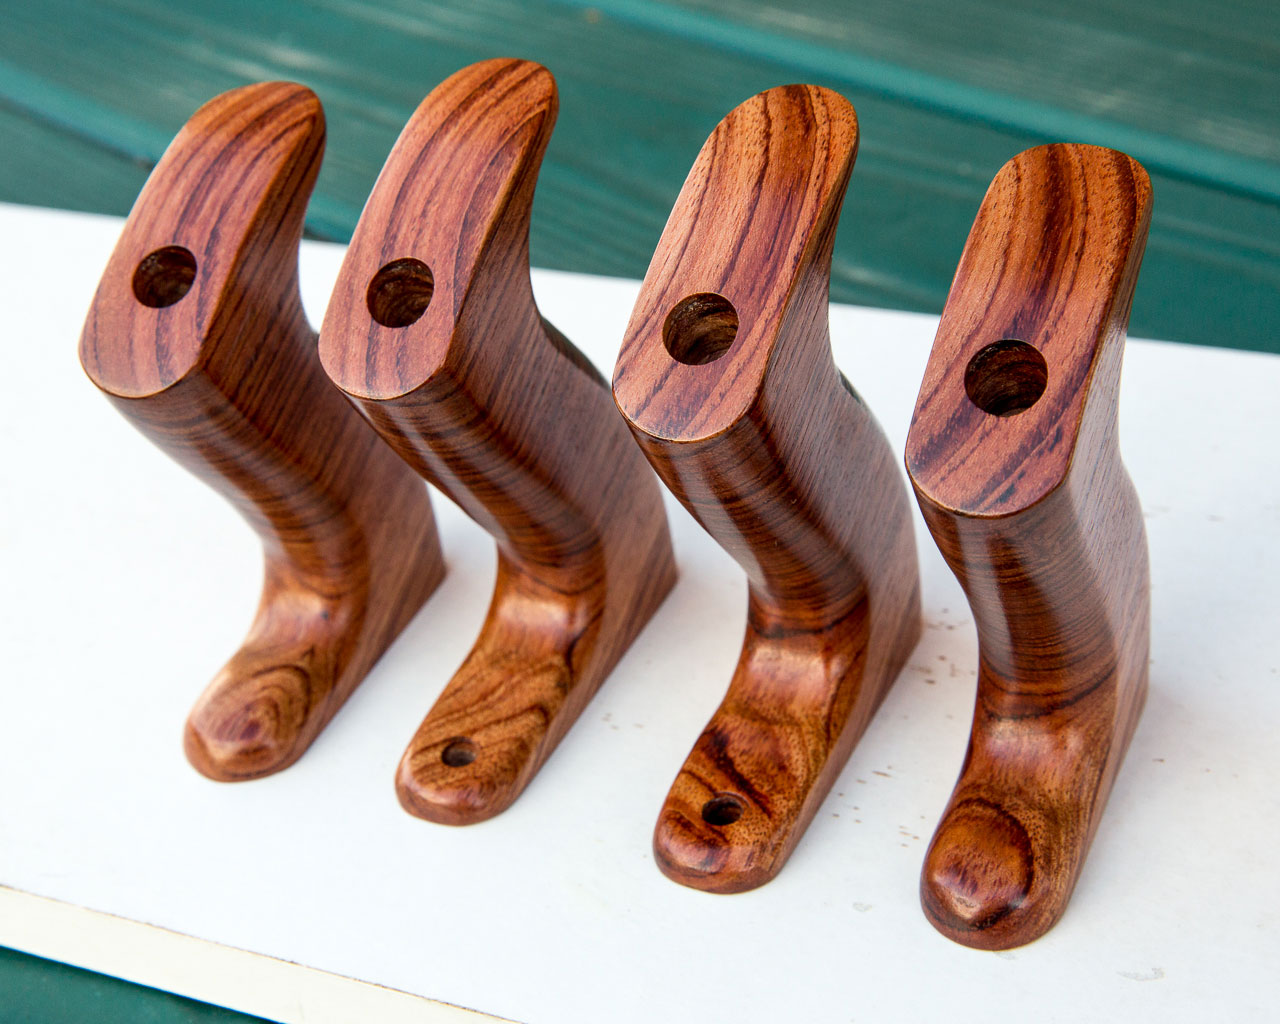
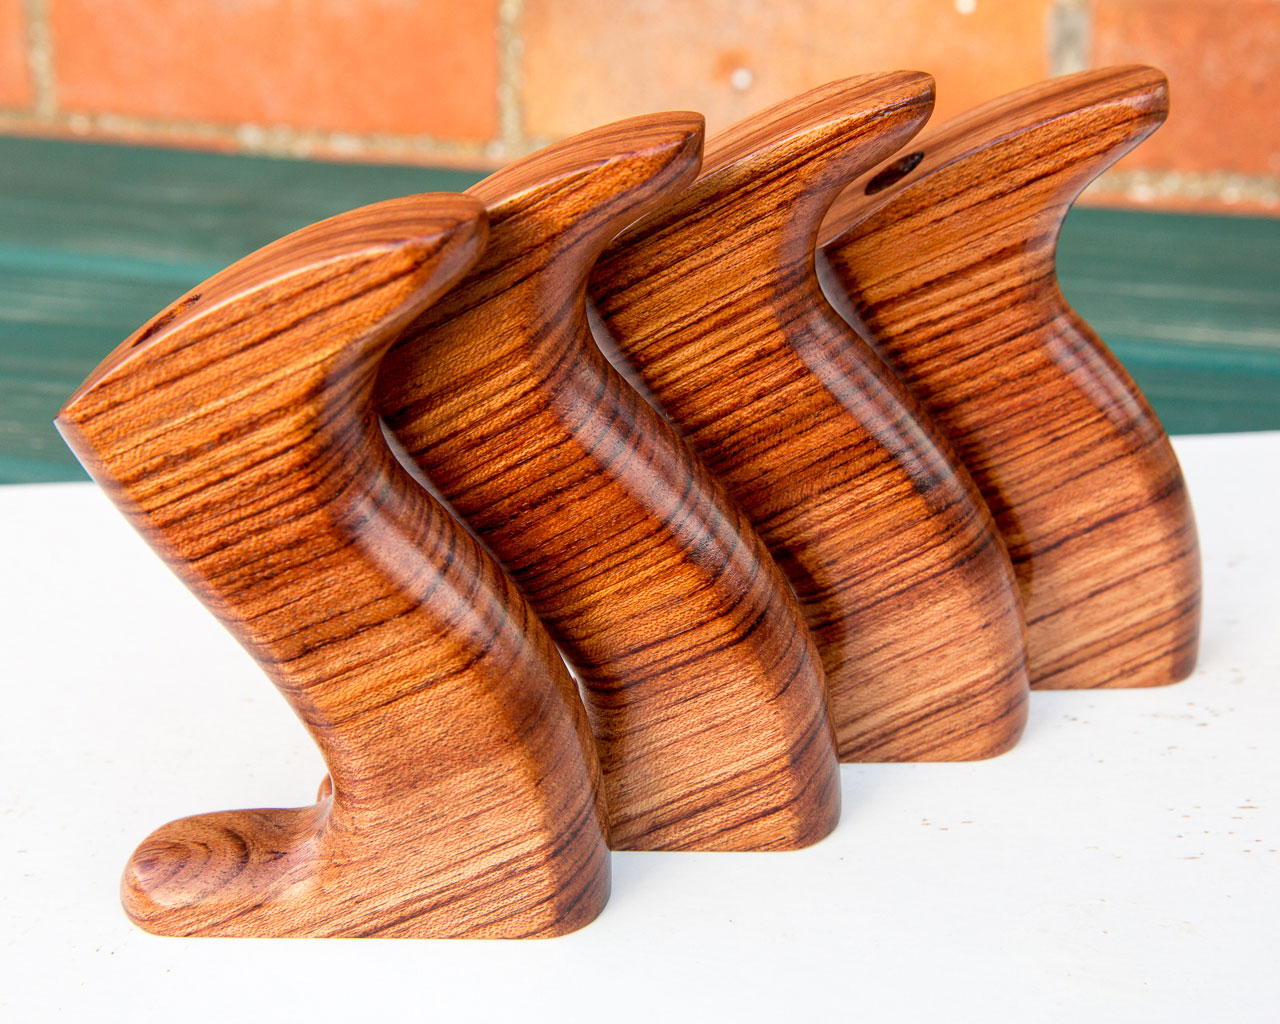
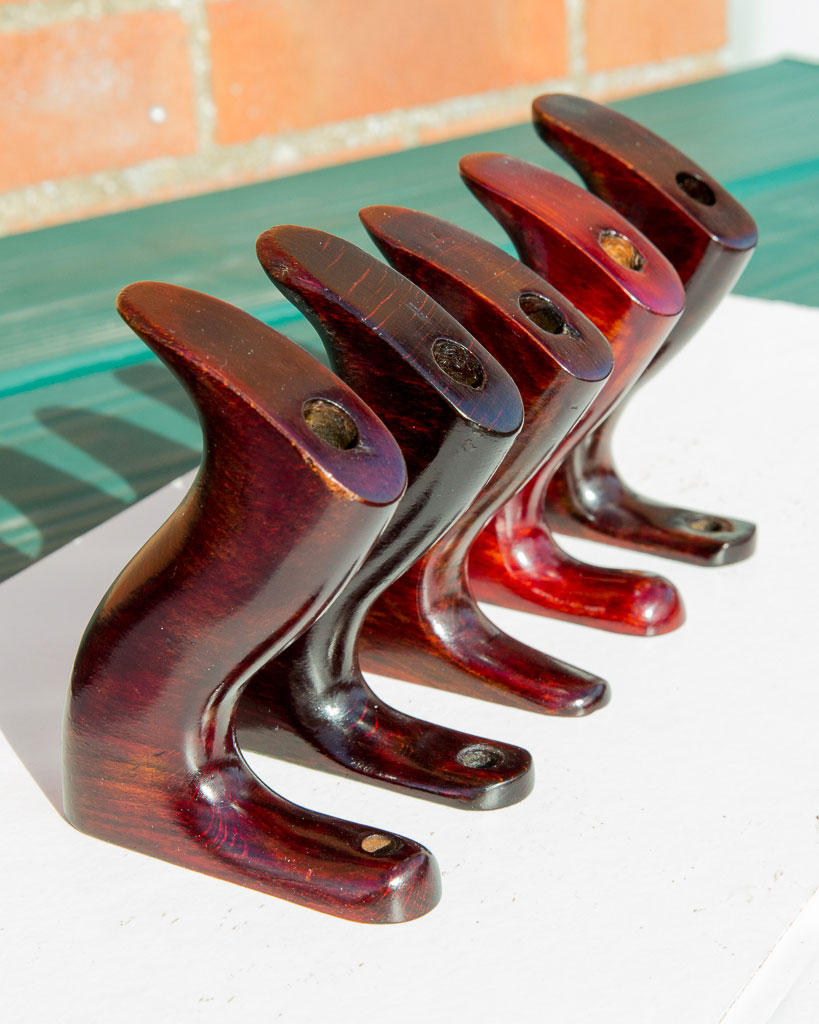
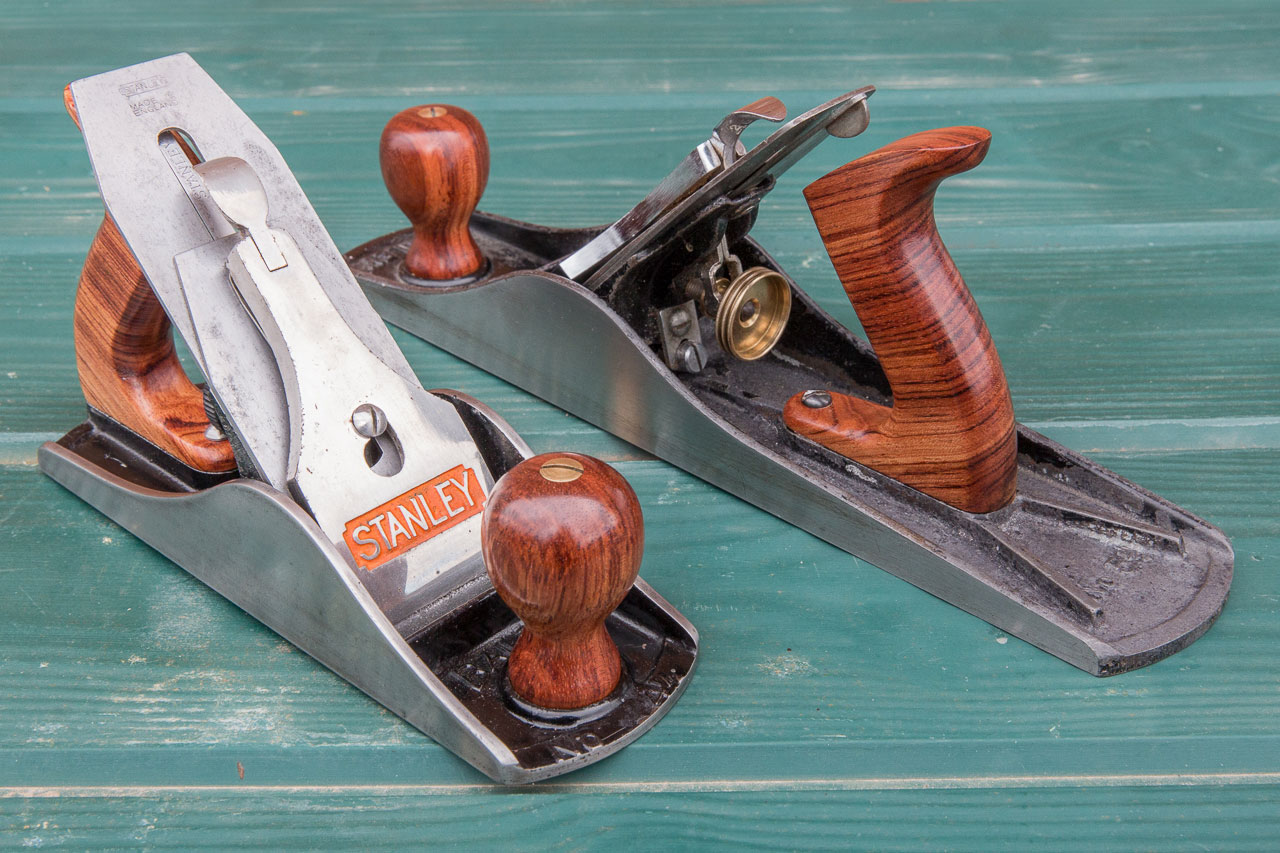
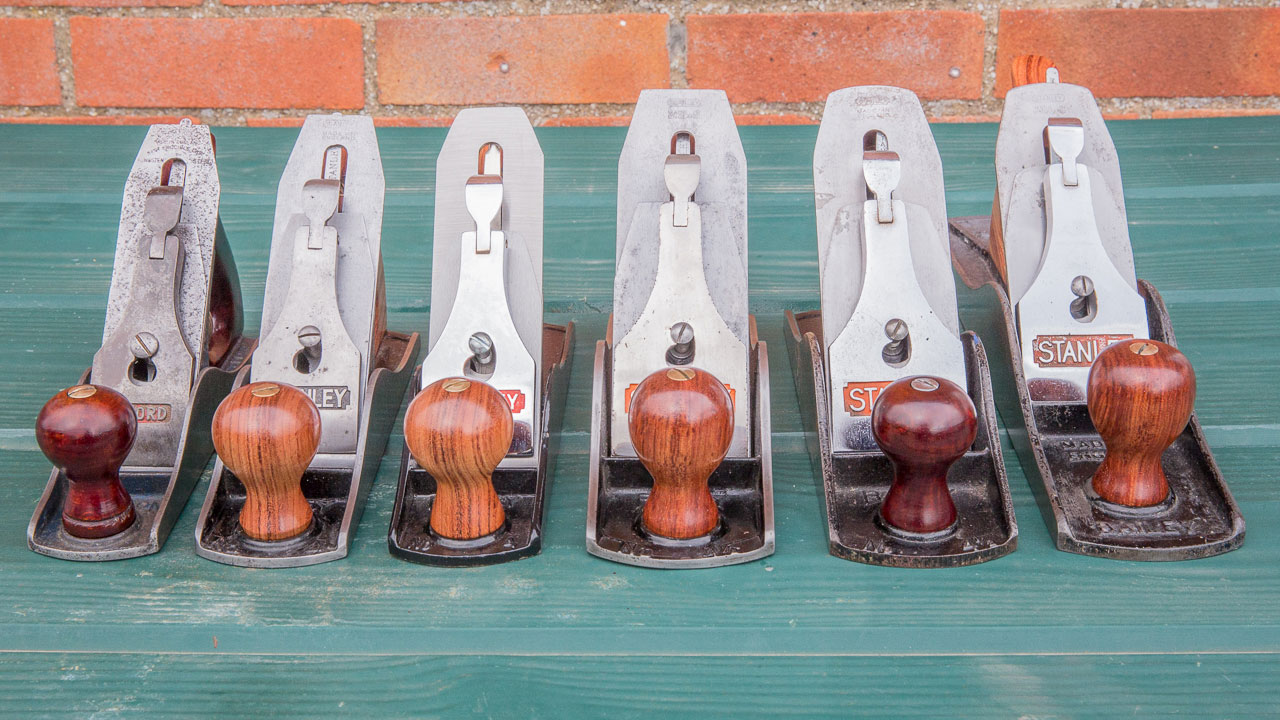
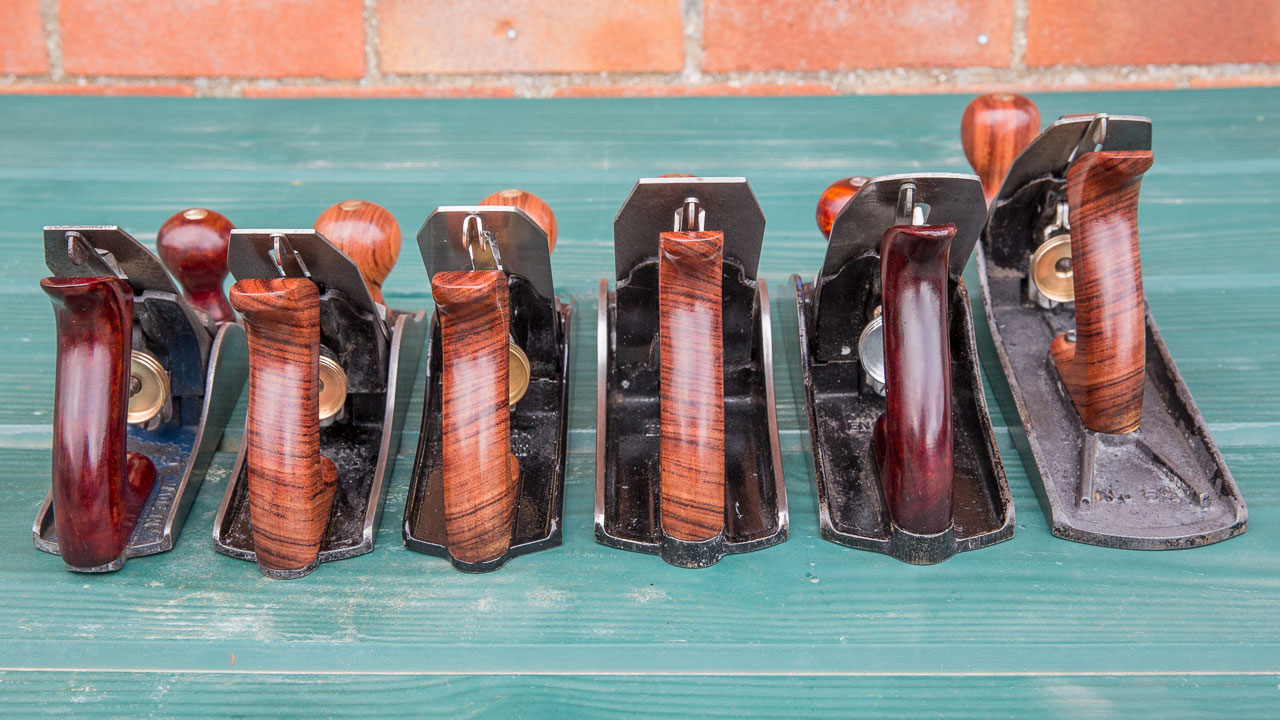
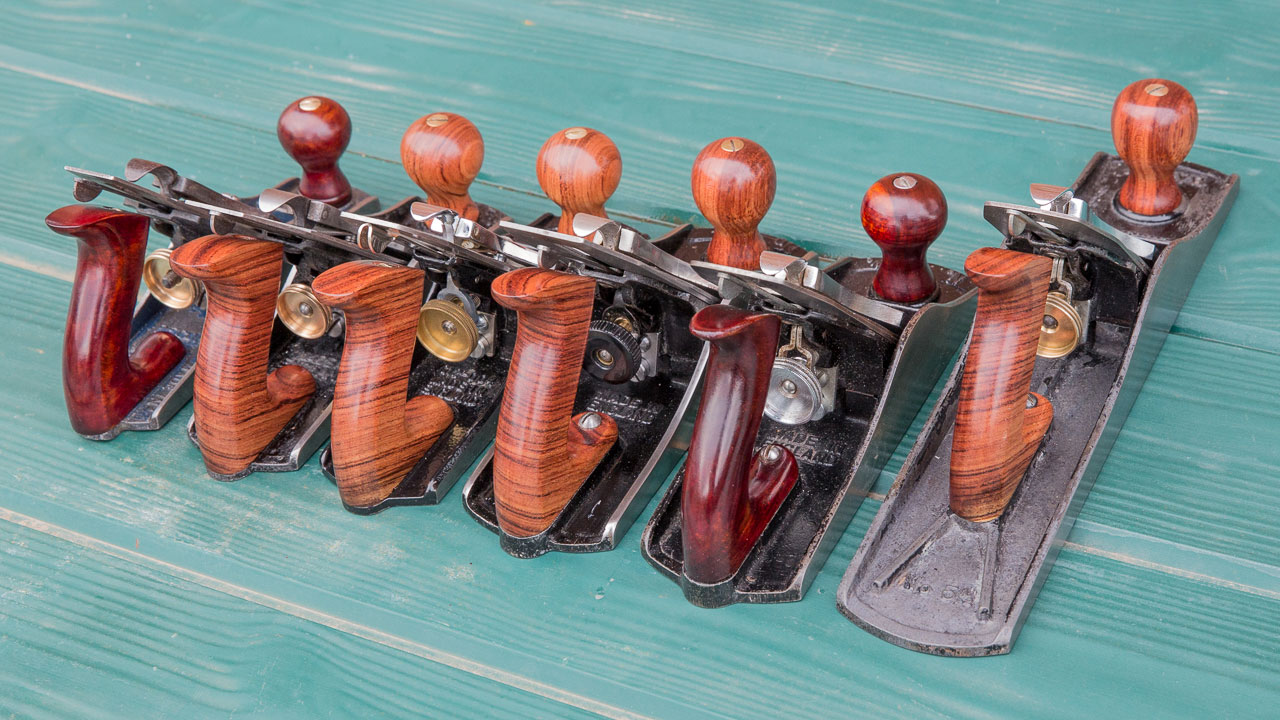
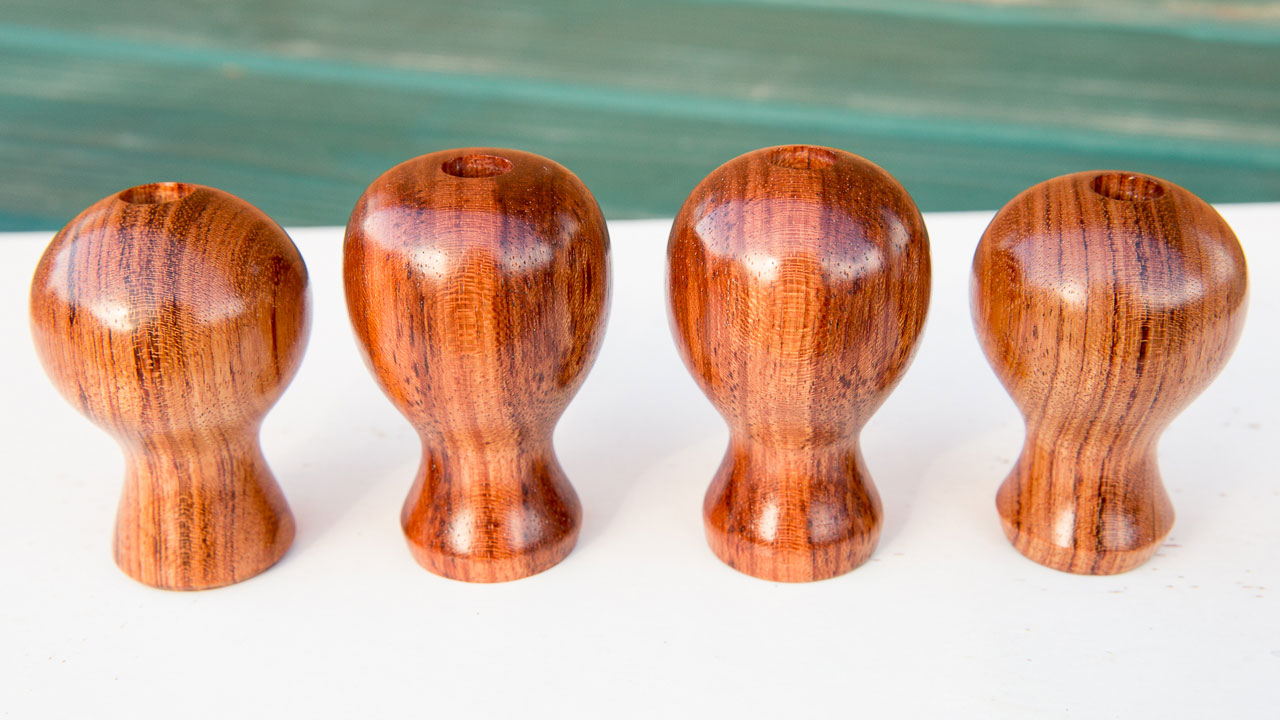
I put three coats of the dyed shellac on the old handles, and two coats of thinned clear shellac (3 parts Chestnut Sanding sealer, 1 part meths) on the bubinga handles. I then applied two coats of Chestnut Microcrystalline Wax.

I decided to break out the "proper camera" to take some photos, had everything outside ready to fit the new handles, planes in bits, nice and sunny... and then it started to snow #-o. Fortunately that didn't last long, so I was eventually able to get some shots.

The new totes and knobs:

IMG_9610.jpg


IMG_9614.jpg


IMG_9617.jpg


IMG_9618.jpg


The old totes and knobs (second from right are the beech handles from the Record #3; hence they're a little lighter):

IMG_9624.jpg


IMG_9628.jpg


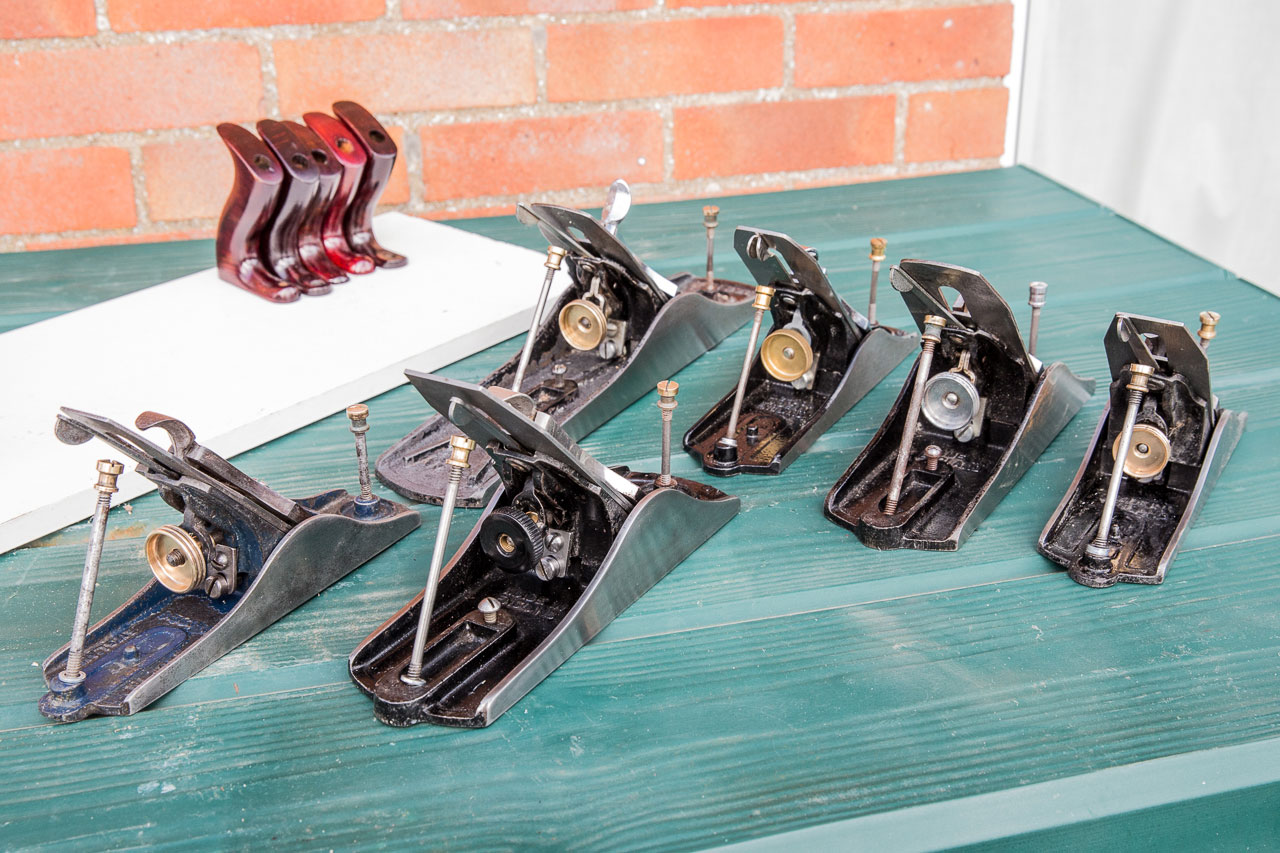
Some expectant planes:

IMG_9629.jpg


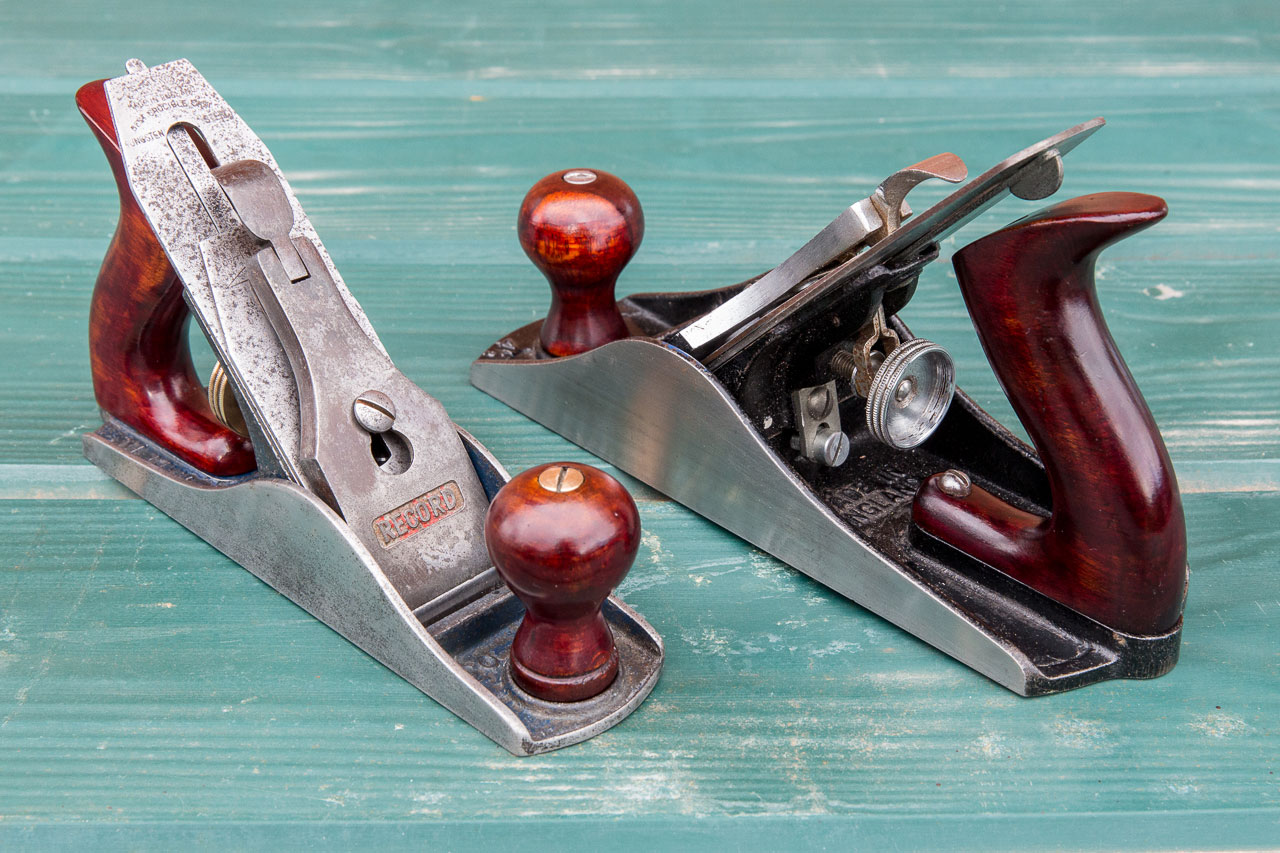
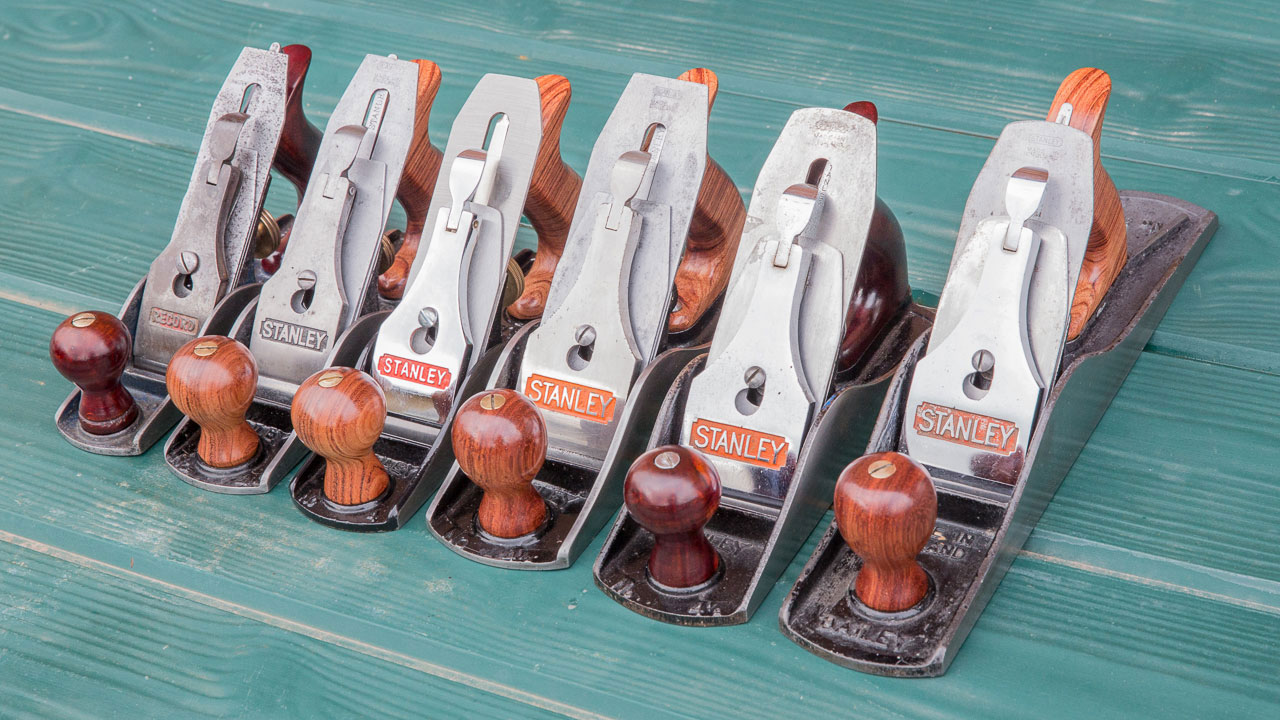
Although I finished all the old handles, I only needed the handles for the Record #3 and my 1960s Stanley #4 1/2:

IMG_9631.jpg


My WWII #4 and recent (probably 1990s) #4:

IMG_9633.jpg


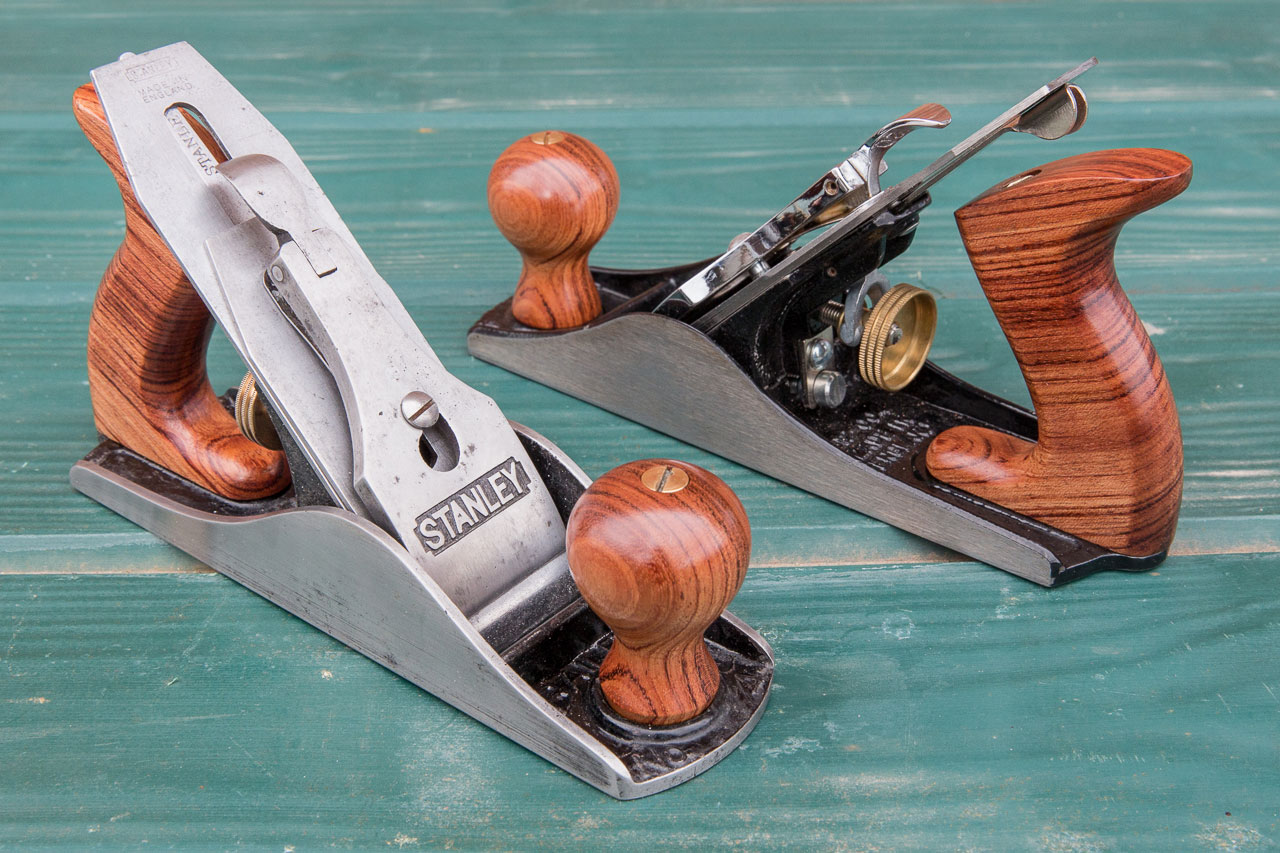
My WWII #4 1/2 and 1960s #5 1/2:

IMG_9636.jpg


And finally, a whole load of shots of the collection:

IMG_9637.jpg


IMG_9641.jpg


IMG_9644.jpg


IMG_9645.jpg


IMG_9647.jpg


Now I need to actually use them to make something I guess!
 
Back
Top