custard
Established Member
One of the forum members is trying to find a way to cut dovetails when they only have the use of one hand.
I had a go at it to see what lessons could be learned. Overall it was better than might be imagined, but I struggled when it came to transferring the tail markings to the pin board, so if anyone's got any suggestions for dealing with that procedure with just one hand then please chime in with suggestions!
First task is to set the depth of the cut on the tail boards (Bri, on your Paul Sellers box project the "tail boards" are the front and back, and the "pin boards" are the two side pieces).
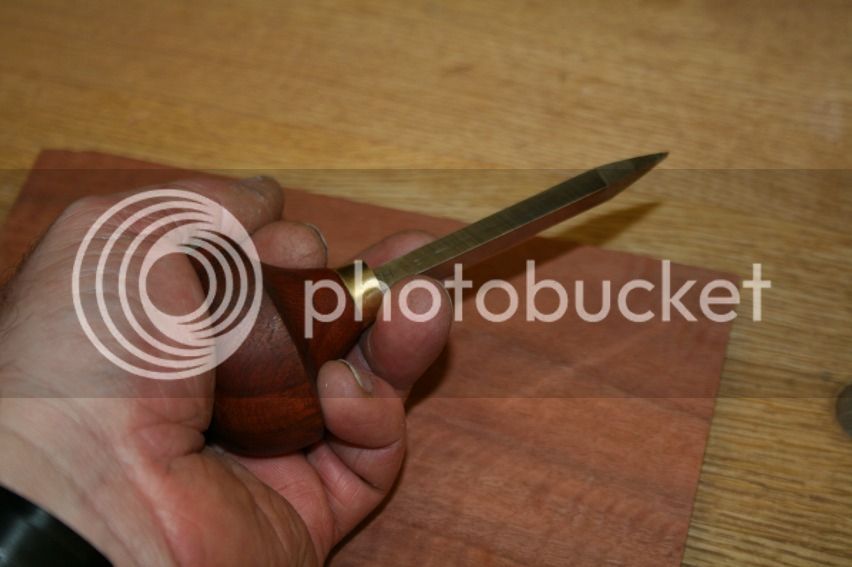
I found the best tool working with just one hand was one of these type of marking gauges,

The depth of cut on the tail board is the thickness of the pin board, so by placing the marking gauge on top like this,

it was easy with one hand to drop the marking wheel and lock it off like this,

Then the tail board was locked in the vice (a bit of struggle one handed but I got there in the end), and the gauge run all the way around,

Marking out the positions for the cut had me scratching my head, but given you'll be using the 1:8 Veritas Magnetic Dovetail Jig & Saw, I borrowed this tool from a mate and came to the conclusion that you only really need a few guide marks on the end of the tail board to get the job done. I decided to have a dovetail cut 6mm in from each end and one in the middle. The easiest tool I found for marking these positions was a pair of dividers and a decent quality ruler which has scribed markings rather than painted markings. It's possible to operate the dividers single handed and using the scribe marks get an exact 6mm measurement,

The dividers can then be used to place an indentation 6mm in from each end of the tail board,

After that I measured to find the centre point of the tail board,

Then I used the ruler to set the dividers to that centre position measurement and placed another indent on the tail board. After that I set the dividers to 3mm (half of 6mm) and placed two more indents 3mm out on each side from the centre point. So now there are five indents in total giving us all the dovetail location information we need,

Next job was to position the Veritas jig so that the saw blade falls directly on top of the indents, I found I could do that fairly exactly with one hand

After that it's just a case of sawing down to the scribed line we previously made with the marking gauge,

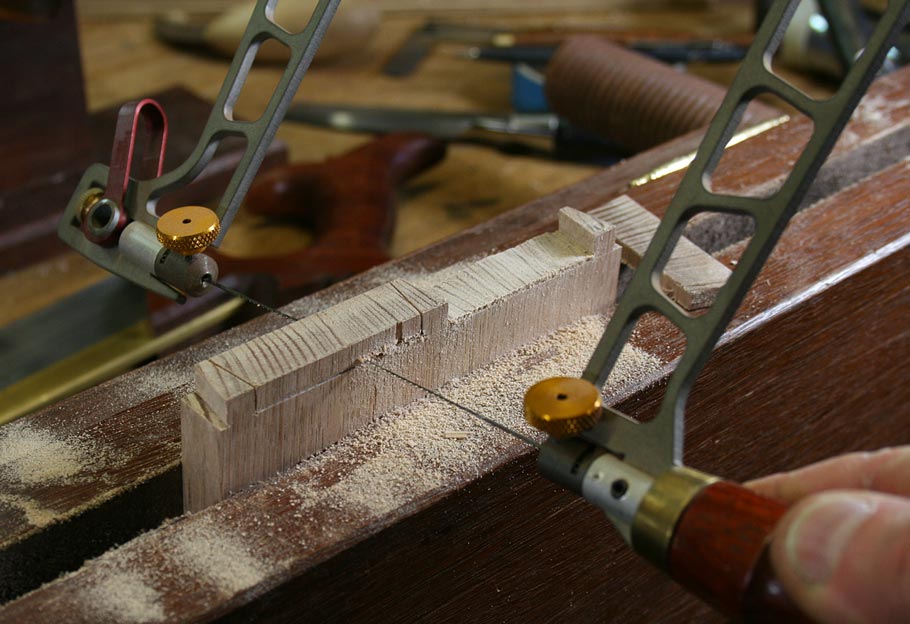
After completing all the cuts you remove the Veritas Jig and use a coping saw to take out the bulk of the waste. I'm using a fancy coping saw but they're pretty much all good enough for this job,

I can only post ten photos so I'll keep going in a follow up post!
I had a go at it to see what lessons could be learned. Overall it was better than might be imagined, but I struggled when it came to transferring the tail markings to the pin board, so if anyone's got any suggestions for dealing with that procedure with just one hand then please chime in with suggestions!
First task is to set the depth of the cut on the tail boards (Bri, on your Paul Sellers box project the "tail boards" are the front and back, and the "pin boards" are the two side pieces).
I found the best tool working with just one hand was one of these type of marking gauges,

The depth of cut on the tail board is the thickness of the pin board, so by placing the marking gauge on top like this,

it was easy with one hand to drop the marking wheel and lock it off like this,

Then the tail board was locked in the vice (a bit of struggle one handed but I got there in the end), and the gauge run all the way around,

Marking out the positions for the cut had me scratching my head, but given you'll be using the 1:8 Veritas Magnetic Dovetail Jig & Saw, I borrowed this tool from a mate and came to the conclusion that you only really need a few guide marks on the end of the tail board to get the job done. I decided to have a dovetail cut 6mm in from each end and one in the middle. The easiest tool I found for marking these positions was a pair of dividers and a decent quality ruler which has scribed markings rather than painted markings. It's possible to operate the dividers single handed and using the scribe marks get an exact 6mm measurement,

The dividers can then be used to place an indentation 6mm in from each end of the tail board,

After that I measured to find the centre point of the tail board,

Then I used the ruler to set the dividers to that centre position measurement and placed another indent on the tail board. After that I set the dividers to 3mm (half of 6mm) and placed two more indents 3mm out on each side from the centre point. So now there are five indents in total giving us all the dovetail location information we need,

Next job was to position the Veritas jig so that the saw blade falls directly on top of the indents, I found I could do that fairly exactly with one hand

After that it's just a case of sawing down to the scribed line we previously made with the marking gauge,

After completing all the cuts you remove the Veritas Jig and use a coping saw to take out the bulk of the waste. I'm using a fancy coping saw but they're pretty much all good enough for this job,

I can only post ten photos so I'll keep going in a follow up post!


