- Joined
- 19 Mar 2007
- Messages
- 5,311
- Reaction score
- 451
I said a little while back that I would see if I could do a WIP of the tractor/trailer that I have been ranting over on here for a while. Oh dear, where to start, so please live with it if you can 'cause I ain't done nuffin like this before?
I would like to say thank you to Ab for the identification of it as a Lanz Bulldog, built around the 1950s?
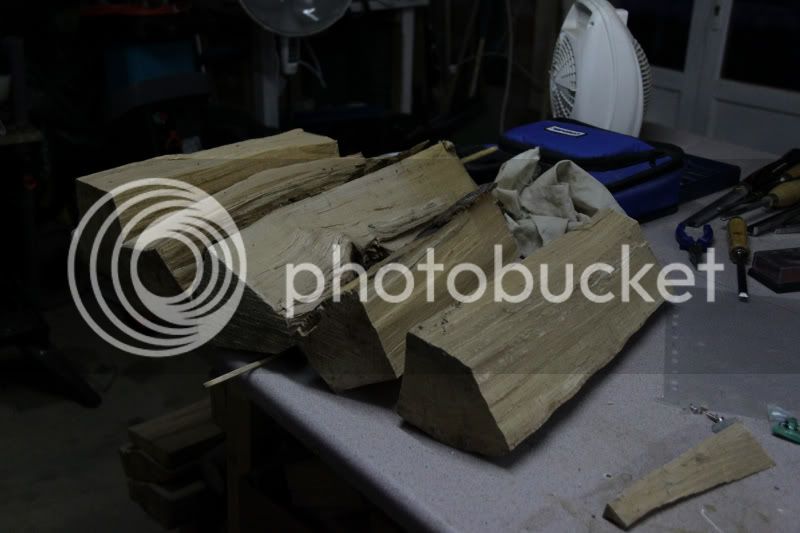
I started with a fair stock of beech fire wood and after a bit of searching found the bits that I thought would do the job.
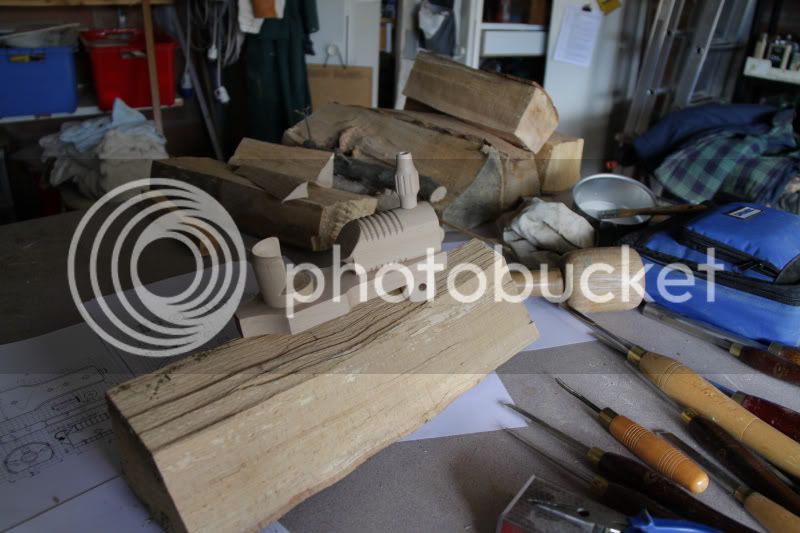
The only parts that aren't turned are the chassis' for the tractor and trailer. So the base was cut and sanded. The engine block was turned and the sides and base cut on my band saw. The seat is turned and part carefully cut out. Not too deep as to cut onto the seat!
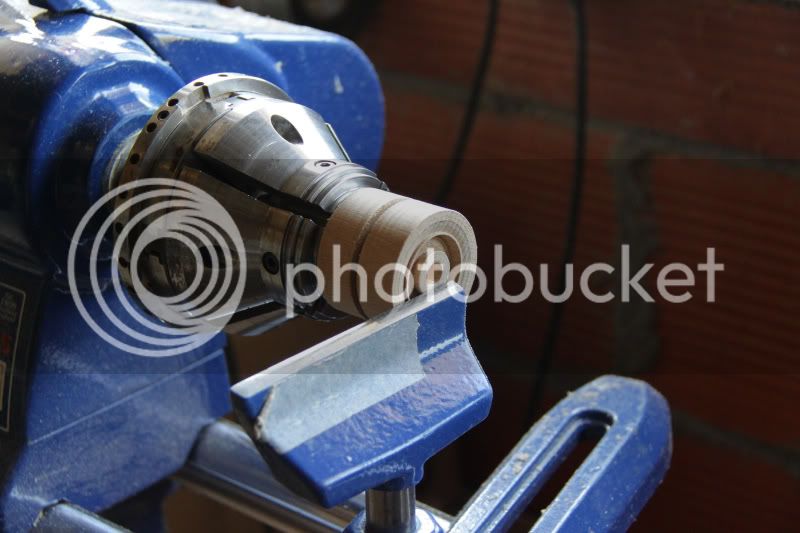
Next, the main wheels. They are turned from a block that I had spindle turned so as to put a dovetail tenon to hold in my chuck. Turn the inside with a small dovetail tenon, drill the hole and then part off. I was making 2 tractors this time so all 4 mains were done. Reverse the wheels in the chuck and turn the outer face. Then using my index wheel on the chuck mark out the 12 holes. The holes are drilled on my drill press with a lip and spur drill to make sure it is accurate. The front wheels are done the same way.
The axels are all turned to size with a very slight waist where the wheels are so that it is an interference fit for everything but the wheels so they turn freely. The axle heads are left rough and turned to shape in a 10 mm pinch chuck that I made using one of the pinch chuck bands from my very old chuck set.
The mudguards are turned as a shallow dish with a hole in the middle and cut to shape on the band saw.
The steering wheel, fly wheel and chimney are turned after being drilled so the hole is in the middle.. Then the shaft on the steering blocks were turned to fit the vertical hole. The head lights and fixing dowels too. By this time there were a lot of bits!
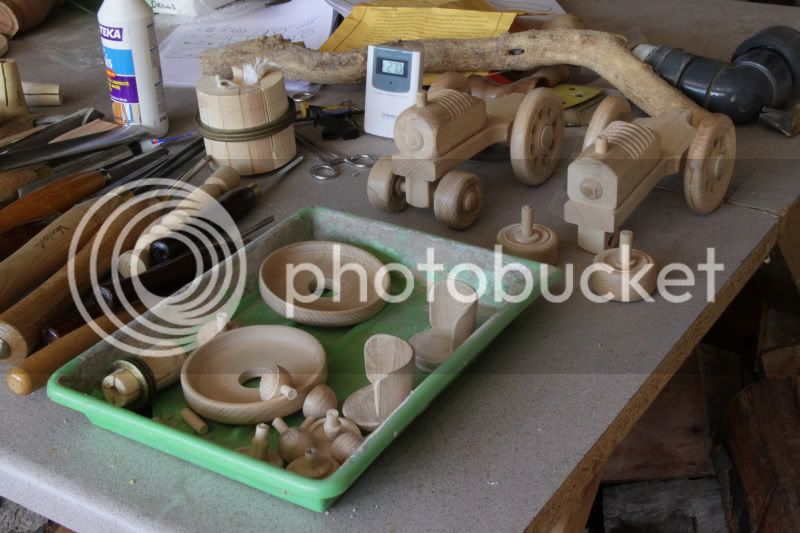
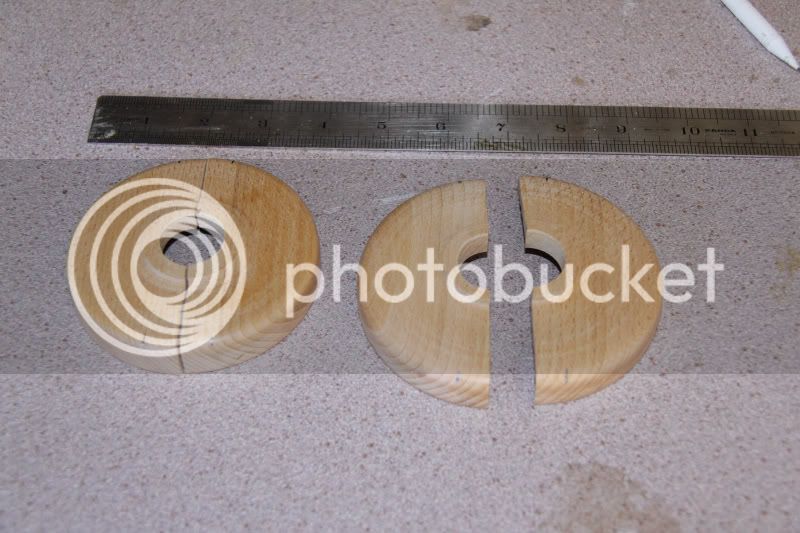
A fun part was after I had turned the pieces for the rear brakes they then had to be cut almost in 1/2. They are about a 1" diameter with the axle hole in them. As I tend to like having 4 fingers on each hand I decided to hold them with crescent pipe grips! No problems. Everything was cobbled together to see how it looked
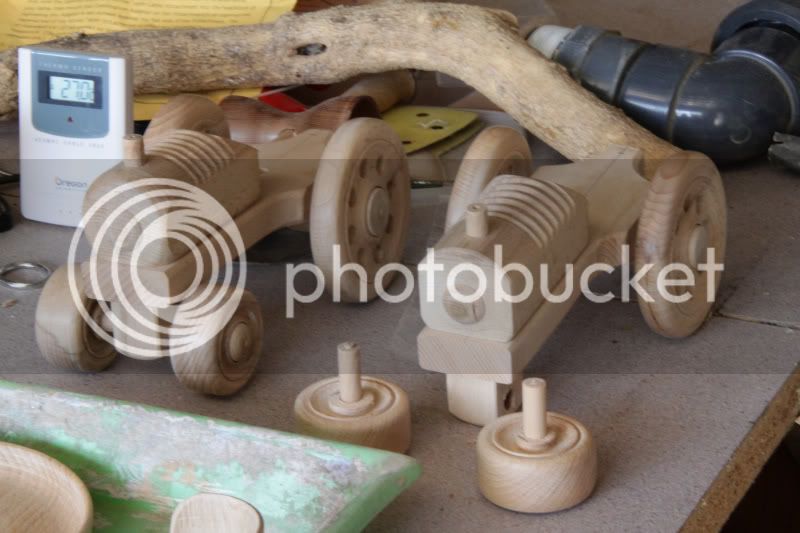
It all looked good so the rear brake parts were glued onto the chassis and the axle holes drilled.
All of the bits were cellulose sanding sealed and buffed on my new toy (Beall buffing sys)
Now time to put everything together. A great deal of care is needed so as not to glue the wheels, etc. solid to the tractor. Anyway, they all move OK
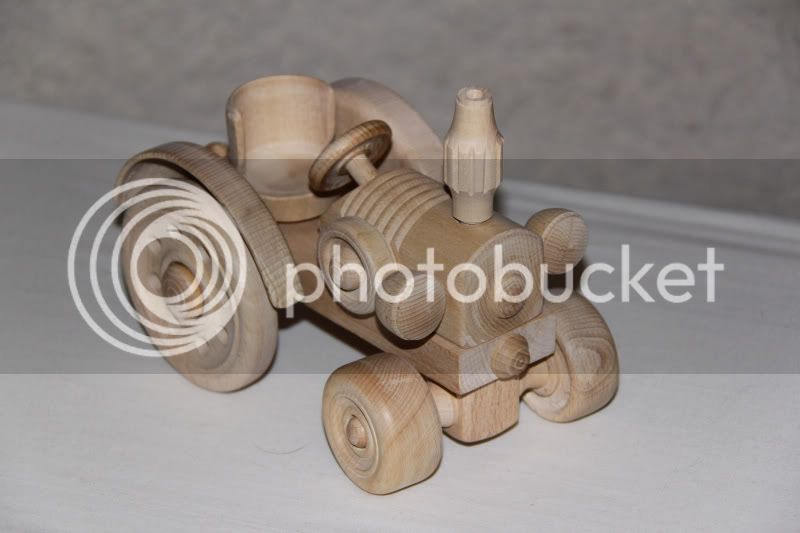
Next, the trailer. I'd cut the base when I did the tractor. All of the wheels were turned the same way as for the tractor. I have to admit that I used a skew chisel to round off the tyres. It was much easier and quicker. Left a lovely finish that only needed a very light sanding too. Om the original one that I made for me I followed the plan for the tow hitch and made it from bamboo turned to about 3 mm diameter, but I had always thought it too fragile. I didn't like the swivel either. Too complicated. So I sat and had a think (I do sometimes!) and came up with this
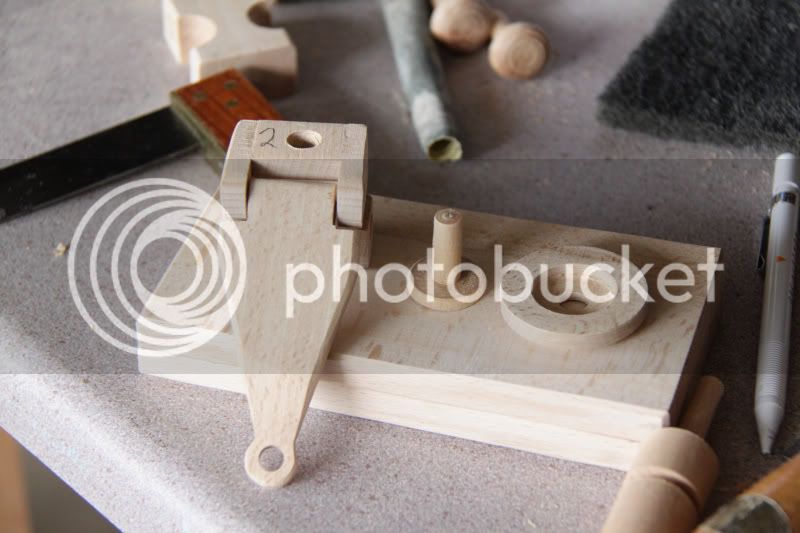
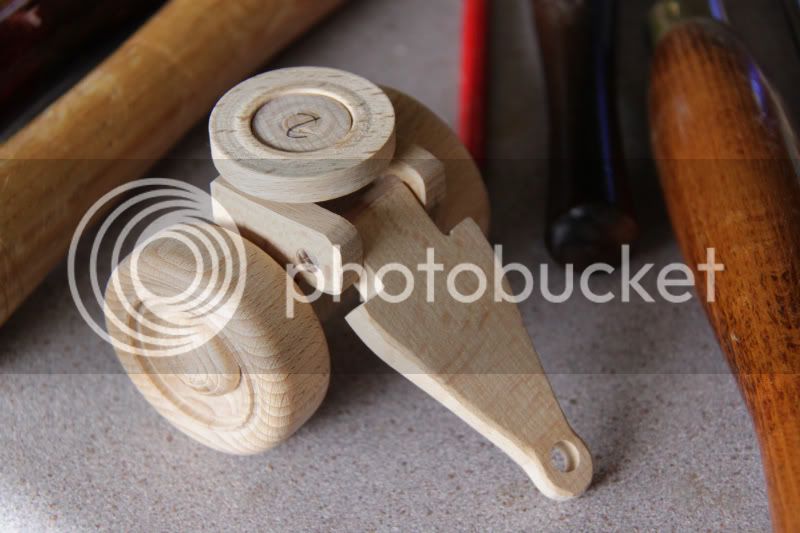
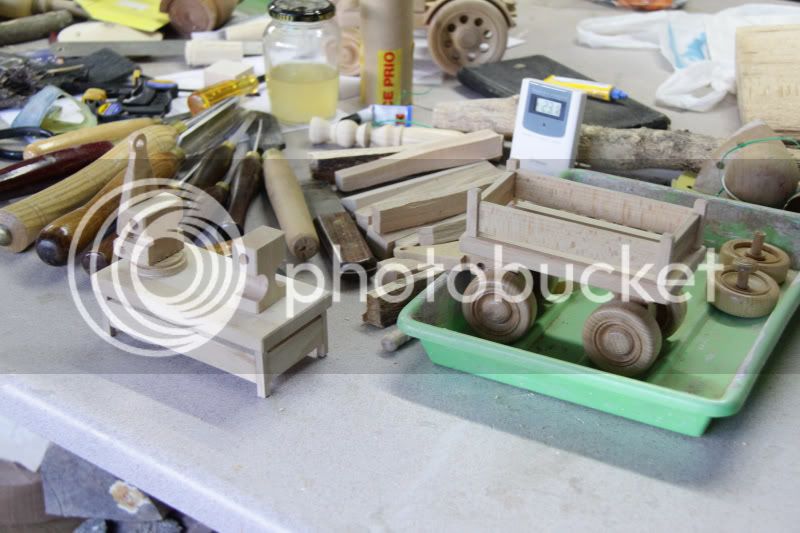
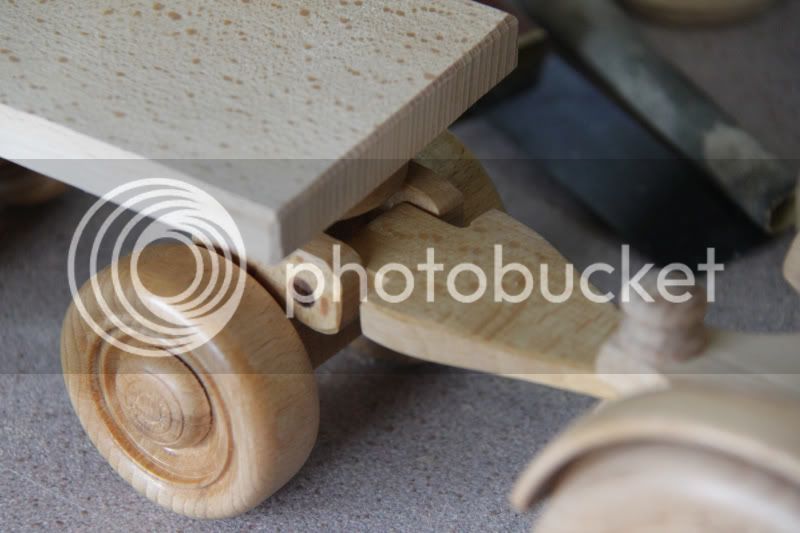
I think it's a lot stronger and more pleasing. Once again some very careful gluing was need to put it all together. The original top is the one with the railings and I thought that they were too delicate for boys to have on a toy. After all, that's what it is. So I put 4 corner posts into holes drilled into the corners and carefully glued the planking in. As an afterthought I decided that if I could keep on loosing the tow pin every time I turned a tractor over to do something underneath then a youngster would lose it quick time! So I turned a small pin to go into the chassis, drilled the tow pin and put some fine nylon cord through the 2 and glued the small pin into the chassis!!
Almost all of the turning was done with my Crown miniature turning tools and they were a god-send!
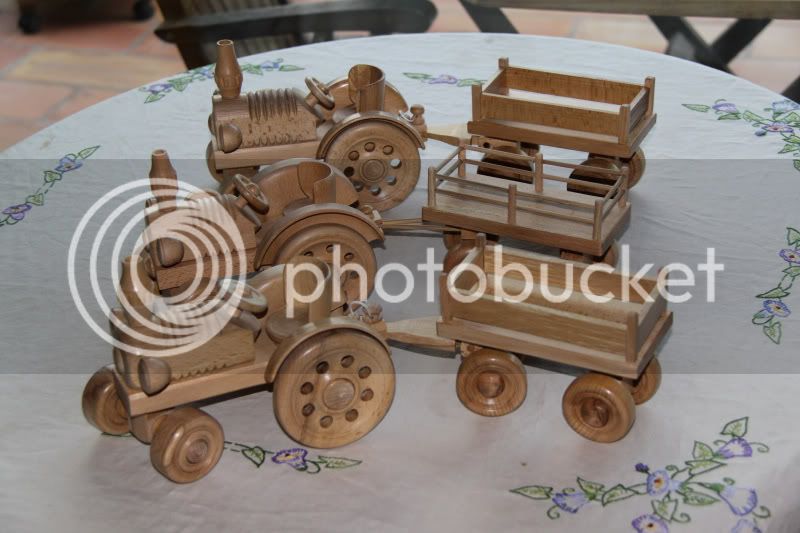
So at the moment I have a farmyard full of tractor/trailers, but by christmas I will be back to one again!
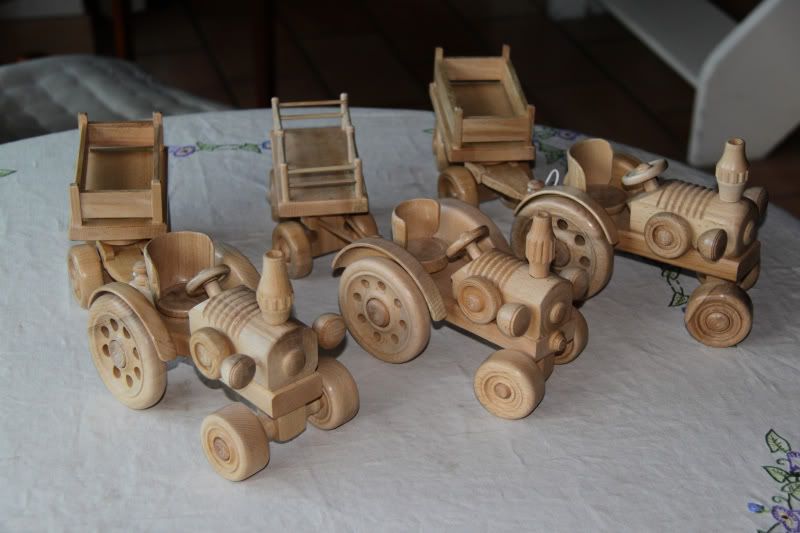
I would like to say thank you to Ab for the identification of it as a Lanz Bulldog, built around the 1950s?
I started with a fair stock of beech fire wood and after a bit of searching found the bits that I thought would do the job.

The only parts that aren't turned are the chassis' for the tractor and trailer. So the base was cut and sanded. The engine block was turned and the sides and base cut on my band saw. The seat is turned and part carefully cut out. Not too deep as to cut onto the seat!

Next, the main wheels. They are turned from a block that I had spindle turned so as to put a dovetail tenon to hold in my chuck. Turn the inside with a small dovetail tenon, drill the hole and then part off. I was making 2 tractors this time so all 4 mains were done. Reverse the wheels in the chuck and turn the outer face. Then using my index wheel on the chuck mark out the 12 holes. The holes are drilled on my drill press with a lip and spur drill to make sure it is accurate. The front wheels are done the same way.

The axels are all turned to size with a very slight waist where the wheels are so that it is an interference fit for everything but the wheels so they turn freely. The axle heads are left rough and turned to shape in a 10 mm pinch chuck that I made using one of the pinch chuck bands from my very old chuck set.
The mudguards are turned as a shallow dish with a hole in the middle and cut to shape on the band saw.

The steering wheel, fly wheel and chimney are turned after being drilled so the hole is in the middle.. Then the shaft on the steering blocks were turned to fit the vertical hole. The head lights and fixing dowels too. By this time there were a lot of bits!

A fun part was after I had turned the pieces for the rear brakes they then had to be cut almost in 1/2. They are about a 1" diameter with the axle hole in them. As I tend to like having 4 fingers on each hand I decided to hold them with crescent pipe grips! No problems. Everything was cobbled together to see how it looked

It all looked good so the rear brake parts were glued onto the chassis and the axle holes drilled.
All of the bits were cellulose sanding sealed and buffed on my new toy (Beall buffing sys)
Now time to put everything together. A great deal of care is needed so as not to glue the wheels, etc. solid to the tractor. Anyway, they all move OK

Next, the trailer. I'd cut the base when I did the tractor. All of the wheels were turned the same way as for the tractor. I have to admit that I used a skew chisel to round off the tyres. It was much easier and quicker. Left a lovely finish that only needed a very light sanding too. Om the original one that I made for me I followed the plan for the tow hitch and made it from bamboo turned to about 3 mm diameter, but I had always thought it too fragile. I didn't like the swivel either. Too complicated. So I sat and had a think (I do sometimes!) and came up with this


I think it's a lot stronger and more pleasing. Once again some very careful gluing was need to put it all together. The original top is the one with the railings and I thought that they were too delicate for boys to have on a toy. After all, that's what it is. So I put 4 corner posts into holes drilled into the corners and carefully glued the planking in. As an afterthought I decided that if I could keep on loosing the tow pin every time I turned a tractor over to do something underneath then a youngster would lose it quick time! So I turned a small pin to go into the chassis, drilled the tow pin and put some fine nylon cord through the 2 and glued the small pin into the chassis!!
Almost all of the turning was done with my Crown miniature turning tools and they were a god-send!
So at the moment I have a farmyard full of tractor/trailers, but by christmas I will be back to one again!


