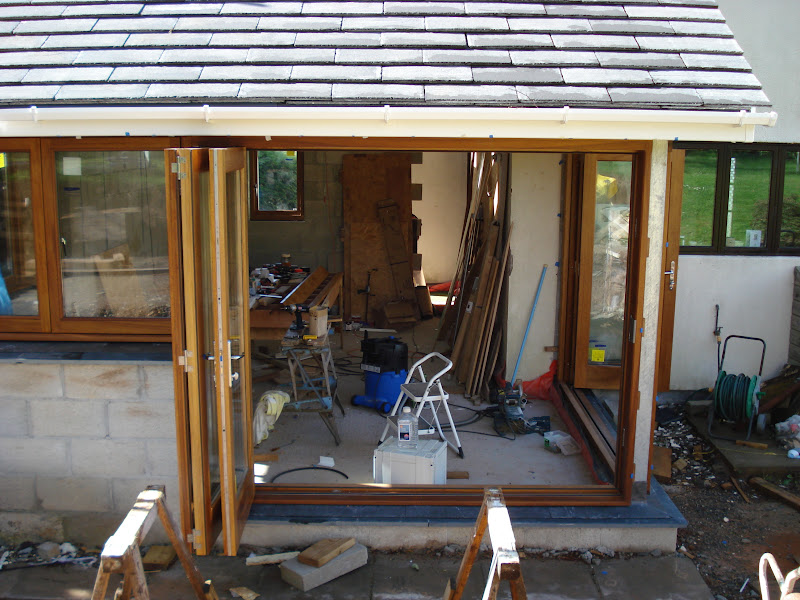
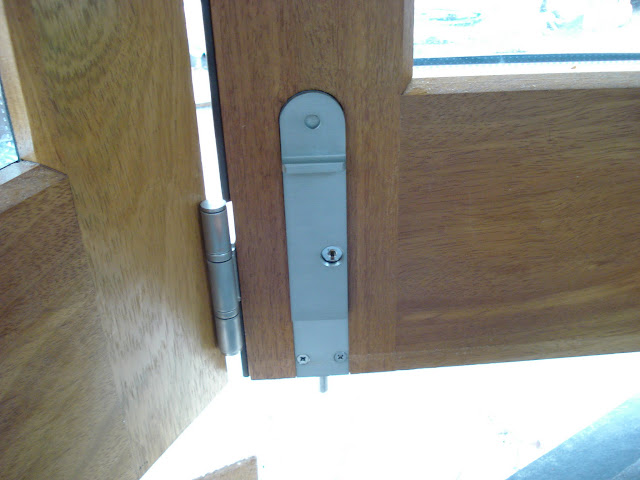
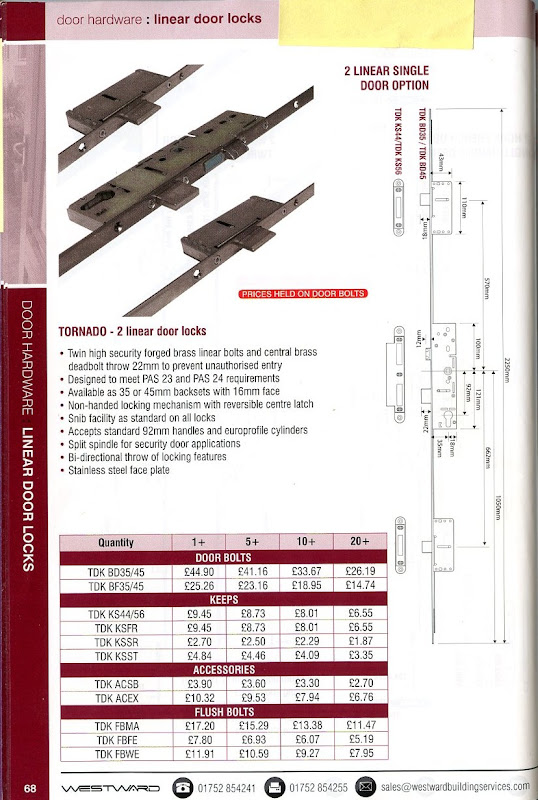
After lots of requests for help, here and elsewhere, on the practicalities of making my own external bifold doors I finally made a decision to go for it last autumn. This was primarily after having a quote for £9500 for 2 sets of 3 bifold doors, supply only. The ones in the showroom were admittedly very nice - but £9,500? Plus fitting? Then I went to see some that had been made locally in a neighbours house. When I looked at them I was not impressed and thought that I could do better. The decider came when he said that he had been having problems with them and when I suggested that he call the manufacturers back in under guarantee he told me that it was worthless as they had ceased trading within weeks of the installation.
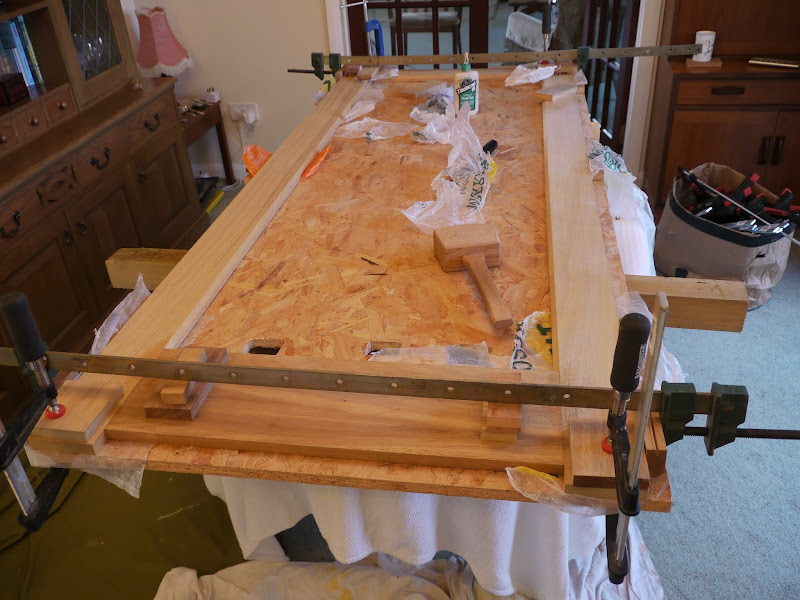
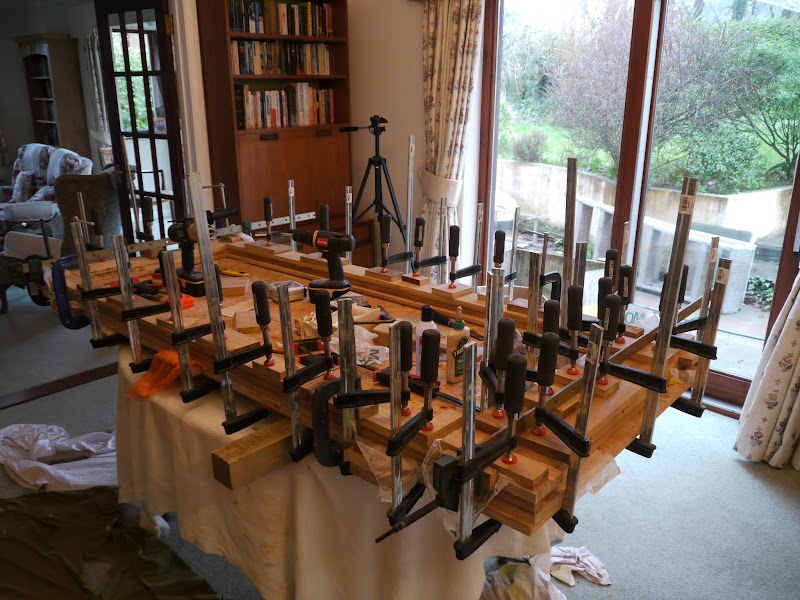
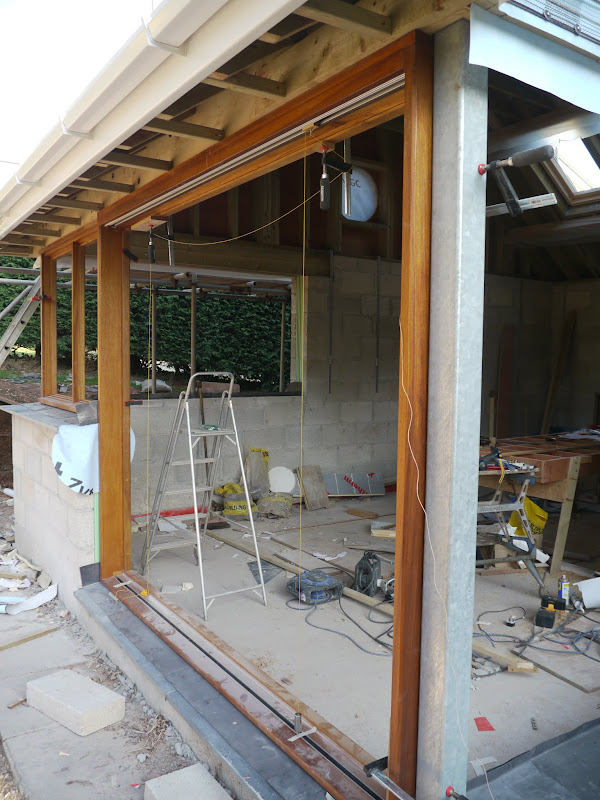
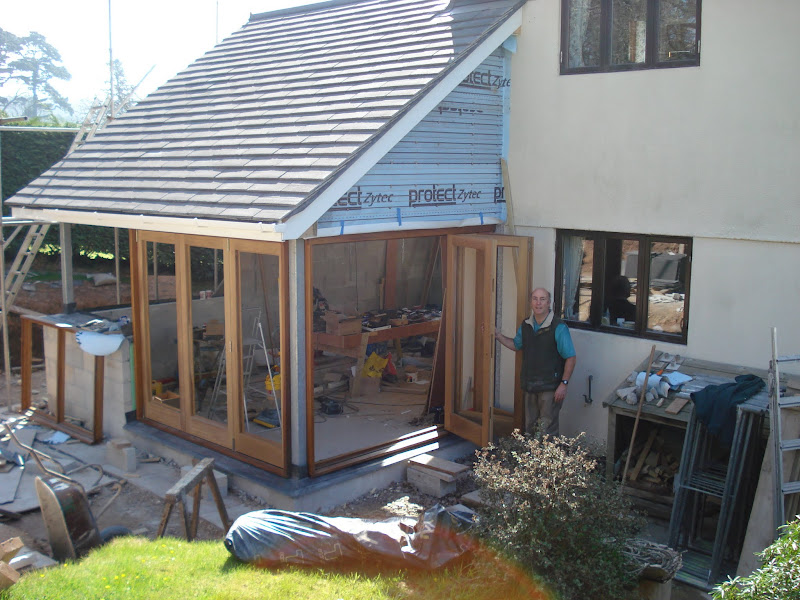
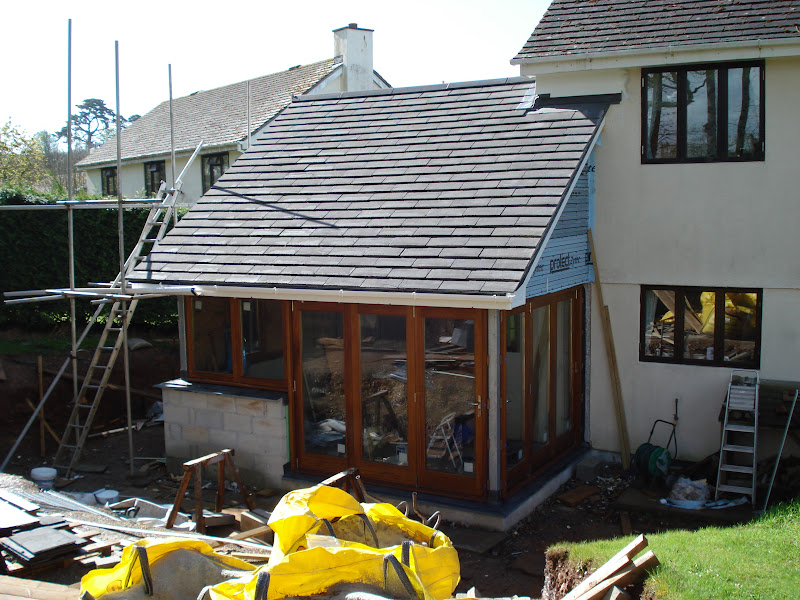
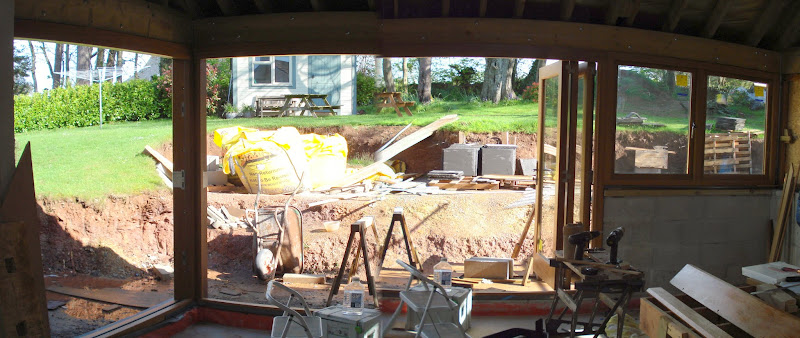
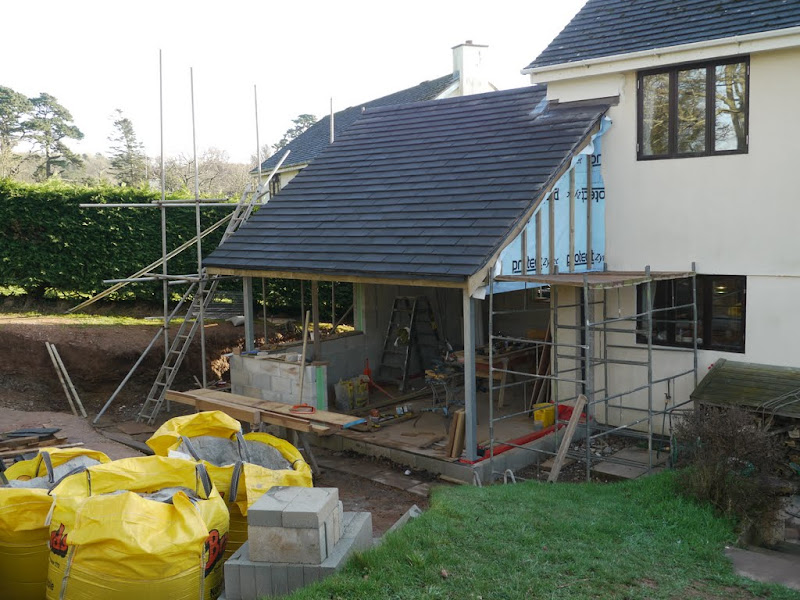
I had already shown an interest in the laminated approach to door making as described by Keith Smith, and had a practice making a new back door, as shown in this post. This seemed to be pretty painless so became the basis for my bifold door build to fit in the space shown in our new kitchen extension.
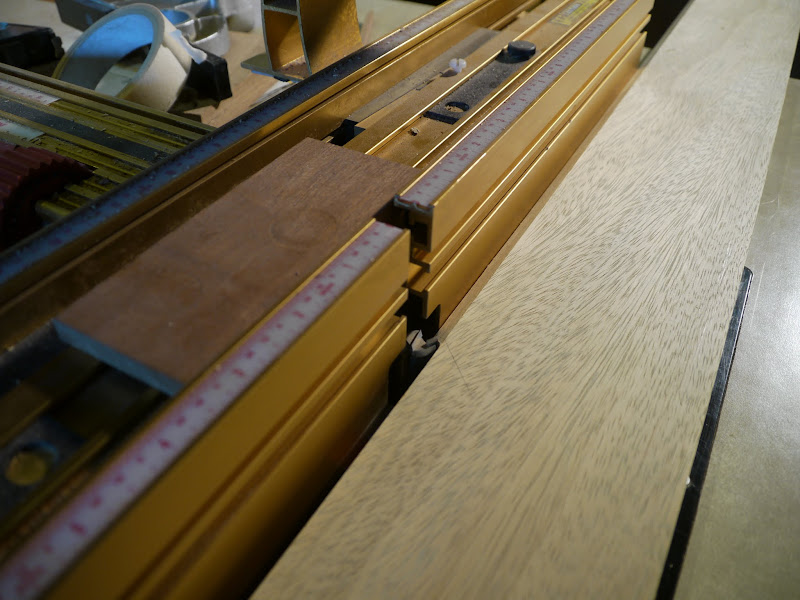
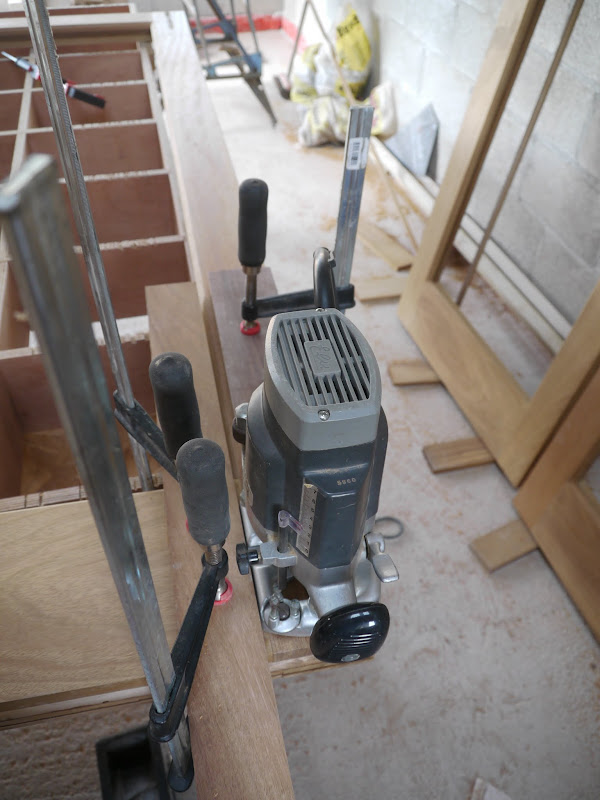
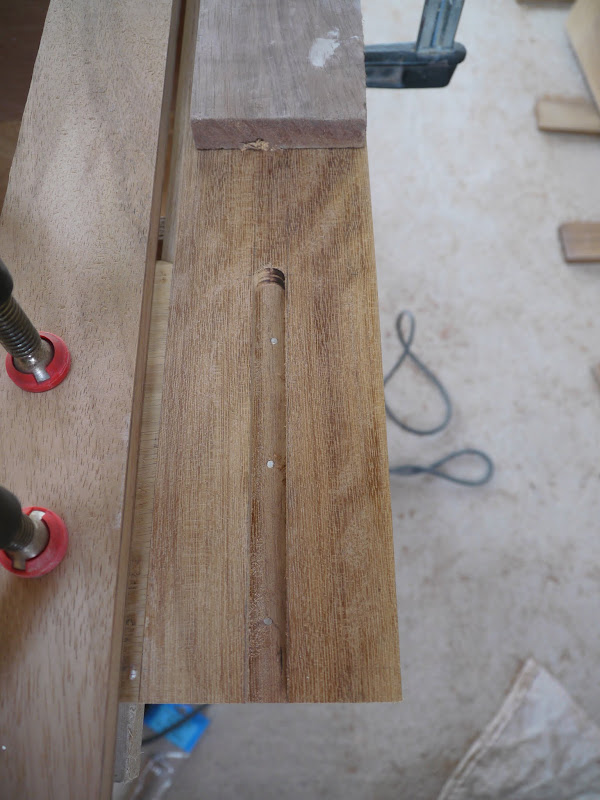
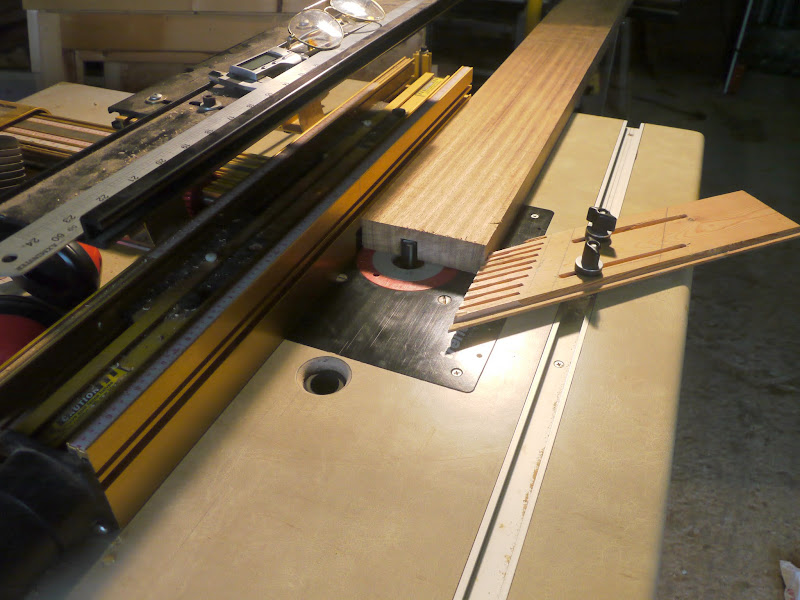
I started with the frame. These are big chunks of iroko and were not easy to manage on my 8” table saw, so I invested in a Festool TS55 track saw. Brilliant piece of kit, although strictly speaking the TS75 would have been better for ripping 50mm iroko. I started with the threshold into which a groove has to be cut for the base track, using the router table.
To cut the slope for the sill I made a simple jig which attached to the thicknessing table on my SIP p/t. Initially I tried to hold it in place with clamps but found that to be a hopeless task. Fortunately the SIP thicknessing table has a “lug” at either end with a hole in it so I bolted the jig to these as shown. It was now rock solid ...
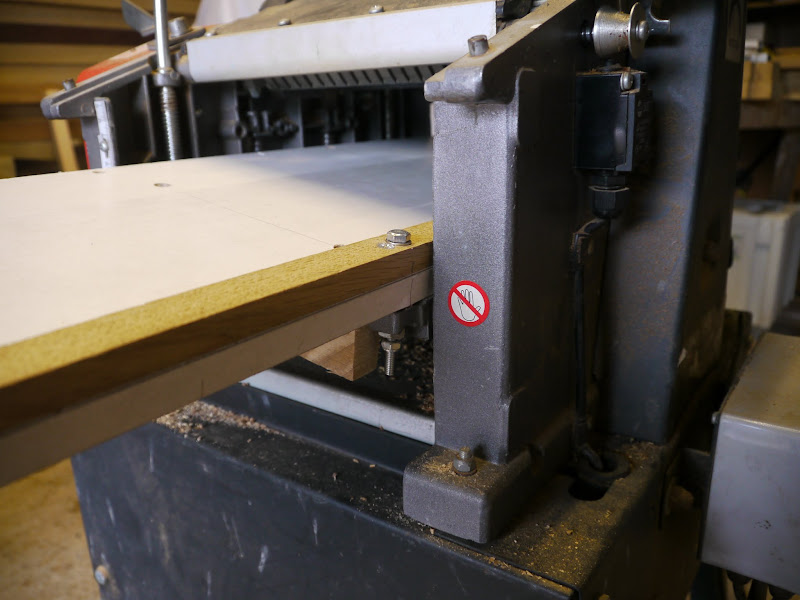
...... and the way the slope on the sill is cut is clearly shown here
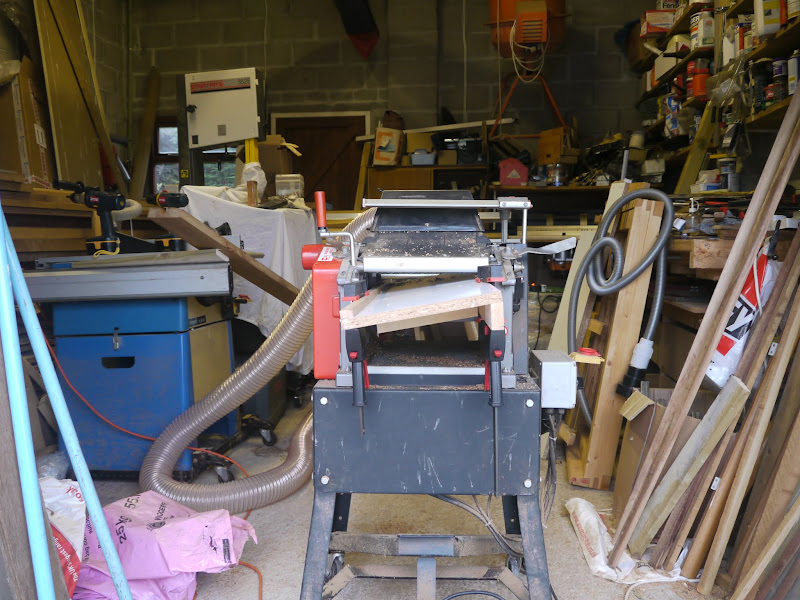
And the slope can be cut in easy stages until it is jsust short of the base channel.
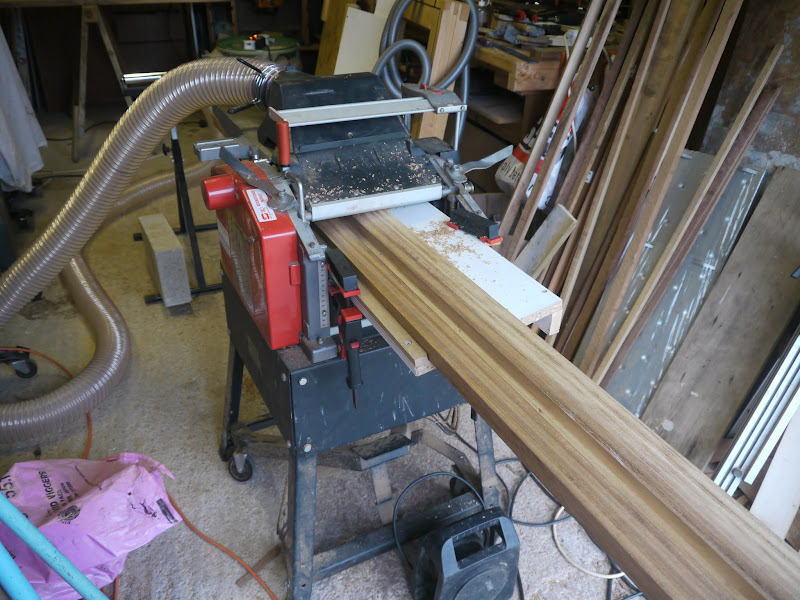
Here is the door head and sill dry fitted and ready for a glue up, having remembered only just in time to cut the groove for the Aquamac 21 door seal first!
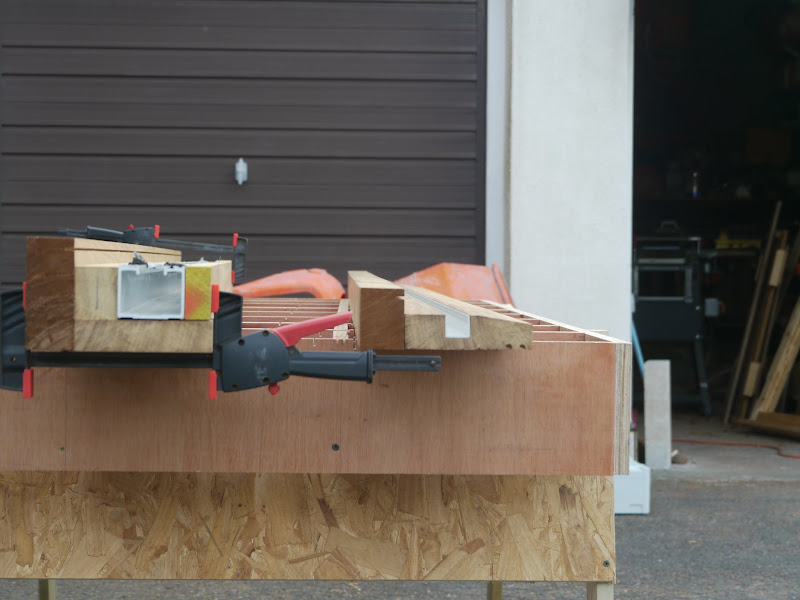
The jambs are made from 175mm x 45mm solid iroko and, again, are hefty pieces of timber to surface plane and thickness using my 10 x 6 SIP, but with a roller stand fore and aft and some running about we had a workable system. Now time to try a dry fit.
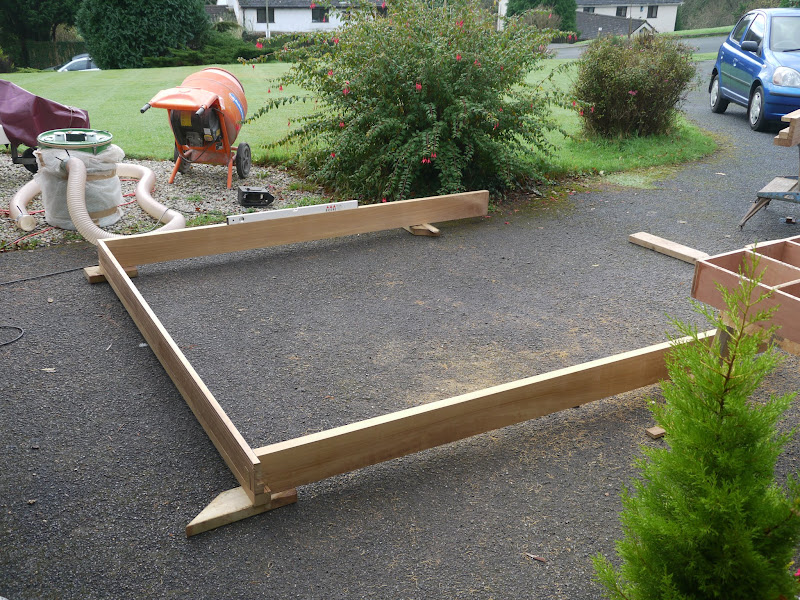
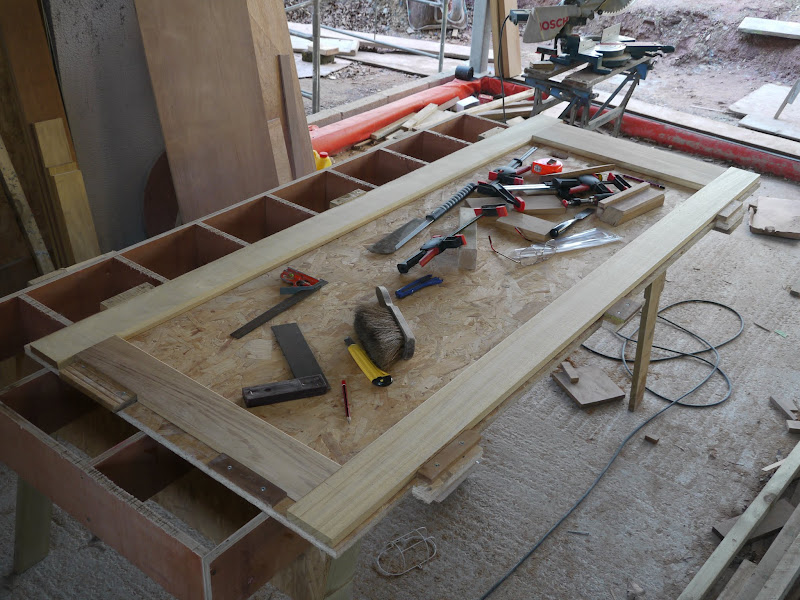
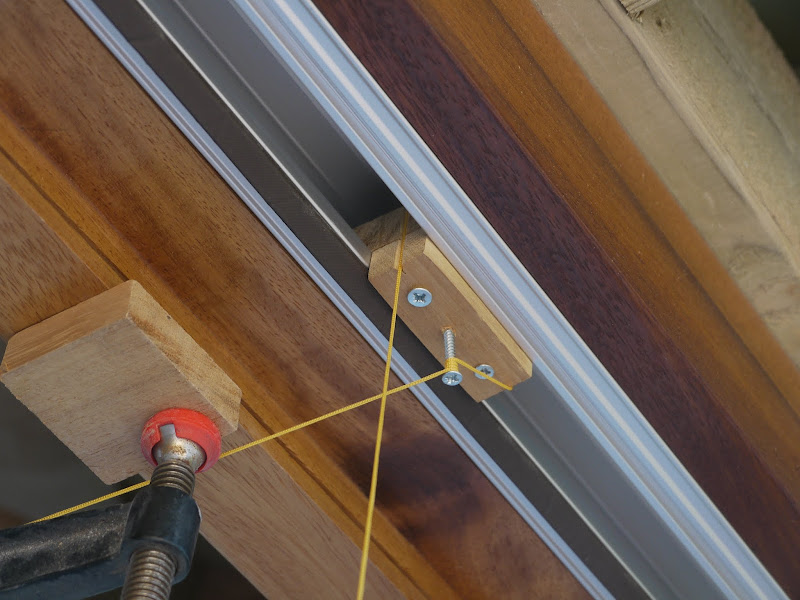
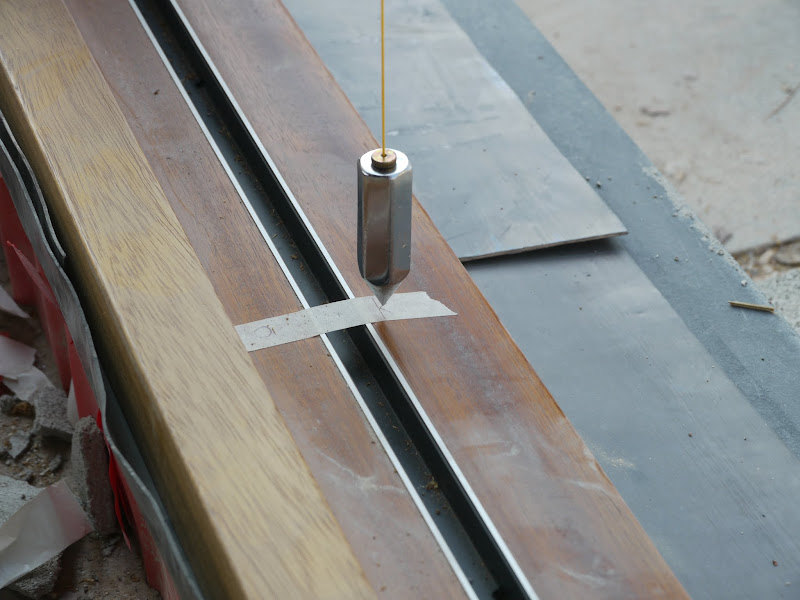
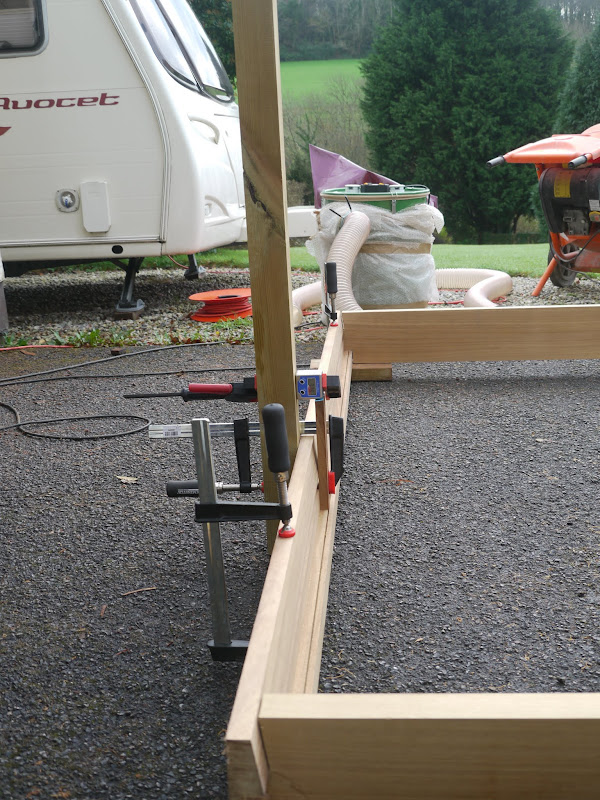
The finished frame is 2600mm x 2175mm so it’s not the sort of thing you can assemble in the average garage, so yet again I worked outside. Initially trying to get the frame square with the sill and head was a nightmare and I tried all sorts of methods using spirit levels and a bevel box held to a post with a clamp, as shown here.
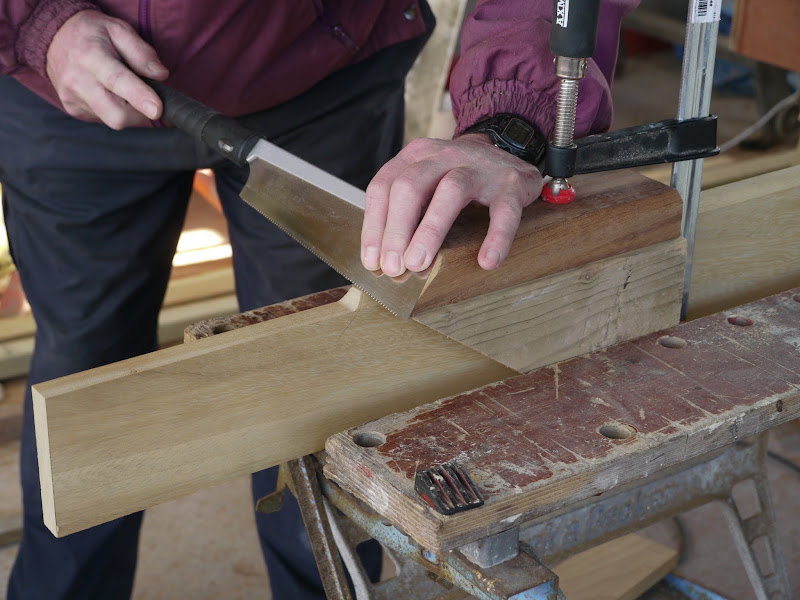
Then I scribed the angle of the sill onto the jambs ...
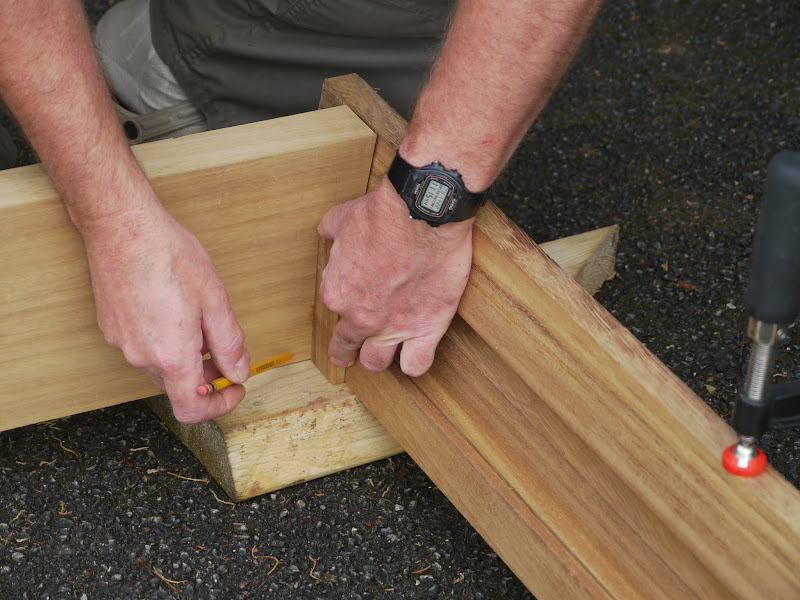
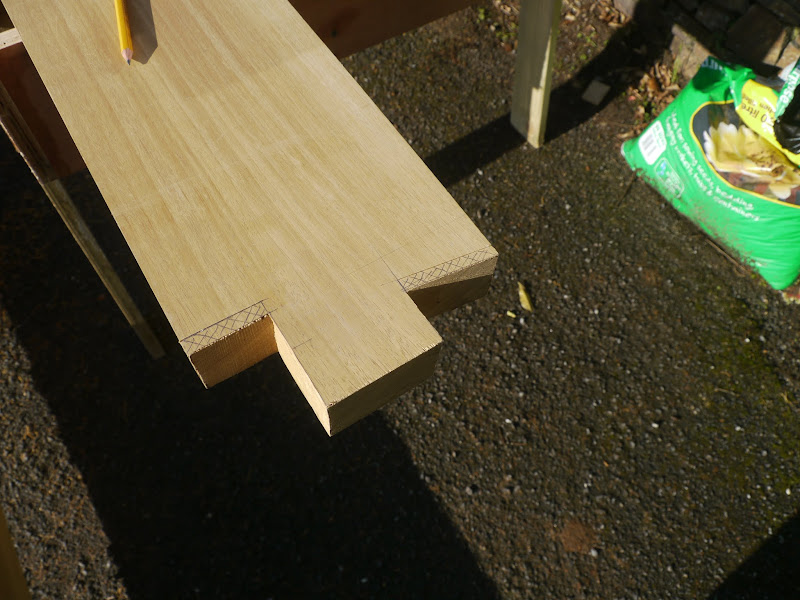
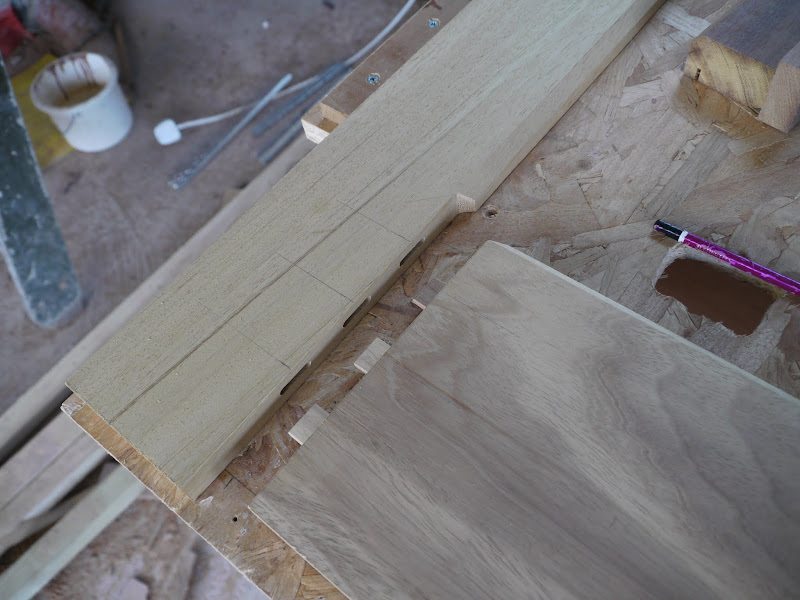
... and it fits quite nicely.
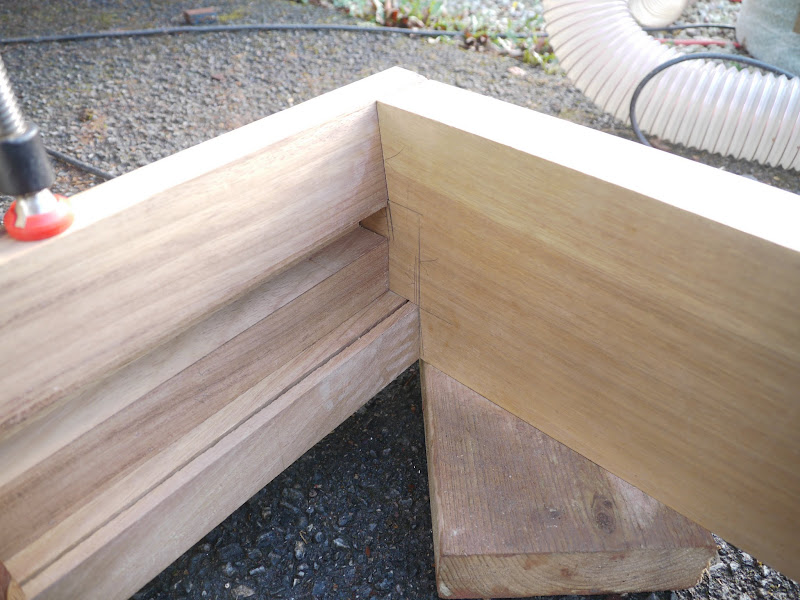
However, I found the whole process a “bit of a faff”, so when I made the second set of frames, I simply used an offcut from the sill, held it square with the jamb using a set square and just scribed the lines for the cuts onto the jamb. So much more simple, and the end result was just as good.
The joint with the top of the jamb didn’t involve any angles other than 90 degrees so they were simple. So, now I had 2 sets of frames which were stored away until they needed to be assembled prior to fitting. Just as well we have a couple of spare bedrooms.
I seem to have run in to the maximum size of post, so pt 2 follows .....
I had already shown an interest in the laminated approach to door making as described by Keith Smith, and had a practice making a new back door, as shown in this post. This seemed to be pretty painless so became the basis for my bifold door build to fit in the space shown in our new kitchen extension.

I started with the frame. These are big chunks of iroko and were not easy to manage on my 8” table saw, so I invested in a Festool TS55 track saw. Brilliant piece of kit, although strictly speaking the TS75 would have been better for ripping 50mm iroko. I started with the threshold into which a groove has to be cut for the base track, using the router table.

To cut the slope for the sill I made a simple jig which attached to the thicknessing table on my SIP p/t. Initially I tried to hold it in place with clamps but found that to be a hopeless task. Fortunately the SIP thicknessing table has a “lug” at either end with a hole in it so I bolted the jig to these as shown. It was now rock solid ...

...... and the way the slope on the sill is cut is clearly shown here

And the slope can be cut in easy stages until it is jsust short of the base channel.

Here is the door head and sill dry fitted and ready for a glue up, having remembered only just in time to cut the groove for the Aquamac 21 door seal first!

The jambs are made from 175mm x 45mm solid iroko and, again, are hefty pieces of timber to surface plane and thickness using my 10 x 6 SIP, but with a roller stand fore and aft and some running about we had a workable system. Now time to try a dry fit.

The finished frame is 2600mm x 2175mm so it’s not the sort of thing you can assemble in the average garage, so yet again I worked outside. Initially trying to get the frame square with the sill and head was a nightmare and I tried all sorts of methods using spirit levels and a bevel box held to a post with a clamp, as shown here.

Then I scribed the angle of the sill onto the jambs ...


... and it fits quite nicely.

However, I found the whole process a “bit of a faff”, so when I made the second set of frames, I simply used an offcut from the sill, held it square with the jamb using a set square and just scribed the lines for the cuts onto the jamb. So much more simple, and the end result was just as good.
The joint with the top of the jamb didn’t involve any angles other than 90 degrees so they were simple. So, now I had 2 sets of frames which were stored away until they needed to be assembled prior to fitting. Just as well we have a couple of spare bedrooms.
I seem to have run in to the maximum size of post, so pt 2 follows .....


