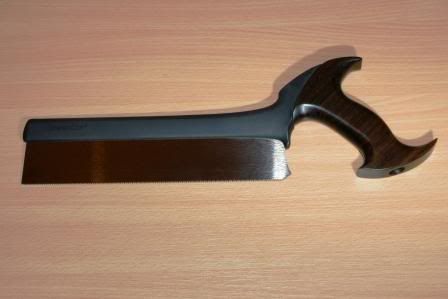
When Lee Valley recently introduced the Veritas® dovetail saw with an injection-moulded black back and a bubinga handle, a number of people here and elsewhere commented that the saw would perhaps look better with a matching black handle. Having recently finished making an ebony handle for a Gramercy saw, and having a supply of ebony from a recent posting to Togo, West Africa, I decided to make an ebony handle for the Veritas saw.
The first thing to do was to remove the existing handle—a simple procedure as it is held in place with only one brass fastener.
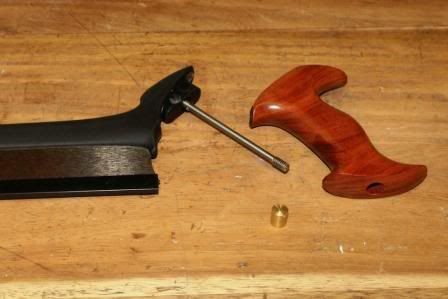
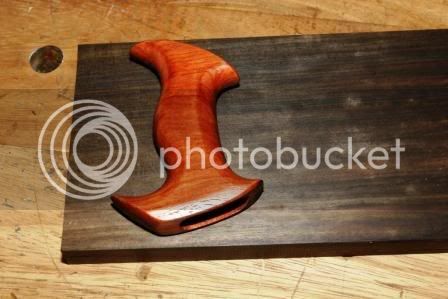
I then used the handle to select a suitable piece of ebony, ensuring that the grain direction matched that of the bubinga handle. The ebony was then thicknessed to about 22mm.
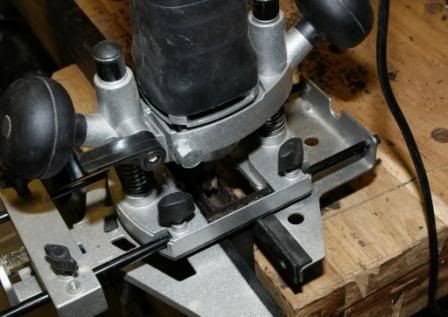
The next stage was to rout the housing in the top of the handle to accommodate the large boss on the spine. I used two fences on the router to improve stability.
Next, I bored the hole to take the handle stud. Ideally this should be done using a drill press as the hole has to be perpendicular; however, it is possible to do this using a hand-held drill if care is taken. I made a paper template by carefully tracing around the existing handle. The centerline of the stud hole was marked to ensure correct alignment when the template was stuck to the wood with double-sided tape.
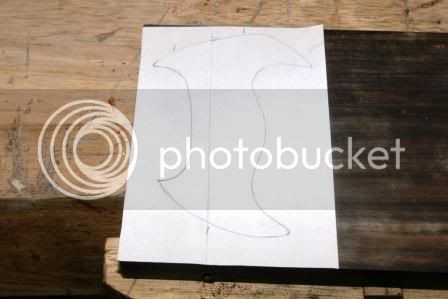
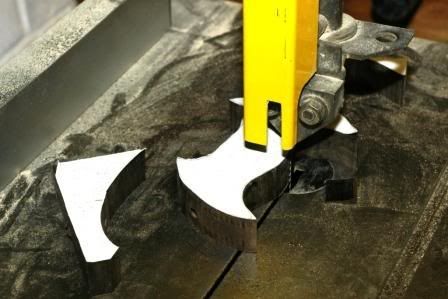
The handle was then roughed out on the bandsaw, cutting outside of the template line. A coping saw could also be used; it would just take a little longer.
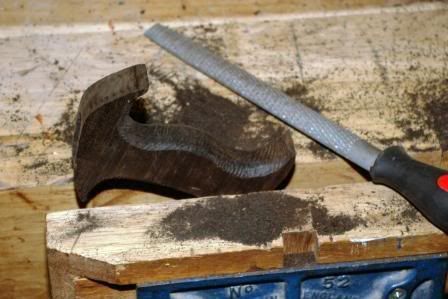
Once the handle was roughed out, I used a rasp to start to shape the handle. I regularly checked the handle to make sure that it felt comfortable when gripped. This has to be the main advantage of making a custom handle—it can be tailored to individual preference.
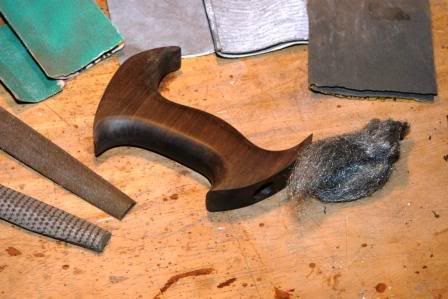
Final shaping and finishing was done using a half-round file and sandpaper from 80 to 400 grit. Finally, I used 0000-grade wire wool to apply the first of several coats of clear Briwax®.
All that was left was to attach the new handle to the saw.
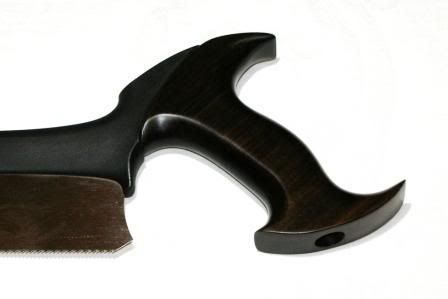
Compared to making the handle for the Gramercy, it was perhaps a little more complicated as the Gramercy comes in kit form with detailed instructions and a template for cutting the shape. Also not having a pillar drill made drilling the hole for the long stud difficult although obviously not impossible. That said, making the Gramercy would have been easier too with a pillar drill as the positioning of the holes on both is quite critical.
In conclusion, if you fancy making your own handle for this saw it is fairly straight forward and if you do cock it up you can always put the original handle back on!
Finally thanks to Rob Lee and Kate Lewis at Lee Valley for providing me with the saw.
Steve
The first thing to do was to remove the existing handle—a simple procedure as it is held in place with only one brass fastener.

I then used the handle to select a suitable piece of ebony, ensuring that the grain direction matched that of the bubinga handle. The ebony was then thicknessed to about 22mm.

The next stage was to rout the housing in the top of the handle to accommodate the large boss on the spine. I used two fences on the router to improve stability.

Next, I bored the hole to take the handle stud. Ideally this should be done using a drill press as the hole has to be perpendicular; however, it is possible to do this using a hand-held drill if care is taken. I made a paper template by carefully tracing around the existing handle. The centerline of the stud hole was marked to ensure correct alignment when the template was stuck to the wood with double-sided tape.

The handle was then roughed out on the bandsaw, cutting outside of the template line. A coping saw could also be used; it would just take a little longer.

Once the handle was roughed out, I used a rasp to start to shape the handle. I regularly checked the handle to make sure that it felt comfortable when gripped. This has to be the main advantage of making a custom handle—it can be tailored to individual preference.

Final shaping and finishing was done using a half-round file and sandpaper from 80 to 400 grit. Finally, I used 0000-grade wire wool to apply the first of several coats of clear Briwax®.

All that was left was to attach the new handle to the saw.


Compared to making the handle for the Gramercy, it was perhaps a little more complicated as the Gramercy comes in kit form with detailed instructions and a template for cutting the shape. Also not having a pillar drill made drilling the hole for the long stud difficult although obviously not impossible. That said, making the Gramercy would have been easier too with a pillar drill as the positioning of the holes on both is quite critical.
In conclusion, if you fancy making your own handle for this saw it is fairly straight forward and if you do cock it up you can always put the original handle back on!
Finally thanks to Rob Lee and Kate Lewis at Lee Valley for providing me with the saw.
Steve


