MikeG.
Established Member
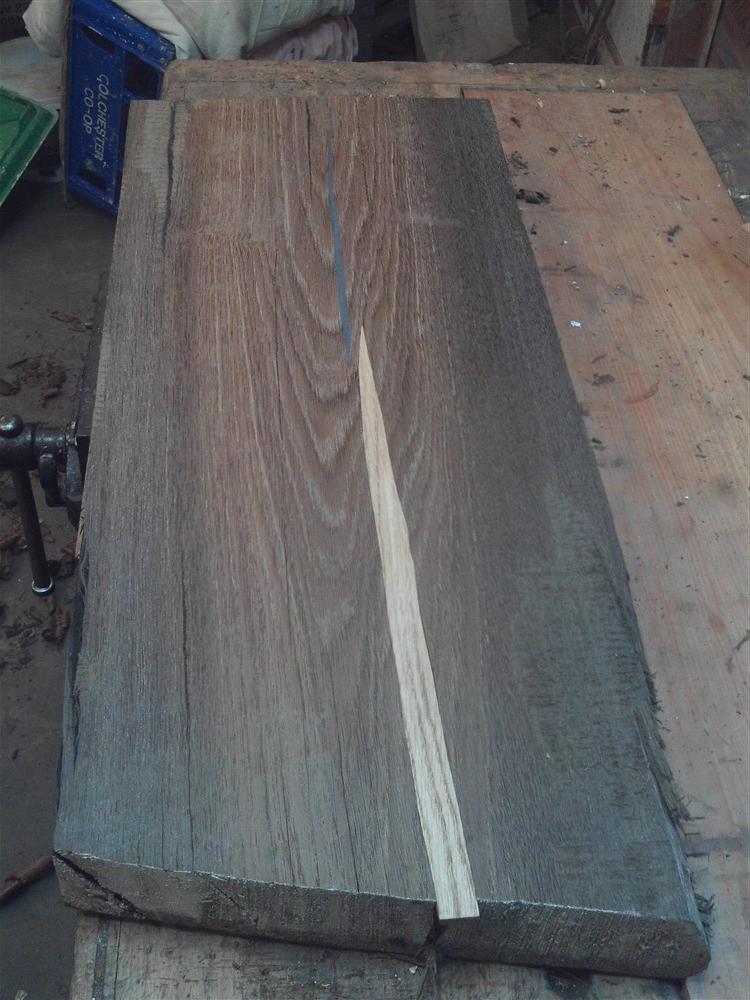
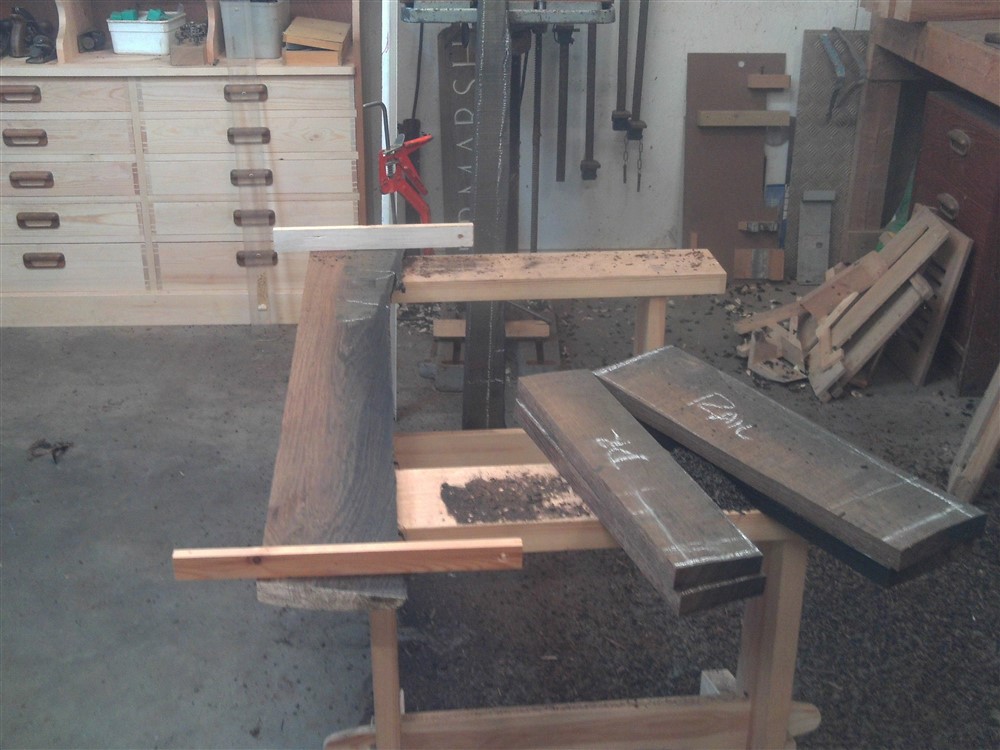
This is going to be slow going, but I thought I'd do a blow-by-blow posting on my latest project, a coffee table. My back still isn't great, so it's an hour on then a couple of hours off at the moment. Put it this way, it took me half a day to get a board from here:
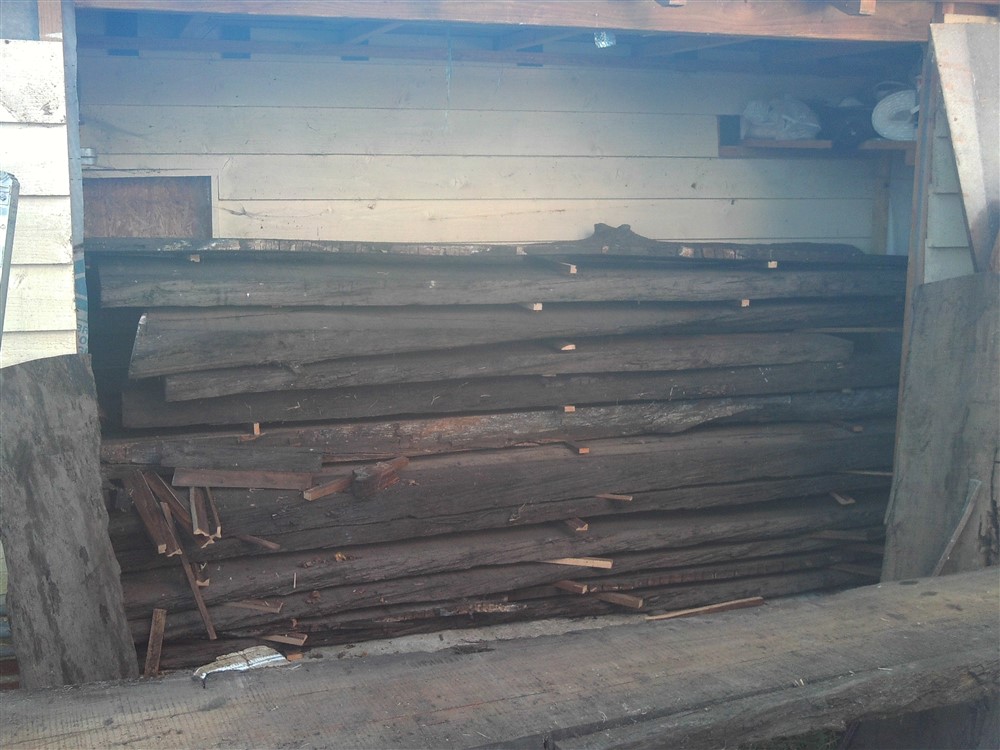
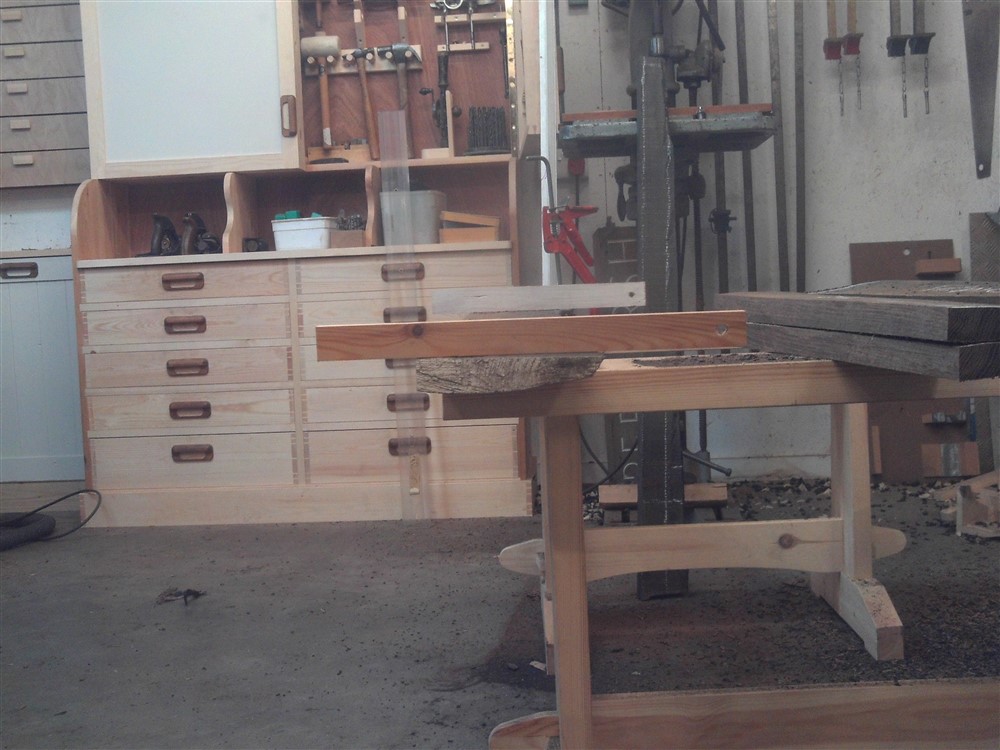
to here (half a metre away). To be fair, it was the 4th board down:
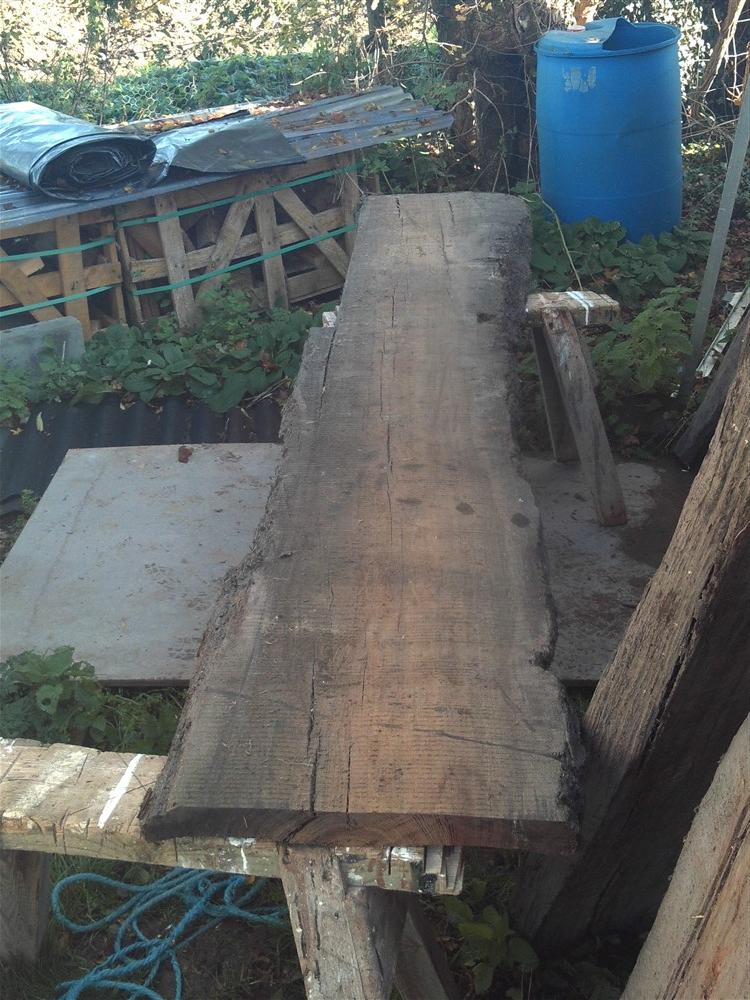
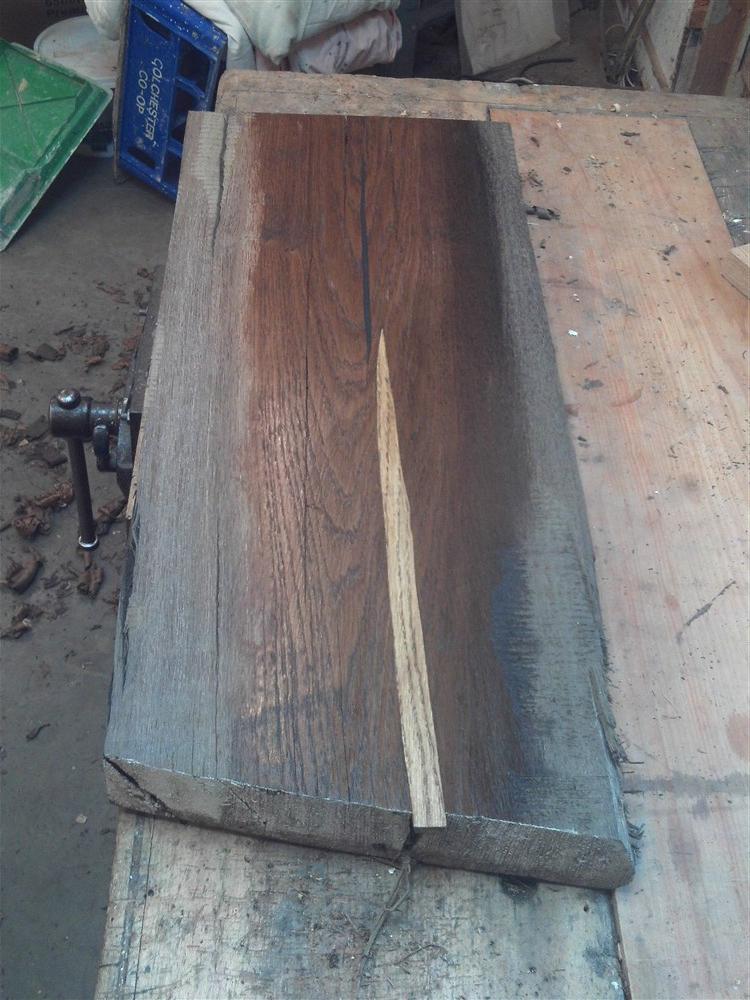
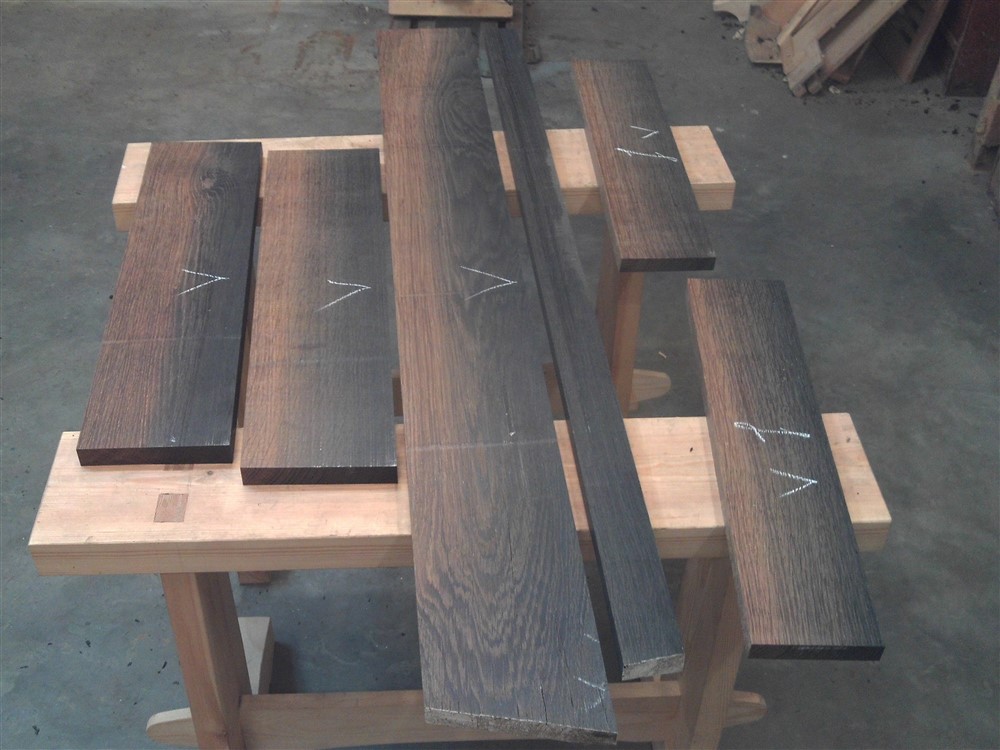
I think of this timber as so precious that I stood and stared at it for ages, working out where to cut it. Finally, I plucked up the courage and cut it into three. I buzzed over the bits with an electric planer, just to get an idea of where the colours were:
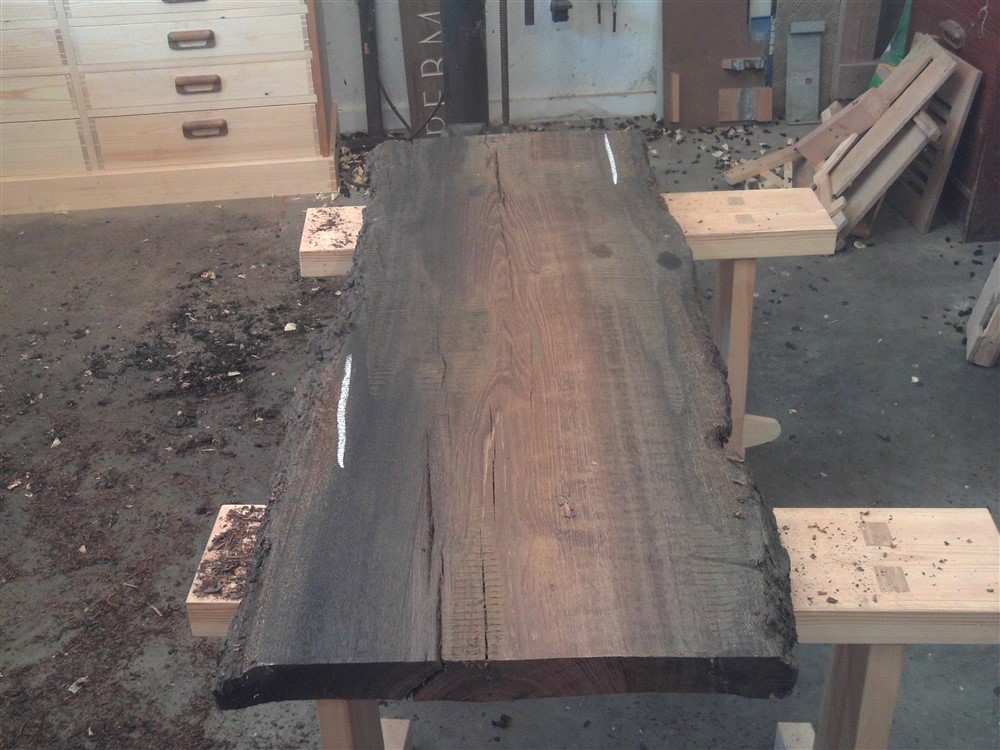
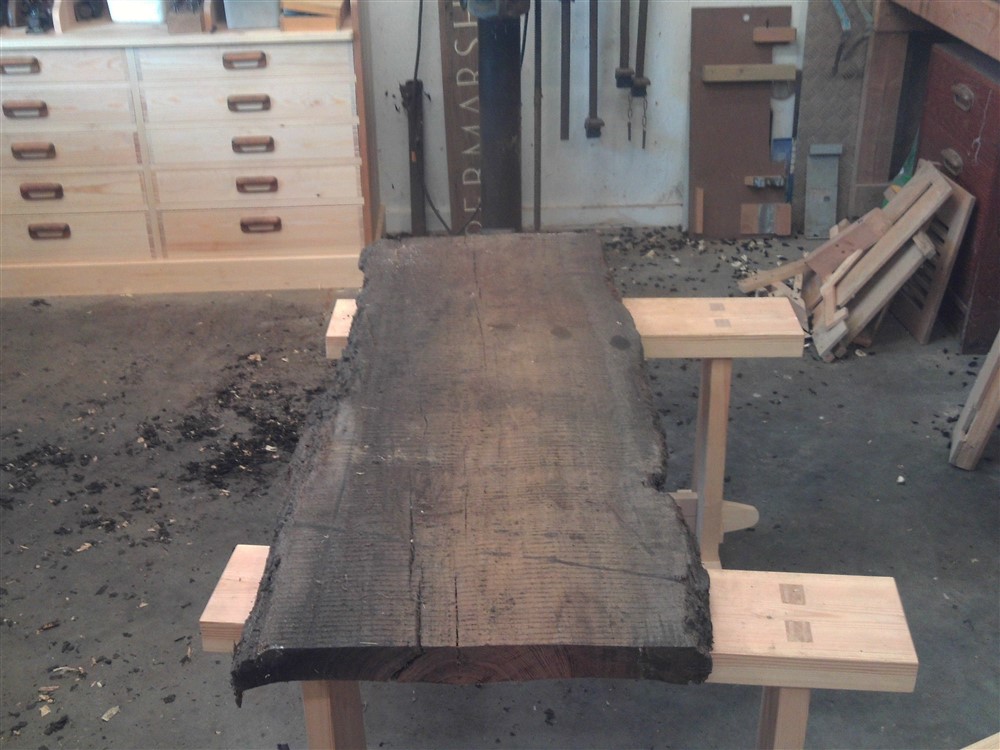
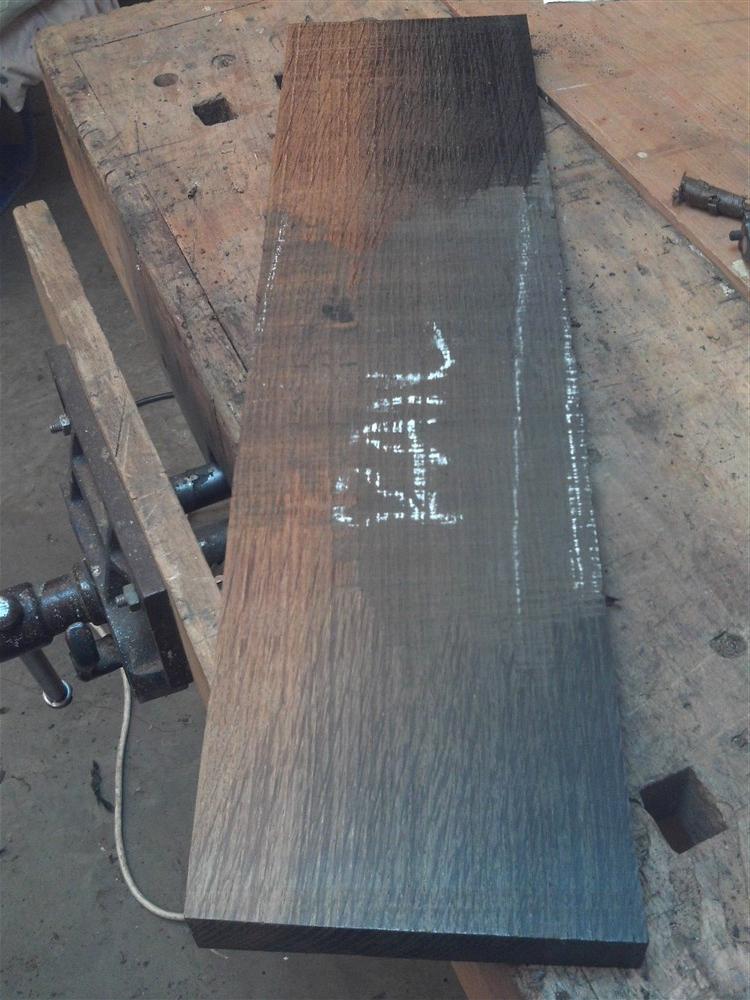
They're around 350 wide, so too wide for my planer. Thus scrub plane, by hand, and that's not great for a dodgy back:
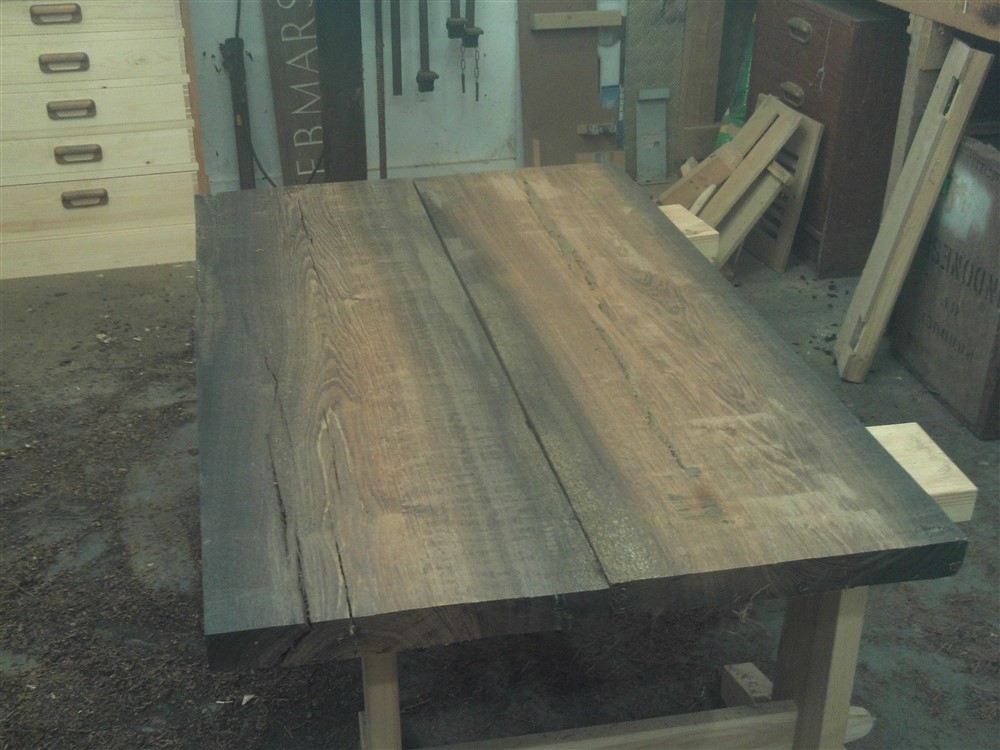
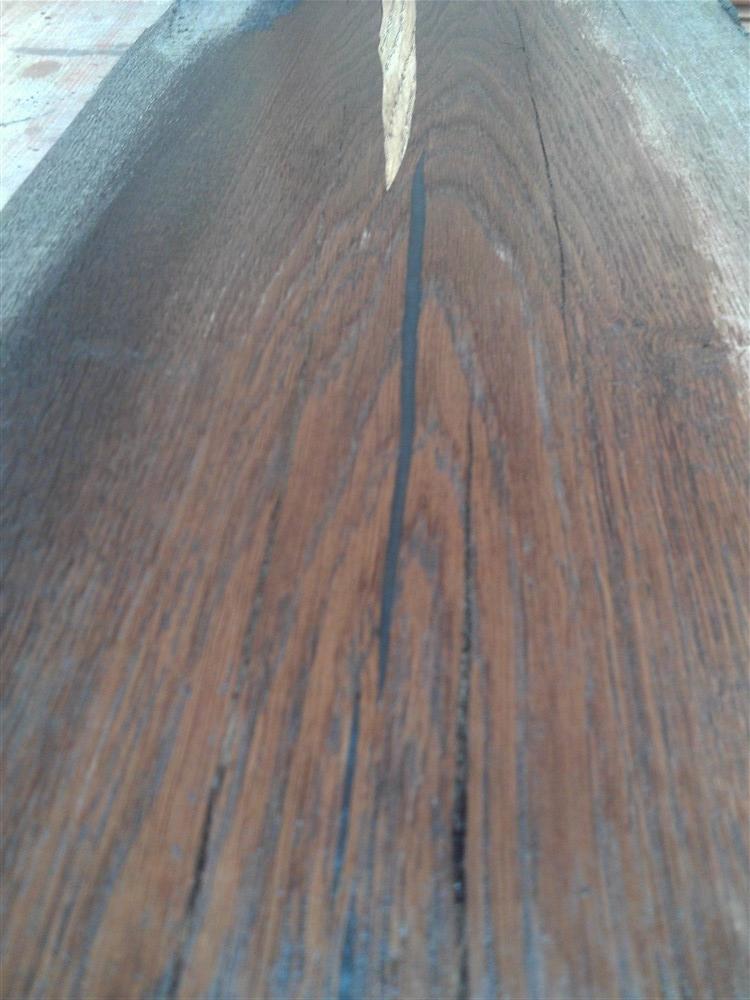
There are some serious cracks:
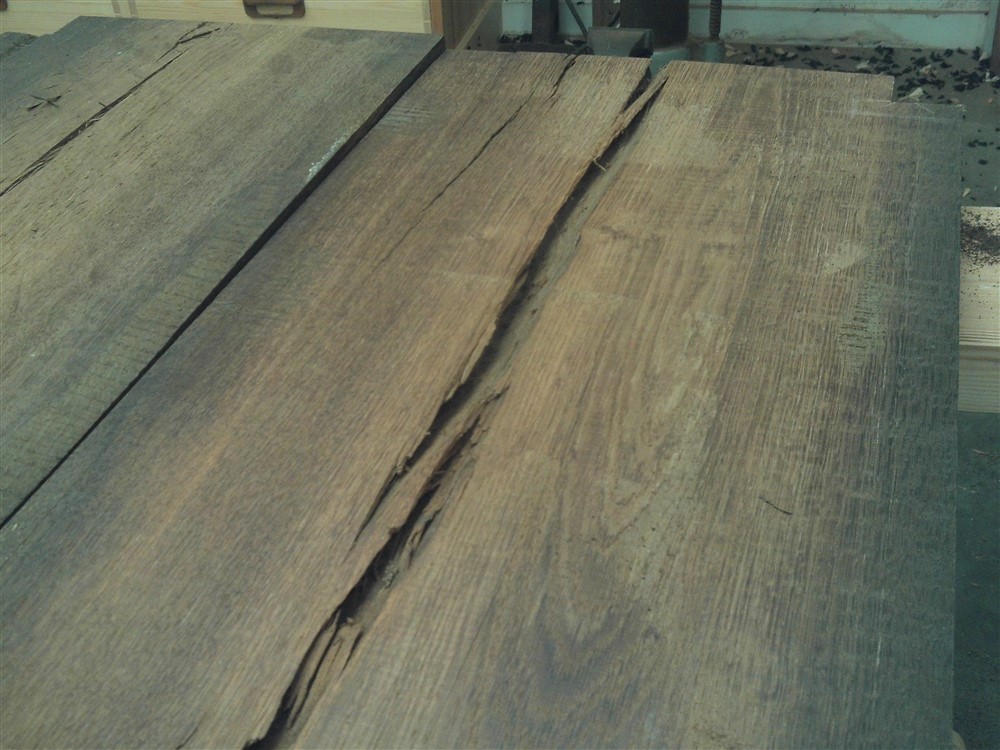
Had a long conflab with my wife about these, and in the end she suggested filling them with a contrasting filler!!!! Normally, it's me having to persuade her to try something a little bold. I'm delighted. I had offered the alternative of slicing the boards up into narrower pieces and gluing it back together without the cracks, but she wouldn't hear of it. There is still a conversation to be had about the colour, but my instinct is that we'll end up with black.
The other contrasting thing with this table is the legs. They're going to be ordinary oak. I found an offcut slab of old English oak that has kicked around here for years and years:
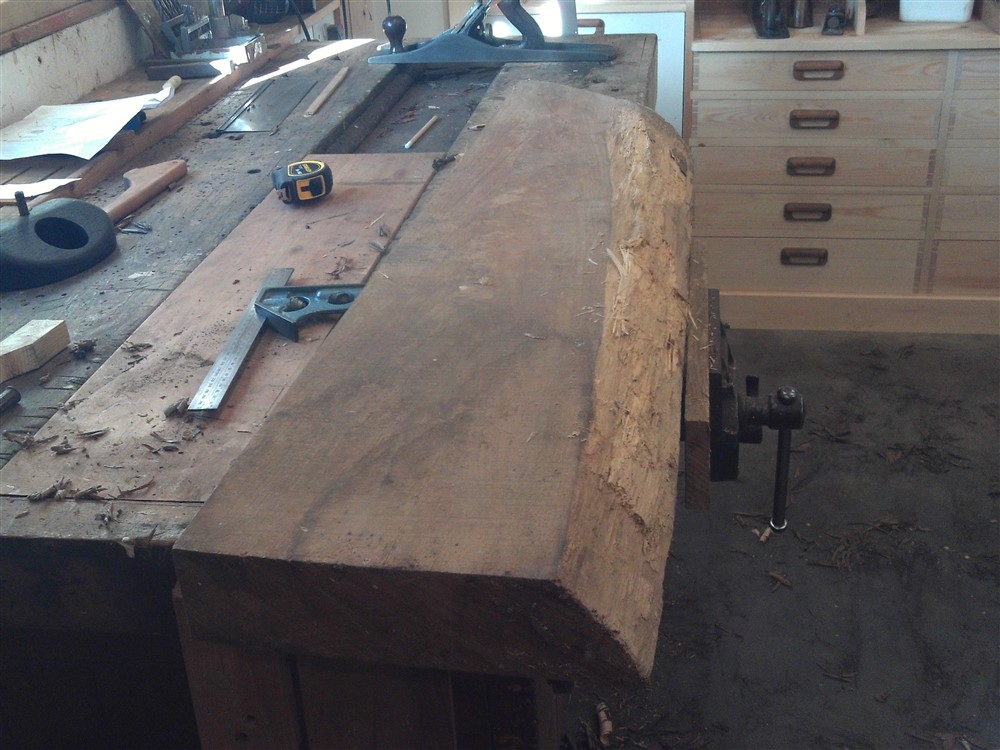
Unfortunately, it isn't rift sawn, but it's only me who will notice. I ripped it and hand-planed to 70 x 70 x 500, and it's going to make quite a contrast to the bog oak:
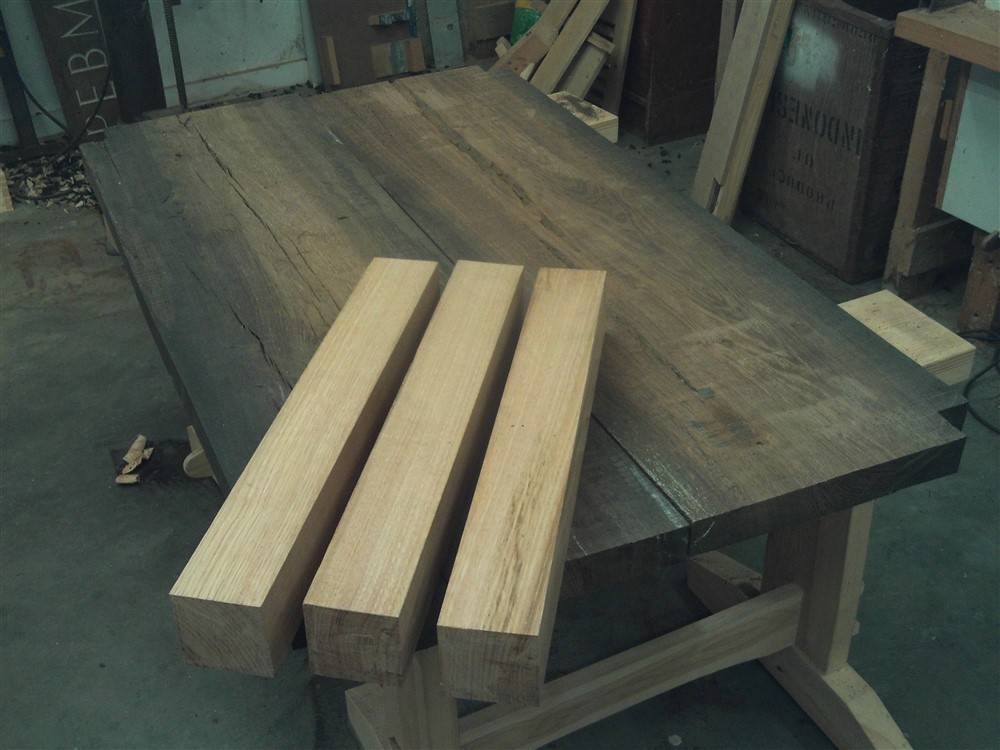
Only three legs, Mike? Well, no, the other one was off in clamps, as it had a long split:
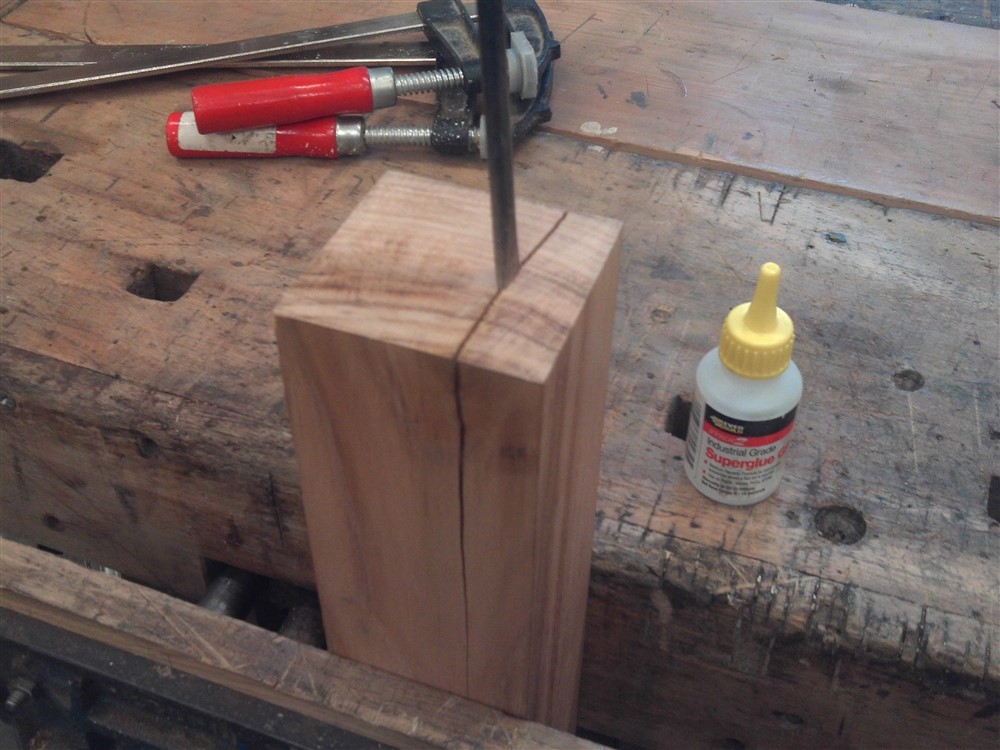
The observant may have noticed little squares cut out of the corners of the table top. They're not to size, but it is a recurring motif of mine to have table legs project through the corners above the top of the table. I cut those little bits out just to mark which were the outside corners, because tomorrow I am going to put these pieces through a friends planer thicknesser as my back isn't up to flattening them properly by hand, and I wanted to know which way the boards were oriented. It's one of the difficulties of the stuff that pencil marks don't show up........but I'd be planing them away anyway.

to here (half a metre away). To be fair, it was the 4th board down:

I think of this timber as so precious that I stood and stared at it for ages, working out where to cut it. Finally, I plucked up the courage and cut it into three. I buzzed over the bits with an electric planer, just to get an idea of where the colours were:


They're around 350 wide, so too wide for my planer. Thus scrub plane, by hand, and that's not great for a dodgy back:

There are some serious cracks:

Had a long conflab with my wife about these, and in the end she suggested filling them with a contrasting filler!!!! Normally, it's me having to persuade her to try something a little bold. I'm delighted. I had offered the alternative of slicing the boards up into narrower pieces and gluing it back together without the cracks, but she wouldn't hear of it. There is still a conversation to be had about the colour, but my instinct is that we'll end up with black.
The other contrasting thing with this table is the legs. They're going to be ordinary oak. I found an offcut slab of old English oak that has kicked around here for years and years:

Unfortunately, it isn't rift sawn, but it's only me who will notice. I ripped it and hand-planed to 70 x 70 x 500, and it's going to make quite a contrast to the bog oak:

Only three legs, Mike? Well, no, the other one was off in clamps, as it had a long split:

The observant may have noticed little squares cut out of the corners of the table top. They're not to size, but it is a recurring motif of mine to have table legs project through the corners above the top of the table. I cut those little bits out just to mark which were the outside corners, because tomorrow I am going to put these pieces through a friends planer thicknesser as my back isn't up to flattening them properly by hand, and I wanted to know which way the boards were oriented. It's one of the difficulties of the stuff that pencil marks don't show up........but I'd be planing them away anyway.


