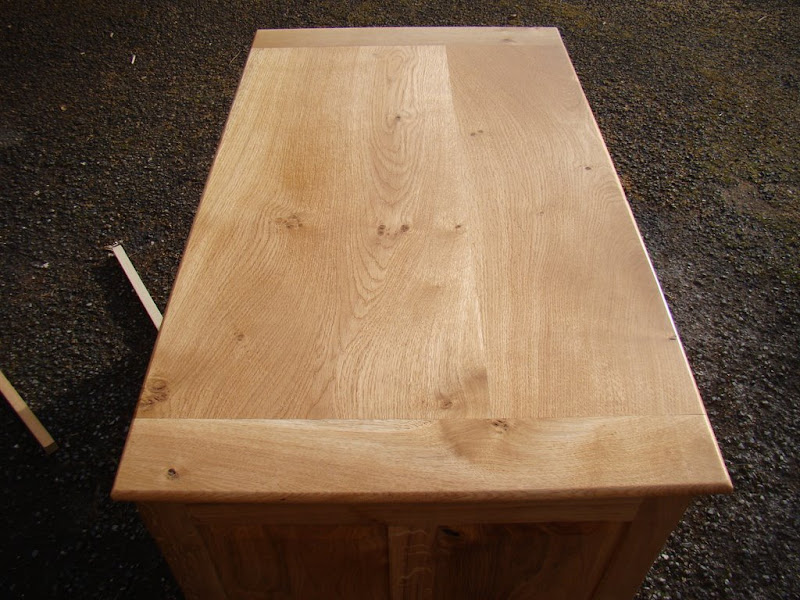
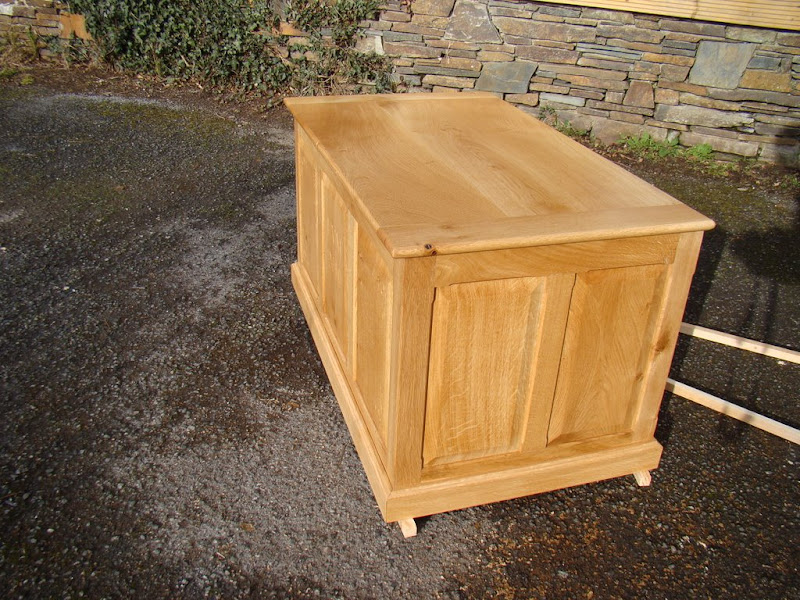
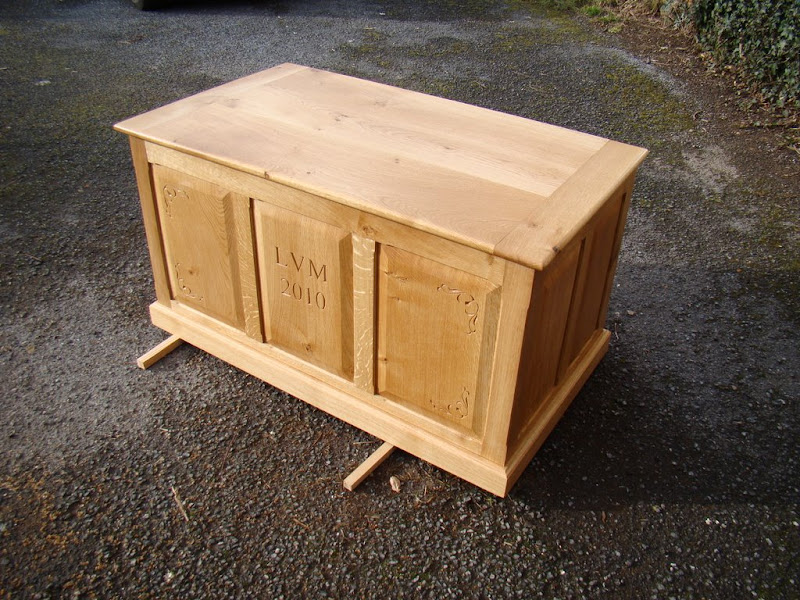
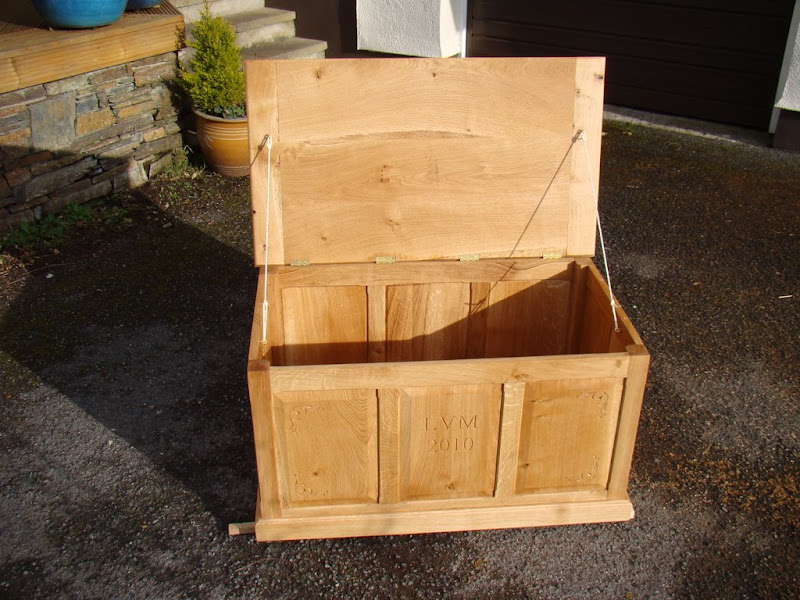
With no constructive postings since my New England saltbox shed and with the moisture content of my pile of English Oak now low enough to work with (14 - 15%), and just as I was contemplating a bookcase, my daughter asked if I would make her a blanket box. As this is likely to be a smaller project than the bookcase, I decided that I'd do this first, and never having used english oak I thought it would help the learning curve. I'm not a SketchUp user and my 1/2 scale pencil drawing is too faint to photo, but we're talking of a traditional frame with inset raised panels. Dimensions are 90 cms x 50 cms x 50 cms.
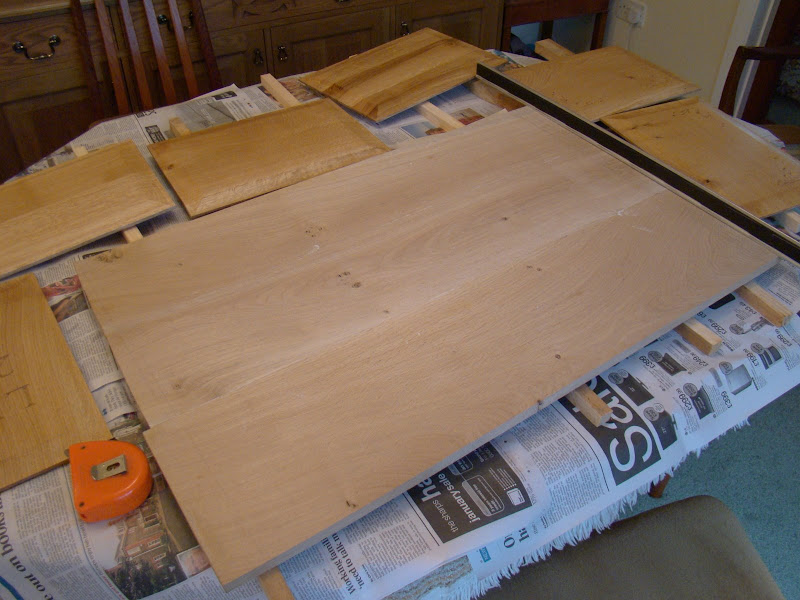
So here's the starting point. One large plank of 1" oak, plus a short length of 2" for the corners.

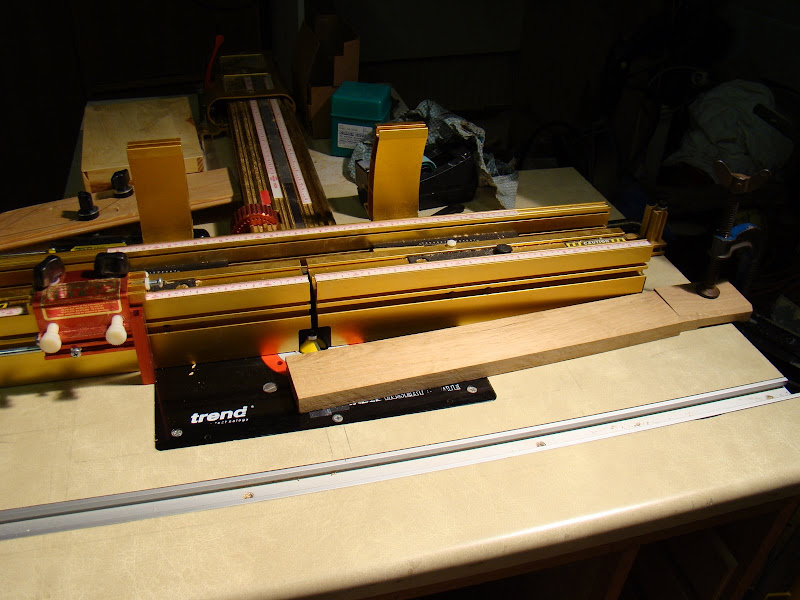
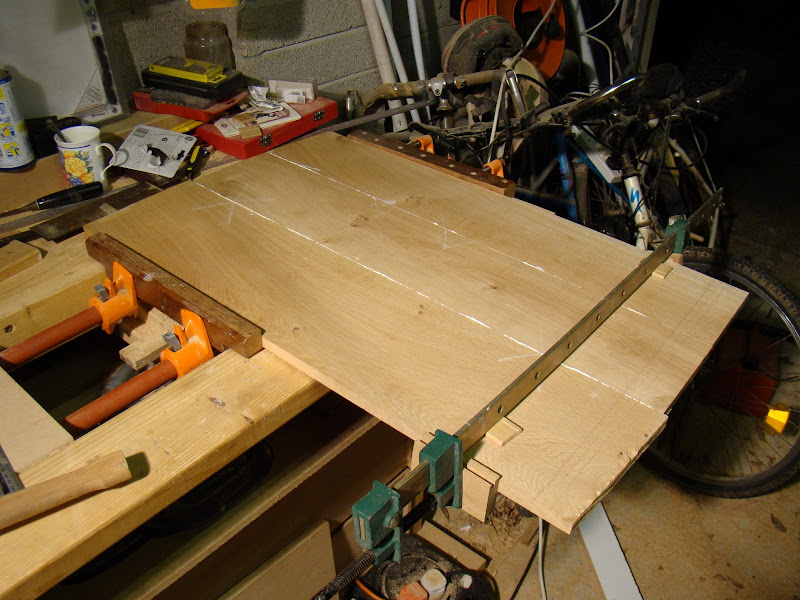
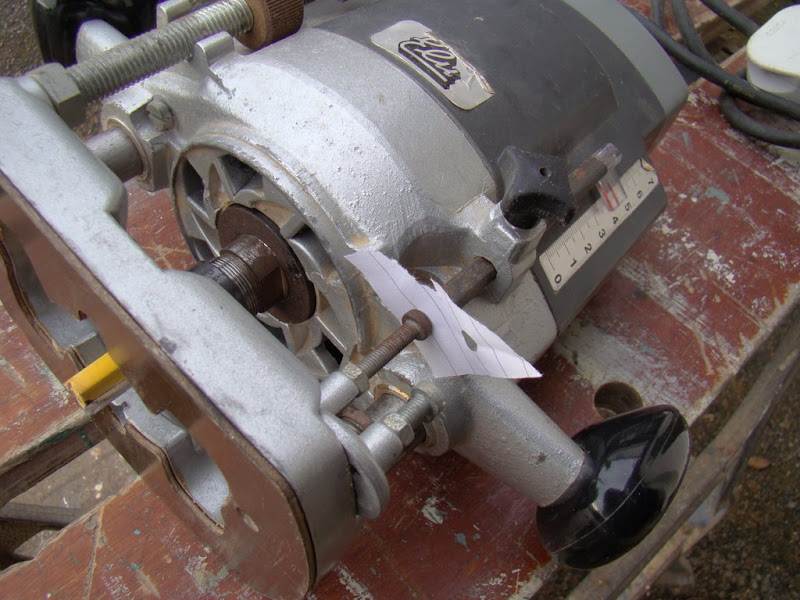
Having carefully selected pieces wide enough for the panels, they were just too wide to fit through the p/t - aaaggghhhh! So ripped them down the middle, planed them to thickness (18mm), and rejoined them. For the first time I used my Incra wonderfence to joint the edges and it was simplicity itself.
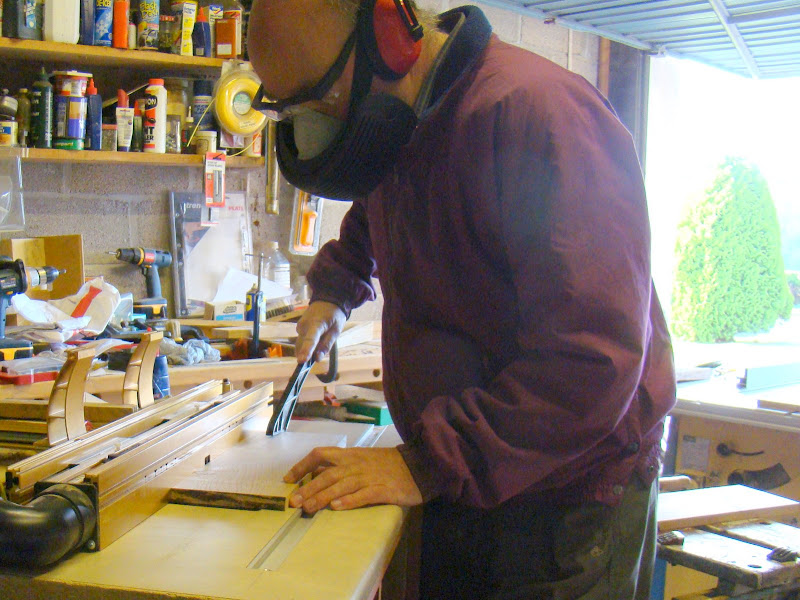
I used an offset of about 0.5mm and the result was perfect. The chalk mark on the panel is to make sure I join the right sides together. I jointed one panel face up and the other face down to cancel out any setting up errors.
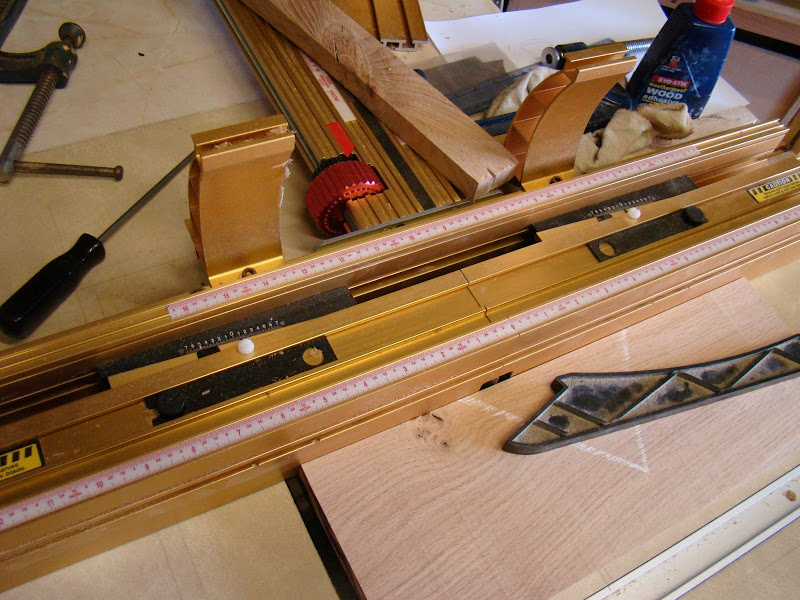
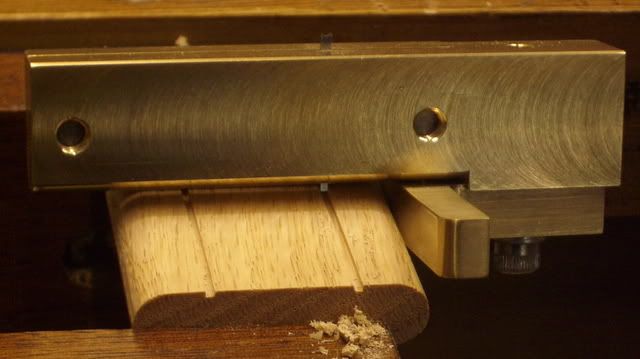
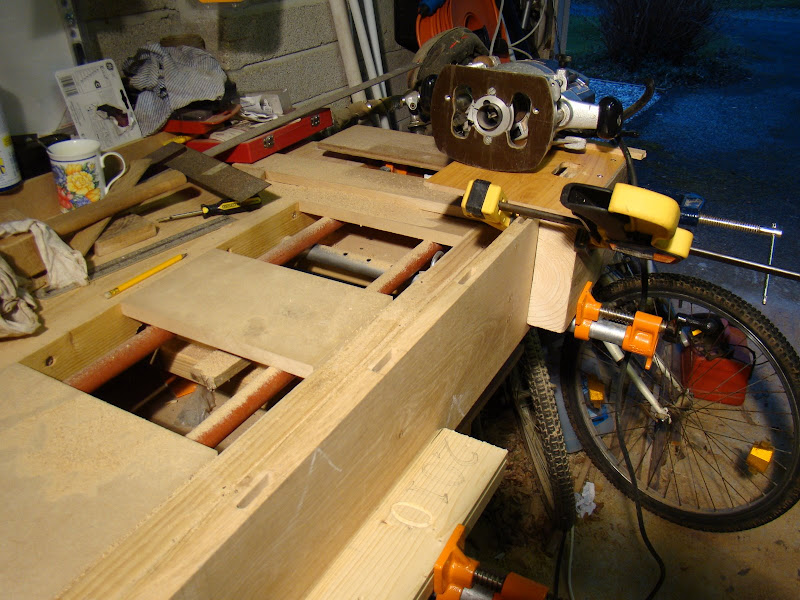
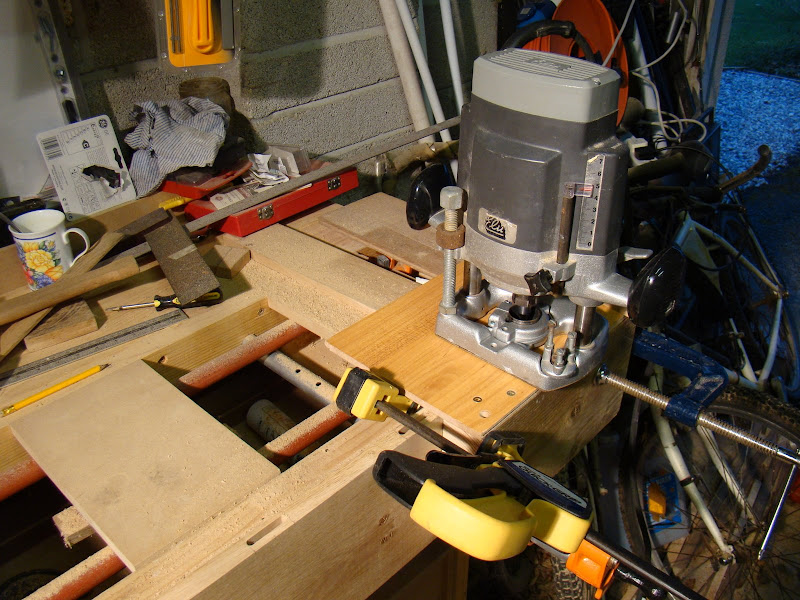
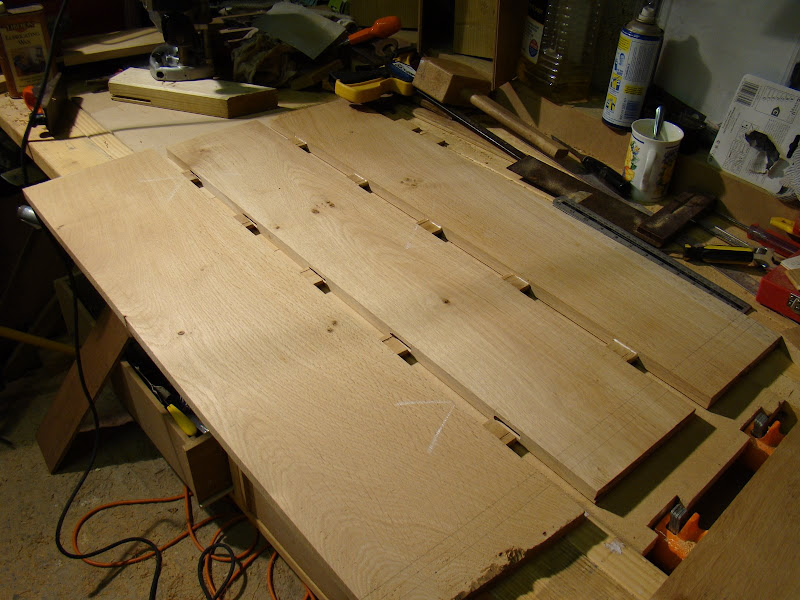
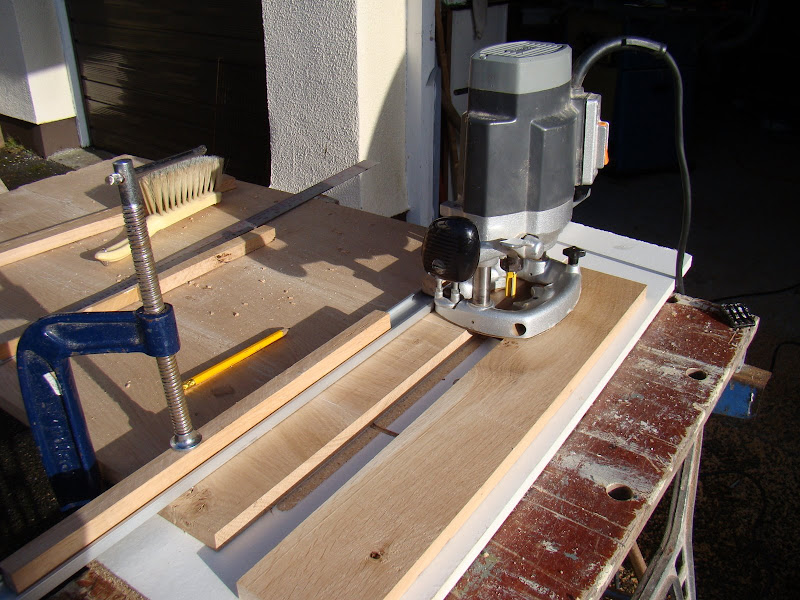
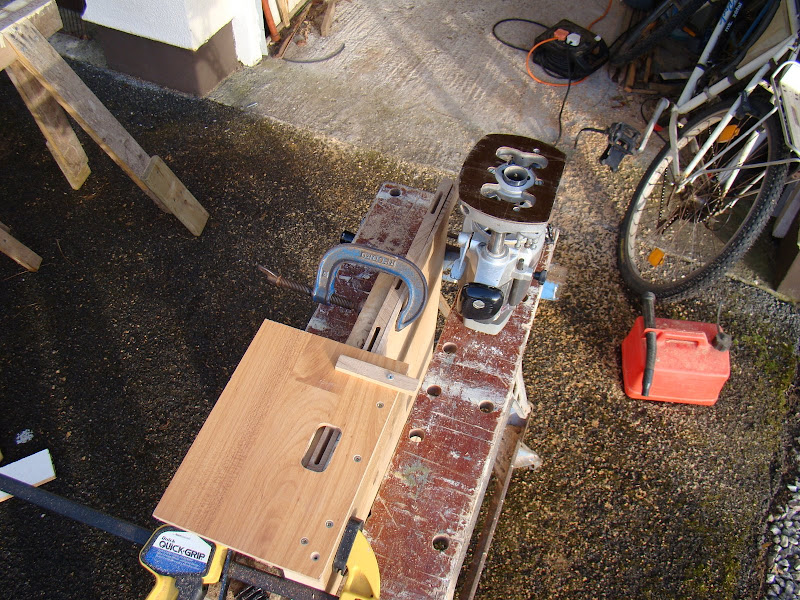
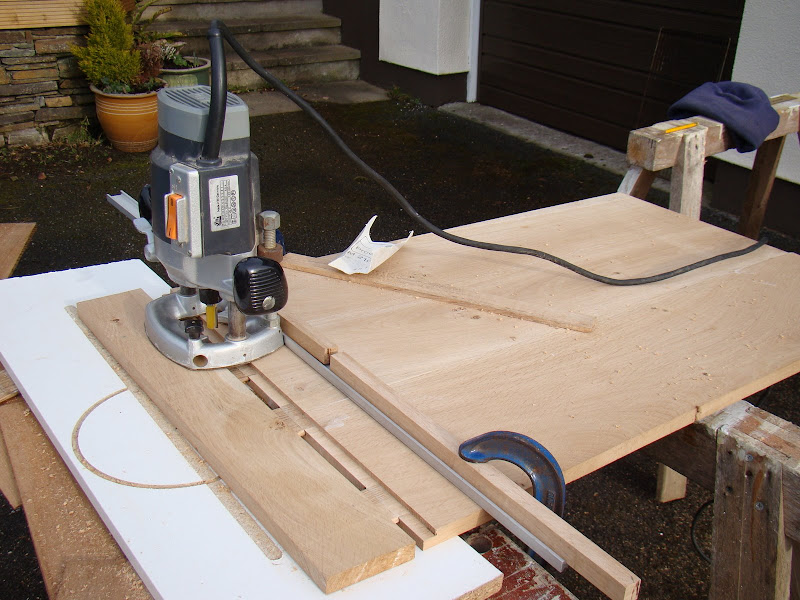
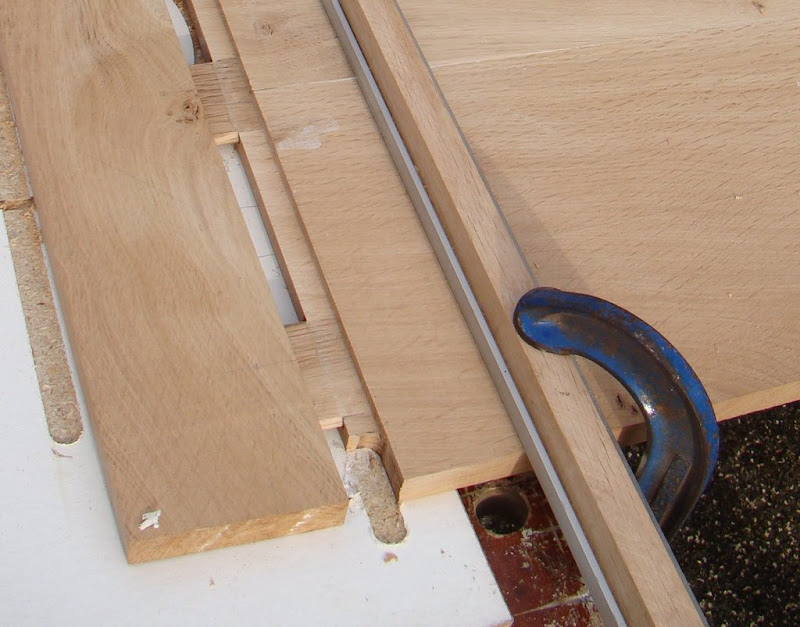
Whilst I suspect that a straight glue join would be strong enough, bearing in mind the joint will not be load bearing, I decided that I would use 3 x oak tongues, a bit like a loose m&t, using the simple jig made for the purpose out of an offcut of engineered flooring and 6" x 2". The slot in the flooring is made precisely to fit the collar on my router, and was made by simply lowering the board onto the 6mm cutter on the router table, and then widening it for a precise fit using the adjuster on the Incra. Simples!
To use it, just clamp the work piece and jig together
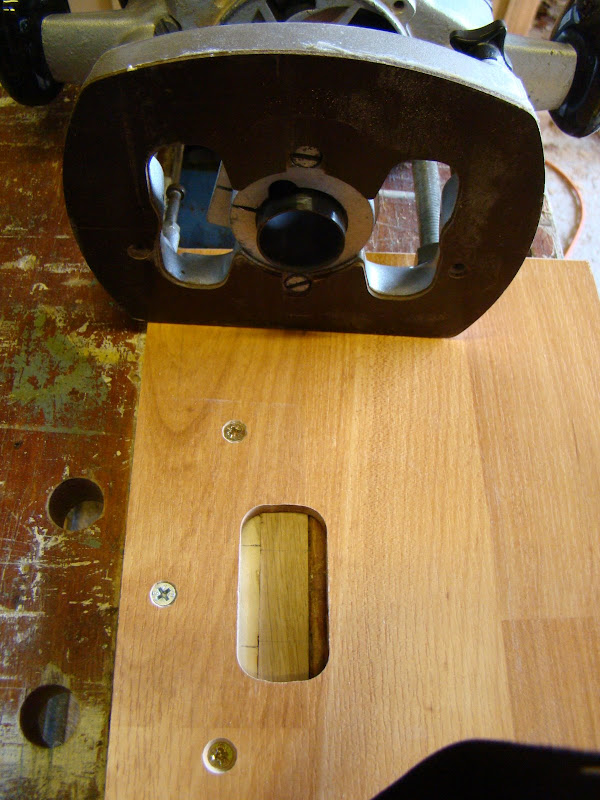
and slide router from end to end against the collar. It's important to have the face side of each piece of the panel against the same face of the jig so that they register together precisely.
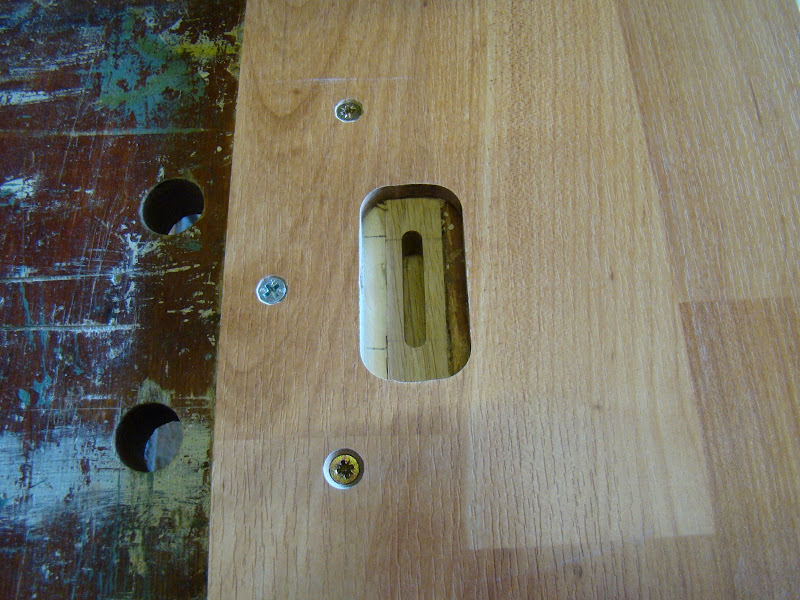
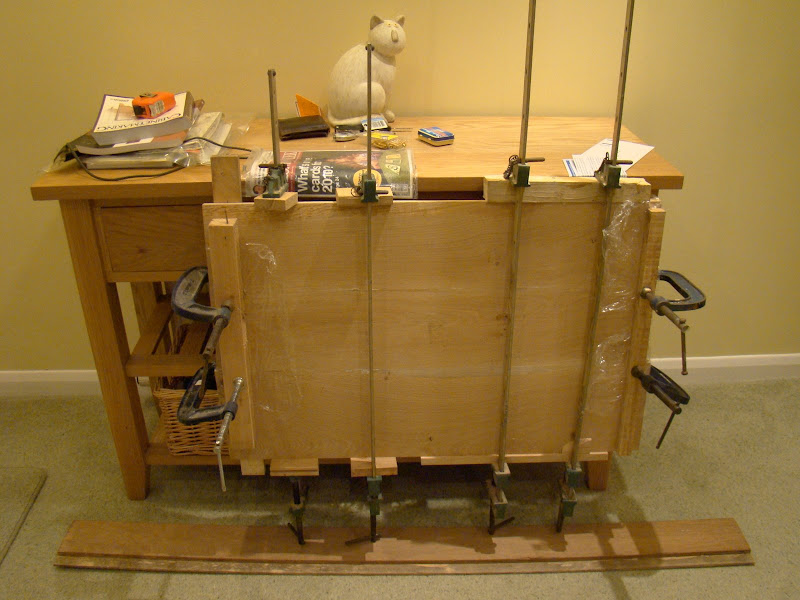
I then used the p/t to thickness some oak offcuts down to 6mm for the loose tenons and glued up.
The panels were fielded out using a large cutter from Wealden which cuts both the front field and back rebate simultaneously, leaving a 6mm tongue to fit into the groove around the panel frames. My daughter wants the box personalised, so steep learning curve here having never done anything like this before. First I reread some of the excellent threads on this forum on the subject, most notably Olly,and xy mosian and Mike Garnhams thread on cutting the letters which gave me the confidence to go for it. This Video on the Fine Woodworking site was also very useful, and I treated myself to the excellent book, Letter carving in Wood by Chris Pye.
I started off by doing a test piece in an offcut,
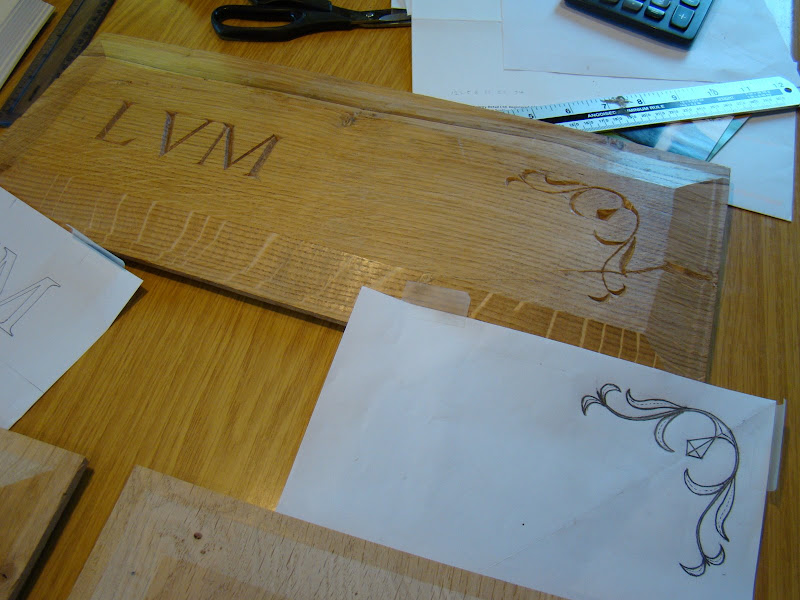
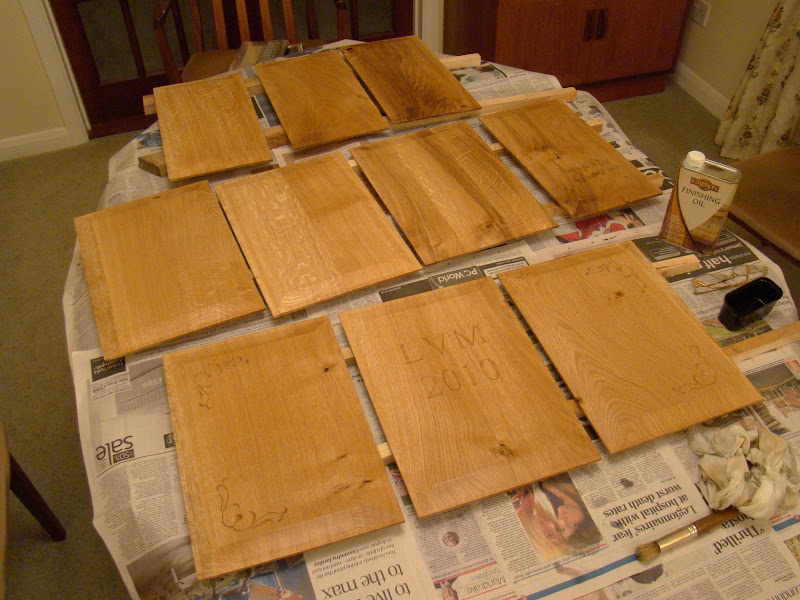
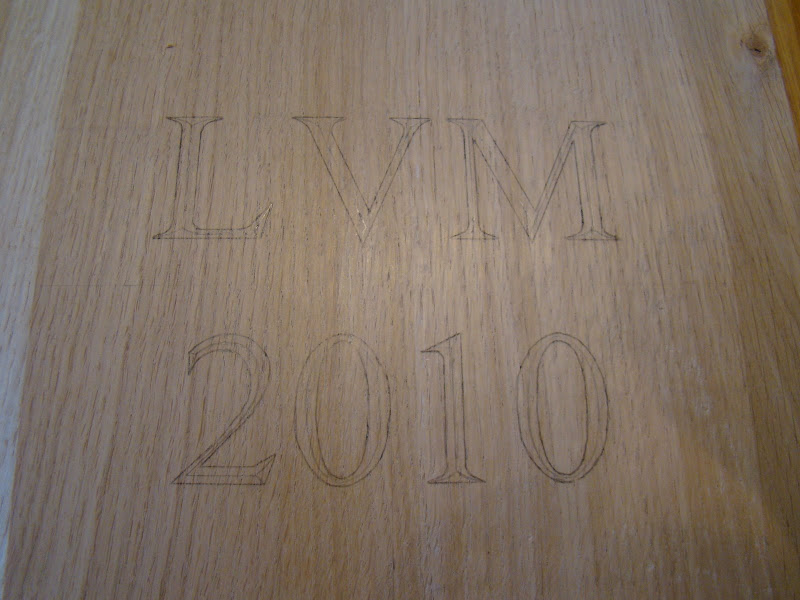
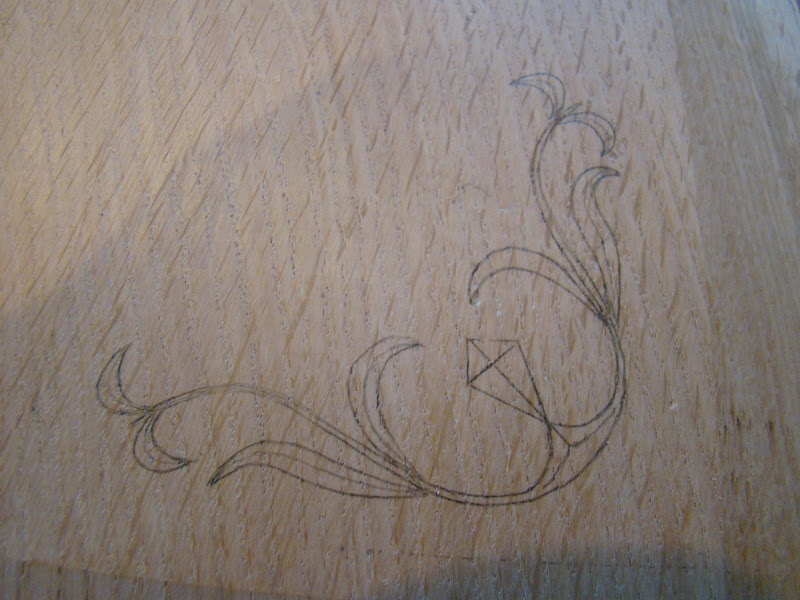
and being reasonably happy with the result I set out the actual work piece on the kitchen table. The letters were printed off on the pc using Times New Roman 160 pt in outline, and the corner features were hand drawn on a piece of paper and then scanned for posterity. Then I traced them onto the panels using carbon paper. Incidently, have you ever tried explaining the concept of carbon paper to a teenage shop assistant? Was I talking in Greek? But that's a different story. Here's the layout ready to carve.
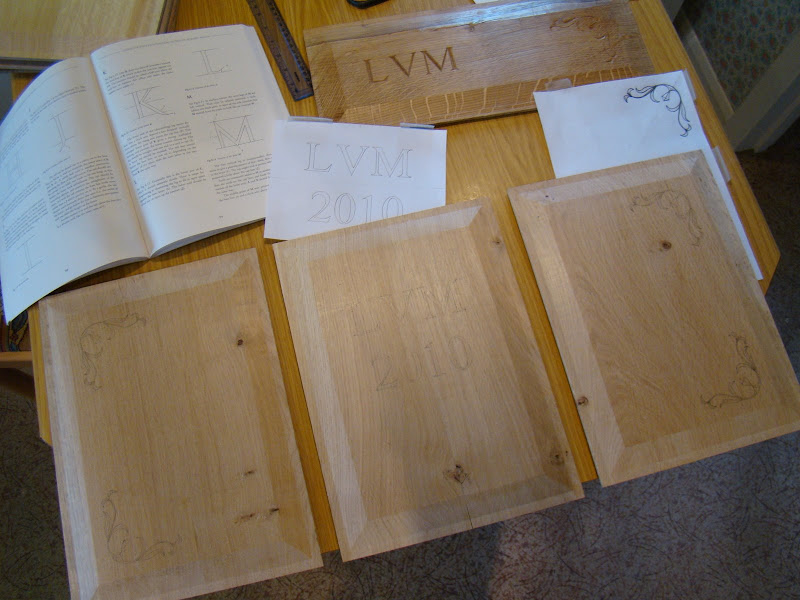
Letters ready to be carved.
.... and the corner features.
I started off with carving letters with straight edges only. One reason for waiting until the new year was that I'd rather carve 10 than 09 :?
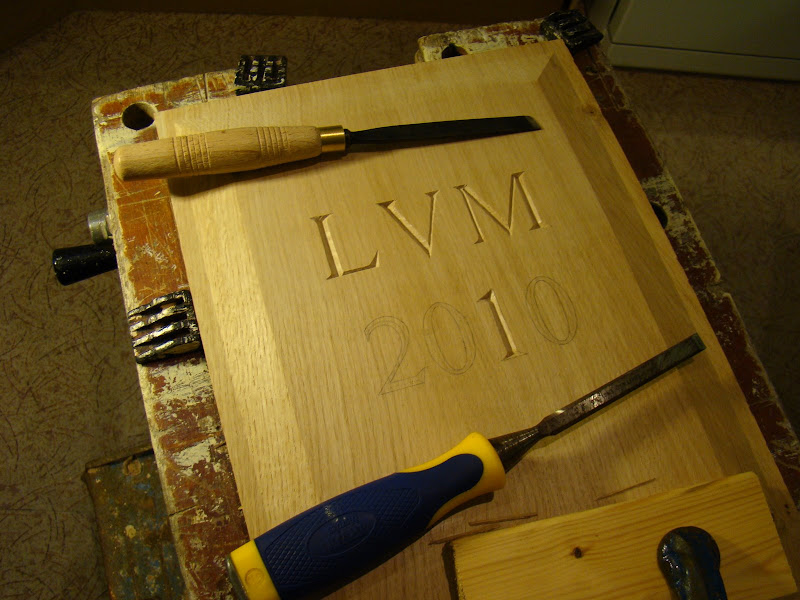
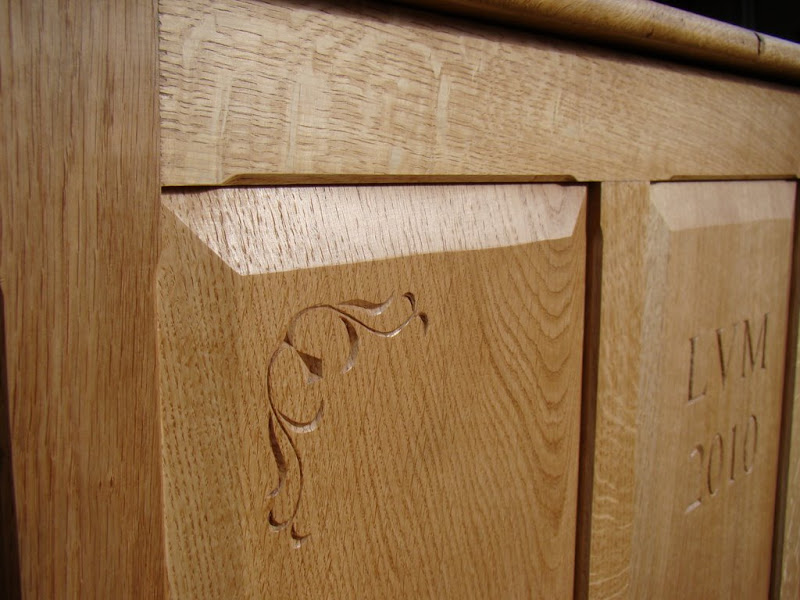
Then moved on to the curves. Tools used were a varierty of straight bevel edge chisels for the straights, then a small selection of gouges (with a #5,#6,#7 and #9 sweep) for the curves and plus a skew chisel for the serifs. This photo is face on in strong sunlight. There are a few imperfections, but since the finished article will be near floor level in the subdued lighting of a bedroom, I'm reasonably happy with it.
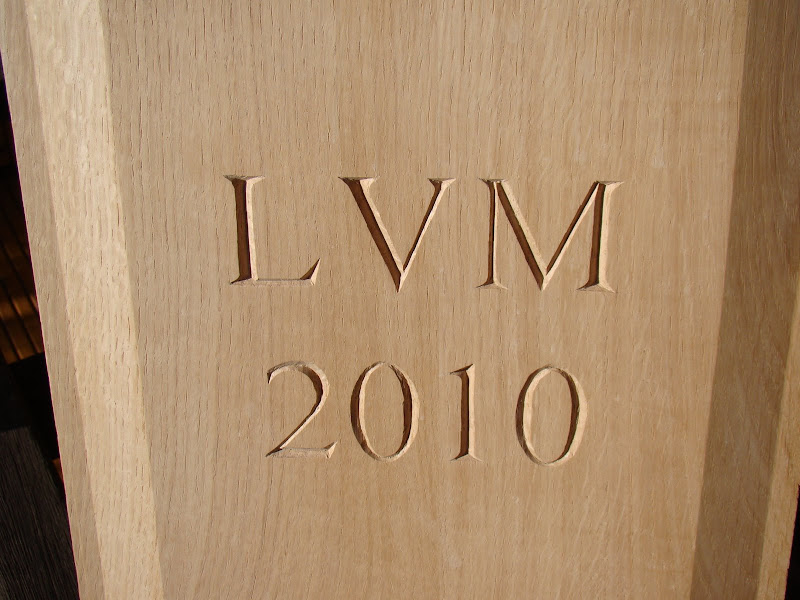
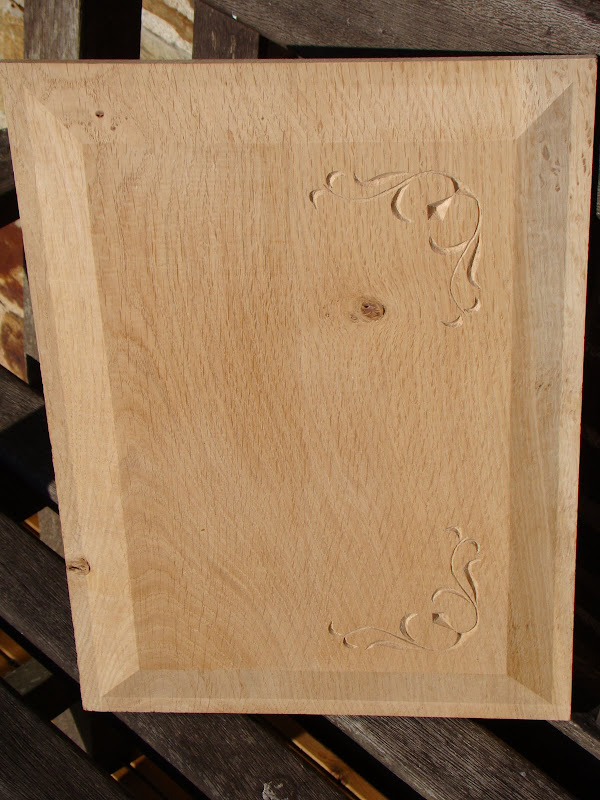
Then on to the corner motifs. I'm not so sure about these, but it's what her ladyship wants!
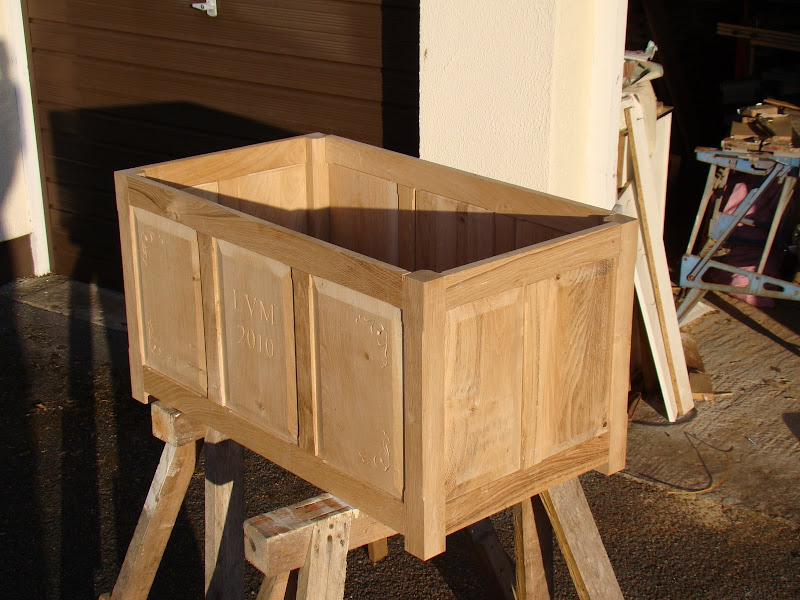
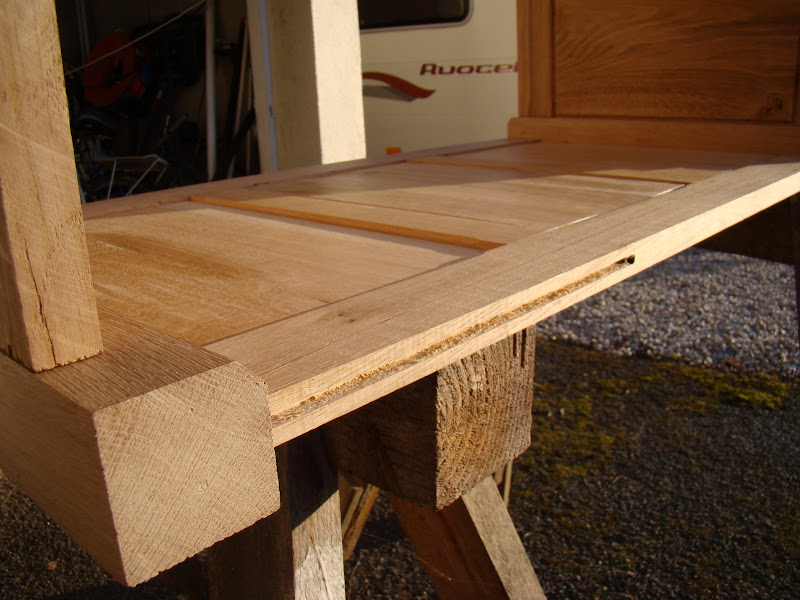
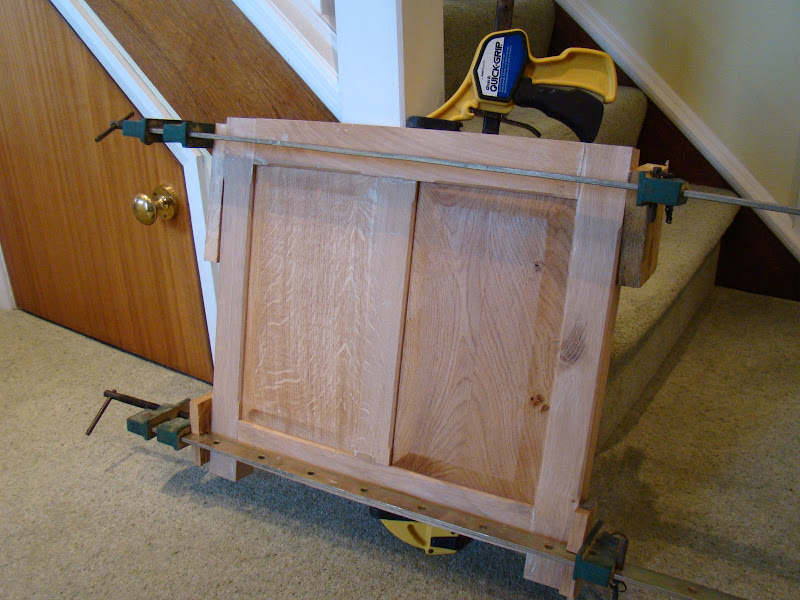
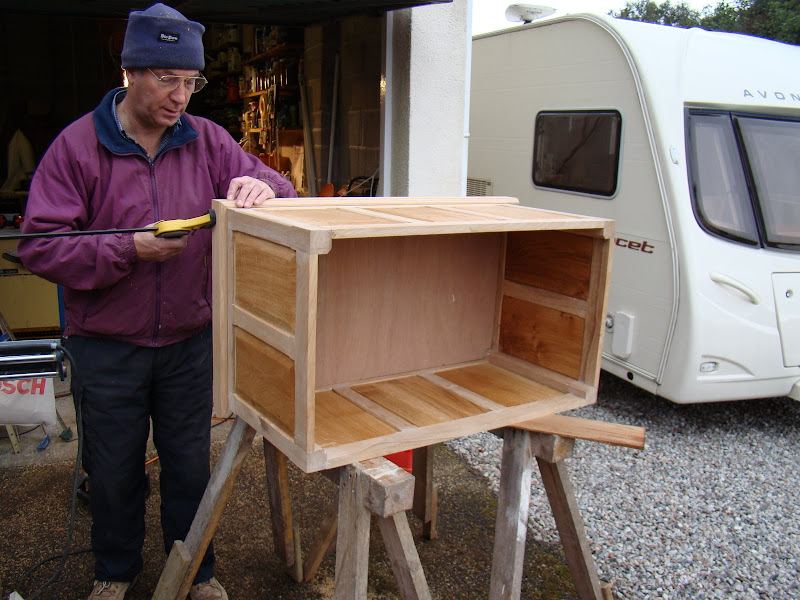
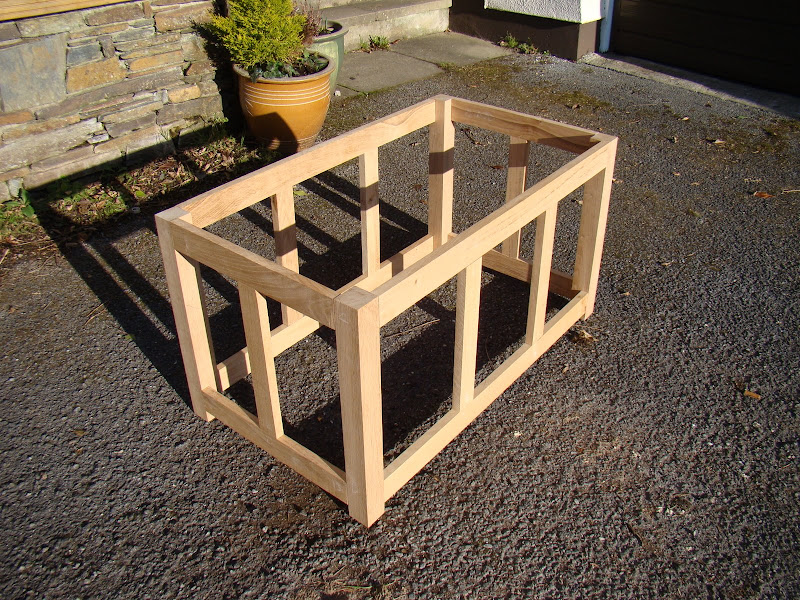
Spent yesterday in the garage cutting 28 m&t joints for the frame. No photos of WIP, but not rocket science. These are loose tenons set in slots cut with the router using the same simple jig shown earlier. Here it is dry fitted together. With the benefit of hindsight I would use a sliding dovetail to join the top rails to the legs, but past the point of no return now - loose m&t will have to do!
Question. What glue would you use? I have some waterproof PVA, but also considering cascamite or similar? And given that these are loose tenons, would you peg them?
So here's the starting point. One large plank of 1" oak, plus a short length of 2" for the corners.

Having carefully selected pieces wide enough for the panels, they were just too wide to fit through the p/t - aaaggghhhh! So ripped them down the middle, planed them to thickness (18mm), and rejoined them. For the first time I used my Incra wonderfence to joint the edges and it was simplicity itself.

I used an offset of about 0.5mm and the result was perfect. The chalk mark on the panel is to make sure I join the right sides together. I jointed one panel face up and the other face down to cancel out any setting up errors.

Whilst I suspect that a straight glue join would be strong enough, bearing in mind the joint will not be load bearing, I decided that I would use 3 x oak tongues, a bit like a loose m&t, using the simple jig made for the purpose out of an offcut of engineered flooring and 6" x 2". The slot in the flooring is made precisely to fit the collar on my router, and was made by simply lowering the board onto the 6mm cutter on the router table, and then widening it for a precise fit using the adjuster on the Incra. Simples!
To use it, just clamp the work piece and jig together

and slide router from end to end against the collar. It's important to have the face side of each piece of the panel against the same face of the jig so that they register together precisely.

I then used the p/t to thickness some oak offcuts down to 6mm for the loose tenons and glued up.
The panels were fielded out using a large cutter from Wealden which cuts both the front field and back rebate simultaneously, leaving a 6mm tongue to fit into the groove around the panel frames. My daughter wants the box personalised, so steep learning curve here having never done anything like this before. First I reread some of the excellent threads on this forum on the subject, most notably Olly,and xy mosian and Mike Garnhams thread on cutting the letters which gave me the confidence to go for it. This Video on the Fine Woodworking site was also very useful, and I treated myself to the excellent book, Letter carving in Wood by Chris Pye.
I started off by doing a test piece in an offcut,

and being reasonably happy with the result I set out the actual work piece on the kitchen table. The letters were printed off on the pc using Times New Roman 160 pt in outline, and the corner features were hand drawn on a piece of paper and then scanned for posterity. Then I traced them onto the panels using carbon paper. Incidently, have you ever tried explaining the concept of carbon paper to a teenage shop assistant? Was I talking in Greek? But that's a different story. Here's the layout ready to carve.

Letters ready to be carved.

.... and the corner features.

I started off with carving letters with straight edges only. One reason for waiting until the new year was that I'd rather carve 10 than 09 :?

Then moved on to the curves. Tools used were a varierty of straight bevel edge chisels for the straights, then a small selection of gouges (with a #5,#6,#7 and #9 sweep) for the curves and plus a skew chisel for the serifs. This photo is face on in strong sunlight. There are a few imperfections, but since the finished article will be near floor level in the subdued lighting of a bedroom, I'm reasonably happy with it.

Then on to the corner motifs. I'm not so sure about these, but it's what her ladyship wants!

Spent yesterday in the garage cutting 28 m&t joints for the frame. No photos of WIP, but not rocket science. These are loose tenons set in slots cut with the router using the same simple jig shown earlier. Here it is dry fitted together. With the benefit of hindsight I would use a sliding dovetail to join the top rails to the legs, but past the point of no return now - loose m&t will have to do!

Question. What glue would you use? I have some waterproof PVA, but also considering cascamite or similar? And given that these are loose tenons, would you peg them?


