'Y' Levers......Part Deux

UKworkshop.co.uk

Help Support UKworkshop.co.uk:

This site may earn a commission from merchant affiliate links, including eBay, Amazon, and others.

woodbloke

Established Member
Joined
13 Apr 2006
Messages
11,770
Reaction score
1
Location
Salisbury, UK
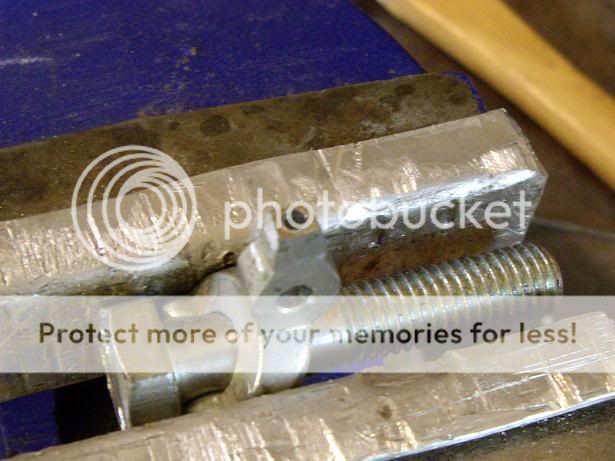
Further to our recent excellent MiniBash earlier in the month, Paul on the day went to try his Record No.4 where I had soft soldered the extension to the Clifton 'Y' lever and you'll never guess.......it wasn't strong enough and the whole thing disintegrated. So here's the way I've done it now. After the tops have been thoroughly cleaned a 2.3mm hole was hand drilled down the centre. I found that one of the main difficulties with these little beasties is holding the blo@dy things but if they straddle a large bolt then holding them in the vice very tightly is easy:
1g32we1f1f1.jpg


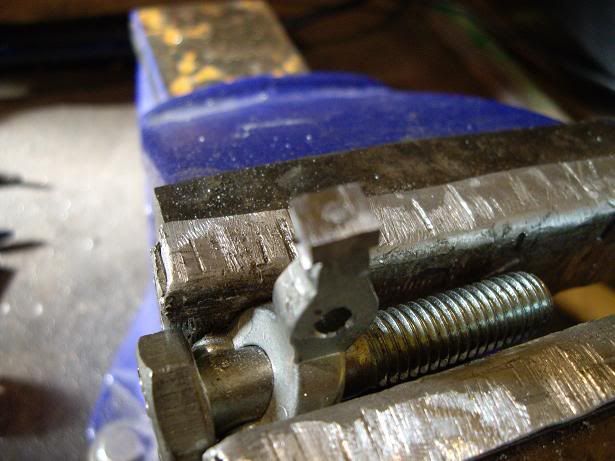
A piece of 3mm gauge plate is cut a fraction bigger than the top is then drilled with a corresponding drill and the whole lot is joined together by using industrial strength super glue and a piece of 2.3mm sprung steel, which will resist bending to a large extent:
2s2df10rr.jpg


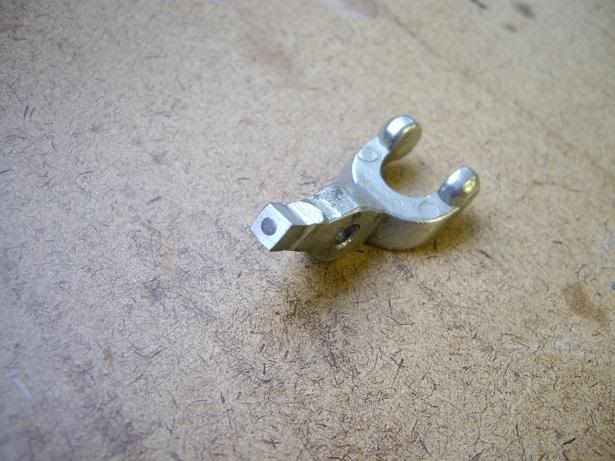
Once cleaned up the 'y' lever looks like this:
mmflslslsl.jpg


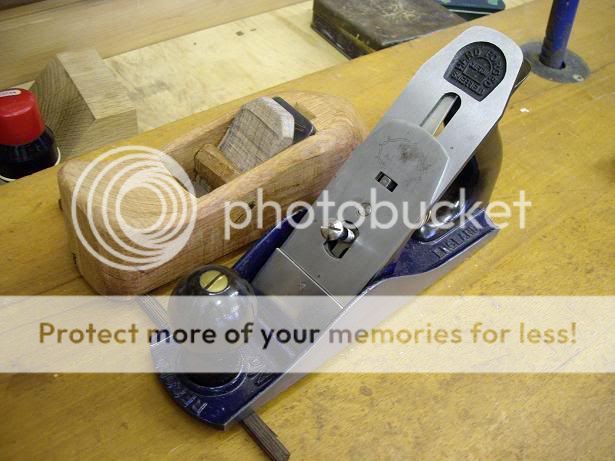
and when fitted into the plane, it does now work without the top shearing off:
02039489j4n.jpg


.....oops, how'd that JK woodie get into the shot.....getting as bad as Philly
....nearly :wink: :lol: - Rob
 
Crikey, Rob, you are kind going to all that trouble - I'm really grateful :D And I bet my #4 feels quite honoured sitting there next to a genuine Krenov :lol:

Thanks again

Cheers :wink:

Paul
 
Paul - no worries on that score, I've got the others to do tomorrow. I thought it might be a bit tricky drilling the hole down the centre of the lever but it's not too bad. Got some decent super glue from PFT today...shop seems to have recovered :wink: The Cliftons are really excellent planes but the 'Y' levers need to be made from somat a bit more robust. Even in normal use in your Cliftons I think the tops were getting mangled iirc, will PM you on the 'morrow when dun - Rob
 
woodbloke":hjvoz2mk said:
will PM you on the 'morrow when dun

Will be in Bournemouth at 8am tomorrow. Scott has his big test - keep your fingers crossed. It's been really difficult fitting it in with all this bad weather. Looks like tomorrow is going to be the best day weatherwise.

Cheers :wink:

Paul
 
Ah, looks like it worked a treat. Maybe I didn't need to learn how to solder after all? :lol: No, that'll come in handy for other things, but good to know the glued pin does the biz too. Neat job, Rob. =D>

Cheers, Alf
 
Rob,Paul, Alf anyone interested, one thing I discovered when making replacement Y levers is that the part that engages in the cap iron ( the bit you are dealing with) is or should be shaped like the tooth on a gear wheel (involute form I think). The reason for this is that as you adjust the plane iron the Y lever clearly does not move is a linier fashion but about the axis of the retaining pin. Put another way if the bit in question was a tight fit in the iron with square sides (the sides that make contact with the iron) it could not move at all, making it a loose fit partially solves the problem but you then have back lash, but making the surfaces curved (gear tooth shape) it stays in contact through out the range of adjustment. Creating the correct tooth form is not easy, thats why the manufactured bits have a form a bit like a gear tooth, but with some built in slop.
 
newt":2x4iejk6 said:
when making replacement Y levers

Hi Newt,

I only wish one of us had taken a photograph of that brass Y lever you made when we were down recently. That has to be one of the best Y levers I've ever seen.

Cheers :wink:

Paul
 
Back
Top