NickN
Established Member
... with a wabble of wowdy webels in a hutch outside.
I've been meaning to start this thread for quite a while, and kept putting it off, so anyway, here goes.
Not long moved into this house, but other than a double detached garage there were no outbuildings or sheds of any sort, and as the house is rather compact, just a two bedroom, there was no possibility of appropriating a room for a workshop, so I decided we needed a nice large shed for garden equipment, mowers, strimmers, that sort of thing.
Fortunately (read on, it'll become clear!), the chap who built the basic shed framework turned out to be a bit of a disaster in terms of keeping to budget and doing a neat job, which meant I had no choice but to learn fast and complete the shed myself, including putting a roof on, as well as the cladding for the front awning area, paving slabs etc. He did put the ex-telegraph poles in for corners, and did all studwork and most cladding. I say fortunate, because my wife, having observed my attempts at cutting, sawing and sanding timber and sheet materials, as well as making things for the ferret hutch, suggested that I seemed to be enjoying it and perhaps I might want to make the shed a workshop for trying out other woodworking activities. Wow! Well, my grandad had for a long time been a very keen amateur woodworker and carver, and although nearly all of his tools had long gone, I suppose something got passed down in the genes, and I became anxious to give it a try.
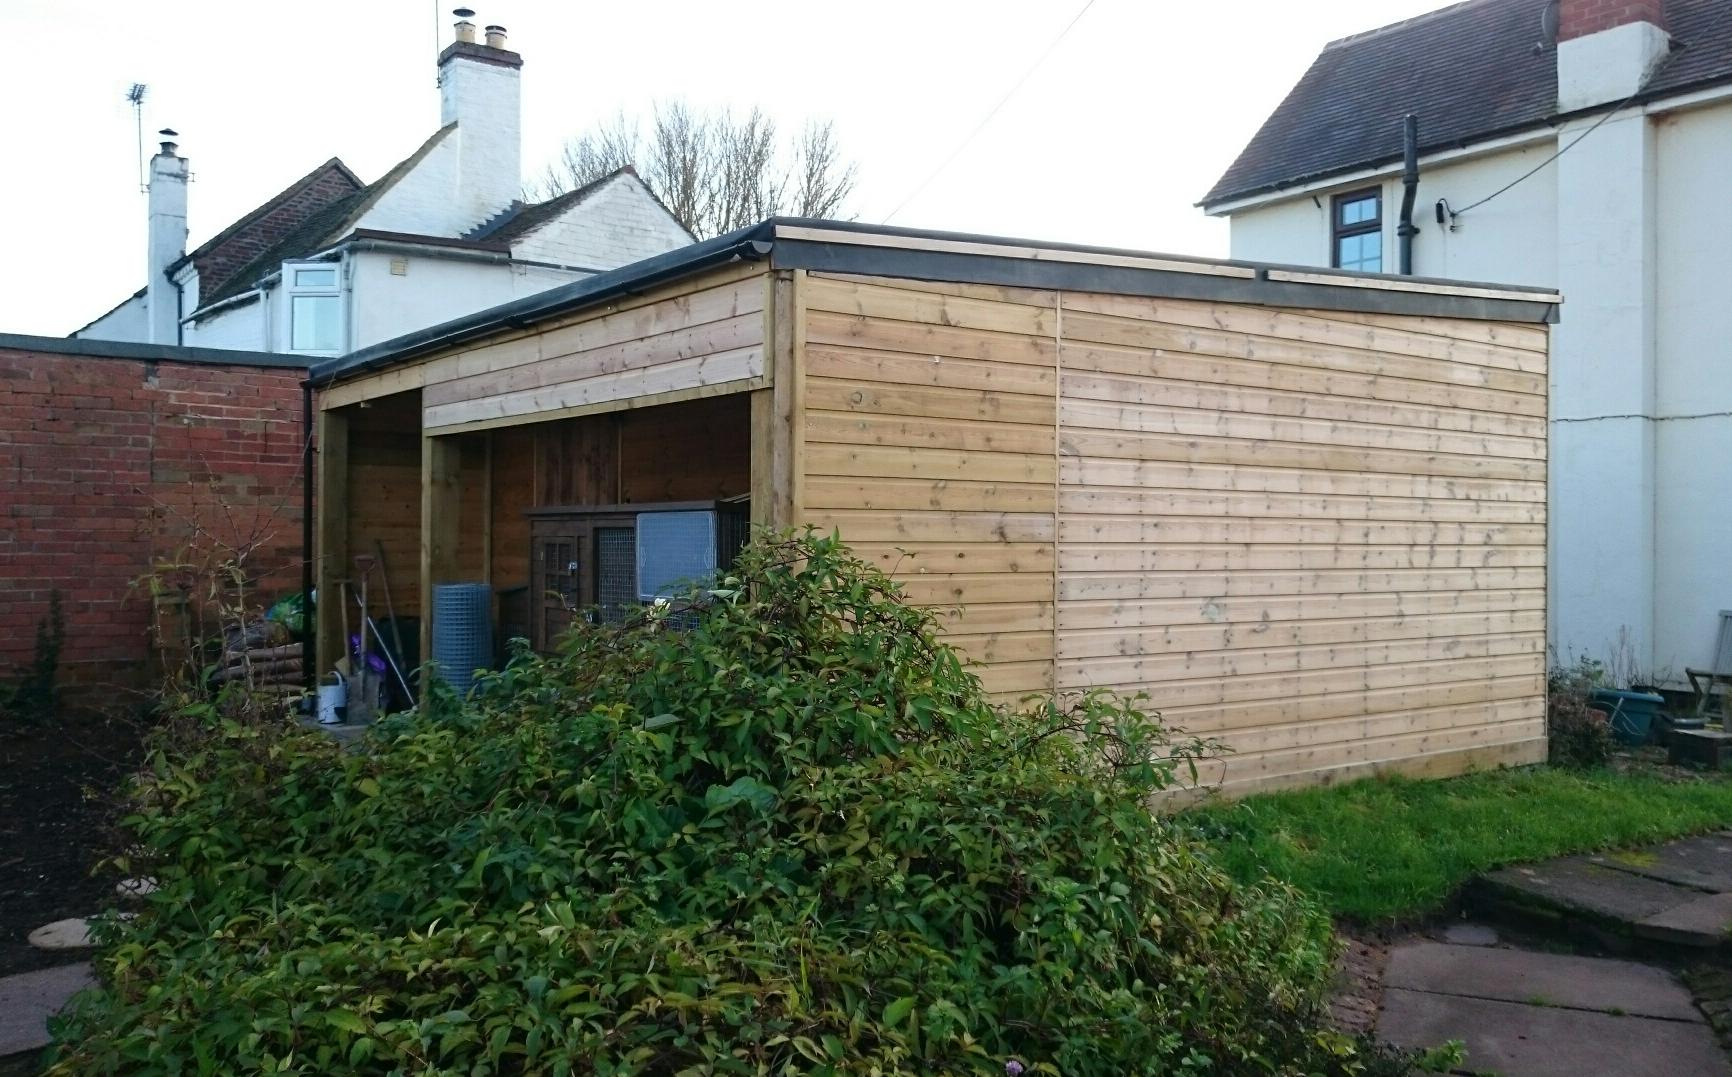
So, progress so far has been to complete the exterior of the shed with EPDM firestone rubber roof and shiplap T&G cladding, and inside to add 100mm height to the pre-existing concrete slab, first by placing a plastic damp proof membrane, then 50mm sheet polystyrene (weight bearing grade) followed by 50mm concrete, all mixed by hand using 10mm gravel and a 3-2-1 gravel-sand-cement mix. As the shed is a size of 19 feet by 11 feet (5.5 metre x 3.5 metre), you can probably imagine that was a fair amount of concrete, approximately 2 tonnes gravel and 1.25 tonnes sand, and a lot of hard sweaty work!
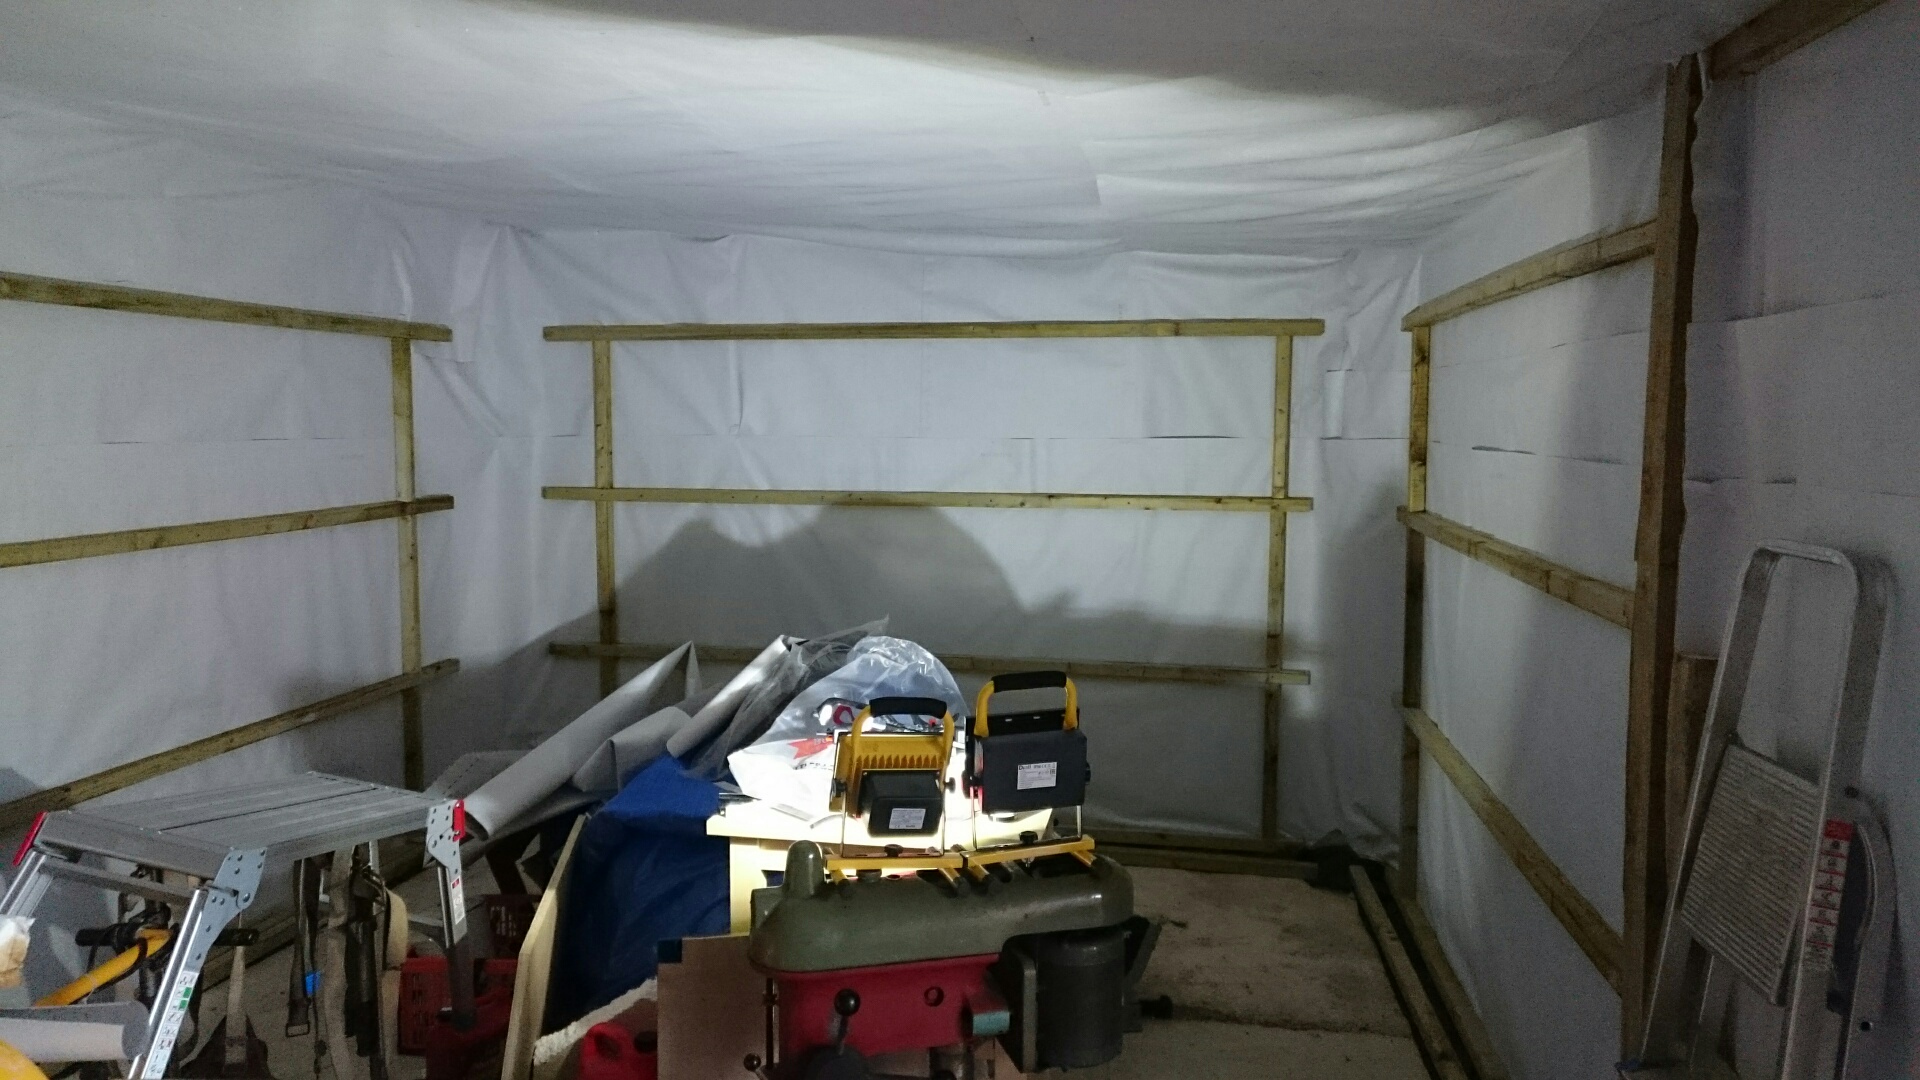
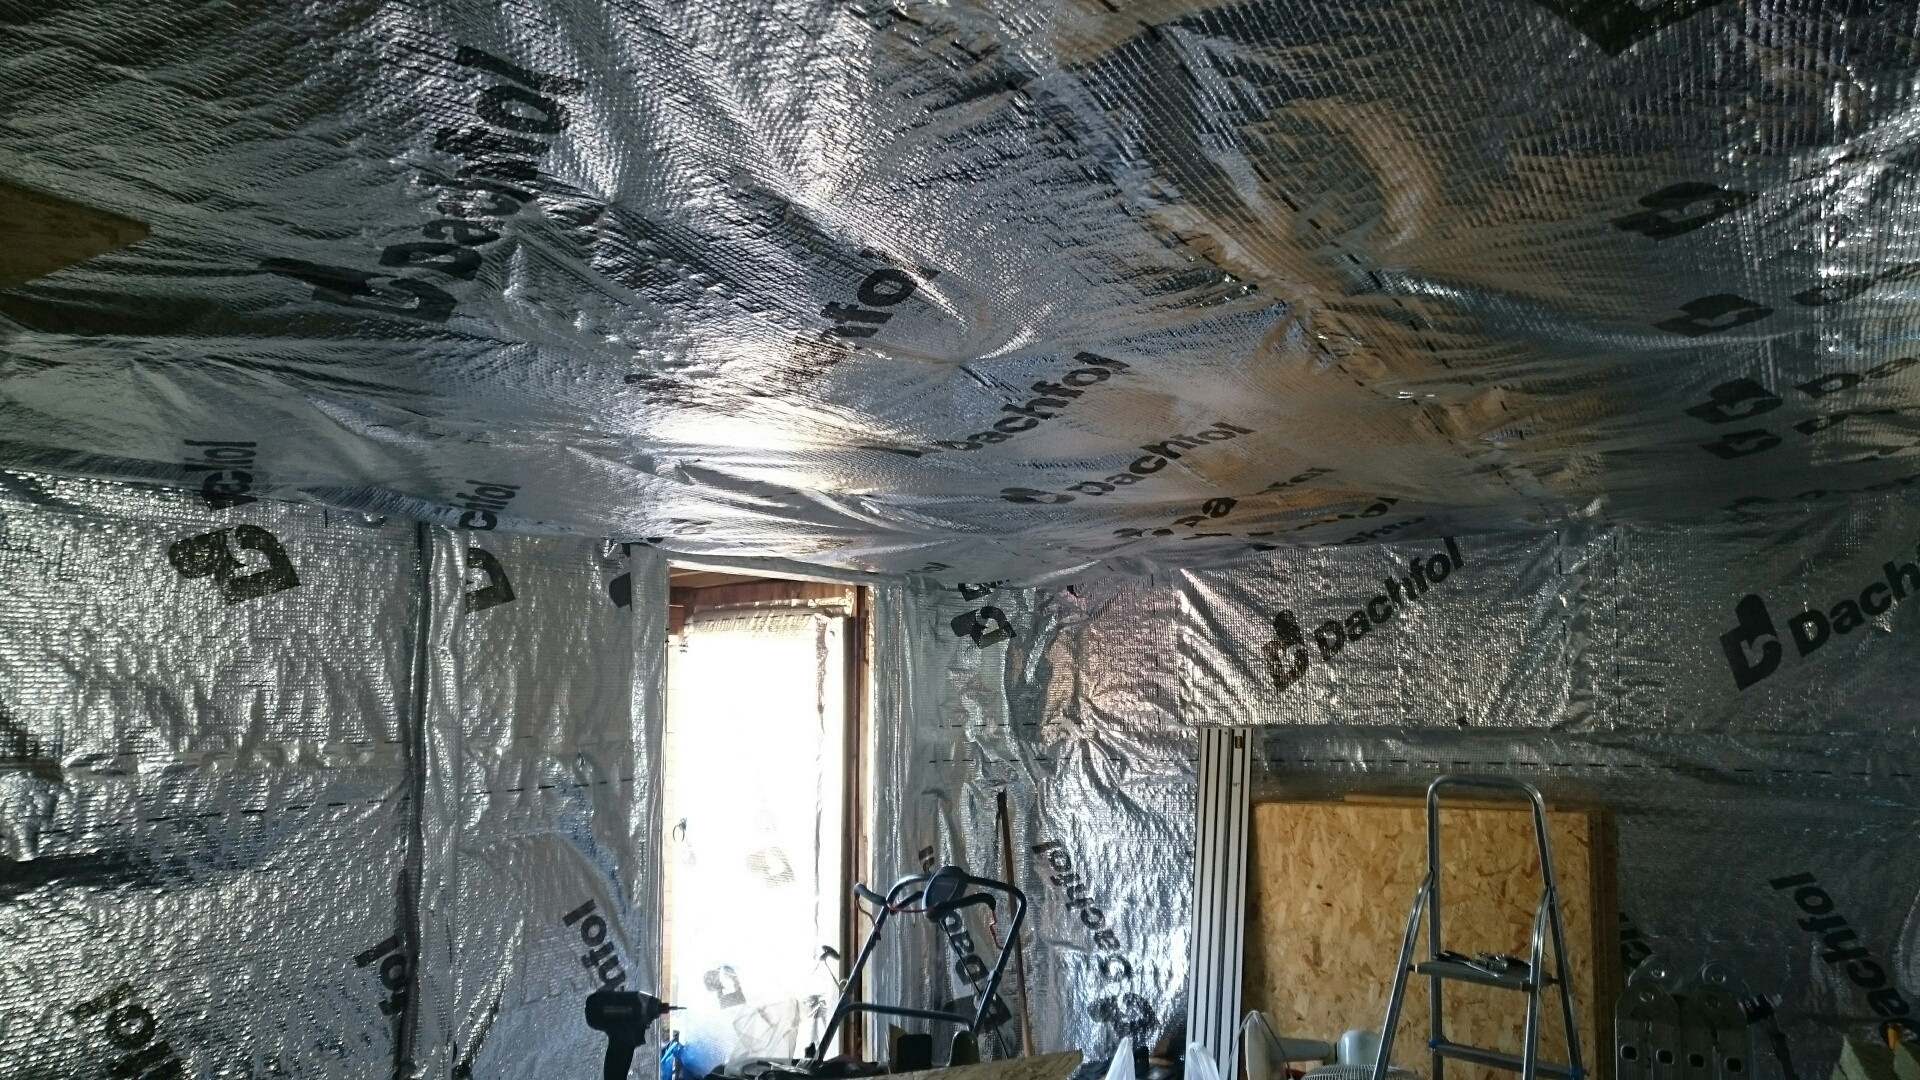
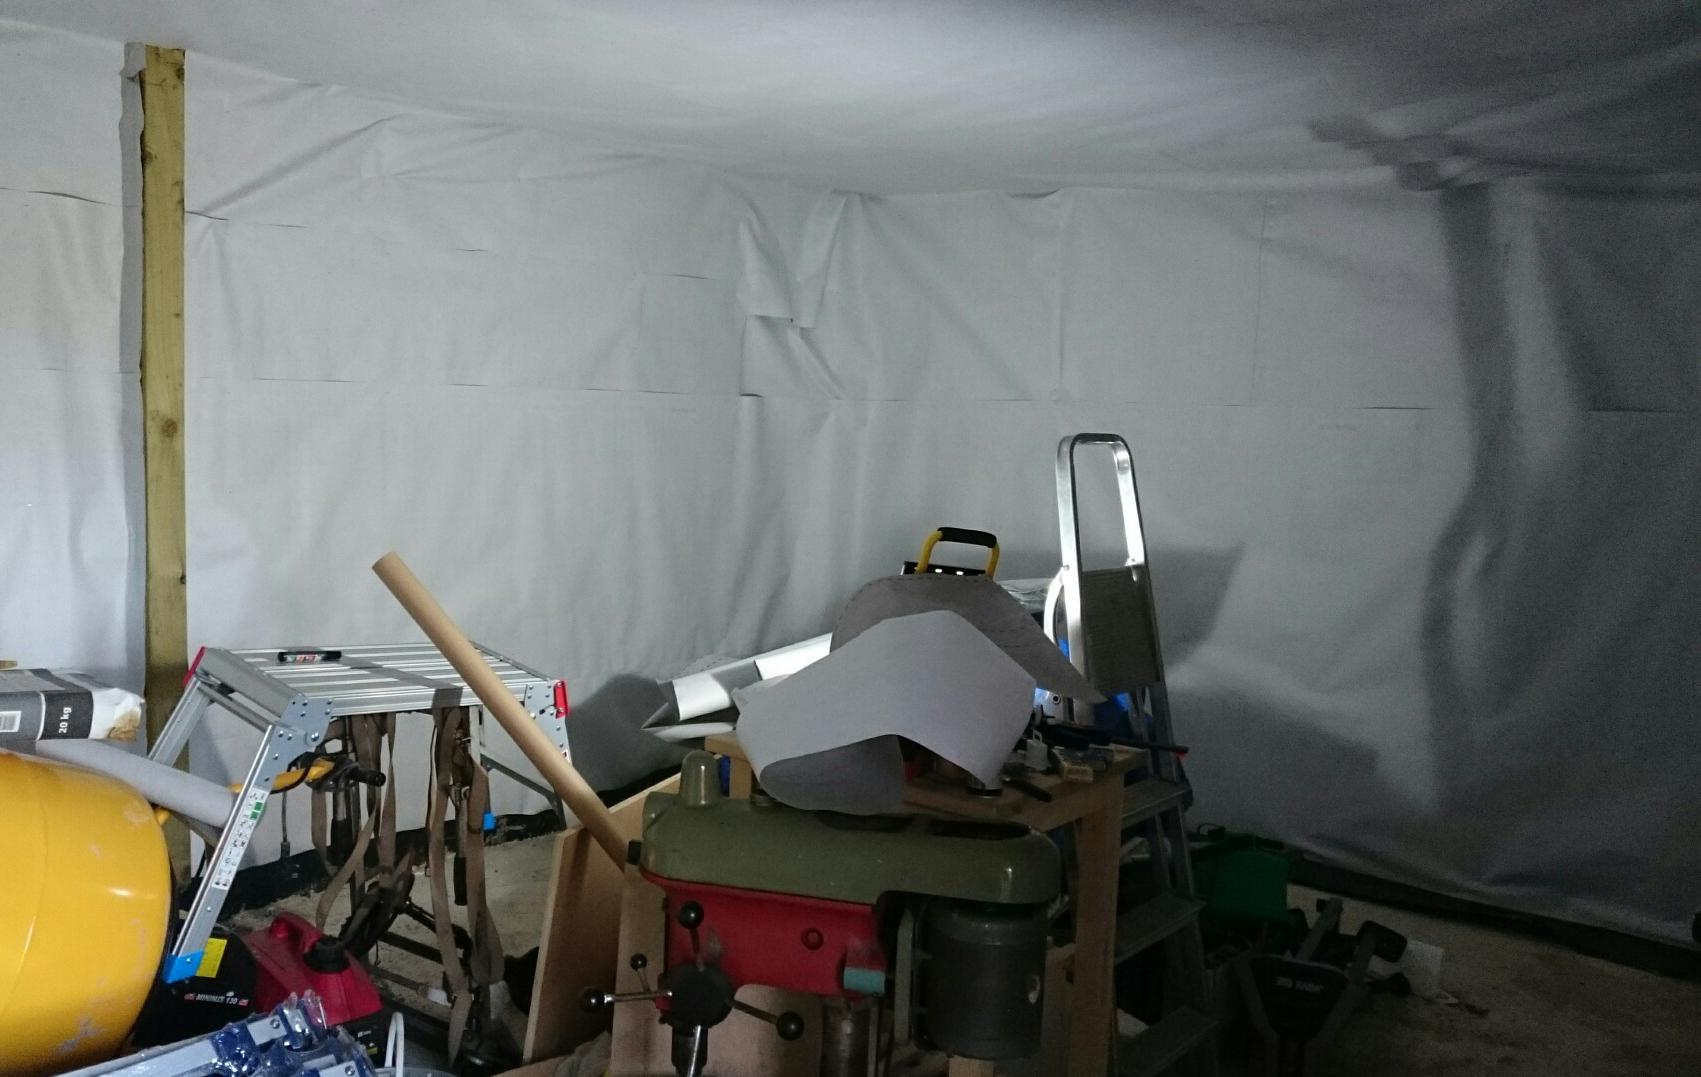
Because the cladding was mounted straight onto the interior vertical 2x3 studwork, I have had to apply a breathable membrane, Vent Classic, to the inside, so I decided to go straight across the inside face of those tanalised 2x3 studs, so as to maintain a sizeable air gap, and in any case as the initial builder had not spaced the studwork evenly, it would be a very tedious job trying to place insulation between them.
The shed has no windows at all, mainly for security as in recent times the area has gone from one where people left doors unlocked all day to one where regular thefts from sheds and outbuildings occur, particularly in the summer when extra agricultural workers turn up from overseas. It also made it considerably easier to get the cladding on quickly, and I plan to use daylight LED panels inside.
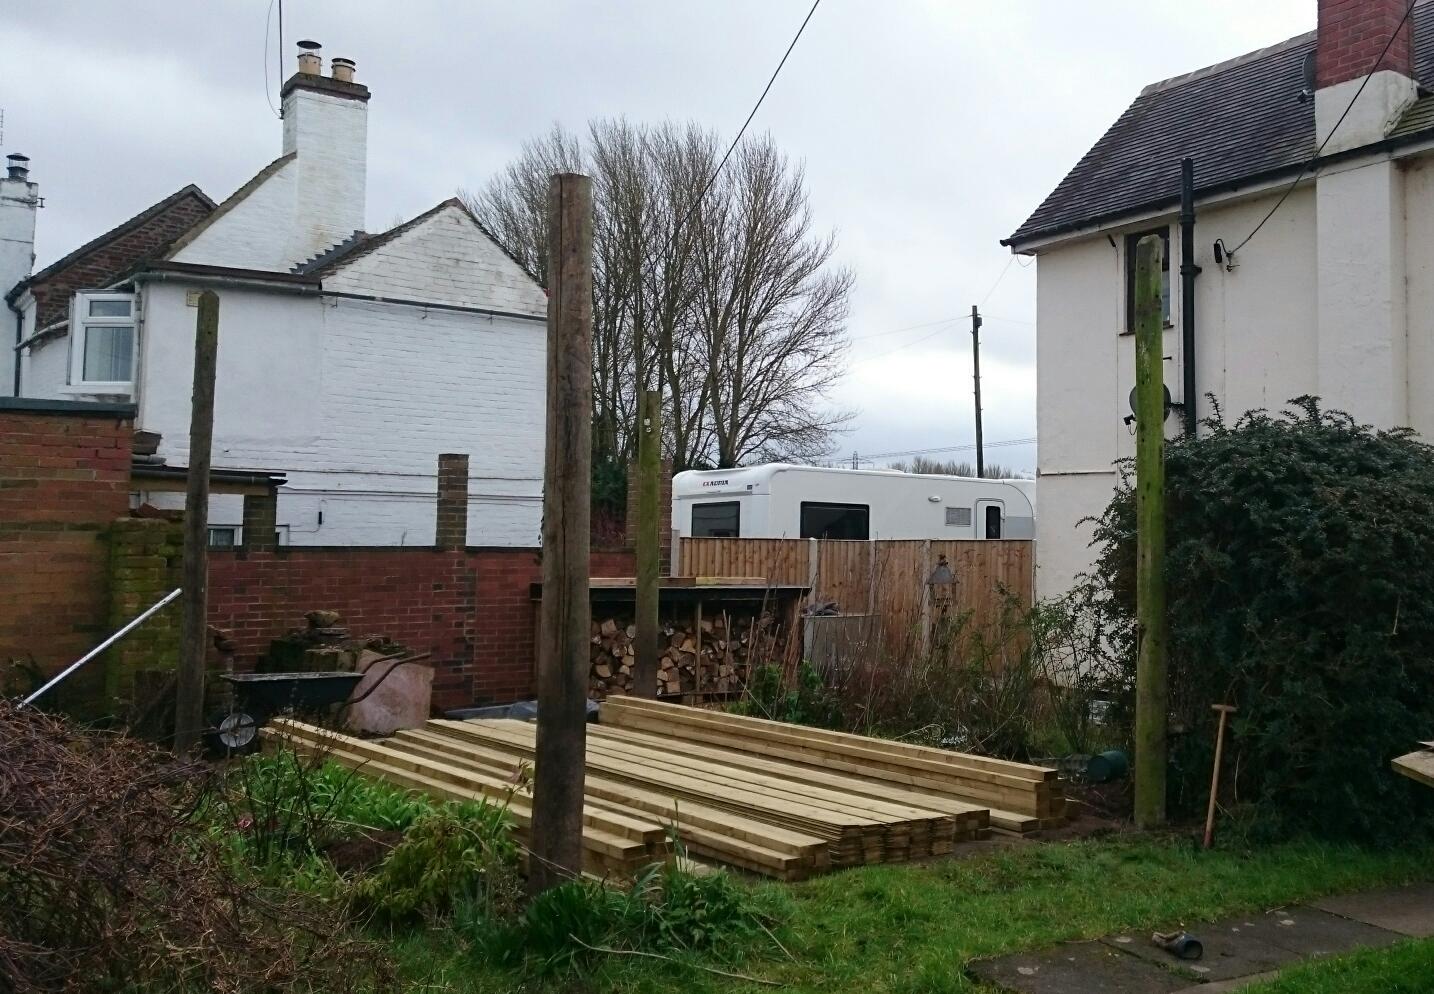
Before main construction, just corner poles erected:
After completion:
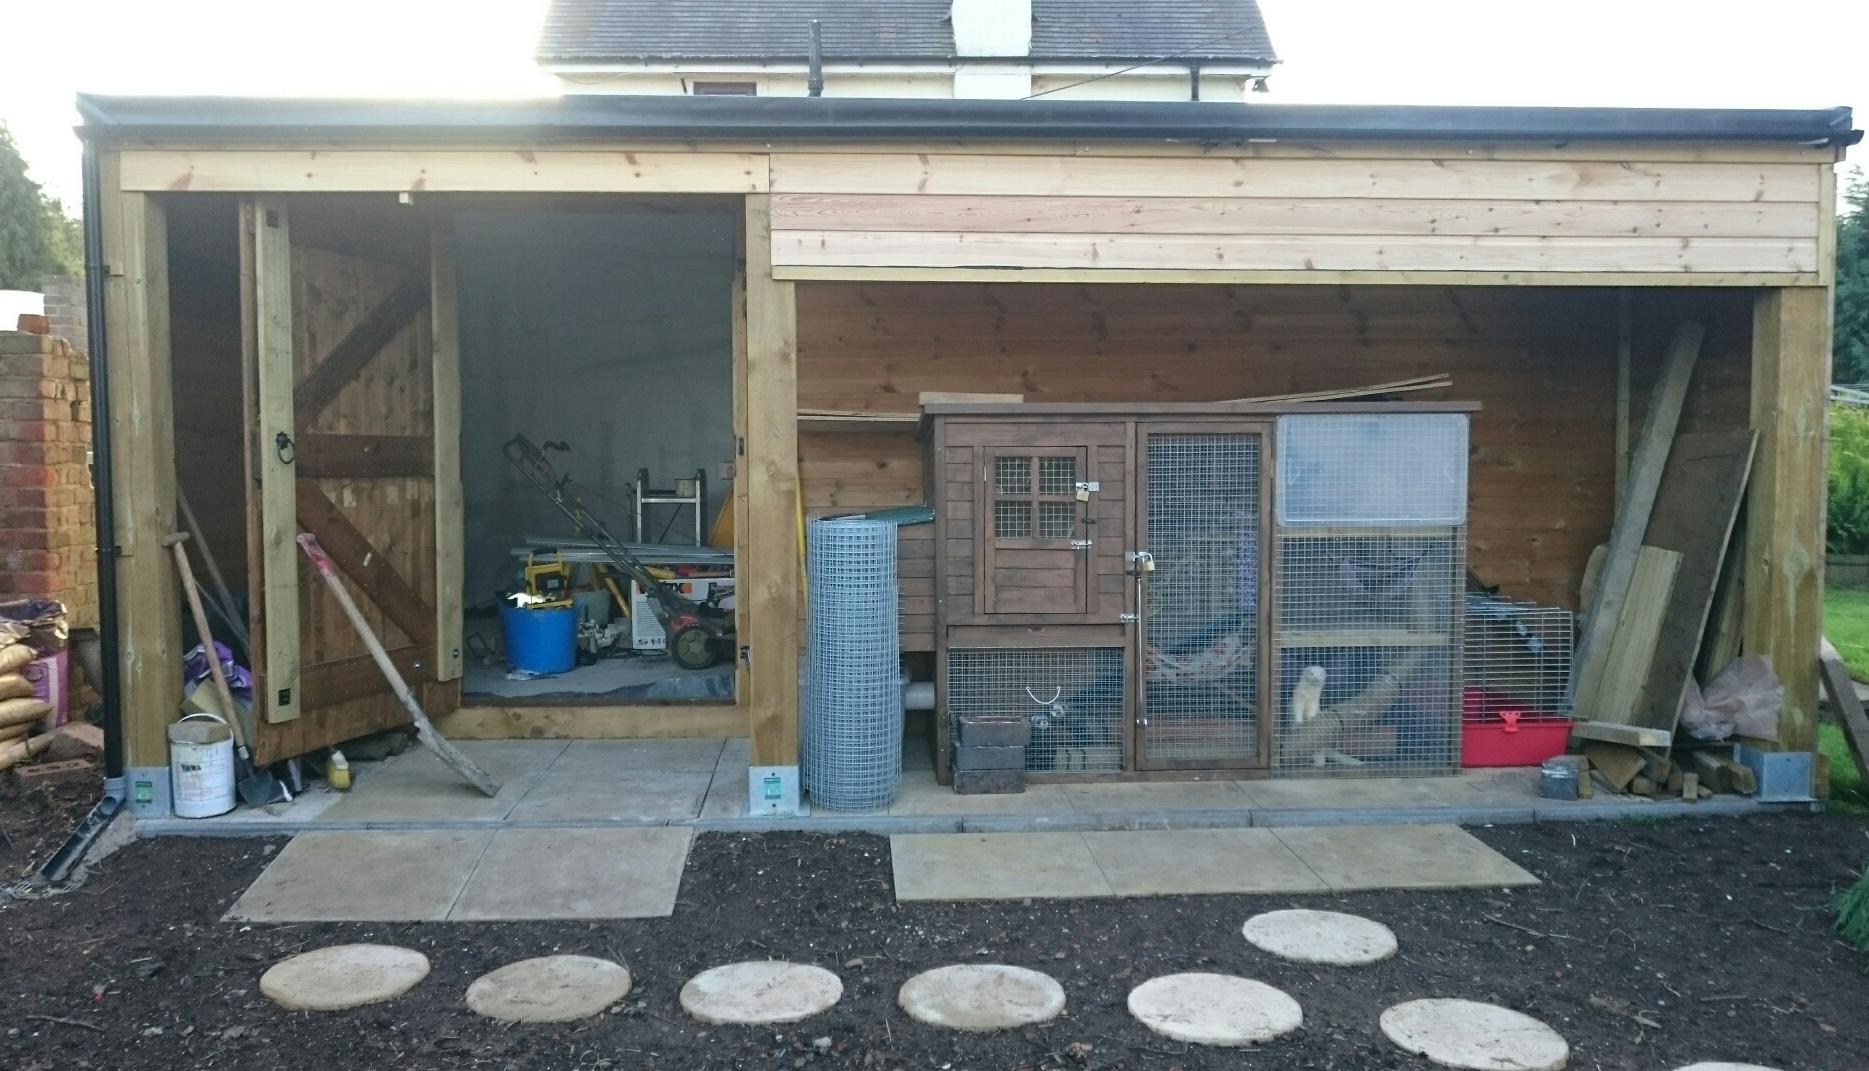
Front view, including the wowdy webels:
Inside with breathable membrane attached:
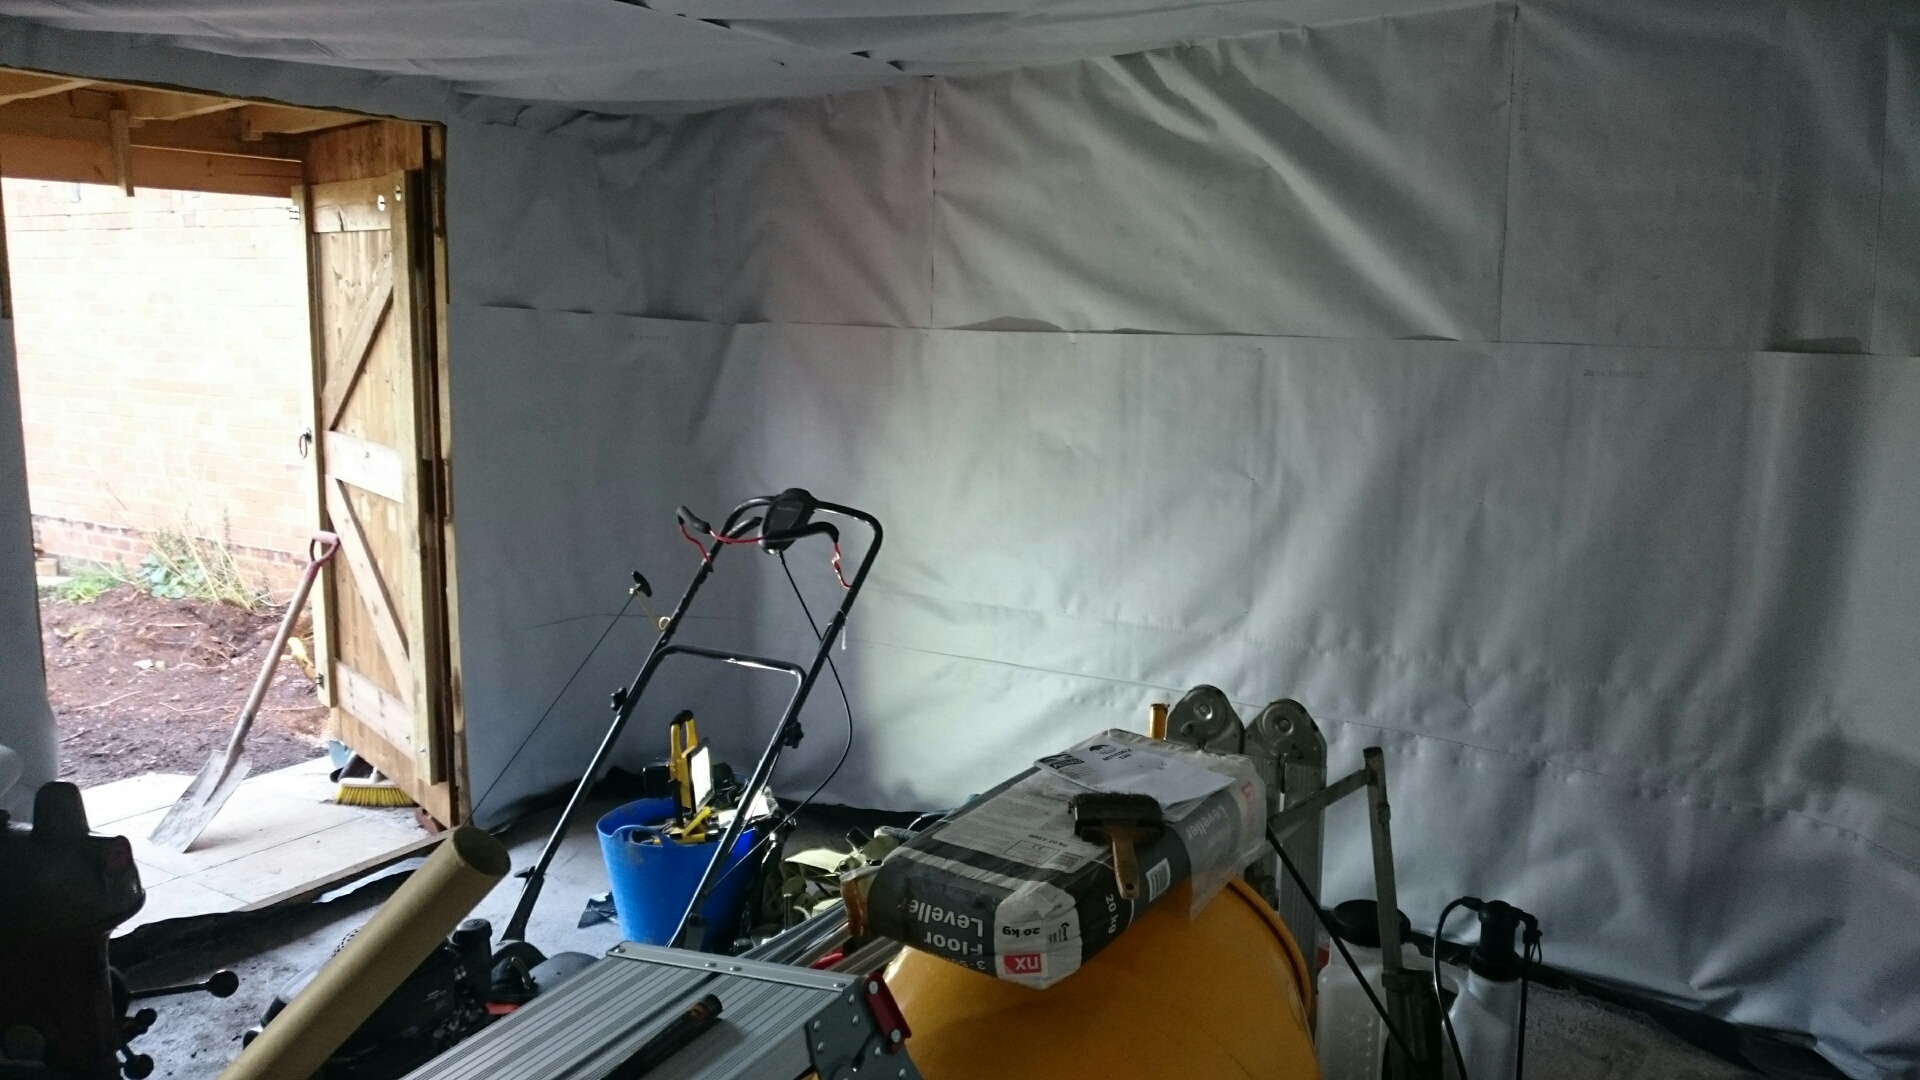
So, structurally, what's next?
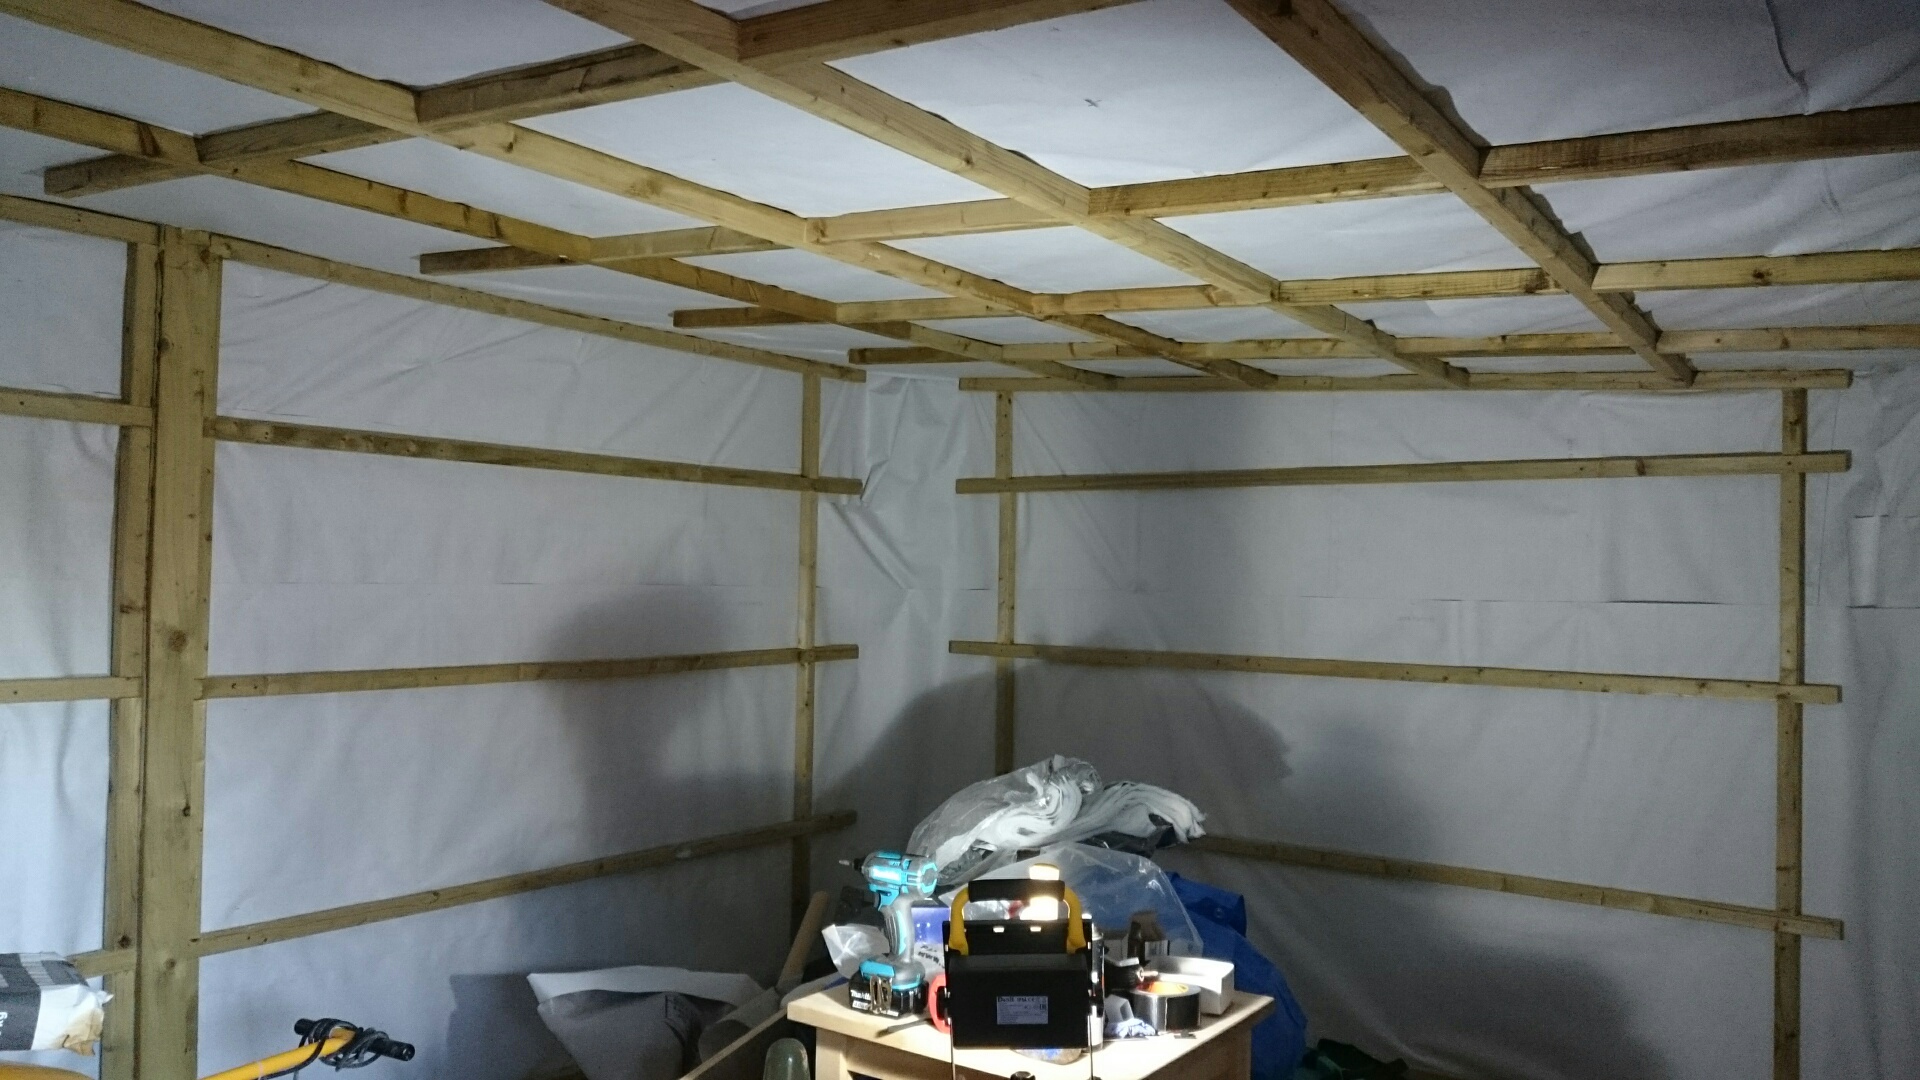
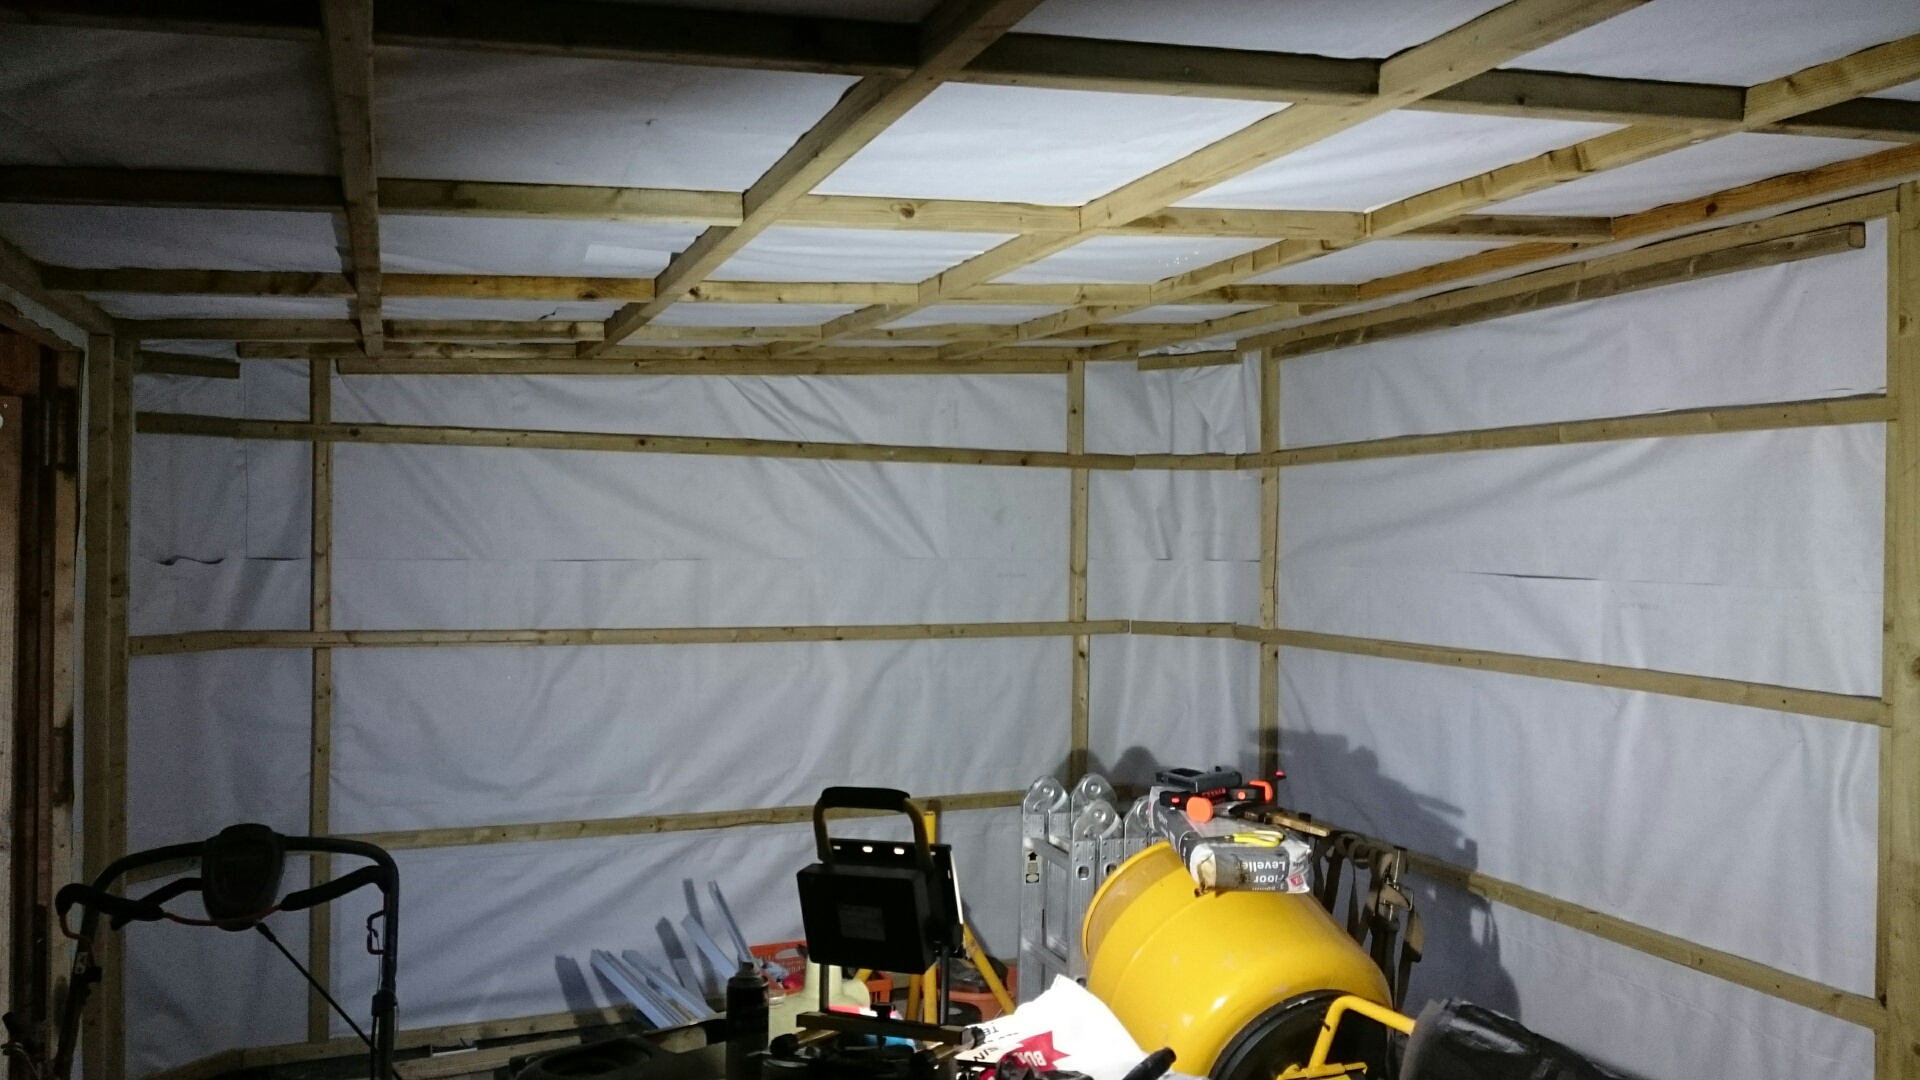
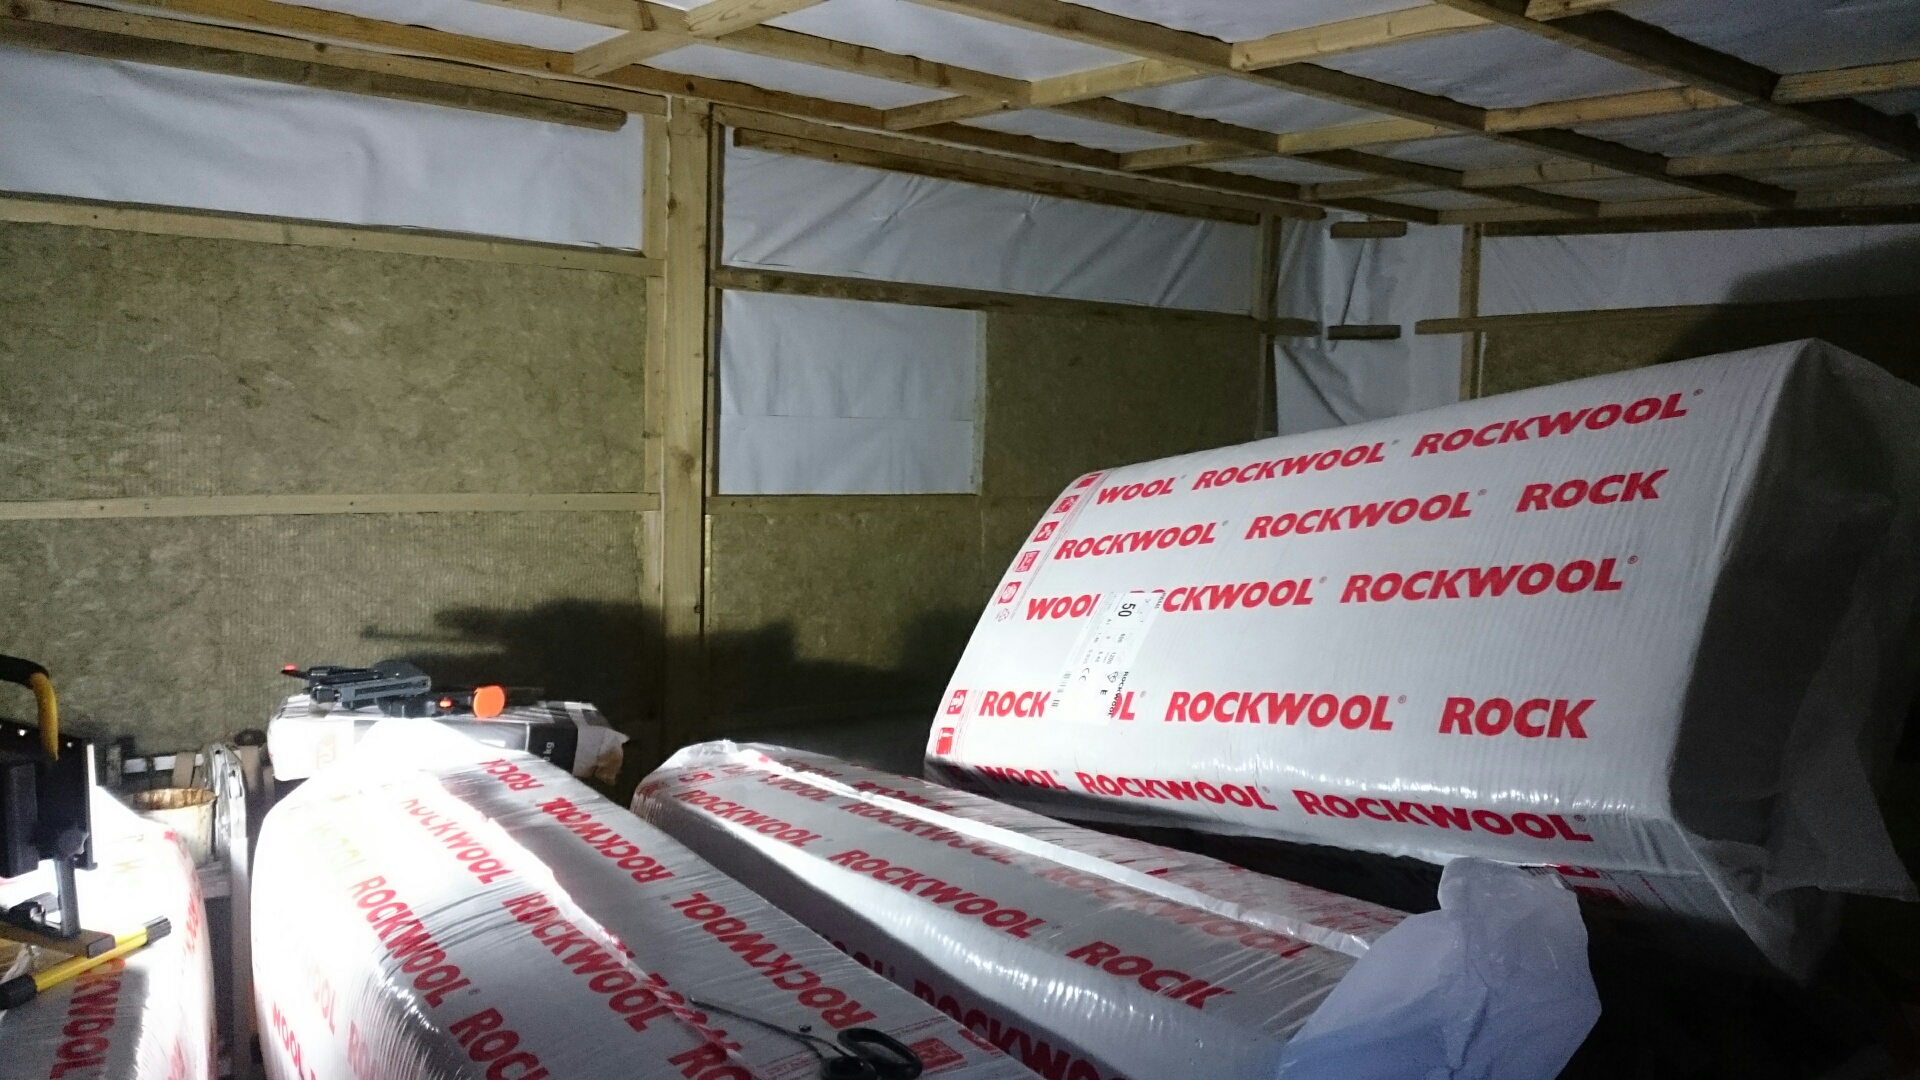
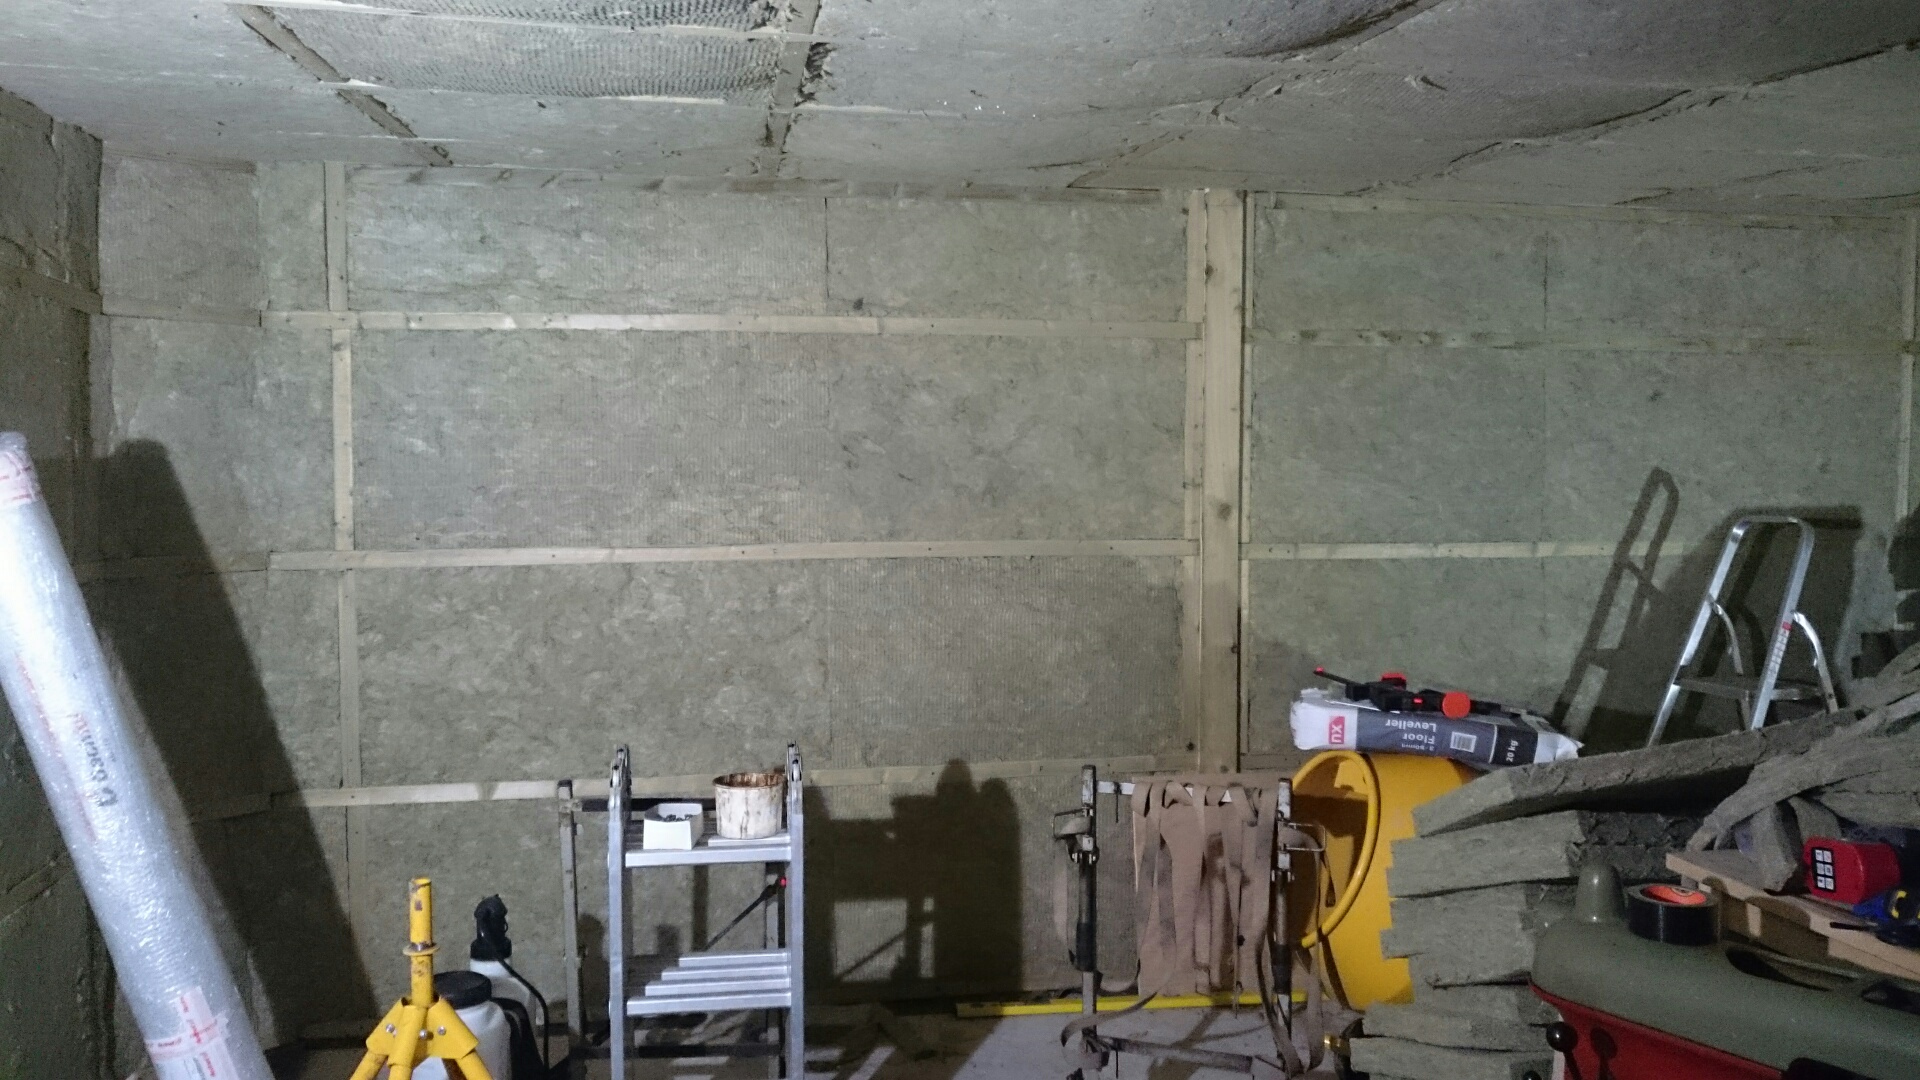
- attach tanalised 2x2 battens horizontally round the entire interior and ceiling, at 600mm (yeah I know, building is a nightmare mish mash of imperial and metric) centres, so as to allow me to put Rockwool Slabs of 1200mm x 600mm x 50mm between them, up against the breathable membrane.
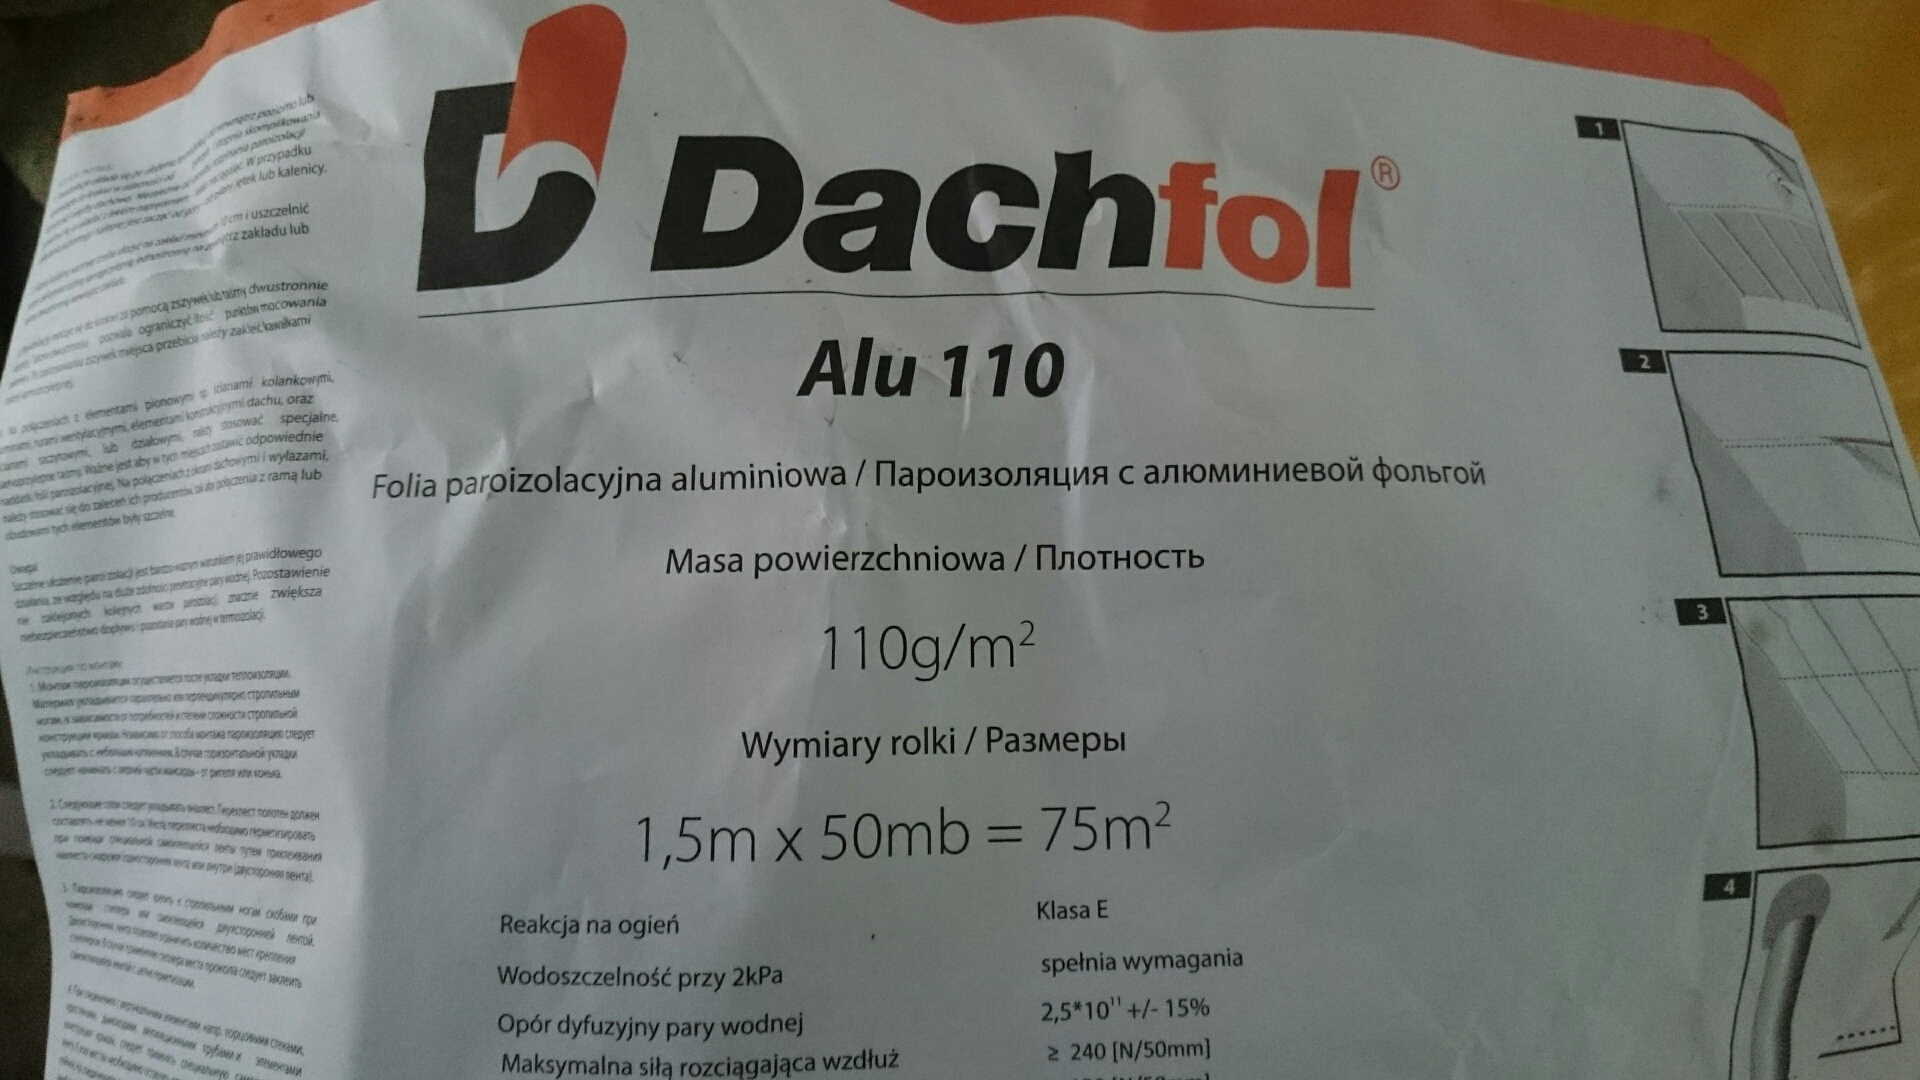
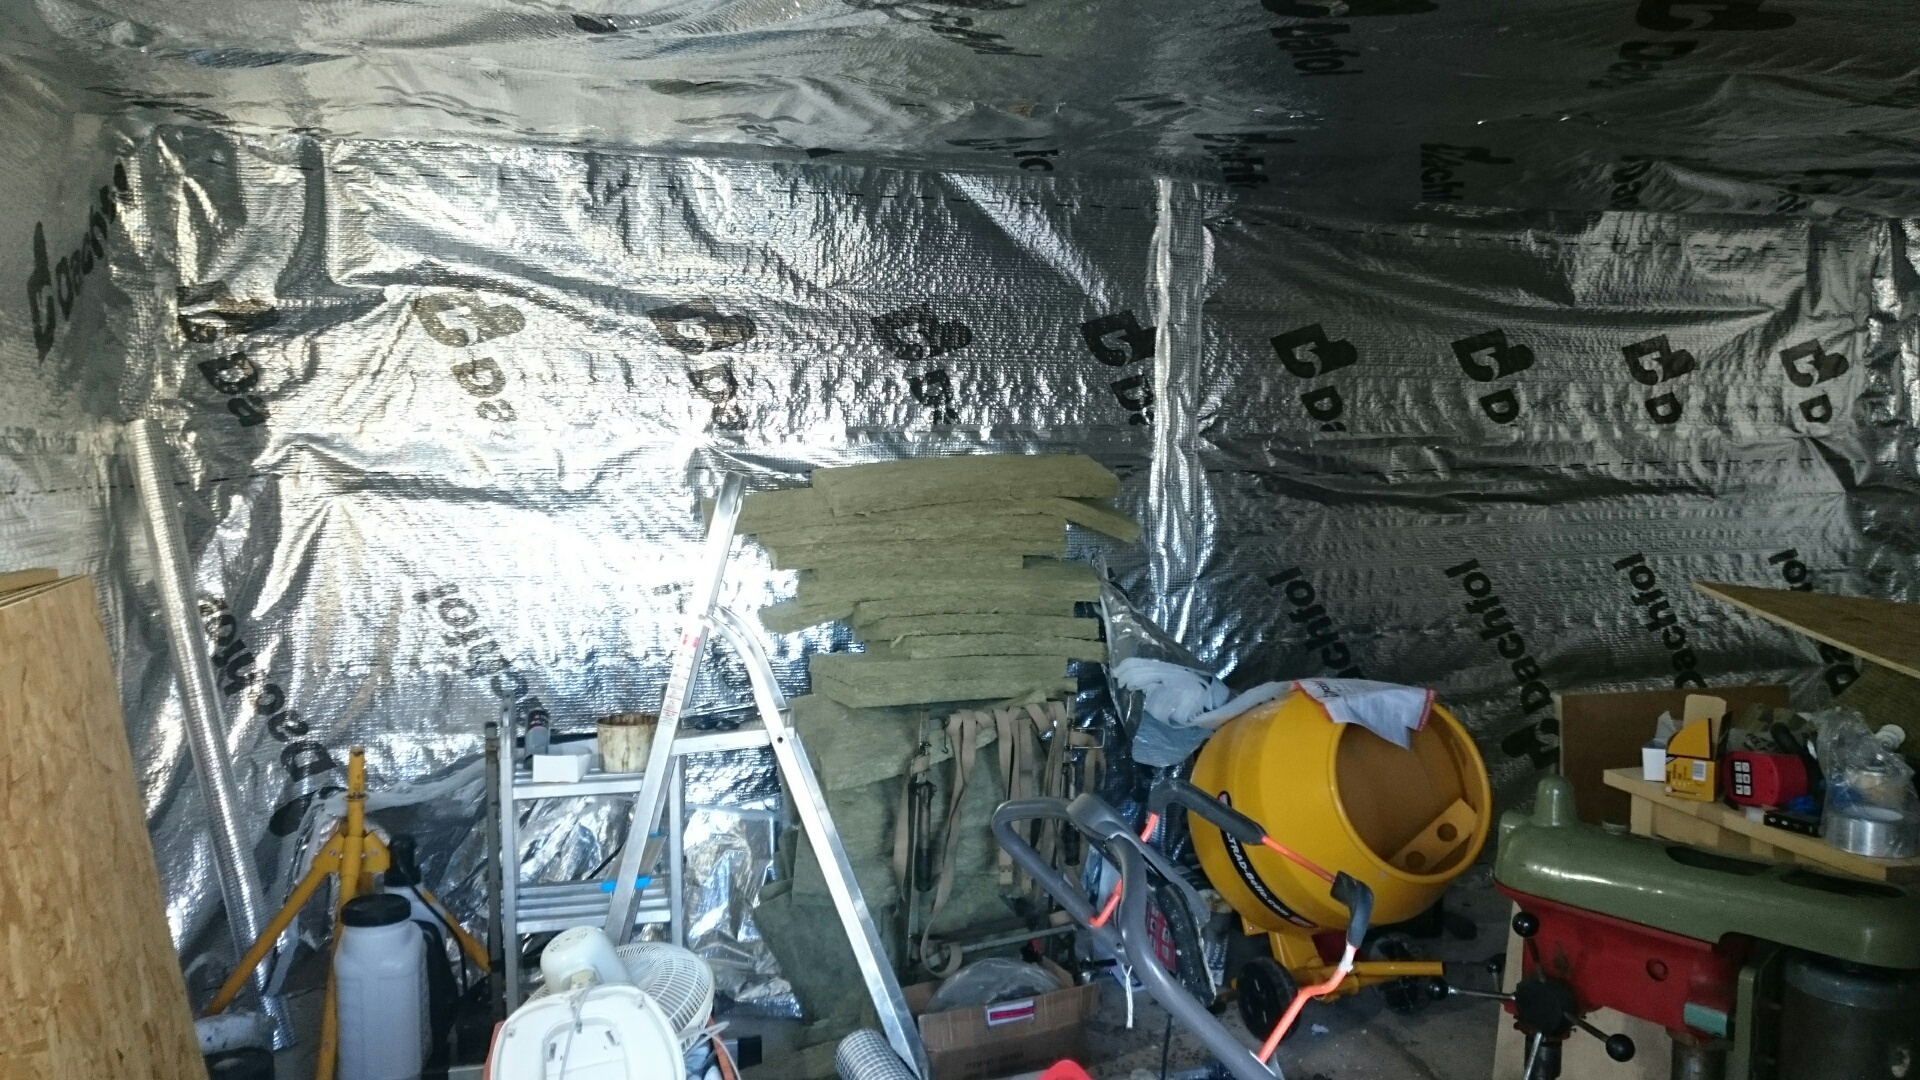
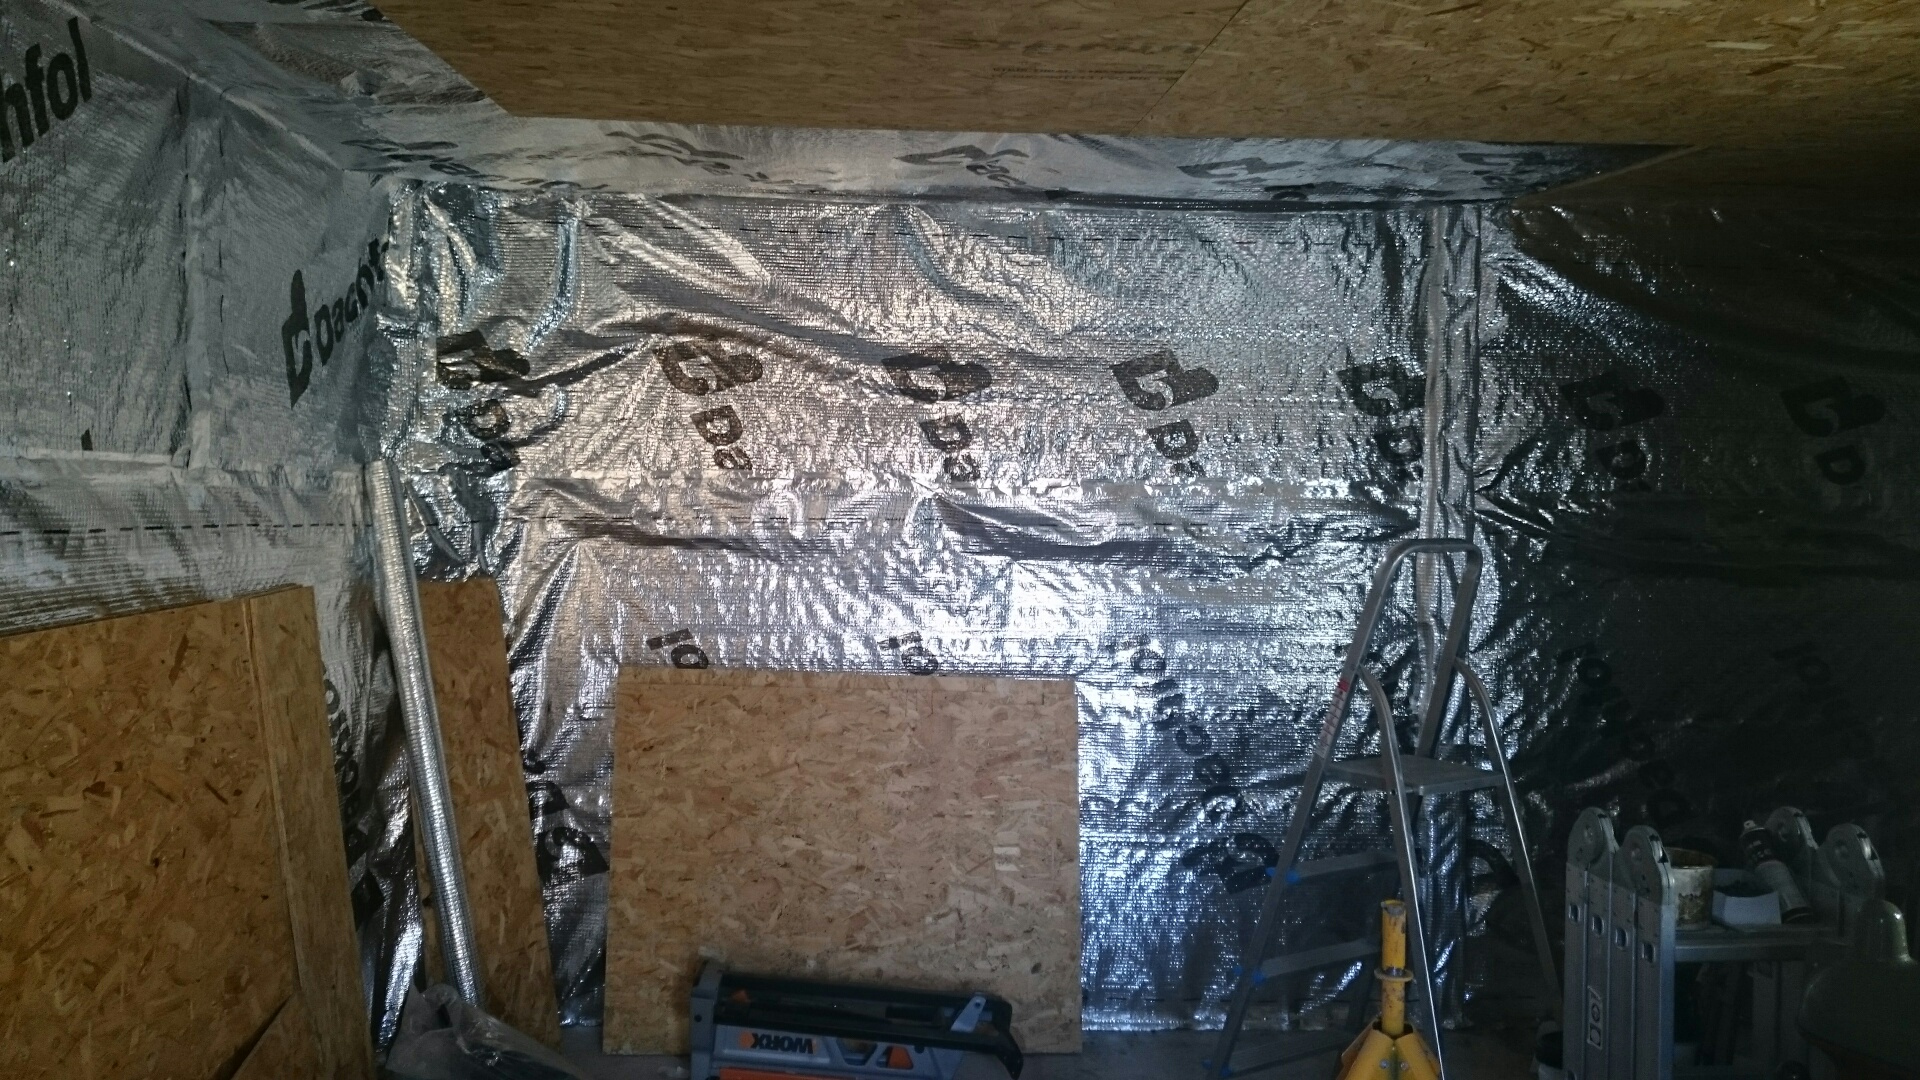
- staple aluminium foil type vapour barrier around the whole lot
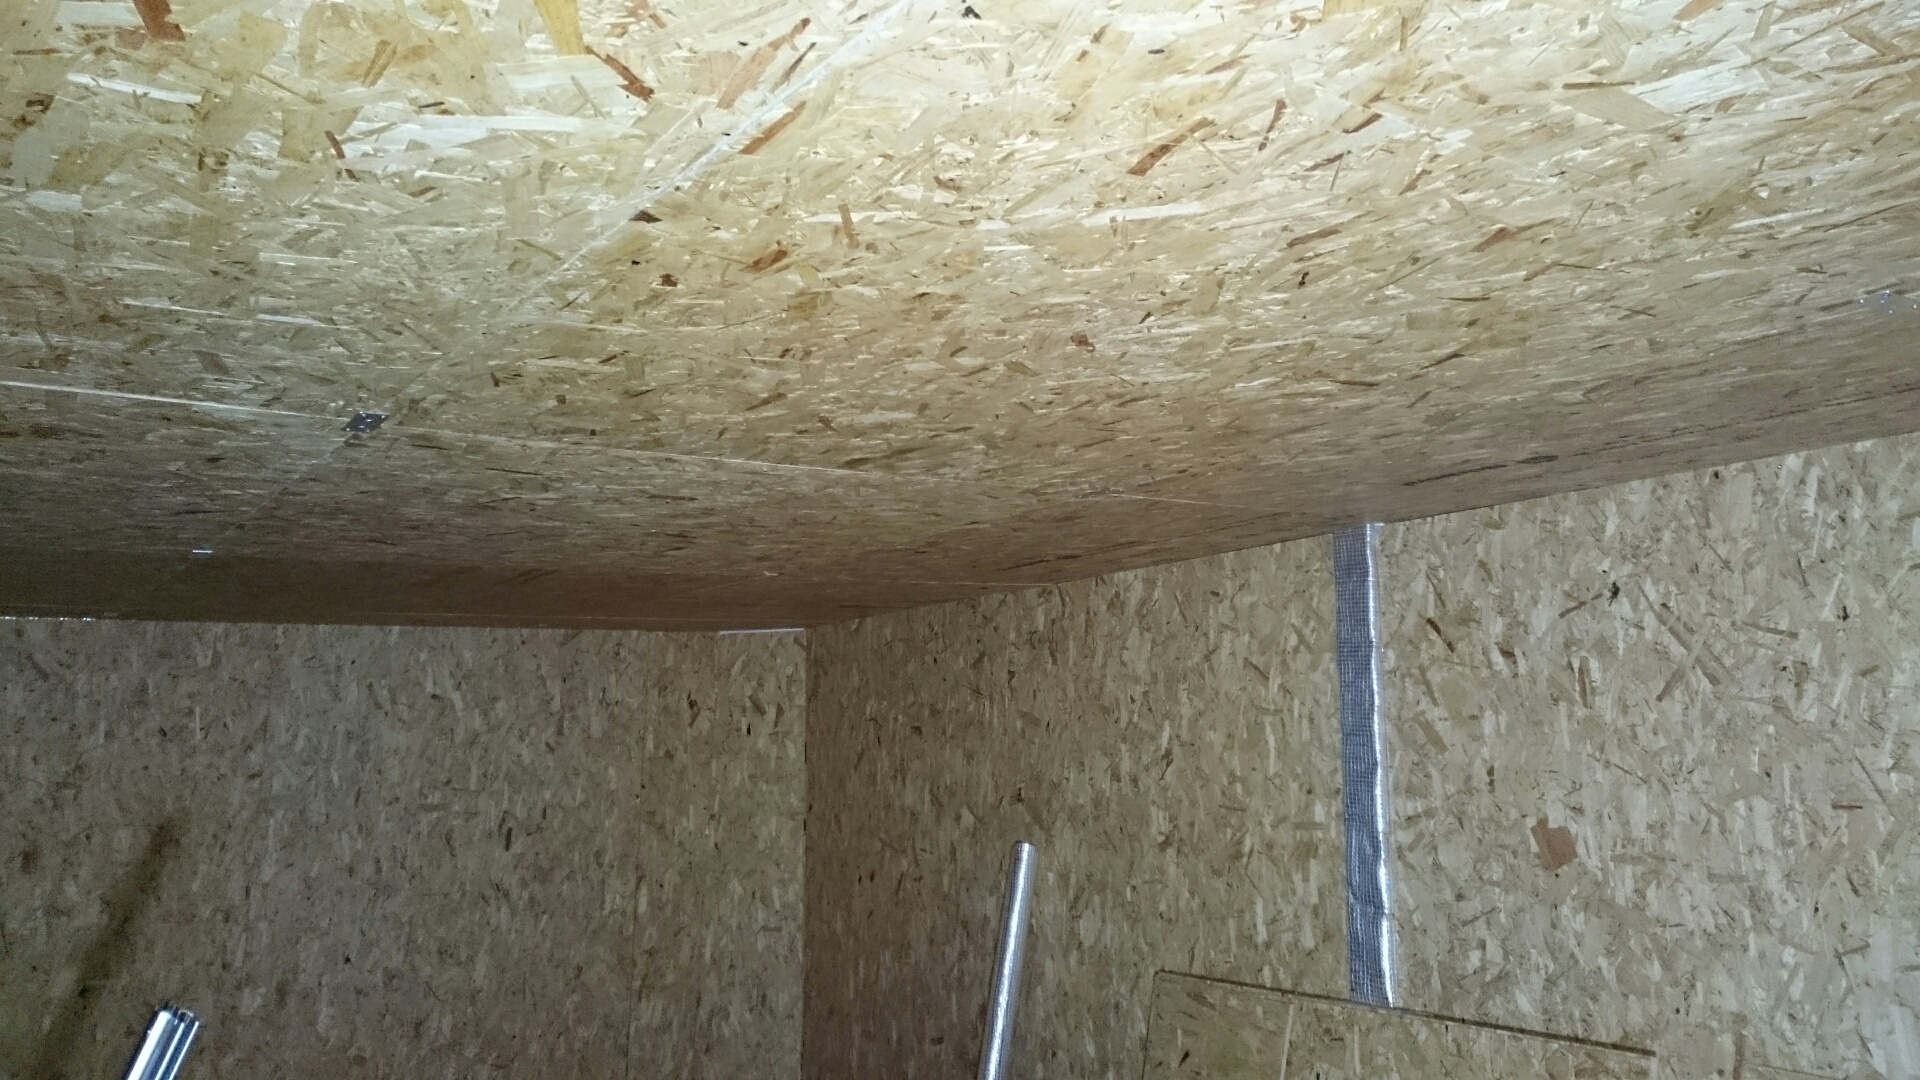
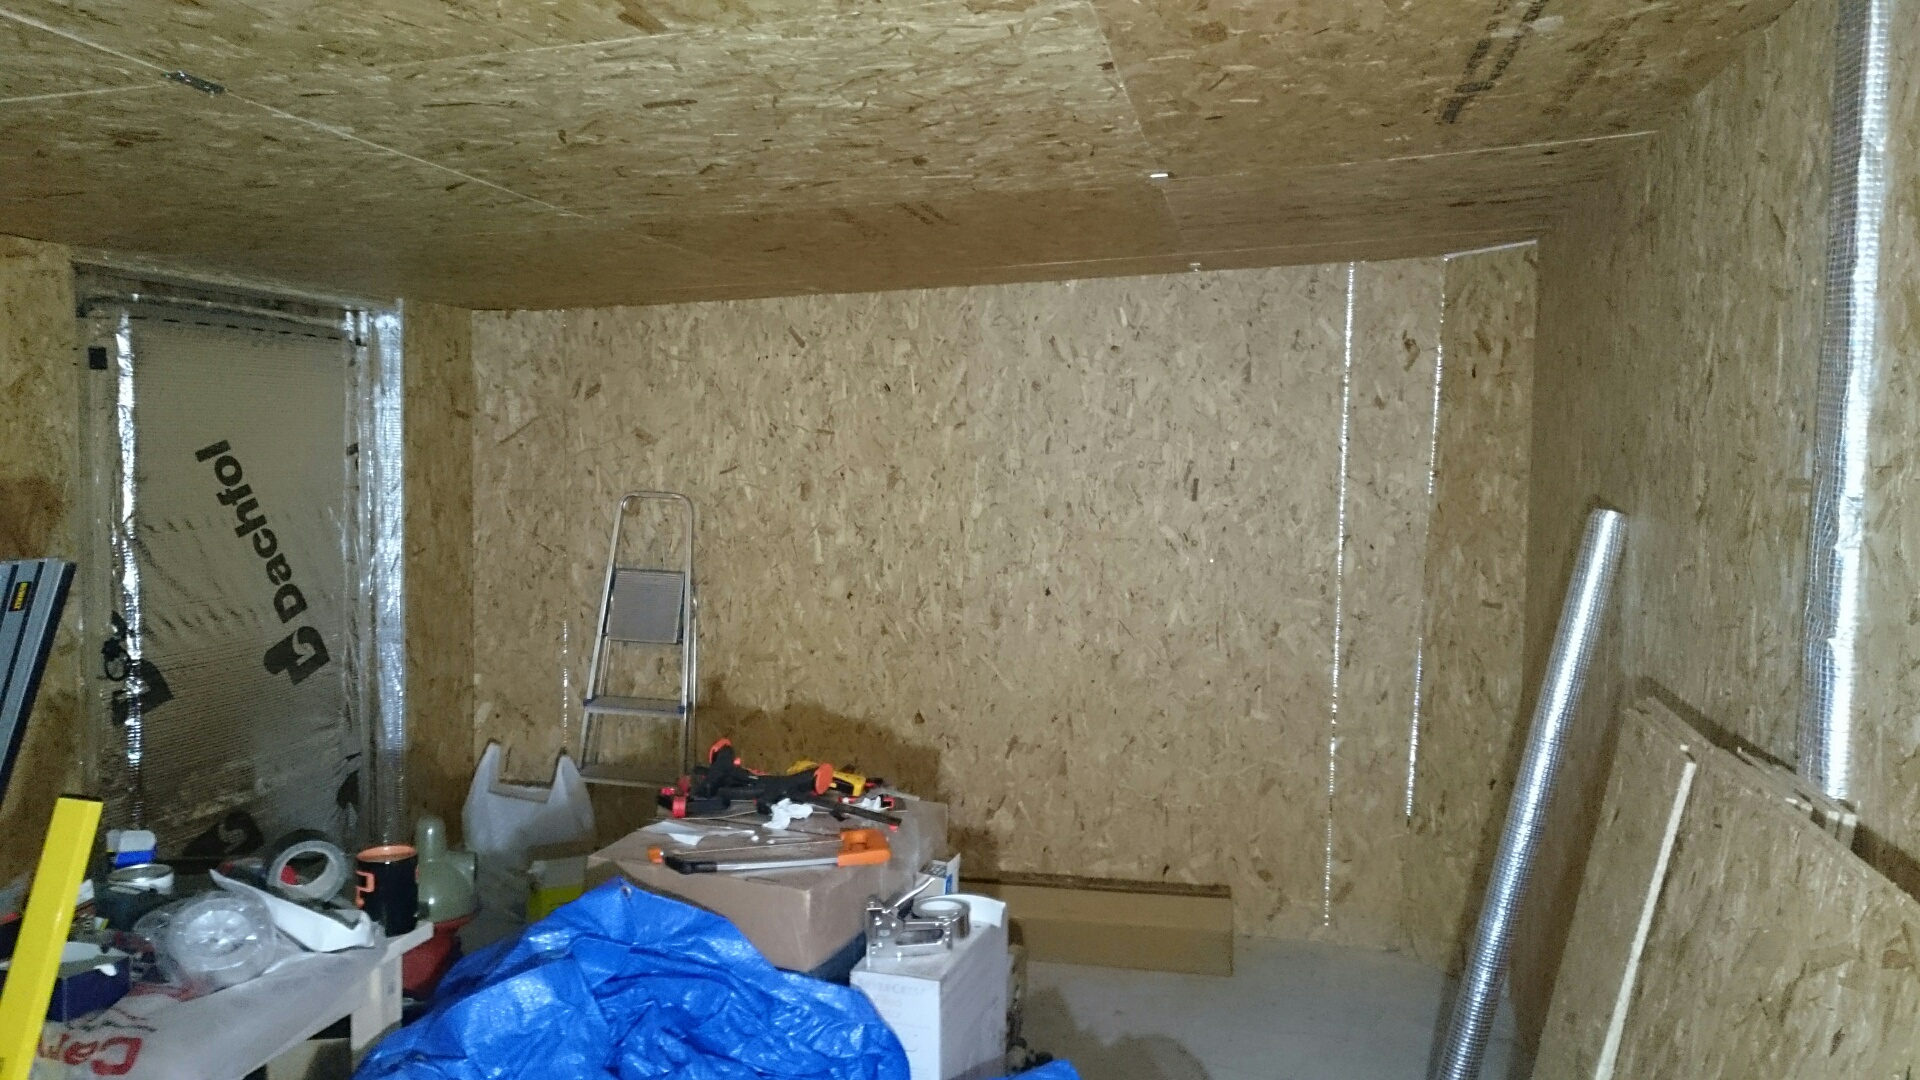
- attach 11mm (metric) 8 x 4 (imperial) (hammer) OSB3 boards to walls, leaving ceiling as the foil barrier.
Then onto other stuff, electrics, floor etc.
Will update as and when!
I've been meaning to start this thread for quite a while, and kept putting it off, so anyway, here goes.
Not long moved into this house, but other than a double detached garage there were no outbuildings or sheds of any sort, and as the house is rather compact, just a two bedroom, there was no possibility of appropriating a room for a workshop, so I decided we needed a nice large shed for garden equipment, mowers, strimmers, that sort of thing.
Fortunately (read on, it'll become clear!), the chap who built the basic shed framework turned out to be a bit of a disaster in terms of keeping to budget and doing a neat job, which meant I had no choice but to learn fast and complete the shed myself, including putting a roof on, as well as the cladding for the front awning area, paving slabs etc. He did put the ex-telegraph poles in for corners, and did all studwork and most cladding. I say fortunate, because my wife, having observed my attempts at cutting, sawing and sanding timber and sheet materials, as well as making things for the ferret hutch, suggested that I seemed to be enjoying it and perhaps I might want to make the shed a workshop for trying out other woodworking activities. Wow! Well, my grandad had for a long time been a very keen amateur woodworker and carver, and although nearly all of his tools had long gone, I suppose something got passed down in the genes, and I became anxious to give it a try.
So, progress so far has been to complete the exterior of the shed with EPDM firestone rubber roof and shiplap T&G cladding, and inside to add 100mm height to the pre-existing concrete slab, first by placing a plastic damp proof membrane, then 50mm sheet polystyrene (weight bearing grade) followed by 50mm concrete, all mixed by hand using 10mm gravel and a 3-2-1 gravel-sand-cement mix. As the shed is a size of 19 feet by 11 feet (5.5 metre x 3.5 metre), you can probably imagine that was a fair amount of concrete, approximately 2 tonnes gravel and 1.25 tonnes sand, and a lot of hard sweaty work!
Because the cladding was mounted straight onto the interior vertical 2x3 studwork, I have had to apply a breathable membrane, Vent Classic, to the inside, so I decided to go straight across the inside face of those tanalised 2x3 studs, so as to maintain a sizeable air gap, and in any case as the initial builder had not spaced the studwork evenly, it would be a very tedious job trying to place insulation between them.
The shed has no windows at all, mainly for security as in recent times the area has gone from one where people left doors unlocked all day to one where regular thefts from sheds and outbuildings occur, particularly in the summer when extra agricultural workers turn up from overseas. It also made it considerably easier to get the cladding on quickly, and I plan to use daylight LED panels inside.
Before main construction, just corner poles erected:

After completion:

Front view, including the wowdy webels:

Inside with breathable membrane attached:


So, structurally, what's next?
- attach tanalised 2x2 battens horizontally round the entire interior and ceiling, at 600mm (yeah I know, building is a nightmare mish mash of imperial and metric) centres, so as to allow me to put Rockwool Slabs of 1200mm x 600mm x 50mm between them, up against the breathable membrane.
- staple aluminium foil type vapour barrier around the whole lot
- attach 11mm (metric) 8 x 4 (imperial) (hammer) OSB3 boards to walls, leaving ceiling as the foil barrier.
Then onto other stuff, electrics, floor etc.
Will update as and when!


