Hornbeam
Established Member
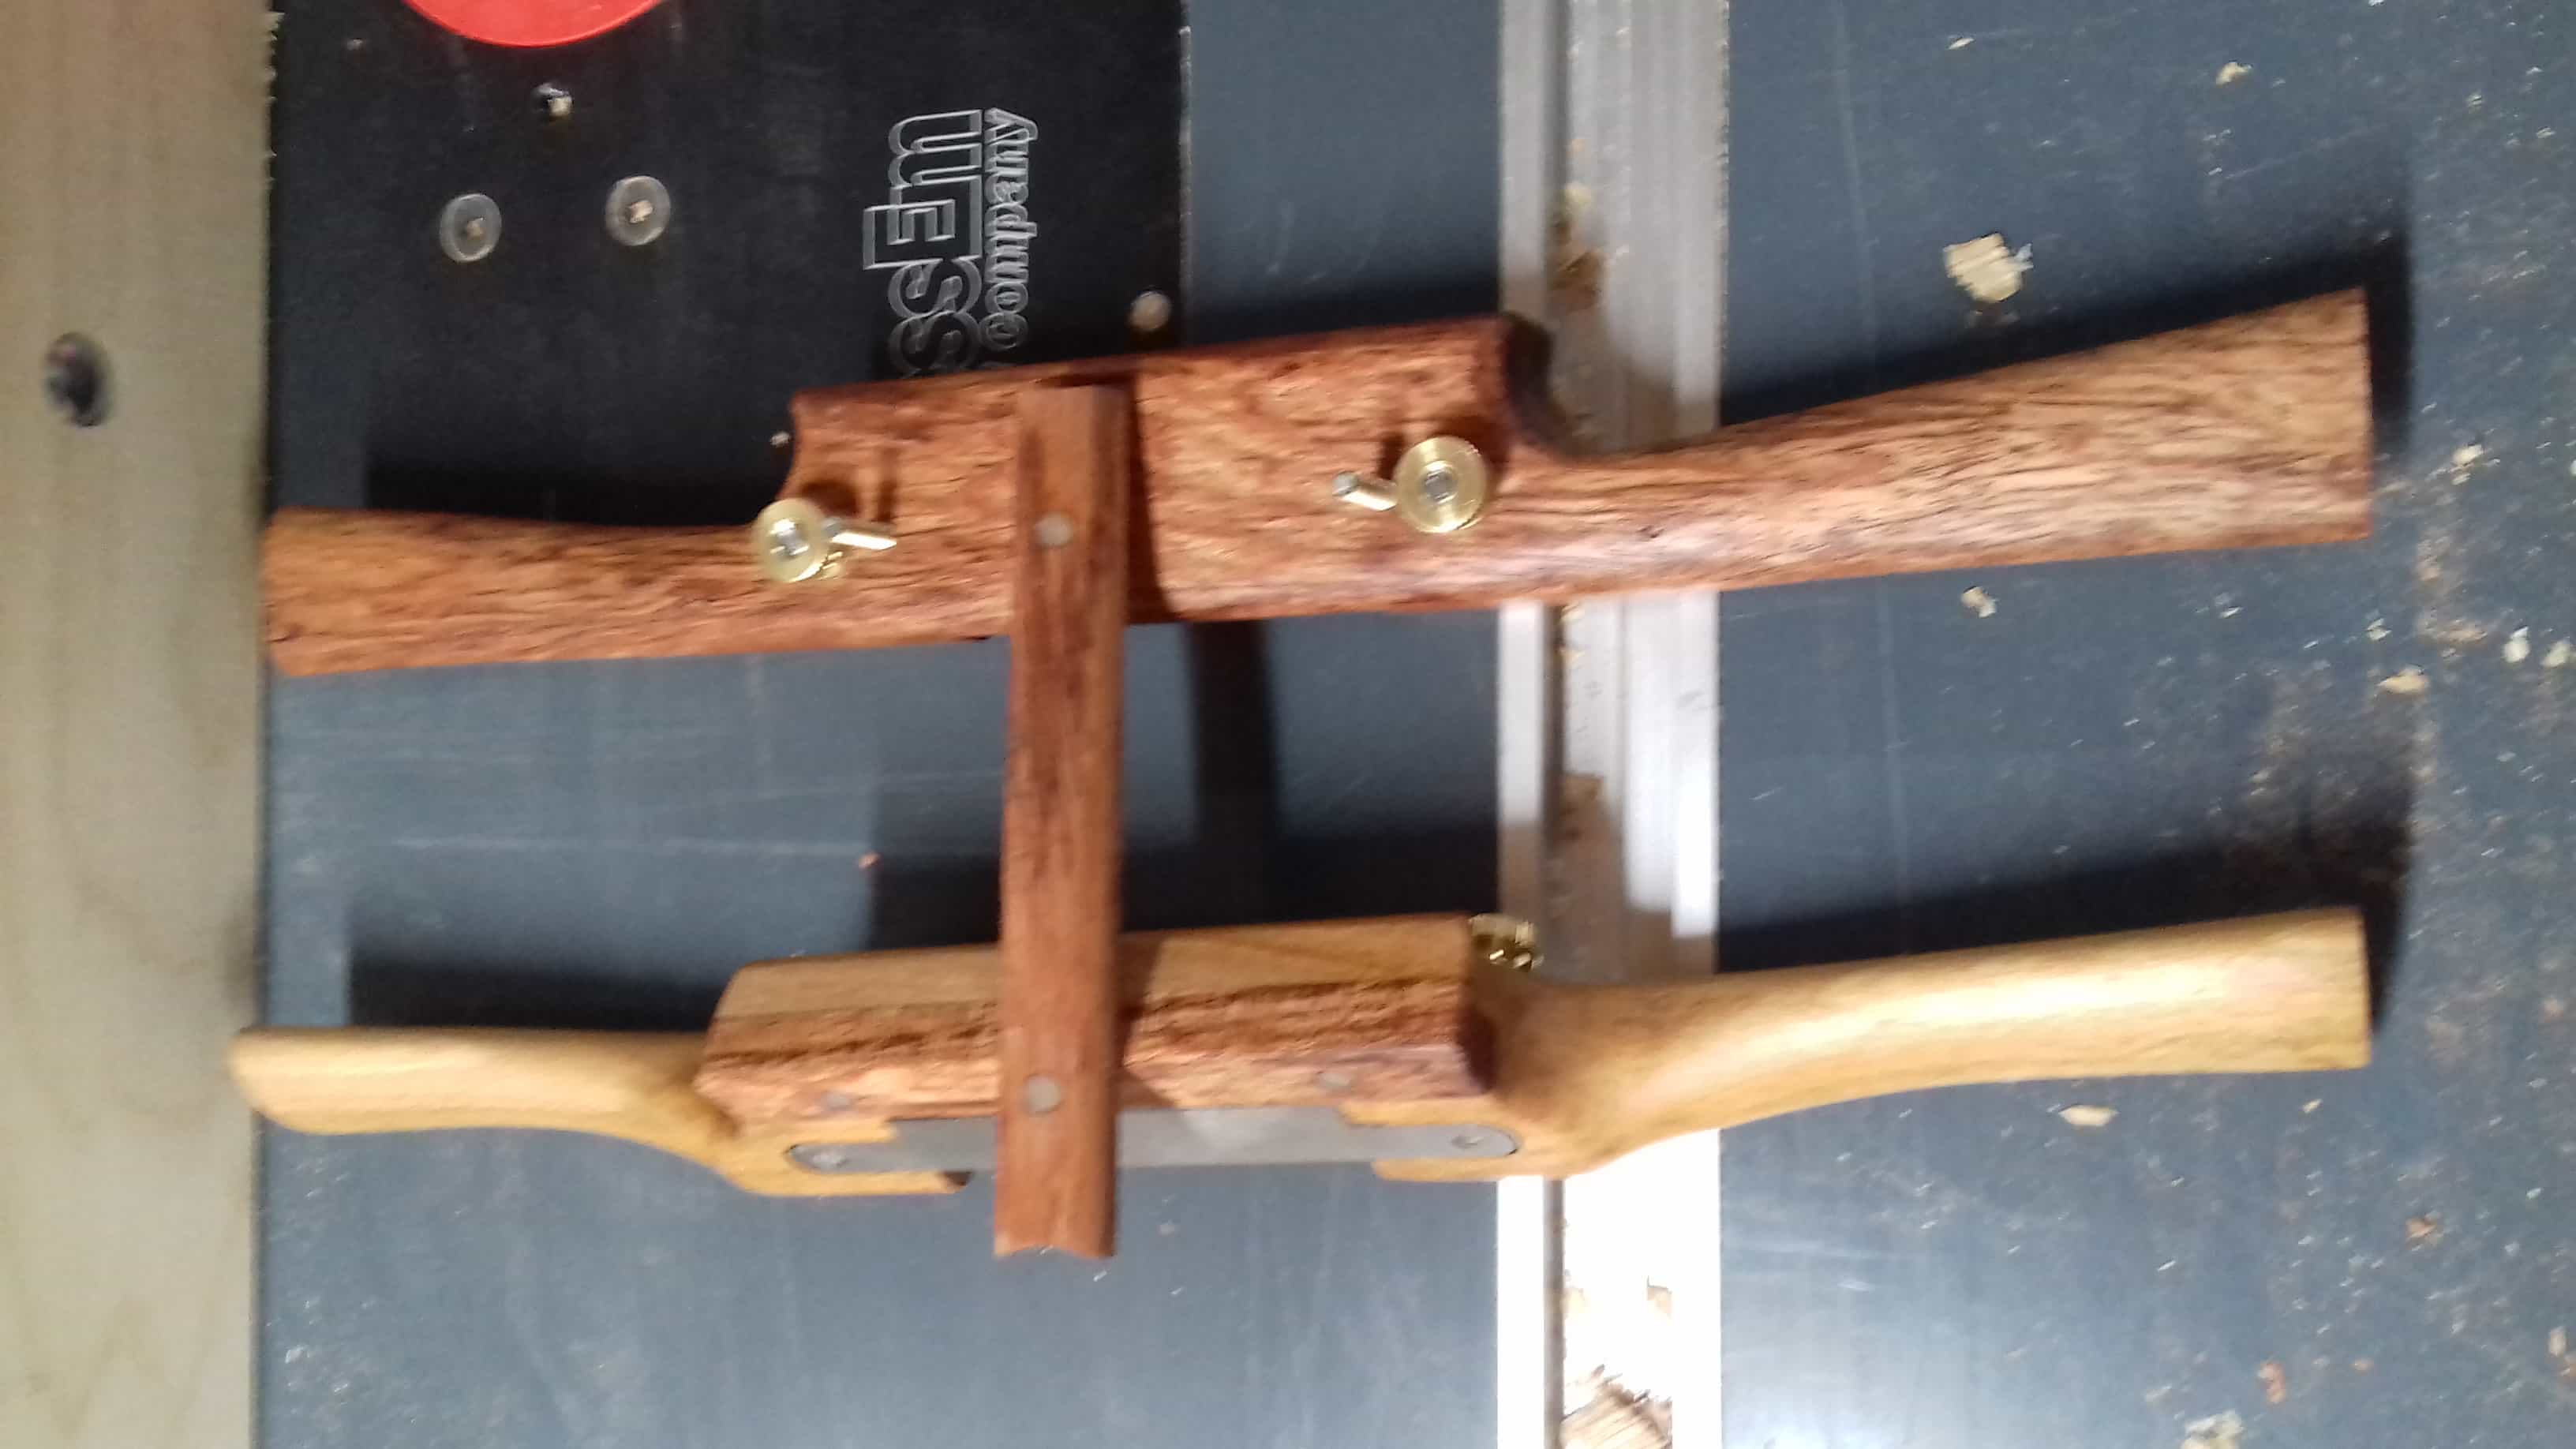
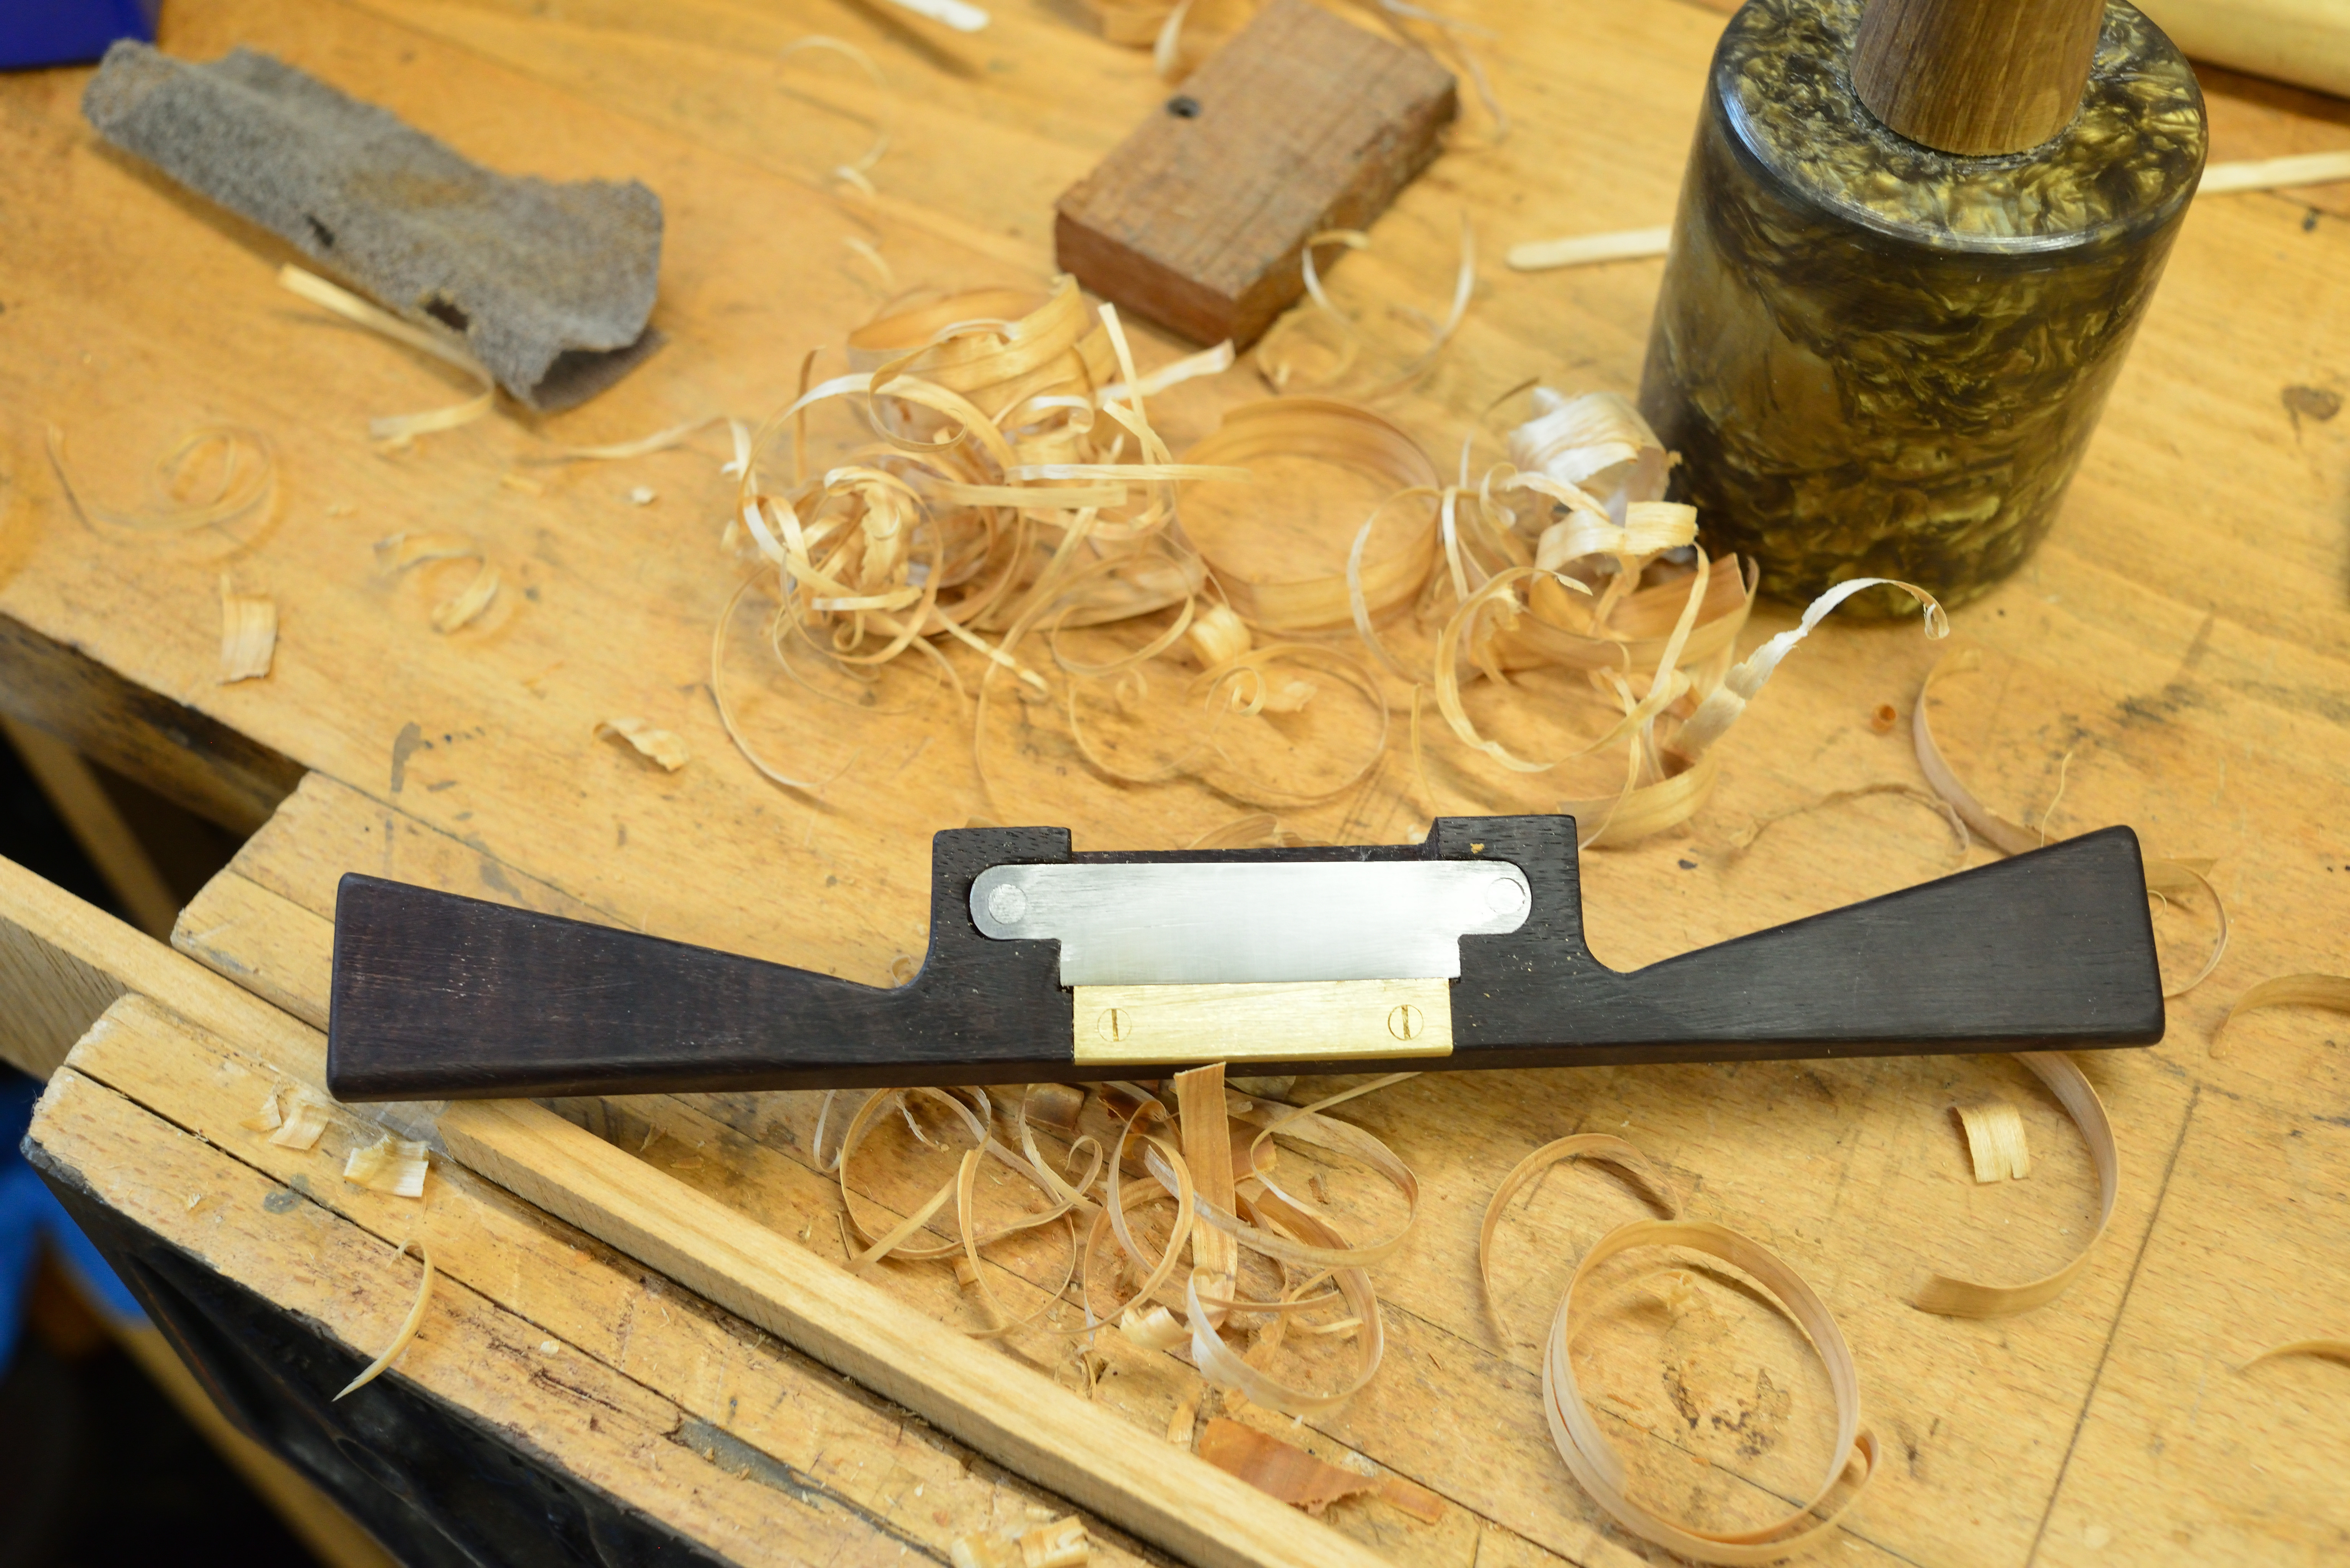
I have always preferred wooden spokeshaves to metal ones but find that adjusting them is a bit more awkward. So I bought a couple of the Ron Hock large blades with the idea of making 2 new fully adjustable wooden spokeshaves.
When the 2 blades arrived I noticed that the tangs on one of the blades were not parallel. Classic Hand tools were superb and sent out another one which arrived the next day.
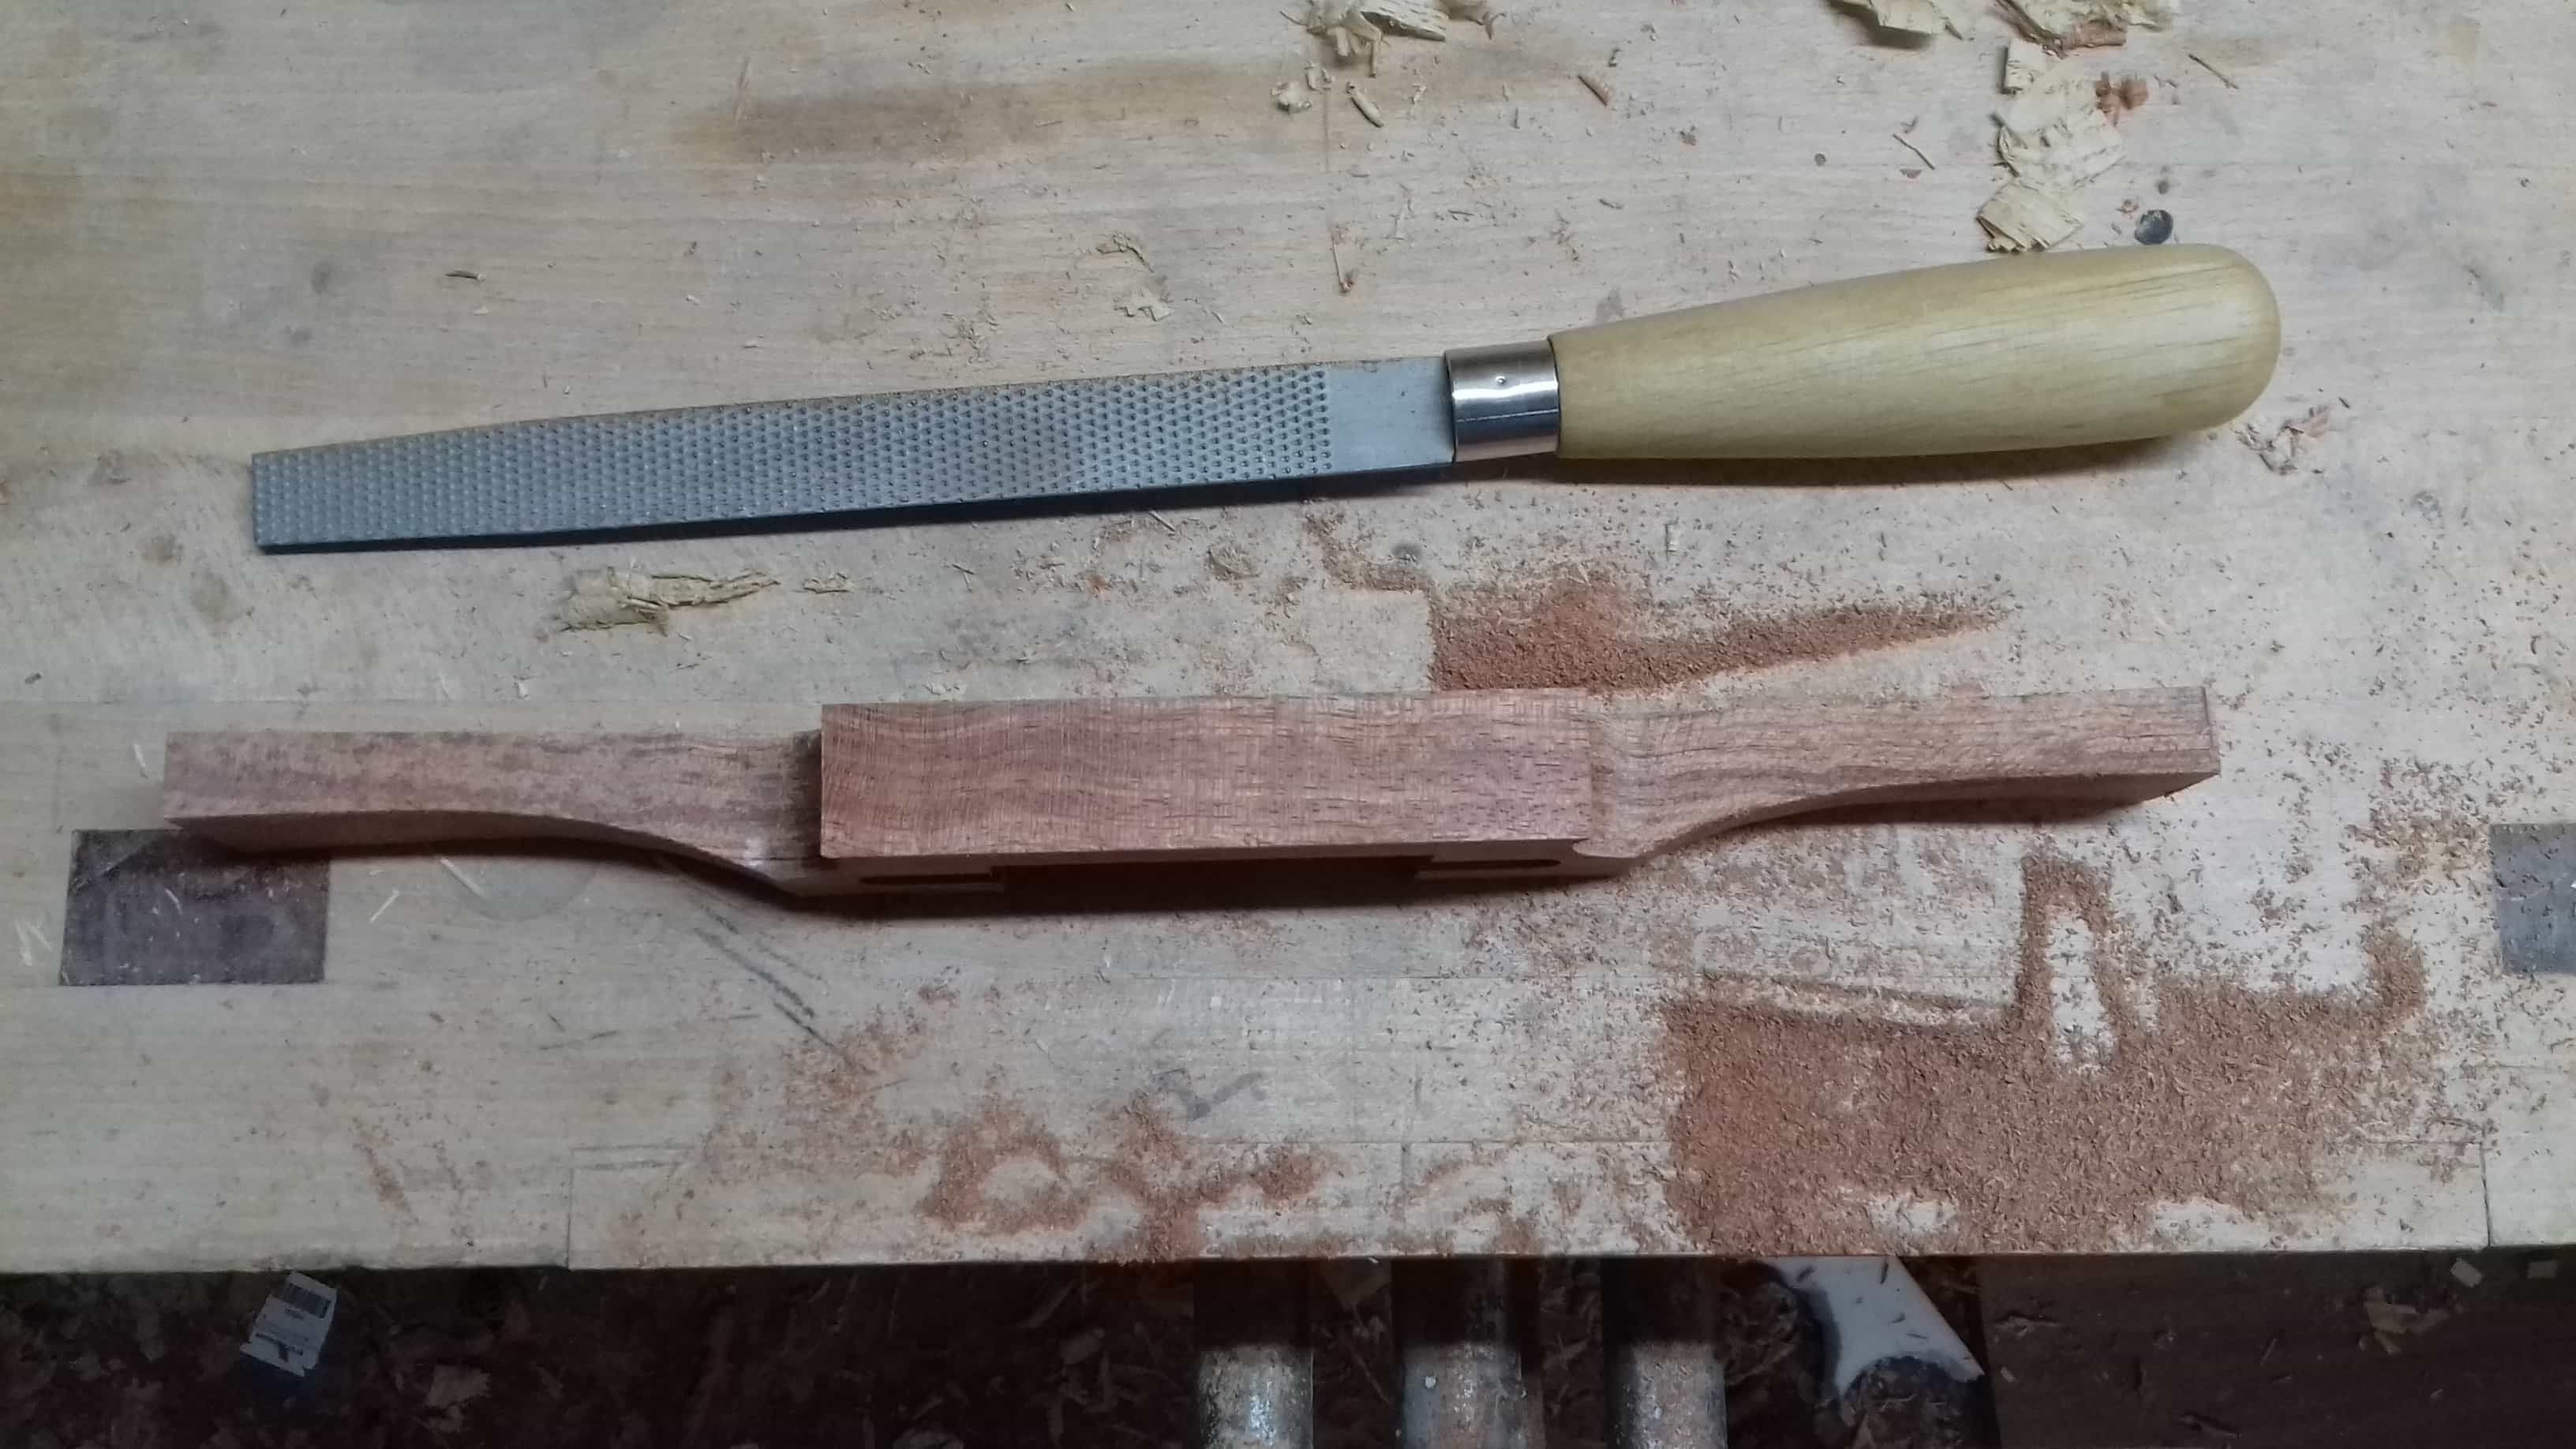
I had some small bubinga offcuts from a previous project and cut 2 blanks 300mm X 38mm X 24 mm. I also cut a third blank in some beech to use as a first practice to make sure everything worked as planned rather than spoil a good blank.
 .
.
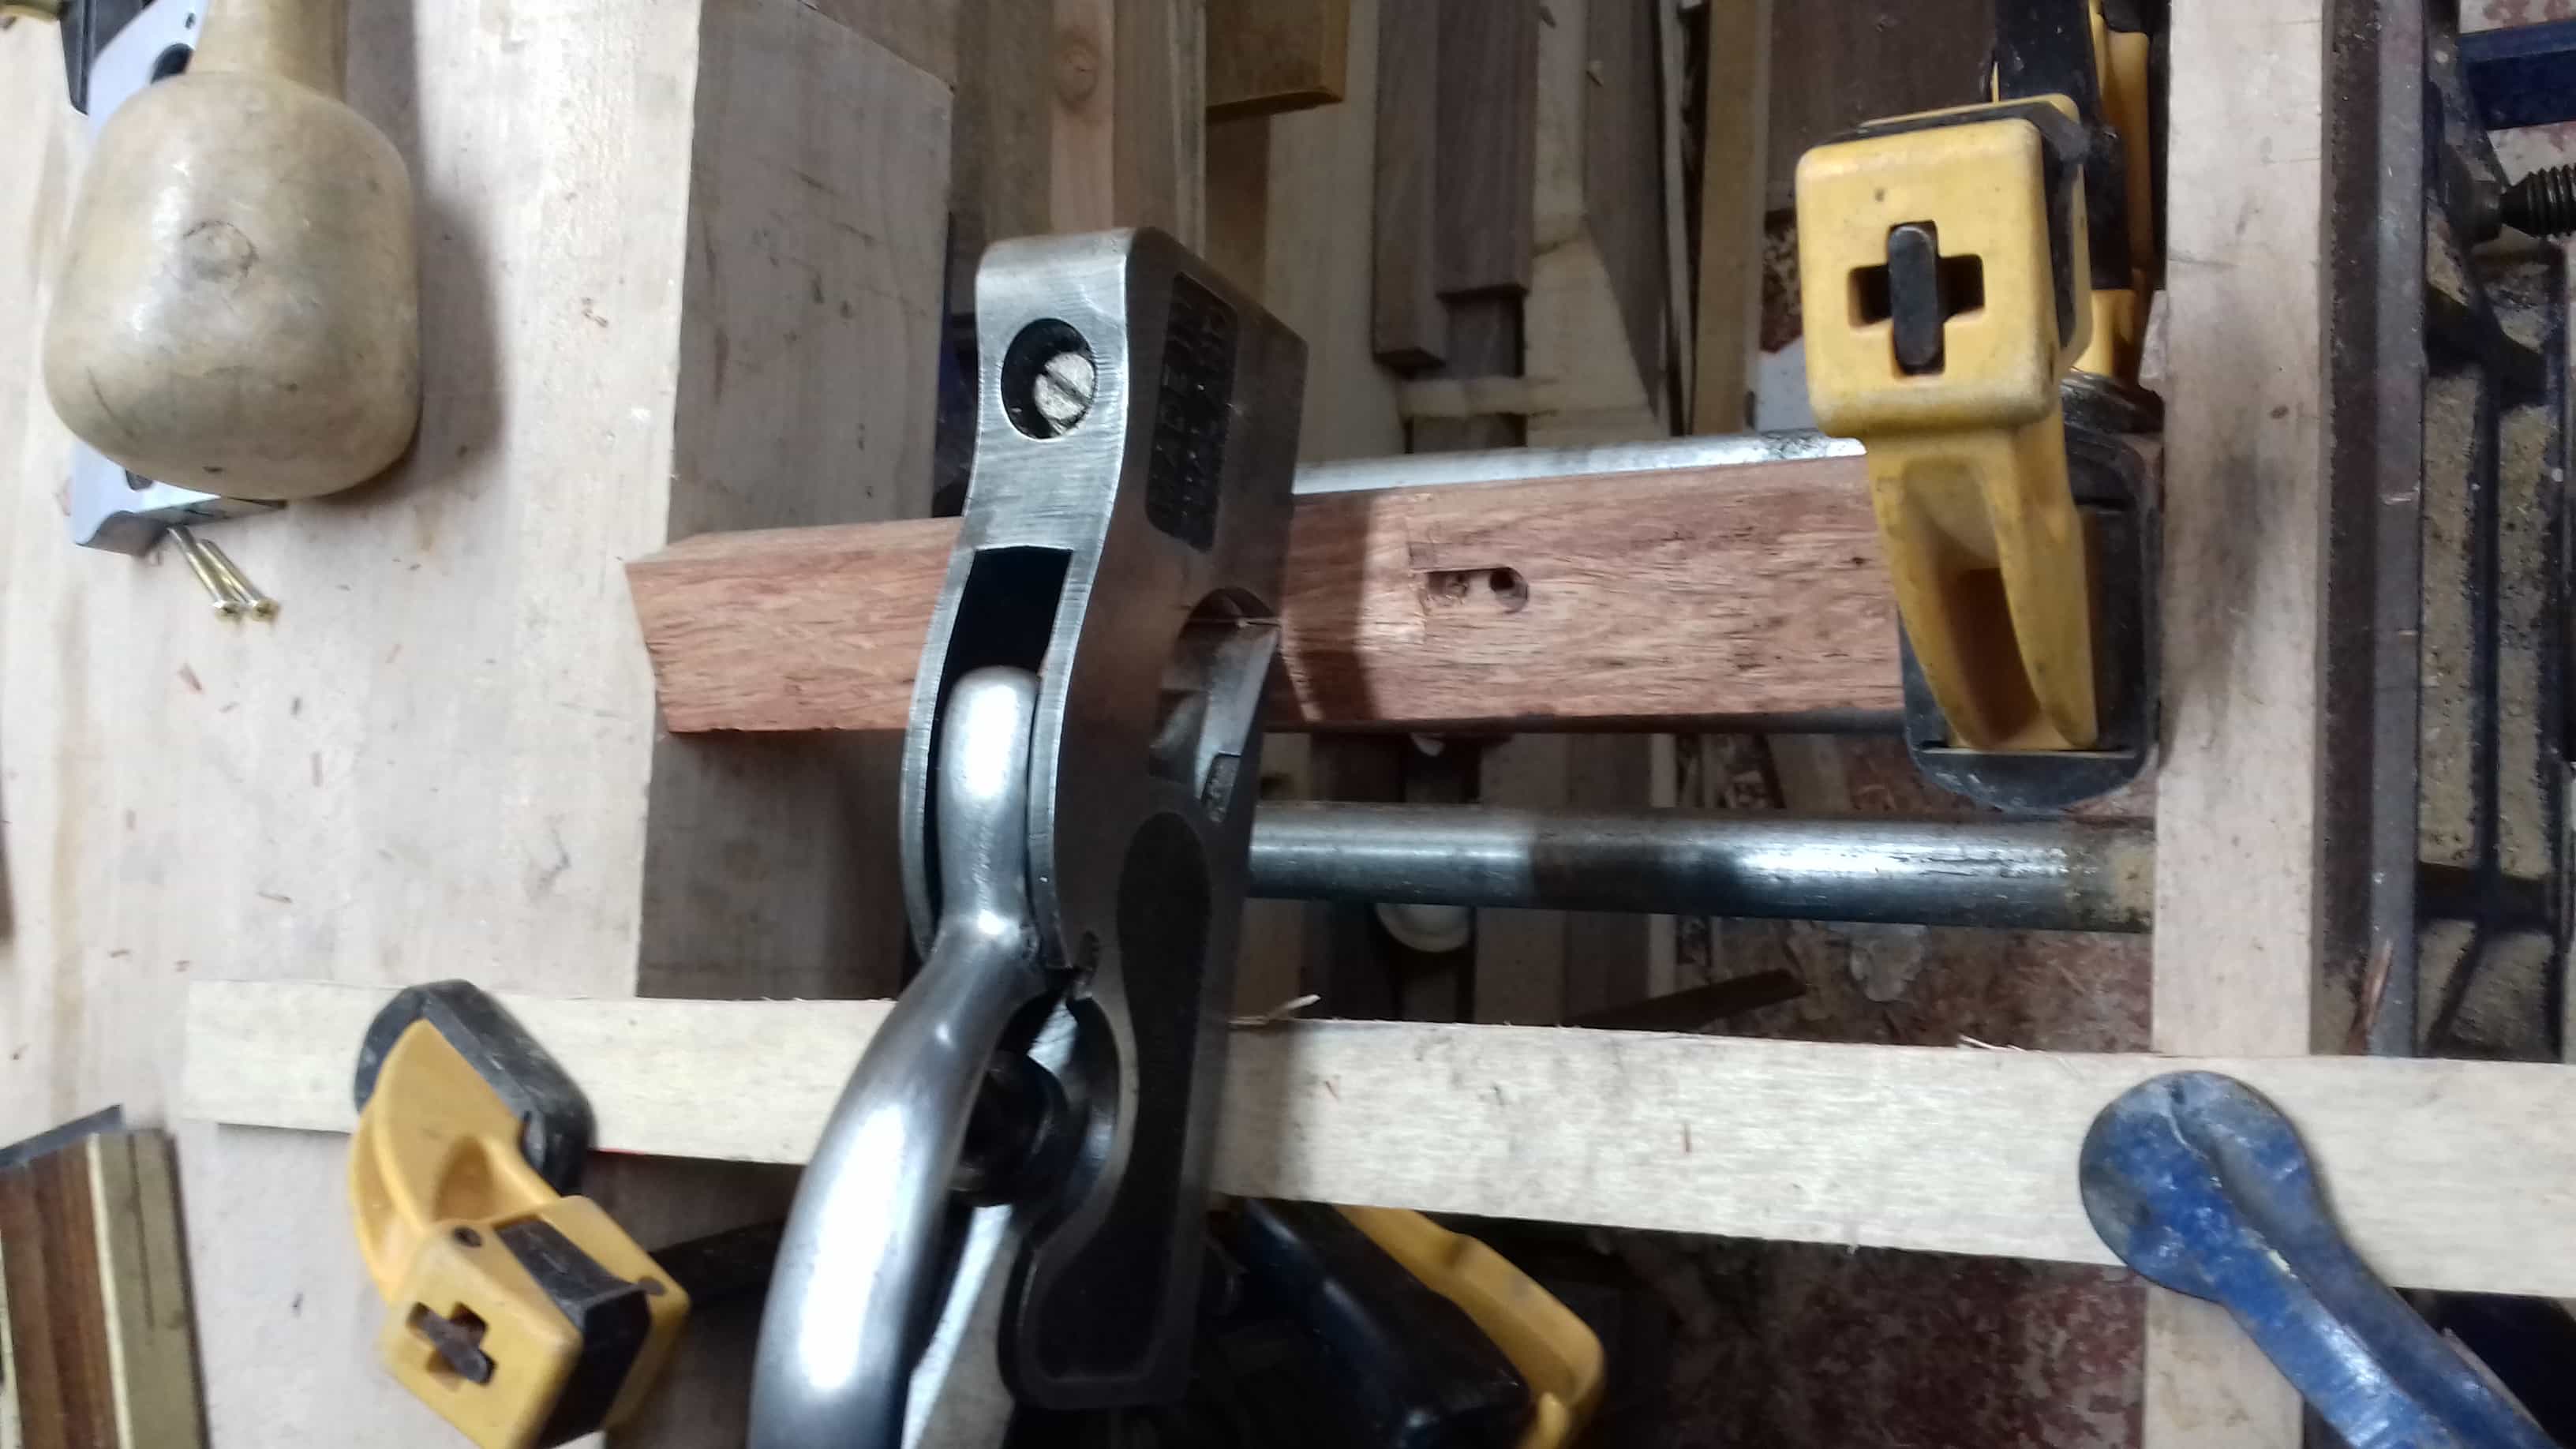
The first stage was to slot the base of the blank to accept the blade. I did this slightly deeper than the thickness of the blade as the blank would be skimmed down at a later stage.

The next stage is most critical which is to drill the holes in the blank for the tangs and the adjustment screws. To ensure accuracy I made a small template out of some high tensity PE
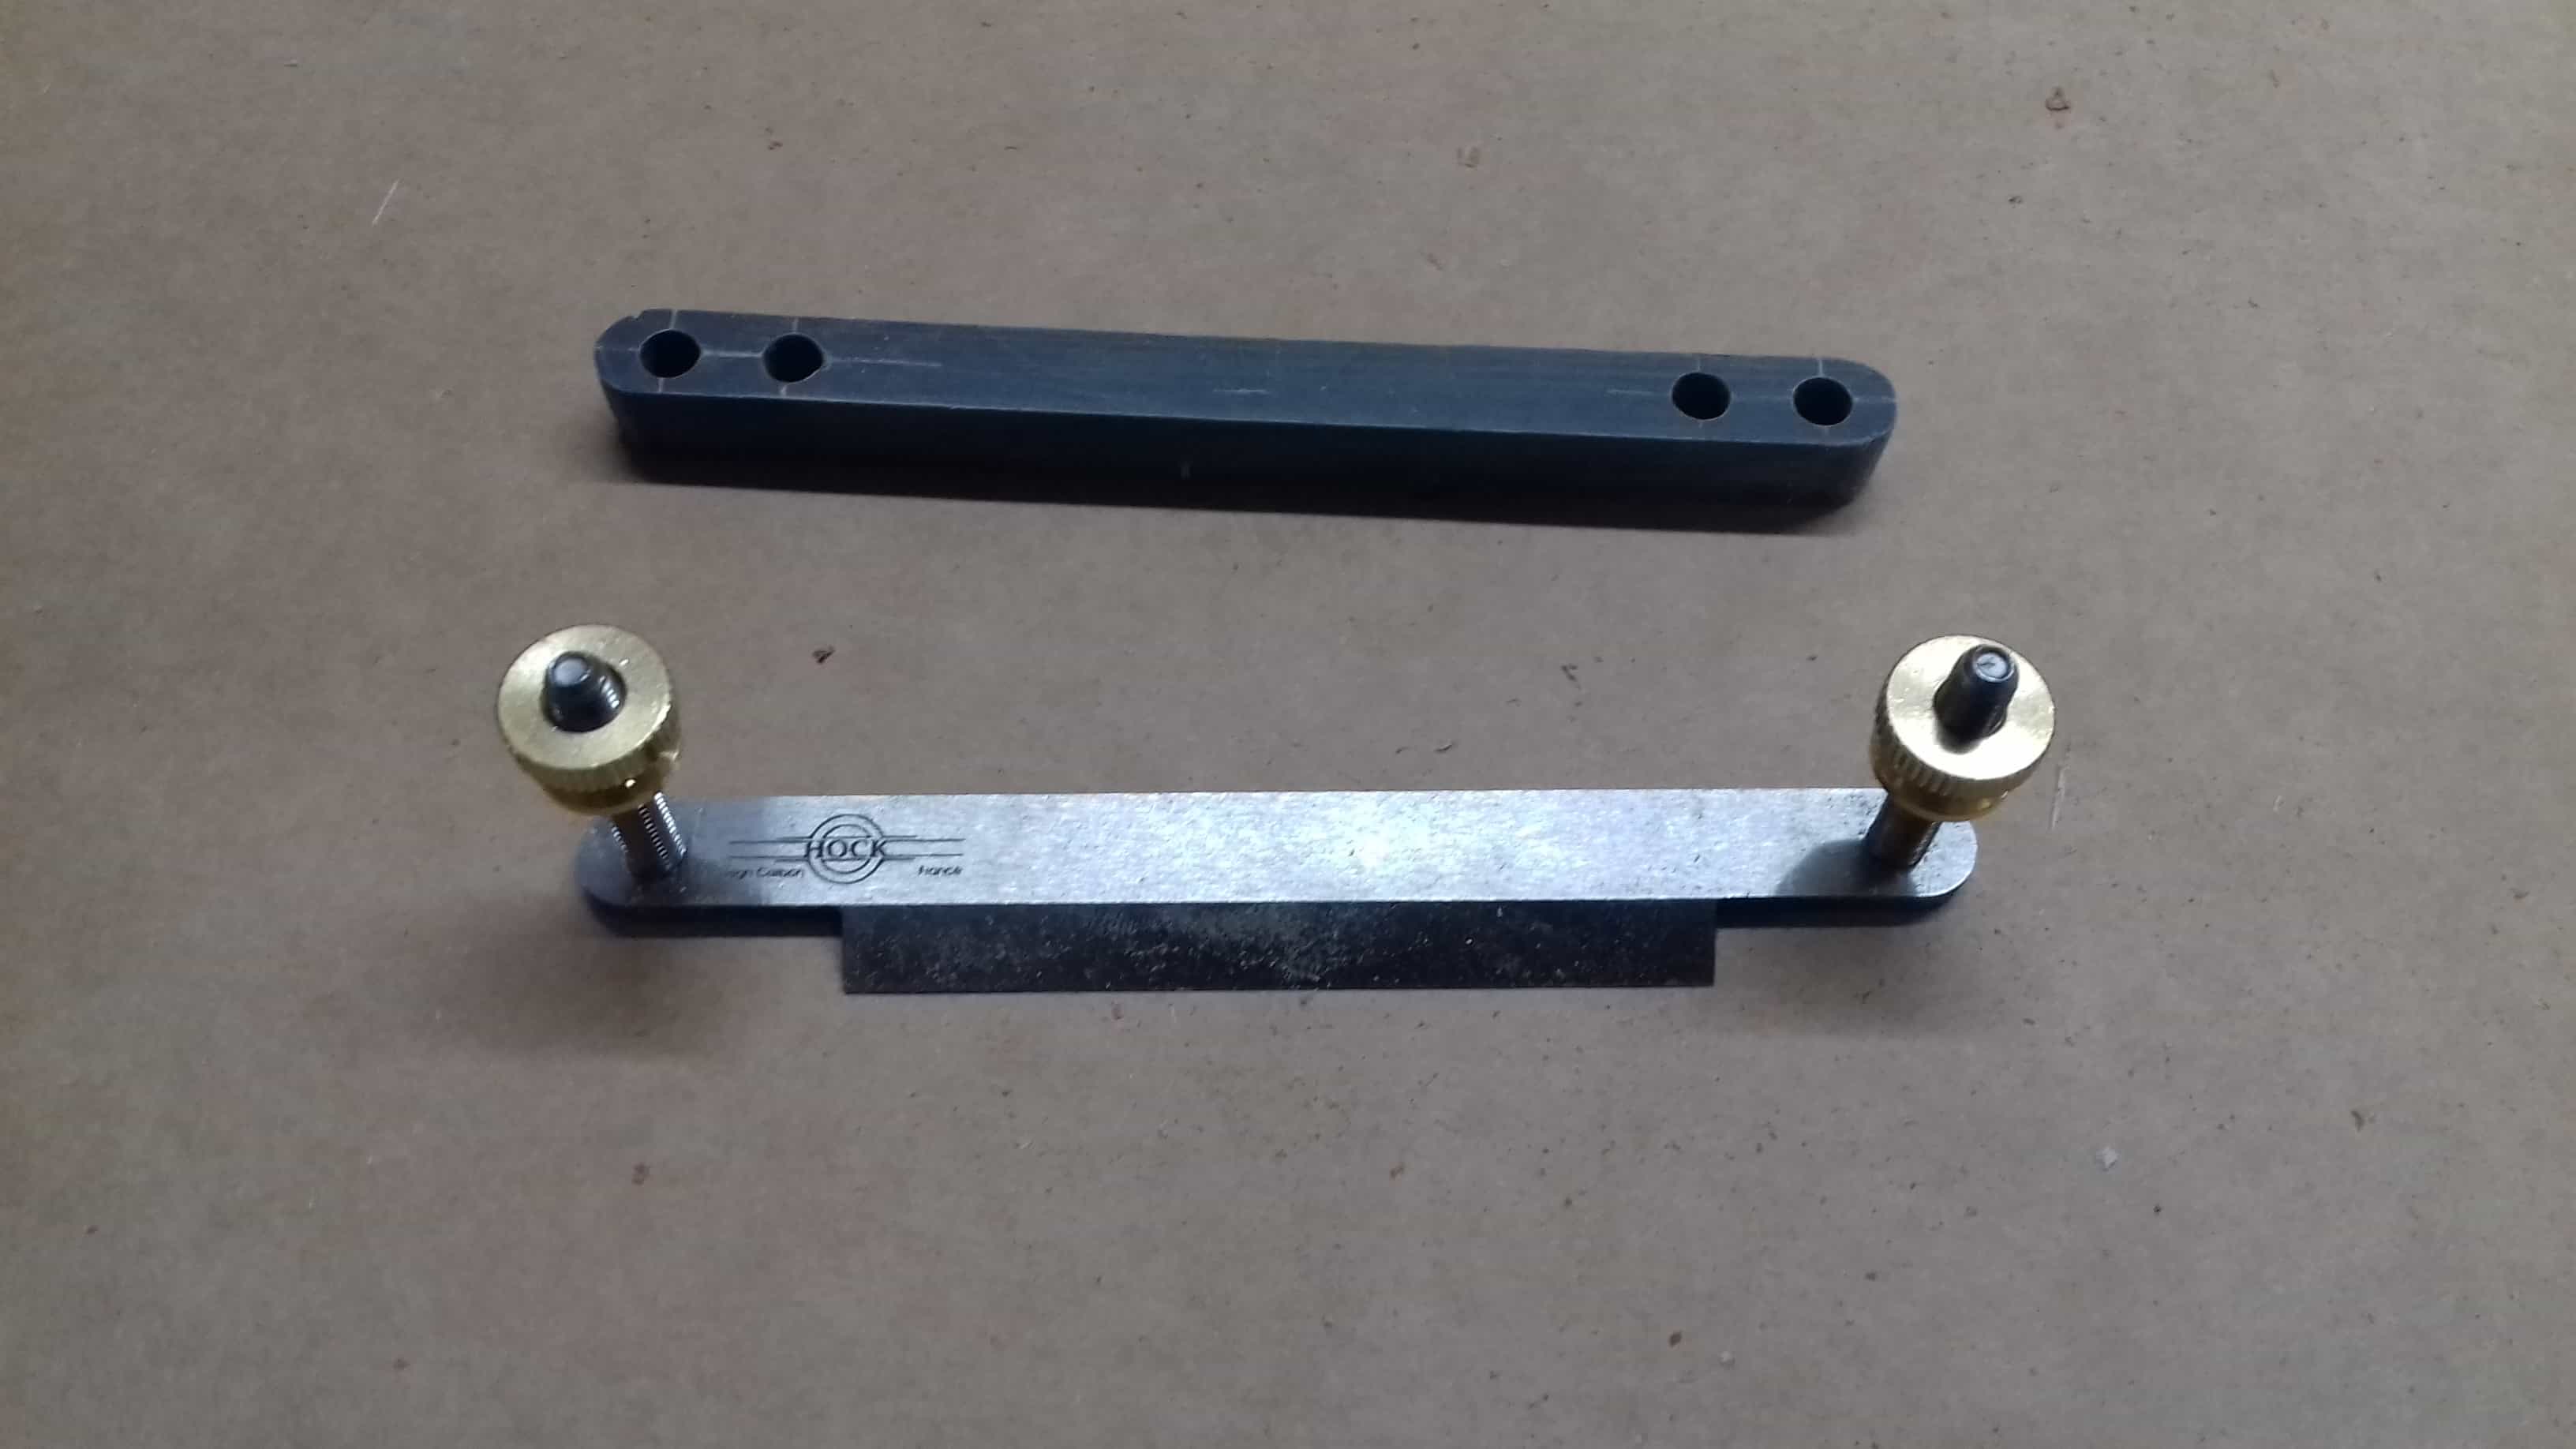
The template was fitted into the cut slot in the base of the blank and holes were drilled for the tangs and the adjustment screws.

Most people seem to use machine screws fitted from the underside but these can only be adjusted by taking the blade out. Instead I drilled the adjuster holes all the way through and epoxied in a threaded sleeve set a few mm into the hole to allow for countersinking for clearance of the screw head. The screws go right through the blank. When everything is finished, I will cut to length and slot the top so they can be adjusted with a small screwdriver

Will add some more tomorrow night if people are interested
Ian
When the 2 blades arrived I noticed that the tangs on one of the blades were not parallel. Classic Hand tools were superb and sent out another one which arrived the next day.
I had some small bubinga offcuts from a previous project and cut 2 blanks 300mm X 38mm X 24 mm. I also cut a third blank in some beech to use as a first practice to make sure everything worked as planned rather than spoil a good blank.

The first stage was to slot the base of the blank to accept the blade. I did this slightly deeper than the thickness of the blade as the blank would be skimmed down at a later stage.

The next stage is most critical which is to drill the holes in the blank for the tangs and the adjustment screws. To ensure accuracy I made a small template out of some high tensity PE

The template was fitted into the cut slot in the base of the blank and holes were drilled for the tangs and the adjustment screws.

Most people seem to use machine screws fitted from the underside but these can only be adjusted by taking the blade out. Instead I drilled the adjuster holes all the way through and epoxied in a threaded sleeve set a few mm into the hole to allow for countersinking for clearance of the screw head. The screws go right through the blank. When everything is finished, I will cut to length and slot the top so they can be adjusted with a small screwdriver

Will add some more tomorrow night if people are interested
Ian


