Hi All,
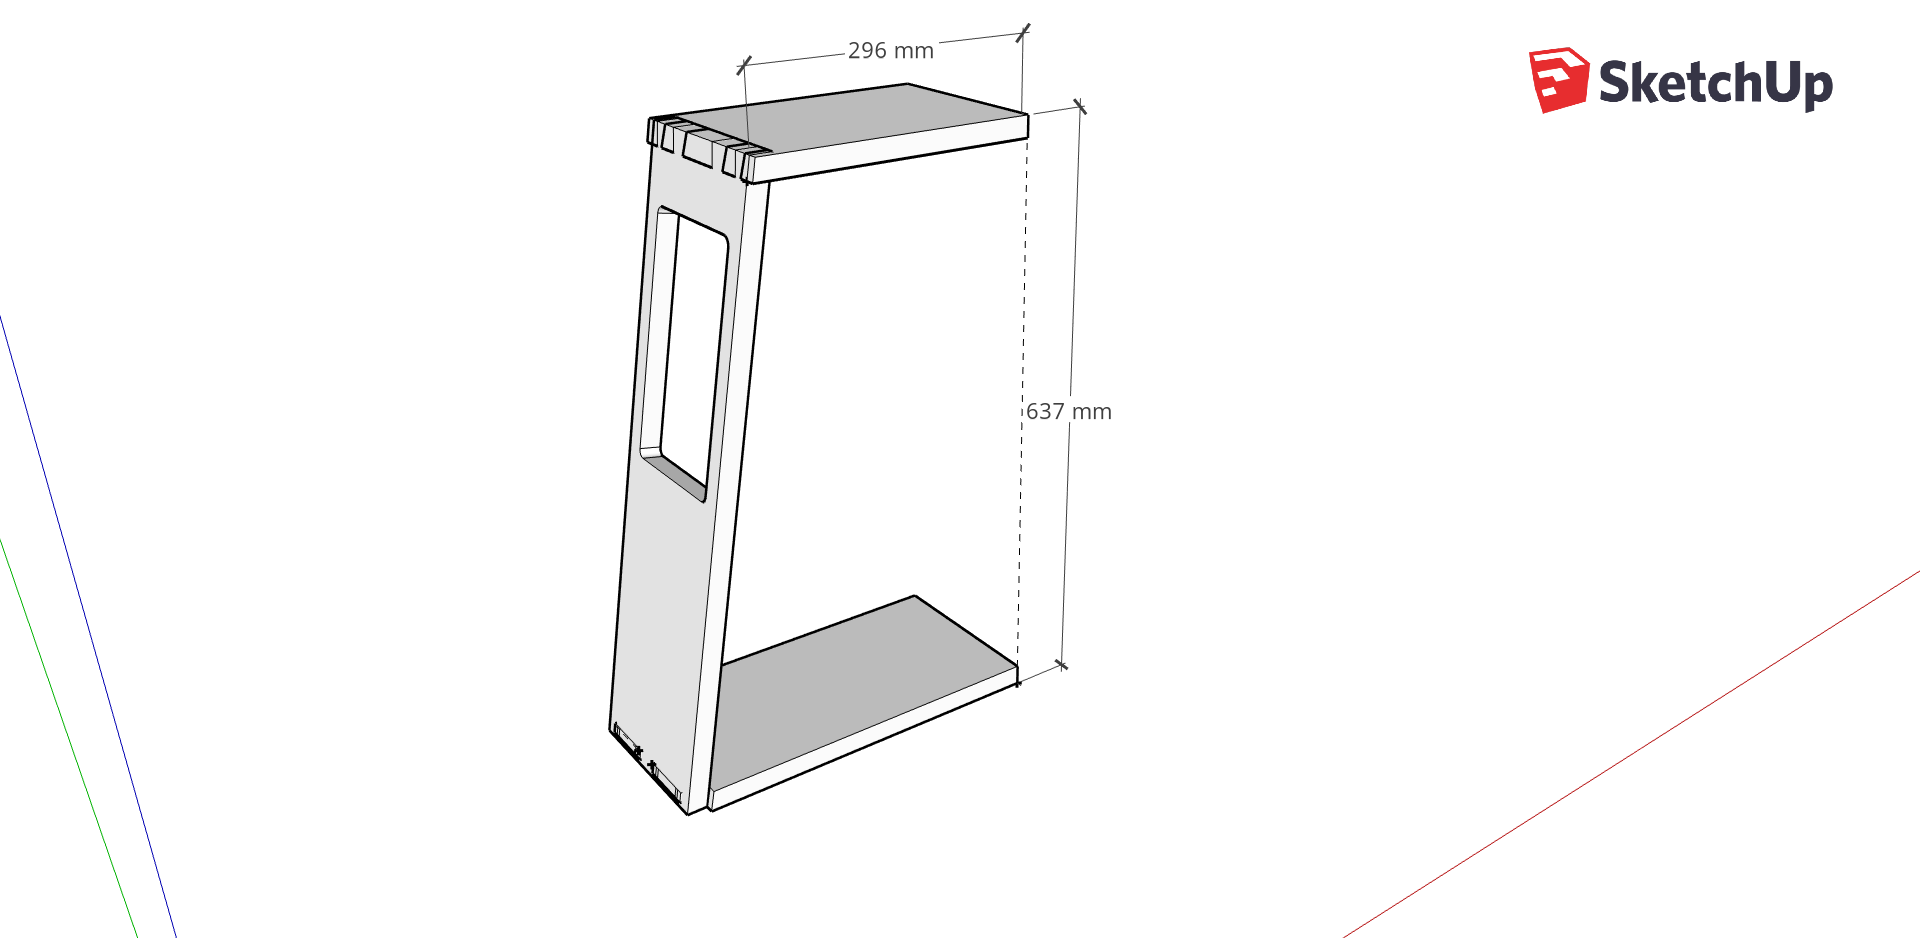
This is my first WIP that I'm sharing here. I'm approaching this project as a bit of fun (for the Essex Makers "three piece challenge") but mainly a learning process - some things I want to try for the first time: planing up rough sawn hardwood; wedged tenons, dovetailed boards at an angle, and inlays. The C table allows me to do all three in one project. It comprises a base, a single side, and a top. It requires three pieces of hardwood. A piece of Oak, Tulip, and Sapele - all one metre long, 25mm thick, and between 200mm and 300mm wide. Good times.
I sketched out some designs on a piece of paper and sketchup, but I'm really just going with the flow on this one. I’ll be happy if I can pull off some good joints, and it stays stable (as in, doesn’t fall over). Here’s the design. There’ll be an inlay pattern on the top, design TBD.

Step one - planing the rough sawn timber
I very scientifically lift each piece to see which is heaviest. The Oak is. That will be the base. The sapele is the lightest. That will be the top. Tulip will be the side. (Although the Oak is a much nicer wood - I may swap them around, seems a waste to put the oak on the floor)
The sapele board is bowed and slightly warped. I don’t need the whole length, so I saw the board to the length I need for the top. Less of a bow to remove in the shorter pieces.
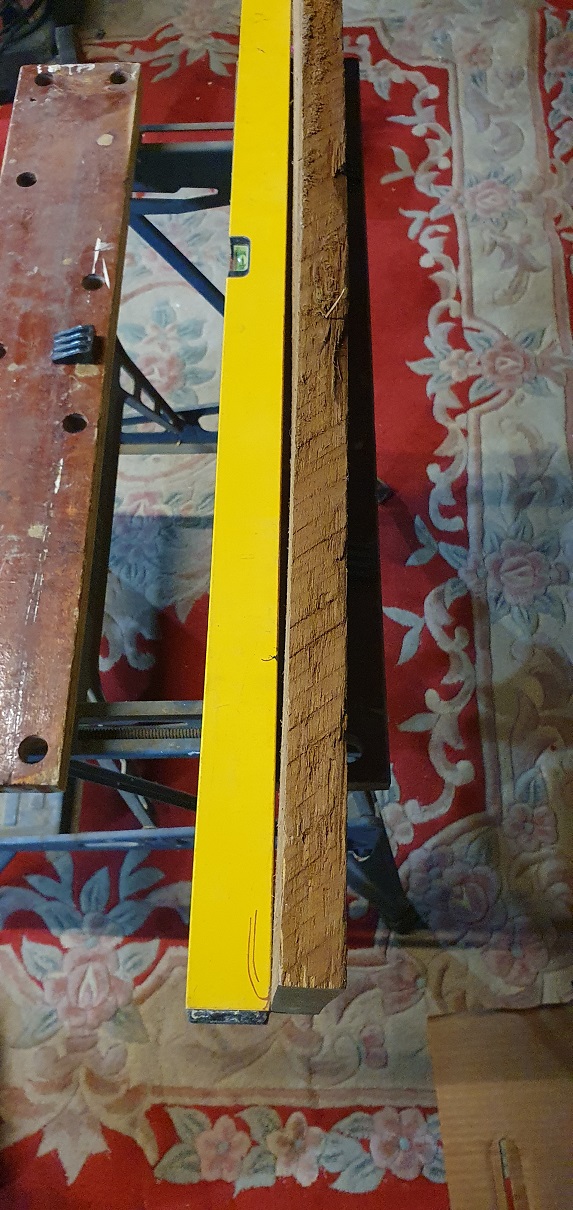

I don’t have a planer or thicknesser, so it’s hand tool time (which I don’t mind). I’ve only ever planed up rough sawn wood once before - it was a softwood (pine I think) and it was easy to do. This one… not so much.
No 4 jack plane did not do much good. I went at it for about 10 mins without much progress apart from smoothing down some of the band saw marks.

Belt sander time. It was a cheapy (£17) belt sander I bought to restore a garden table, and it was much better.

Now, I thought, I could use my plane to get it nice and square and smooth. No 5 plane. Definitely better this time. I needed to sharpen the blade, and so it was time to make that honing guide recommended on the ‘sharpening on a budget’ on this forum. Good results.

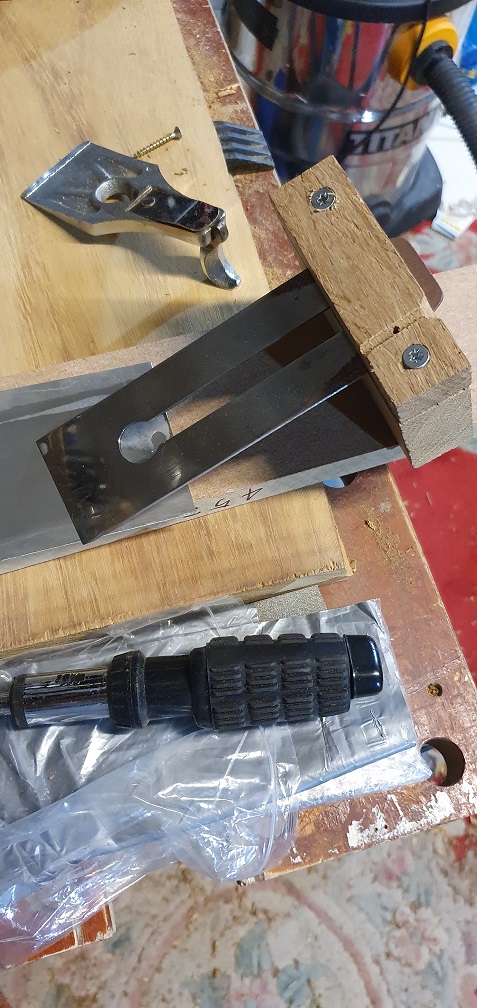
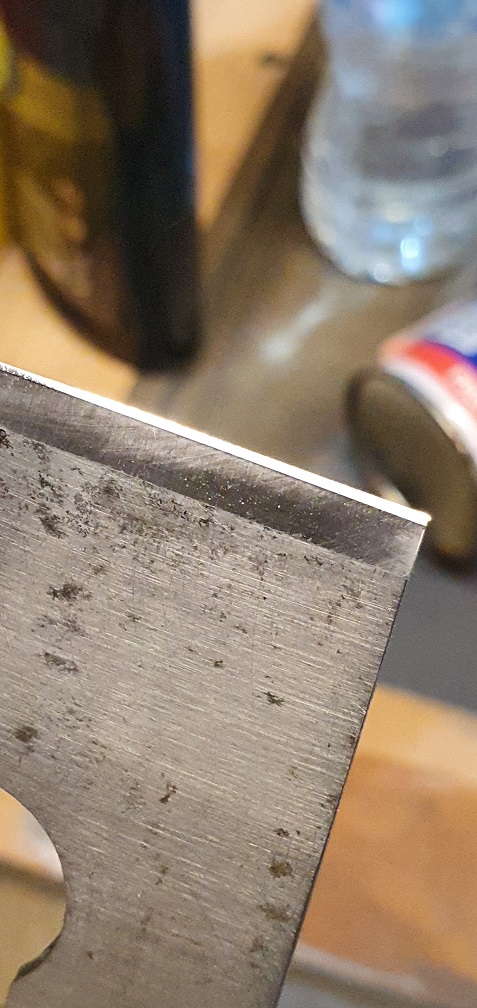
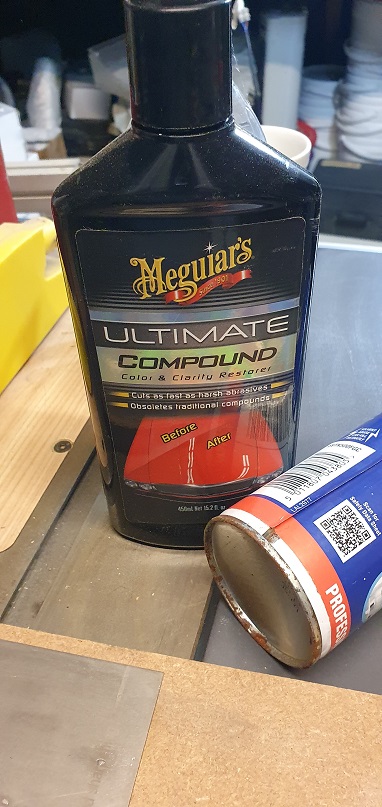
Stropping with car polish on some MDF (a la MikeG’s suggestion) worked a treat.
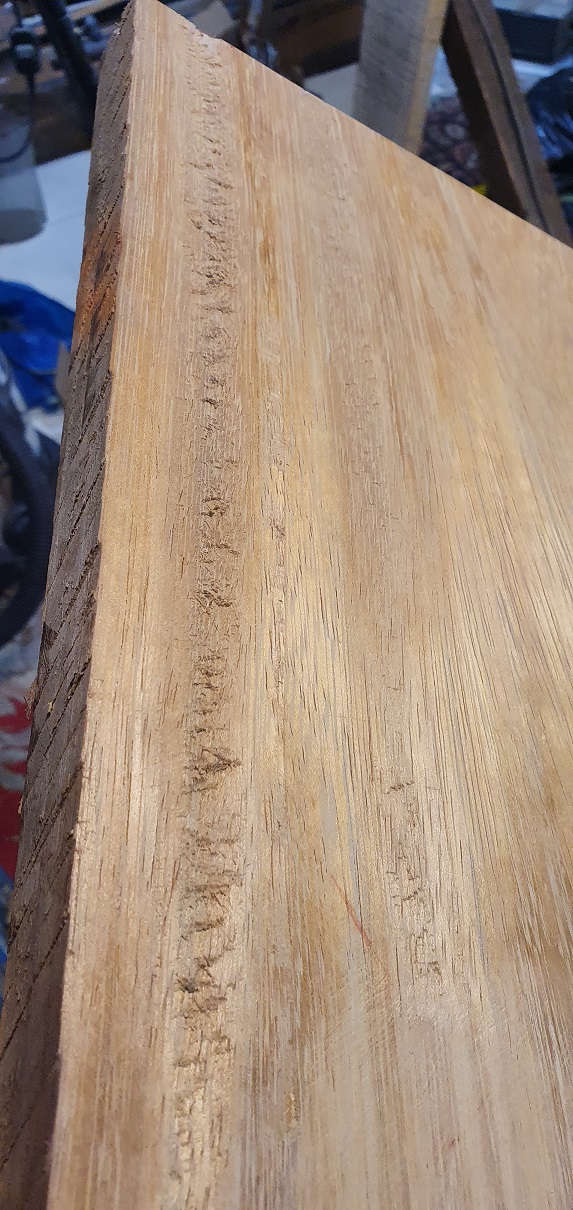
With a razor sharp blade I was getting terrible tearout (1mm depth) on one side of the board, and other parts were smooth as anything.
It was frustrating. I persevered for about 40 mins (sharpening another two times), trying to smooth it out, but the tearout continued.
This is my first WIP that I'm sharing here. I'm approaching this project as a bit of fun (for the Essex Makers "three piece challenge") but mainly a learning process - some things I want to try for the first time: planing up rough sawn hardwood; wedged tenons, dovetailed boards at an angle, and inlays. The C table allows me to do all three in one project. It comprises a base, a single side, and a top. It requires three pieces of hardwood. A piece of Oak, Tulip, and Sapele - all one metre long, 25mm thick, and between 200mm and 300mm wide. Good times.
I sketched out some designs on a piece of paper and sketchup, but I'm really just going with the flow on this one. I’ll be happy if I can pull off some good joints, and it stays stable (as in, doesn’t fall over). Here’s the design. There’ll be an inlay pattern on the top, design TBD.


Step one - planing the rough sawn timber
I very scientifically lift each piece to see which is heaviest. The Oak is. That will be the base. The sapele is the lightest. That will be the top. Tulip will be the side. (Although the Oak is a much nicer wood - I may swap them around, seems a waste to put the oak on the floor)
The sapele board is bowed and slightly warped. I don’t need the whole length, so I saw the board to the length I need for the top. Less of a bow to remove in the shorter pieces.


I don’t have a planer or thicknesser, so it’s hand tool time (which I don’t mind). I’ve only ever planed up rough sawn wood once before - it was a softwood (pine I think) and it was easy to do. This one… not so much.
No 4 jack plane did not do much good. I went at it for about 10 mins without much progress apart from smoothing down some of the band saw marks.

Belt sander time. It was a cheapy (£17) belt sander I bought to restore a garden table, and it was much better.

Now, I thought, I could use my plane to get it nice and square and smooth. No 5 plane. Definitely better this time. I needed to sharpen the blade, and so it was time to make that honing guide recommended on the ‘sharpening on a budget’ on this forum. Good results.


Stropping with car polish on some MDF (a la MikeG’s suggestion) worked a treat.

With a razor sharp blade I was getting terrible tearout (1mm depth) on one side of the board, and other parts were smooth as anything.
It was frustrating. I persevered for about 40 mins (sharpening another two times), trying to smooth it out, but the tearout continued.


