wendytable

UKworkshop.co.uk

Help Support UKworkshop.co.uk:

This site may earn a commission from merchant affiliate links, including eBay, Amazon, and others.

devonwoody

Established Member
Joined
11 Apr 2004
Messages
13,493
Reaction score
25
Location
Paignton Devon
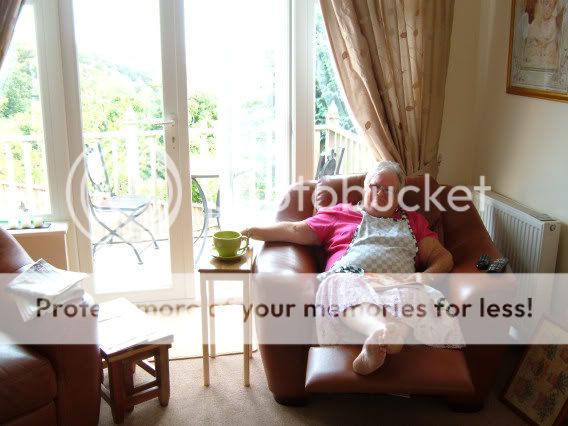
A neighbour wanted a small table to stand aside her armchair to put on the cuppa.

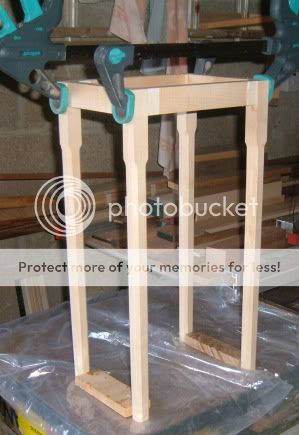
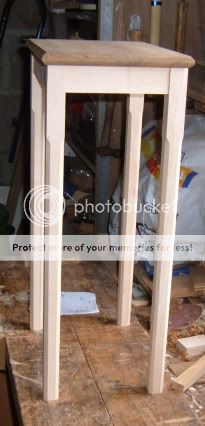
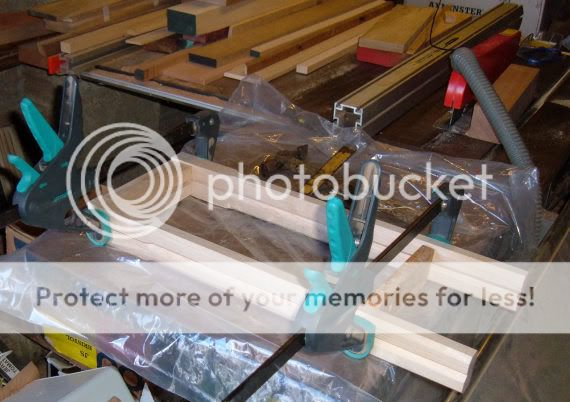
So prepared some maple Monday, did the m & T's, shaped the legs, and glued up the two ends yesterday.
1w-28.jpg


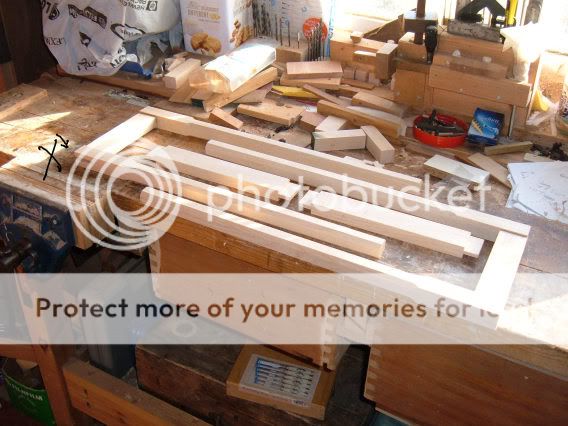
Progress to Tuesday evening after sanding to 120grit.
2w-25.jpg


However I have got to plug that through mortise, the router stop slipped and I went through.
 
Looking good - I feel your pain on the router slip... I made a simple frame and panel door for a cupboard the other day, twice, due to exactly that... although it was more because i forgot, got carried away with the satisfyingly sharp bit and just kept going...

May I ask about the leg shaping process, being a bit of newbie... you prepared the stock square, then its not so easy to tell but are the legs tapered towards their feet? Was that a bandsaw job if so?

And then to acheive champfering shape up to the shoulder - was that done with the router - free-hand or table? And what shape bit?

I'm looking for simple yet satisfying projects to get going on and will follow yours with interest.

Thanks
 
OK, the legs were tapered on their inside faces using a hinged fence on a table saw, (could have been done free hand I suppose on a bandsaw)

The router table was used with a 45% angle bit and a fence stop was added to the end of my router table to get a uniform finish to all corner of each leg. I suppose it could be called and angled octagonal shape. Perhaps Jacob or another will come along with its correct title.
 
Glued up the frame and used a leg spacer a trick learnt many years ago.

4w-25.jpg


Sorted out the plug for the through mortise, I had a spare bit of maple laying on the bench which was a good colour match.

3w-24.jpg


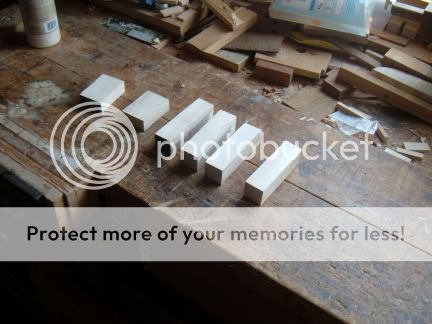
And these were the only waste pieces left over of maple on this job,.

6w-19.jpg


Started on the table top using some old laboratory table top which has lots of graffiti going back to the 30's, this one made me laugh, could be her name I suppose.

It also had a hidden tack, some bug ger tried treating me too, also lots of chewing gum on the underside which I suppose also tells a story.

7w-20.jpg


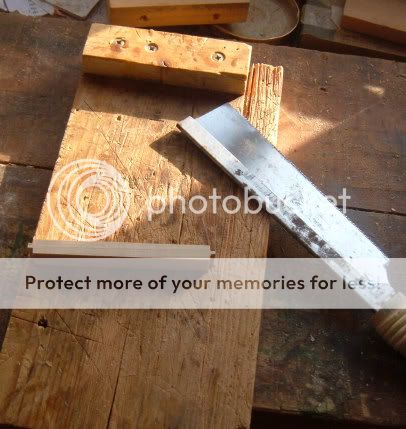
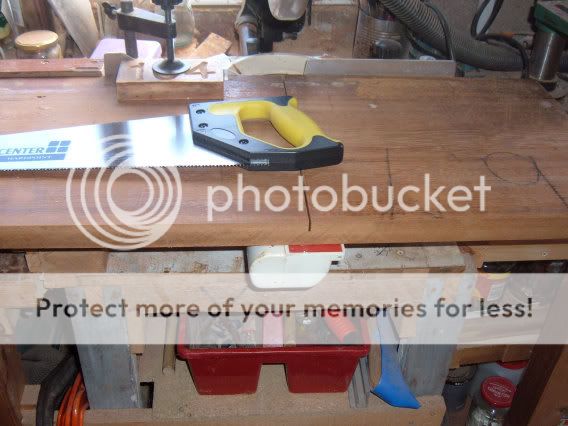
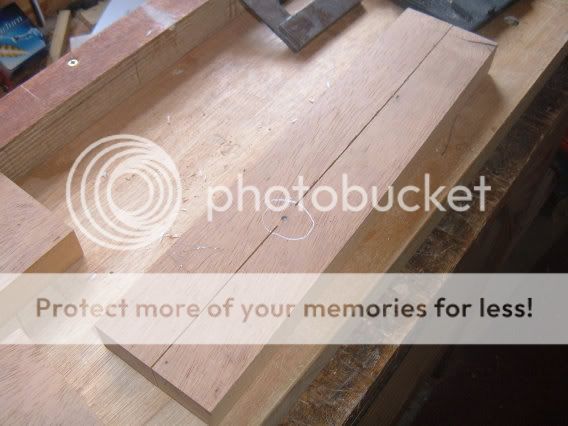
Took a bite off the board and had to finish the last 10mm with a handsaw, its 28mm thick iroko.

10w-19.jpg


I was really lucky with that tack, the thicknesser just didn't reach metal, the tack is still black, attempted to slice each side down to the tack and then reglue but abandoned the piece in the end of a spare bit of the original board.

12w-14.jpg


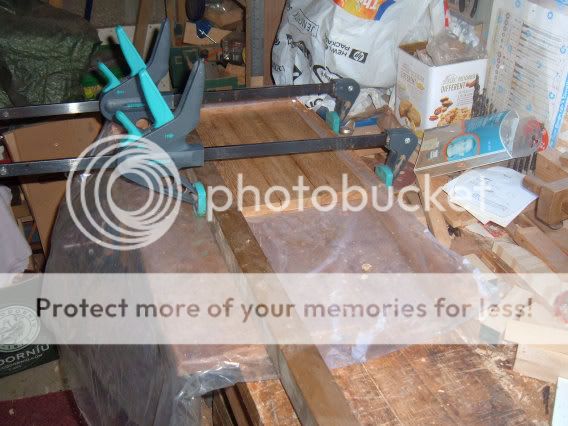
Finished the afternoon off putting in Triton biscuits and gluing up using the alternative grain spacing technique.

13w-11.jpg


(I can report this morning that the table top might be a disaster, its has lost its flatness over night, I suspected this might happen it must be timber stress because the iroko is around 70 years old, it has done this on other pieces of mine, I will most probably use the remainder for fencing)
 
I used to work at a school and salvaged a number of Iroko lab bench tops - much the same as yours including graffiti and chewing gum.

I re-sawed then into planks (the tops weren’t one piece but joined planks) and gave them a quick plane to remove the worst of the graffiti. Then I put them on storage rack and forgot about them for a long while. They had twisted and curved a little by the time I used them but after machining to make some furniture there's been no more movement.

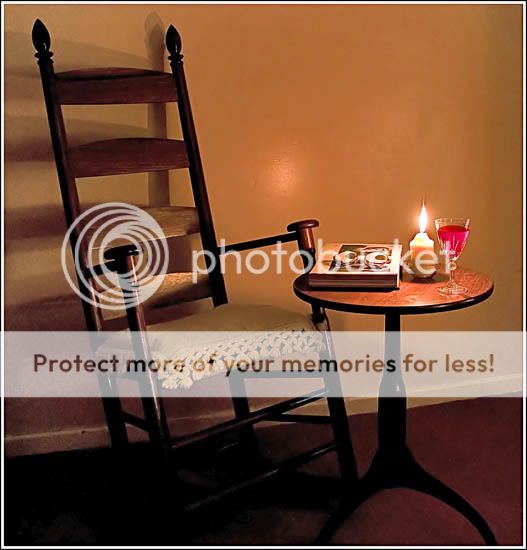
Here's a couple of Shaker bits from the old Iroko I made some years ago. There is still no movement.

shakerchair.jpg
 
That piece of iroko I have had in the w.s. 6 years, and it was cut down last year and then left just sawn, I suppose I could try planing like you did with yours and put away for another year.
 
Waka, they say you cannot teach an old dog new tricks? :)

Well would you believe I looked again at the lump of timber prepared for the table top two hours later and it had returned to flattish.

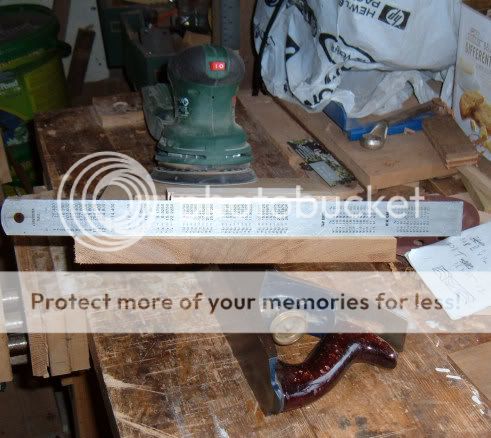
So I put it through the thicknesser has it was and then sanded with 60grit and finished up with this. (hammer)

18w-10.jpg


I then used a large roundover bit at slow speed on the router table and the iroko machined well, placed it on the frame, going to leave it a day and hold my breath.

19w-11.jpg


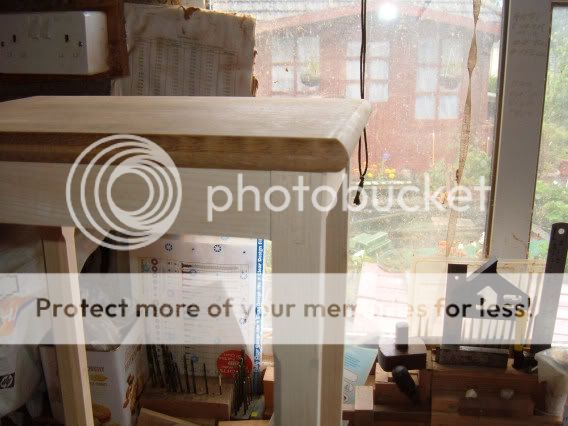
And to show the picture of the plug repair, my grandmother would say, "a blind man would be pleased to see it"

20w-10.jpg


Approx six hours to arrive at this state overall so far.
 
I like the table. Have you never been tenpted to leave the graffiti intact as a kind of historical reference? Perhaps not for tthis piece but i think it would be cool.
 
Halo Jones":da52pta6 said:
I like the table. Have you never been tenpted to leave the graffiti intact as a kind of historical reference? Perhaps not for tthis piece but i think it would be cool.


I would like to contact Helen :mrgreen:

Yes it has crossed my mind but an eight foot board 750mm wide is a bit heavy for me to cope with, I suppose it could be sent to the Tate for their yearly expo.
 
Thanks for posting this little WIP, I have enjoyed reading and looking! Only part you missed out on is the fixing of the top... my guess would be you used buttons though...

You was lucky for the top to flatten itself again! I think it should be okay now you've got it made up and complete. I worried about a table I made a while ago, that the top was going to bend, but a long time ahead and it still seems fine.

Well done, nice small piece there with good pics!
 
Thanks for the WIP DW, As you say you were Reallllly lucky with that tack m8. Looks a very slender and elegant piece, a Grand job well done.

Cheers

Dave
 
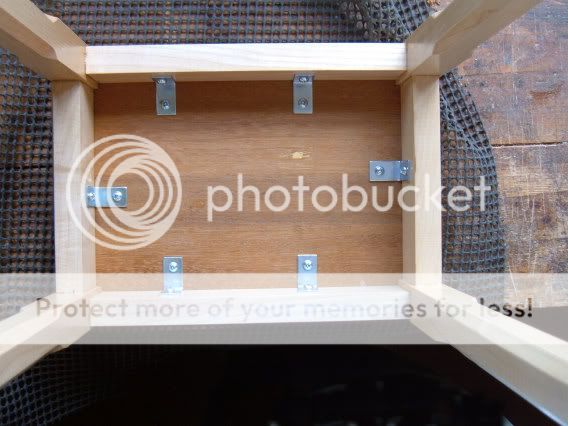
I have todate put on two coats of varnish, most probably put another three on. The top todate had not been fixed to frame. I have been naughty and purchased some square brackets and I will enlargen screw holes, the top is so heavy I think buttons might eventually crack or not hold well.
 
The tabletop was fitted yesterday using metal brackets, buttons were not created because this table will get a lot of placement so wooden buttons most probably would not stand the carrying to and fro.

22w-6.jpg


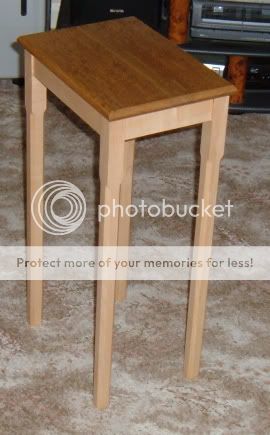
Display.

21w-9.jpg


Might be another picture to come in its resting place.
 

Latest posts

Back
Top