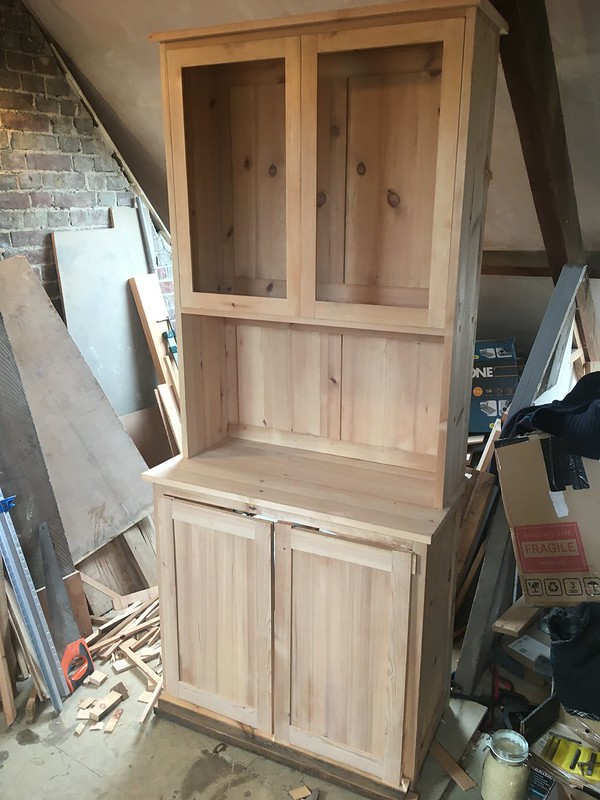
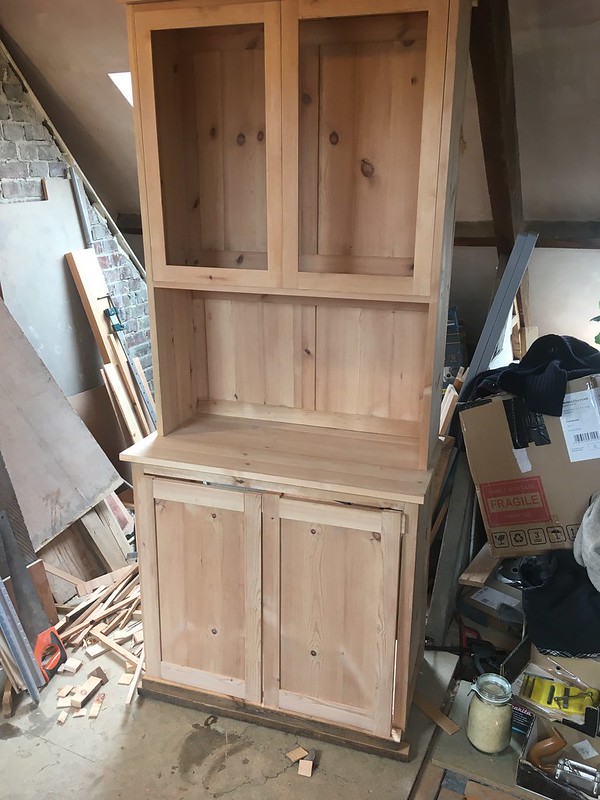
Welsh dresser, skip wood, hand tools only

UKworkshop.co.uk

Help Support UKworkshop.co.uk:

This site may earn a commission from merchant affiliate links, including eBay, Amazon, and others.

thomashenry

Established Member
Joined
19 Nov 2015
Messages
258
Reaction score
13
Location
Oxford, UK
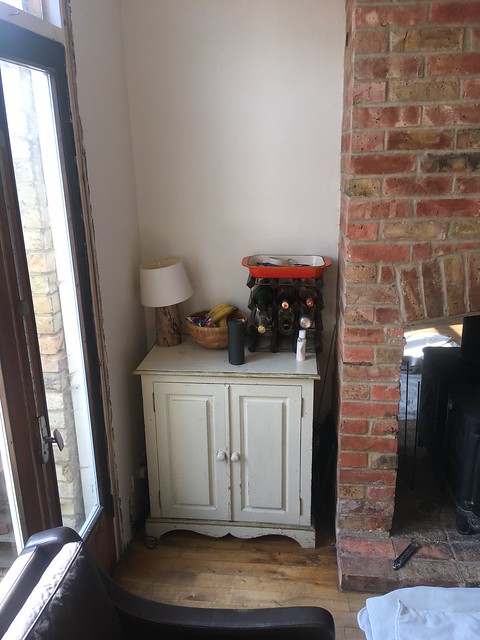
For sometime I've been meaning to make a Welsh dresser to go in this alcove in my kitchen, to replace the cupboard that's there and give some extra shelf storage on top.
Untitled by Tom D, on Flickr

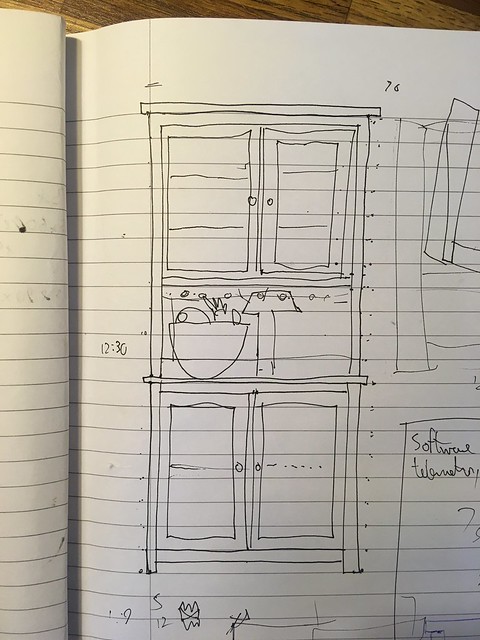
Here's my "design". I have a pretty good idea of how it's going together, so this is the extent of my diagramming....
Untitled by Tom D, on Flickr

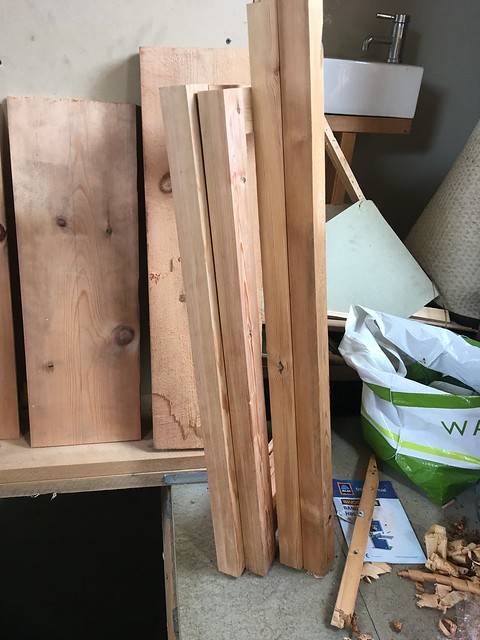
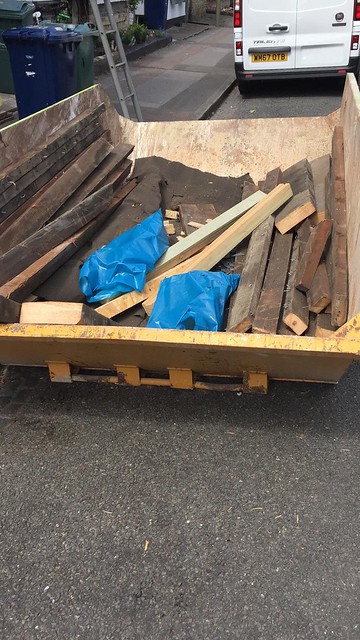
Now, last summer I encountered this skip on my street - one of the (Victorian) houses was having a loft conversion and there was a lot of old roofing timer - rafters and purlins, in the skip. I took a good load home, with the plan to try and make things from it - I've used similar timber for projects in the past.
Untitled by Tom D, on Flickr

With lockdown and furlough, I finally have the time to do it. I'm going to do it entirely with hand tools, and will make it entirely from the skip wood - no plywood panels here - absolutely everything in this dresser will come from the timber pulled out of the skip. The idea is to use the project as a consolidation of the handtool skills I've been learning over the past few years, as training in stock preparation by hand - sawing, resawing, planing etc. There will be a lot of stock selection to do, tactical placement of knots, etc.

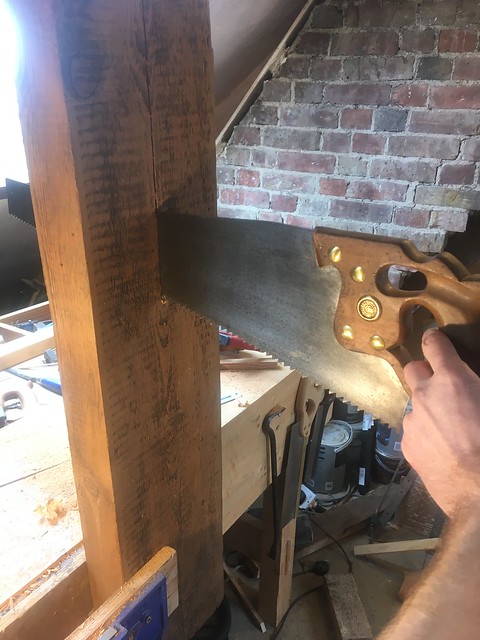
I treated myself to two new tools to help with the project - a vintage Disston 4ppi rip saw (£30), and a second blade for my Stanley 78 rebate plane, onto which I put a camber, and will use as a scrub plane.
 
Because the dresser is going into an alcove, it gives me a bit more leeway with my stock selection: basically, I don't really care what the outer sides of the unit look like, so knots can tactically be placed there if needed. Likewise the back and the interior of the base unit. The top unit will have glazed doors, but the internal faces behind the doors will be somewhat obsured by whatever is on the shelves, so again, knots here are not the end of the world. The aim is to avoid knots on all highly visible front facing components. The odd small knot here and there is fine though.
 
Superb! Pine welsh dresser...... that takes me back. I made something of a winter living making pine welsh dressers with hand tools in the 1980s. It was easy money then, and a huge part of my woodworking education. All I'll say in advance of seeing your progress is that I hope you've stored the wood nicely in the interim.
 
MikeG.":2n36hpcl said:
Superb! Pine welsh dresser...... that takes me back. I made something of a winter living making pine welsh dressers with hand tools in the 1980s. It was easy money then, and a huge part of my woodworking education. All I'll say in advance of seeing your progress is that I hope you've stored the wood nicely in the interim.

I left it outside, stacked vertially in the garden, under some tarpaulin. I brough it in around Jan, it seemed ok and has had a few months in the house since then.
 
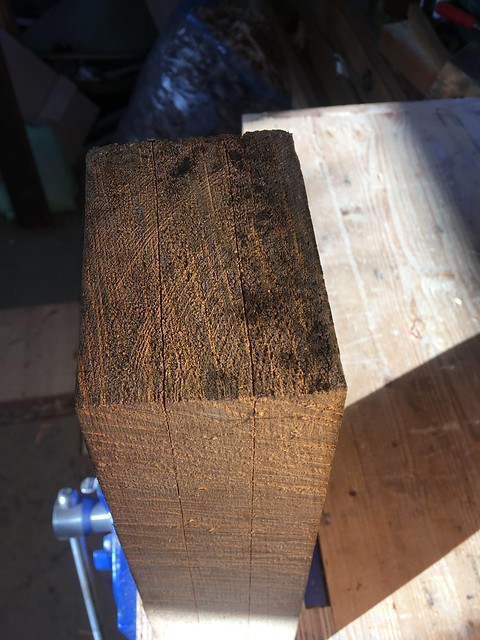
The timber consists of a bunch of rafters - typically 2m long, 5cmx10cm, ie old rough sawn 2x4s. In addition I have 4 sections of purlin, measuring 7.5cmx25cm - 3x10s I guess. These are shorter - 90cm long, although one is 130cm long. There are nails galore of course. The purlins are less affected, but the rafters all have old iron nails in the back, which cannoy be removed. Typically they extend about 4cm into the rafter, leaving me with about 6cm. So preparation of stock from a rafter consists of sawing off the back 4cm. Then, depending on what I'm using it for, I'll either saw down the middle of what's left, leaving me with two 60x20mm lengths after planing, or one 60x40mm length.

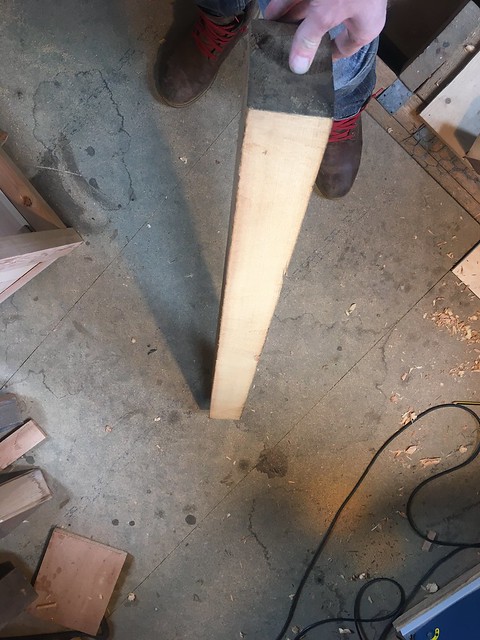
I'm not sure exactly what the wood is. Pine of some type, I would imagine, I'm no expert on wood variety. There does seem to be at least two different types here though - some of it is softer and lighter (in colour and mass)... this is what I think of old pine as...

Untitled by Tom D, on Flickr

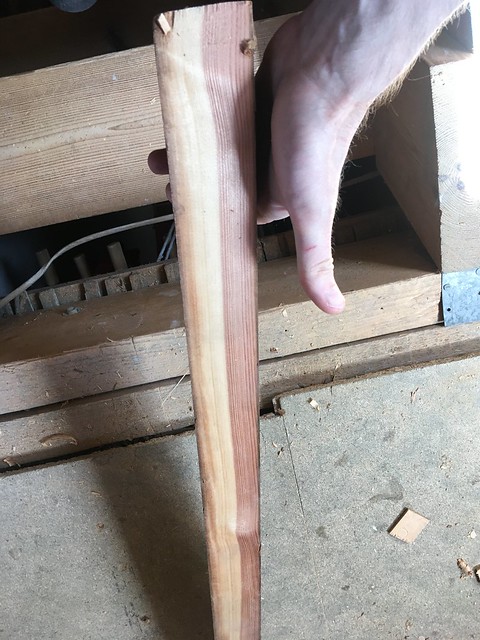
Some of it is noticeably more dense - typically with more splits in the wood, harder, and with a very stark red colouring in parts.

Dresser by Tom D, on Flickr

This timber has been harder to use because of the colouring - I had a few lengths which displayed consistent light colouring on one face, but most didnt, so it was generally relegated to shelving and places where it wouldn't be seen.
 
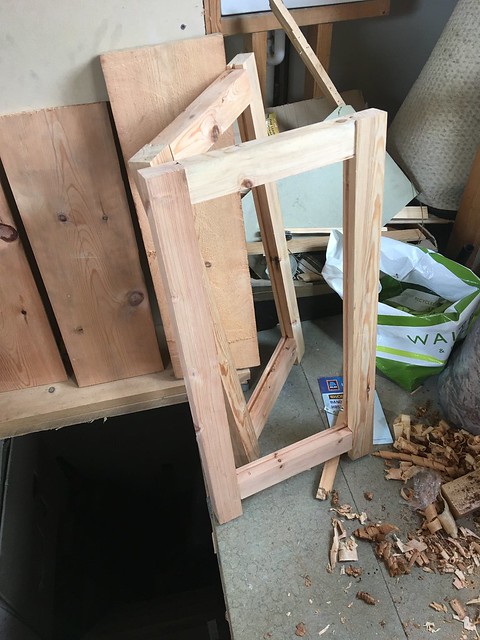
First stage was making the base unit. This is made from two frame and panel sides, made of 60x40 stock, M&T joints (haunched on the top), with floating panels ripped from one of the purlins.

The frames, with panels in background, still be be glued up:

Untitled by Tom D, on Flickr

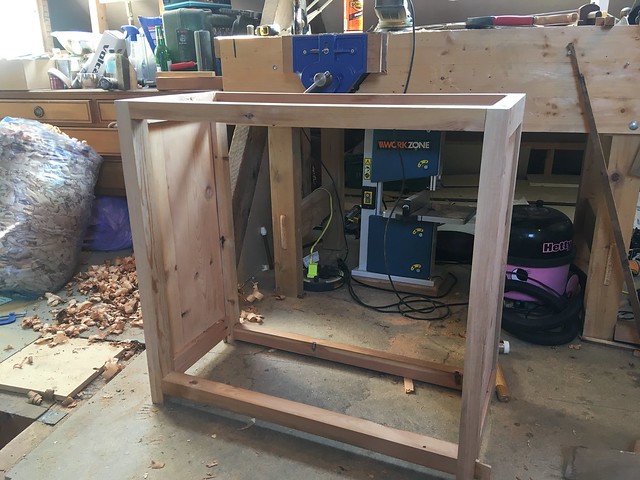
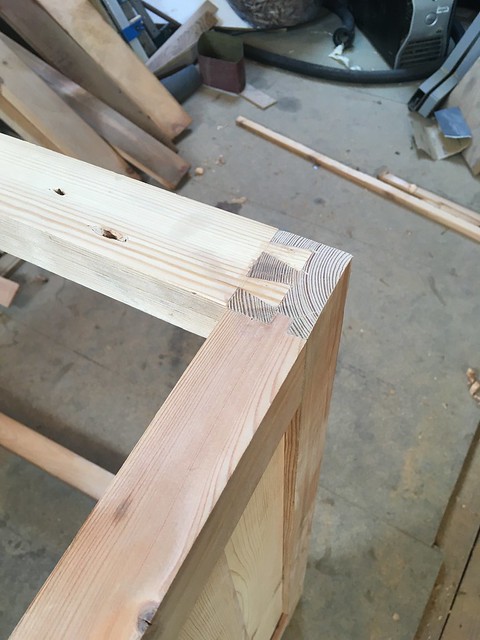
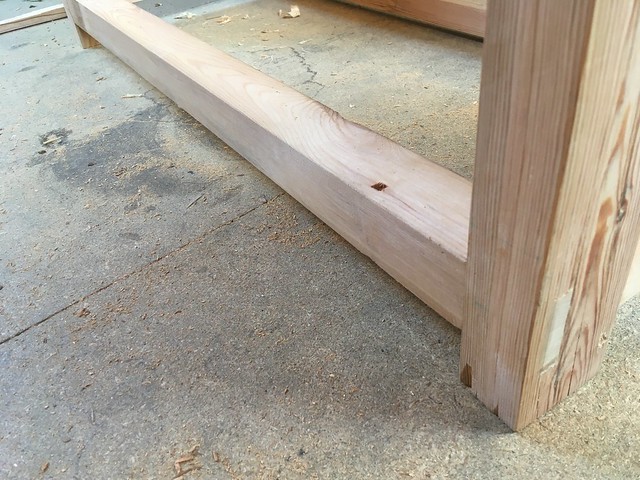
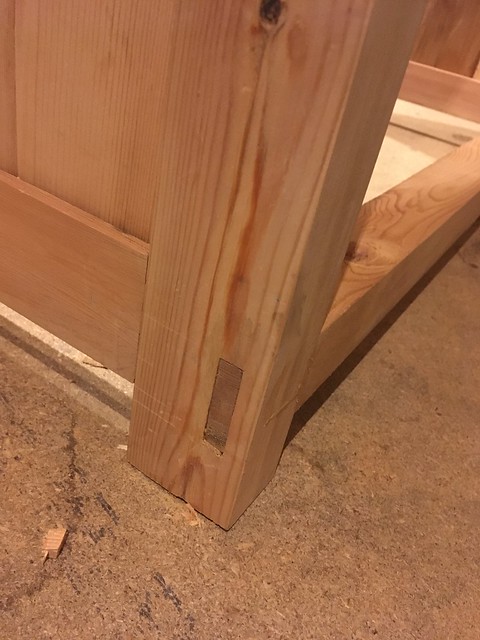
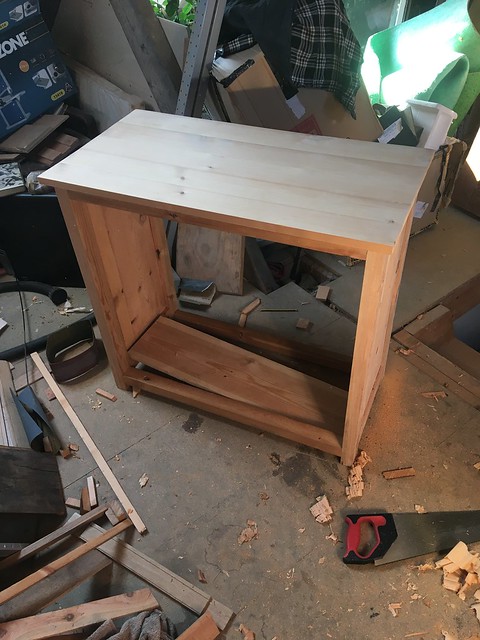
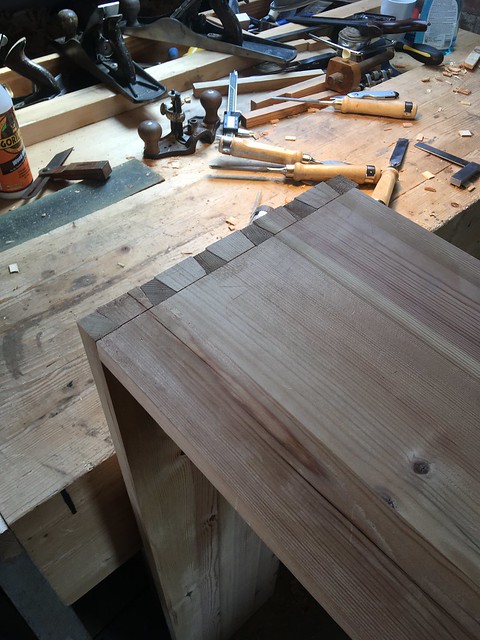
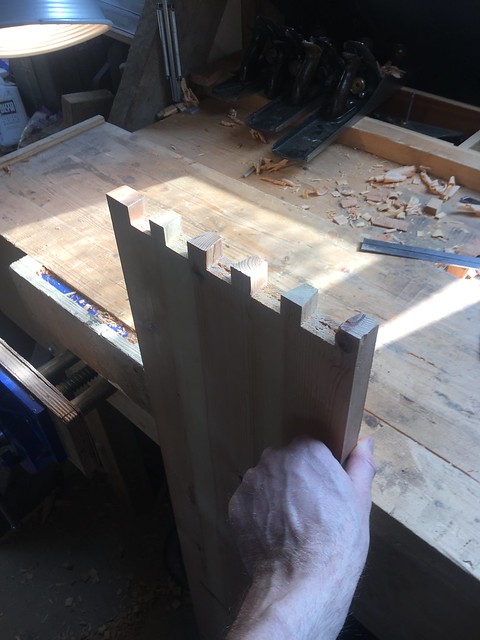
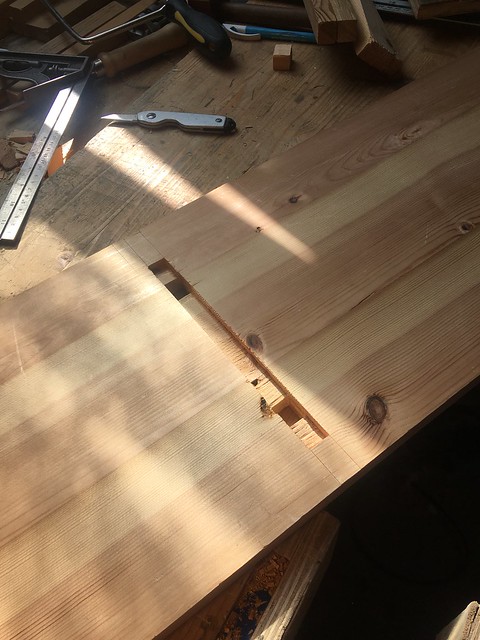
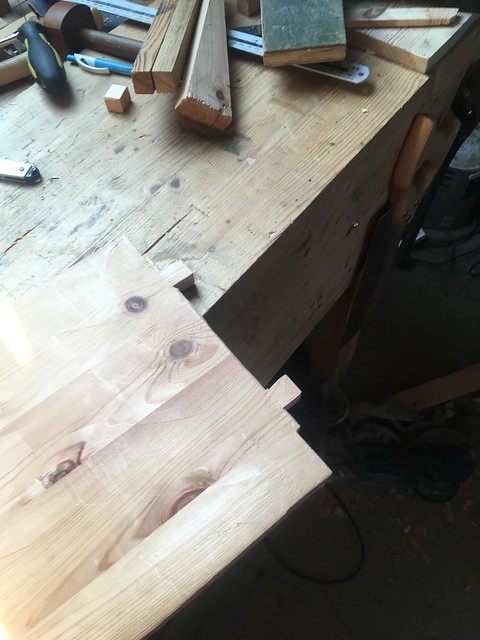
The two sides are joined by cross rails with through mortises on bottom, and dovetails on the top. As normal, I forgot to leave the haunches in on 3 of the 4 joints :oops: . No bother, its not visible. A bit of judcious clamping, and the whole thing came together nice and square with no twist.

Untitled by Tom D, on Flickr

Untitled by Tom D, on Flickr

Untitled by Tom D, on Flickr

Dresser by Tom D, on Flickr
 
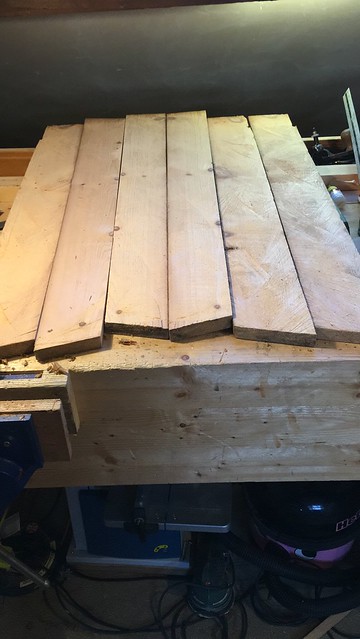
The previous photos show how I cut one of the purlins up to make the countertop. One cut down the middle to leave two 5x3 sections, then each of those was cut into three to leave 6 1x5s.

Untitled by Tom D, on Flickr

Nice, and relatively knot free. As the countertop will be highy visible, I got 'greedy' here, and trimmed down the boards to remove most of the small knots that luckily were positioned close to the edges. Ready for glue up:
Untitled by Tom D, on Flickr

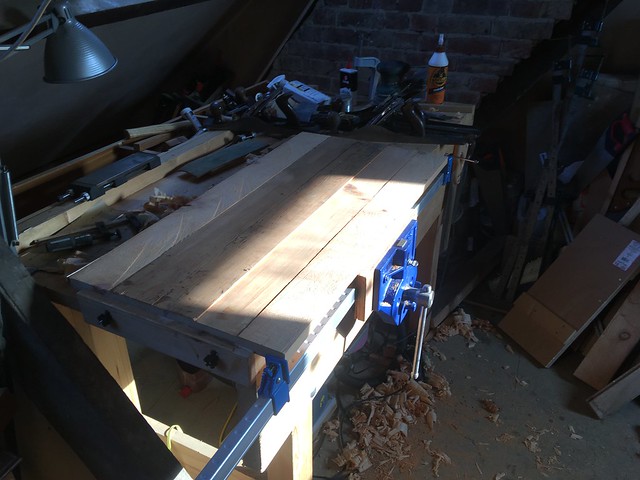
Then, after glueing and planing/flattening:

Untitled by Tom D, on Flickr
 
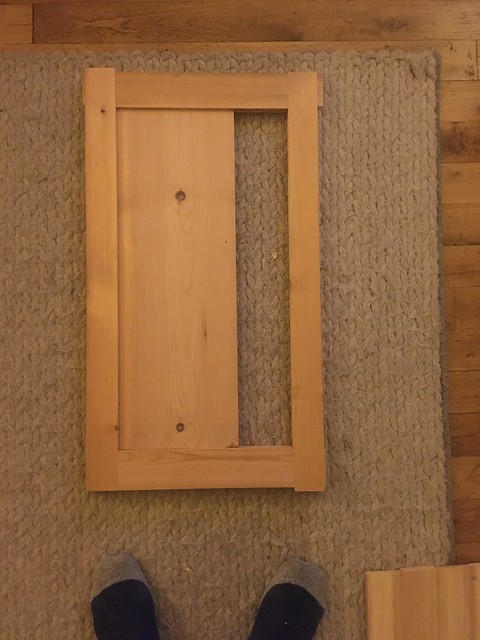
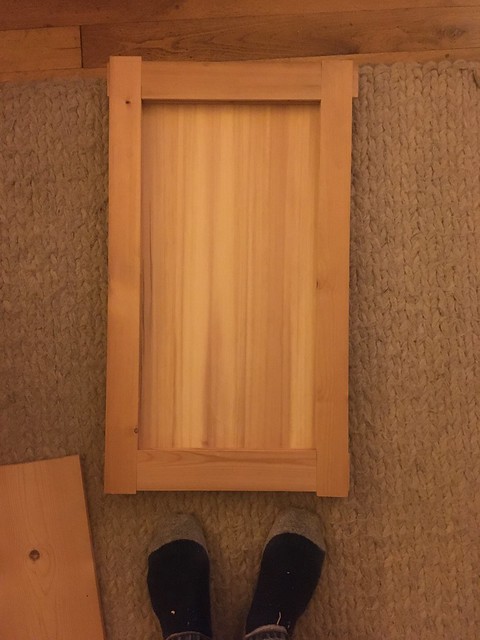
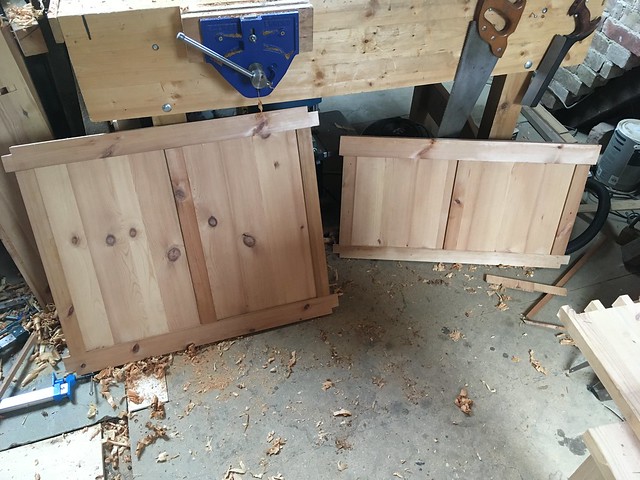
Next stage was the two doors for the base unit. I had already decided I wanted to use relatively narrow stock for the glazed doors on the top, to maximise the glass area, and hopefully achive a more refined look. Because of this, I decided I would make them with corner bridle joints, rather than haunched M&Ts, in order to give a decent glue surface area. So, I thought I'd do the same for the bottom doors, as practise. This went pretty smoothly. I had ripped some thin panels for the doors from one of the purlins, but not surprisingly, I was unable to get knot free panels. I had a dig around the restof the timber and found one rafter that seemed to have very very tight grain, and no knots. It was 6cm wide, unlike the others which are 5cm. I cut several 10mm strips from it, and glued them up to see what it would look like.

Here's the two different panel types...

Untitled by Tom D, on Flickr

Untitled by Tom D, on Flickr

The 'streakiness' of the knot free panel has mellowed somewhat in the month since it was cut. I'm still undecided which panel type to go for. The first is perhaps more traditional and rustic looking, and the second almost has a mid century feel to it. I'm going to wait until everything else is done, the dresser is in situ, and decide what looks best then.
 
Looking great!
I've often been tempted by seeing similar wood being chucked out. You seem to have found some lovely quality stuff there.
Plus you get a really useful workout!

I'm sceptical about using a 78 as a scrub plane though. Don't you have an old wooden jack, which would be more comfortable for a long session?
 
I saw a Paul Sellers blog entry about using the 78 as a scrub, and for the £10 a spare blade cost, I thought I'd try it. It actually works superbly well. Being narrow, you can go pretty deep with it. I tend to only need to use it in 5min bursts, to bring things down to a level and get the worst off, before switching to my #6 plane which has been my main workhorse in stock preparation.
 
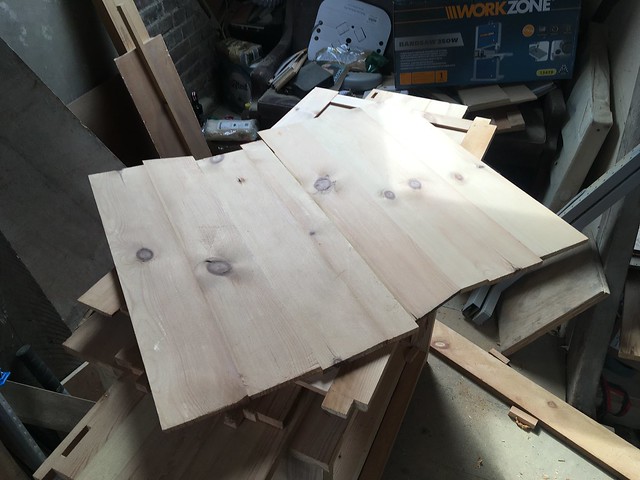
Next stage was to start on the dresser top. For this I needed two 120cm x 28cm panels, around 1 inch thick. I ripped the largest of the purlins into two, and supplemented it with some stock from a few rafters, to give me the timber I needed. After glueing and flattening, I ended with with two panels just under an inch thick.

Dresser by Tom D, on Flickr

For the construction, I was inspired by a Paul Sellers project called "sofa server", a simple project involving just 4 panels of wood:

https://woodworkingmasterclasses.com/vi ... fa-server/

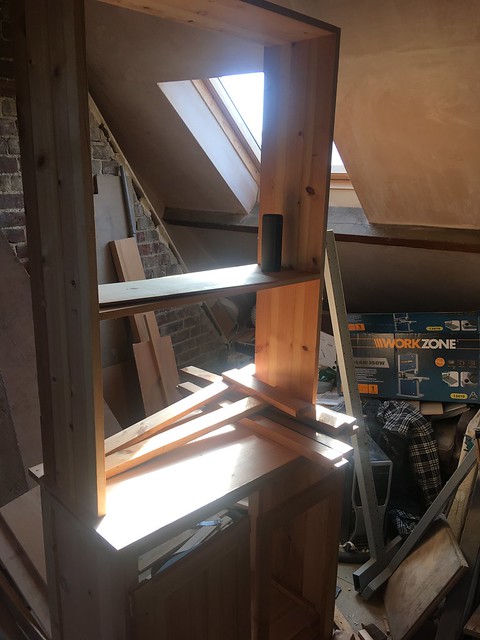
I decided to use the exact same joinery for the dresser top. So, one top panel doevetailed to the sides, and one bottom shelf, approx 1/3rd of the way up. The dovetails went smoothly, not the best in the world, but plenty good enough, and they are not visible anyway.

Dresser by Tom D, on Flickr

Dresser by Tom D, on Flickr

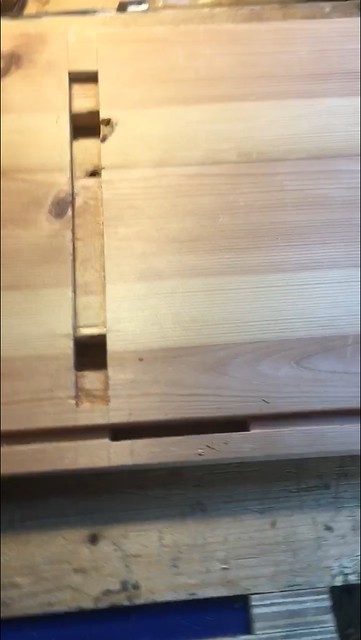
The joinery for the bottom shelf consists of a stopped dado and two tenons:

Dresser by Tom D, on Flickr

Dresser by Tom D, on Flickr

Dry fit went nicely.

Dresser by Tom D, on Flickr
 
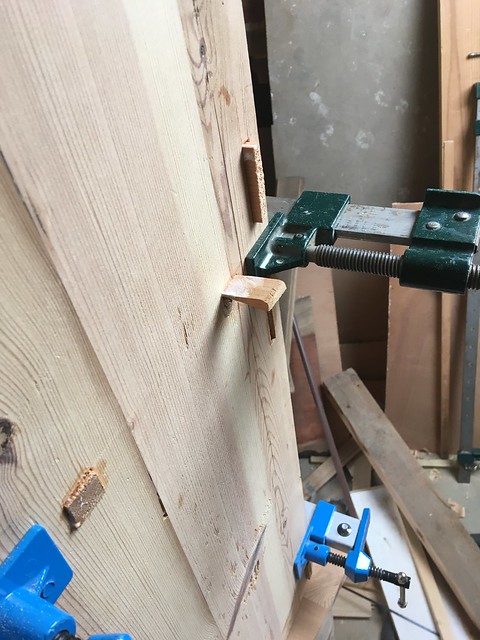
Now I had to a decide what to do for the back of the dresser top. I toyed with not having a back,as the wall effectively acts as a back, but then I got furloughed two weeks more, so had the time to do something nicer. I decided to run 8mm grooves along the inside back of the vertical panels, set in 20mm, with some mortises...

Untitled by Tom D, on Flickr

Then, I would make two M&T frames with floating panels, one above and one below the shelf:

Dresser by Tom D, on Flickr

Each frame will have a veritcal divider, and the rails extend beyond the frame to become tenons, which go into the mortises in the side of the dresser top side panels, as pictured above. The stiles of the frames are rebated to slot into the groove I ploughed.

A lot a sawing went into cutting all the floating panels....

Dresser by Tom D, on Flickr

Which came together ok:

Dresser by Tom D, on Flickr

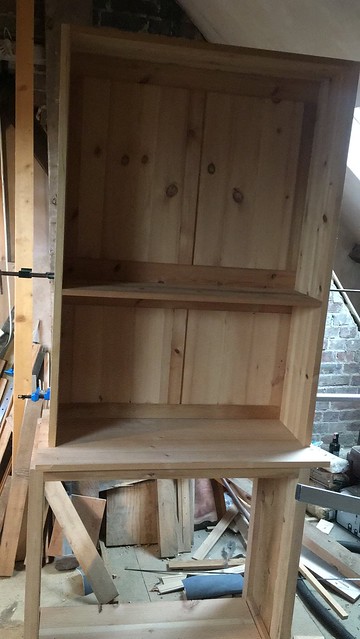
I did the full glue up in two stages - first of all glueing the back panels only, and fitting everything. Then I dissassembled, and put it back with glue on the tenons going into the side panels, the shelf housing joint and tenons, and the dovetails...

Dresser by Tom D, on Flickr

Finally giving...

Dresser by Tom D, on Flickr

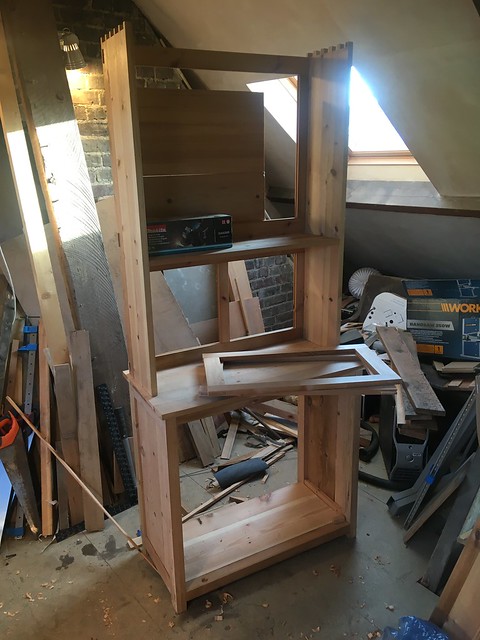
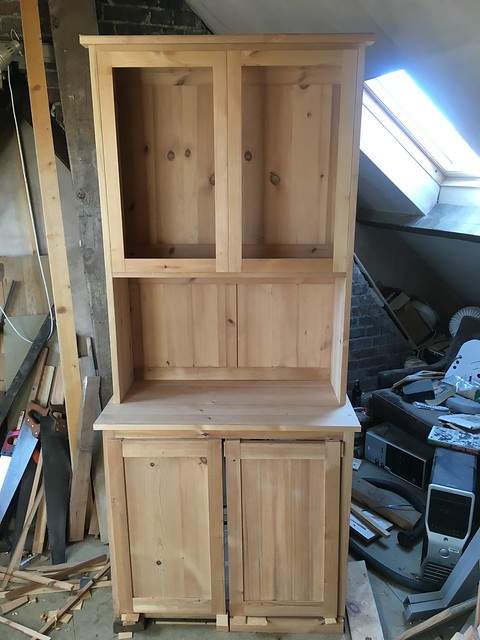
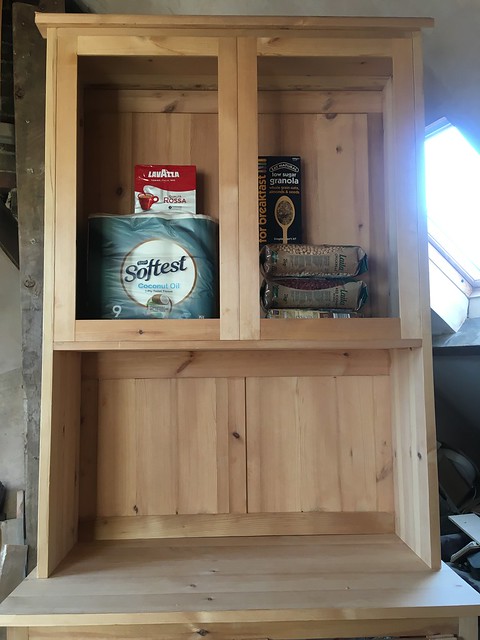
As you can see, I've tried keeping the lower, more visible section free of knots. The knots in the back panel at the top will hopefully by largely obscured by all the things that will end up on the shelves.
 
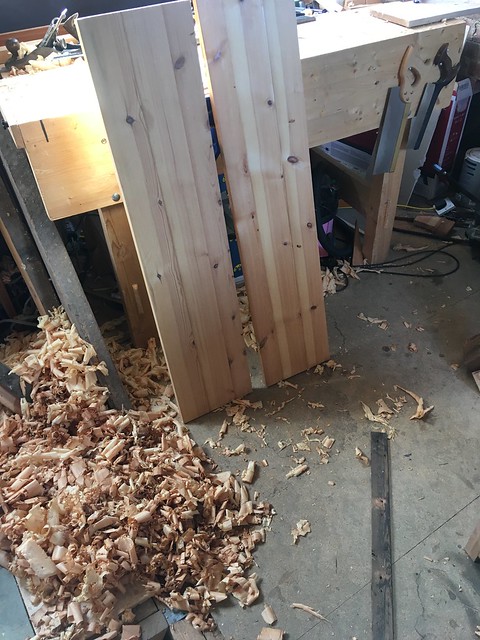
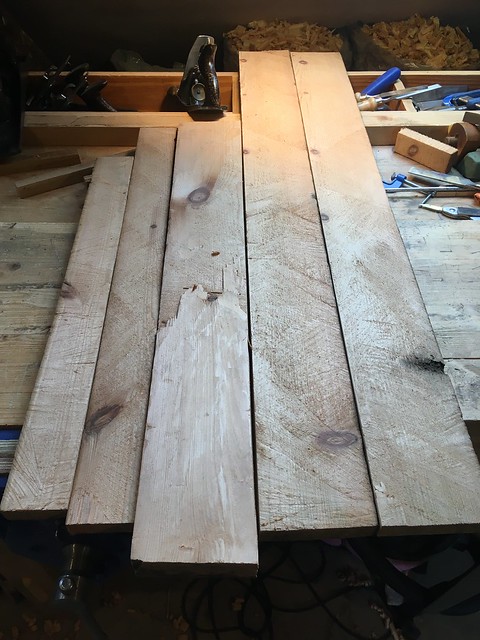
Still plenty to do, but now I'm well on top of things. The next thing to make was the two upper doors. As I went along, I kept back nice wood for this purpose:

Untitled by Tom D, on Flickr

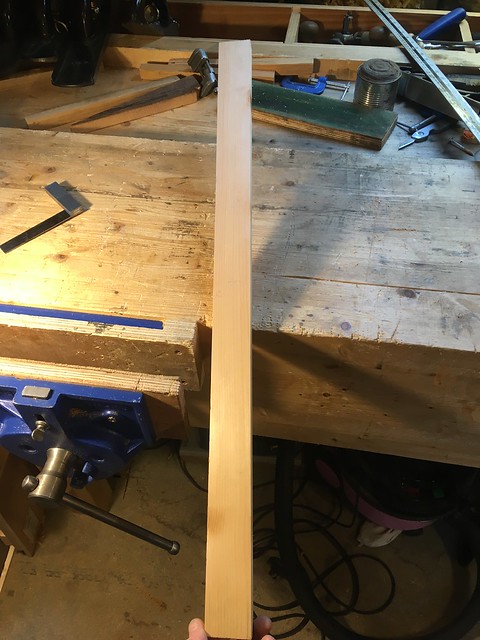
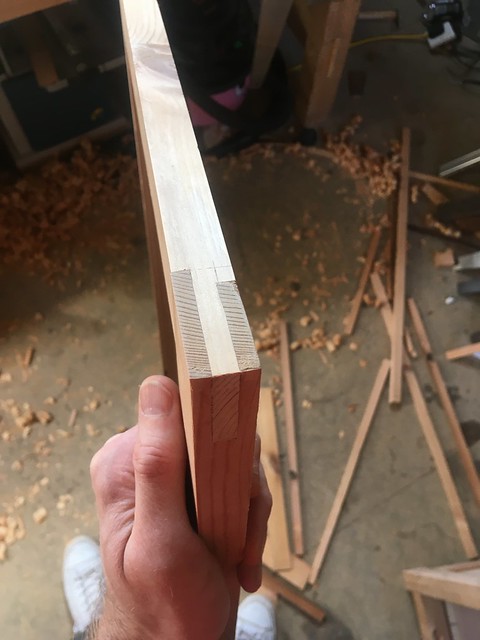
The two longer planks will become the four door stiles, and the other pieces will suppl the rails. I was able to get 4 lovely knot free lengths for the stiles:

Dresser by Tom D, on Flickr

I was getting a bit nervous with these doors, as I really didn't want to screw them up, as I was doubtful I could find more decent timber if I did. Plus, as they will have glass, I needed to cut a rebate with the 78 plane first, then be sure not to mess up the joinery, and to stagger the tenon shoulders correctly, etc. I took my time, and the doors came out well.

Dresser by Tom D, on Flickr

One of them came out with a 2mm twist sadly - but the 6mm glass panel will easily pull that out of twist so no worries. In place, I do think they look nice.

Dresser by Tom D, on Flickr

(still trying to decide what panels to commit to in the lower doors....)

Dresser by Tom D, on Flickr
 
That's an interesting method of making a back panel. I've not seen extended rails like that before.
Wasn't it awkward, having to assemble everything at once, rather than fit a complete back into a rebate?

Fair play to you though, you clearly managed it.
 
At this stage, I still need to rip, plane and glue up 4 shelves - two for the top, and two for the bottom (one of which will be the bottom of the base unit, and another halfway up). After that, I need to put a back on the base unit. I'm a bit apprehensive at the thought of having to rip 12 80cm lengths for this, (after ripping and preparing the 4 shelves..) so my plan is to use whichever of the door panels I decide to not use for the doors, and put them into an M&T frame, much like the back of the dresser top. I'm down to less good timber now, but that's ok, all the important parts are dealt with and have nice looking wood.
 
AndyT":8gdbiv0h said:
That's an interesting method of making a back panel. I've not seen extended rails like that before.
Wasn't it awkward, having to assemble everything at once, rather than fit a complete back into a rebate?

Fair play to you though, you clearly managed it.

Not really - the joinery on two back panels was pretty tight and they held firm, so it was a case of laying one of the dresser top side panels down on the floor, inserting everything into that side, and then pushing on the other side panel. Then, stand it all up and bash on the dovetailed top. Doing the glue up in two stages made things pretty easy and stress free too.
 
They both look very good but I think I would choose the first, knot- free one.
 

Latest posts

Back
Top