Ironballs
Established Member
Whilst I was off the other week on my hols (but being ill for most of it :x ) I decided to plan out in scale my competition entry. As I was doing this my girlfriend was sat across the table reading a book and kept using various things to prop it up at the right angle.
A thought popped into my head :idea: and I went and had a look at a board of walnut I'd picked up at Mr T's offcut sale a few months back, it was only a small one and had a split in one end, but I reckoned I could get what I needed from it.
Quick bit of sketching and I worked out I could get all I needed (just) If I was careful. One scale drawing later and it was off to the garage to do a bit of planing and cutting....
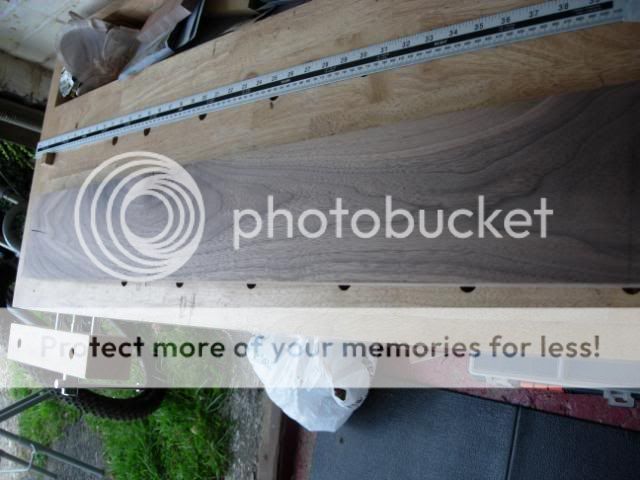
Easy edge glue joint for the main part of the body
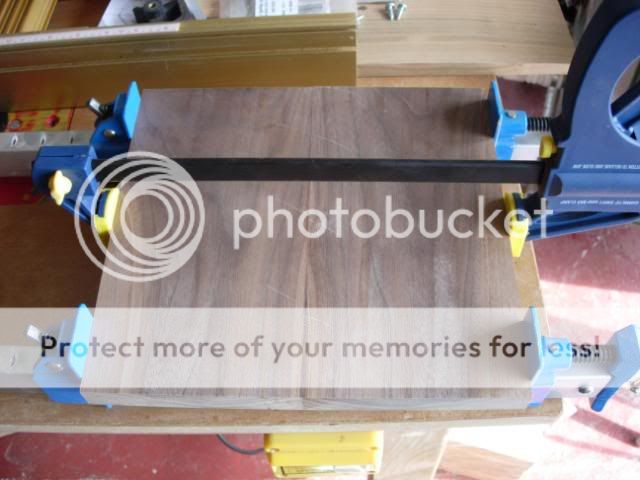
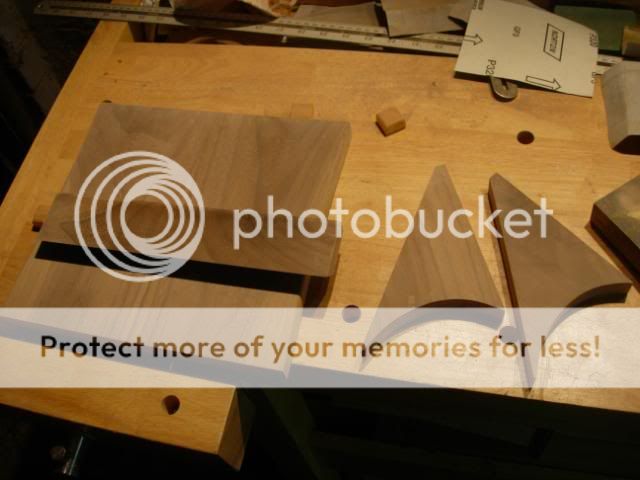
All main components cut out, wedge parts were bandsawn and planed, the lip was done on the tablesaw - decided an angle of 35 degrees would optimal for the stand
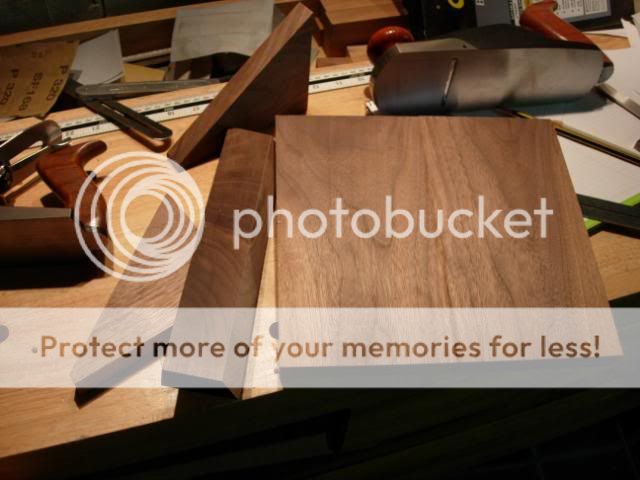
Laid out the parts to judge where the legs would go, toyed with the idea of biscuiting, decided it would be fiddly and not needed
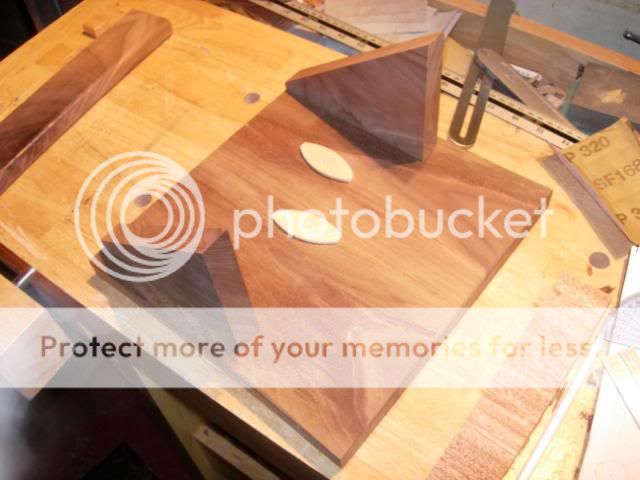
Shaped in a curve on the leg pieces and spokeshaved some shallow curves on the sides and top of the main body to lighten the shape and add some interest
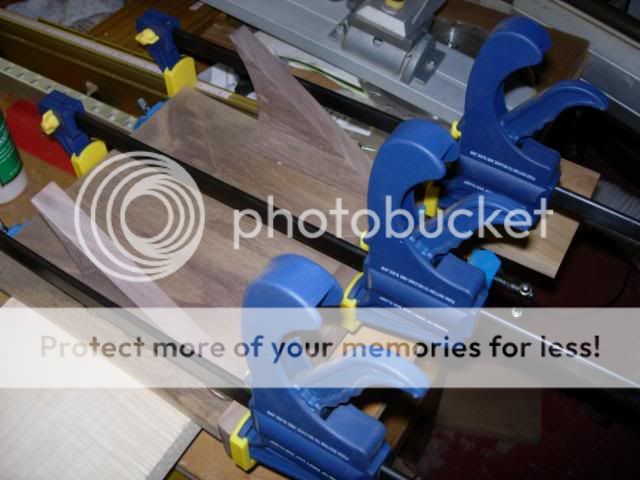
More glueing - not very exciting
The finished article after 3 coats of danish, a rub back with 0000 and a waxing. Came out alright for a quick job
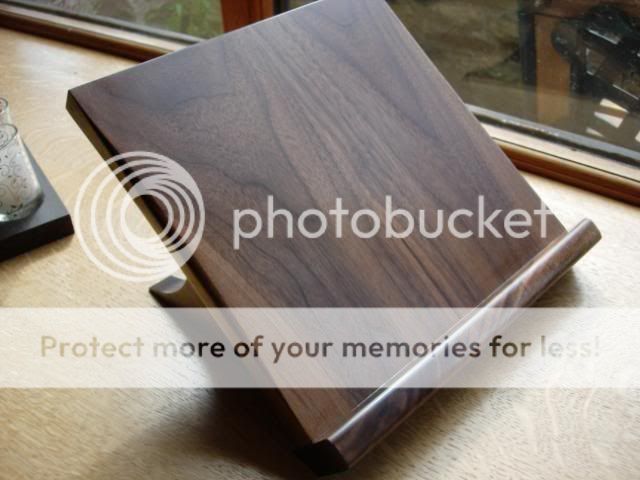
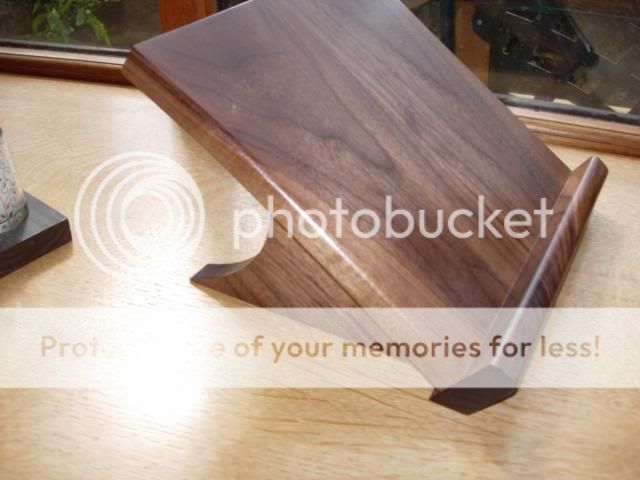
Does the job it was designed for

One happy customer when she was presented with her surprise this morning
A thought popped into my head :idea: and I went and had a look at a board of walnut I'd picked up at Mr T's offcut sale a few months back, it was only a small one and had a split in one end, but I reckoned I could get what I needed from it.
Quick bit of sketching and I worked out I could get all I needed (just) If I was careful. One scale drawing later and it was off to the garage to do a bit of planing and cutting....

Easy edge glue joint for the main part of the body

All main components cut out, wedge parts were bandsawn and planed, the lip was done on the tablesaw - decided an angle of 35 degrees would optimal for the stand

Laid out the parts to judge where the legs would go, toyed with the idea of biscuiting, decided it would be fiddly and not needed

Shaped in a curve on the leg pieces and spokeshaved some shallow curves on the sides and top of the main body to lighten the shape and add some interest

More glueing - not very exciting

The finished article after 3 coats of danish, a rub back with 0000 and a waxing. Came out alright for a quick job


Does the job it was designed for

One happy customer when she was presented with her surprise this morning


