Walnut Coffee Table

UKworkshop.co.uk

Help Support UKworkshop.co.uk:

This site may earn a commission from merchant affiliate links, including eBay, Amazon, and others.

Steliz

Camberwell Carrot
Joined
11 Dec 2017
Messages
528
Reaction score
334
Location
Hungary
This is my first attempt at a project of this size and also, my first attempt at a build post so, advice or suggestions on how to do either better are welcome.

A friend gave me an entire trunk of Walnut which had been sliced into 50mm boards and dried in a barn for 5 years. In return for the wood he asked me to make a coffee table for his father in law despite knowing that I had never made anything like that before! Time wasn't crucial for him so, for the last 6 months, when I had time, I have been practicing the joints I will use for this project. Now, I'm ready, probably.

I wanted to keep the design fairly simple to avoid my ambition exceeding my skills but I had to make some changes right from the start due to the quality of the wood I had to work with. The boards I have all have a lot of twisting and some cupping and getting straight bits out of them was a very wasteful process. Initially, it was going to have a lower shelf but I decided to put drawers instead to reduce the amount of wood I would need to use. Here's what I'm going for.

Walnut Coffee Table 3.png


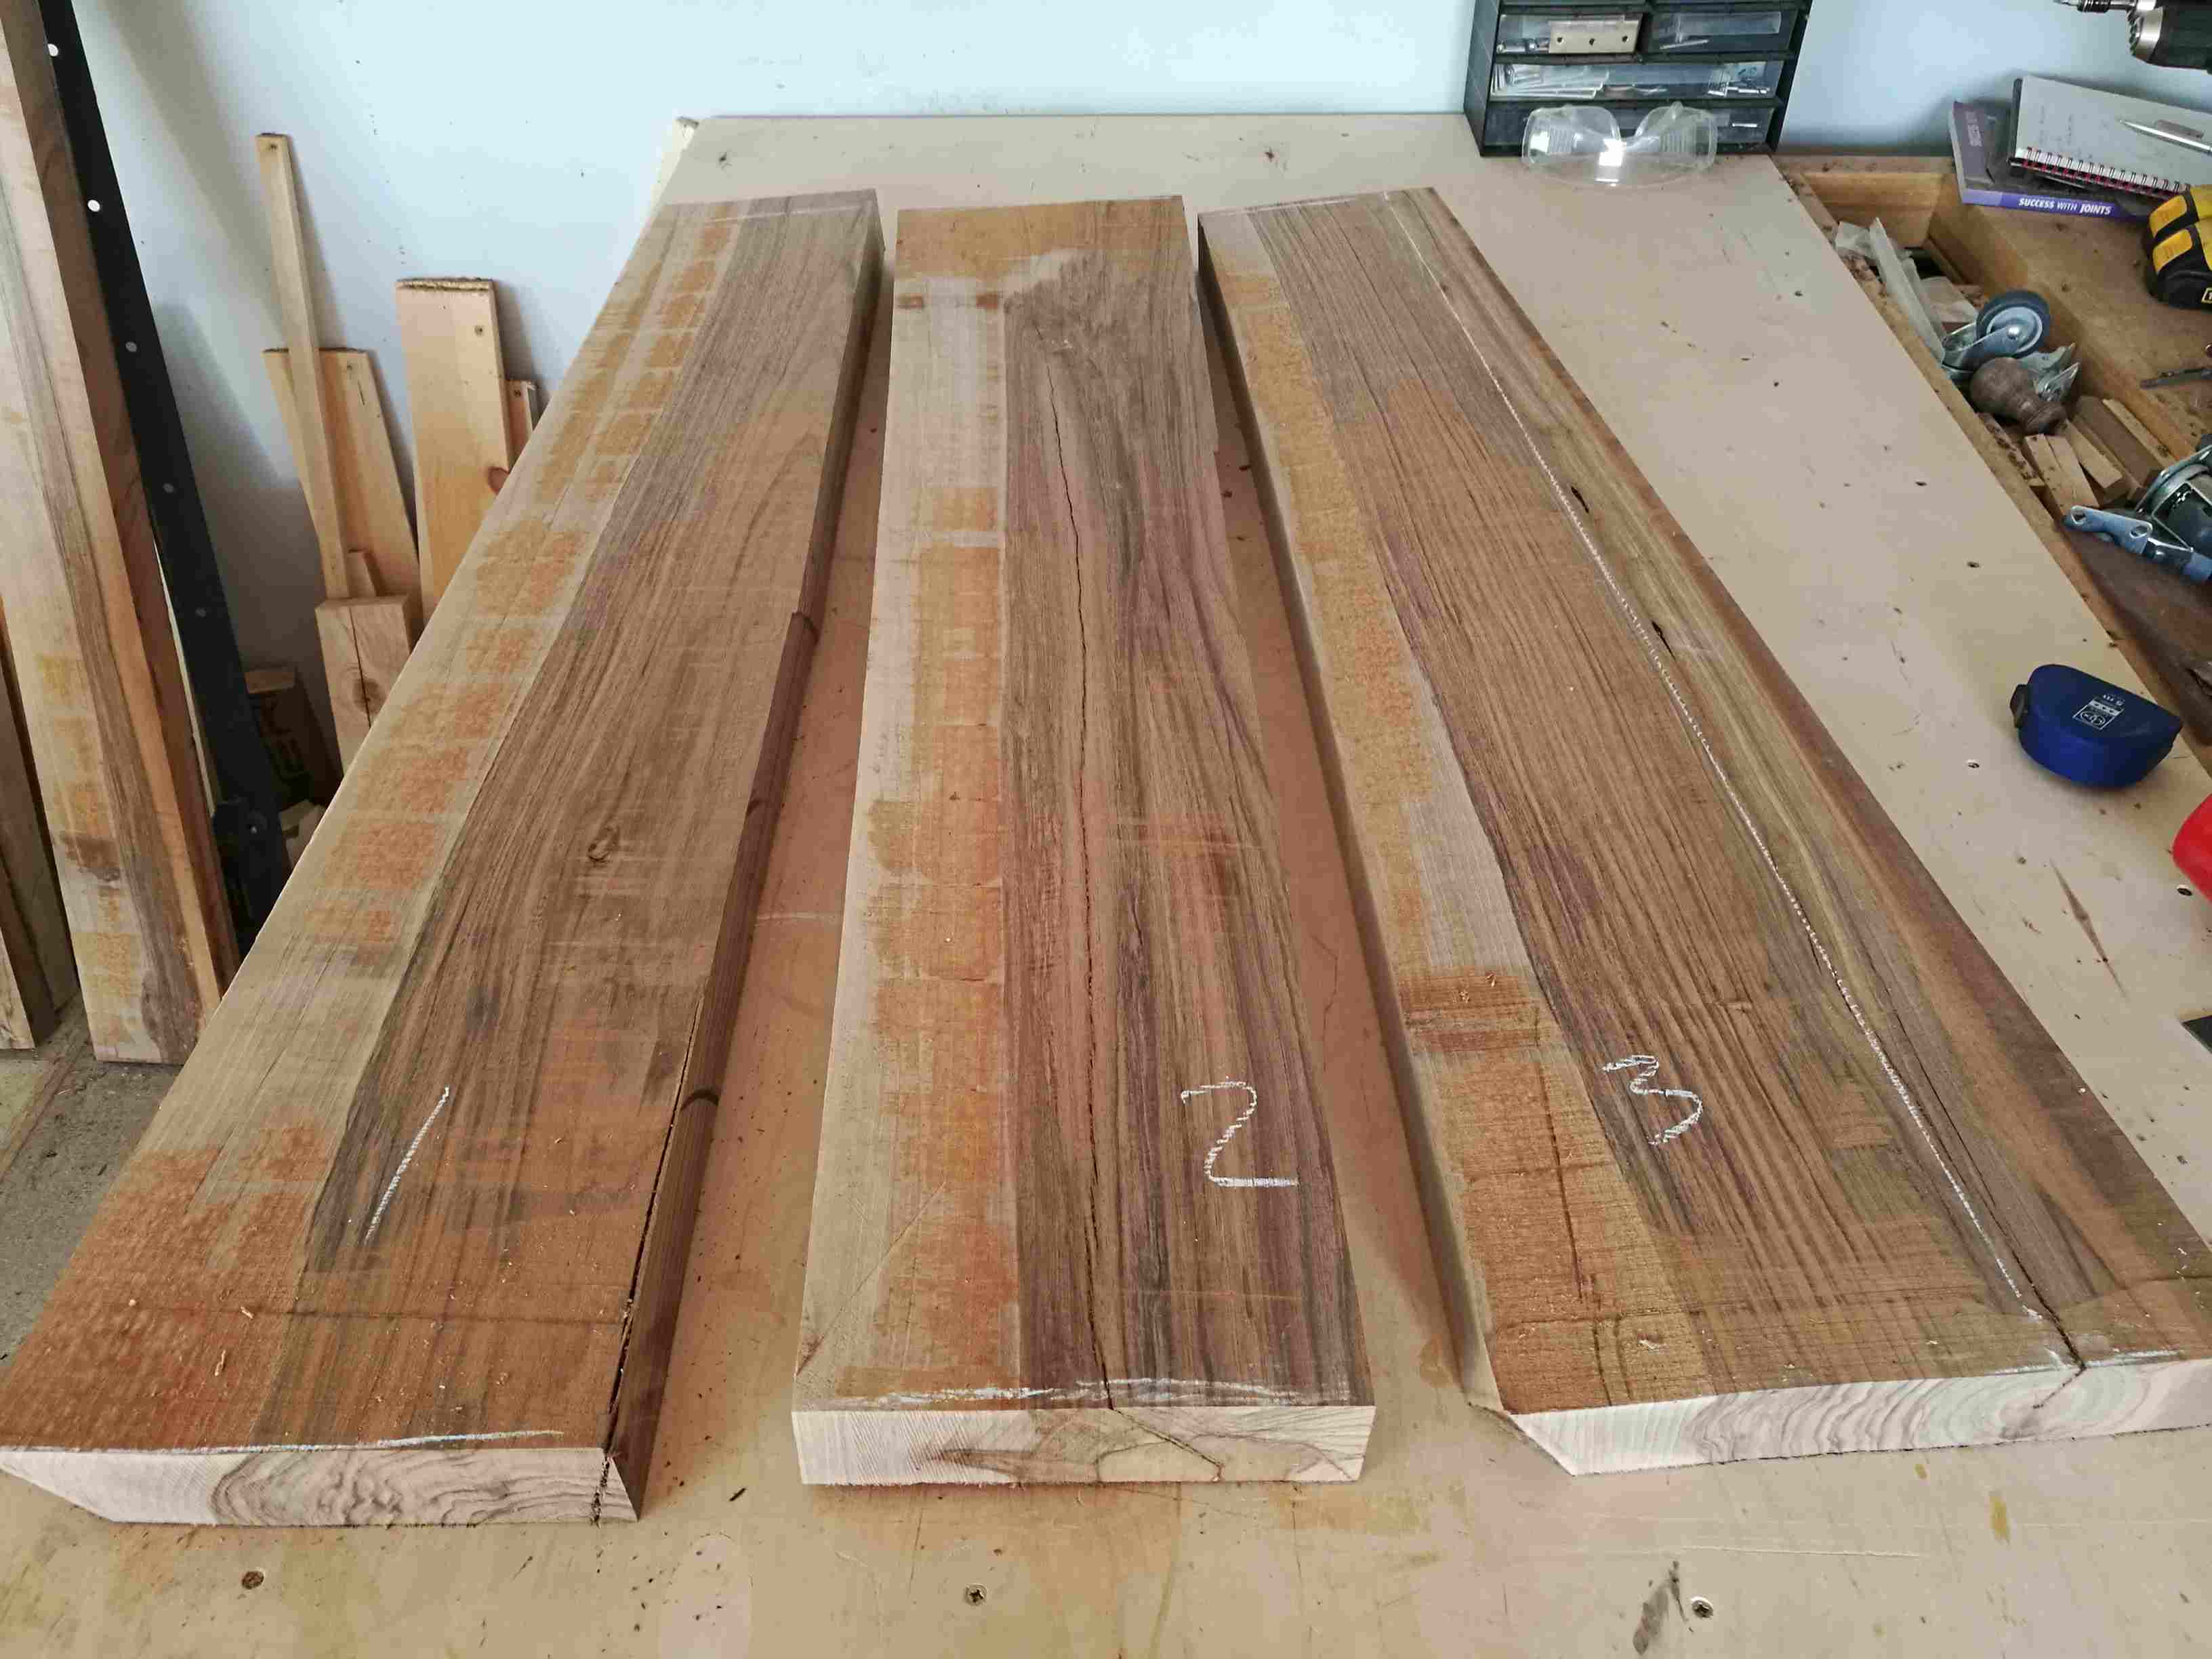
I picked the 2 straightest boards from the pile.

1 Walnut Board 1.jpg

2 Walnut Board 2.jpg


Cut them to rough dimensions

3 Top rough cut.jpg


The first board is OK but the second one has a split right through and the third needs the pith cutting out. So, I chop up another board and finally, I ve got enough for the table top! This is where the design changes happen as I start to worry that this table will use all of the wood I was given (I'd envisiged using less than half of the 7 boards for the whole table).

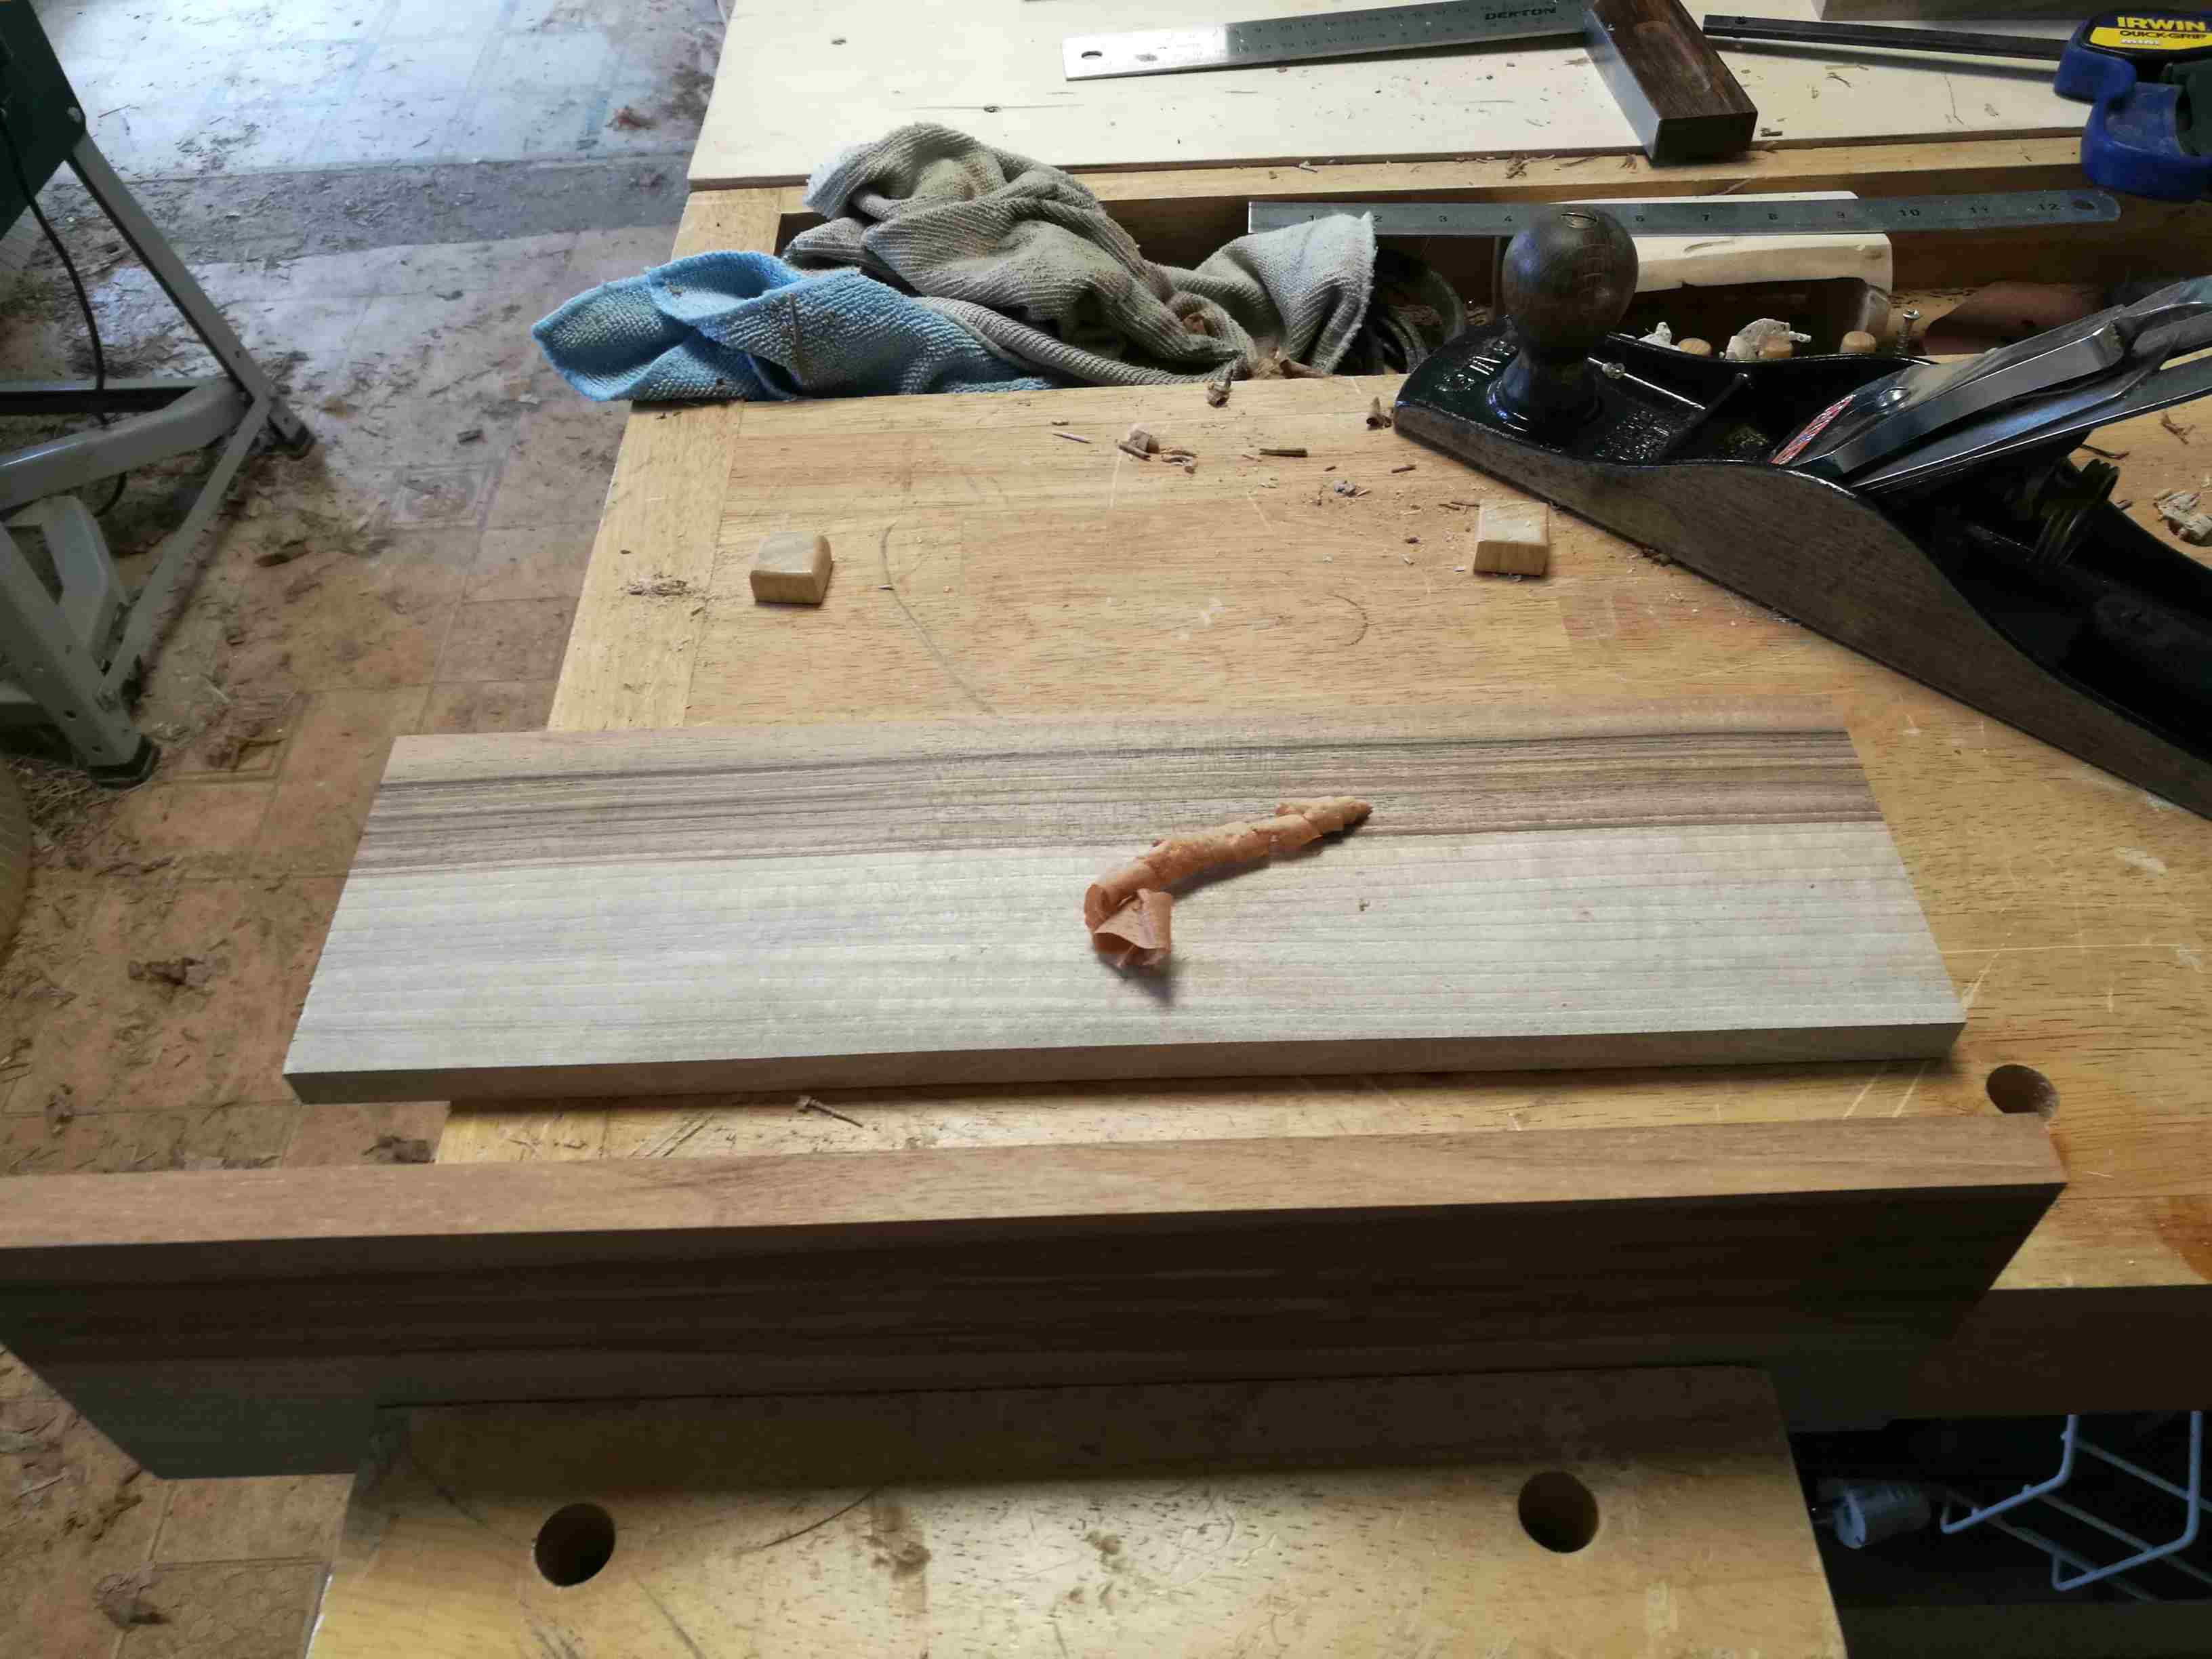
6 Top.jpg


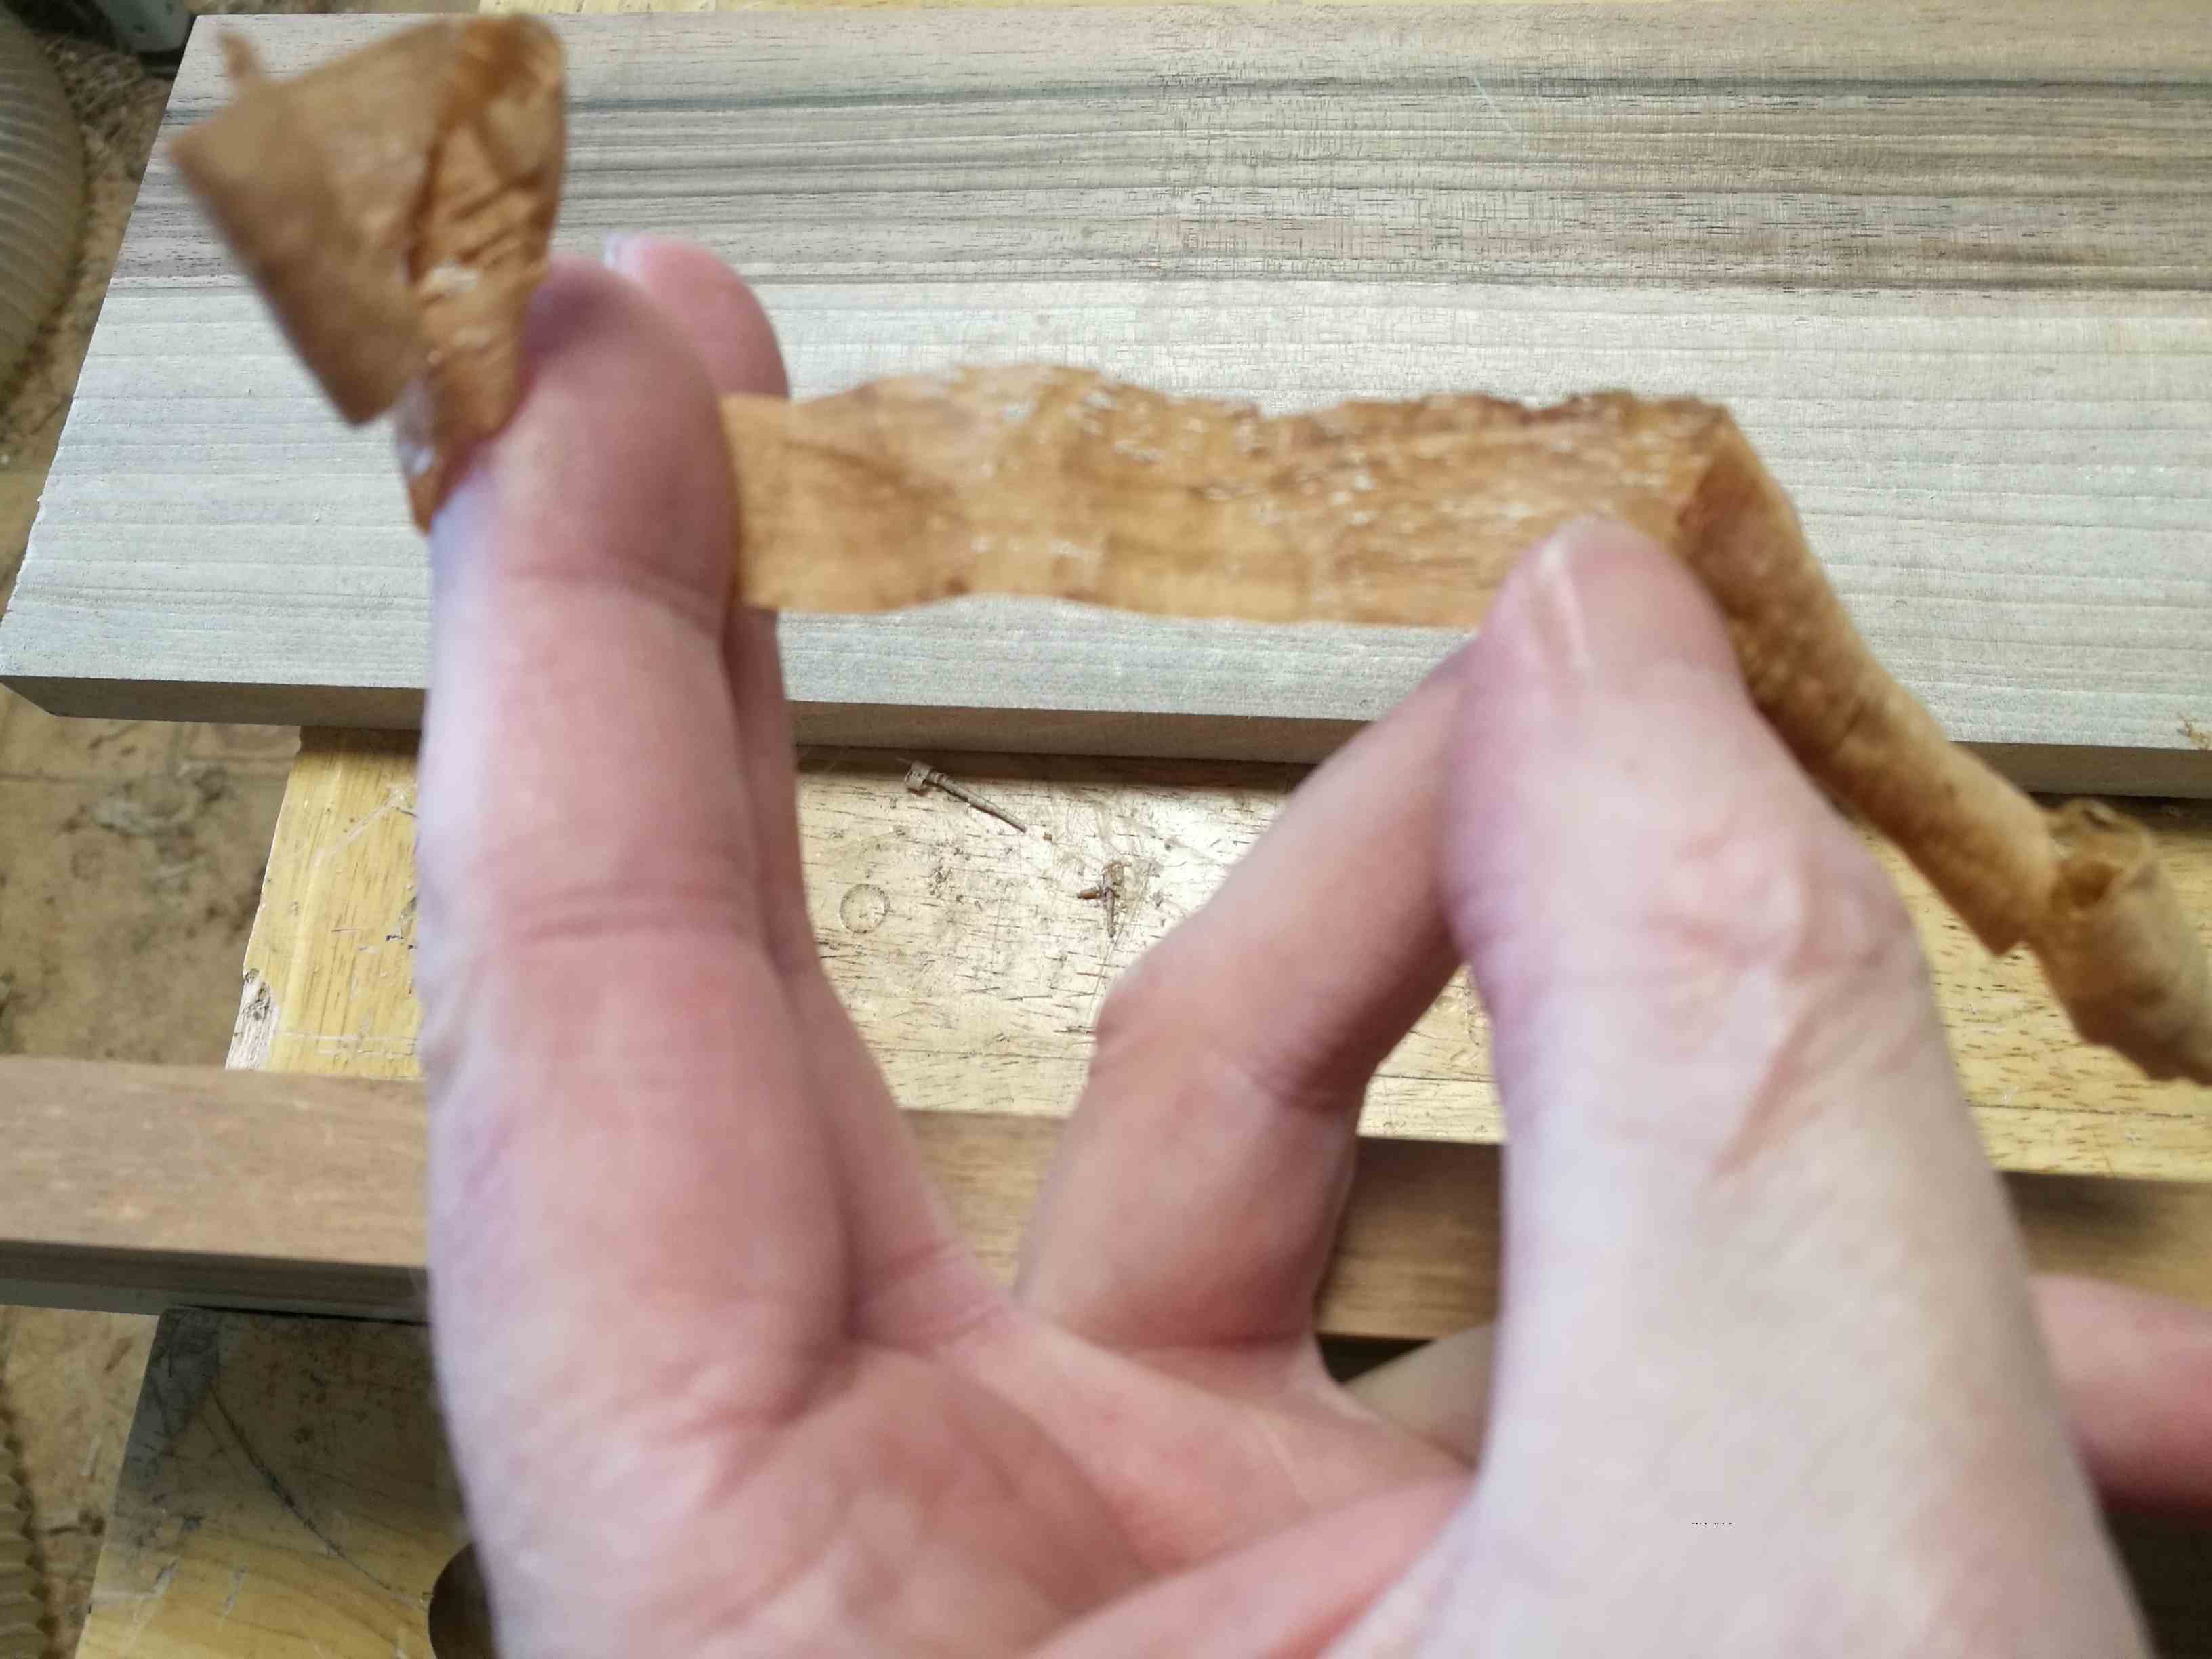
All of the walnut furniture I've seen has only ever used the dark brown part of the wood but if I did that then I definitely wouldn't have enough wood and the table would be made of laminated battons no more than 100mm wide. I like the colour variation even though the lighter part is prone to a bit of tear out and hopefully, no one is going to ruin my day by telling my I'm doing something foolish.
I'm holding off gluing the top together as I want to put some dowels in to help keep it flat and I'm waiting for some dowel pins to arrive that I've ordered.

Next job is the legs.
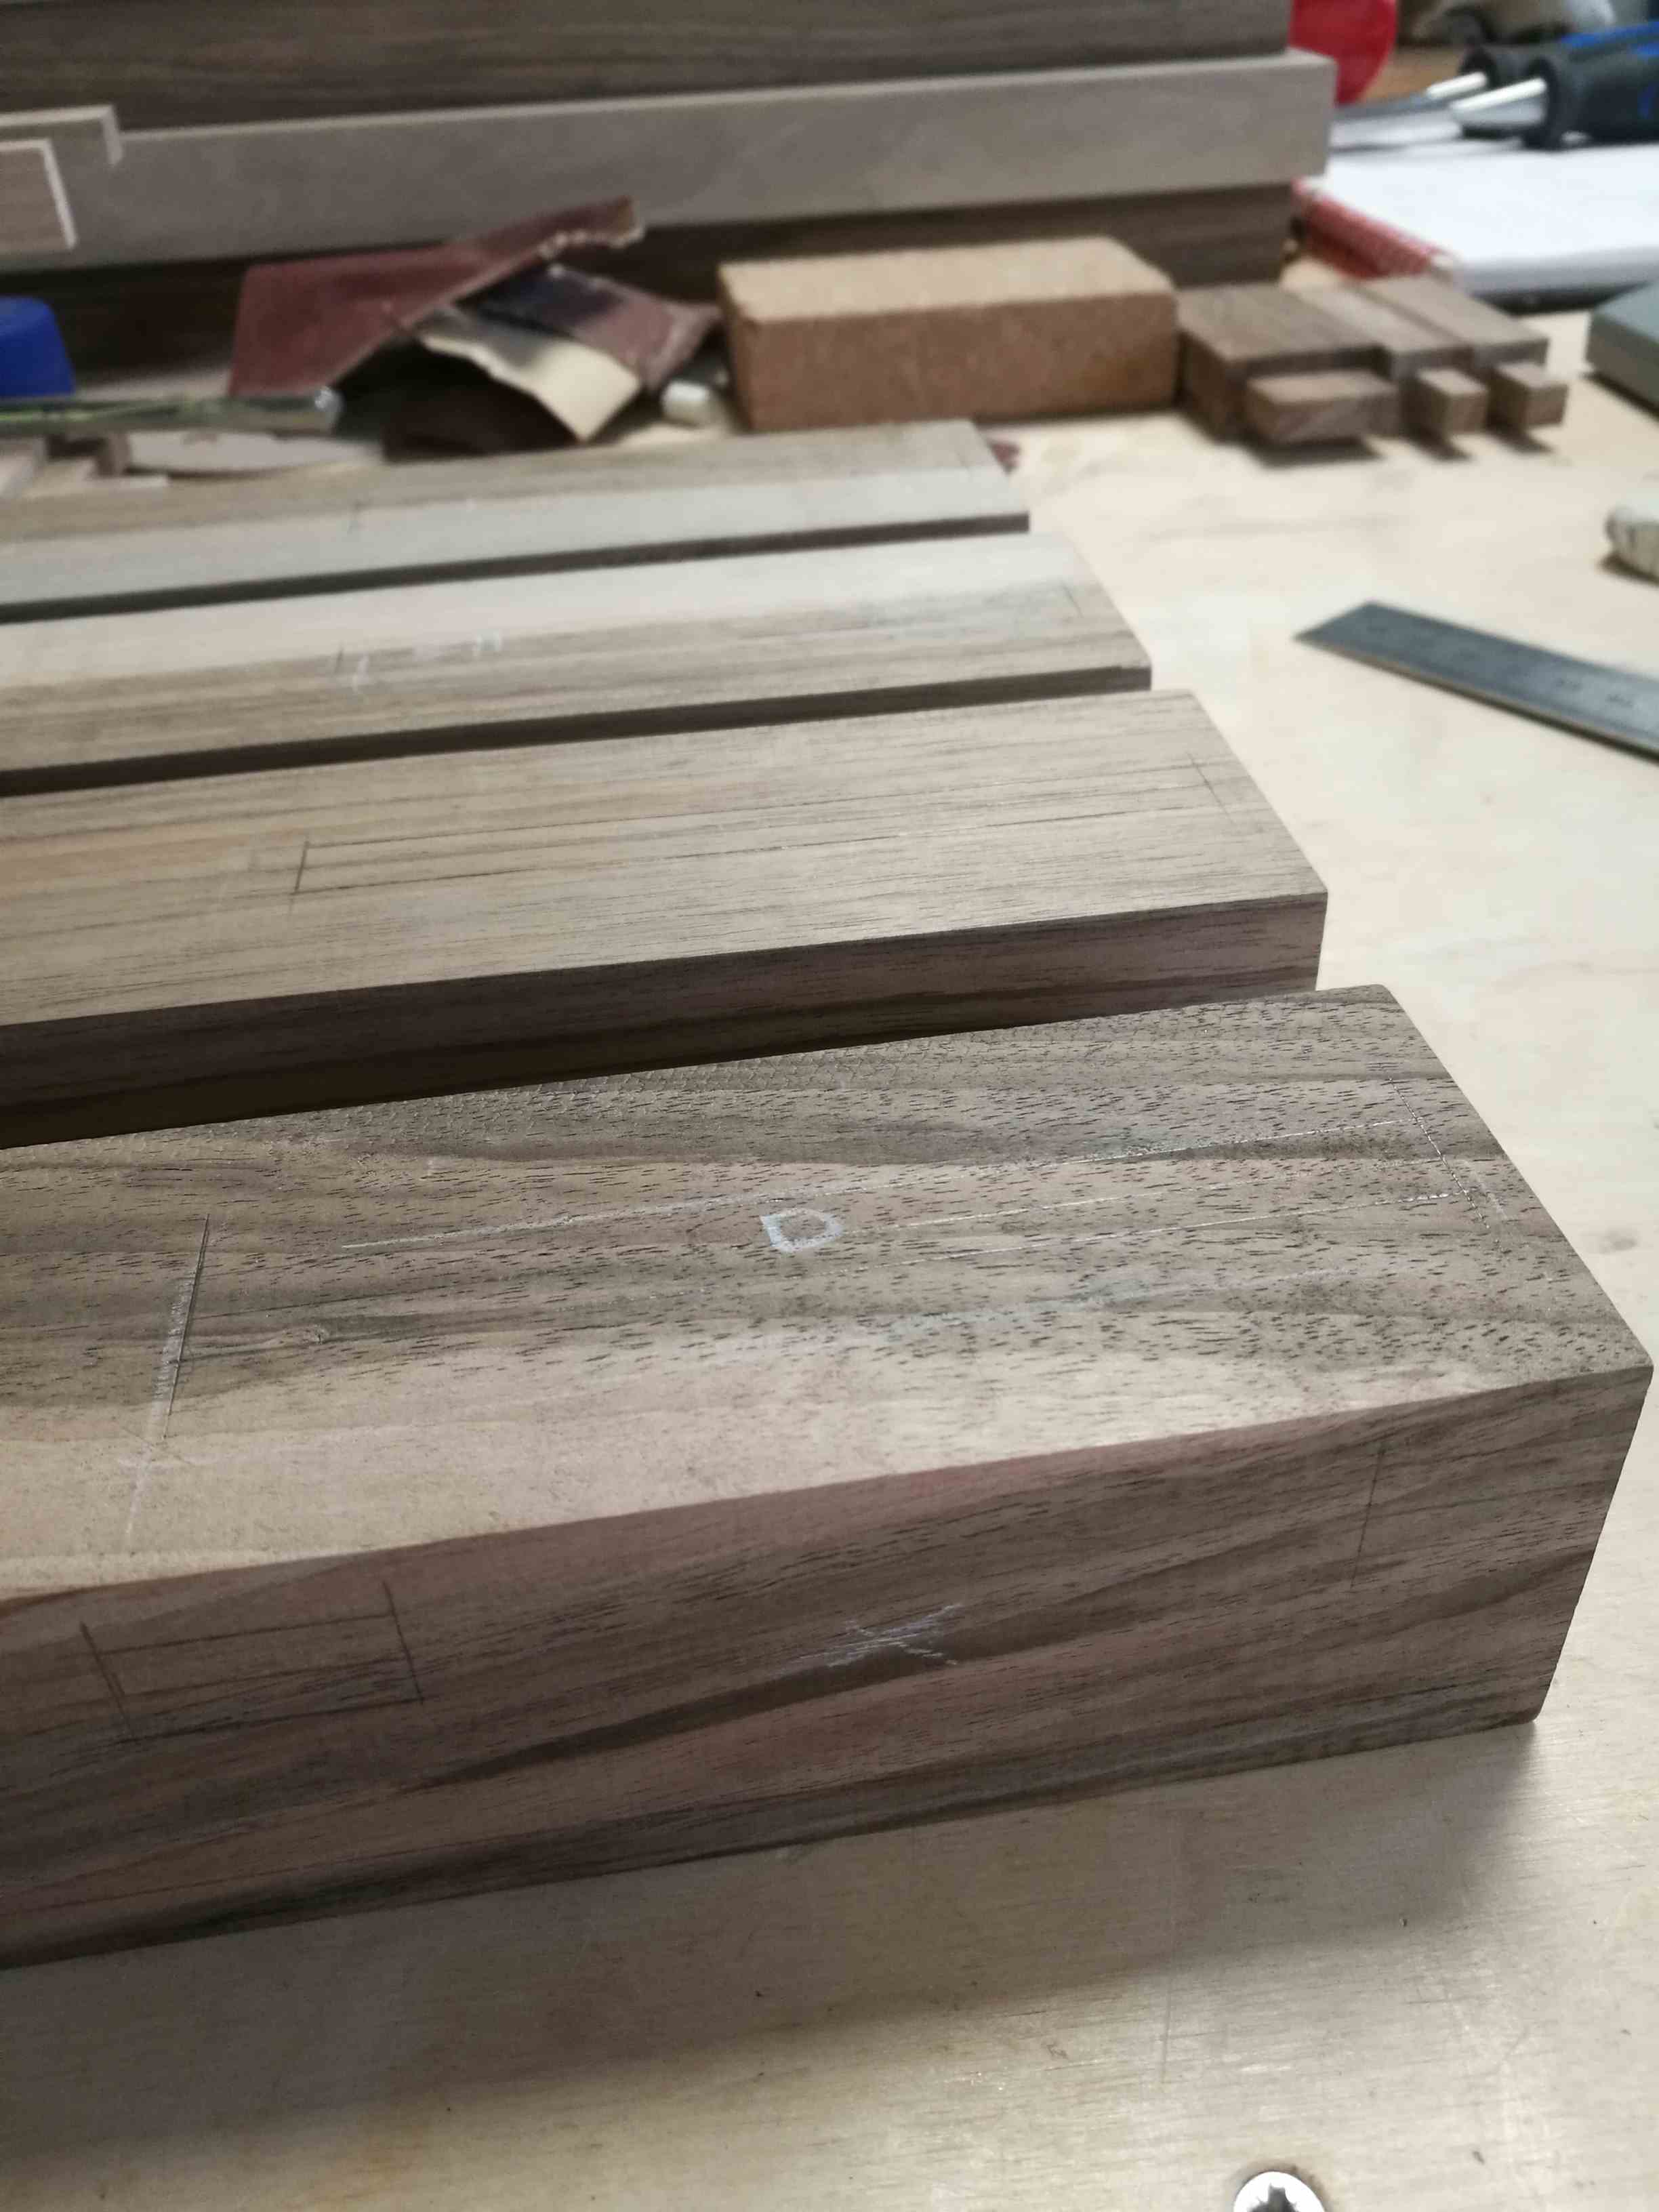
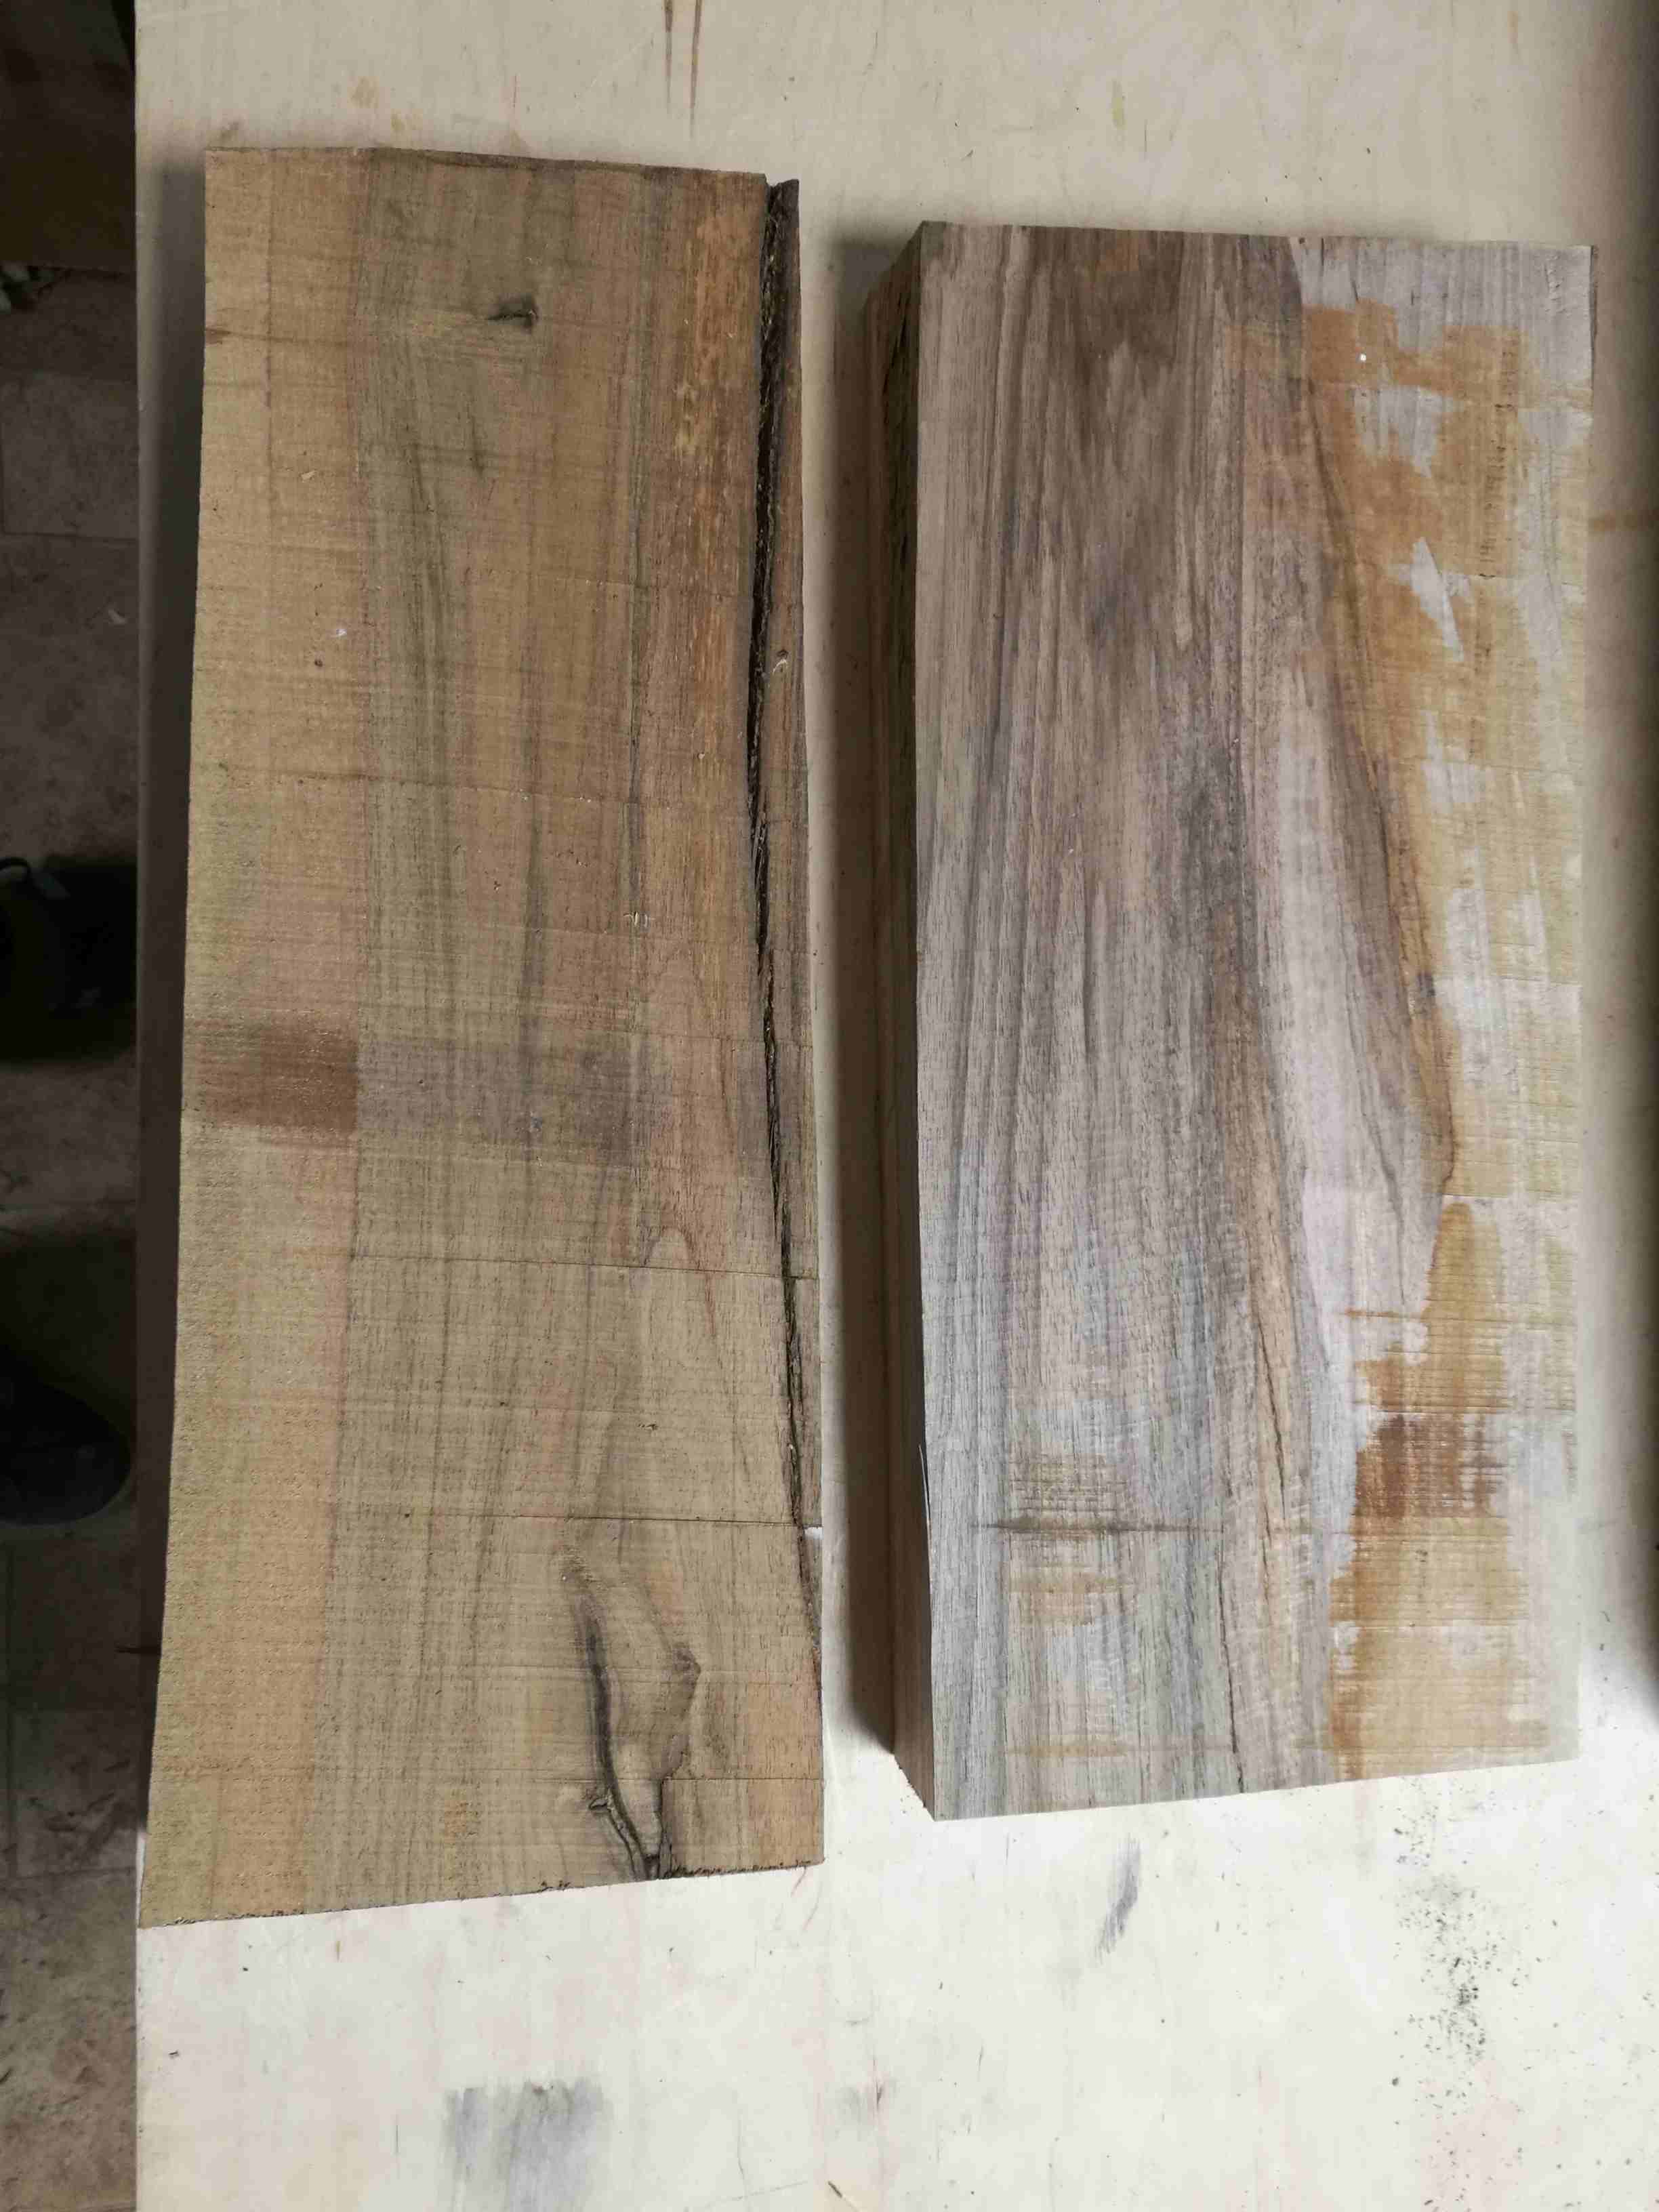
I wanted to make the legs 50mm x 50mm but, as my stock is 50mm thick and a bit wonky, that would mean gluing bits together. The best thickness I could get was 43mm so the choice was stick with that or make it up to 50mm by adding to the thickness and I decided to go with 43mm.
7 Off cuts for legs.jpg

8 Legs.jpg


I'm a bit further ahead than this but I'll post more tomorrow.
 

Attachments

  • Walnut Coffee Table 3.png
    Walnut Coffee Table 3.png
    126.6 KB
  • 3 Top rough cut.jpg
    3 Top rough cut.jpg
    234.2 KB
  • 1 Walnut Board 1.jpg
    1 Walnut Board 1.jpg
    241.9 KB
  • 2 Walnut Board 2.jpg
    2 Walnut Board 2.jpg
    246.3 KB
  • 6 Top.jpg
    6 Top.jpg
    228.4 KB
  • 7 Off cuts for legs.jpg
    7 Off cuts for legs.jpg
    243.3 KB
  • 8 Legs.jpg
    8 Legs.jpg
    237.9 KB
Exciting!

Good luck with this. Don't get too hung up on the colour, because most of the walnut you'll have seen used for furniture is probably American Black Walnut which doesn't have the colour variations found in English walnut.
 
Also... worth a thought... is to use the sap and heart wood but at the end before applying a finish, use VanDyke crystals to stain the walnut. They are made from walnut husks and, depending on the concentration used, will stain anything up to dark brown. They have almost a purplish tinge to them (like ABW does) and make the difference between sapwood and heartwood much less pronounced. Just a thought - certainly where I have used them they have vastly improved the appearance of English walnut. Good luck Mark
 
Also watching with interest. What a lovely present to receive - a pile of wood and the chance to practise on someone else's table!

What little I know about walnut I learned from Custard who gave me the wood to make a table. He said that sunshine will lighten the darker parts a lot, so if you don't want to use stsin to match, sunlight might even things up for you, in the other direction.
 
Personal thing here, but I never, ever use sapwood, yew being an exception. Whenever I get hold of a board of walnut (in this case) the first thing I do is to rip off the sap and bin it - Rob
 
I thought this was ABW but that is based purely on the fact that there are a lot of Walnut trees where I live (Hungary) and the walnuts casings are always black. Not bulletproof logic, I know.

Living in Hungary also means that I don't have access to anything to do with woodworking other than what my local B&Q equivalent stocks. So, no fancy stains but I think I've found a supplier of Osmo Poly which I was intending to use on this.

AndyT - I'm actually testing that currently as I put a piece of walnut outside, under shelter to see if it would change and the results after about 10 weeks are - not a lot.
 
Sun, in Hungry, in the winter? :lol: :lol: :lol:

I would say with some confidence that this is a local European walnut and not ABW which has much less colour variation normally.
 
Absolutely Mike, the weather recently has been mixed but still quite a lot of sunshine even with below freezing temps over night. Today was 5 degrees and it was almost t-shirt weather! I'm beginning to feel reassured about the bank of 38 solar panels I had installed on the roof a year ago.

OK, next up is the rails or stretchers, not sure which is the most correct term.
Rough stock -

9 Rails 1.jpg


I managed to resaw the smaller piece for the short rails and once planed and cut to (near) final dimensions this is what I had.

10 Rails 2.jpg


In a different post I asked about the strength of the joint between the rails and the legs. I intended to use the same double tenon joint that MikeG used on his coffee table as I anticipated some racking issues. After giving it some more thought I have decided to simplify the joint to help me avoid introducing any cumulative errors. This is the more standard version.

I found it useful to sketch the shape of the tenon on the piece for reference before I started marking out. As I am using a mixture of tenon shapes it helped me to remember which ones went where without constantly referring back to my design.

15 Rails 5.jpg


And the finished rails (apart from sanding).

13 Rails 3.jpg


I started to cut the tenons with a chisel but after 5 mins my back reminded me that I am not young anymore. So it was off to the bandsaw which had a shiny new blade especially for this project.
 

Attachments

  • 9 Rails 1.jpg
    9 Rails 1.jpg
    189.3 KB
  • 10 Rails 2.jpg
    10 Rails 2.jpg
    245.2 KB
  • 15 Rails 5.jpg
    15 Rails 5.jpg
    244.6 KB
  • 13 Rails 3.jpg
    13 Rails 3.jpg
    237.4 KB
Steliz":p38ypmjx said:
I thought this was ABW but that is based purely on the fact that there are a lot of Walnut trees where I live (Hungary) and the walnuts casings are always black.
Nope, Juglans regia or European Walnut...lovely stuff! - Rob
 
So, after a brief hiatus from the workshop to do some other stuff it's back to the coffee table.

I wasn't looking forward to chopping out all of the mortices so I found something else to do, the drawer fronts. I had a long enough piece to cut both drawer fronts so that I could have a continuous grain pattern although this will be under the top and not easily seen. I'll know it's there though.

5 Drawer Fronts 2.jpg

17 Drawer Fronts.jpg

5 Drawer Fronts.jpg


Well, that just leaves the mortices to do so, here goes. First the mark up. Just as an idea of how careful I'm being to not make any major 'fir cups' I went over every leg and marked it in white for the correct orientation and rough mortice position. I then left it for an hour and went back and repeated the whole process and, once I was confident I had everything correct, I then started marking up. That was all I had time for that day so, the next morning, I went in to the workshop and rechecked it all again! All was good so I got on with it.

3 Legs 5.jpg


First one done, nine to go.

3 Legs 3.jpg


A quick dry fit and I'm happy with that.

3 Legs 4.jpg


And finally, the legs are all done.

3 Legs 6.jpg


Time for a dry fit and at first it didn't go together as easily as I was expecting.

Test Fit 1.jpg


The two longer tenons that cross over inside the back legs were not clearing each other so, after a small adjustment, all was OK.

Test Fit 2.jpg

Test Fit 3.jpg
 

Attachments

  • 5 Drawer Fronts 2.jpg
    5 Drawer Fronts 2.jpg
    239.3 KB
  • 17 Drawer Fronts.jpg
    17 Drawer Fronts.jpg
    240.9 KB
  • 5 Drawer Fronts.jpg
    5 Drawer Fronts.jpg
    235.2 KB
  • 3 Legs 5.jpg
    3 Legs 5.jpg
    249.3 KB
  • 3 Legs 3.jpg
    3 Legs 3.jpg
    237.5 KB
  • 3 Legs 4.jpg
    3 Legs 4.jpg
    238.4 KB
  • 3 Legs 6.jpg
    3 Legs 6.jpg
    246.8 KB
  • Test Fit 1.jpg
    Test Fit 1.jpg
    248.3 KB
  • Test Fit 2.jpg
    Test Fit 2.jpg
    242.3 KB
  • Test Fit 3.jpg
    Test Fit 3.jpg
    247 KB
I added one of the pieces for the drawer front frame to see how rigid (or not) the whole thing felt and I am very glad to say that it is tight and strong and I gave myself a pat on the back for that.

Test Fit 4.jpg


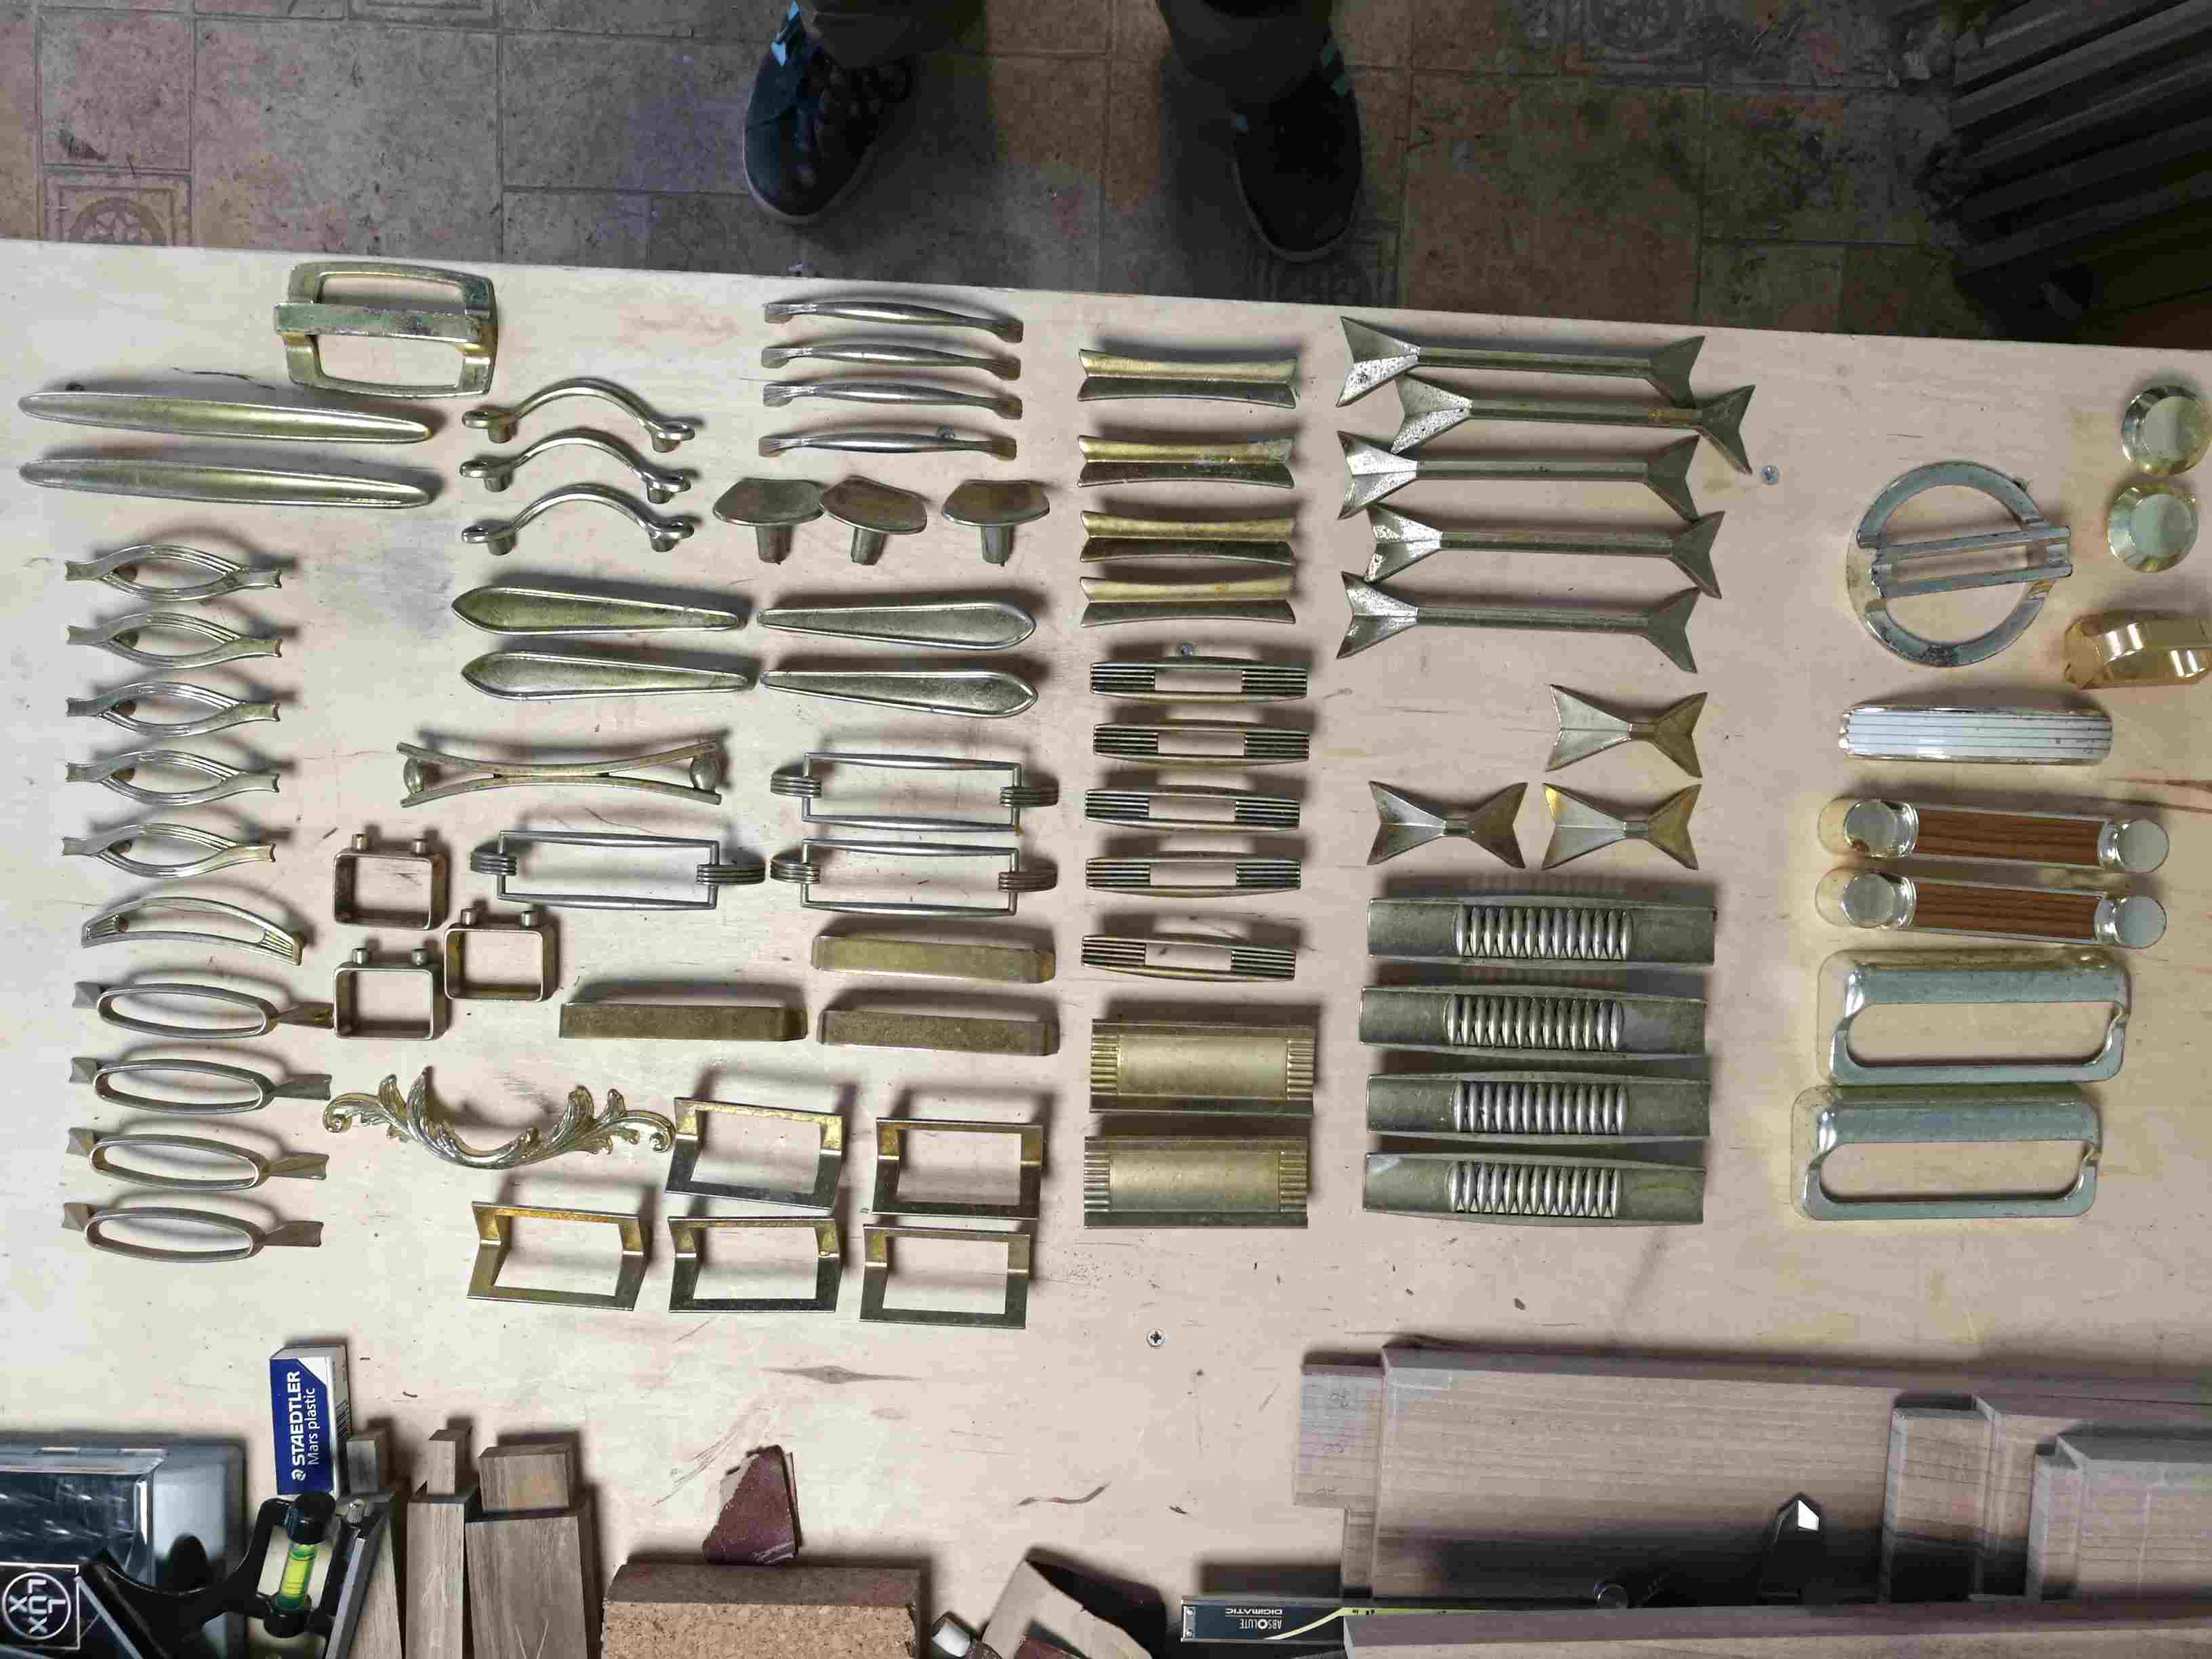
As a slight aside, a fellow ex pat over here offered me a box of handles he had. They had been lying around for many years and he finally decided that he was never going to find a use for them. I was happy to take over the custodianship of them and I was also happy to see that they weren't rubbish either. They are all a bit art deco(ish) but I might put a pair of them on the table drawers. What do you think and which do you think would fit the best?

Handles.jpg


The group to the right are all plastic and I have binned them but all the others are metal.
 

Attachments

  • Test Fit 4.jpg
    Test Fit 4.jpg
    237.2 KB
  • Handles.jpg
    Handles.jpg
    246.8 KB
I'm curious about the design of the main mortice & tenons. Your mortices are extremely close to the end of the legs, so how deep are they at that point?
 
Steliz":2fk6gd1r said:
A quick dry fit and I'm happy with that.
Your mortices are too long and your matching tenons are therefore too wide. You've made what I sometimes rather disparagingly call 'near bridle' joints. The problem is there's really too little strength at the end of mortice at the top of the leg to prevent a plug of wood popping out if the joint experiences racking, e.g., someone dragging the table across the floor. You might get away with what you've made as it's only a small and lightweight piece of furniture.

What you should really have done is to only form the tenon within roughly the bottom 2/3rds (or perhaps just a tiny bit more) of the rail's width, and perhaps added a haunch within the upper approximately remaining 1/3 width of the rail: the haunch would be there primarily to help prevent the rail cupping, particularly if the outside face of the rail is flush with the outside face of the leg. If that isn't the case, i.e., the face of the rail is inset from the face of the leg, then a haunch would really only be optional. Slainte.
 
Mike, the mortices are 30mm deep.

I understand from what's been said that I haven't left enough wood between the top of the mortice and the end of the leg. So, going forward, should I make new legs or will this be fine?
 
I think I know why this happened. You copied my mortice & tenons, albeit single rather than double. However, with my leg design (protruding above the line of the table top), the mortice finished probably 70mm or more further from the end of the leg than yours did.

What to do? Hmm......

When (not if) that splits out, it won't be seen as it is hidden by the table top. So this is entirely about structural strength. So you've got to ask yourself what the risk is. Is the table ever likely to be moved or bumped? Are there kids about? I know you are short of walnut, so you'd probably not want to re-make these legs. It's the back two legs that count, where there are meeting mortices and therefore very little timber left in the top of the leg.

If I were making this for someone else, I wouldn't hesitate. I'd make new legs. For yourself, assess the risk of damage, and whether that outweighs the costs of re-doing the legs now. How upset would you be if one or more joints failed in the next 5 years, say?

Next time you tackle something like this joint, you have to assess both pieces (the leg & the apron, in this case) individually. The more you leave on one the more you've got to take off the other. You've got to look at each piece and ask if it is strong enough. It's no use having a great glue line but having one really weak piece. In this case your apron tenon is overly strong and the top of your leg is weak.

Take it on the chin and move on. Woodwork, like any skill, is a story of constant learning. This table will be OK. Your next one will be better.
 
You're right Mike, I was using you're design as a base for mine and I was also going to have the same leg/top arrangement as yours but I changed it when I realised how much wood I would need and it never crossed my mind to lower the M&Ts. Every day is a school day and I have learned something new and I'll know better next time.
As for going forward, I will make new legs. It's not so much about having any Walnut available but more to do with how much I have left over for other projects for myself. The arrangement I have is to make a coffee table as 'payment' for the left over timber and I'm happy with that.
The recipient of this table is an older couple with one grandchild (6 yo) and I think it will be in a fairly safe environment but I wouldn't be happy if it started to get wobbly even if it was years later. I want to do it right so that I can feel good about it and not worry whether it will fail due to a poor design.
 
Do you have room to add pegs to the problem joints?
The tenons are quite deep (vertically), so there may be room for a couple of pegs through each. This would help with racking stregth.
If the tenons are long enough - difficult to tell from the photos - this would give similar strength to a bridle joint, which one might consider up to the job.
 
Steliz":3vjkdgad said:
....... I will make new legs.........

That's the right solution. The reason I asked about the depth of the mortices is that it is perfectly fair enough to have a haunch at the top of the joint. This can be straight or tapered, but can be really quite shallow and still effective. It's job is to prevent the apron cupping. So when you set out the new joints how about a haunch for the top 35 to 50mm?
 
European walnut will lighten in colour considerably if/when exposed to the sun or strong daylight, so you might want to consider this before committing to a finishing scheme.
 
I expect that a coffee table probably wouldn't have too much exposure to the sun but for the finish I was intending to use a hard wax oil as I managed to find some in a local shop. I have tested it on a scrap and it looks nice.

So, while I'm processing the wood for another set of legs I'd like to get some input on the new mortice shape before I commit chisel to wood.
Here is the existing rear rail to right side rail mortices and, going by a previous post, I have indicated in white the top third which should be removed. Actually, it is only 30mm (from 110mm) from the top edge as I am concerned that I will only have 25mm of 30mm deep mortice left. I hope that makes sense.
Rail tenons.jpg

Not sure I understand correctly Mike, are you suggesting leaving a haunch where I have indicated the material is to be removed on the side rail.
 

Attachments

  • Rail tenons.jpg
    Rail tenons.jpg
    249.7 KB
Back
Top