Hornbeam
Established Member
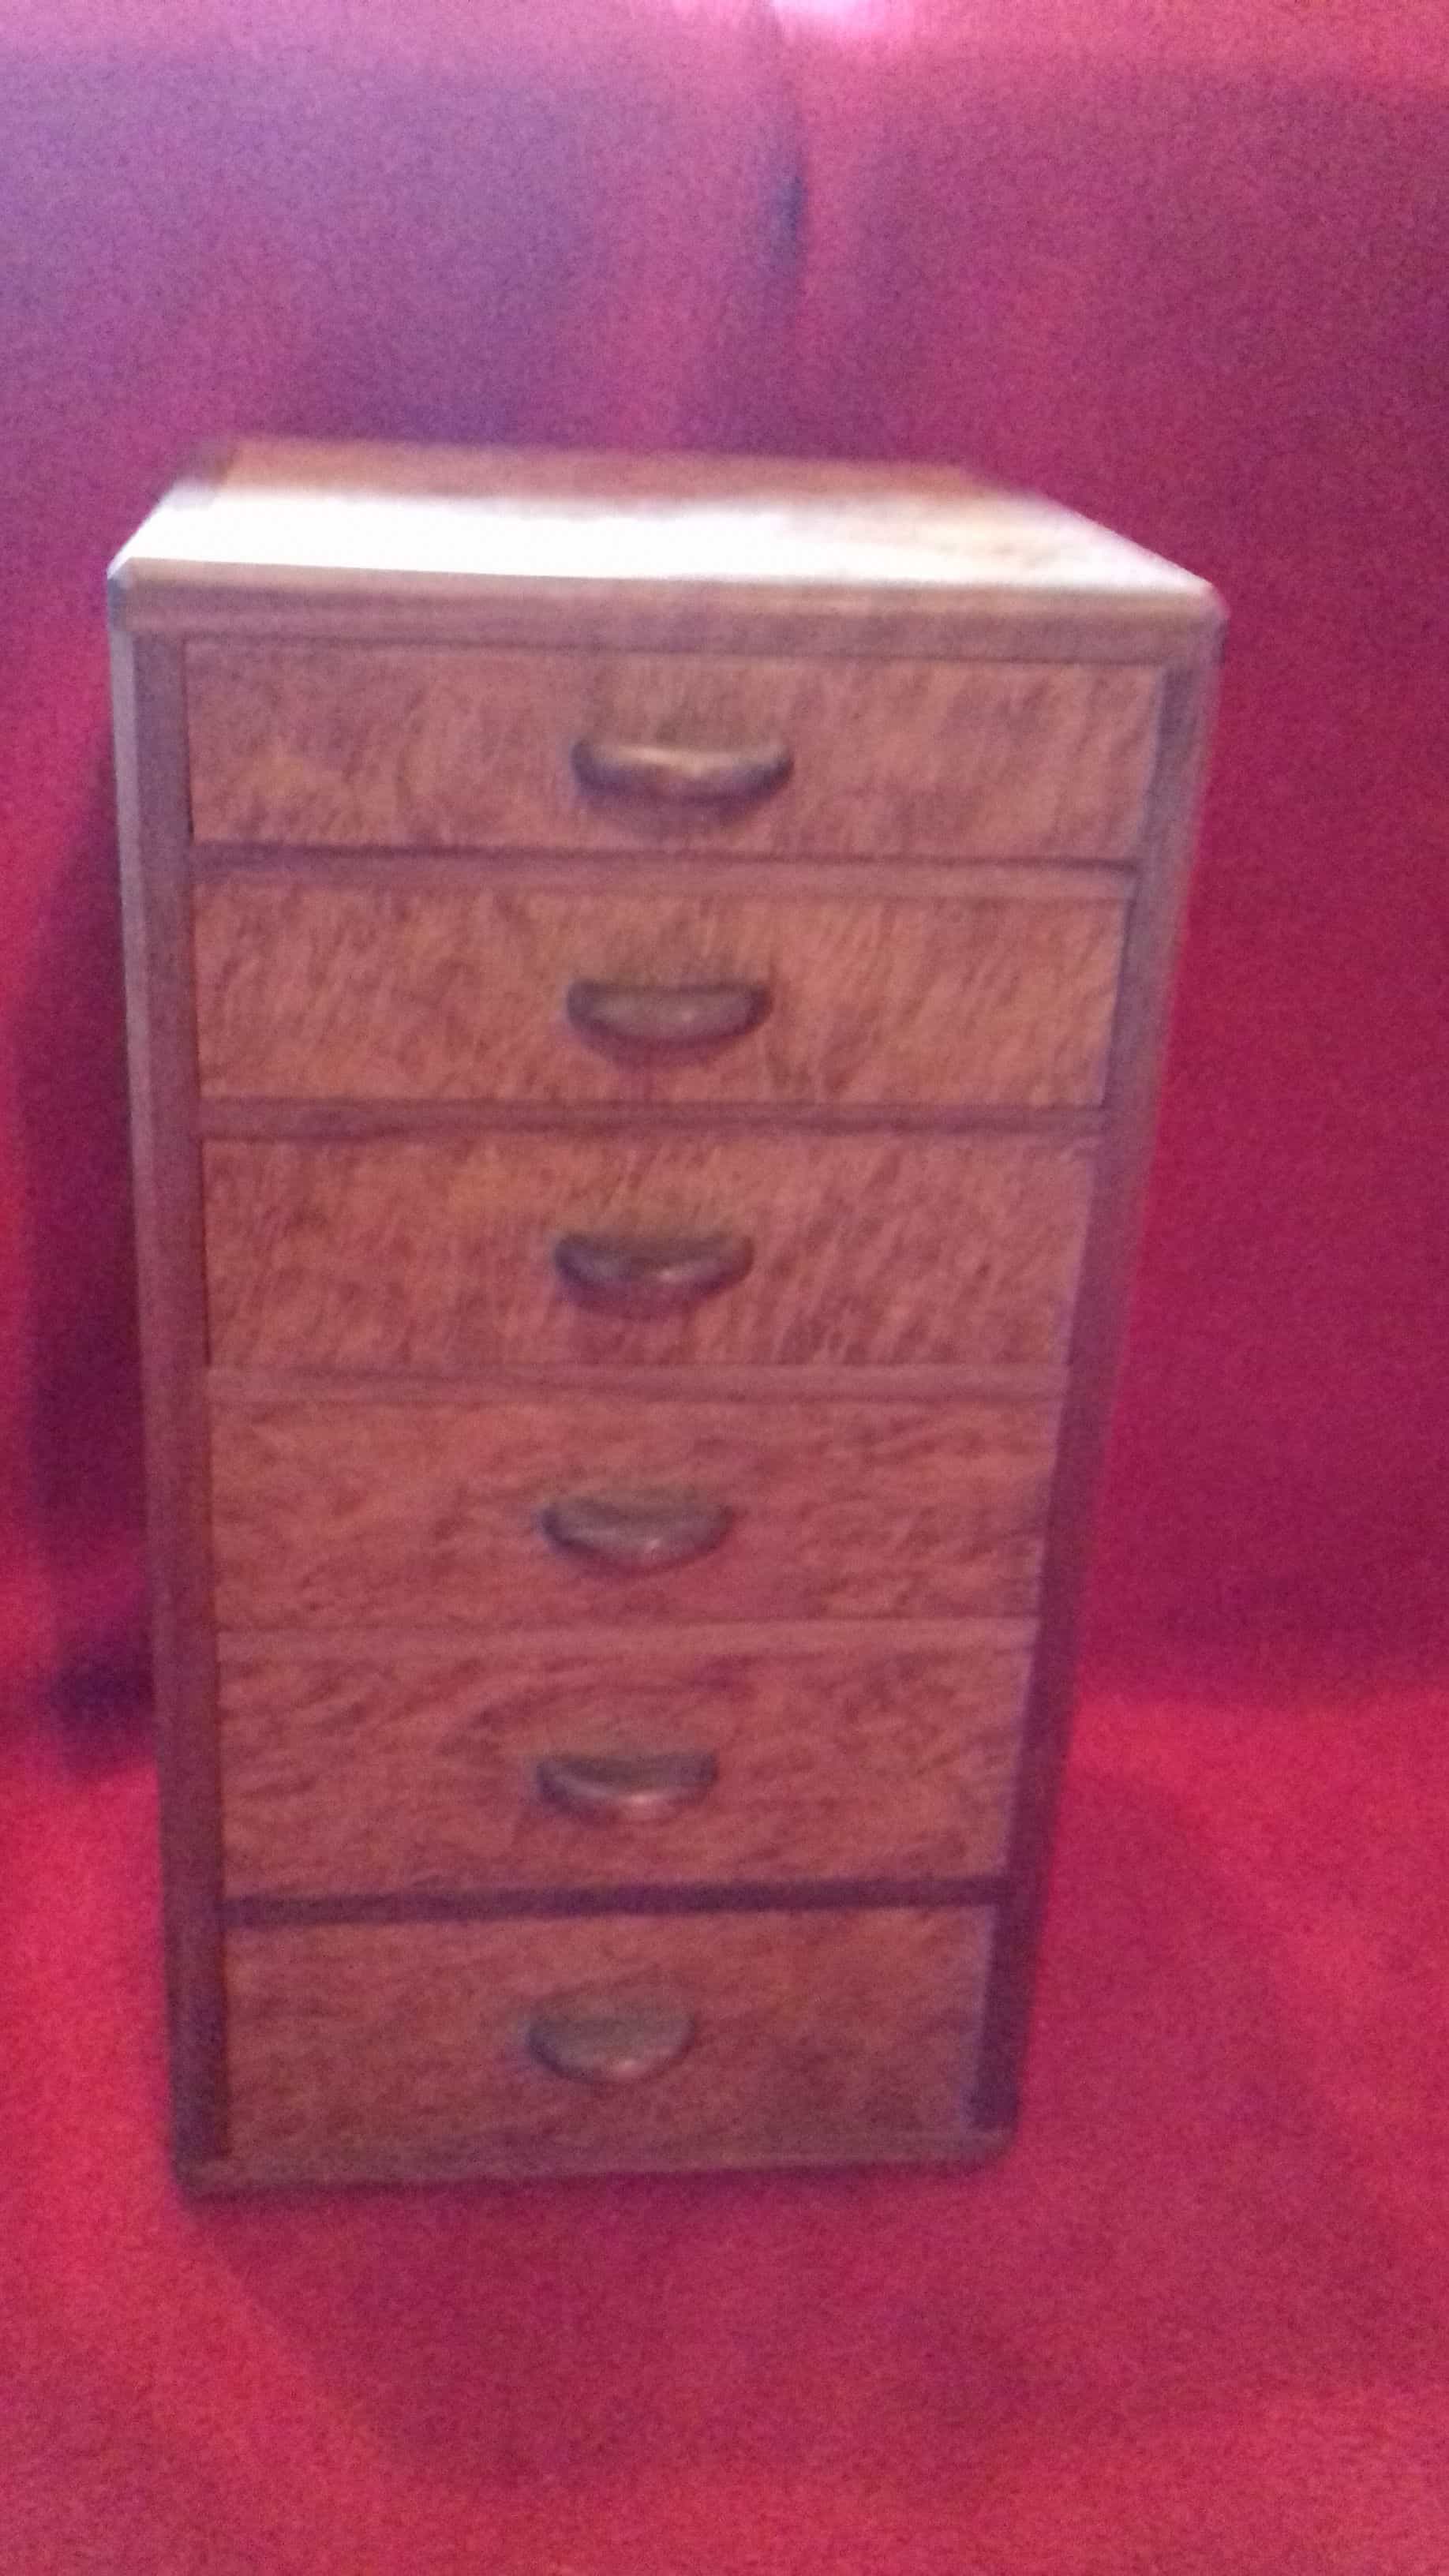
In the original posting I didnt put a scale on the image, The piece is 300mm high and 150mm square. It is made from venered birch ply with solid corner posts.
Although it is only quite small, the same construction techniques could be used on a full size chest.
This approach is only suitable with a veneered stable core. If the chest had been solid then a totally different construction approach would be needed to allow for timber movement
First stage was to sort through my burr veneer and select the best bits

I checked these up against a bright light for small holes which were filled with supper glue and fine sawdust to prevent breed through during veneering (thankyou custard for the tip)
All 5 faces of the chest were made using 9mm birch ply. These were cut slightly over size and veneered in a home made vac bag. Burr walnut on the outside, plain black walnut as a balancer. This gave a total thickness of just over 10mm
Once set, these were cut to size.
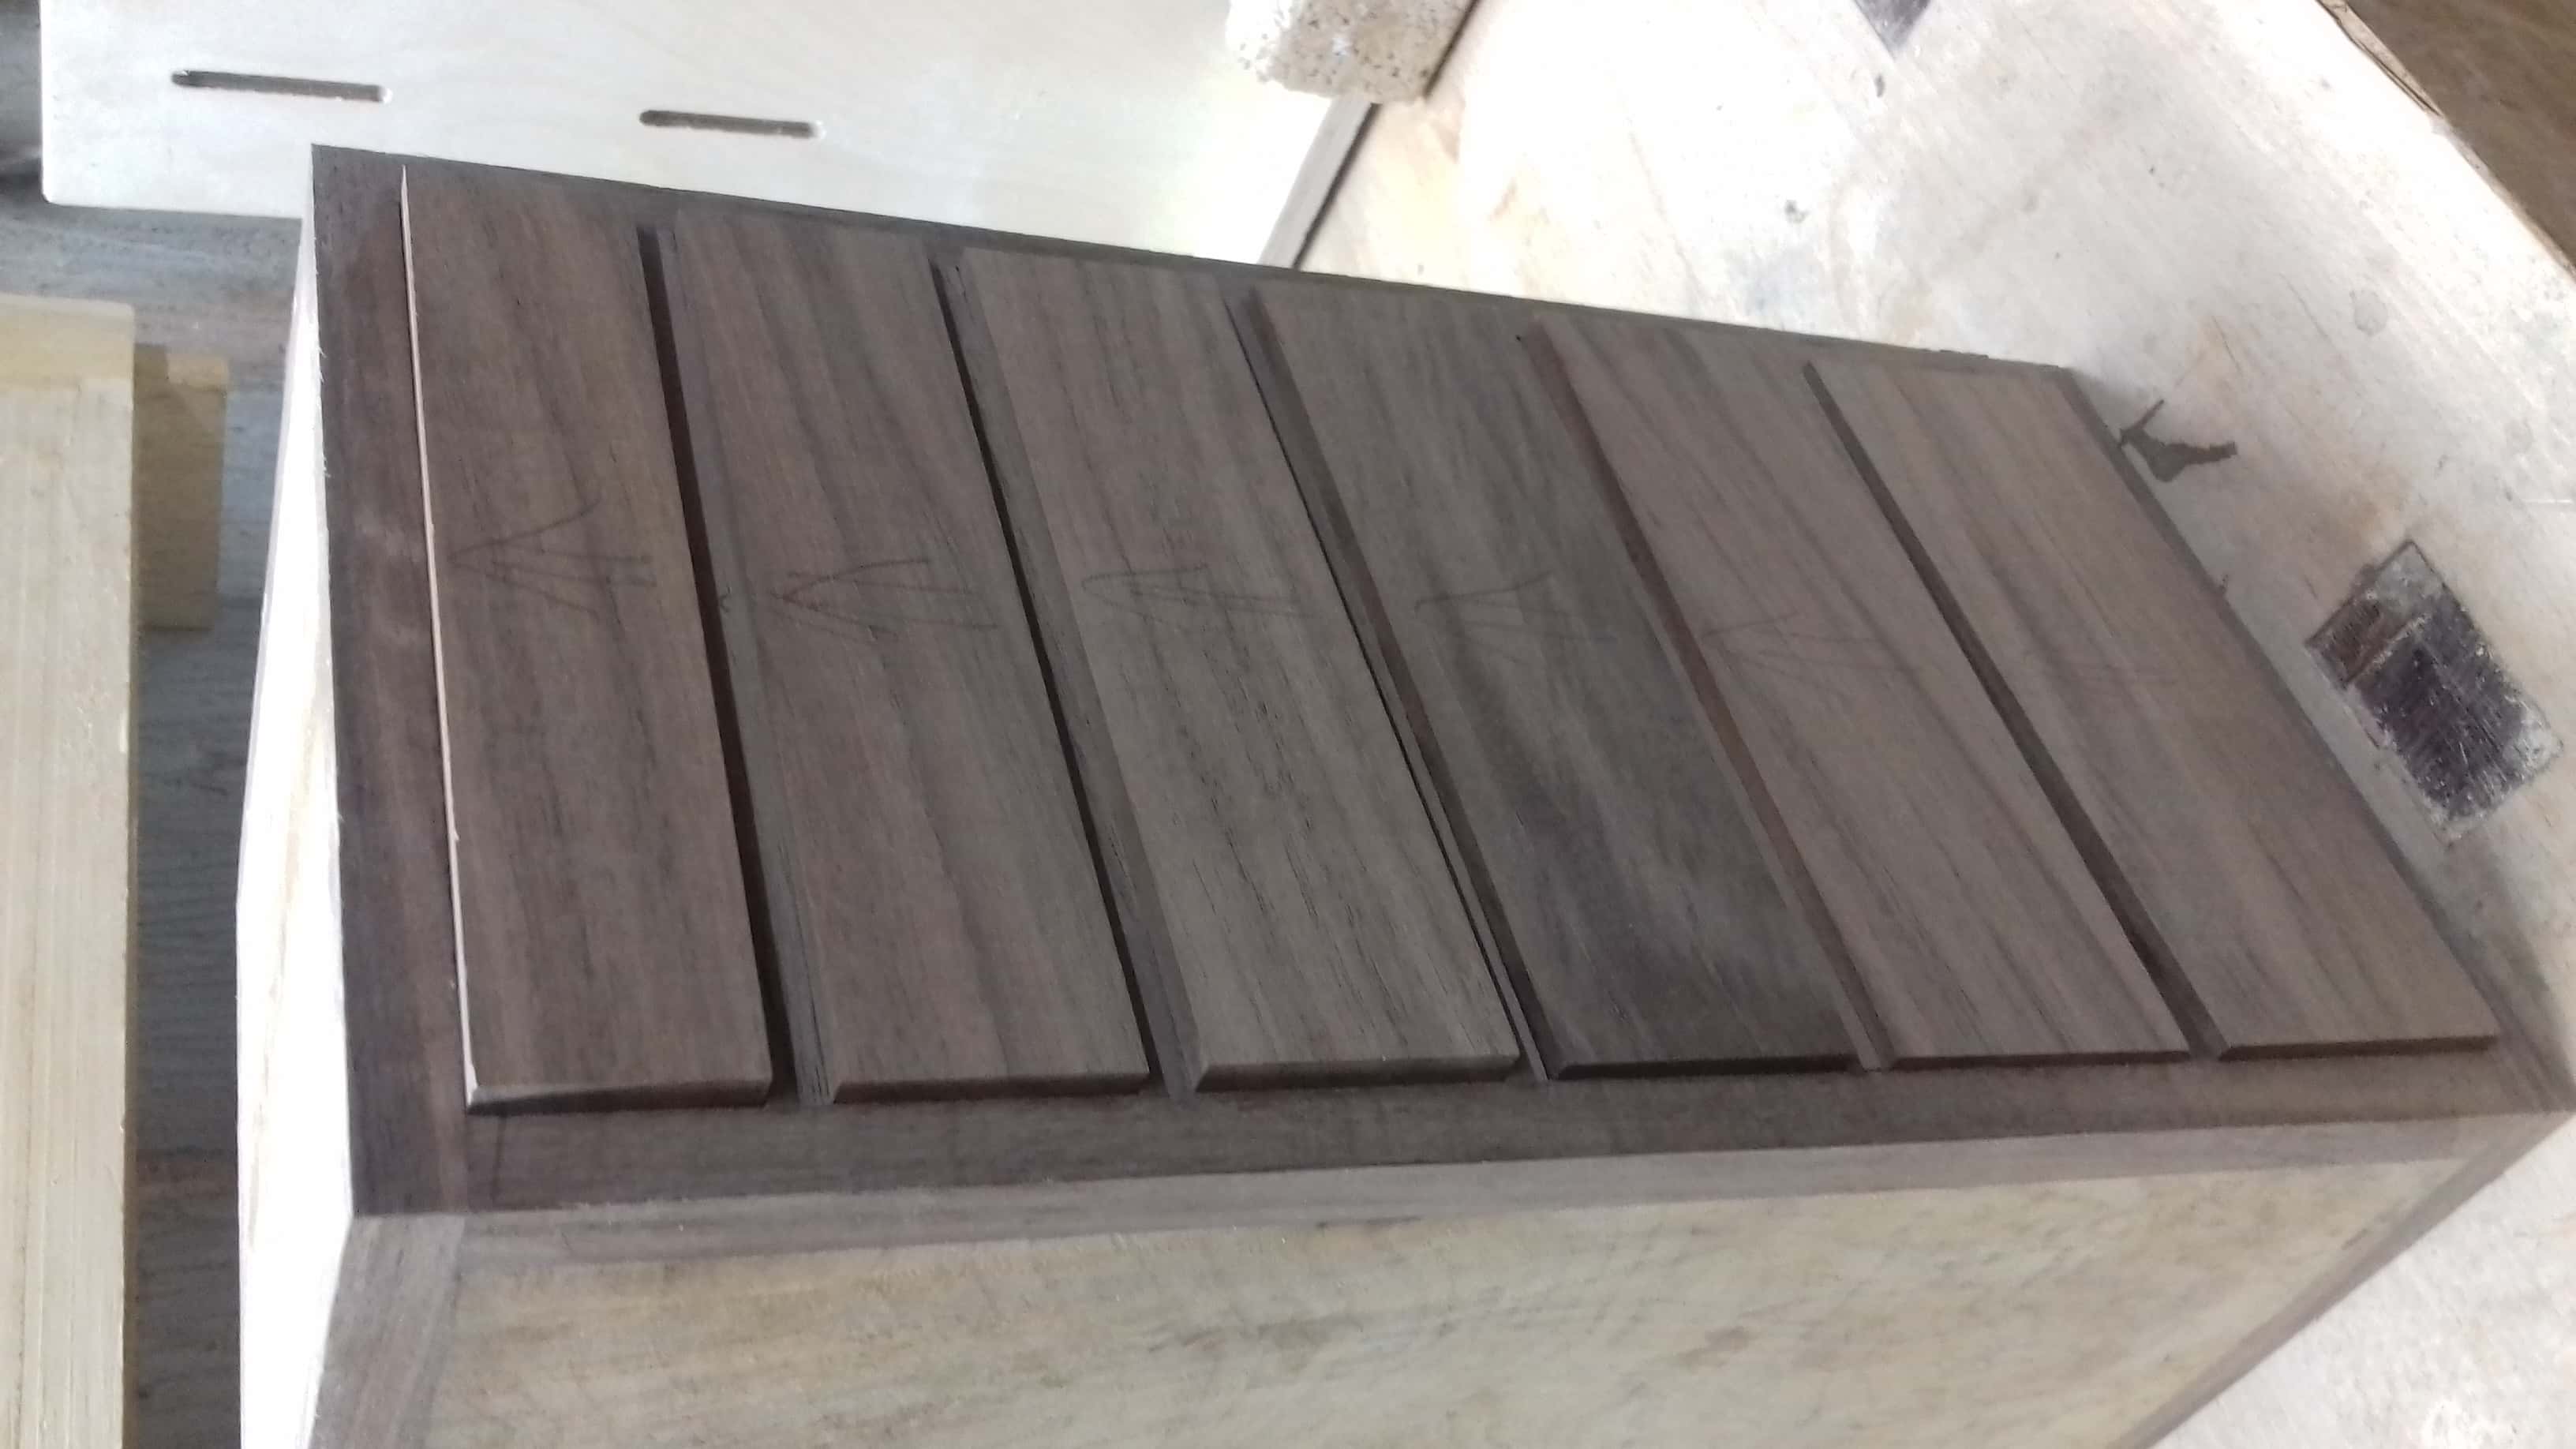
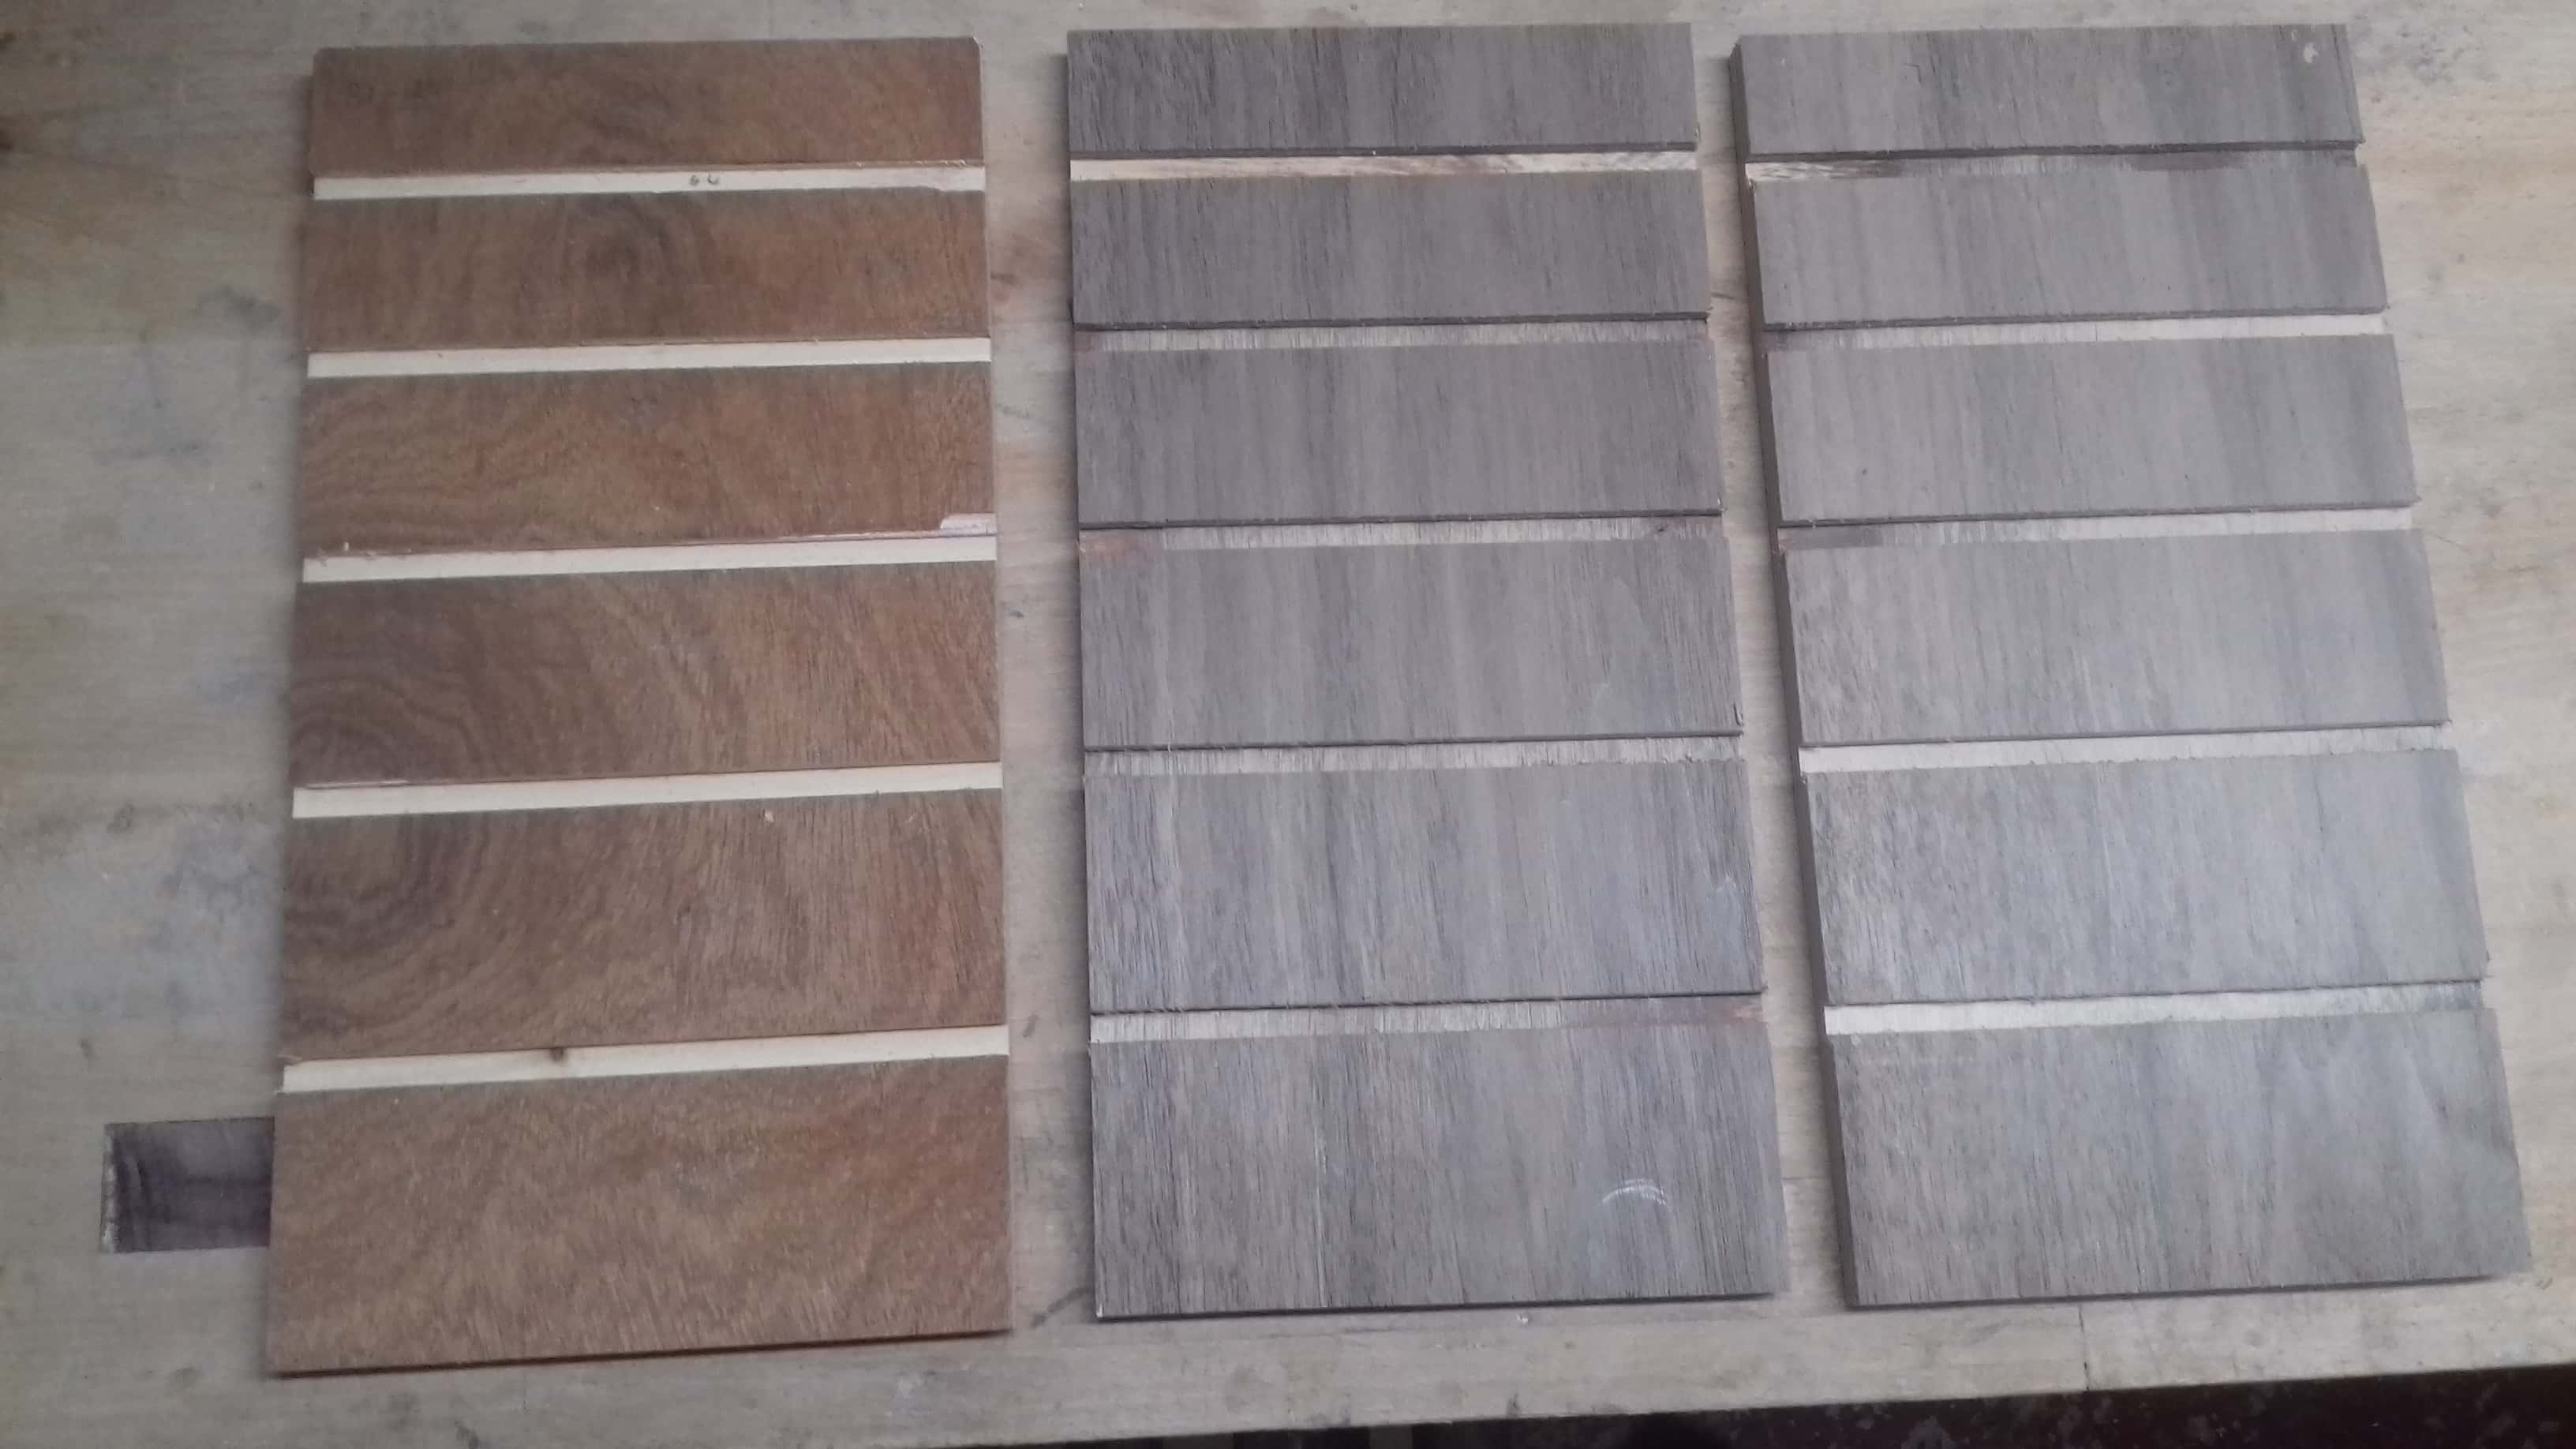
The drawer dividers fit into rebates in the chest sides. As the drawers are graded in size and this was critical I used a scrap piece of ply to set up all the grooves on the router table. Because of the limited movement of my fence I had to cut slots using either the top or bottom as a reference so there was more potential for error
 .
.
The panels are all held together using solid walnut corner posts which are fitted using 4mm birch ply splines. These have to be very carefully positioned as there is only limited room . The posts and the side panels are grooved on the router table and then glued up. The splines are deliberately cut so they dont bottom out in the slots as thsi would prevent everything pulling up tight and you also have to leave somewhere for excess glue. Throughout this build i was careful with glue quantities and used a small artist brush
Once dry the corner posts were carefully trimmed to length and flush with the veneer faces using a finely set plane and a cabinet scraper. Using the same setting on the router table the back panel and the back posts could be grooved and a trial fit.
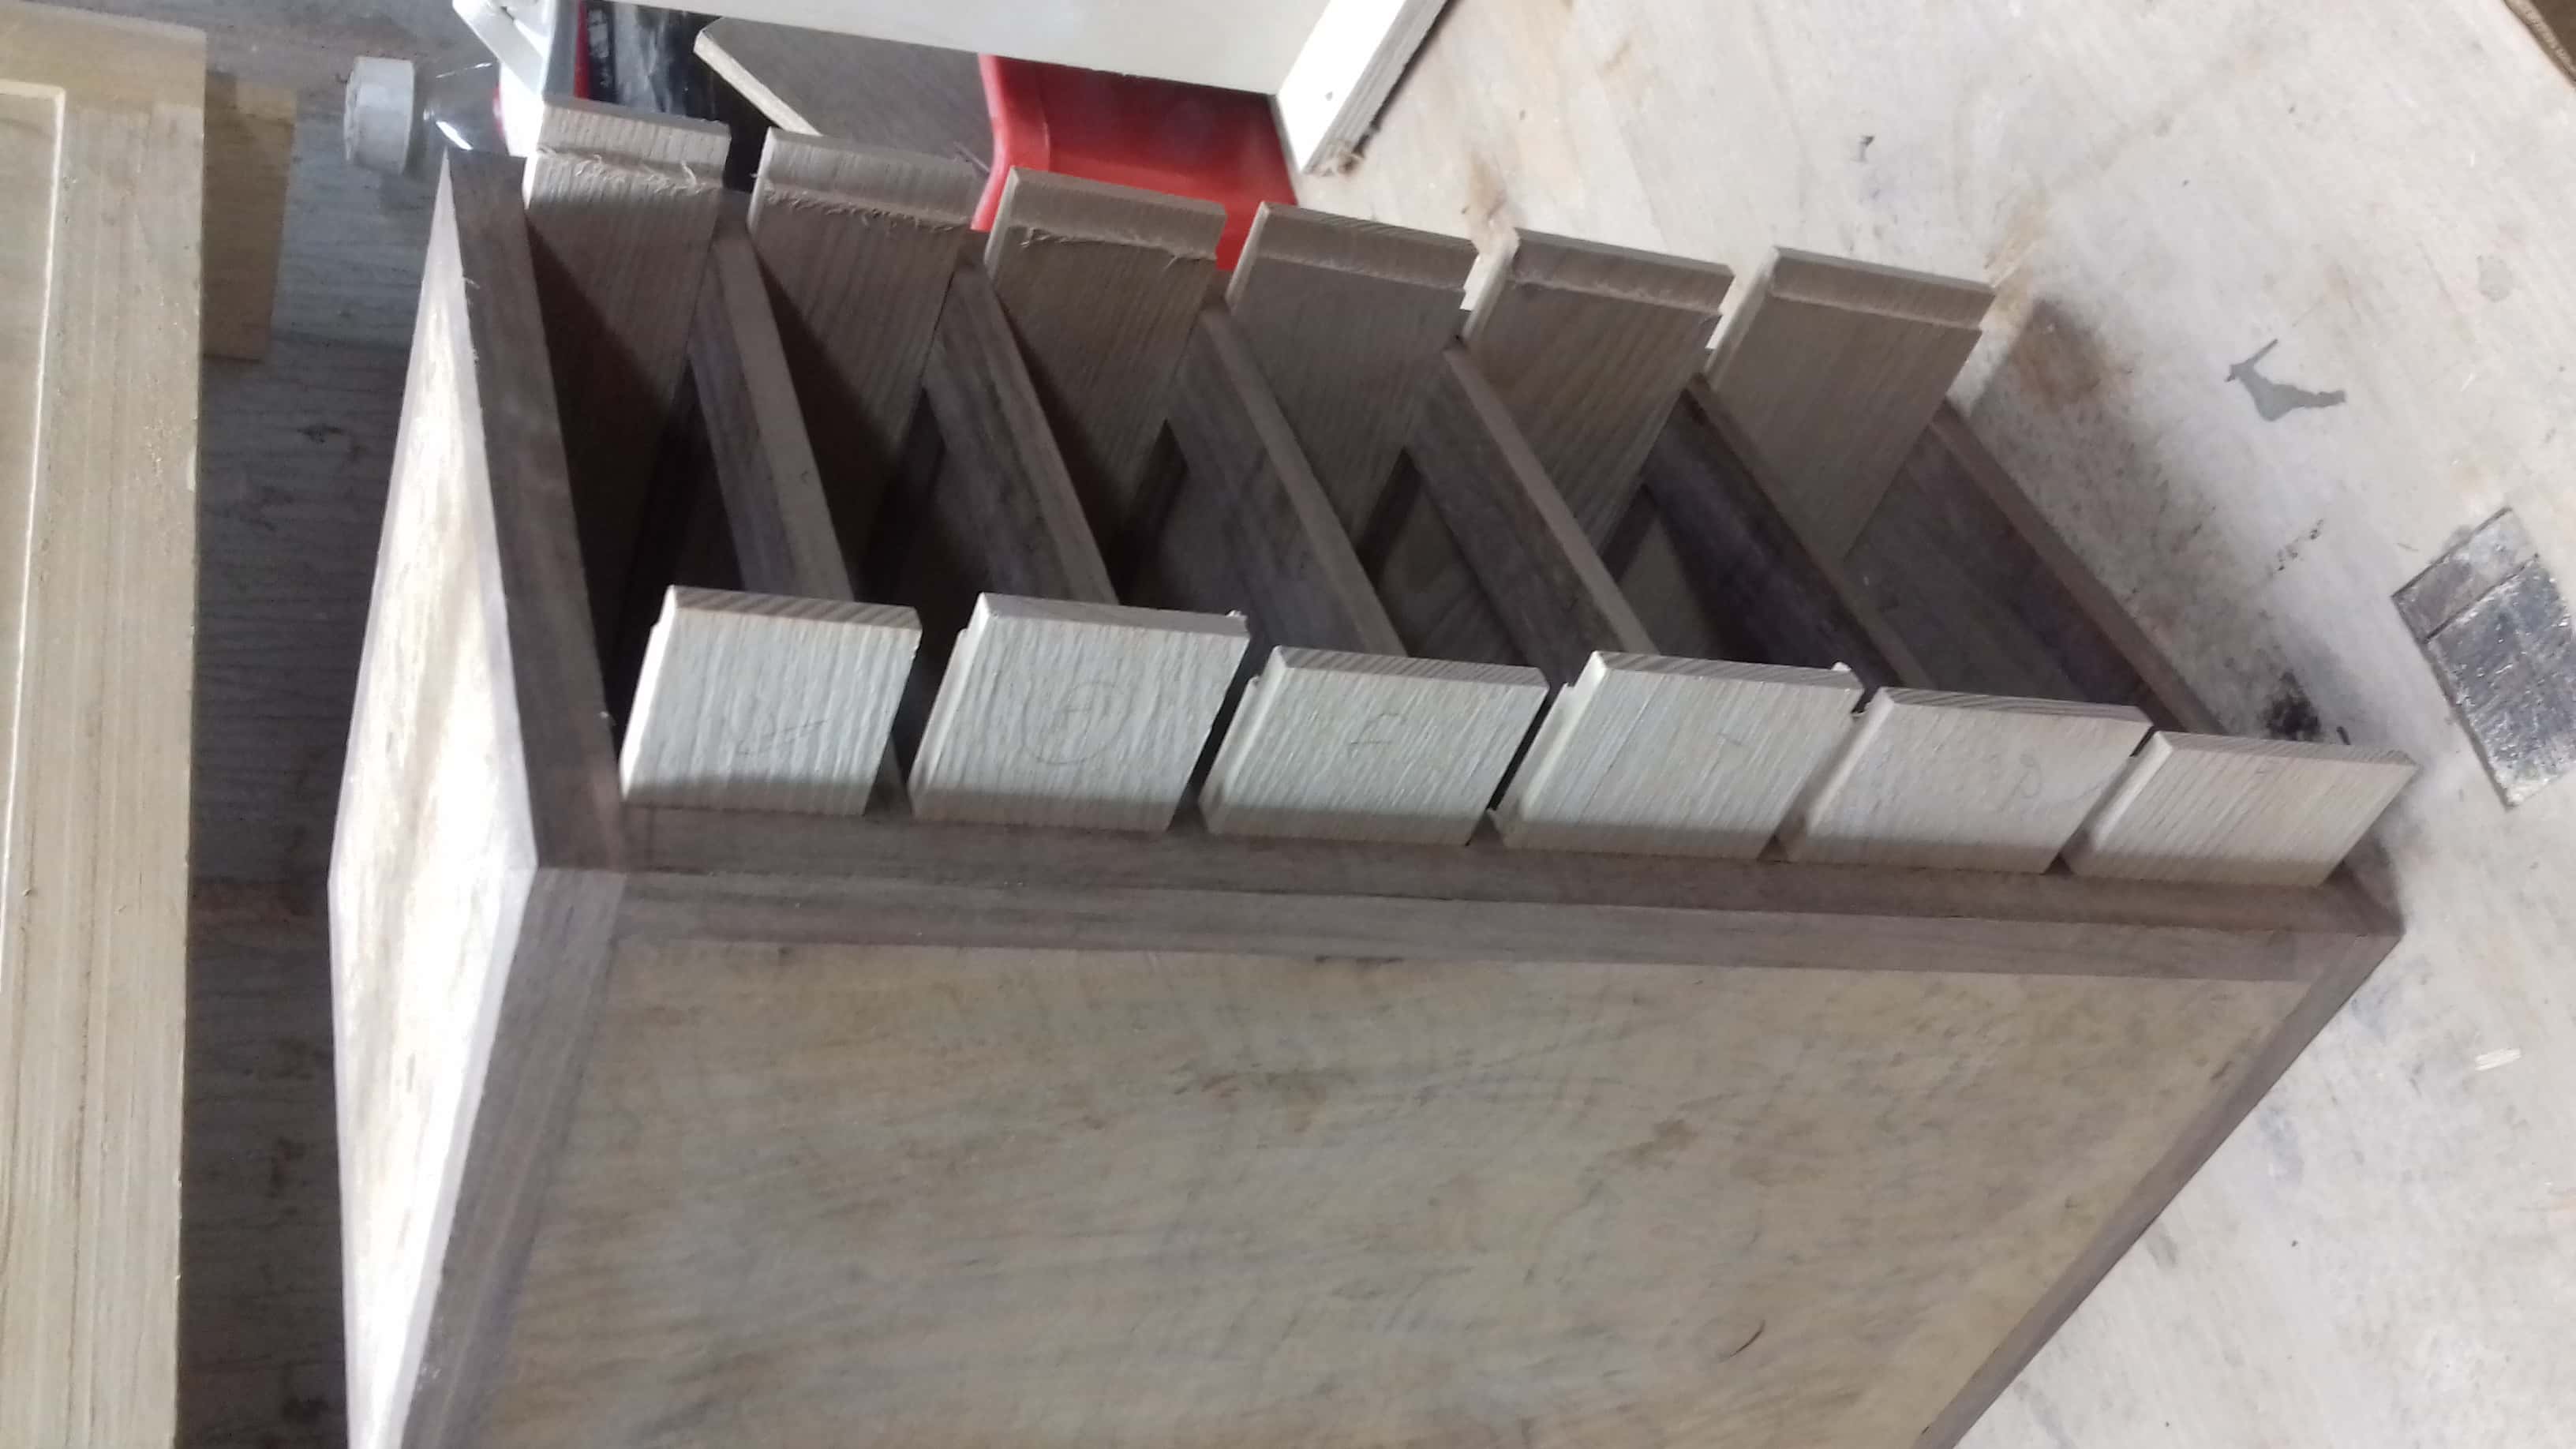
Now on the drawer dividers. I extended the housings in the side halfway through the front lippings to give more support to the front rails,
The drawer dividers are 6mm thick and are open mortice and tennon construction. I cut a lot of the waste out using a 2mm slotting cutter but all the joints ate hand finished with a 1/16th chisel which is pretty small and quite fragile. All 5 frames were checked for square and then glued

Once the frames were all dry the front rail was notched at the end to fit into the rebates in the sides.
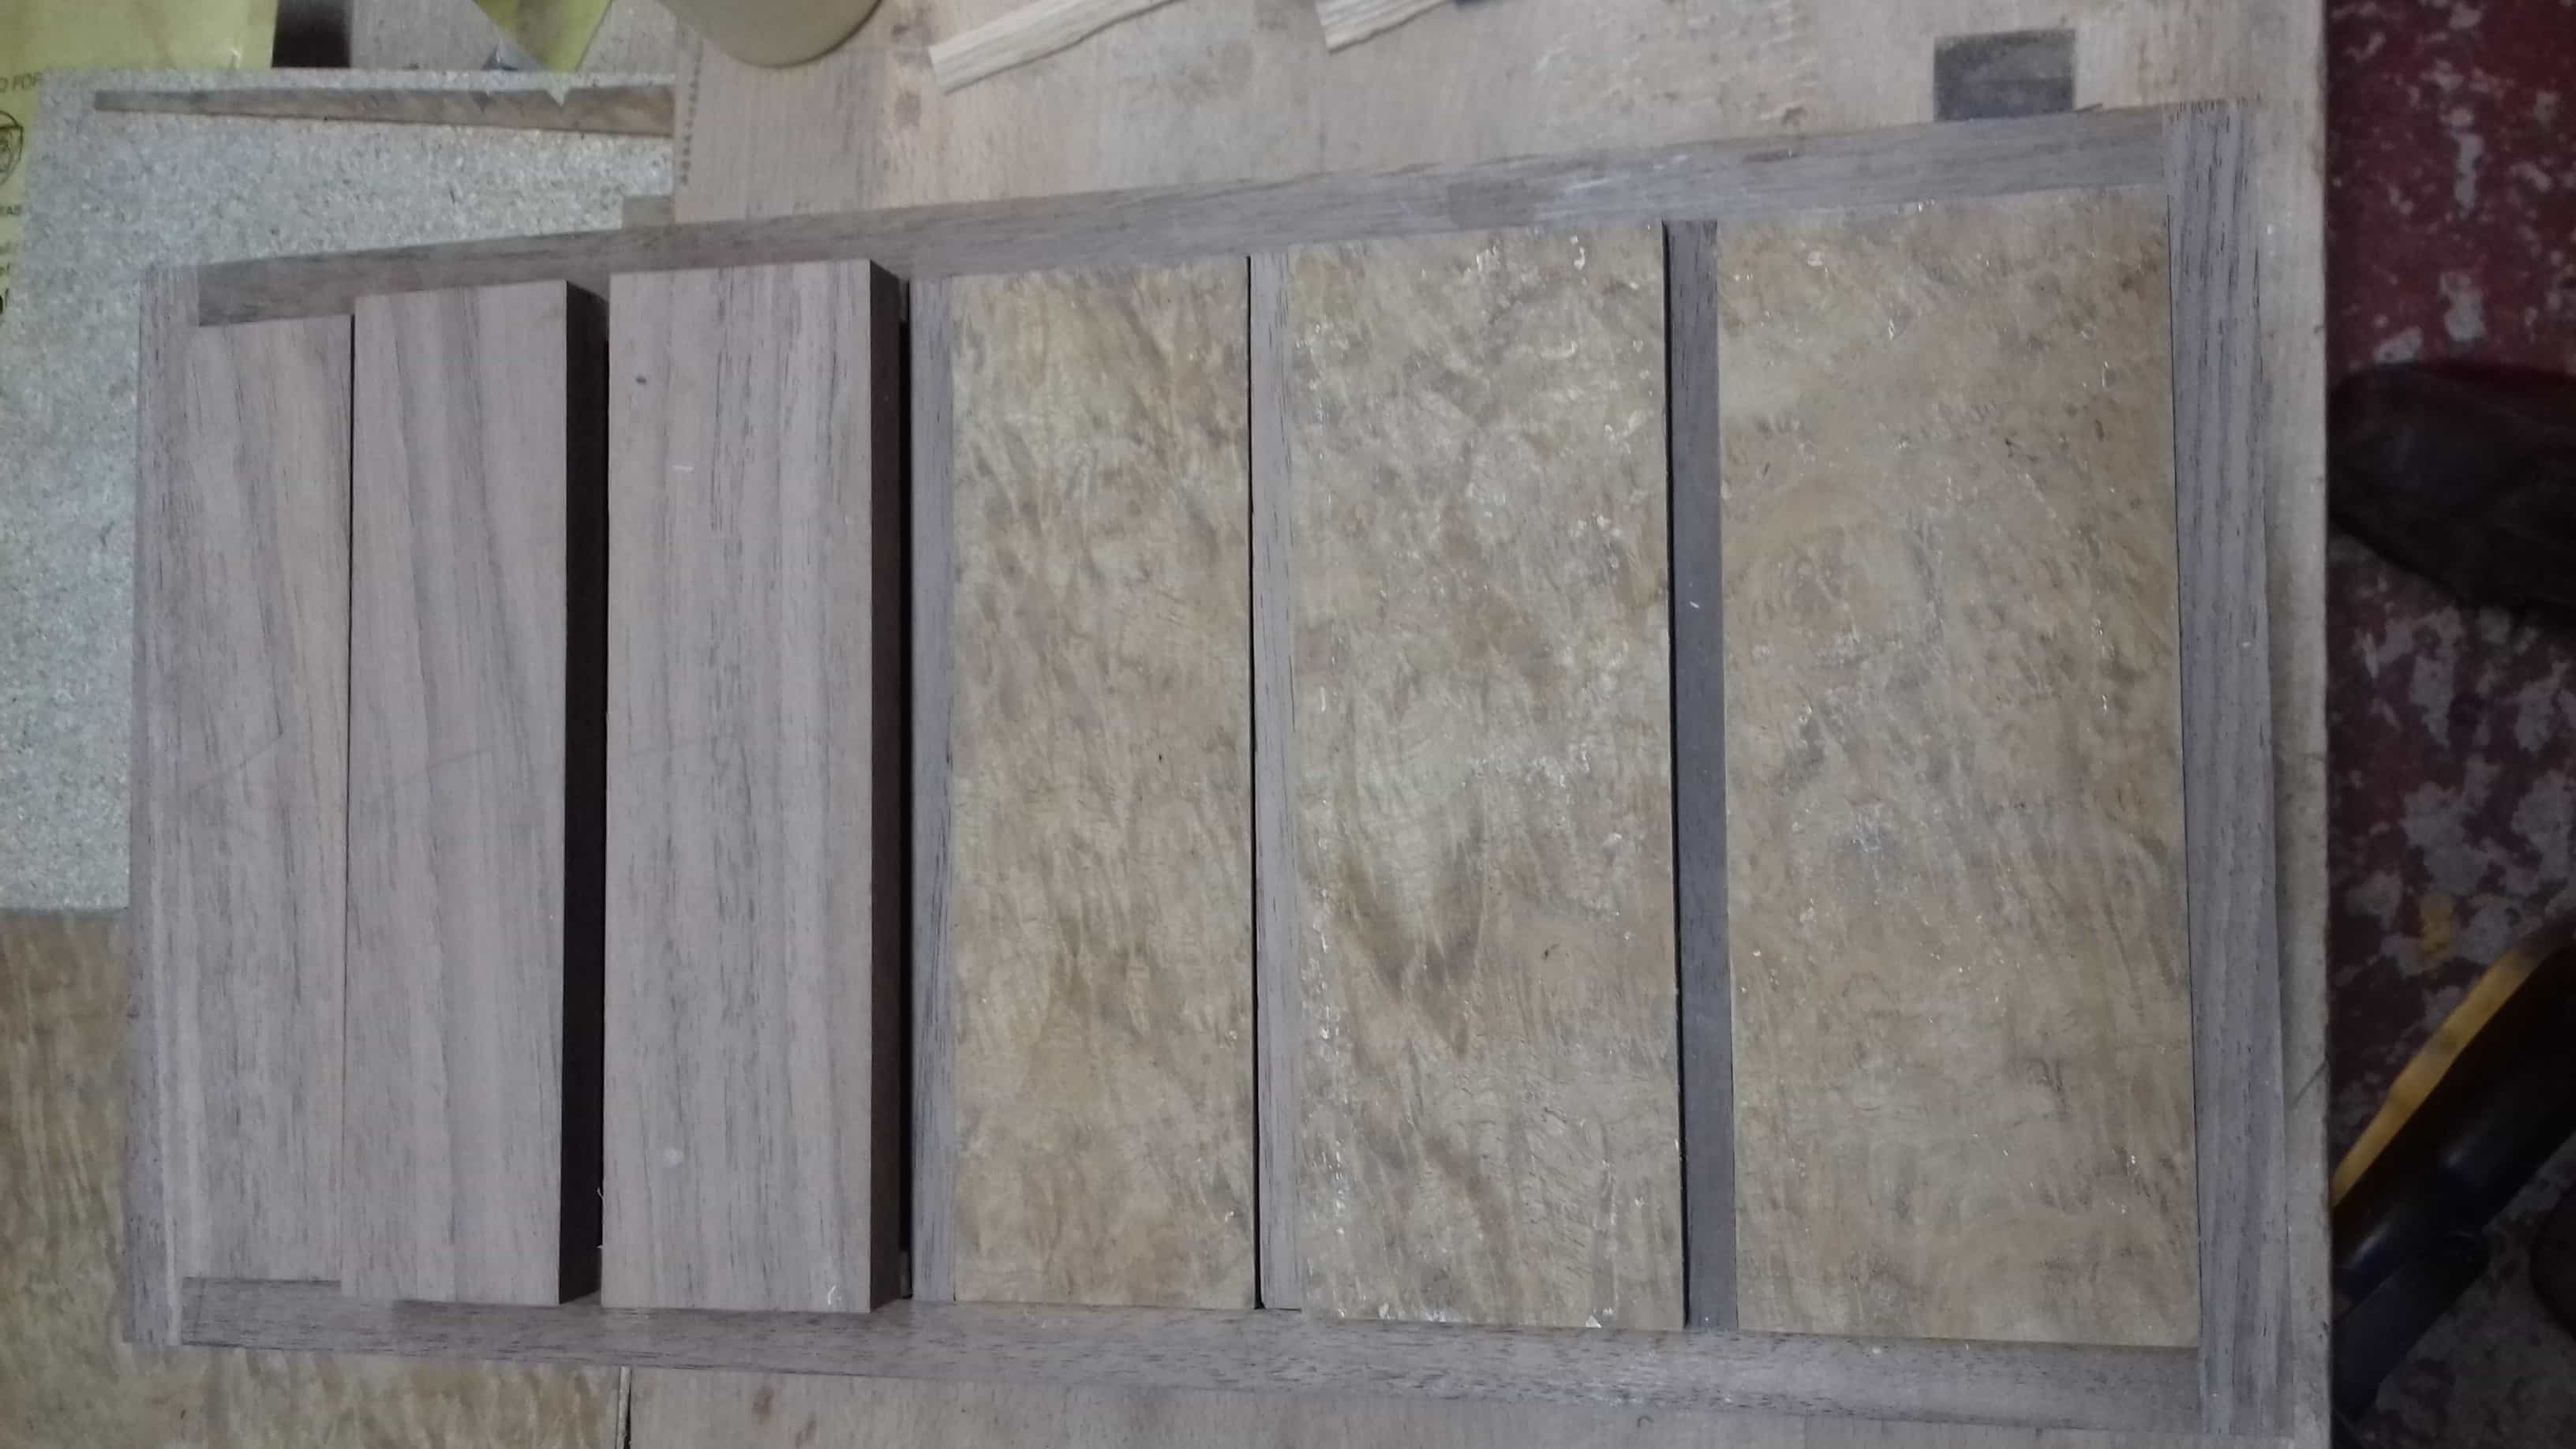
While making such solid drawer frames may seem a bit overkill on such a small box it does mean that assembly is much easier and things come out square
Assembly. So now it was time to assemble the sides to the back and the drawer frames into the rebates. Everything went remarkably well.

More later. Top Bottom and drawers
Although it is only quite small, the same construction techniques could be used on a full size chest.
This approach is only suitable with a veneered stable core. If the chest had been solid then a totally different construction approach would be needed to allow for timber movement
First stage was to sort through my burr veneer and select the best bits

I checked these up against a bright light for small holes which were filled with supper glue and fine sawdust to prevent breed through during veneering (thankyou custard for the tip)
All 5 faces of the chest were made using 9mm birch ply. These were cut slightly over size and veneered in a home made vac bag. Burr walnut on the outside, plain black walnut as a balancer. This gave a total thickness of just over 10mm
Once set, these were cut to size.
The drawer dividers fit into rebates in the chest sides. As the drawers are graded in size and this was critical I used a scrap piece of ply to set up all the grooves on the router table. Because of the limited movement of my fence I had to cut slots using either the top or bottom as a reference so there was more potential for error

The panels are all held together using solid walnut corner posts which are fitted using 4mm birch ply splines. These have to be very carefully positioned as there is only limited room . The posts and the side panels are grooved on the router table and then glued up. The splines are deliberately cut so they dont bottom out in the slots as thsi would prevent everything pulling up tight and you also have to leave somewhere for excess glue. Throughout this build i was careful with glue quantities and used a small artist brush
Once dry the corner posts were carefully trimmed to length and flush with the veneer faces using a finely set plane and a cabinet scraper. Using the same setting on the router table the back panel and the back posts could be grooved and a trial fit.
Now on the drawer dividers. I extended the housings in the side halfway through the front lippings to give more support to the front rails,
The drawer dividers are 6mm thick and are open mortice and tennon construction. I cut a lot of the waste out using a 2mm slotting cutter but all the joints ate hand finished with a 1/16th chisel which is pretty small and quite fragile. All 5 frames were checked for square and then glued

Once the frames were all dry the front rail was notched at the end to fit into the rebates in the sides.
While making such solid drawer frames may seem a bit overkill on such a small box it does mean that assembly is much easier and things come out square
Assembly. So now it was time to assemble the sides to the back and the drawer frames into the rebates. Everything went remarkably well.

More later. Top Bottom and drawers


