Paul Chapman
Established Member
While I have been generally very happy with the bench I built about 12 years ago, I've never been entirely satisfied with the vices. They are the Record #52D
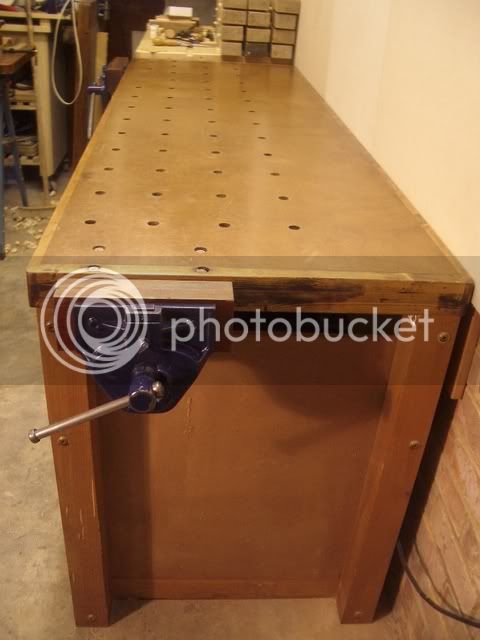
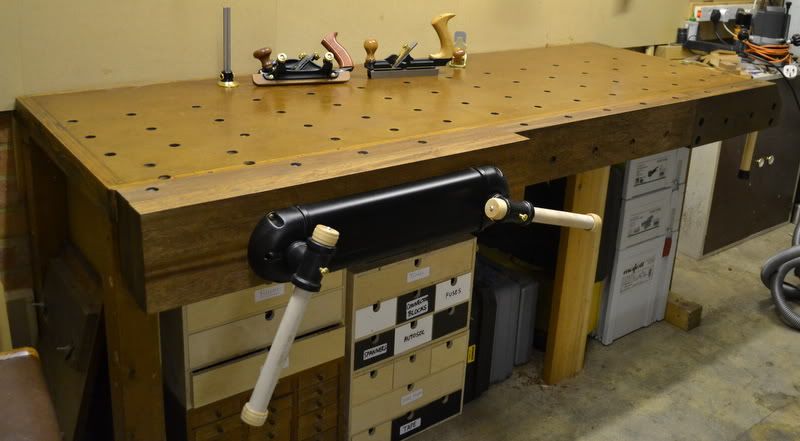
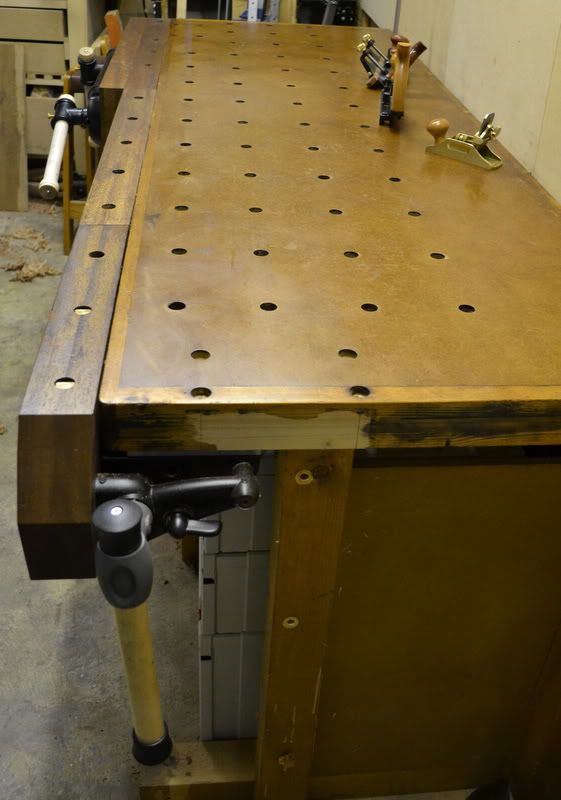
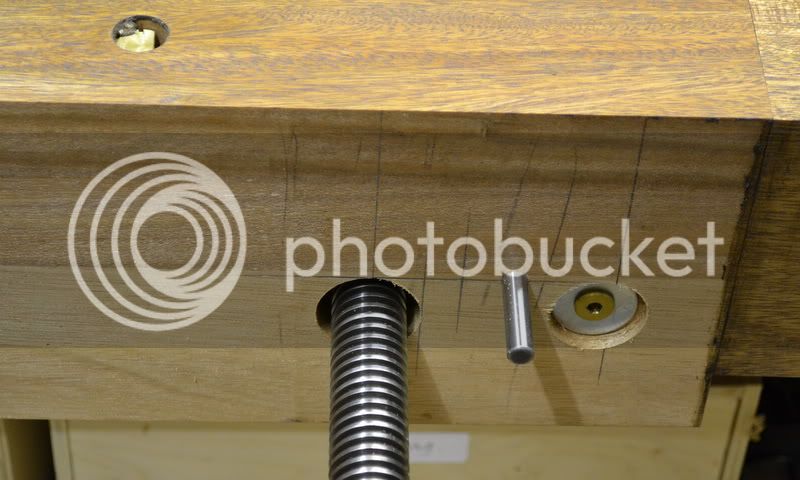
The dog on the one used as a tail vice is not close enough to the front edge of the bench and the one used on the front does not allow clamping vertically in the centre of the vice (for example when dovetailing) because the screw is in the way. I therefore decided to fit the Veritas Twin-screw vice on the front and the recently-introduced Veritas Quick-release Tail Vice on the end.
Here's how I went about fitting the tail vice. I will do a follow-up post about fitting the Twin-srew vice.
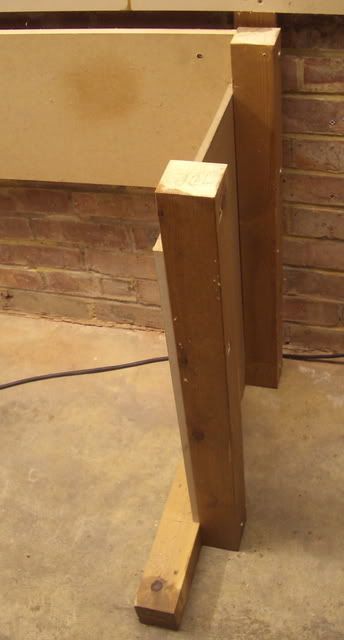
The tail vice requires an unobstructed area 17" x 6 1/2" on the underside of the bench top so I started by moving the right-hand front leg. This is how it was
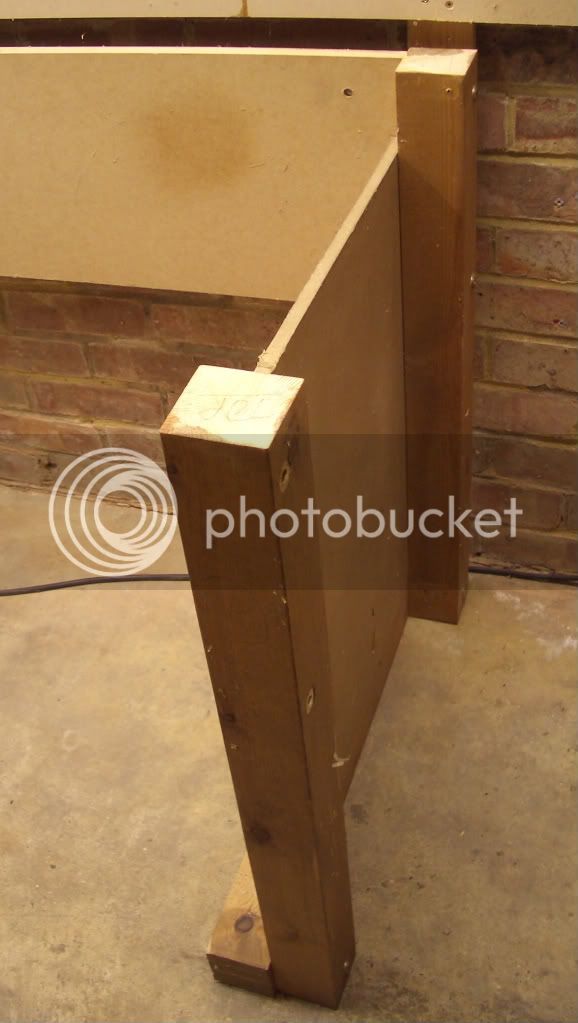
and after moving the leg
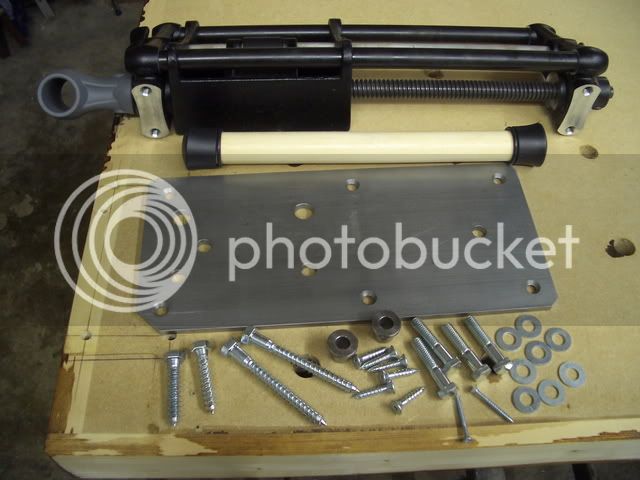
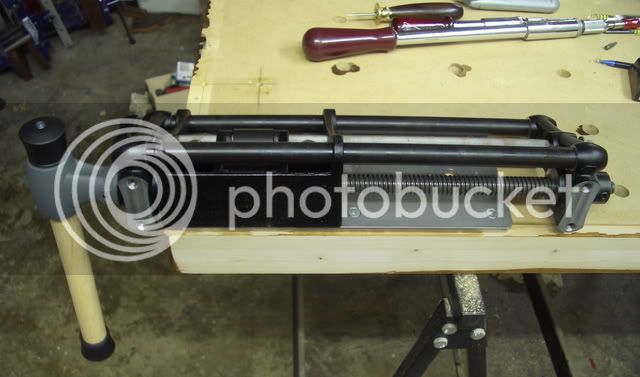
These are the components of the vice
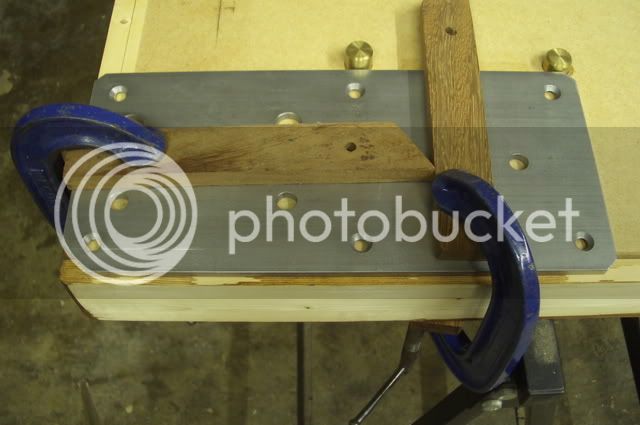
The most crucial part of fitting the vice is accurately positioning the base plate to ensure that the vice moves parallel to the front of the bench
Here's the vice fitted to the base plate
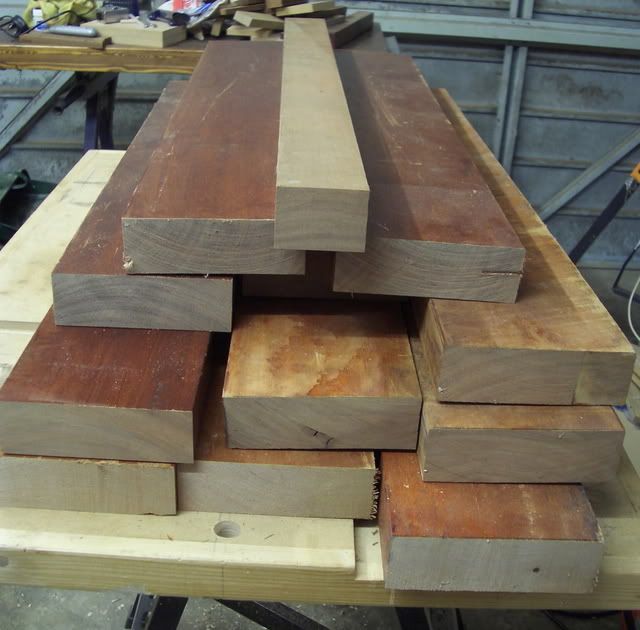
For the wooden components I had quite a lot of reclaimed Sapele which I decided to use. Here's some of it
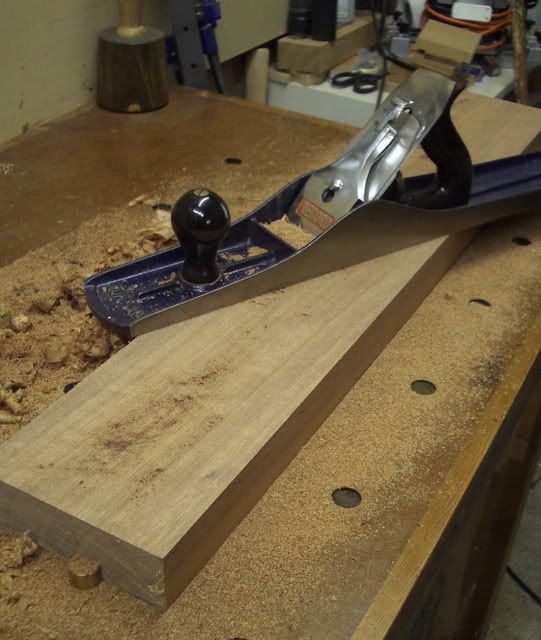
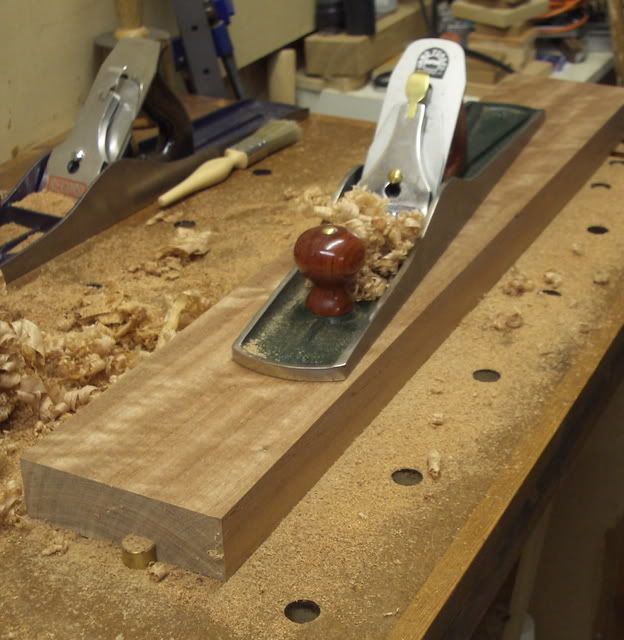
As I don't have any machinery, I found the best way of cleaning up and flattening the boards was to use a toothed blade in my Record #7 and then finishing off with my Clifton #7
To provide support for the dog-hole strip and the Twin-screw vice, I glued some blocks along the front of the bench using Dominoes
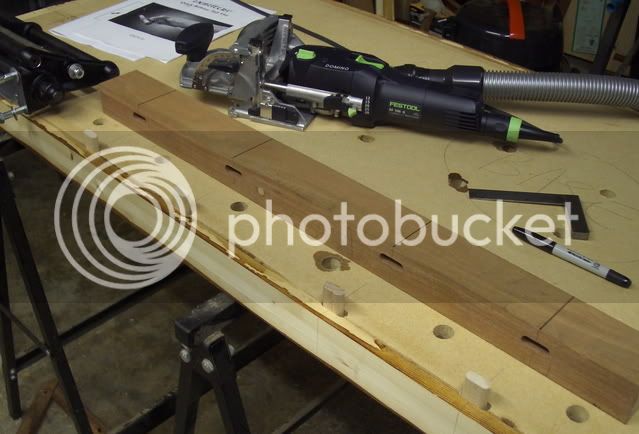
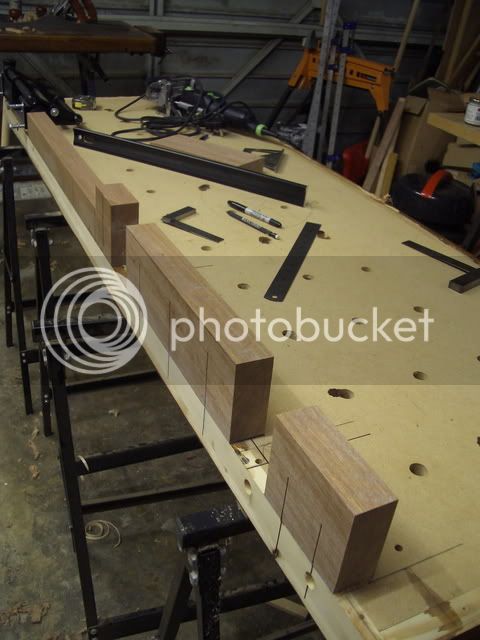
I then re-attached the top after ensuring that it was flat and dead level
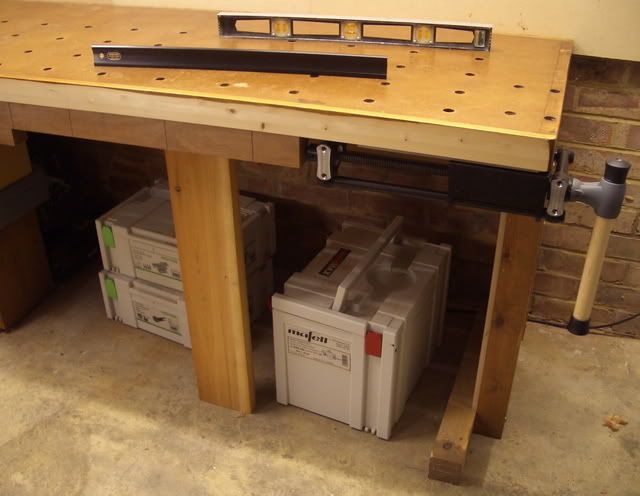
I then prepared two pieces of Sapele which were glued together to form the vice jaw.
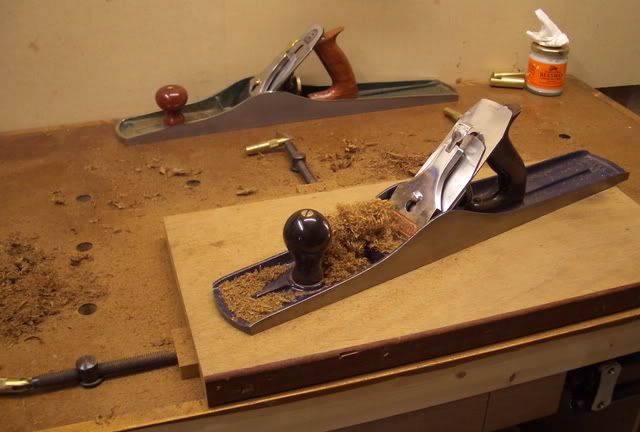
This was then bolted to the vice as a test-fit
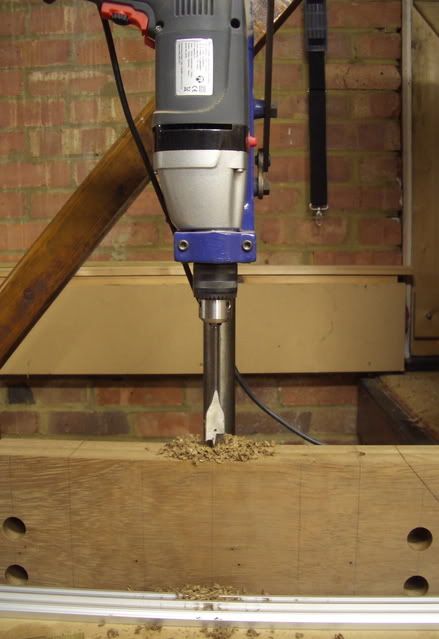
Drilling dog holes in the vice jaw
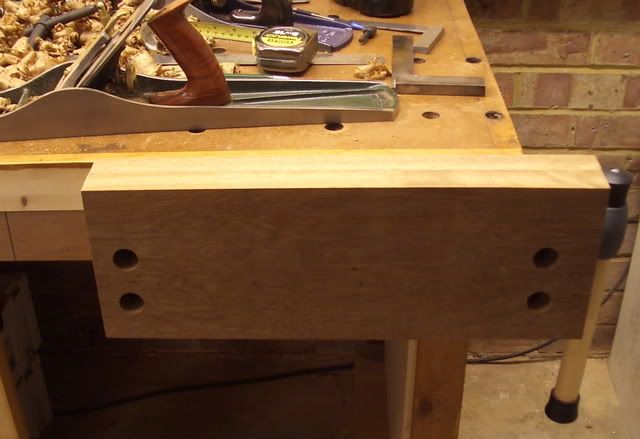
When all the dog holes were drilled in the top and front of the jaw, I prepared it to final size and bolted it on
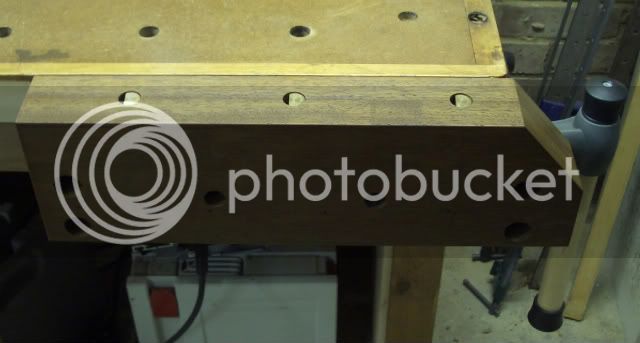
The dog-hole strip was then prepared. This was fitted with Dominoes and screws. This provided a very firm fitting but enables me to remove the strip if I need to at some time in the future. The rear jaw of the Twin-screw vice when fitted will form the remainder of the dog-hole strip
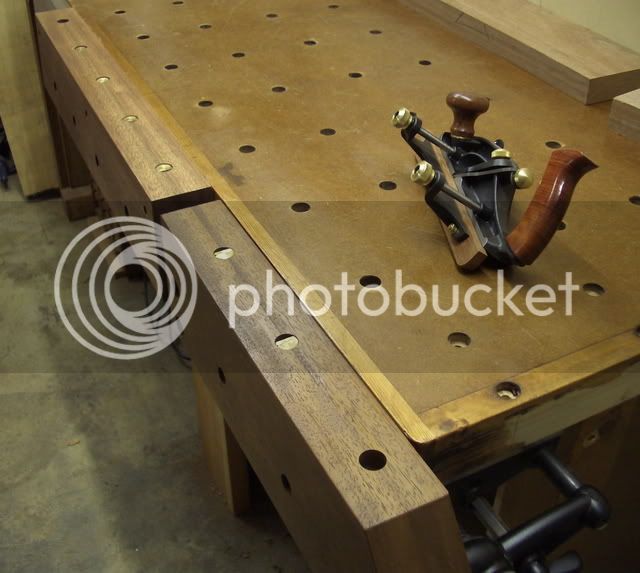
Initial impressions of using the vice are that it's excellent. As with all Veritas tools, it's a really precision built piece of kit and it operates very smoothly. The quick-release mechanism is operated by a lever. Here the lever is in the normal position
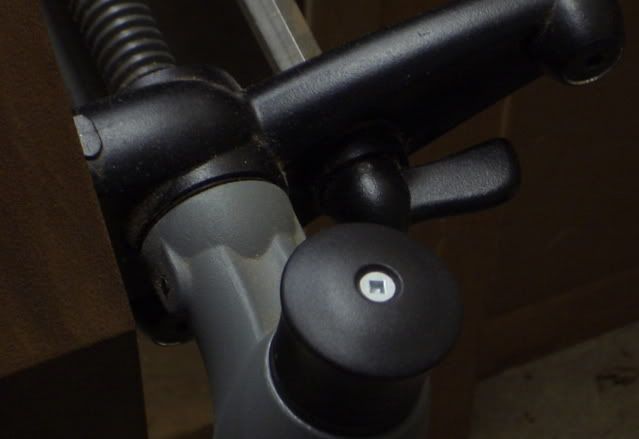
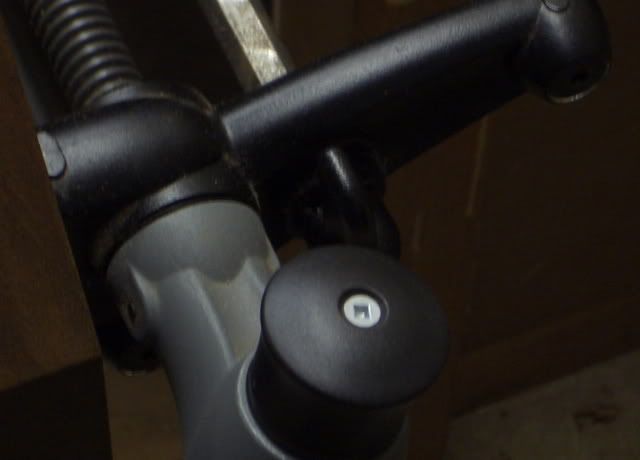
and by flicking it up, the half-nut is released to enable the vice to be slid in and out
The vice provides various clamping options. I will primarily use it to clamp work on the top of the bench but you can also grip work beween the jaw and dog-hole strip
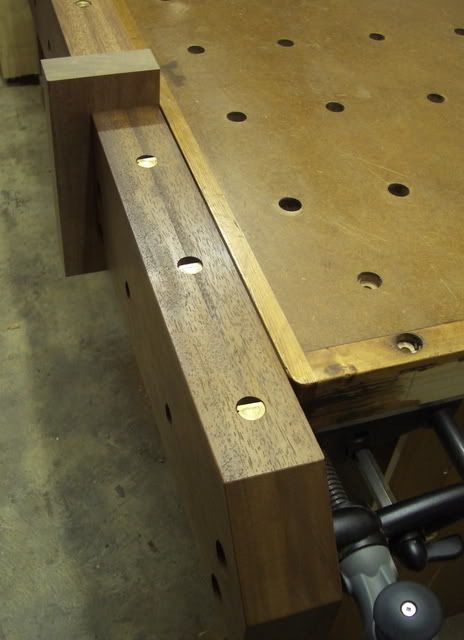
The dog holes in the front of the vice can be used for gripping or supporting long lengths with one end held in the front vice.
The vice is particularly good when using fenced tools like rebate planes as the work is held very close to the front of the bench
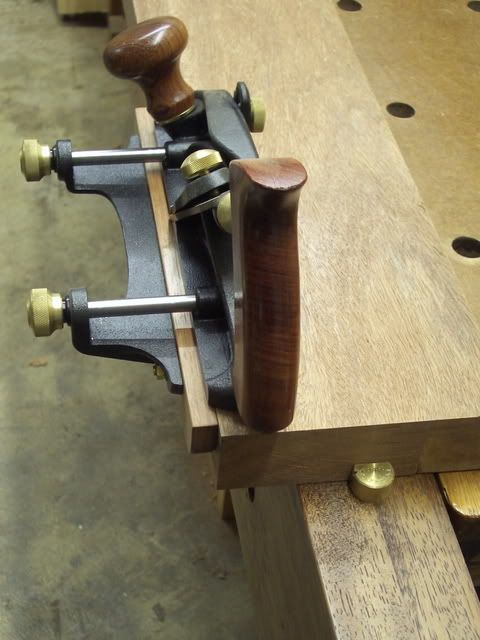
So far I'm delighted with it and will be able to give it a good work-out in making the components for the Twin-screw vice. I'll do a follow-up post about that.
Cheers :wink:
Paul

The dog on the one used as a tail vice is not close enough to the front edge of the bench and the one used on the front does not allow clamping vertically in the centre of the vice (for example when dovetailing) because the screw is in the way. I therefore decided to fit the Veritas Twin-screw vice on the front and the recently-introduced Veritas Quick-release Tail Vice on the end.
Here's how I went about fitting the tail vice. I will do a follow-up post about fitting the Twin-srew vice.
The tail vice requires an unobstructed area 17" x 6 1/2" on the underside of the bench top so I started by moving the right-hand front leg. This is how it was

and after moving the leg

These are the components of the vice

The most crucial part of fitting the vice is accurately positioning the base plate to ensure that the vice moves parallel to the front of the bench

Here's the vice fitted to the base plate

For the wooden components I had quite a lot of reclaimed Sapele which I decided to use. Here's some of it

As I don't have any machinery, I found the best way of cleaning up and flattening the boards was to use a toothed blade in my Record #7 and then finishing off with my Clifton #7


To provide support for the dog-hole strip and the Twin-screw vice, I glued some blocks along the front of the bench using Dominoes


I then re-attached the top after ensuring that it was flat and dead level

I then prepared two pieces of Sapele which were glued together to form the vice jaw.

This was then bolted to the vice as a test-fit

Drilling dog holes in the vice jaw

When all the dog holes were drilled in the top and front of the jaw, I prepared it to final size and bolted it on

The dog-hole strip was then prepared. This was fitted with Dominoes and screws. This provided a very firm fitting but enables me to remove the strip if I need to at some time in the future. The rear jaw of the Twin-screw vice when fitted will form the remainder of the dog-hole strip

Initial impressions of using the vice are that it's excellent. As with all Veritas tools, it's a really precision built piece of kit and it operates very smoothly. The quick-release mechanism is operated by a lever. Here the lever is in the normal position

and by flicking it up, the half-nut is released to enable the vice to be slid in and out

The vice provides various clamping options. I will primarily use it to clamp work on the top of the bench but you can also grip work beween the jaw and dog-hole strip

The dog holes in the front of the vice can be used for gripping or supporting long lengths with one end held in the front vice.
The vice is particularly good when using fenced tools like rebate planes as the work is held very close to the front of the bench

So far I'm delighted with it and will be able to give it a good work-out in making the components for the Twin-screw vice. I'll do a follow-up post about that.
Cheers :wink:
Paul


