MikeG.
Established Member
I had a pile of offcuts left over from making stairs and doors:
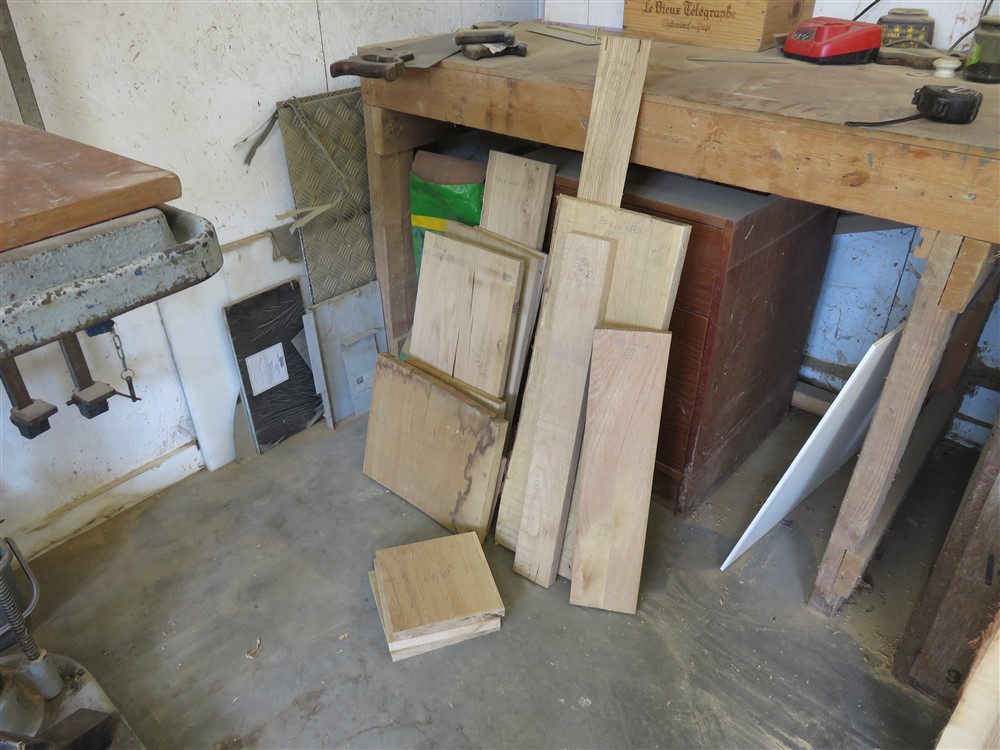
There was a lot more than that! I thought I would do a job which has been rising up the list for a little while. It's the panels in the background, at the bottom:
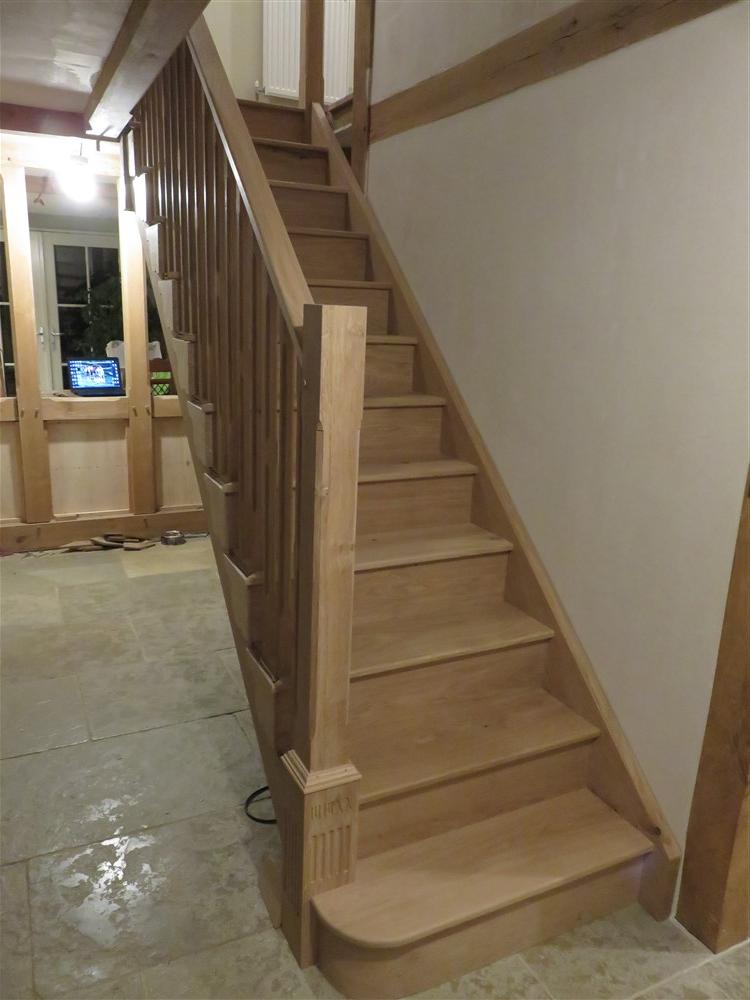
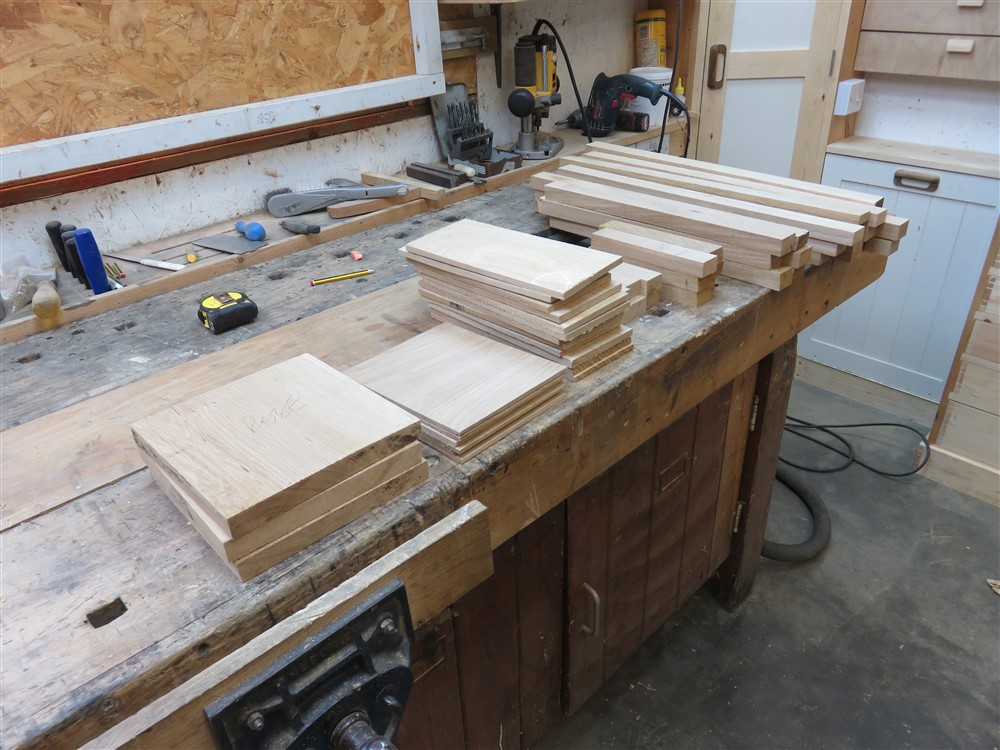
What you can see there now is the back of the panels on the kitchen side. Anyway, I did some sawing and (machine) planing, and ended up with a pile of smaller pieces of wood:
Starting randomly on a raised panel, which will be the focus, I routed a rebate then a cove together, then attacked the raised edges with a blockplane and shaped scraper. And a bit of sandpaper:
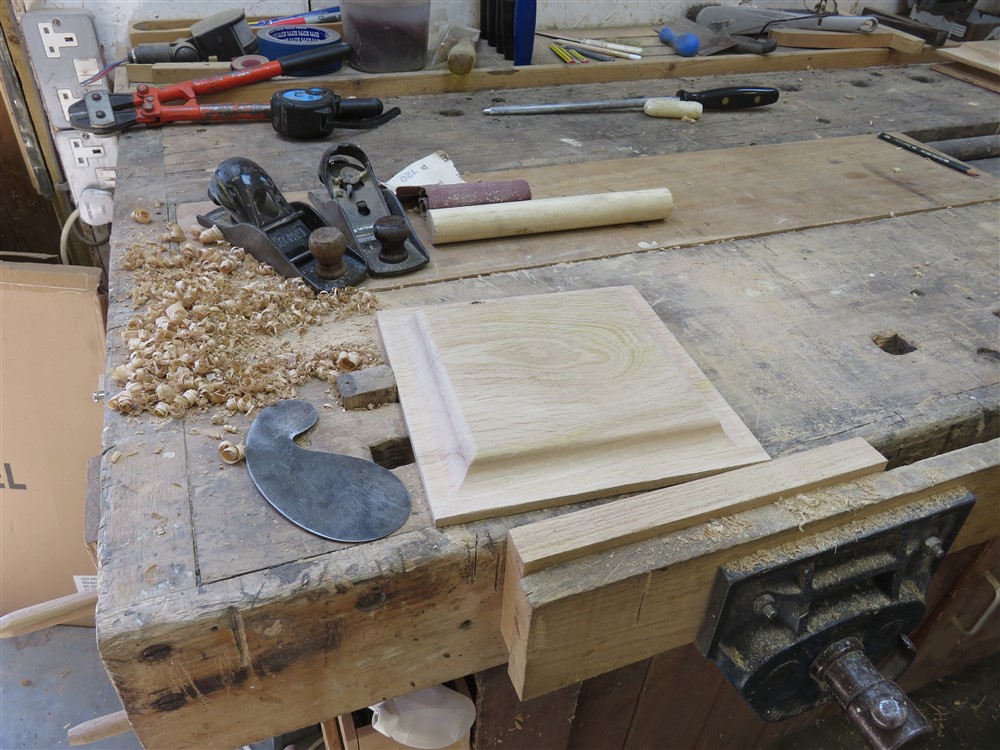
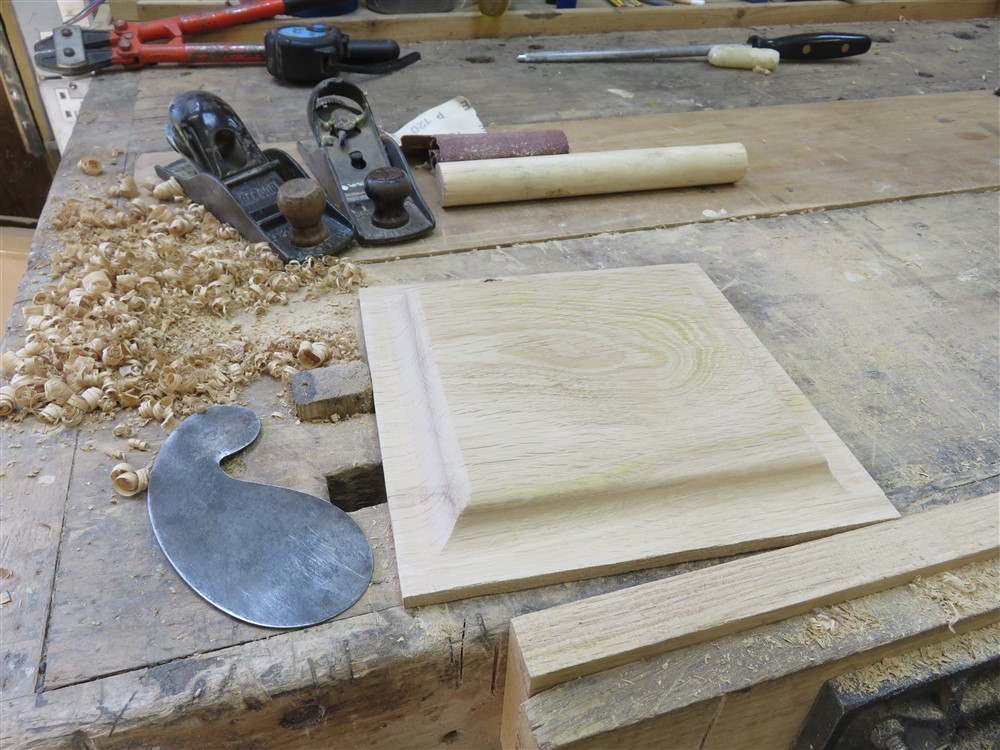
It's very rare indeed that I use two blockplanes, but here I set one for deep cuts to hog off to shape, and then a finer one for finishing.
Then I made lots of half lap joints, using a combination of handtools and the radial arm saw:
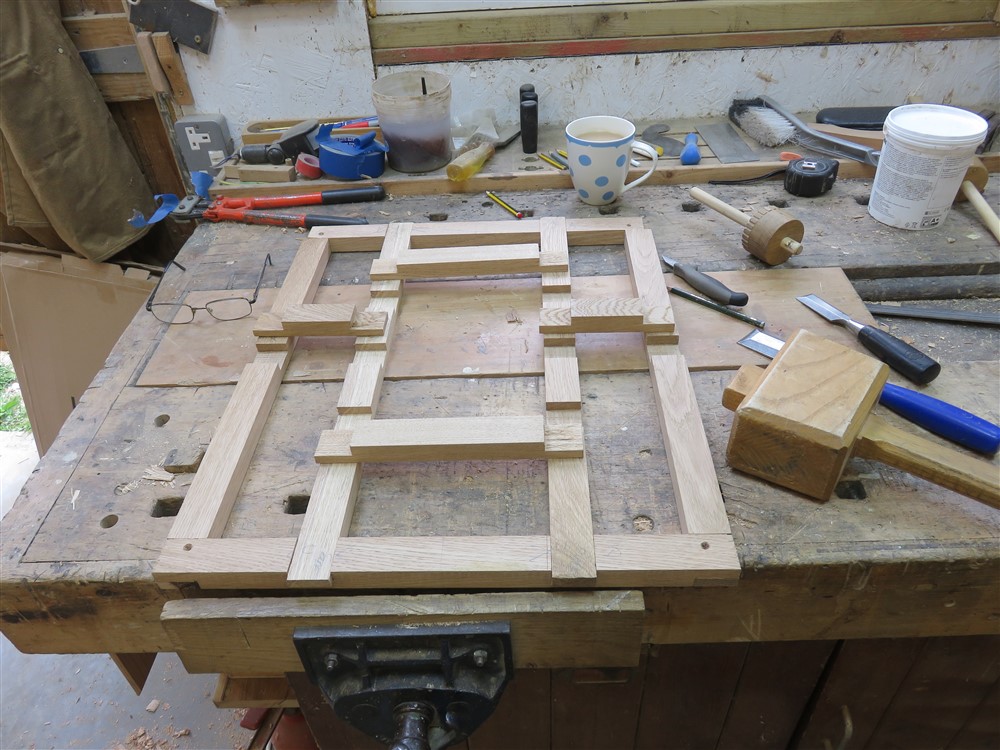
Then I glued them together:
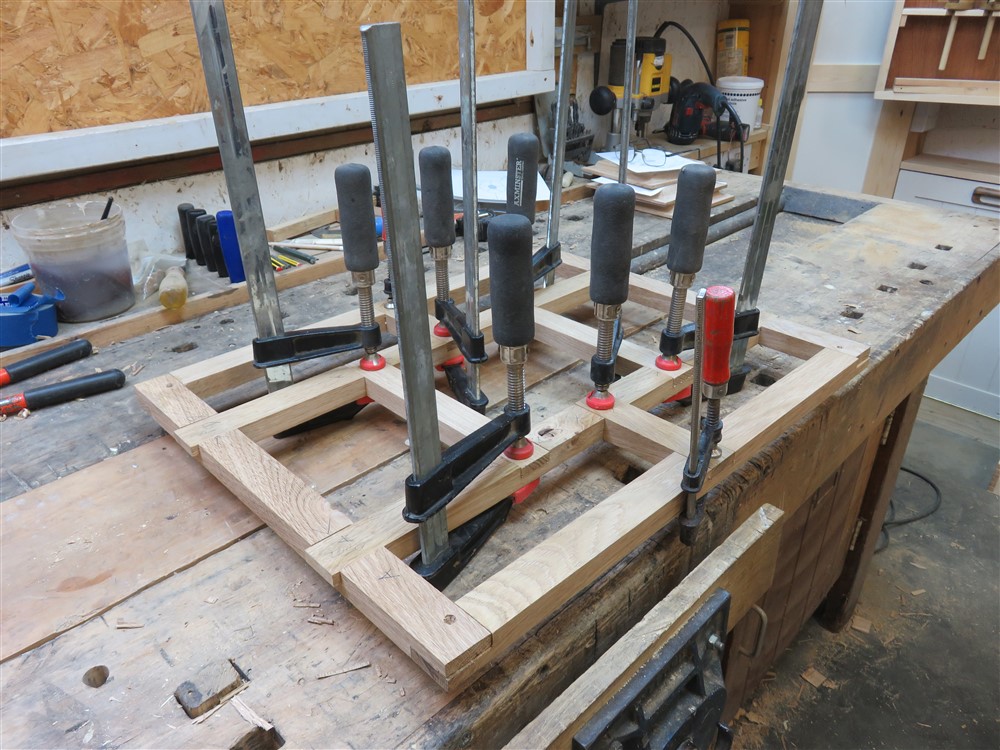
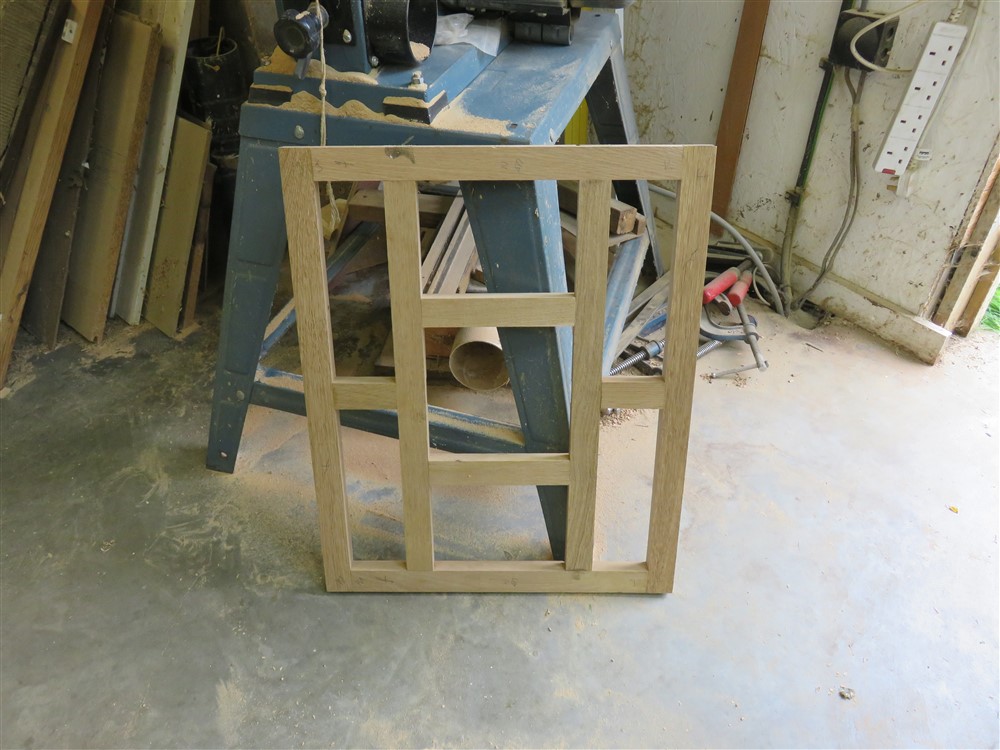
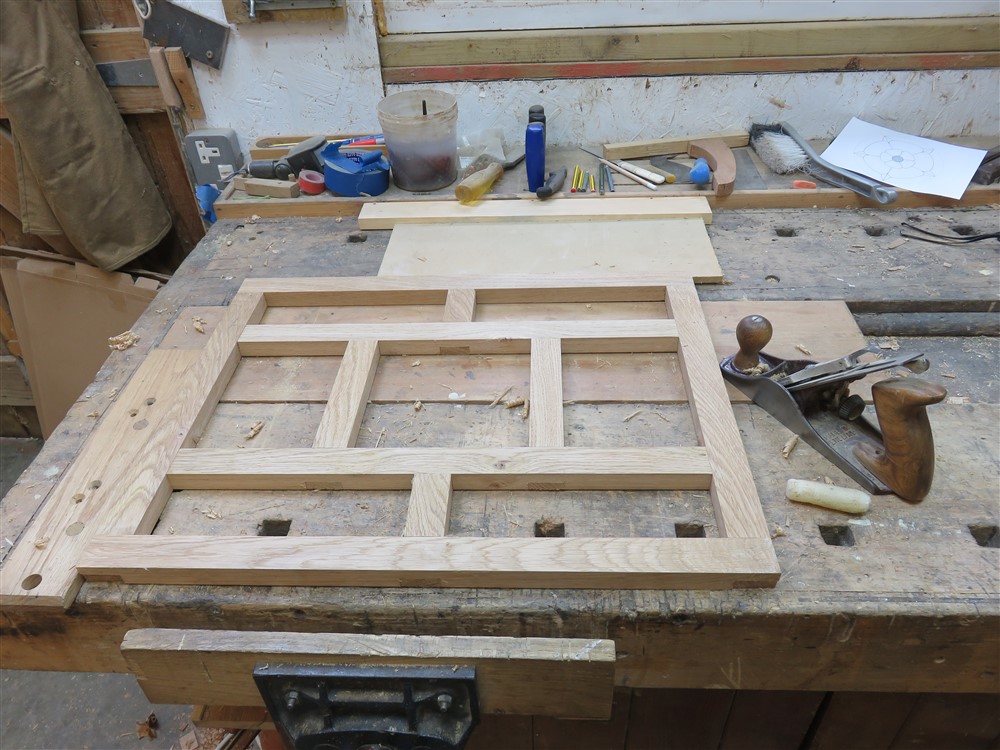
My little upstand shelf at the rear of the bench can provide a useful little stop sometimes. Here I have a couple of stops set, and I'm just cleaning up the face of the frames with a hand plane:
Next, to the router table. I need some rebates in which to sit my panels:
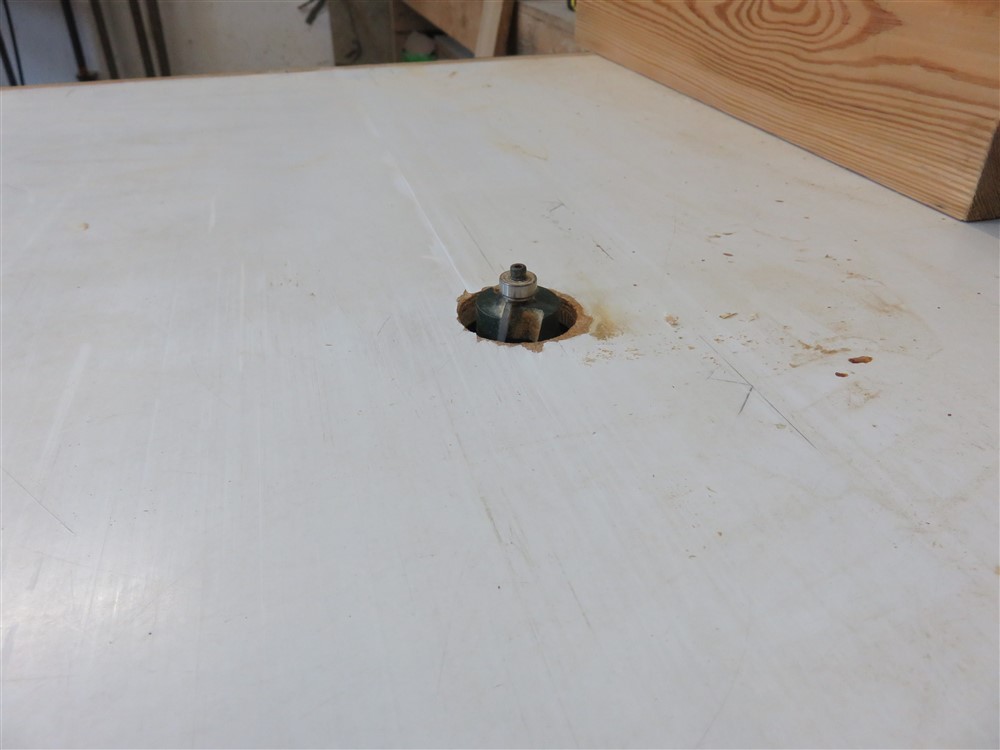
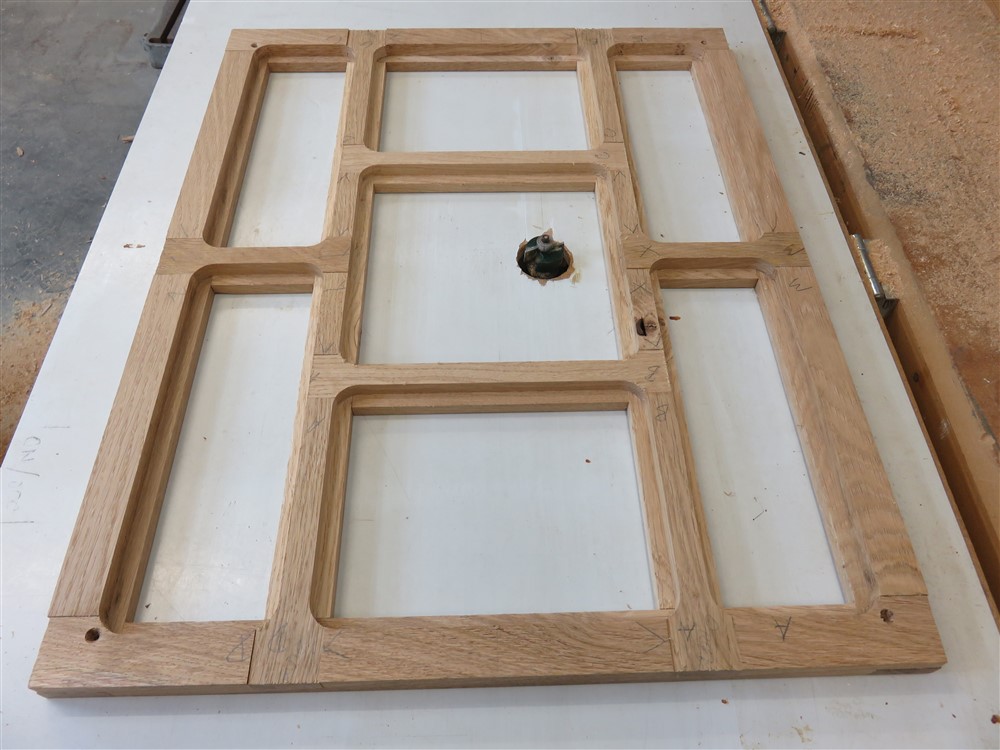
Dust control was an issue. Well, not so much dust as chippings/ shavings. It piled up, and there was no way of attaching a hose anywhere near, so it was just a question of blowing a lot, and using a hand brush.
There's a thread here somewhere asking about the back of stuff. Well, if it was furniture I wouldn't tolerate anything like this:
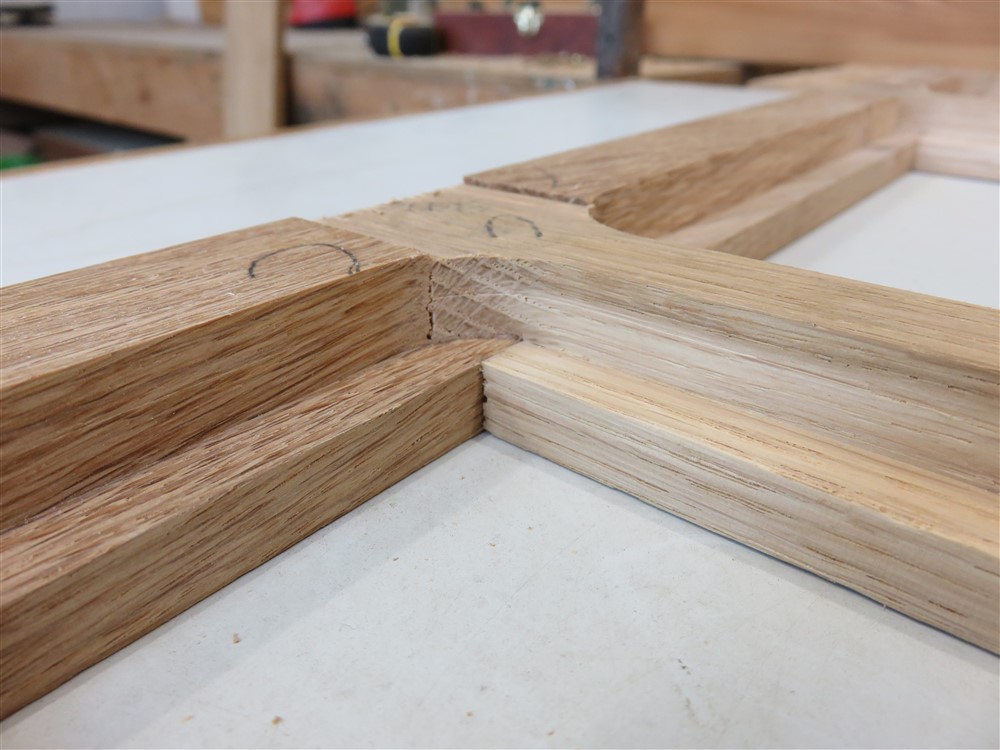
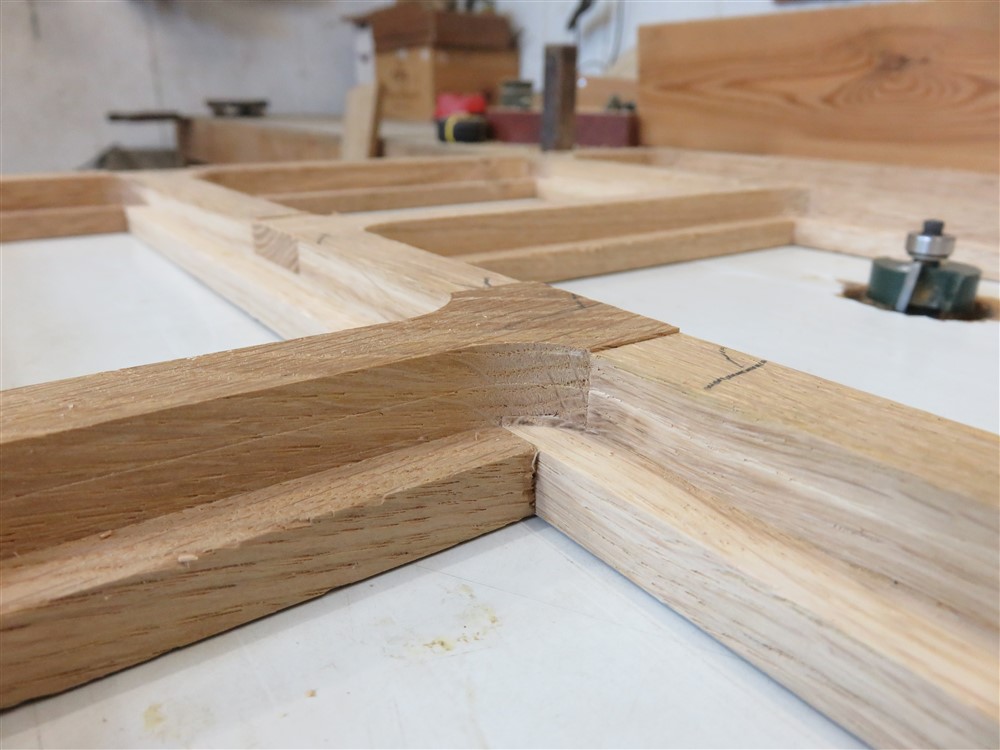
But this is the back of panel work, and I am using up scraps. So long as you work from a reference face, there is no difficulty in having decent joinery with varying thickness timber. Next, obviously, I needed some funny little pieces from MDF:
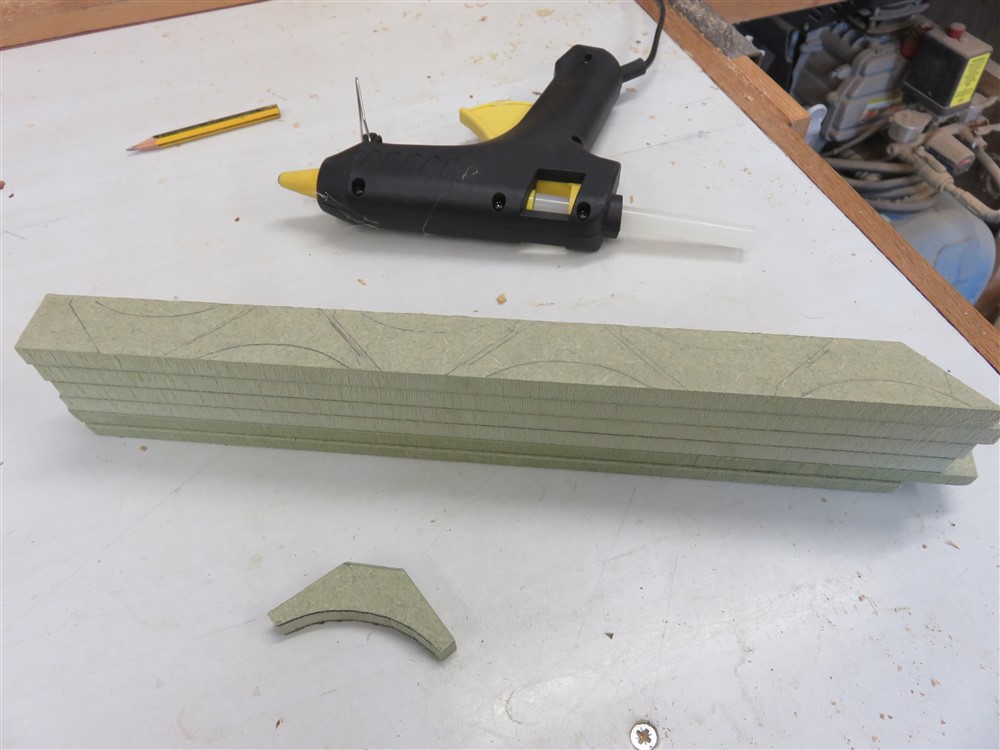
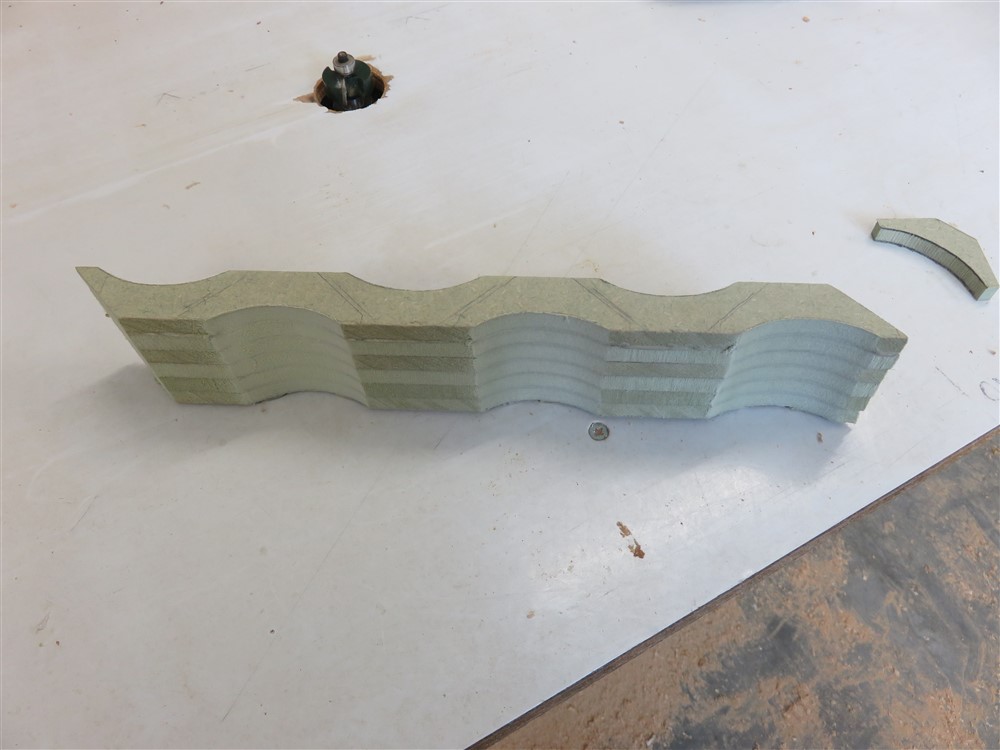
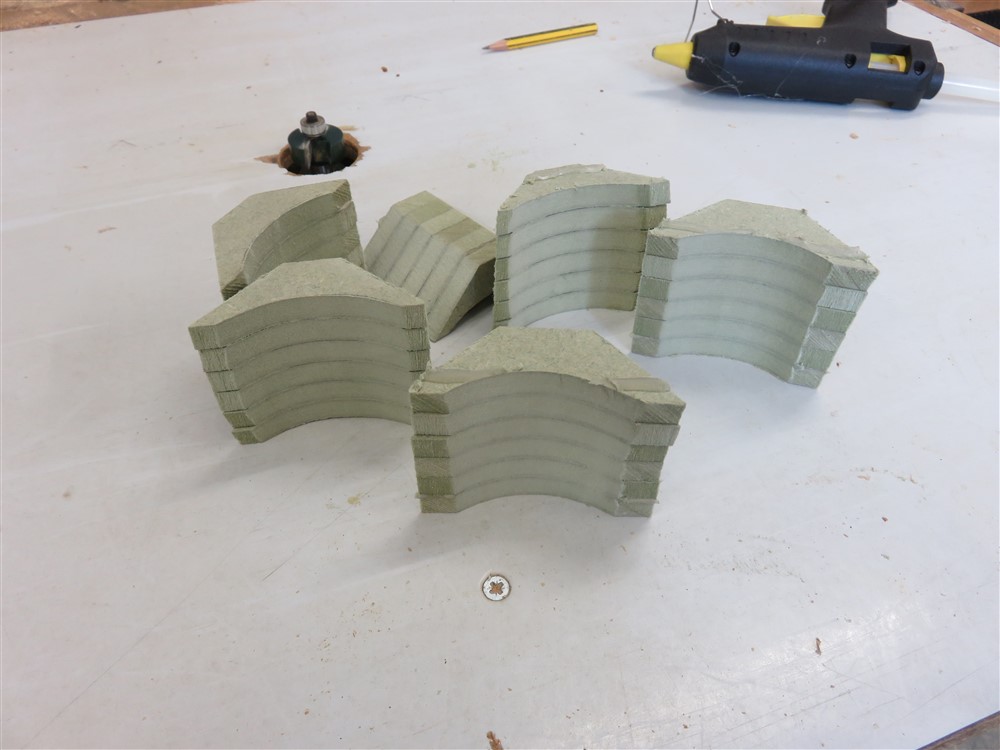
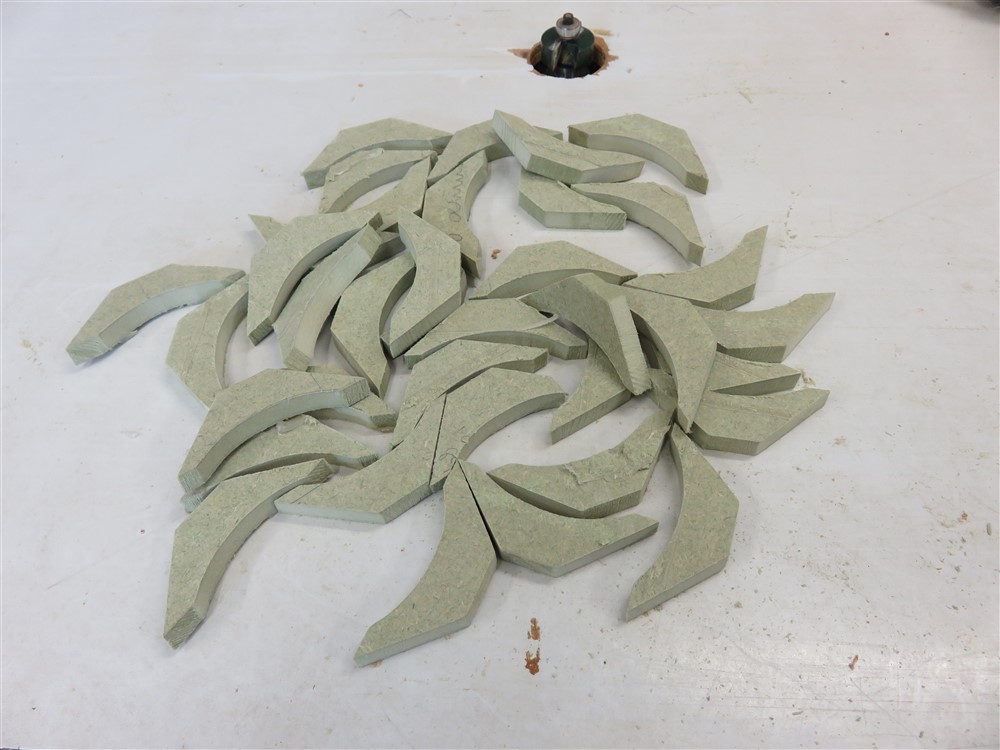
Do you know what it is yet?
Most stuff I make has chamfers, and I despise chamfers just stopped with a blurry burnt machine cut, so........:
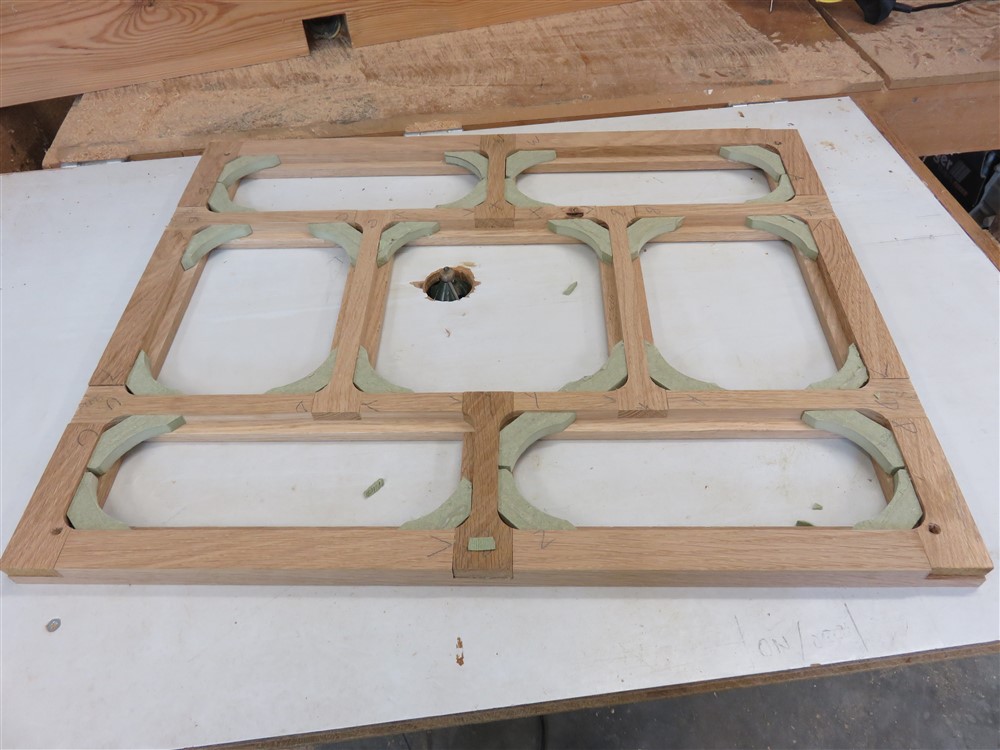
Hot melt gluing them in place turned out to be a mistake. It would have been much better to pin them. Anyway, they're obviously there to guide the router chamfer cutter gently in and out of the cut. The one on the right has been done (there are three panels in total):
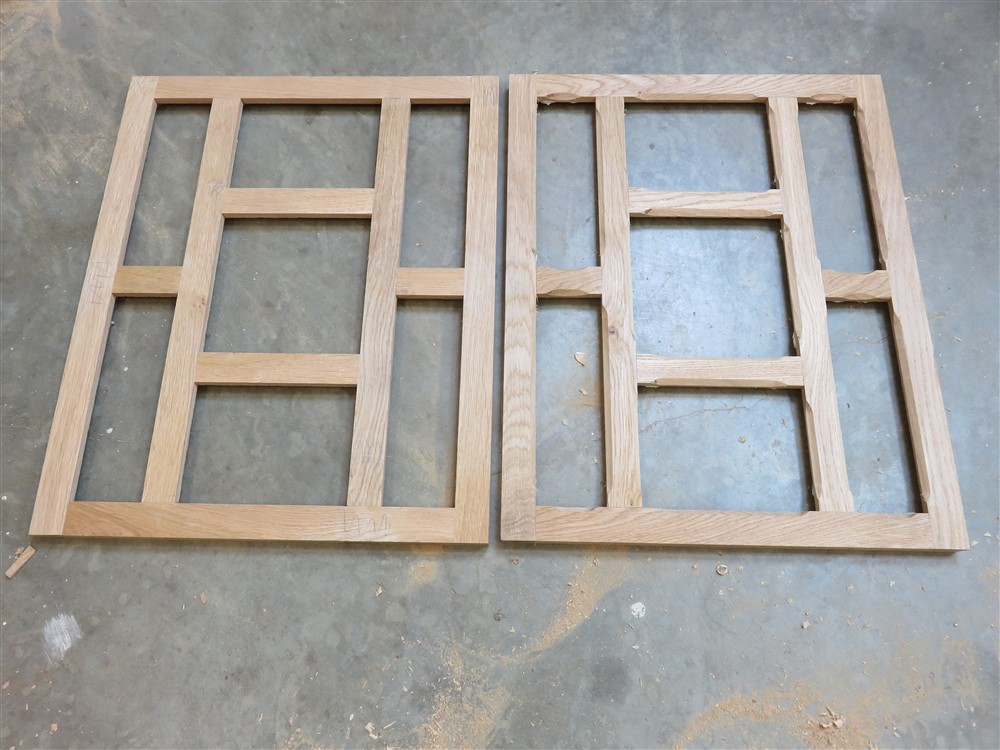
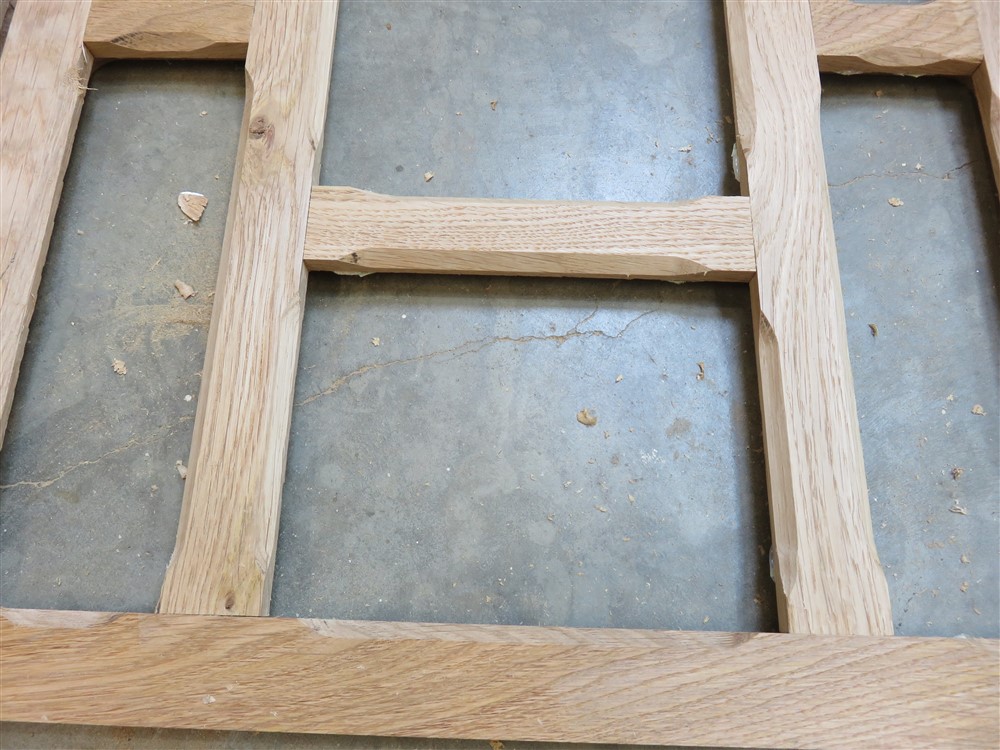
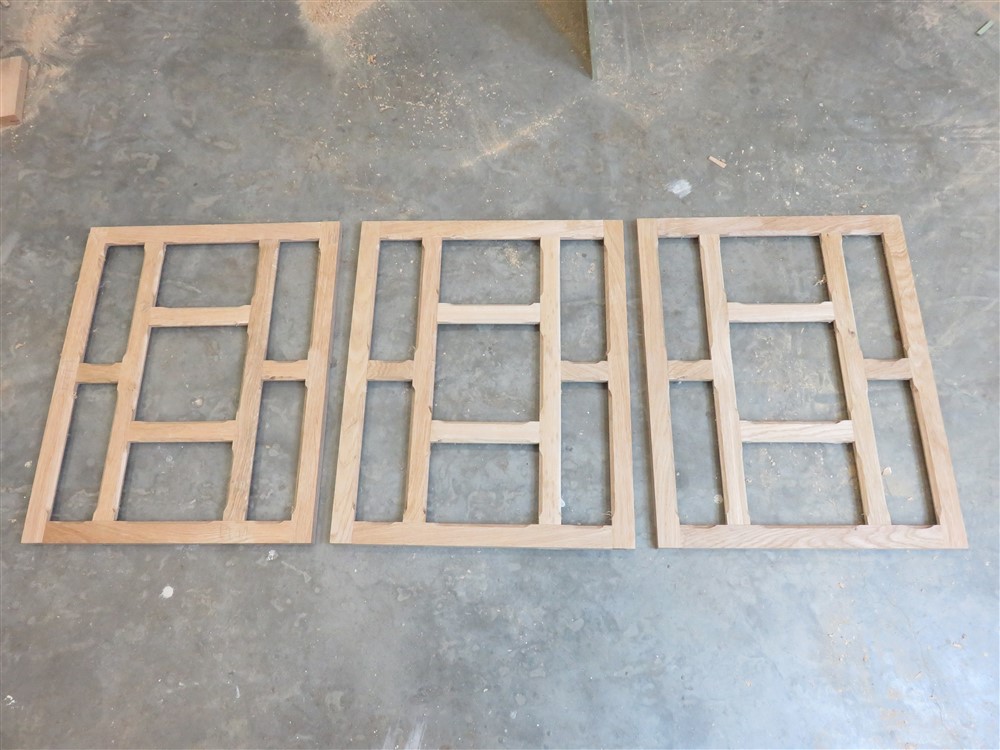
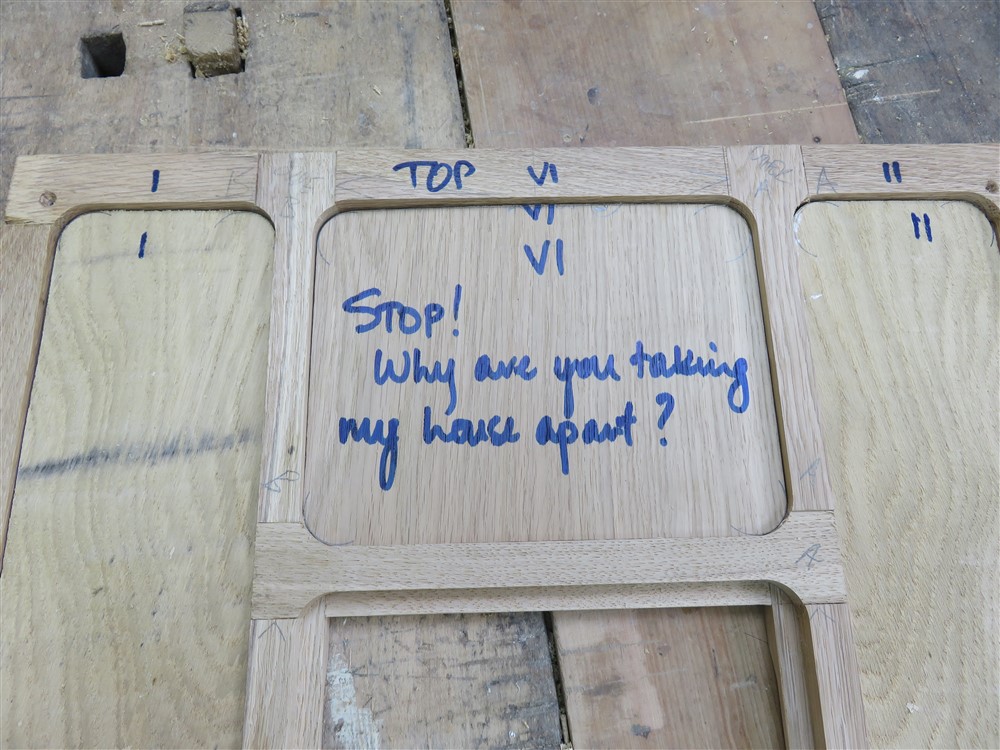
I cleaned those up a little with a scraper and some sandpaper. Then it was time to shape and glue in the flat panels. These vary in thickness from 3 or 4mm to 8 or 9mm. As I said....using up scraps. I left a little message from history for anyone foolish enough to take this lot apart:
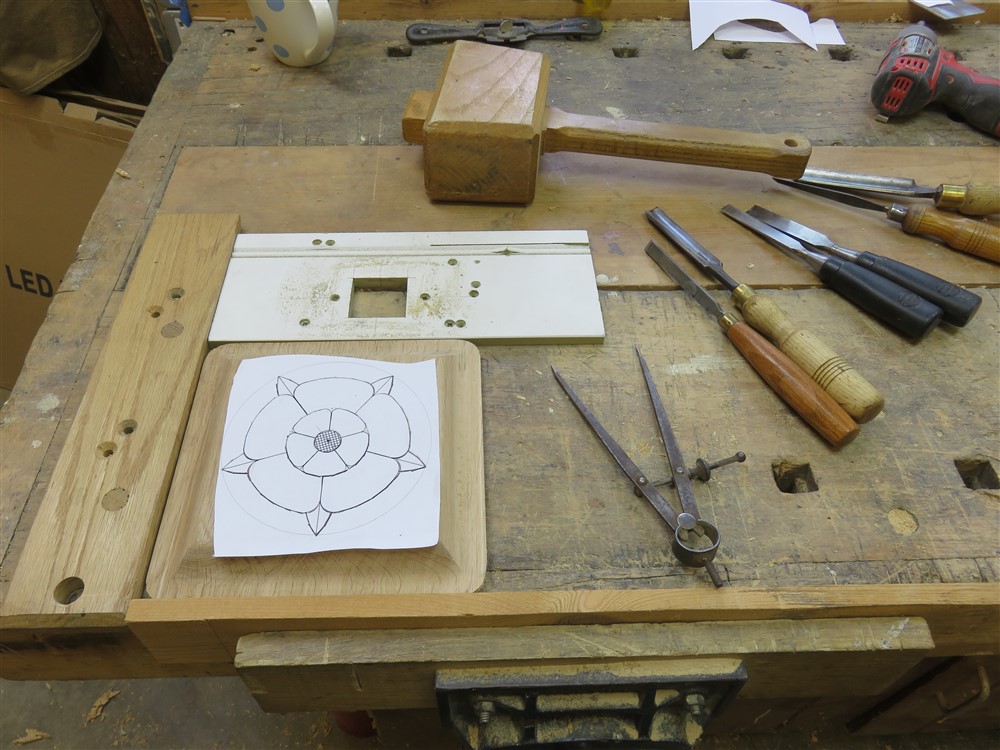
Right, three days later, time to get on with the real work: a bit of carving:
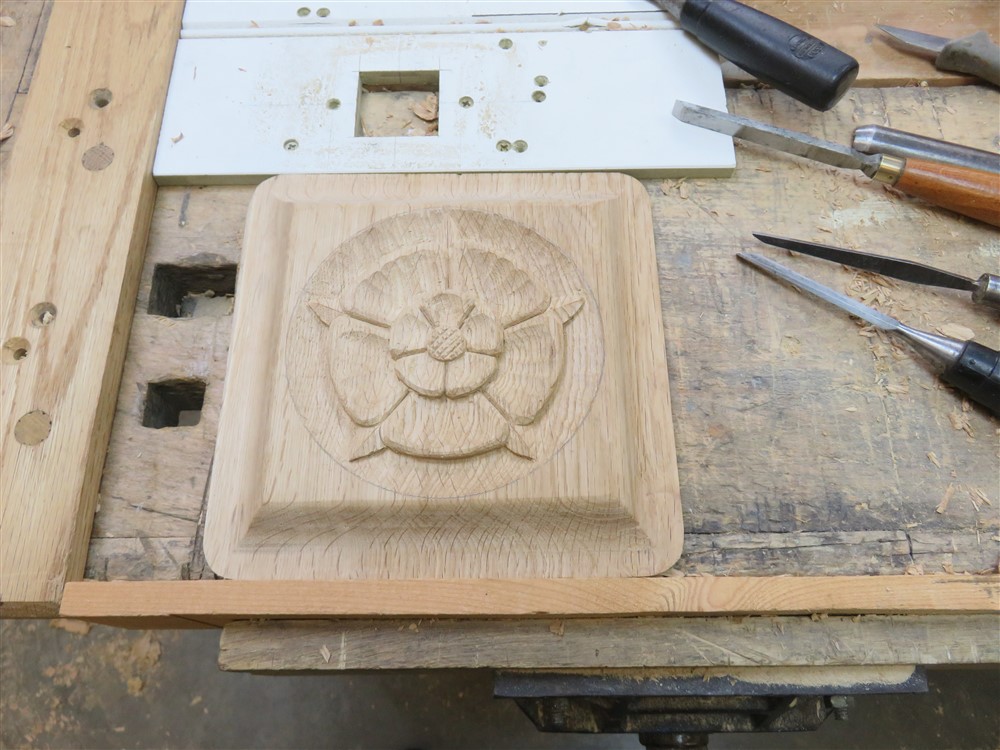
I glued them in place (the other was still in clamps as I took this photo):
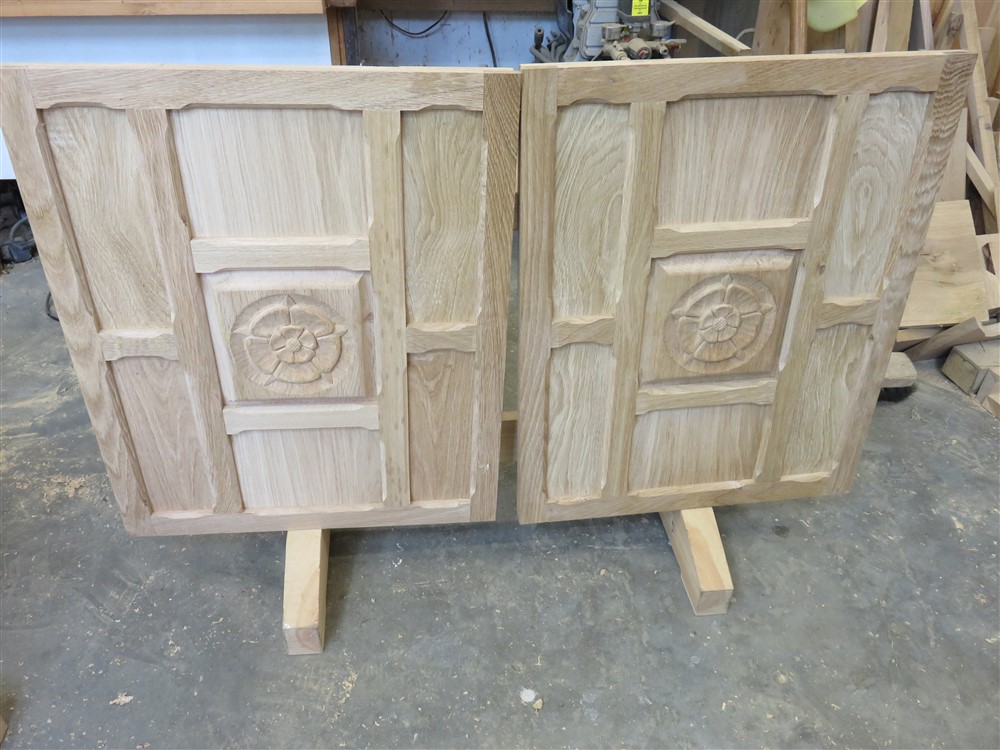
Then spent a couple of hours getting them to fit in the holes:
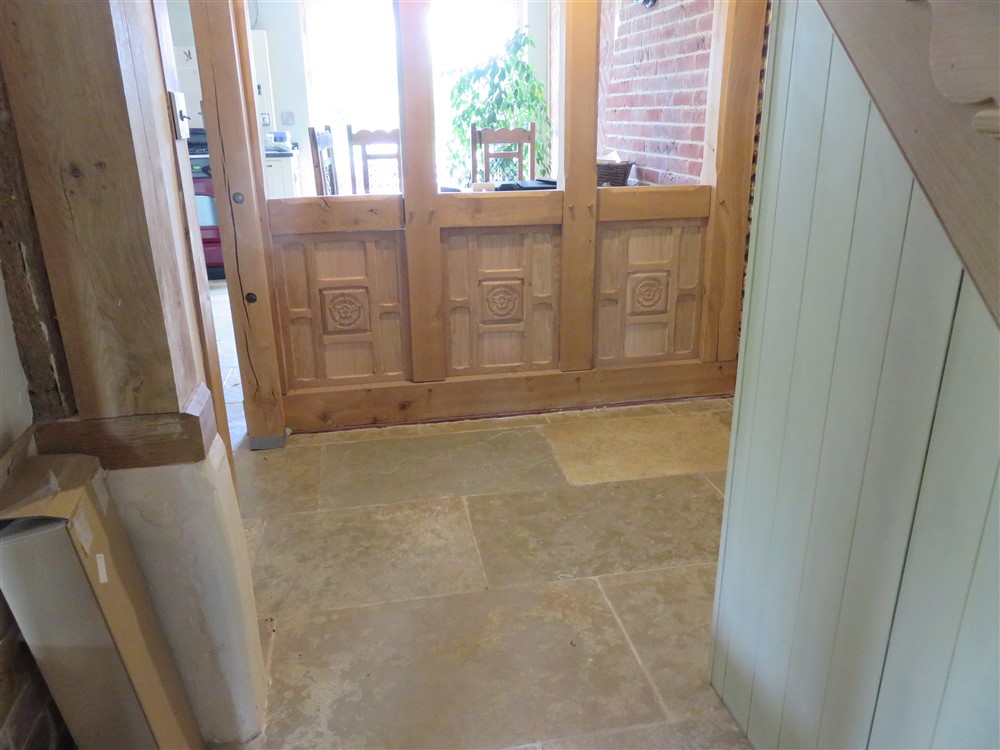
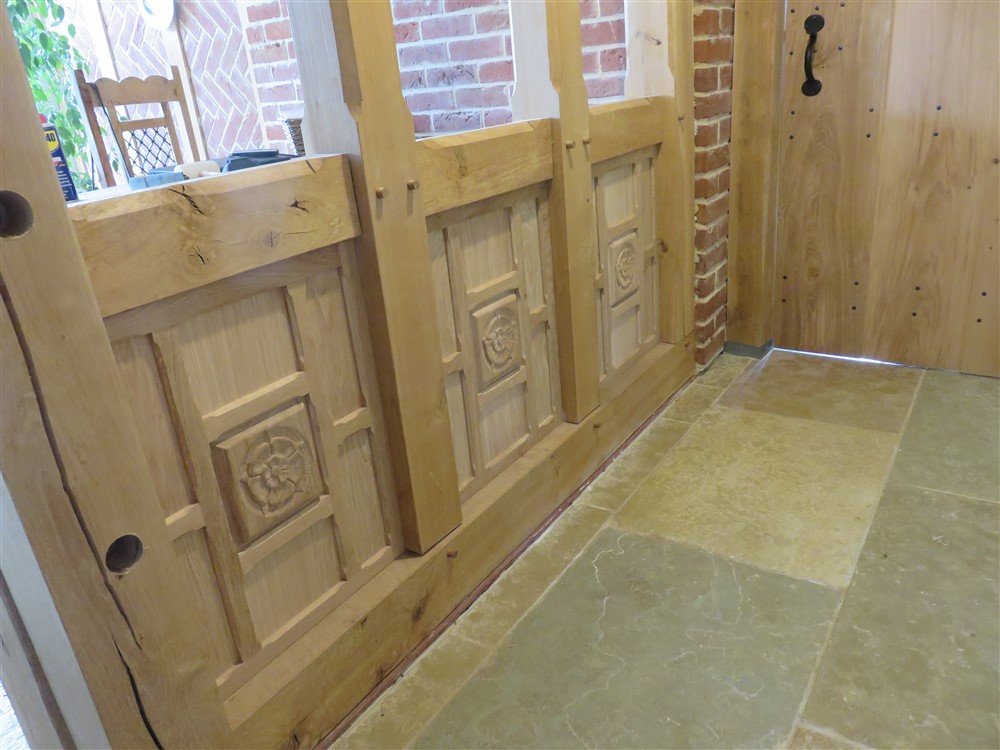
I've since removed them and coated them with a water based lacquer. They'll get fixed in permanently this afternoon.

There was a lot more than that! I thought I would do a job which has been rising up the list for a little while. It's the panels in the background, at the bottom:

What you can see there now is the back of the panels on the kitchen side. Anyway, I did some sawing and (machine) planing, and ended up with a pile of smaller pieces of wood:

Starting randomly on a raised panel, which will be the focus, I routed a rebate then a cove together, then attacked the raised edges with a blockplane and shaped scraper. And a bit of sandpaper:


It's very rare indeed that I use two blockplanes, but here I set one for deep cuts to hog off to shape, and then a finer one for finishing.
Then I made lots of half lap joints, using a combination of handtools and the radial arm saw:

Then I glued them together:


My little upstand shelf at the rear of the bench can provide a useful little stop sometimes. Here I have a couple of stops set, and I'm just cleaning up the face of the frames with a hand plane:

Next, to the router table. I need some rebates in which to sit my panels:


Dust control was an issue. Well, not so much dust as chippings/ shavings. It piled up, and there was no way of attaching a hose anywhere near, so it was just a question of blowing a lot, and using a hand brush.
There's a thread here somewhere asking about the back of stuff. Well, if it was furniture I wouldn't tolerate anything like this:


But this is the back of panel work, and I am using up scraps. So long as you work from a reference face, there is no difficulty in having decent joinery with varying thickness timber. Next, obviously, I needed some funny little pieces from MDF:


Do you know what it is yet?
Most stuff I make has chamfers, and I despise chamfers just stopped with a blurry burnt machine cut, so........:

Hot melt gluing them in place turned out to be a mistake. It would have been much better to pin them. Anyway, they're obviously there to guide the router chamfer cutter gently in and out of the cut. The one on the right has been done (there are three panels in total):


I cleaned those up a little with a scraper and some sandpaper. Then it was time to shape and glue in the flat panels. These vary in thickness from 3 or 4mm to 8 or 9mm. As I said....using up scraps. I left a little message from history for anyone foolish enough to take this lot apart:

Right, three days later, time to get on with the real work: a bit of carving:


I glued them in place (the other was still in clamps as I took this photo):

Then spent a couple of hours getting them to fit in the holes:


I've since removed them and coated them with a water based lacquer. They'll get fixed in permanently this afternoon.


