tips on oak table top

UKworkshop.co.uk

Help Support UKworkshop.co.uk:

This site may earn a commission from merchant affiliate links, including eBay, Amazon, and others.

Mike77

Established Member
Joined
30 May 2010
Messages
19
Reaction score
0
Location
Kent
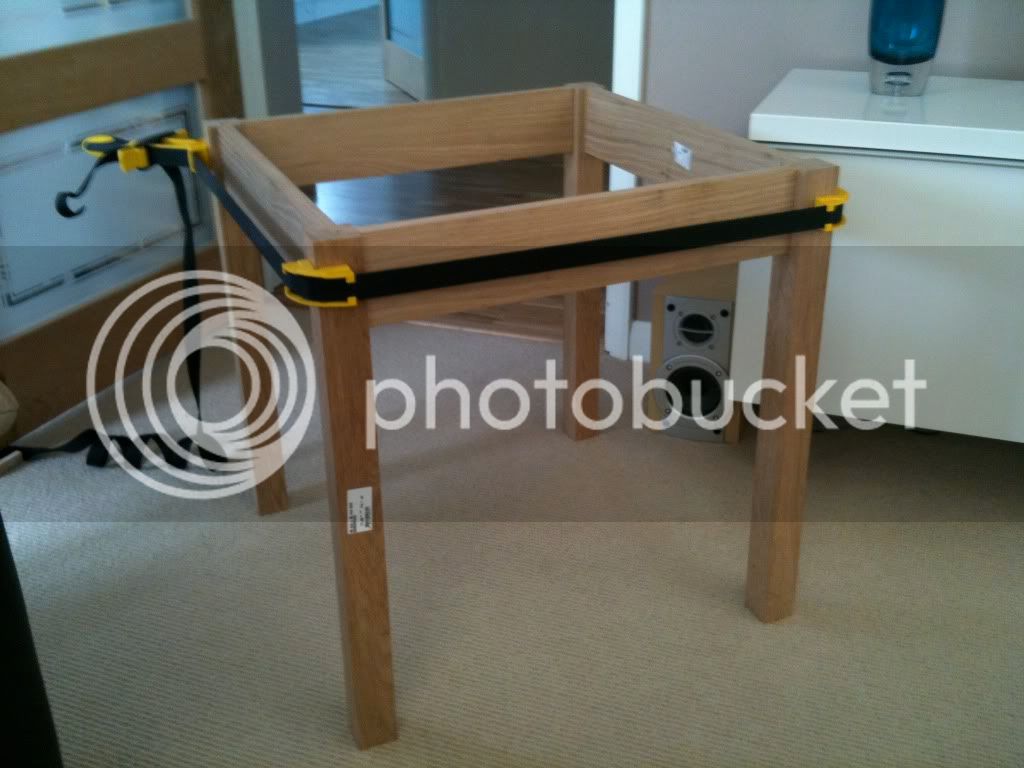
I started making a small(ish) table from oak today.
IMG_0172.jpg


It went well despite some problems not being able to get a deep enough cut for the mortices with my router...

I'm going to have a bash at the top tomorrow but need some advice before I ruin the outrageously expensive oak I bough for it.

The boards I am using to make up the top are 94mm wide. I will need five and a bit boards to make it. Can I rely on glueing them or should I look at using some sort of physical joint too? I don't have a biscuit jointer so that's out until next pay day at least.

Secondly, I had planned to attach the top with screws rebated from the underside of the apron, just a couple on each side. The top is 25mm thick but I'm a bit concerned about getting the depths of the holes wrong and coming through the 'top of the top'

Any suggestions / tips chaps?

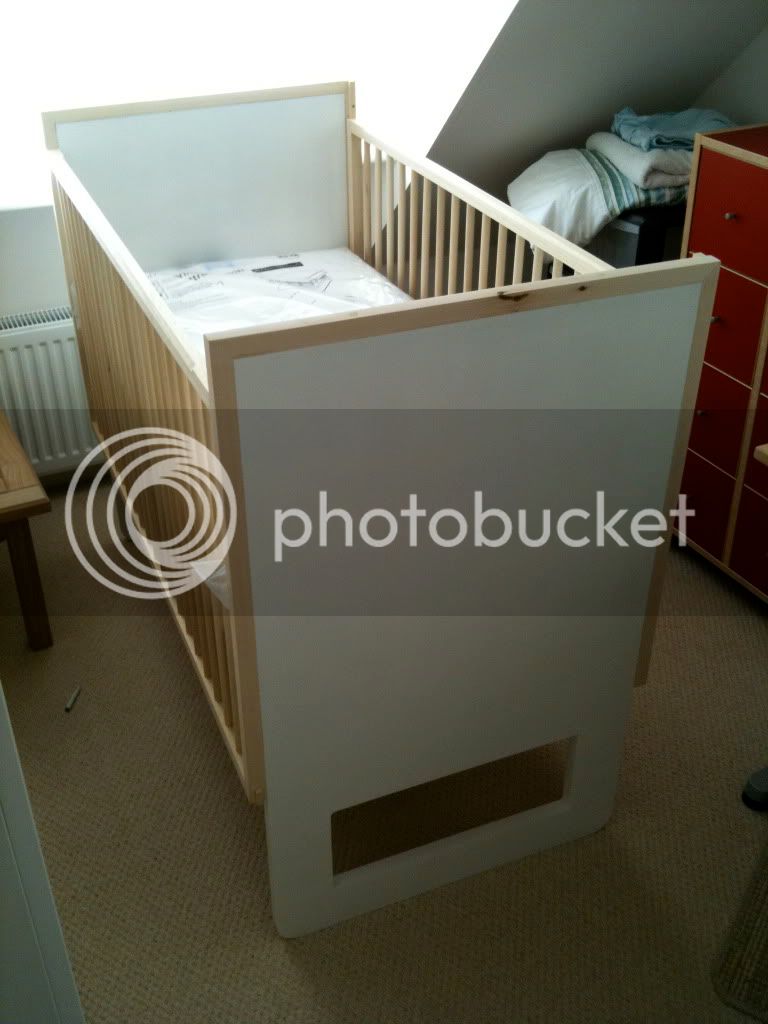
Oh, while I am at it, here is a cot I have almost finished. Just needs some sanding and finishing. I have some boiled linseed oil for the unpainted parts, but it seems to come out a bit yellow. Is there an oil I can use to retain the natural colour of the wood?
IMG_0168.jpg
 
Glue alone should be strong enough (provided it hasn't spent the last couple of winters sat in a cold, damp, freezing garage/workshop...). At this time of the year, you can't really go wrong and should be able to glue up in almost any kind of condition, at any time of day.

Do you have a router? If so, you could use a slot-cutter to create slots for 6mm solid wood or plywood splines, which would do the same job as biscuits and help to keep things aligned while gluing up. That's going to be your biggest challenge, if you don't use any kind of reinforcement. Once you glue goes on and you're tightening the cramps, there is a risk the boards will want to slide about...

Another way would be to glue the boards up in two or three hits - ie. glue up the two outer pairs carefully before adding the middle board.

Not sure I understand how you're proposing to fix the top to the rails? The traditional way would be to use wooden turn buttons, which fit in to slots in the rails. You might be able to use steel shrinkage plates but, there's a risk the steel will react with the tannin within the oak and stain the piece.

This may give you some idea:

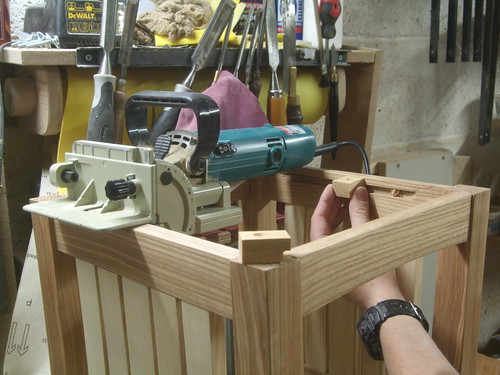
4707434092_4bfa93b44c.jpg


Here, I forgot to cut the slots before gluing up but managed to cut them later with a biscuit jointer. You could possibly still add slots to your rails, using a bearing-guided slot cutter. But, you'd need to lay a sheet of MDF or ply over the top to support the router properly, which would also restrict the depth of cut by as much. Or, if you have one of those palm-¼in router, you might be able to balance that carefully along the top edges of the rails.

With a solid wood top, you must allow it to expand and contract across the grain.
 
Dah, you bought that, I can see the price label on it. :lol: Seriously though it is looking good so far. Like the cot too. :wink:
 
You don't need a biscuit jointer.

Got a router table and a slot cutter? some markings on the wood sides for exact distance apart for the biscuits and depth of cut in and you will be able to biscuit join the boards together.
 
I would always use some sort of mechanical device, such as biscuits or loose tenons, when jointing boards for a table top. There are two reasons for this. First, I believe it does make for a stronger joint. Second, it stops the boards slipping about when you cramp them up, which means that you have fewer problems afterwards.

If you haven't a biscuit jointer, rout some slots with your router and use loose tongues. They can be made of solid wood, ply or MDF. Just make sure that the fence of the router is tight up against the face side of the boards so that the slots are accurately cut.

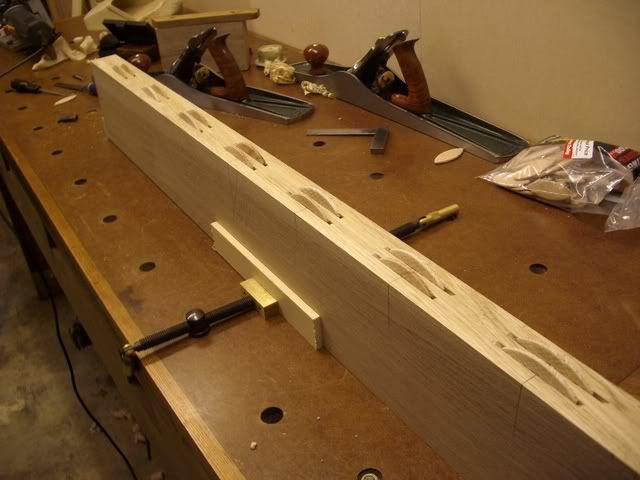
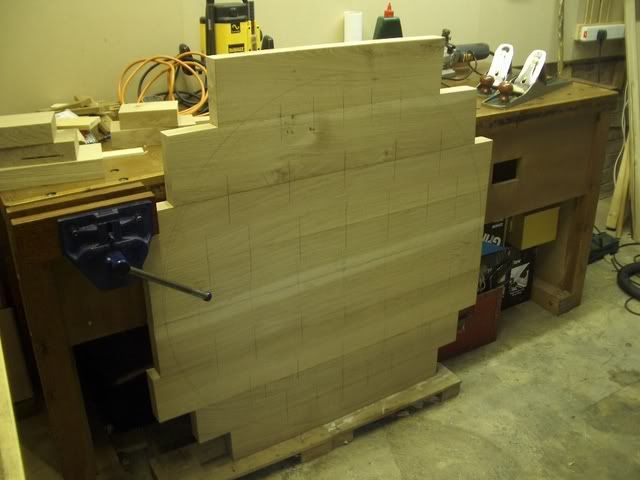
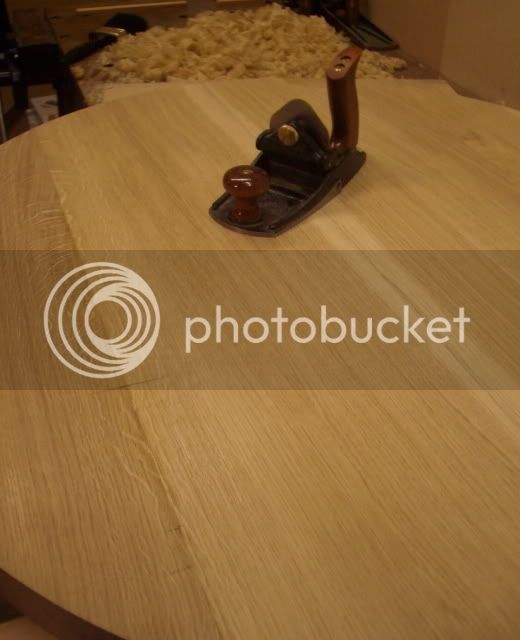
Here's one I made using biscuits but loose tongues would have worked just as well

Competition19.jpg


Competition21.jpg


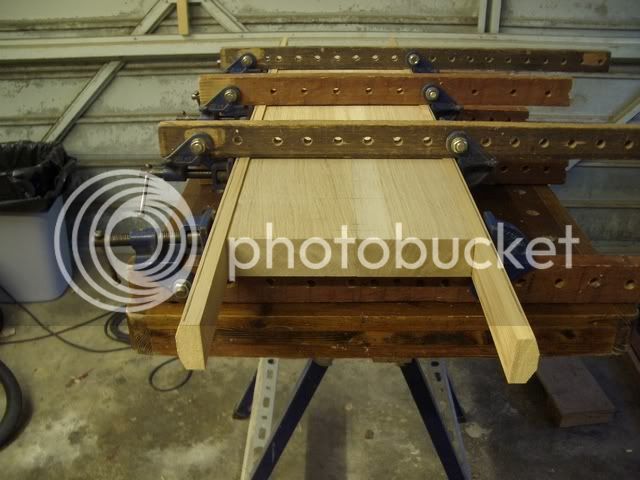
I would suggest that when you cramp up the boards, do two, then add another, then another, and so on rather than gluing them all together at once. And use shaped cramping blocks which help to direct the pressure of the sash cramps towards the centre of the edges and helps to keep the boards flat, like this

Competition20.jpg


If you do it well, you should end up with a nice flat top with little cleaning up to do

Tabletop6.jpg


Hope this helps.

Cheers :wink:

Paul
 
Good stuff from Paul. I would just add that when it's finished, don't under any circumstances use steel wire wool on the top. Minute particles from the metal will break off and lodge in the grain, react with the tannin in the wood and you'll end up with an outbreak of black spots all over the surface :evil: - Rob
 
And, if you're now feeling compelled to go buy a biscuit jointer, don't forget to consider the position of your biscuits in relation to the cuts for the final size... Many a "doh!" moment in my garage!
 
Thanks for all the advice chaps, much appreciated.

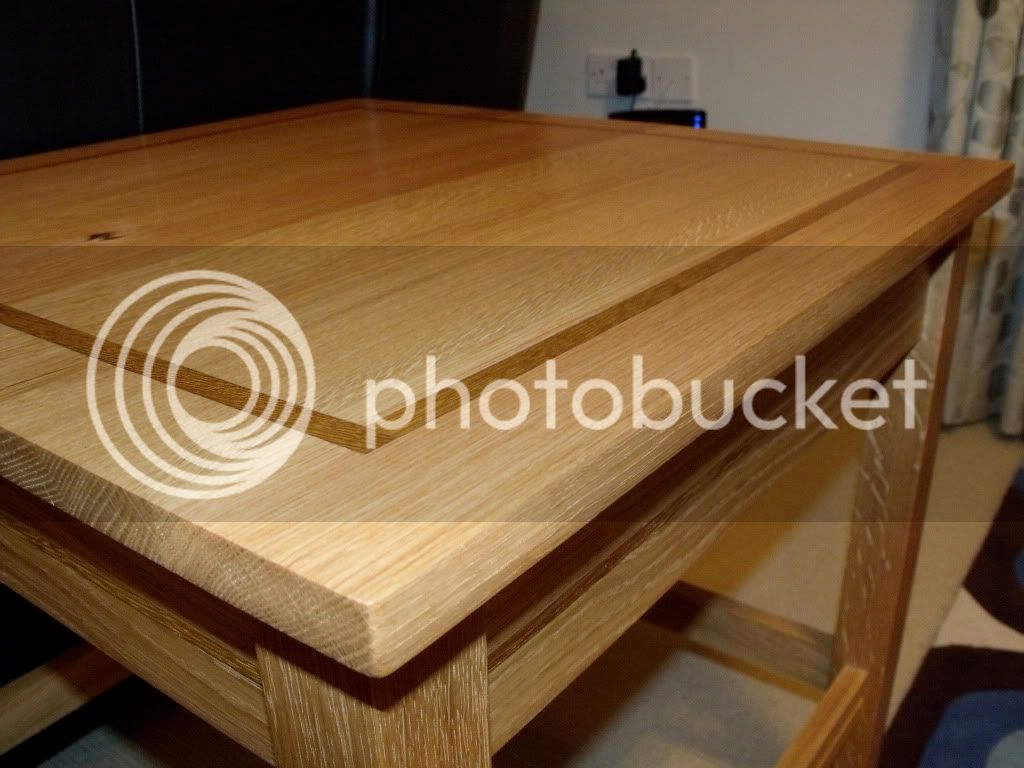
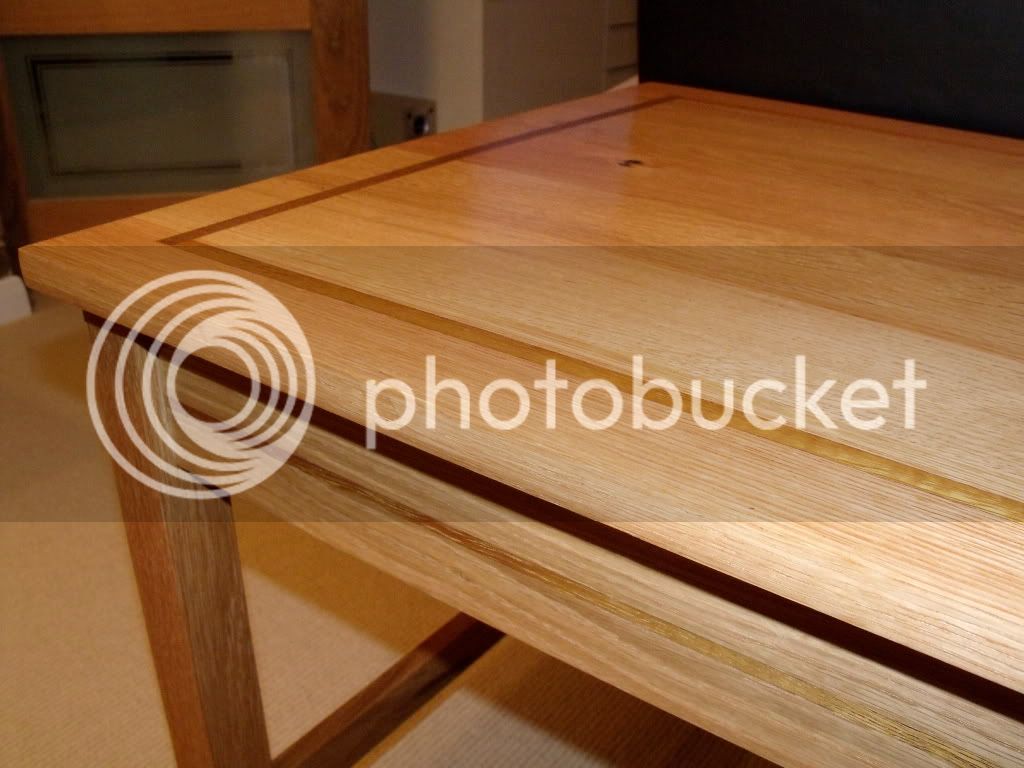
I only had a couple of hour this afternoon so I routed some slots on the face side of the rails. I have inlayed some thin strips of Iroko which I am going to stain darker before I glue them.

OPJ - I like the idea of the turn buttons. I've not glued the frame up yet, I just put the band clamp on to check the tightness of the joints and to take a photo. So I can still do the slots with the router. Would you put a turn button on each side or just two in case of expansion across the grain?

Paul - unfortunately, I didn't think about using the router to cut the slots for biscuits. My broadband has been down all day and I've just come in from the workshop and read all the suggestions from everyone, having glued the first three pieces and left them in clamps. Never mind, fingers crossed, I will let you know if they stay straight.

Thanks everyone!
 
By the way... OPJ what timber is the table in your photo made from? It's got nice bold grain.
 
Mike, you'll probably want two buttons in each corner, with another two (maybe three on the longer rails) in between each pair of those. The more you have, the better chance you have of keeping the top flat. :wink:

6mm/¼in is fine for the width of the groove (depth can be about the same). The thickness of each button should be about 1mm less than the distance from the underside of the table top to the lower edge of the grooves - that way, as you tighten the screws, it'll pull the top down nice and tight. Also, make sure there's a good 1mm of clearance between the length of the tongues on your buttons and the depth of the grooves, so there's room for movement.

In that photo, it's English ash. :)
 
Mike,

"Oh, while I am at it, here is a cot I have almost finished. Just needs some sanding and finishing. I have some boiled linseed oil for the unpainted parts, but it seems to come out a bit yellow. Is there an oil I can use to retain the natural colour of the wood?"

I use " OSMO Poly X Oil, Clear Satin "

It's the best finish I've ever used. Just wipe it on thinly with a soft cloth. It leaves no finish marks at all. A couple of coats does the job and it leaves a good hard surface. It's also child safe.

HTH
Chris.
 
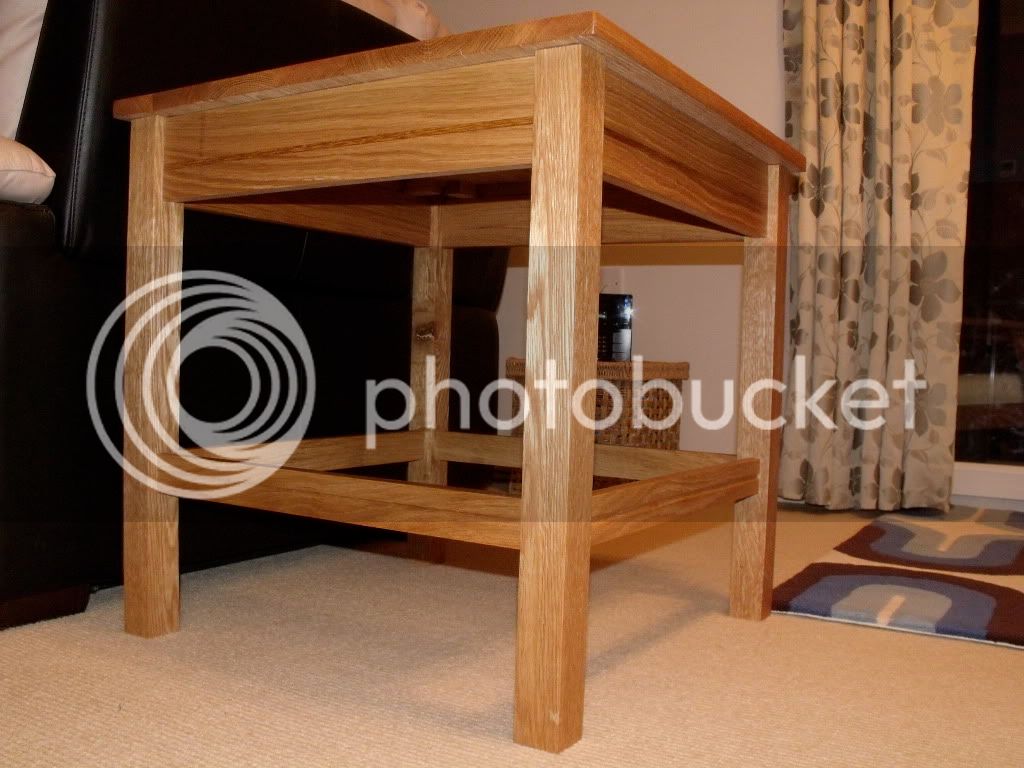
I managed to finish my table today.

I went with the turn button suggestion to attach the top and it worked really well.

I learned a lot making it and will avoid a few mistakes on the next project.

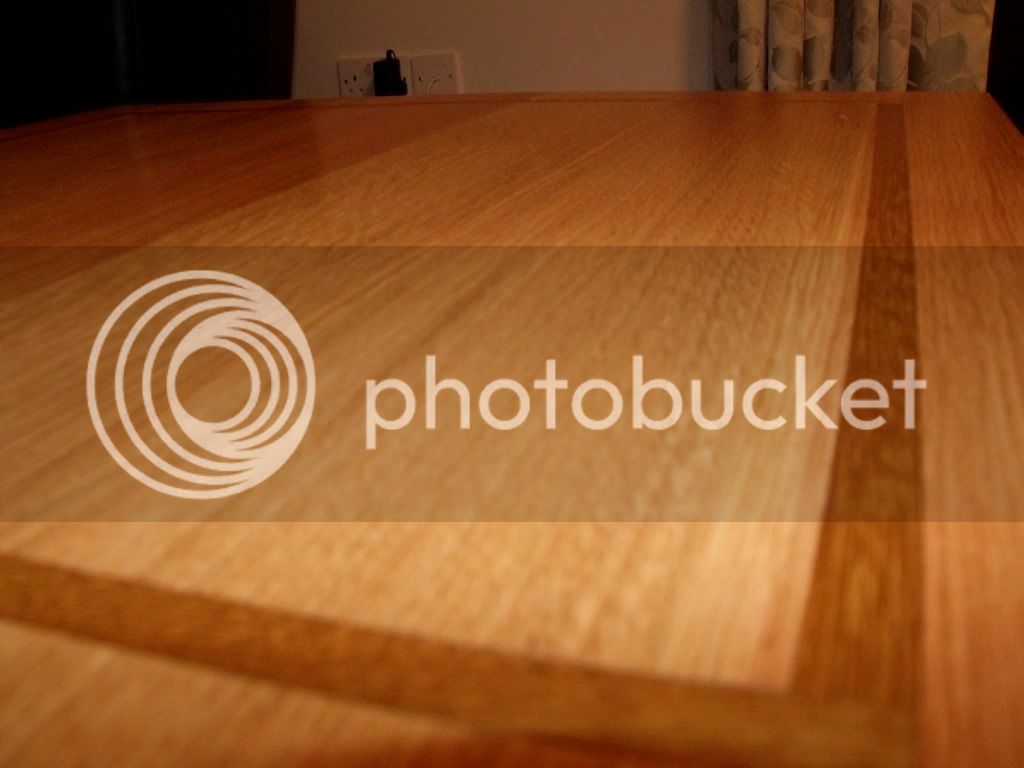
I used Danish oil to finish it and really pleased with the result. The only problem was that although the lengths I used for the top looked similar in colour before I applied the oil, two came out quite dark when the oil went on.

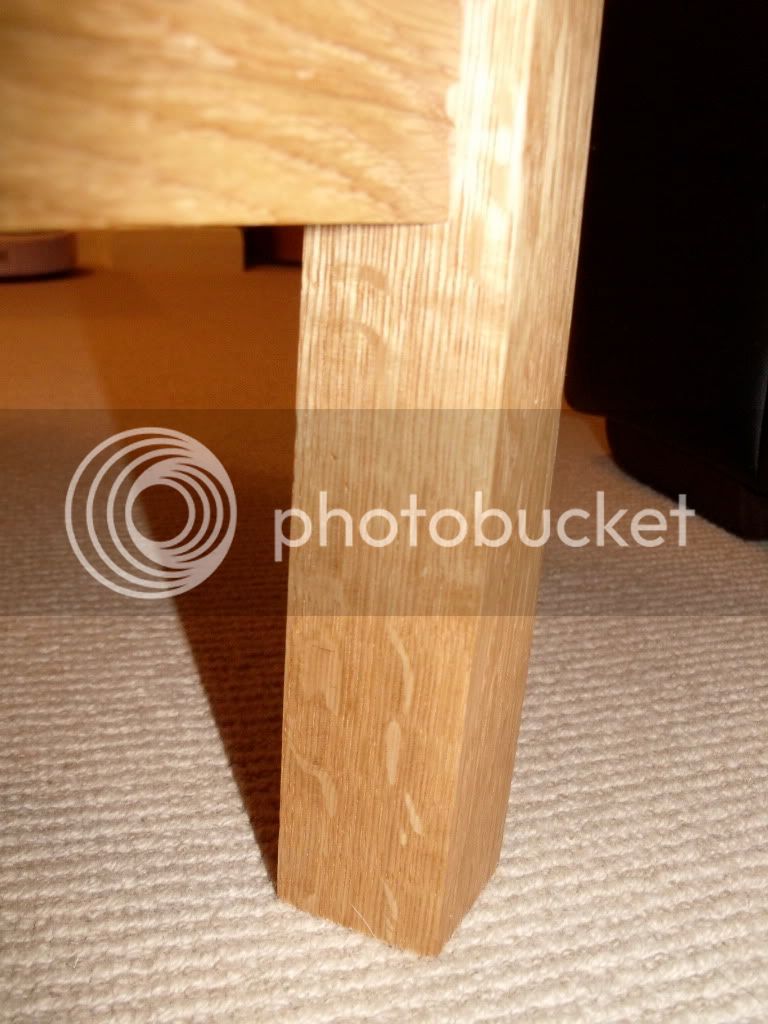
Also, more marks appeared on the legs which weren't visible before. They look like dents in the photo but they're not. I know its not glue because I was really careful with it. Any ideas how to get rid of them?

DSCF1641-1.jpg


DSCF1642.jpg


DSCF1644.jpg


DSCF1643.jpg


DSCF1650.jpg
 
If its those arcs you mean under the rail, I think thats just the medulla rays.

Also thats a lovely piece, the inlay is perfect.
 
Chems, no, the marks I'm talking about are the one that look like smears of glue toward the bottom of the leg. If it is glue, I know I didn't put it there. I've tried sanding that leg again and they wouldn't shift. It's almost as if it's been bleached.

They don't show up so much on the photo but are really obvious when I look at it. Grrrr.
 
Oh I see it, a few inches up in the first shot on the closest leg and right on the corner? I still think it could be the rays. Defiantly not glue, not the right sort of shape for a spill. I would chalk it up to experience, I think the table is beautiful and I doesn't detract from it at all, just next time hope you spot it earlier on and can rotate it in, cut it out at an earlier stage. If this one was completely perfect where would the motivation for the next one be?
 
Nicely done. It would've been nice if you could've mitred the corners of the inlay in the top (maybe next time, though :wink:) but, I hope this one gives you the confidence for your next projects. :)

I'm not sure what that mark is on the bottom of the leg, either. Doesn't look like glue. Is it a bit of tearout? Can you feel a dip or depression when you run your fingers over it?
 
OBJ, I wish I had mitred the corners as well. Don't know why I didn't really. I think I just wanted to make sure I got a good fit length wise because it took ages to get the inlay strips to fit nicely in the first place. I cut them on the table saw and it was a pipper sanding them to get them to fit just right.

The good thing is, I can easily replace the top when I get some good ideas / timber / time.

Thanks for all the advice everyone.

My Dad has given me a 2 metre length of solid beech worktop. Was thinking of using it as the top of a coffee table, as we need a new one. I also thought it would be ideal (not all of it) for a router table because mine is rubbish, but seemed a bit of a waste.
 
Back
Top