Hello fellas,
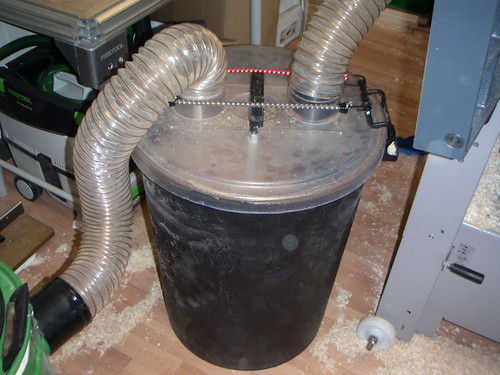
Here are a few pics of my Thien seperator bin which is working surprisingly well. :shock:

For members unfamiliar with this dust collection set-up the idea here is to use the seperator bin to increase sawdust collection capacity. The dustbin sits between the vacum, in this case a small camvac with two motors, and the machine. There is some loss of suction but not enough to prevent an effective collection of shavings. In theory this saves time from having to keep emptying the vacum.
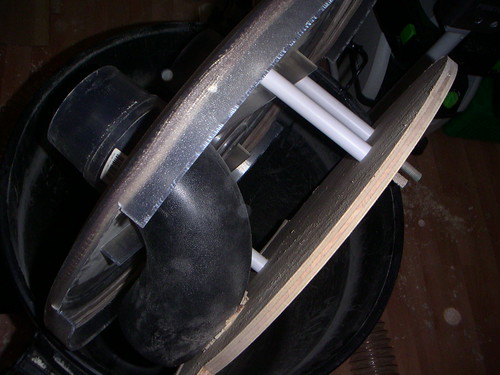
Here is a picture of the workings under the lid

A simple set up with three peices of threaded rod holding a piece of ply tight against an elbow joint. Not all the ply touches the wall of the bin as part is cut away to create a gap for particules of sawdust to drop below.
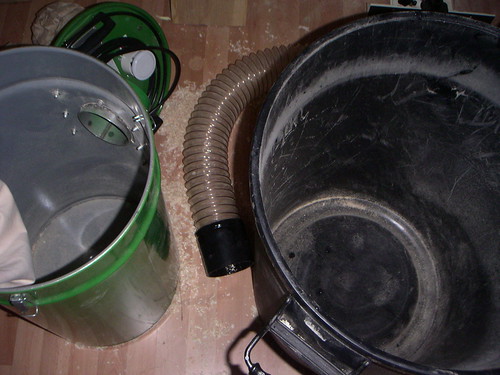
Here is a test, an empty start

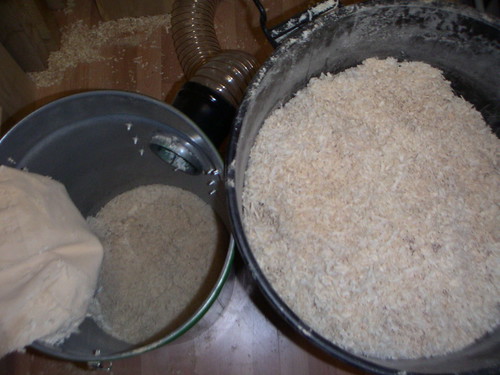
and after a batch of work on my PT

The bin is almost 80% full, whereas the vacum has about 20% of dust in the bottom.
It works! 8) :shock:
Hope this is useful, any questions give me a shout.
Here is a link to Phil Thien's website and further guidance http://www.cgallery.com/jpthien/cy.htm
Cheers, Tony.
Here are a few pics of my Thien seperator bin which is working surprisingly well. :shock:

For members unfamiliar with this dust collection set-up the idea here is to use the seperator bin to increase sawdust collection capacity. The dustbin sits between the vacum, in this case a small camvac with two motors, and the machine. There is some loss of suction but not enough to prevent an effective collection of shavings. In theory this saves time from having to keep emptying the vacum.
Here is a picture of the workings under the lid

A simple set up with three peices of threaded rod holding a piece of ply tight against an elbow joint. Not all the ply touches the wall of the bin as part is cut away to create a gap for particules of sawdust to drop below.
Here is a test, an empty start

and after a batch of work on my PT

The bin is almost 80% full, whereas the vacum has about 20% of dust in the bottom.
It works!
Hope this is useful, any questions give me a shout.
Here is a link to Phil Thien's website and further guidance http://www.cgallery.com/jpthien/cy.htm
Cheers, Tony.


