woodbloke
Established Member
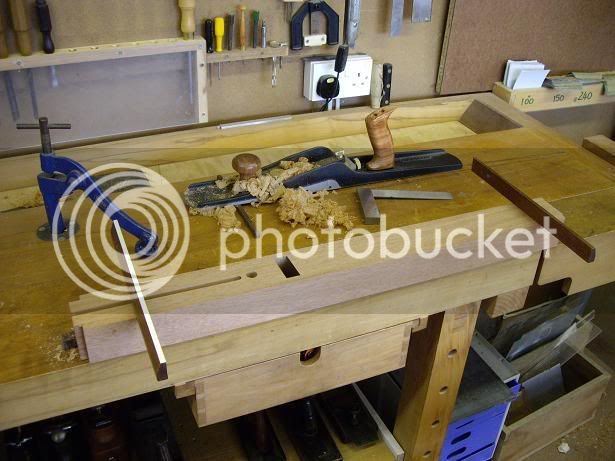
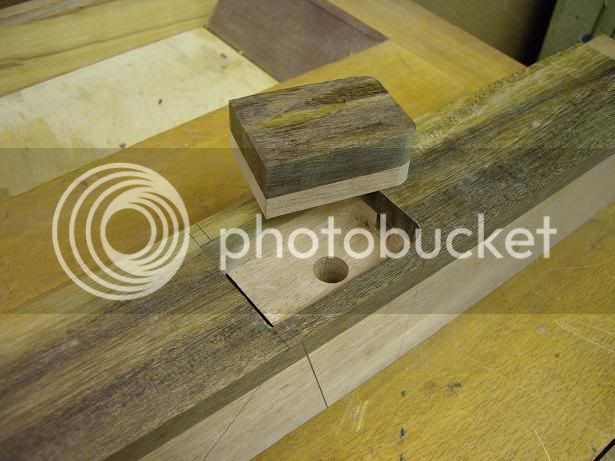
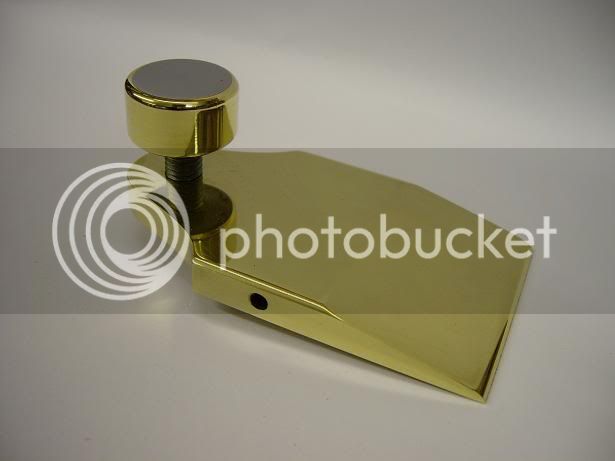
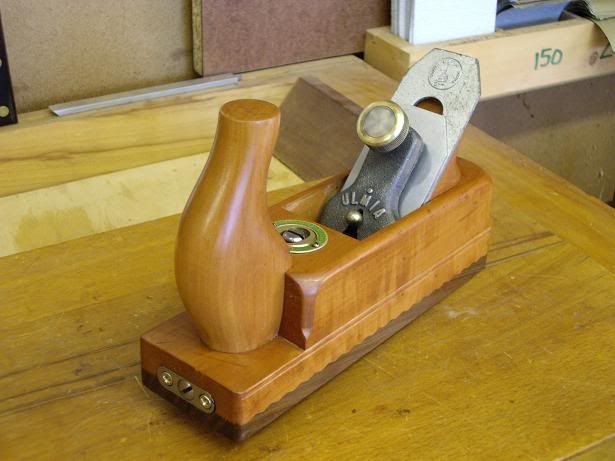
Started to make a big woodie yesterday so here's a few shots of where I've got to. The plan is to make it 28" long with the main body made from Mahogany and the sole from some Greenheart that one of the Woodkateers let me have last weekend...heavy old stuff, weighs in at 70lbs/cu' :shock: The cutter is a 4.5mm thick parallel iron from an old jack plane that's been ground down to a width of 44mm and shortened to about 110mm, complete with chipbreaker that's also been ground down to the same width (Taking 6mm off the cutter width makes the finished plane not quite so unwieldy in the width), cap iron in brass with a brass knob. The cutter is to be set at an angle of 47.5deg or so, same as the Ray Isles smoother, and my plane will also sport an adjustable mouth based on my Ulmia smoother, shown in the pic below:
The iron is shown here:
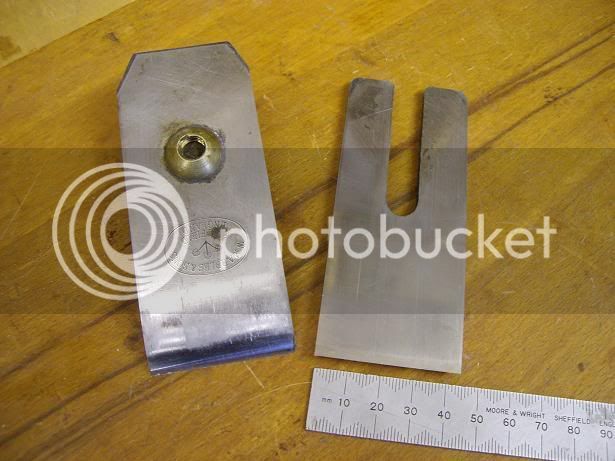
I started by making a scale 1:1 sectioned drawing of the business part of the plane, essential IMO to work out where the pivot point will go for the cap iron and also to find out exactly what the distance should be between the front and back parts of the plane body as there will be a 12mm slab of greenheart on the underside and I need to know where the blade will exit the sole so that the mouth can be fitted properly:
The timber was prepared to size with a couple of 10mm slabs cut off for each side:
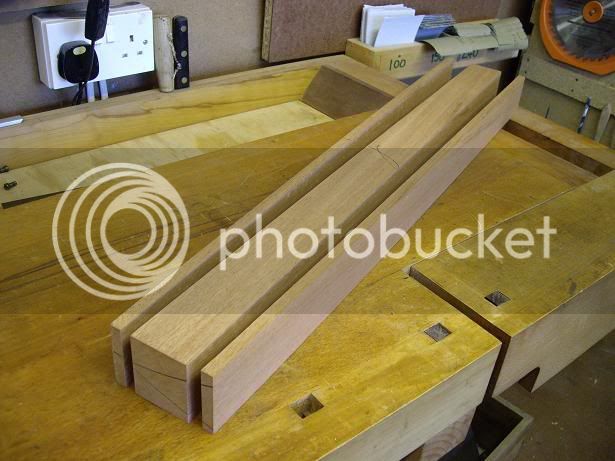
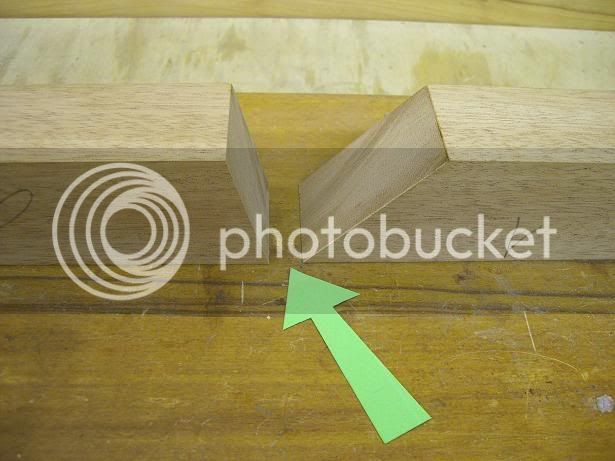
and then the main block was sawn and planed to the correct angles. The green arrow indicates the approximate distance between the two parts of the body, by measuring the distance on the working drawing you can find it out exactly:
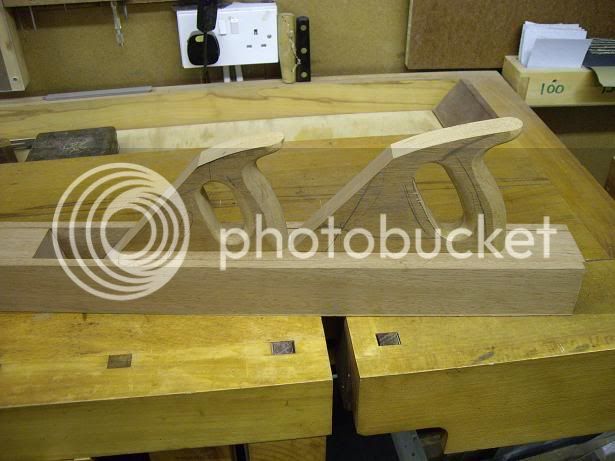
Then I had to mess around with the totes and it took my three goes this afternoon to get it right ](*,) ...first couple I made were far too big. The one at the front of the escarpment is the correct one with one of the rejects behind it for comparison. Anyway, have got the tote finished now with it's first coat of oil, and when the finish is complete it'll be biscuited into place. Need to sort out the sliding mouth bits and pieces on the 'morrow.....Rob

The iron is shown here:

I started by making a scale 1:1 sectioned drawing of the business part of the plane, essential IMO to work out where the pivot point will go for the cap iron and also to find out exactly what the distance should be between the front and back parts of the plane body as there will be a 12mm slab of greenheart on the underside and I need to know where the blade will exit the sole so that the mouth can be fitted properly:
The timber was prepared to size with a couple of 10mm slabs cut off for each side:

and then the main block was sawn and planed to the correct angles. The green arrow indicates the approximate distance between the two parts of the body, by measuring the distance on the working drawing you can find it out exactly:


Then I had to mess around with the totes and it took my three goes this afternoon to get it right ](*,) ...first couple I made were far too big. The one at the front of the escarpment is the correct one with one of the rejects behind it for comparison. Anyway, have got the tote finished now with it's first coat of oil, and when the finish is complete it'll be biscuited into place. Need to sort out the sliding mouth bits and pieces on the 'morrow.....Rob


