OPJ
Established Member
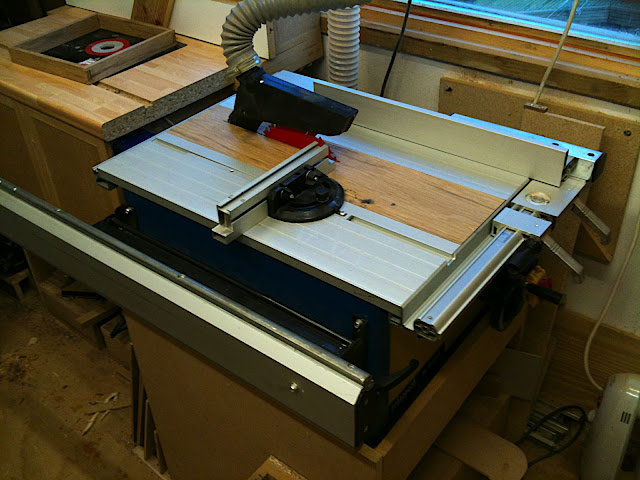
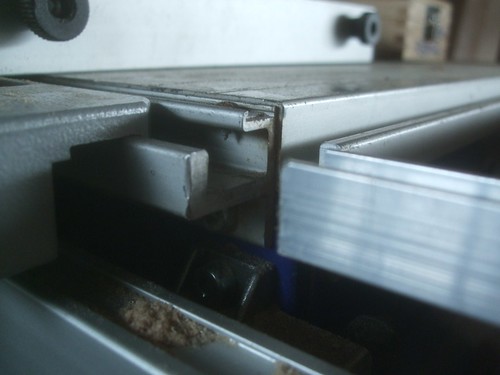
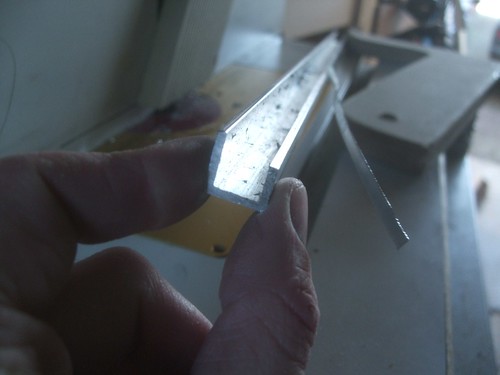
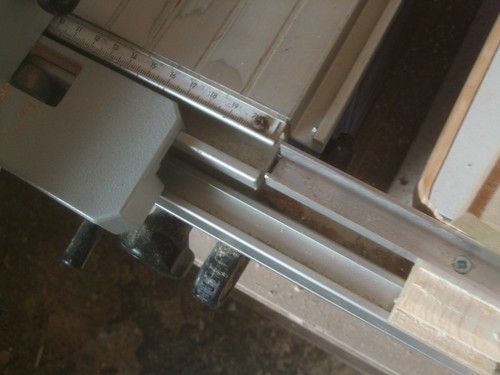
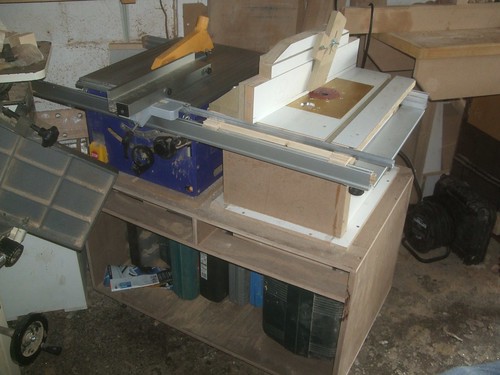
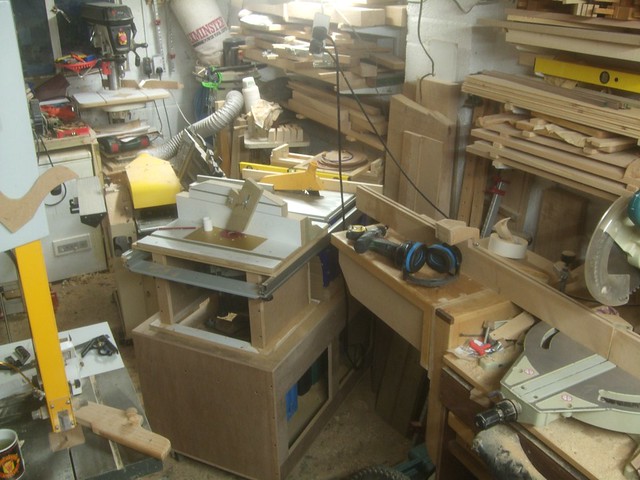
This is something I was working on a few weeks ago and, even though there are still parts I need to finish off, I'm sorry it's taken me so long to post it on the forum. The main cabinet is made from 18mm WBP exterior-grade ply and, in order to fit a home-made router table to the right-hand extension of my Elektra Beckum PK200 table saw, I first had to purchase a pair of aluminium base rails from Metabo via. D&M Tools... At no less than £120!!! :shock: A few months ago, they were only £80 or so. :roll:
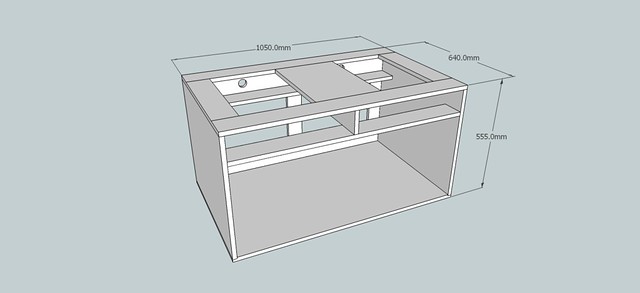
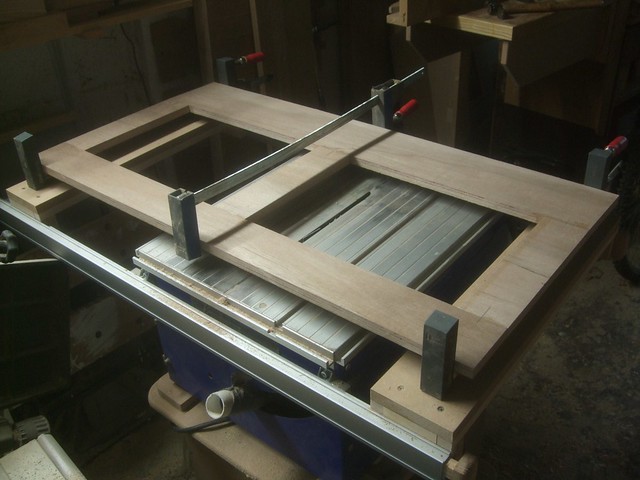
You can see from the SketchUp drawing above that I wanted to be fairly economical with my usage of the plywood. I didn't want to end up buying a second sheet so, I decided to construct the top, back and shelf from a frame construction of narrow rail and stile rips. This also saved me the hassle of having to make large cut-outs from larger sheets. All joints were reinforced with no.20 biscuits but, I only wish I had a pocket hole jig, as that would've saved me having to get the sash cramps out:
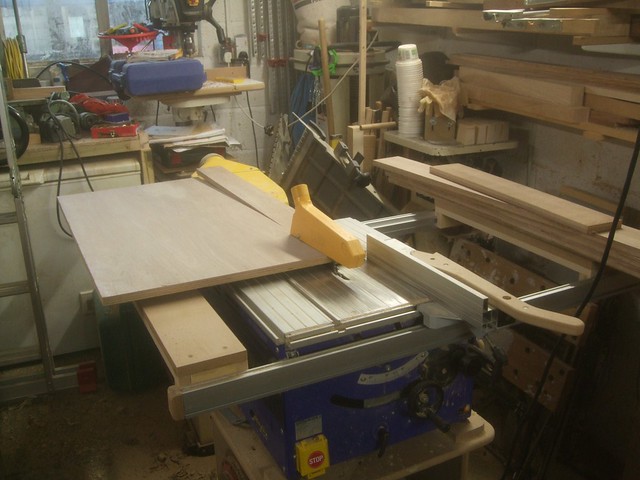
Most of the plywood was initially cut outside on a pair of saw horses with a hand-held circular saw; using a knock-down support frame to keep the sheet balanced and also to prevent me from transforming my trestles in to kindling. All the narrow cuts though, were done later, on the table saw itself:
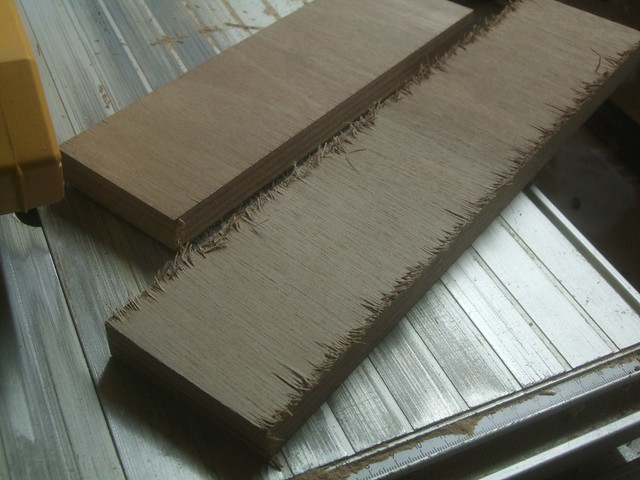
Without room for a zero-clearance insert on this model, I was left with some severe tearout on the cross-grain cuts, using a 40t blade (not that it matters on this job... Which is why I was ripping 'across' the grain, anyway. ;-)):
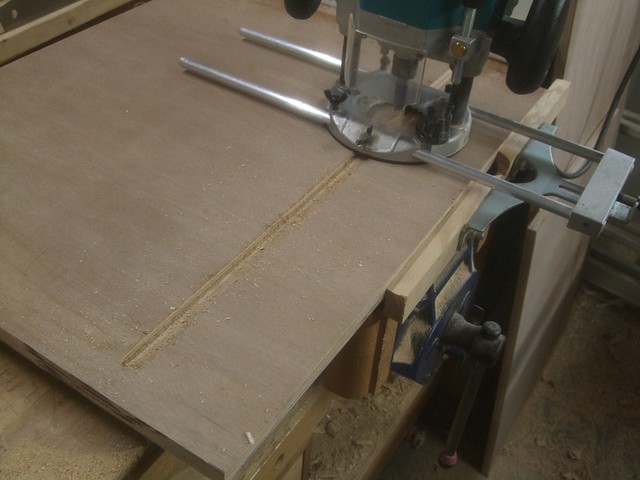
That shelf is fitted in to stopped grooves cut with my router:
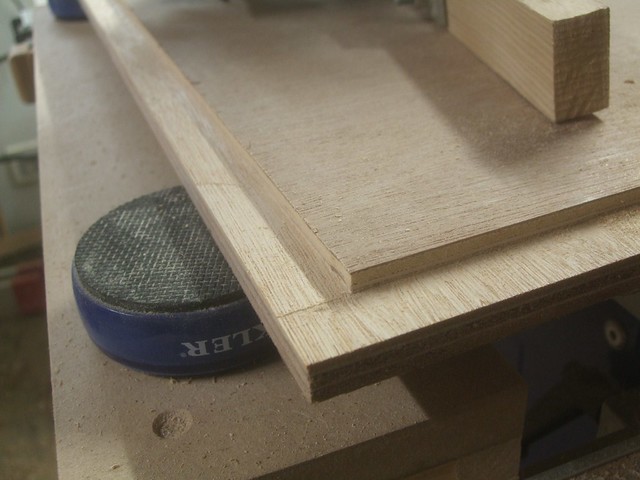
With rebates used to locate and align the outer edges of the carcase. A Wealden tenon cutter fitted in my router left a beautifully clean cut, even across the fibres of the face veneers:
Once the main frames were assembled and rebated, I started the main assembly by fixing the central divider to the top side of the shelf:
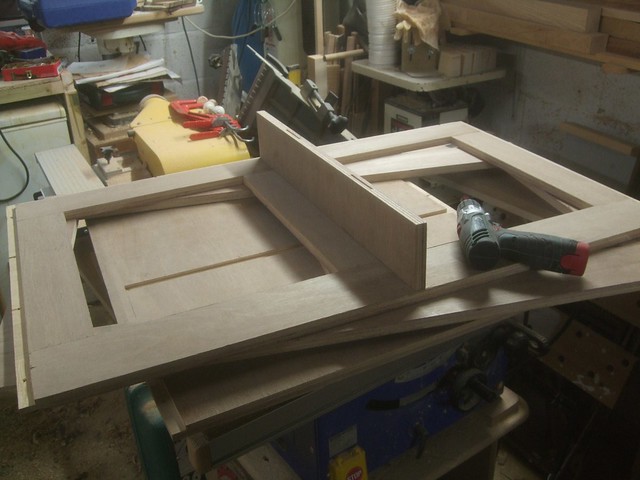
Then, I attached each of the two ends to the shelf:
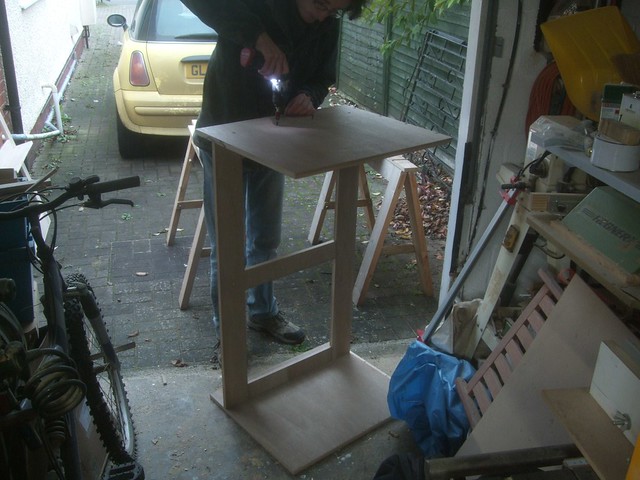
Followed by the top:
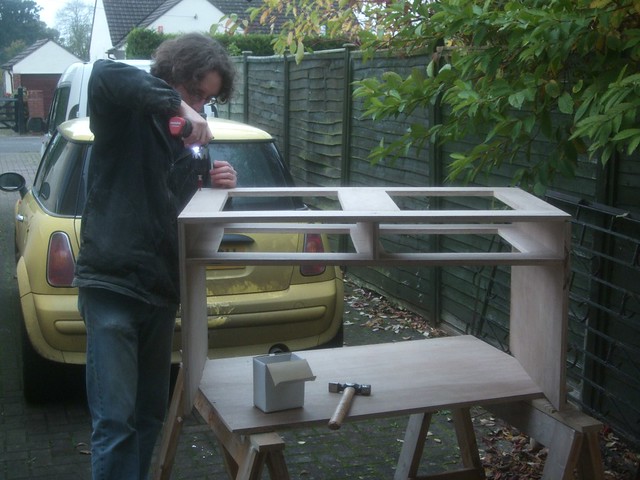
Then the base, before adding the back (not pictured):
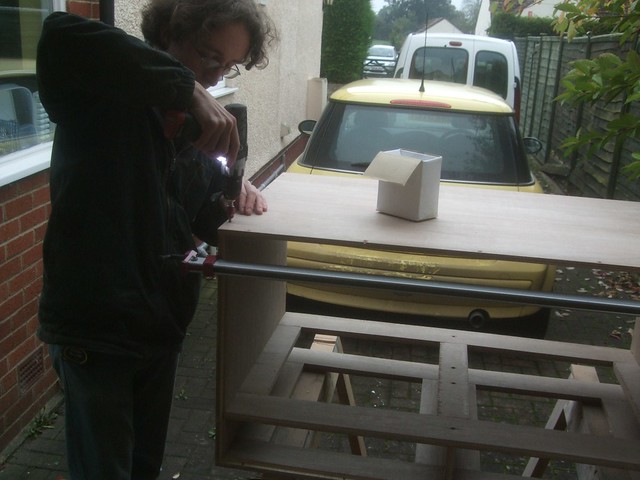
It's all screwed together with drywall screws (damn you, Norm!! ). No glue, just in case I later decide to modify and/or recycle any of the components here.
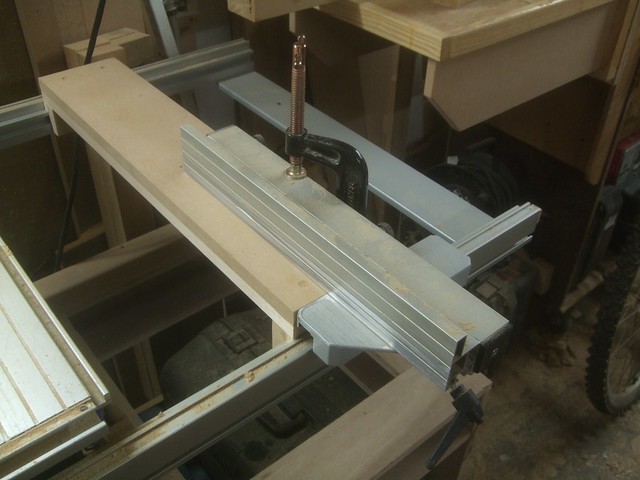
I decided to make a new 'surround' for the lower half of my new router table, rather than attempting to cut-down the old benchtop one I made (which was also too narrow inside, for comfort). This was made from recycled 18mm MDF (most of which came from my previous table saw stand) and, using one of my temporary 'shop-made MDF width extensions, I was able to make some wide cuts on the table saw, with the fence G-cramped in place:
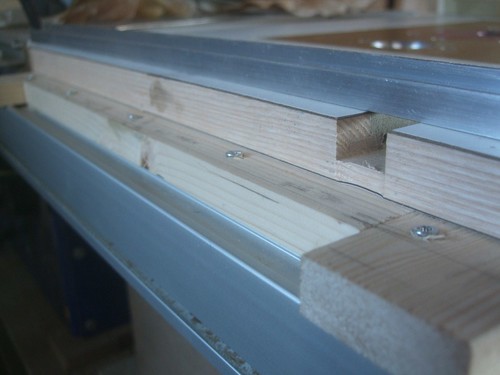
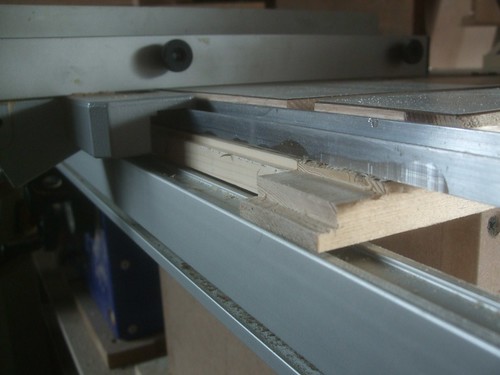
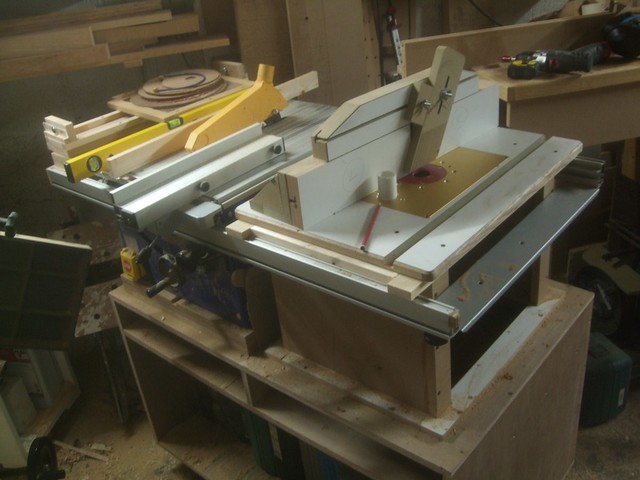
This is how it was looking with most of the work done. I had to add some strips of 16mm thick pine below the router table top to get it level and it still needs to be fixed in place:
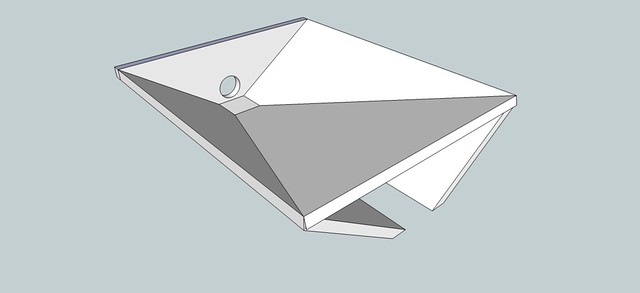
Underneath, I decided to incorporate some form of 'dust hopper' to collect all [or, in my table saw's case - "most of"] the dust that does't reach either of my extractors. 100mm between the top and shelf didn't leave me with nearly as much space to make a truly effective system but, after a few minutes in SketchUp and a few hours drawing on scraps of 12mm MDF, I was able to produce something that does 'encourage' dust down to the 40mm extraction port:
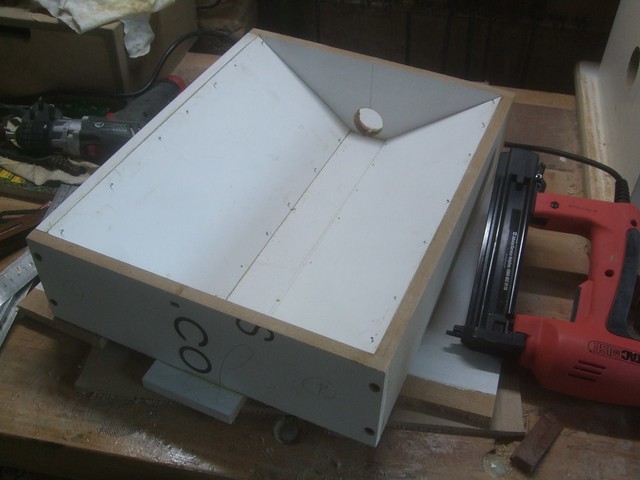
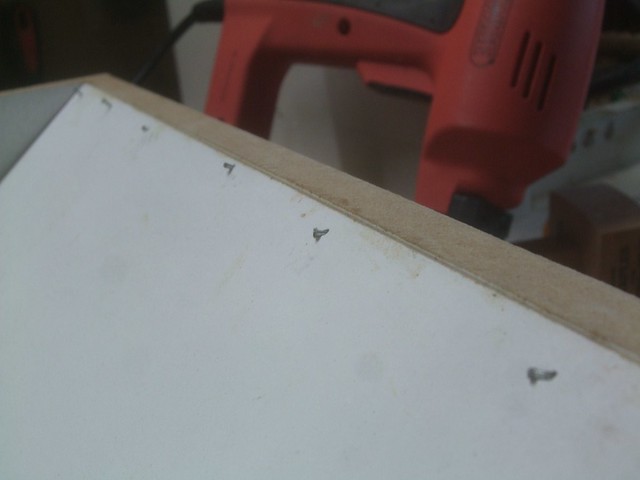
All of the joints were hand-planed to the correct angle, once most of the waste had been removed on the bandsaw. Most of the angles were beyond the capacities of my table saw (at least, without spending time making some kind of jig to hold the MDF at a more 'near-vertical' angle). My old Tacwise 191EL electric nailer actually came in handy, here (if you ignore the fact that it barely even punches the pins in, let alone the heads). Possibly the third time I've used it in six-years! :-D Just a shame it had to die on me (!!!) part-way through assembling the second hopper for my table saw. Doubt I would replace it with the same again.
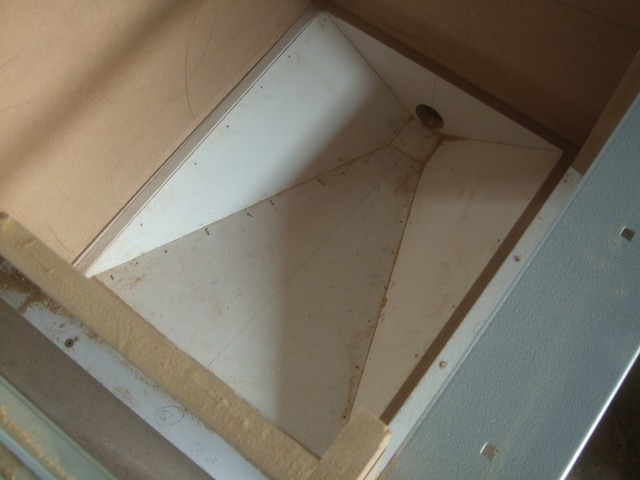
There's no plenty of space surrounding the router for me to be able to change cutters and alter the height without anything obstructing the movement of the spanner:
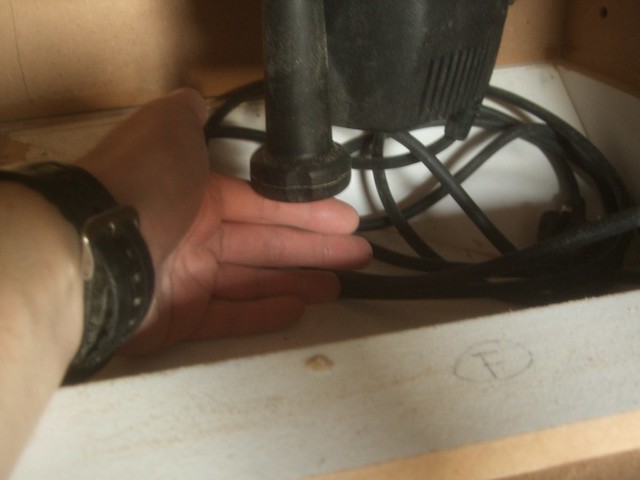
But, where I had previously decided to raise the working height of my table saw by 48mm or so (18 + 12 + 18mm MDF) to allow for clearance below the router, I realised that I'd overcompensated and that I could actually save myself 30mm in height, which would bring the working height of both machines down to a more comfortable 1m from the floor.
All this work so far and yet, I'm not convinced I've saved myself any floor space at all...

Thanks for reading.

You can see from the SketchUp drawing above that I wanted to be fairly economical with my usage of the plywood. I didn't want to end up buying a second sheet so, I decided to construct the top, back and shelf from a frame construction of narrow rail and stile rips. This also saved me the hassle of having to make large cut-outs from larger sheets. All joints were reinforced with no.20 biscuits but, I only wish I had a pocket hole jig, as that would've saved me having to get the sash cramps out:

Most of the plywood was initially cut outside on a pair of saw horses with a hand-held circular saw; using a knock-down support frame to keep the sheet balanced and also to prevent me from transforming my trestles in to kindling. All the narrow cuts though, were done later, on the table saw itself:

Without room for a zero-clearance insert on this model, I was left with some severe tearout on the cross-grain cuts, using a 40t blade (not that it matters on this job... Which is why I was ripping 'across' the grain, anyway. ;-)):

That shelf is fitted in to stopped grooves cut with my router:

With rebates used to locate and align the outer edges of the carcase. A Wealden tenon cutter fitted in my router left a beautifully clean cut, even across the fibres of the face veneers:

Once the main frames were assembled and rebated, I started the main assembly by fixing the central divider to the top side of the shelf:

Then, I attached each of the two ends to the shelf:

Followed by the top:

Then the base, before adding the back (not pictured):

It's all screwed together with drywall screws (damn you, Norm!!
I decided to make a new 'surround' for the lower half of my new router table, rather than attempting to cut-down the old benchtop one I made (which was also too narrow inside, for comfort). This was made from recycled 18mm MDF (most of which came from my previous table saw stand) and, using one of my temporary 'shop-made MDF width extensions, I was able to make some wide cuts on the table saw, with the fence G-cramped in place:

This is how it was looking with most of the work done. I had to add some strips of 16mm thick pine below the router table top to get it level and it still needs to be fixed in place:

Underneath, I decided to incorporate some form of 'dust hopper' to collect all [or, in my table saw's case - "most of"] the dust that does't reach either of my extractors. 100mm between the top and shelf didn't leave me with nearly as much space to make a truly effective system but, after a few minutes in SketchUp and a few hours drawing on scraps of 12mm MDF, I was able to produce something that does 'encourage' dust down to the 40mm extraction port:


All of the joints were hand-planed to the correct angle, once most of the waste had been removed on the bandsaw. Most of the angles were beyond the capacities of my table saw (at least, without spending time making some kind of jig to hold the MDF at a more 'near-vertical' angle). My old Tacwise 191EL electric nailer actually came in handy, here (if you ignore the fact that it barely even punches the pins in, let alone the heads). Possibly the third time I've used it in six-years! :-D Just a shame it had to die on me (!!!) part-way through assembling the second hopper for my table saw. Doubt I would replace it with the same again.


There's no plenty of space surrounding the router for me to be able to change cutters and alter the height without anything obstructing the movement of the spanner:

But, where I had previously decided to raise the working height of my table saw by 48mm or so (18 + 12 + 18mm MDF) to allow for clearance below the router, I realised that I'd overcompensated and that I could actually save myself 30mm in height, which would bring the working height of both machines down to a more comfortable 1m from the floor.
All this work so far and yet, I'm not convinced I've saved myself any floor space at all...

Thanks for reading.


