swiss joinery WIP

UKworkshop.co.uk

Help Support UKworkshop.co.uk:

This site may earn a commission from merchant affiliate links, including eBay, Amazon, and others.

adidat

I will not buy anymore tools...
Joined
6 Nov 2009
Messages
2,602
Reaction score
68
Location
sunny somerset!
hi guys

I have job building some large Swiss style brackets to match what is currently in place to go on an extension.
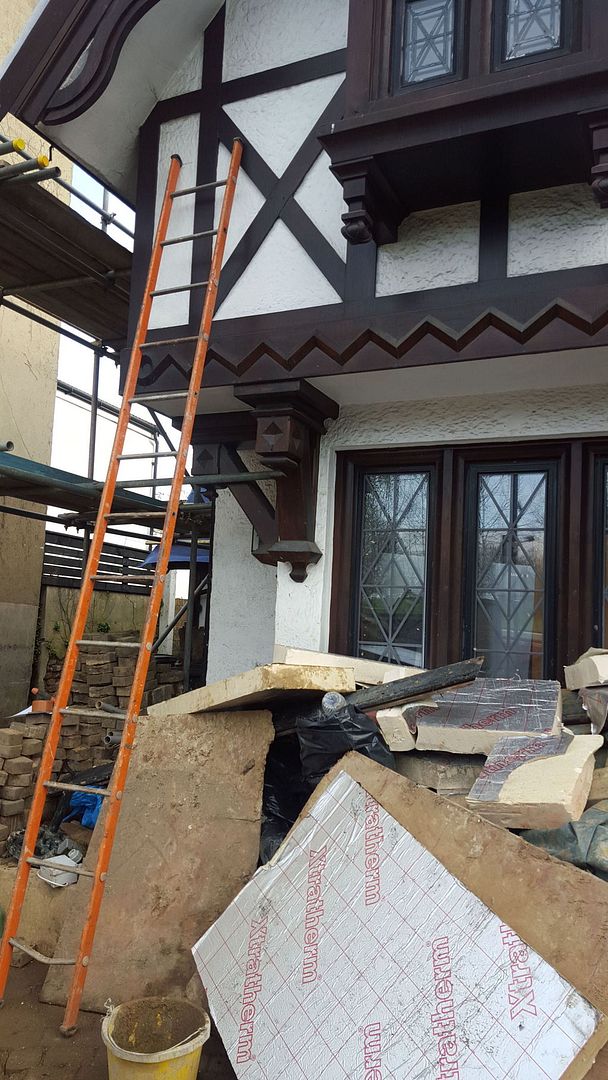
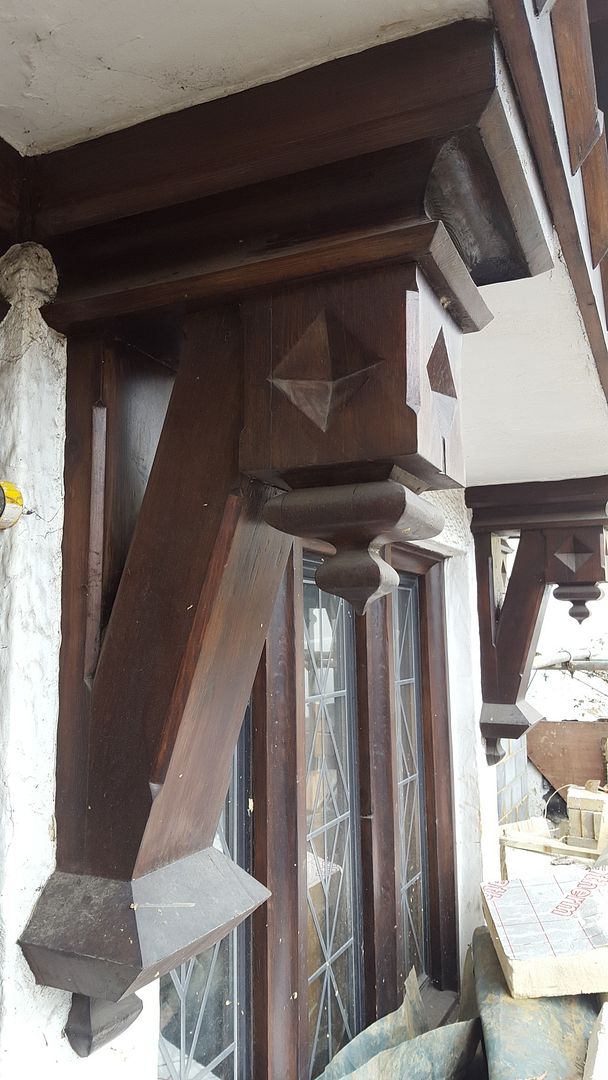
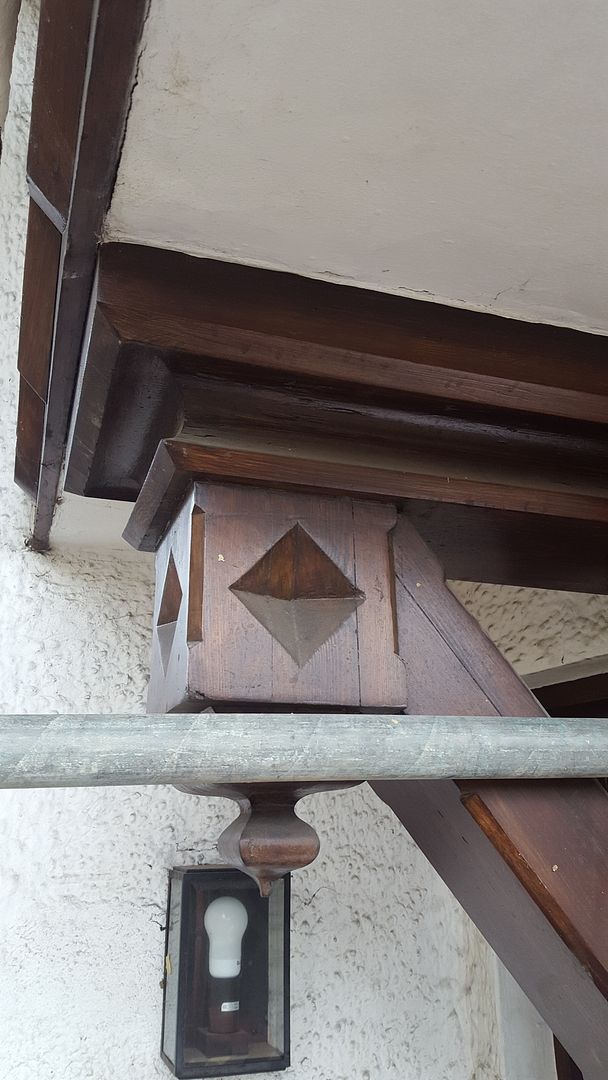


these are massive! and going to be very tricky to make! one of the first hurdles to over come is the large moulding on the top block. after making a few phone calls and looking around it seems like its going to be hard to have made, basically I need this profile making in softwood about 9m in total.
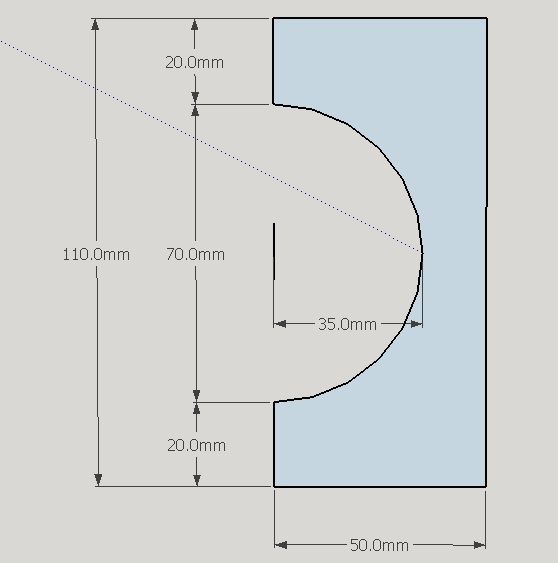


I have access to lots of power tools and most machinery including spindle moulder with a router spindle. Wealdens have 35mm radius cutter but only in 50mm high blades. Any suggestions on how to make this?

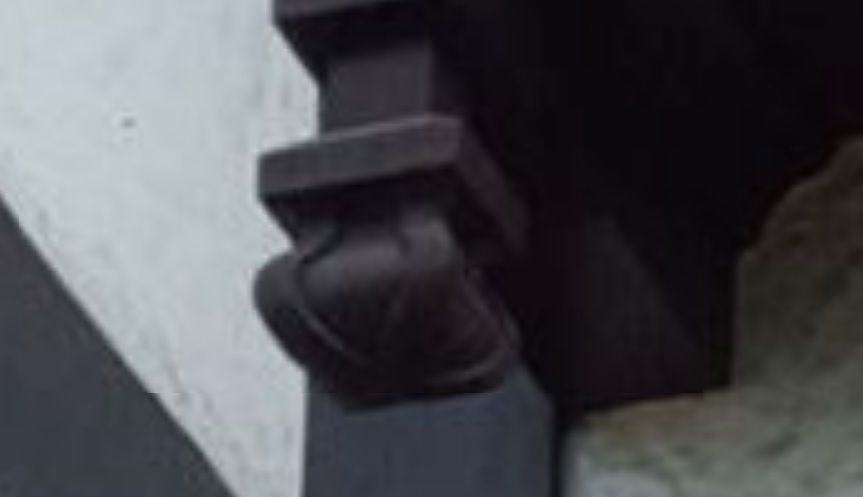
Also looking for someone to do a small carving job, again in softwood a simple crown design about 160mm square size i can supply the timber, send me a pm to discuss this further. something very similar to below


Cheers

adidat
 
I would suggest getting a bespoke router bit made or cutter for spindle moulder and cut it in two halfs (each being a quarter of a circle).
I would suggest cutting in multiple shallow passes to avoid it binding or tearing out.
 
Looks like they are made up (you can see the joins). As well as having a good look and taking measurements I'd want a lot more photos. You can often spot details on a photo which you miss in a survey. These could reveal how the originals were made and you can be sure that however they did it is the best way to follow! A good deal of hand work looks inevitable, but it's all simple shapes with no fine carving.
 
As Jacob says simple shapes some times all you have to do is look at a job and then take a step to one side and look at it again.
You can make this shape on a bench saw, you have to take the fence off the saw and then look at the blade you want a 35 m/m height that is the main point. Now you have to make a fence that will introduce the piece at a angle to the blade. By that I mean a piece of timber clamped to to the bench and you will be sliding the timber on to the blade and not through it, of cause you are going to wear the blade out on one side. Only by trying the the angle will give you the 70 m/m dia that you need.
 
Yup...jacob spotted it first.

These appear to be made up from pieces of board unless the marks I see are from splits which are very straight. Also look at the textures involved for clues. This is almost certainly made up ornamentation.

Just a comment. Its a long way to go to Switzerland for a trial fit and several adjustments should add considerably to the bill.

Many pictures to be taken inc some closeups and with a ruler present for scale.
 
yeah there all made up of blocks of wood, i took 40 pictures, and lots of measurements. the job is in herne hill, so not too bad. the plan is to make the tricky parts as a tortion box with lots of planted mouldings

I had thought about passing over the saw blade, but not overly keen on that idea. i have been quoted 400 including for making 9m so not too bad, its a large piece of wood.

adidat
 
The join lines don't seem to bear any relationship to the design elements; I think the blocks were just glued up due to a lack
of big enough stock, and the work proceeded from that point as if for solid stock.

I remember seeing an enormous panelled door in Italy (on a religious building) with a similar MASSIVE occluded
moulding and rebate.

On inspection it was indeed made from separate parts, so that each cut during manufacturer was not occluded.

I think it was something like: outer frame, 2 part bolection, massively raised panel.

What was sneaky was that the shaped curve (moulding, for want of another word) was
continuous through the planted parts and panel, so it looked very impressive, and "impossible".

I might be able to find a photo. I recall taking one or two.

BugBear
 
Ended up having them made for me. Saved me lots of time and the costs made sense.

Keeping thinking about building snooker ball marble runs :)


Adidat
 
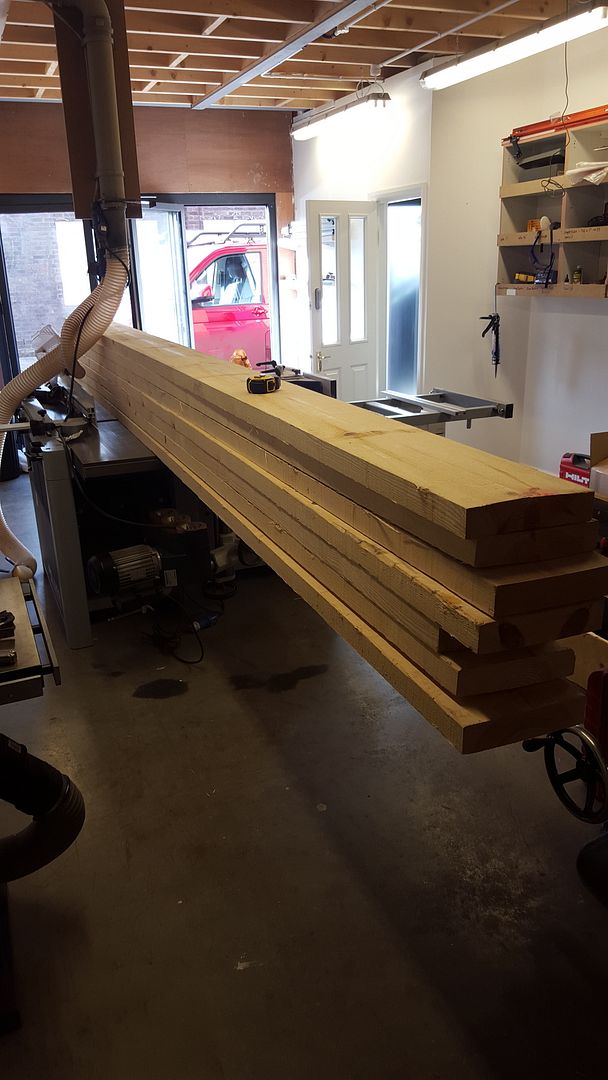
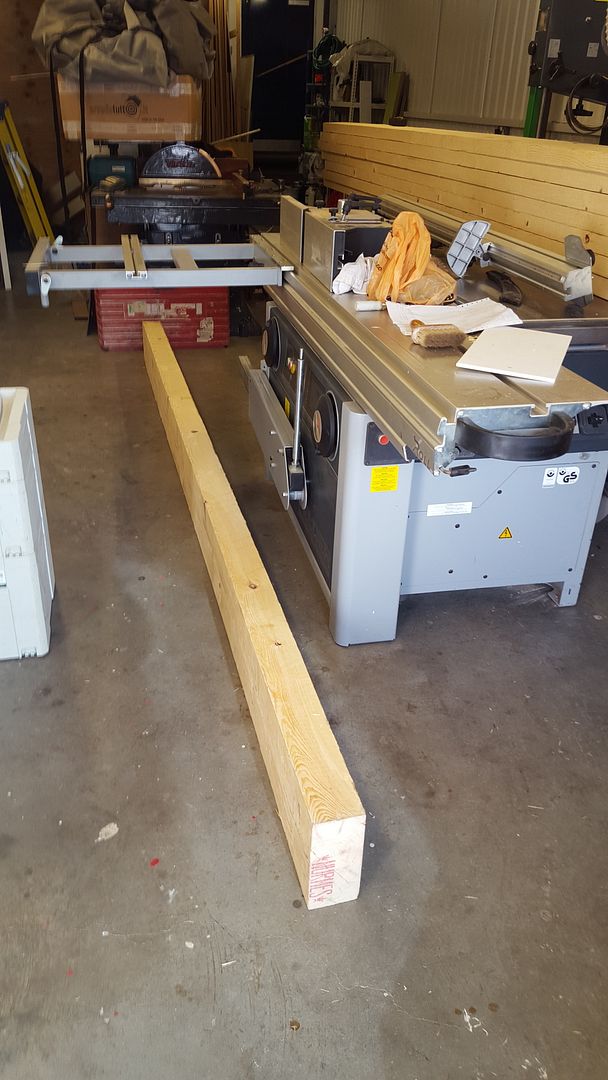
picked up the timber today, always shocking how much timber is required for a seemingly small job!


so thats 7 50x200x4500 boards
and 1 100x200x3200

that lot was just under .5 cubic metres so 3 cubes would be six times as much awful lot of timber for an amateur to use in a month!! :lol: :lol: :wink: :roll: :roll:

spent the day planing and laminating up to make the thick sections needed, also invested in a box of gloves as im sick of having PU glue on my hands for four days after!

filled the extractor three times!!

adidat
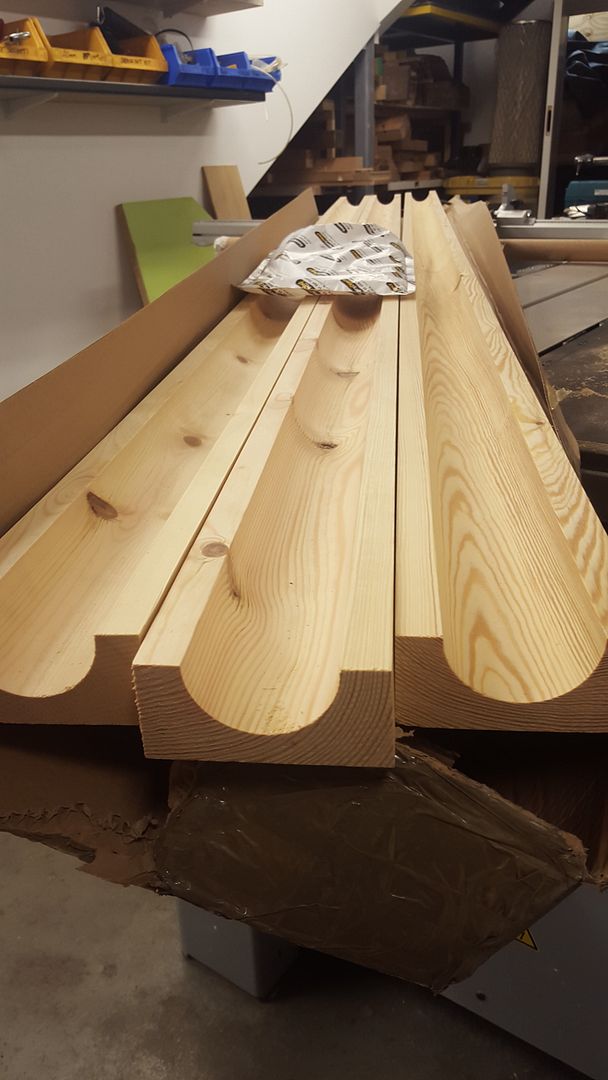
 
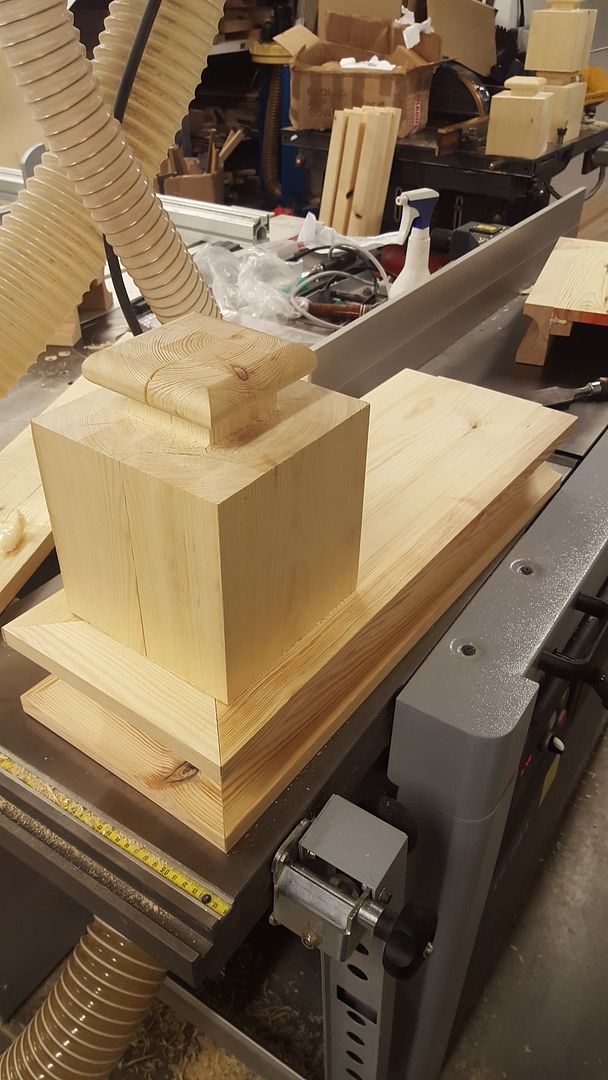
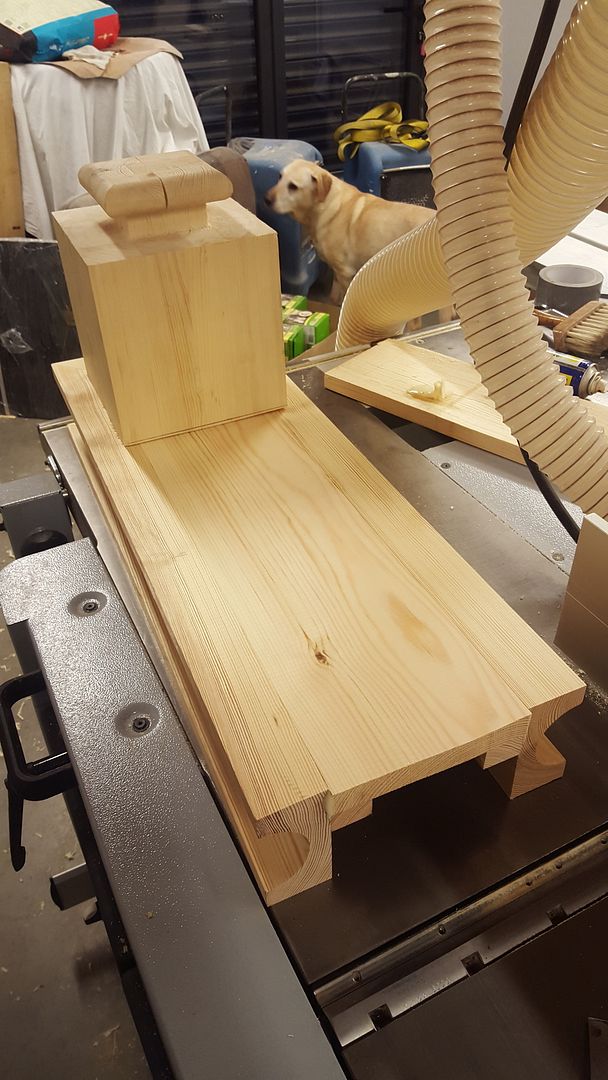
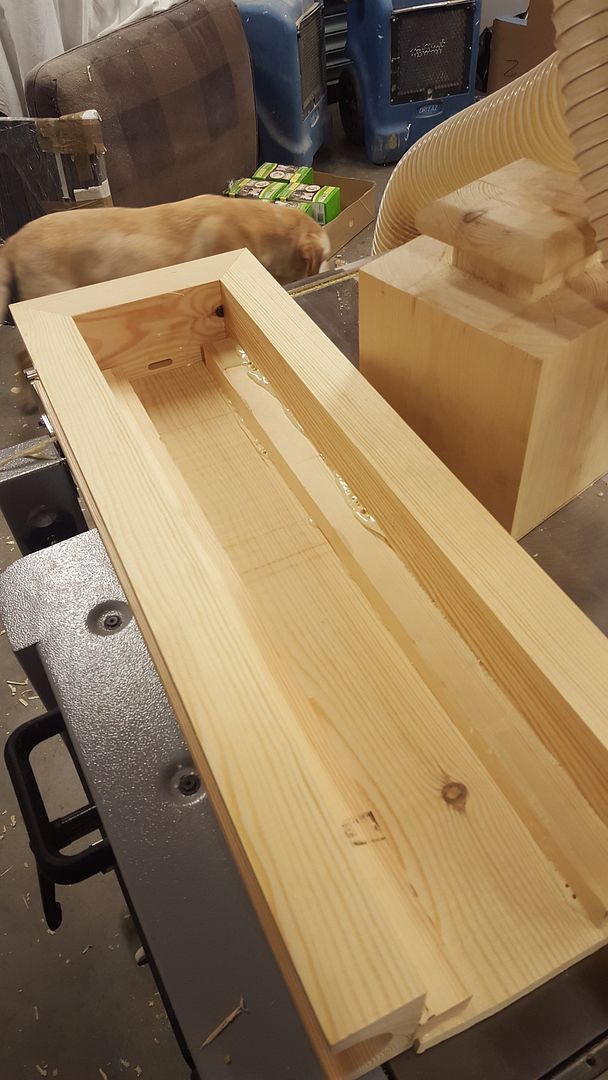
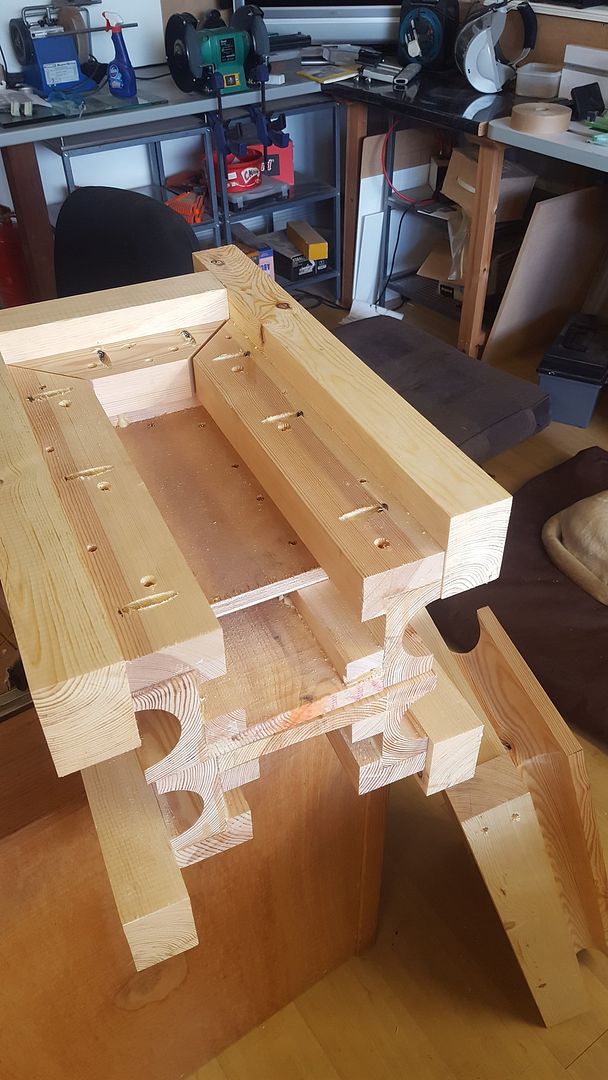
So after lots of sawing, planing and glueing I have ended up with these. I wont go into details about how I did the rounded detail as it involved some table saw stuff that I'm not proud off! :shock: :shock:


I had a slight problem with the mouldings I bought in, each one had cupped significantly pretty obvious that it would happen, when i thought about it! I got around this problem with some careful thought!
 
Yep not sure why im bothering... im not that interested on comments but im trying to share what i would consider an interesting project.

People seem more interested in discussing low end machinery and the colour of cliton planes...

Adidat
 
Chris - please don't take the lack of comments to mean a lack of interest. I'm a non-commercial hobby woodworker with almost no machinery, but I find it fascinating to watch how you go about an unusual job like this in a professional setting. I've added to the number of views but not to the responses until now - just because I'm here to learn and didn't have any constructive comments!

Please do keep the pictures and notes coming.
 
An update, have been dipping in and out of this project due to more important jobs needing doing!

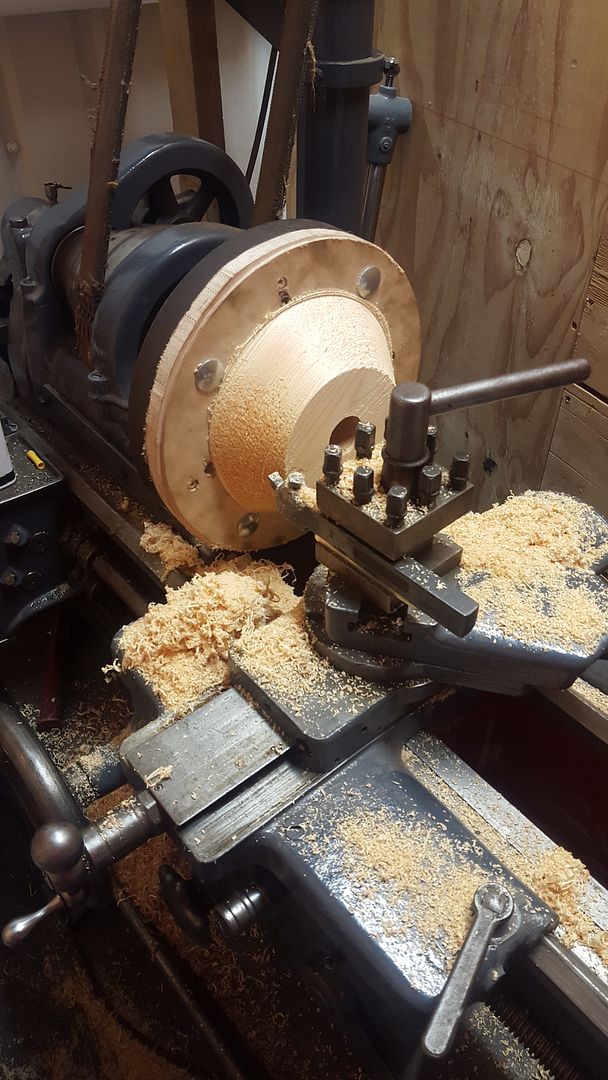
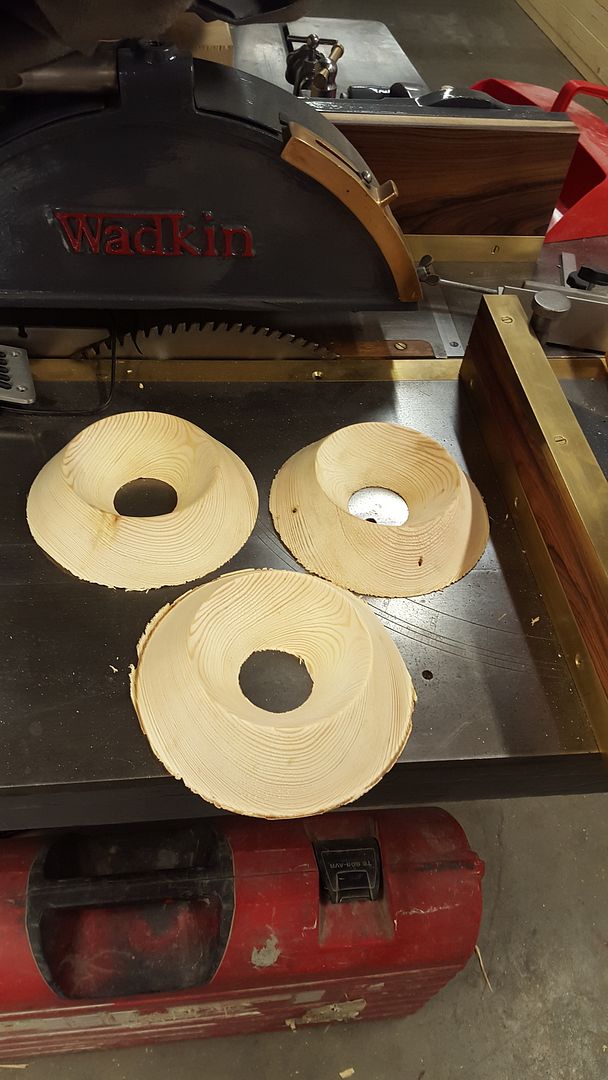
Thought I would have a go at making up the wooden discs on the barge boards (they can be seen just about behind the ladder on my first picture) I needed to make six which looked identical to the 6 already attached to the building.

They where somewhat complex to make but came out well I think.

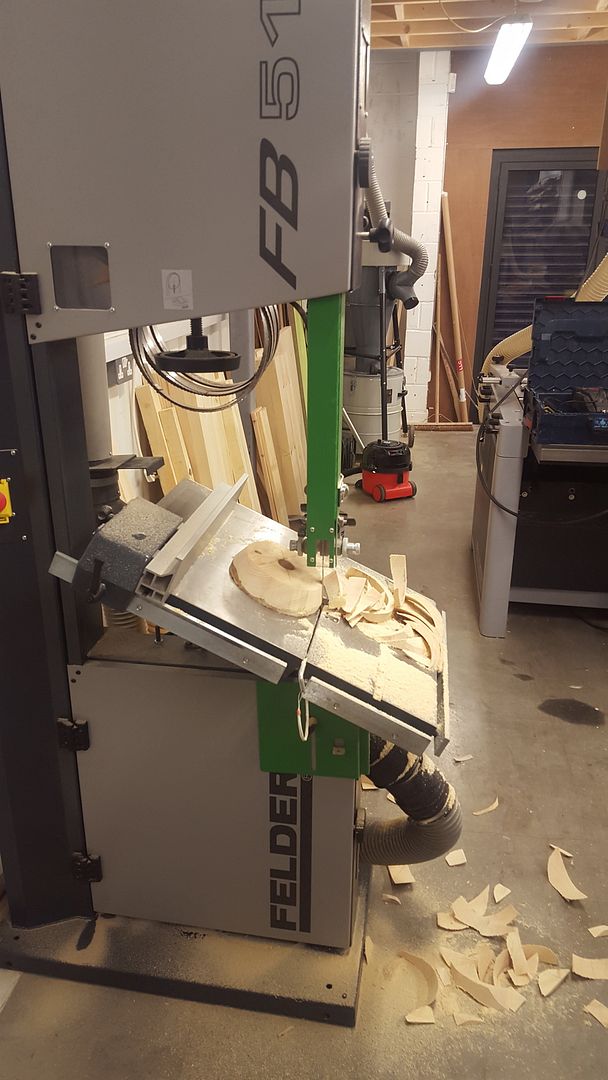
I cut sections out of a board then planed the face to be screwed onto the lathe faceplate, to save me some tedious work on the lathe I tilted the bandsaw table and cut out the basic shape.


Then I made a ply wood disc that could be bolted to the lathe faceplate, I just about got away with the spacing of the bolt heads and would only just clip them when doing the initial dimension process. Then screw the blank onto the ply and attach to the face plate.

Using the top slide to achieve a 57 degree angel lots of slow passes and a very sore wrist (haven't quite got the hang of grinding lathe tools!)

Then once i had the outside dimension to 185mm I had to flip the tool around in the tool post and spin the top slide around to do a matching angel on the inside.


with a fair bit of sanding on the lathe I managed to get all six looking presentible and very similar dimensions so I was pleased. Heres a picture half way through the run!


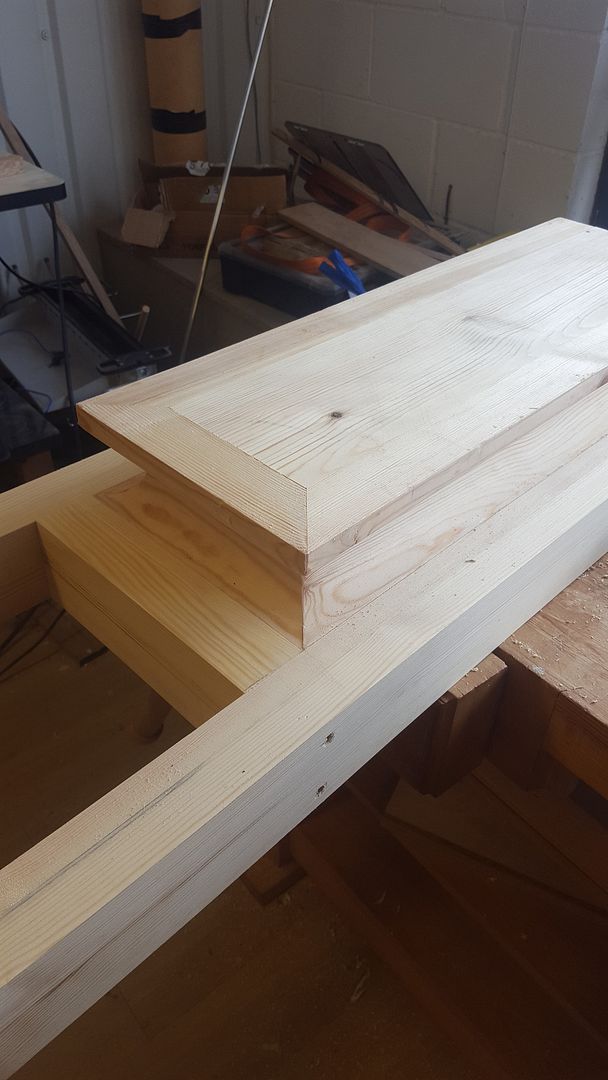
Now back to the brackets not much changed here but add the final top sections on i used a pocket hole system and will glue and pin some blocks on for added strength (similar to the blocks under and tread and riser)


not a lot more to do on these! (hammer) (hammer)

one last thing I have tried several times but I just cant get on with my bench dog it never seems to work for me, what am I doing wrong?


should I try a pinch dog? :twisted: :twisted:

Adidat
 
Back
Top