devonwoody
Established Member
Started a new thread in case the original 2011 tissue box entry was getting slow with picture overload.
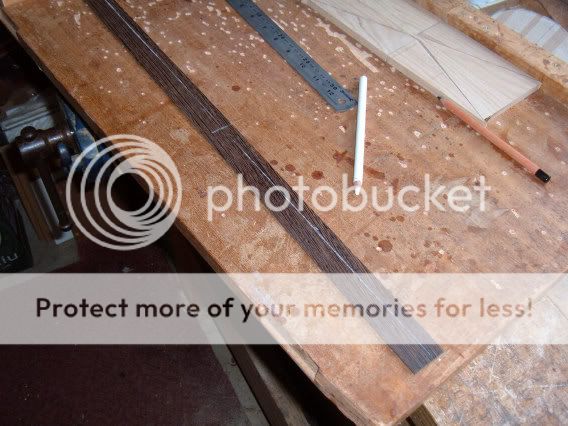
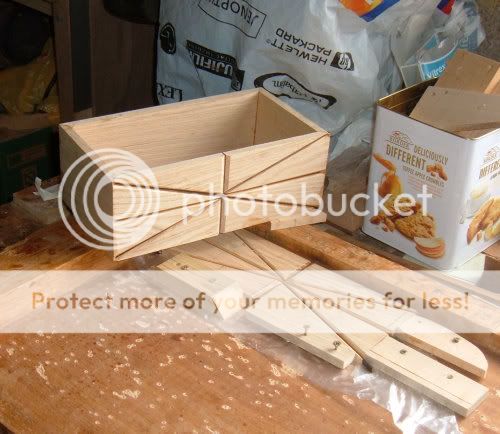
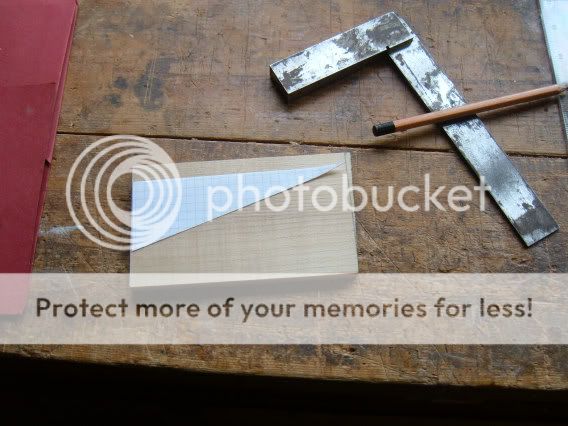
Made a template of part of the sunburst pattern and found this offcut which was just the right size.!
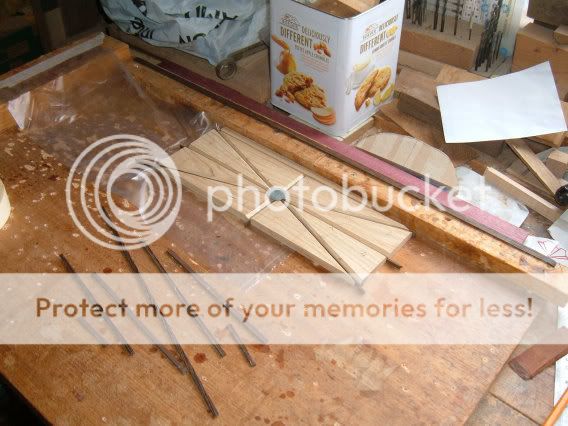
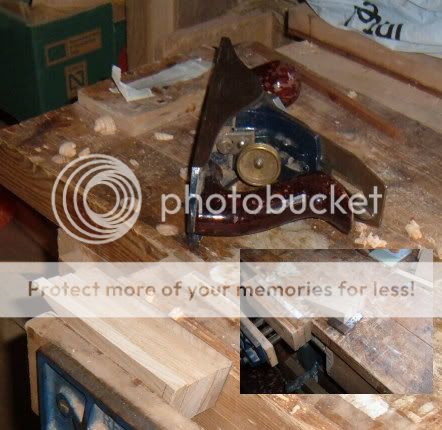
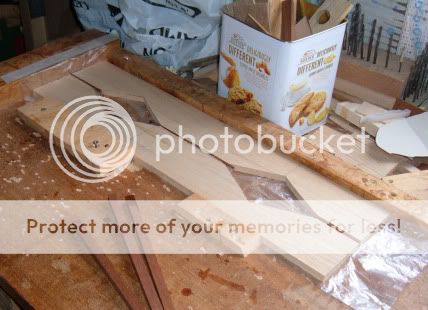
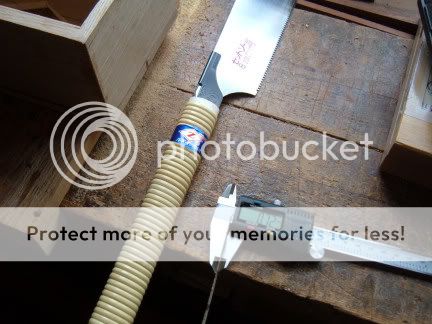
Got out the old saw board and fastened the remaining portion of template in position and got out some japanese saws, I had to use the type with a backing top.
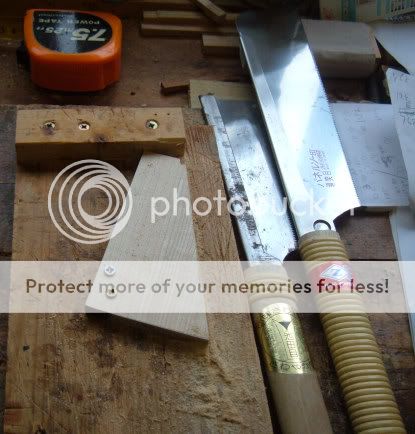
The first two parts went reasonably well. I have to use timber guides and holds, I get a rheumatic pain these days holding on to cut parts.
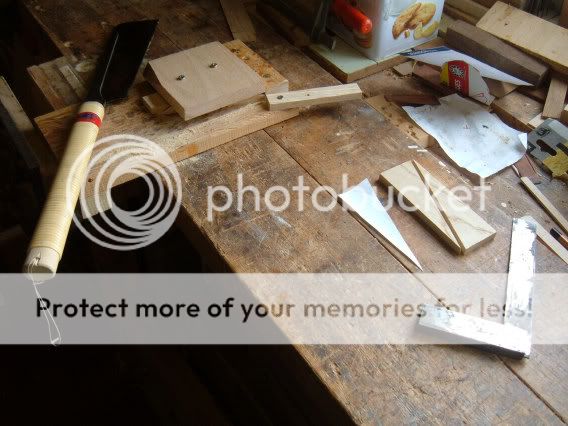
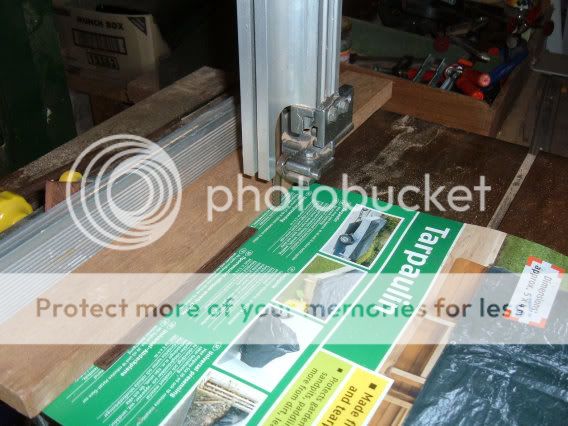
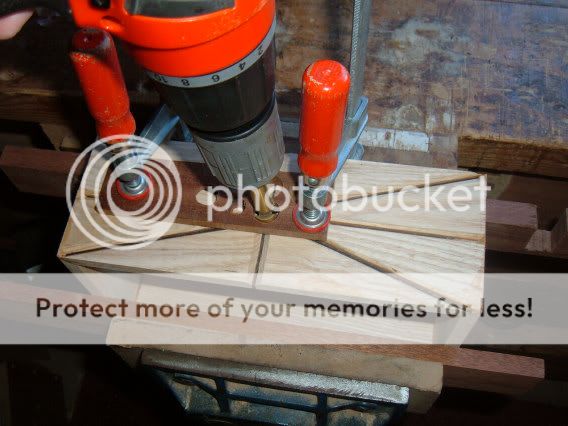
Cutting action photograph, holding the saw down on to timber with other hand made the cut cleaner.
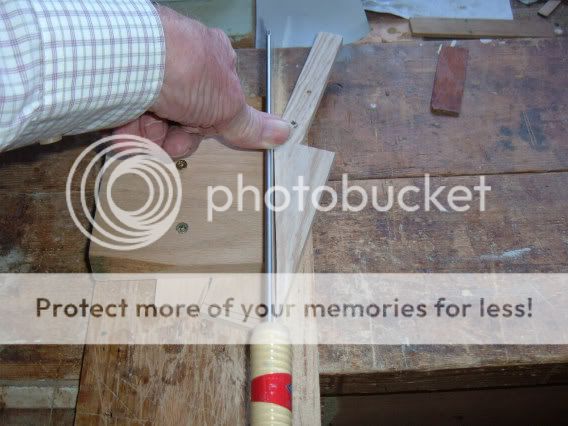
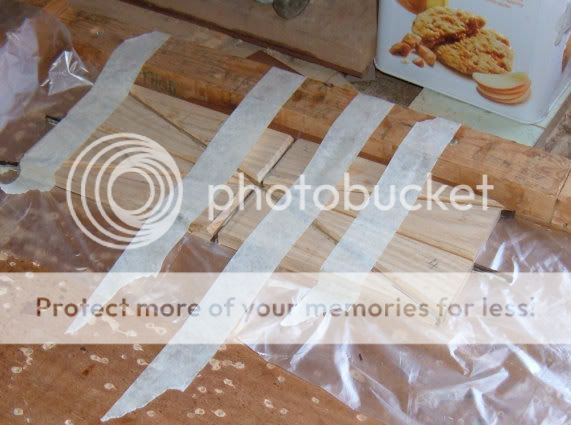
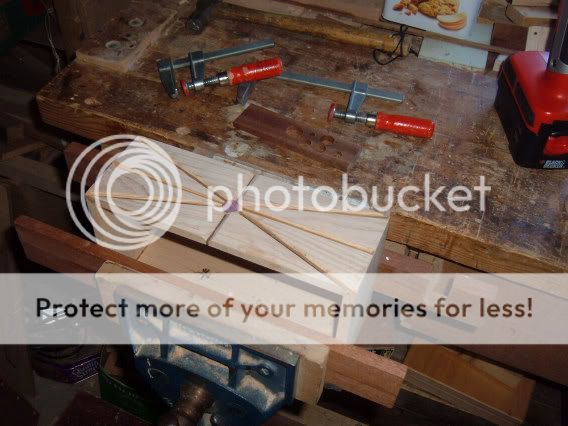
Eight pieces for front and rear cut and will be cleaned up on the sander.
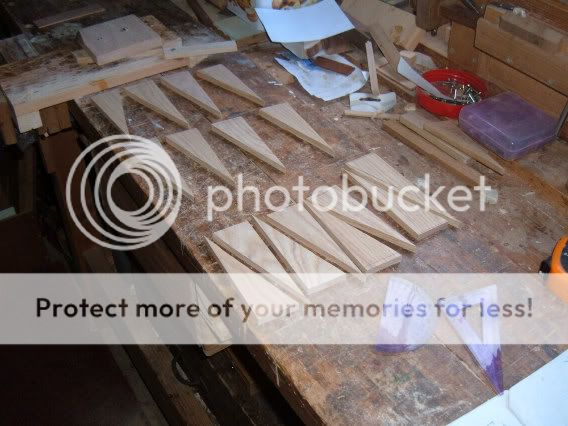
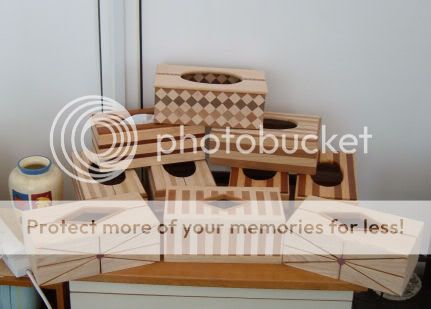
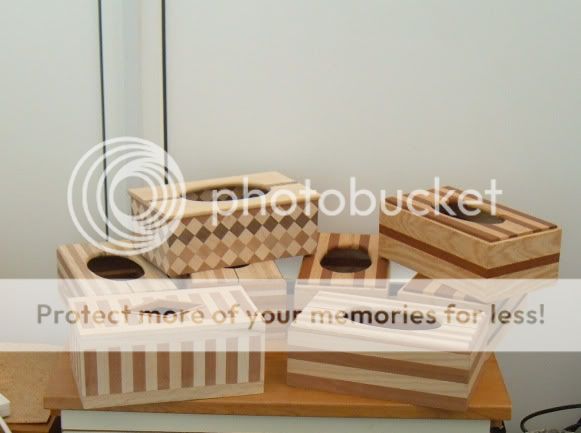
This might be the last box for a while, my wife wants another work table for her embroidery and that should keep me busy. In the meantime here are eight of the boxes completed and just the sunburst to add at a later date.
Made a template of part of the sunburst pattern and found this offcut which was just the right size.!

Got out the old saw board and fastened the remaining portion of template in position and got out some japanese saws, I had to use the type with a backing top.

The first two parts went reasonably well. I have to use timber guides and holds, I get a rheumatic pain these days holding on to cut parts.

Cutting action photograph, holding the saw down on to timber with other hand made the cut cleaner.

Eight pieces for front and rear cut and will be cleaned up on the sander.

This might be the last box for a while, my wife wants another work table for her embroidery and that should keep me busy. In the meantime here are eight of the boxes completed and just the sunburst to add at a later date.


