Straight or Curved Aprons for Oval Coffee Table

UKworkshop.co.uk

Help Support UKworkshop.co.uk:

This site may earn a commission from merchant affiliate links, including eBay, Amazon, and others.
Cut a strip of cardboard paper etc the same size as the rail and cut a curves in it until it looks right, tape it in place and check it out.
You will probably find a third up from the bottom will look good, but its up to you in the end.

Pete
 
John15 said:
The rails are 50mm. Any suggestions greatly appreciated./quote]

Entirely your call John, there's no right or wrong answer. Couple of things to think about though,

-a curve looks best when there's more than one curve in the design, so if the sides of the top had a curve it would then really look good to have a roughly matching curve on the underside of the rails.
-on a 50mm rail the maximum "height" of the curve could be anywhere from 3mm to 30mm. Personally I really like ultra subtle curves that are almost imperceptible. But that's probably a bit of a design affectation and paradoxically these very shallow curves are actually quite tricky to cut.
-nobody would quibble with a curve that's about 12 to 15mm, and that would work also well on the long sides of the top.
-on the rail don't take the curve right to the very end of the rail, that leaves a very vulnerable bit of end grain timber, stop the curve at least 2 to 3mm from the end. But if you terminate the curve more than about 5 or 6mm from the end of the apron then, in my opinion, it starts to look a bit "factory made". The curve on the edges of the top however can and should be taken right to the corner.
-you can bandsaw out the waste and spokeshave the curve, or you can make an MDF template and router it out after initial bandsawing. If you're uncertain about either method ask away and I'll walk you through the procedure.

Good luck!
 
Thanks for your advice Pete and Custard. I think a curve to the bottom of the upper rails will look at 15 - 20mm deep. I'm nervous about my limited skills with a spokeshave so will proceed gingerly!!

John
 
16mm is about a third and as a photographer thirds are natural places to put something of interest in a photo, it works for design as well I have found.

Spokeshaves are fun tools if they are sharp and the blade is bedded well, the old wooden ones are seriously good it you get a good one.

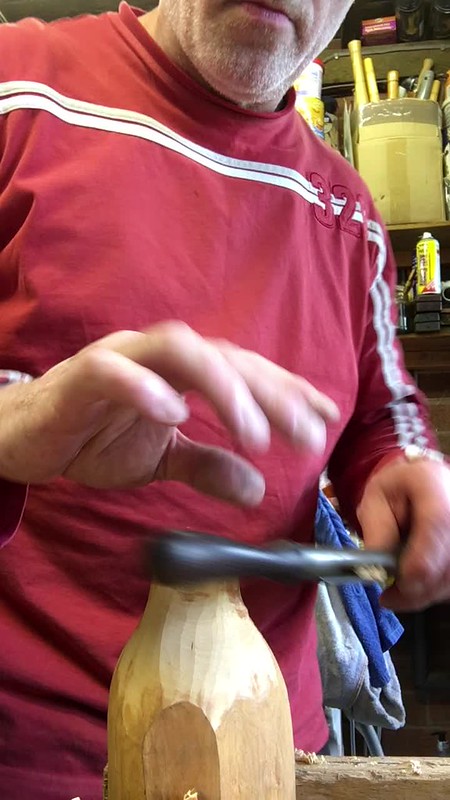
This is me using a Millars Falls cigar shave, not a cheap tool and not easy to master.

Millars Falls No1 cigar shave by Pete Maddex, on Flickr

Just go slowly with the grain i.e. down hill to the middle and skew the spokeshave if it chatters.

Pete
 
Good tips from Pete. Here's another, if you're new to spokeshave work then layout a second pencil line just a mill or two further out into the waste from the final pencil line. For your first attempt try and hit this "practise" line as perfectly as you can, and only then move on to the final line. It's all too easy to start shaving away and merrily go past your line, at least this way you'll have a little something in reserve. The most common place to cross the line is where the curve meets the bottom edge of the apron, so be particularly careful not to get too enthusiastic in this area.

Good luck!
 
Thanks for the tips guys. I'll be making a start tomorrow morning.
The wood is some very old Mahogany (don't know which species) that I'm recycling. I notice that some has small white deposits - silicon?

John
 
Silica rather than silicone, it's very good at blunting your blades so keep touching up your edges.


Pete
 
Pete and Custard,

I cut the curves this morning. Did a couple of practice runs on some scrap then the real thing. It went like a dream. Cut to 2mm on the bandsaw then to the line with a very sharp spokeshave. The spokeshave cut beautifully.
Very pleased. Thanks again for your advise.

John
 

Latest posts

Back
Top