stars and dots box

UKworkshop.co.uk

Help Support UKworkshop.co.uk:

This site may earn a commission from merchant affiliate links, including eBay, Amazon, and others.

devonwoody

Established Member
Joined
11 Apr 2004
Messages
13,493
Reaction score
25
Location
Paignton Devon
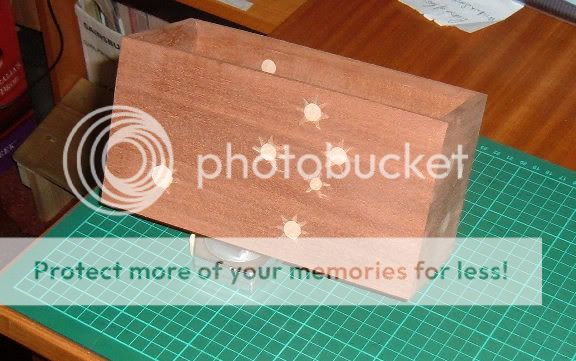
Decided I could not cope with stars and stripes so got an idea to make a box that differs from my usual strip design.

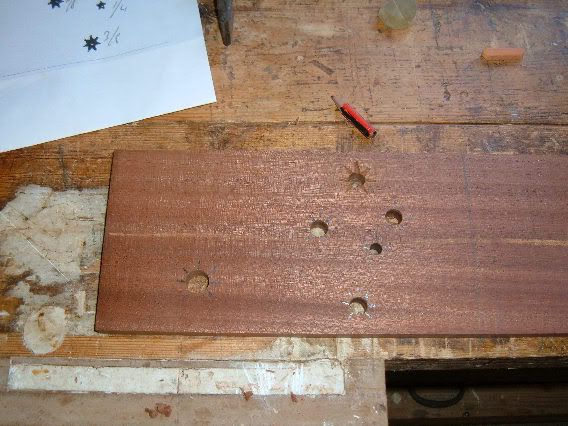
Prepared a template to mark up some sapele 10mm thick and drilled out a variety of holes with forstener type bits.
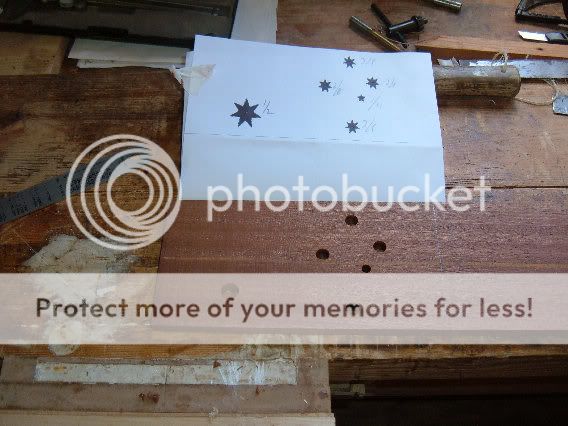

2w-18.jpg


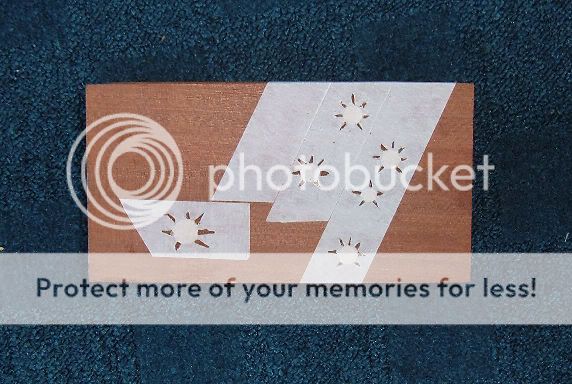
then added the star effect.

3w-16.jpg


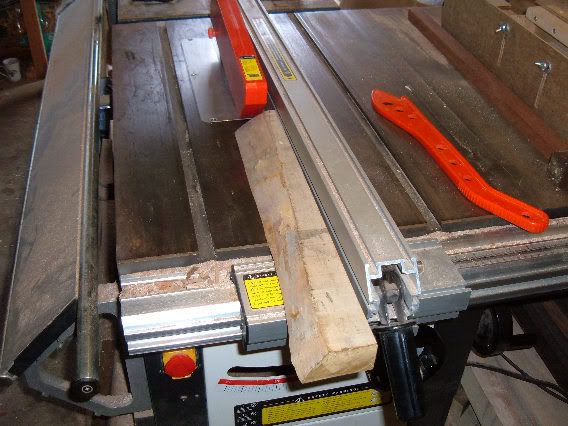
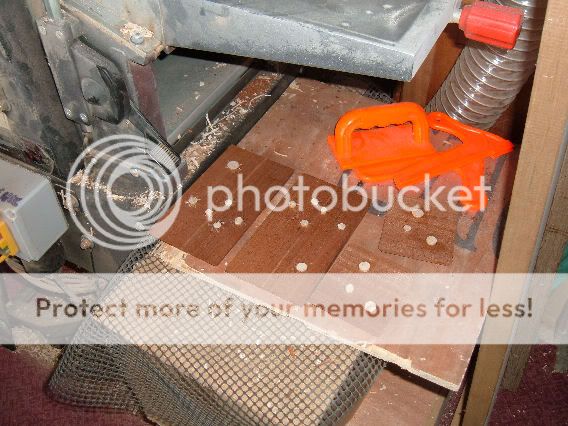
Deviated from my usual mitred corner joint procedure, I cut the 45% mitre cut at one end only each piece and then used a stop block for the two different length dimensions. I have angled the top edge(I intend to have a drop on lid) and made a dado cut for box base.
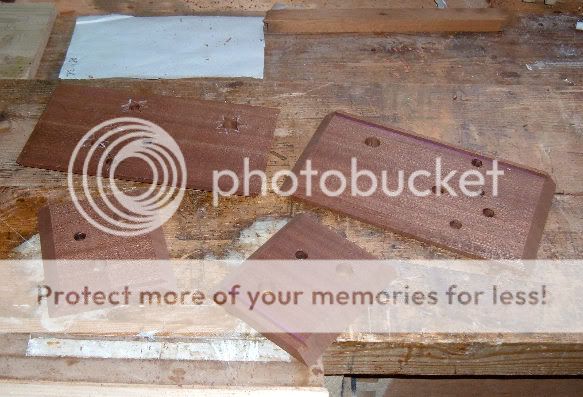
4w-15.jpg


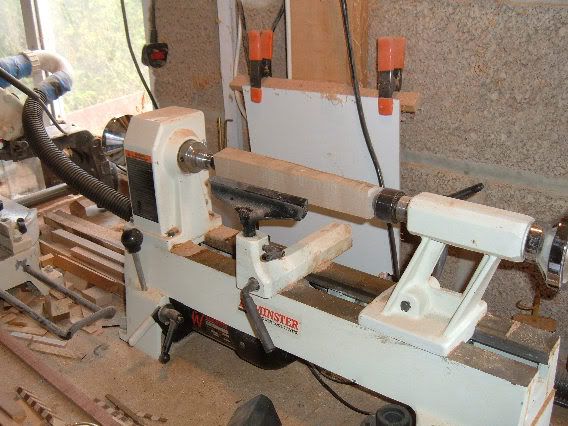
To complete the decoration I am going to prepare some round stock on the lathe today using sycamore, the star effect I think I shall have to use some white filler unless members can offer a different solution?
 
That pattern looks very 'Southern Cross'; perhaps you're thinking of offering it to the Aussies as a consolation prize at the end of the summer ;) .

Have you considered mixing some epoxy resin with silver glitter to fill in the stars?
Whatever you decide upon, I shall be interested to see how this project turns out.

Gill
 
You should be able to get some glitter from a craft shop such as Hobbycraft (use their store finder to locate your nearest branch) or even a toy shop. Although I have not used it myself in woodwork, I would suggest you use a clear resin rather than an epoxy resin glue. I would try something like this from Everglades if you can't find anything local.

Gill
 
Try getting some of that aluminium powder for wood turners, mix it with a clear epoxy and then sand it flush, it looks like solid metal when it's in, works great on voids in veners

Aidan
 
Thanks above for resin tips. The box doesn't warrant a great expense of £10 to £15 on decoration for me personally. I might try and use some super glue and glitter on a waste piece and see what effect come about. Otherwise its going to be a dollop of white filler. :oops:
 
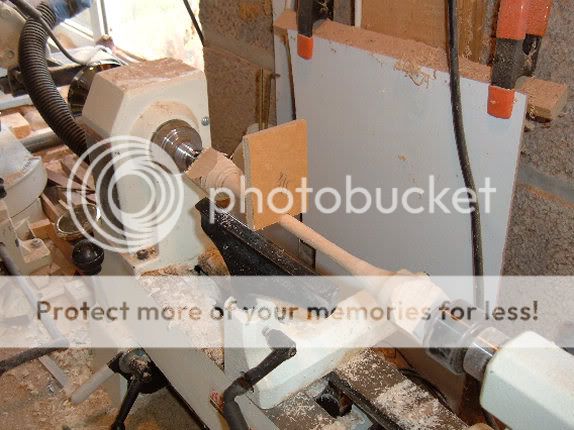
Ripped off a piece of waste sycamore to put on the lathe.

5w-16.jpg


6w-14.jpg


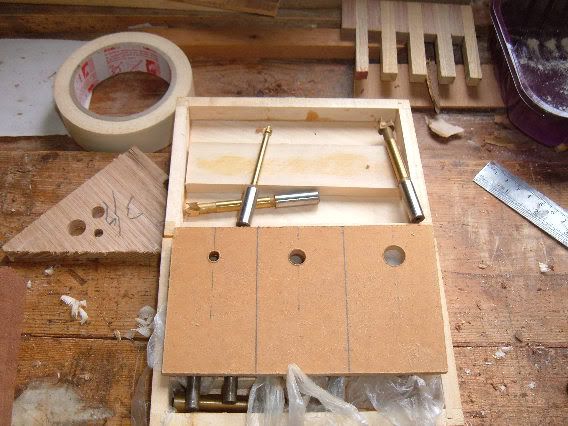
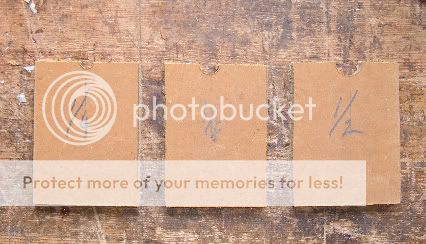
haven't got much measuring equipment for lathe turning so made myself the following jig to set circumferences of 1/4" 3/8" and 1/2" /

7w-14.jpg


And then cut as follows.

8w-13.jpg


For sizing my rodding as per picture.

9w-13.jpg


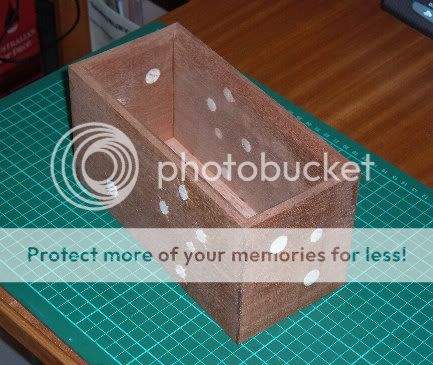
Fitted dots to carcass sides and considering how to create the star effect with minimum expense.

11w-12.jpg
 
If you were to go down the route of using epoxy and some kind of power or glitter, do you think it's worth first applying a coat of sealer? My only concern would be that you could end up with bits in the grain where you wouldn't want it... :? Then again, mahongany/sapele is fairly close-grained so, it may not be as big a problem here.
 
OPJ":3jxoq9vh said:
If you were to go down the route of using epoxy and some kind of power or glitter, do you think it's worth first applying a coat of sealer? My only concern would be that you could end up with bits in the grain where you wouldn't want it... :? Then again, mahongany/sapele is fairly close-grained so, it may not be as big a problem here.

Yes I am thinking along those lines as well, I might melt some candlewax or beeswax and use a cheapo art brush to coat around the cuts.
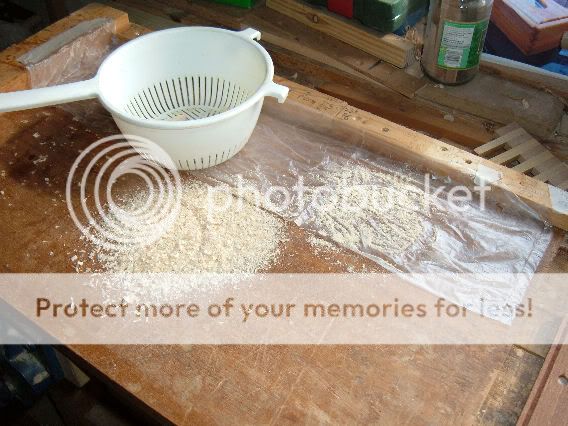
Found my saw table has got some nice powdered sycamore saw dust so sieving it out at the moment :wink:
 
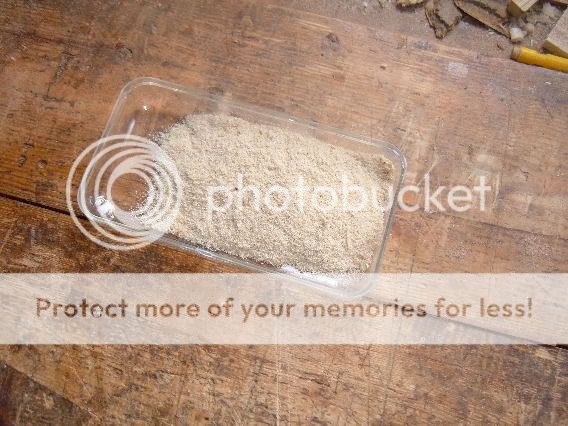
Found a source of white sawdust for the stars, (going to have to dust off the bench to get some clean stuff tho :) )

12w-12.jpg


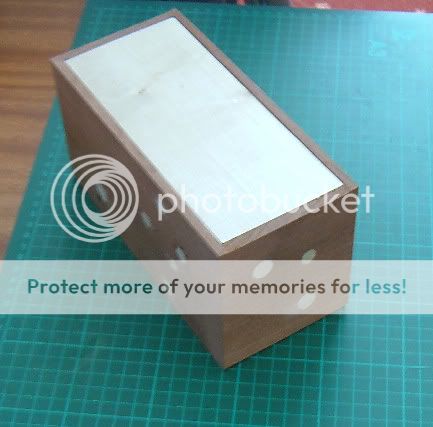
Got the box glued up, but have a clean up to do. Then create the stars.

13w-11.jpg


Will most probably put away for the rest of the week owing to heatwave, over 33C, :shock:
 
Open ended spanners make good gauges for wood turners. I've even seen one jaw end sharpened to take a final trim cut to make part with identical sized dowels.

Sets of spanners from Aldi and the like are cheap enough to buy for the purpose. about a fiver for 16 or so different sizes.

They also can be opened up on a grinder to exactly match forstner bit diameters.

Bob
 
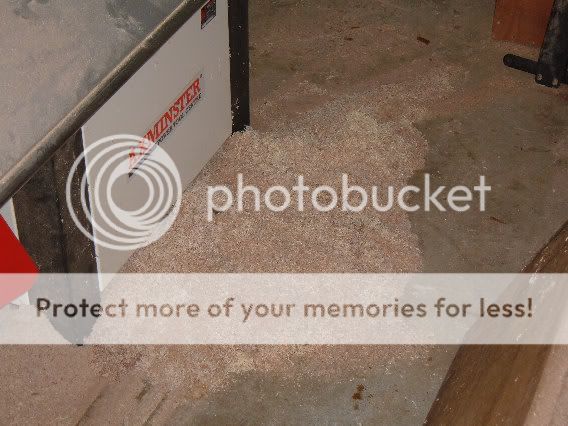
Went looking for some clean sawdust, but its not here!

14w-4.jpg


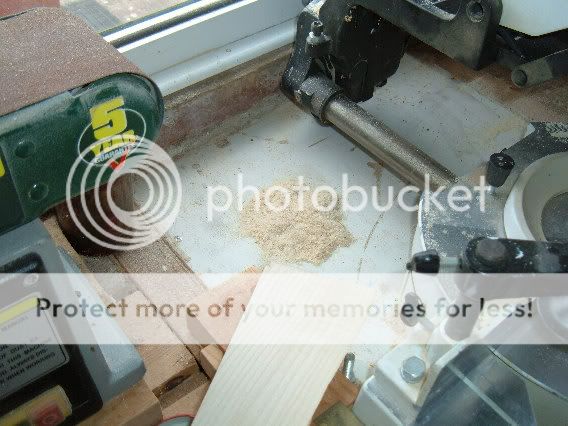
So cleaned out the area around the mitre chop saw and produced this.

15w-5.jpg


16w-4.jpg


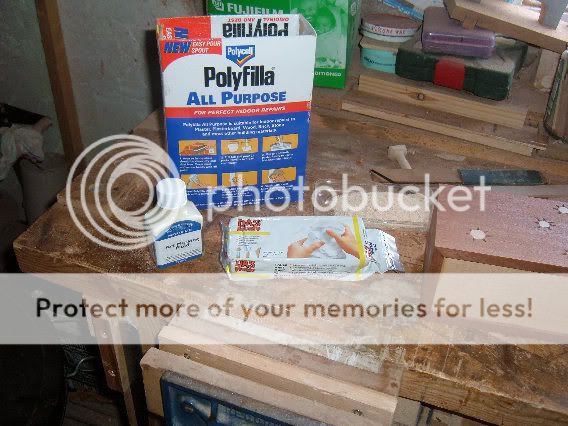
Considered alternative materials to use.

17w-3.jpg


But finally took the easy and cheapest way out, I put some masking tape across the starcarvings and used a scalpel and cut the star indentations away and filled with sawdust soaked with epoxy resin glue.

18w-3.jpg


Its a bit impressionistic but perhaps the other side of the box I will use a white filler.
 
BTW, a picture omitted from last session , the masking tape in position before loading up the white sawdust and epoxy glue for star effect.
There is a slight disappointment that when sanding the red sapele dust has crept into the the white effect.

19w-9.jpg


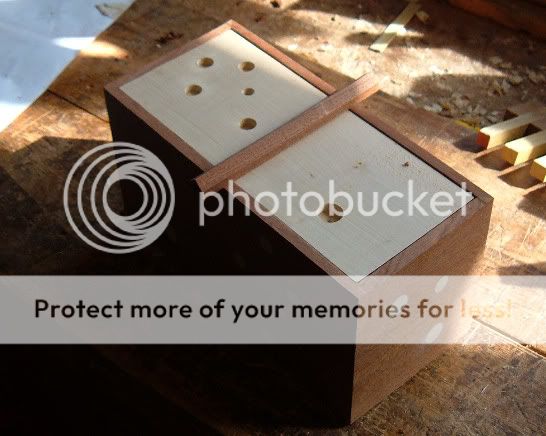
Lid fitted, using the table saw to make 45% edges so lid drops into carcass, some imperfections on timber lid which will be disguised with dots and a lifting knob. :wink:

20w-9.jpg
 
Further work done on box includes holes drilled out with forstener bits and found an offcut for lifting knob.

21w-8.jpg


A little disappointed with design outcome of this box, it was constructed on the hoof so to speak. I ought to go back to my earlier days and prepare drawings before starting a project but there is so many ideas to pursue.

I've started an new box (for tissues) as well and that has hit problems already.
 

Latest posts

Back
Top