Bluekingfisher
Established Member
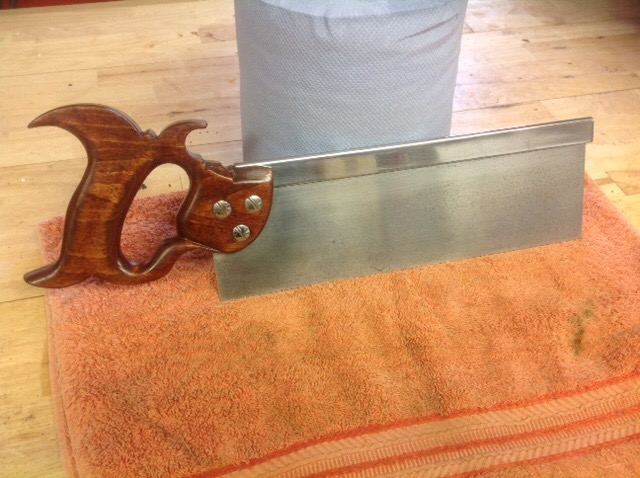
The "modern" Spear & Jackson tenon saws could never be described as pleasing to the eye nor the hand. So, After many years promising myself to make a new handle for the old S&P I bought for 20p at a boot sale around 15 years ago I finally got around to making at least part of the promise to myself..
 .
.
Not too pretty and despite being a little neglected and grubby looking it was reasonably sound. Tight handle straight plate, teeth in reasonable shape.

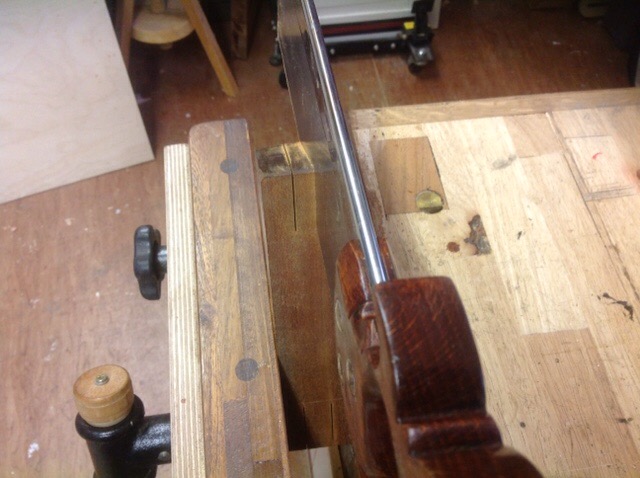
I had never refurbished one of these saws before and it wasn't until I tried to remove the handle I realised the saw nuts are of the riveted variety. My initial attempt at cutting a saws kerf in the head proved fruitless until I established they are fixed for life and removal can only be done by obliterating the "nuts" no bad thing really as I had some traditional replacement nuts to hand, besides they look better and can be adjusted according to seasonal movement of the wood.
My cache' of nuts


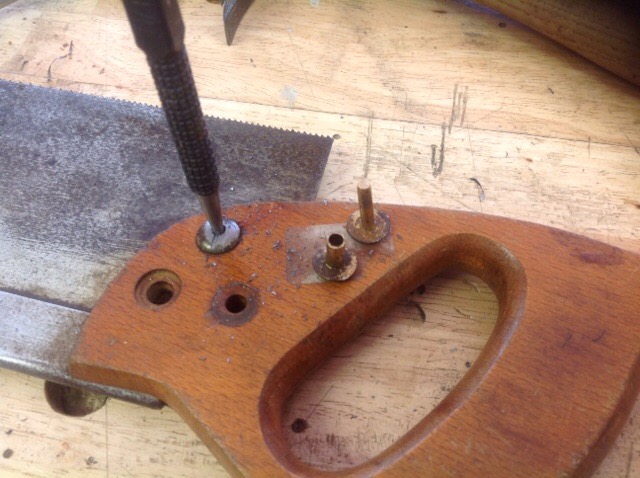
Drilling and punching the rivet out was my solution.
As the handle was in good shape and I didn't have a suitable timber blank to hand I reformed the original handle. I wanted to create a pattern similar to the saws of the 19th century. However there was not enough "meat" on the existing handle to form the shape I wanted. So, I added a piece. I cut the rounded top off and planed it flat providing plenty of glue surface.
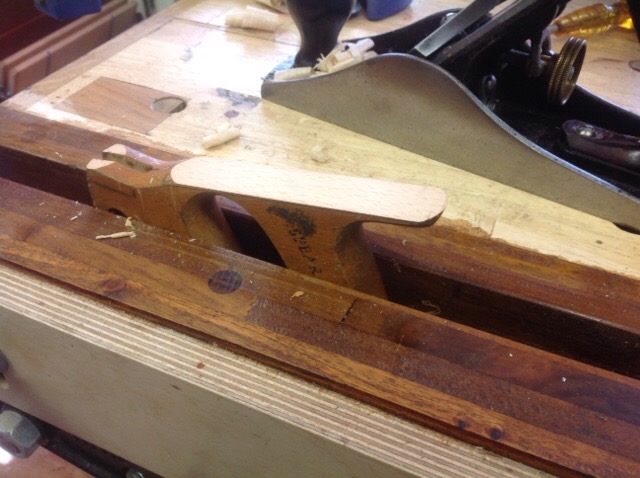
As it turned out, I didn't have a large enough piece of beech to make the repair. The block I used was salvaged from my bench hook, note the two holes either side which were used to attach the block to the hook. Just enough clearance for the basic shape.
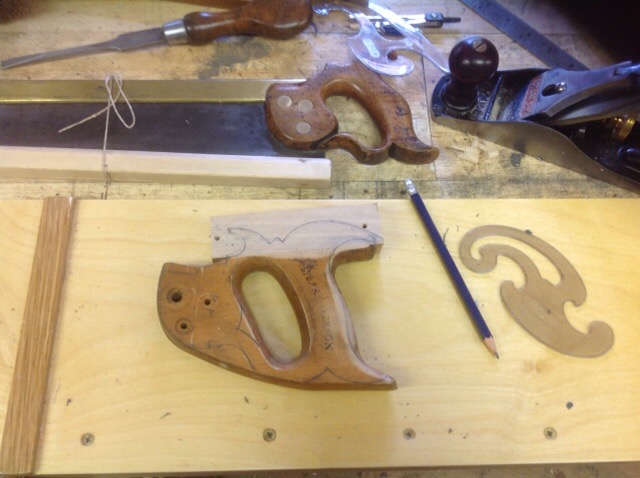
The next photo is of the handle with the outline cut at the band saw. Followed by a little reshaping of the handle. This went surprising quickly, 20/25 mins.

The handle after some further sanding. As the original finish was a hearing aid beige colour I thought the best option would be to remove all and restrain later.
Having problems attaching more images so I will return later with a further update.
Thanks for looking so far.
David

Not too pretty and despite being a little neglected and grubby looking it was reasonably sound. Tight handle straight plate, teeth in reasonable shape.

I had never refurbished one of these saws before and it wasn't until I tried to remove the handle I realised the saw nuts are of the riveted variety. My initial attempt at cutting a saws kerf in the head proved fruitless until I established they are fixed for life and removal can only be done by obliterating the "nuts" no bad thing really as I had some traditional replacement nuts to hand, besides they look better and can be adjusted according to seasonal movement of the wood.
My cache' of nuts


Drilling and punching the rivet out was my solution.

As the handle was in good shape and I didn't have a suitable timber blank to hand I reformed the original handle. I wanted to create a pattern similar to the saws of the 19th century. However there was not enough "meat" on the existing handle to form the shape I wanted. So, I added a piece. I cut the rounded top off and planed it flat providing plenty of glue surface.

As it turned out, I didn't have a large enough piece of beech to make the repair. The block I used was salvaged from my bench hook, note the two holes either side which were used to attach the block to the hook. Just enough clearance for the basic shape.

The next photo is of the handle with the outline cut at the band saw. Followed by a little reshaping of the handle. This went surprising quickly, 20/25 mins.

The handle after some further sanding. As the original finish was a hearing aid beige colour I thought the best option would be to remove all and restrain later.
Having problems attaching more images so I will return later with a further update.
Thanks for looking so far.
David


